


September 15, 2015
Salty 2
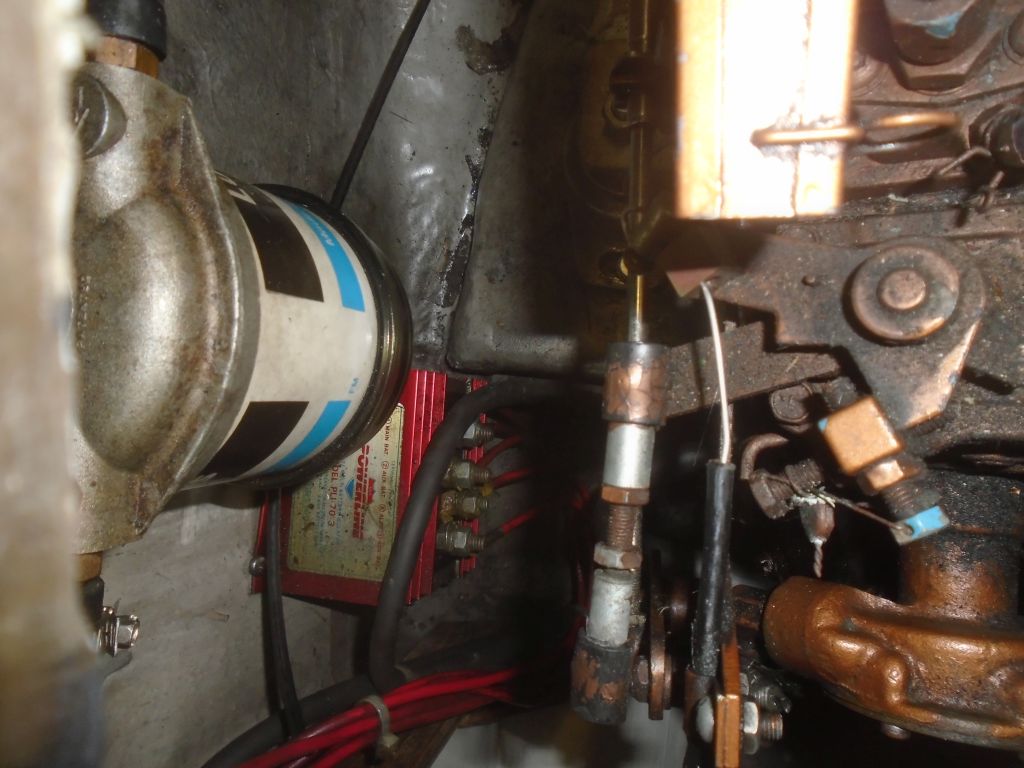
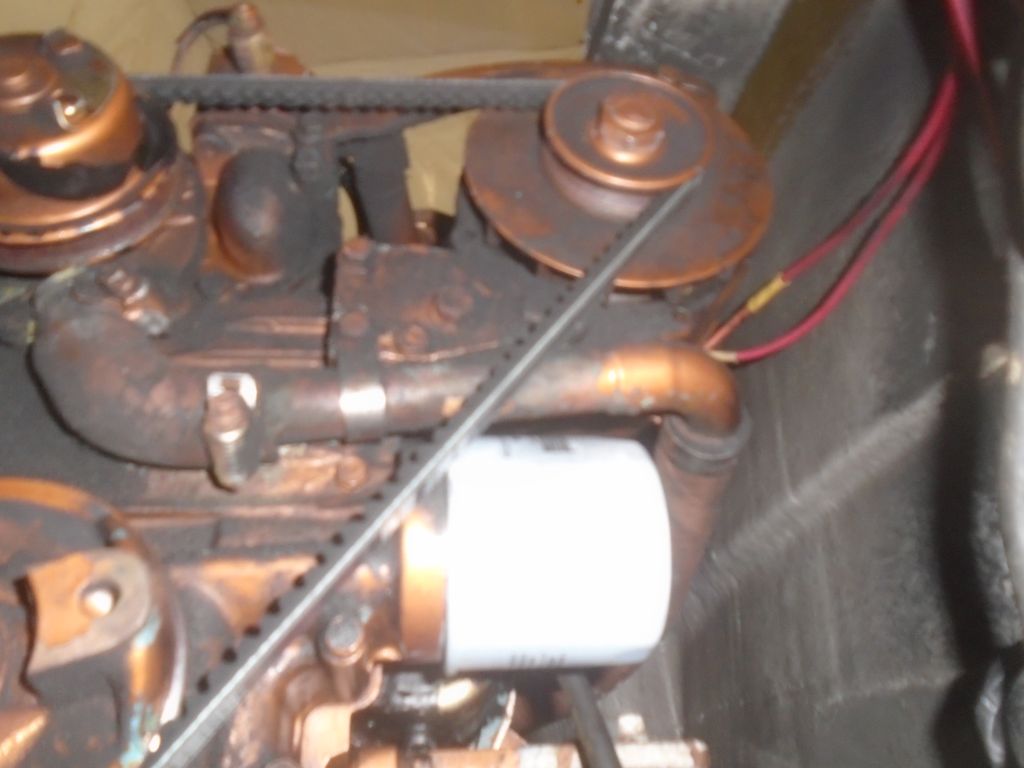
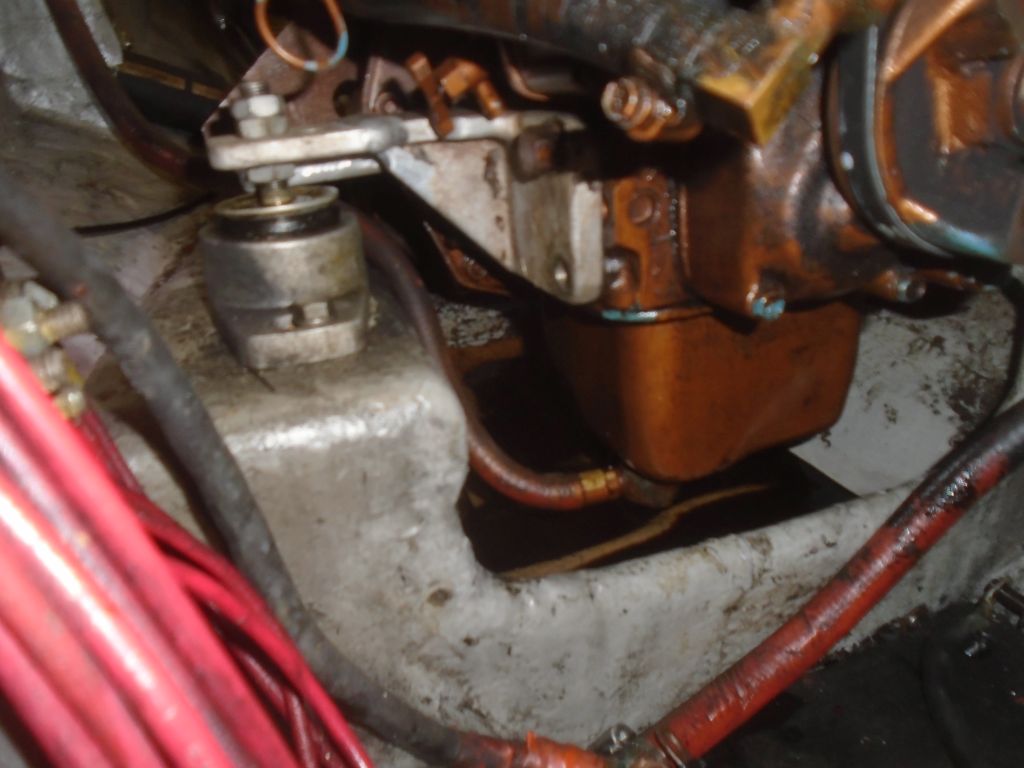
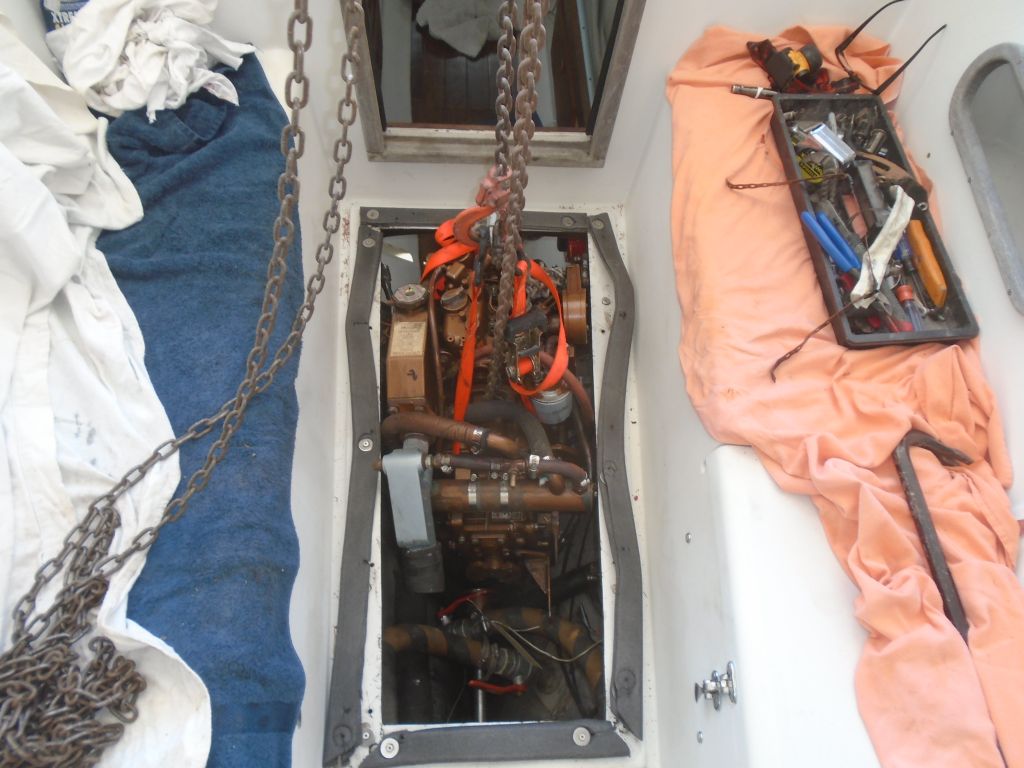
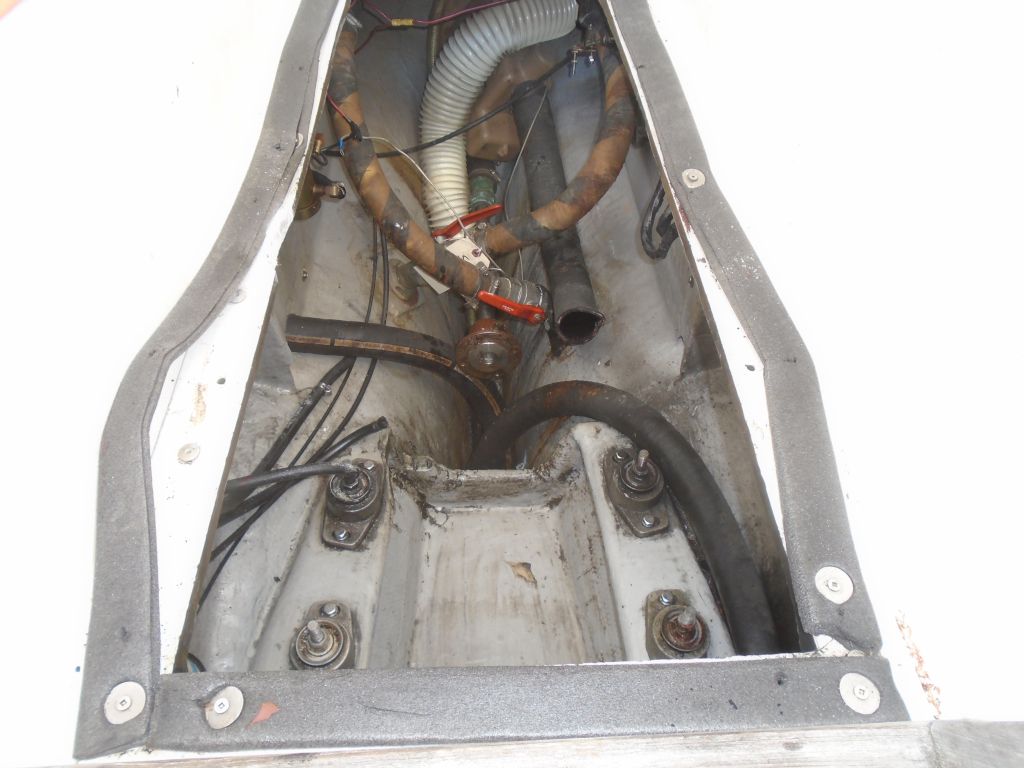
Working now from the forward side of the engine, I continued to disconnect wiring, hoses, and control cables, including the alternator (which I had to remove in order for the engine to clear the narrow hatch). I documented the engine in various stages for my own future reference, as well as for this log.


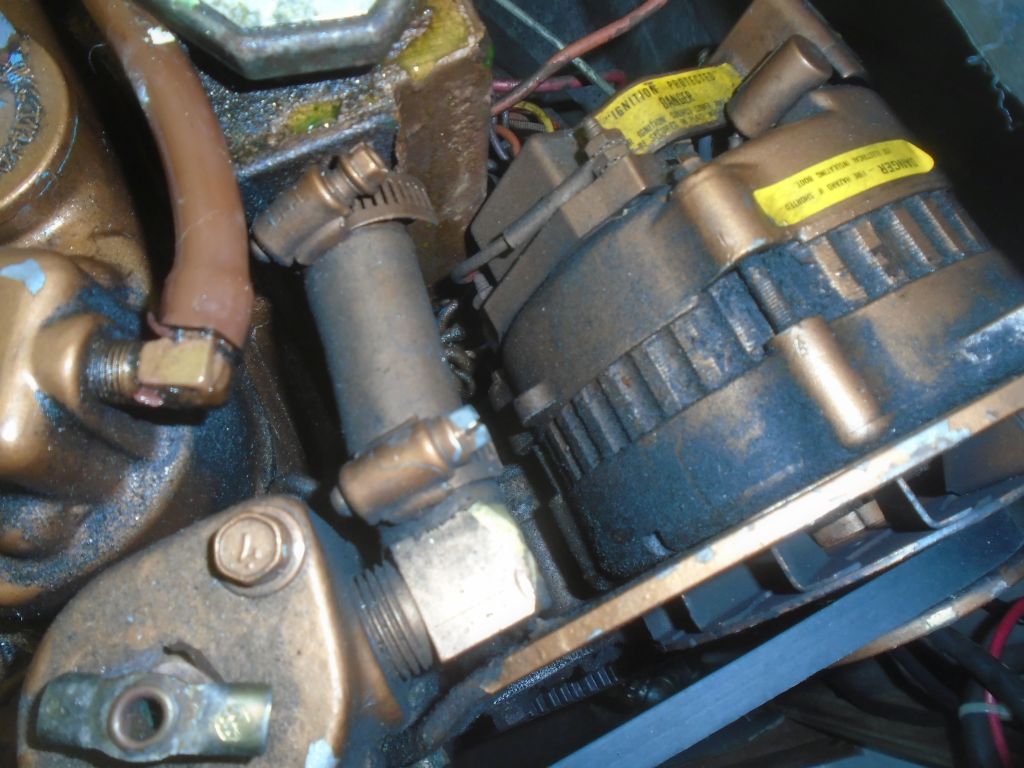
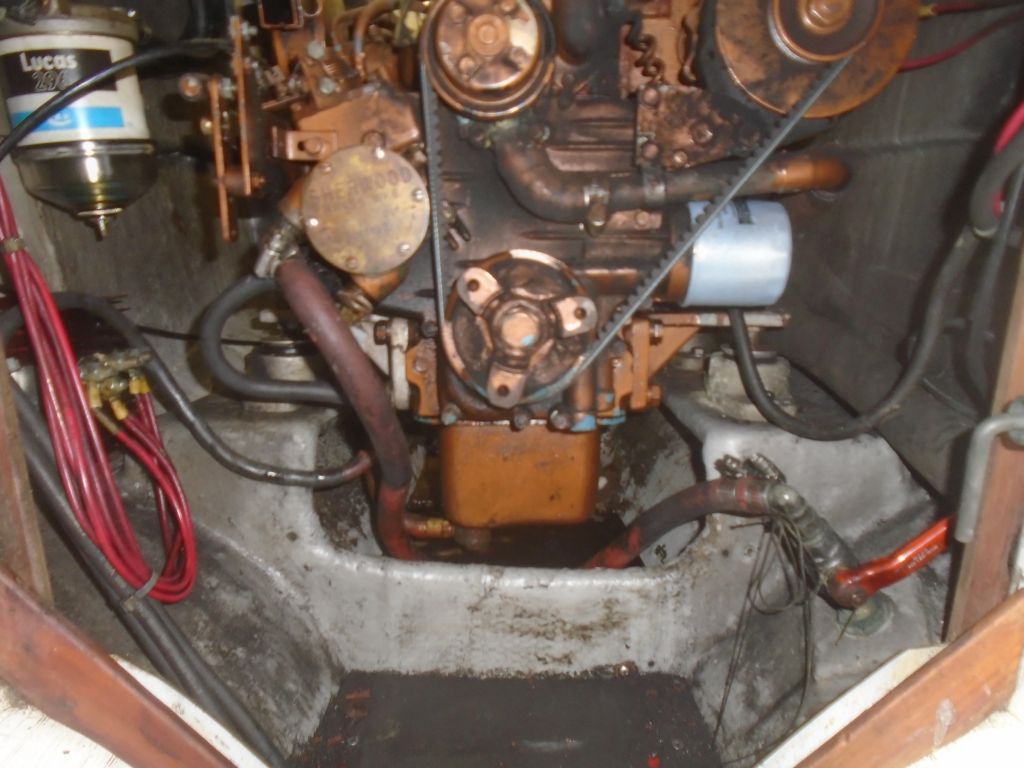
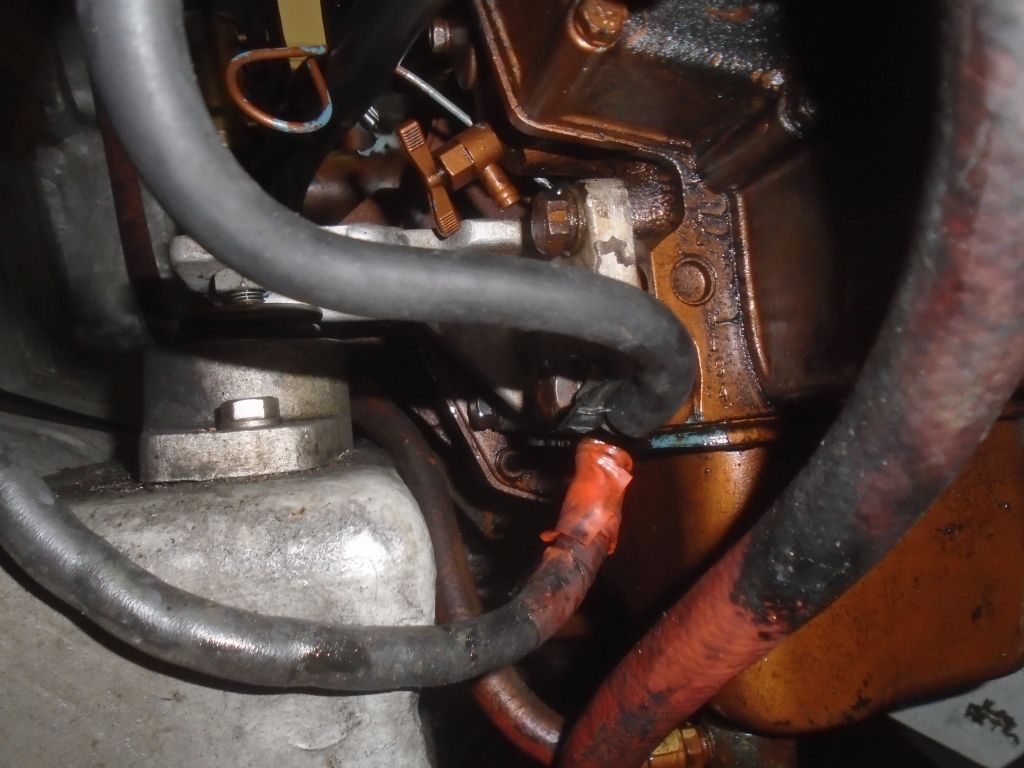
I could also see that I’d have to remove a cooling hose line that ran along the port side of the engine, as it extended beyond the confines of the hatch. I took care of its removal (tucking it into the aft end of the engine) once I’d removed the alternator above. I was also quite sure I’d need to remove the forward engine mounting flanges for hatch clearance; the after flanges were integral with the aft part of the engine housing, and were not removable, but I had my doubts that they’d clear the hatch either.
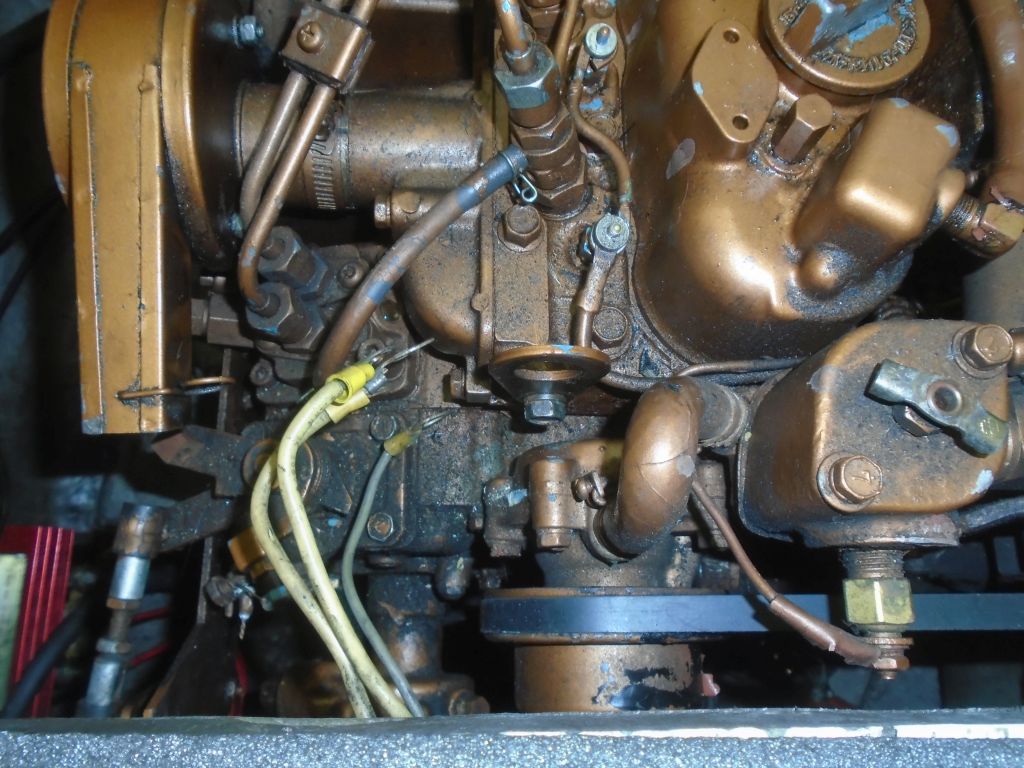
I removed several grounding wires from the bolt securing the lifting eye, and removed the alternator wiring, labeling each wire with its proper location for my reference now and later.


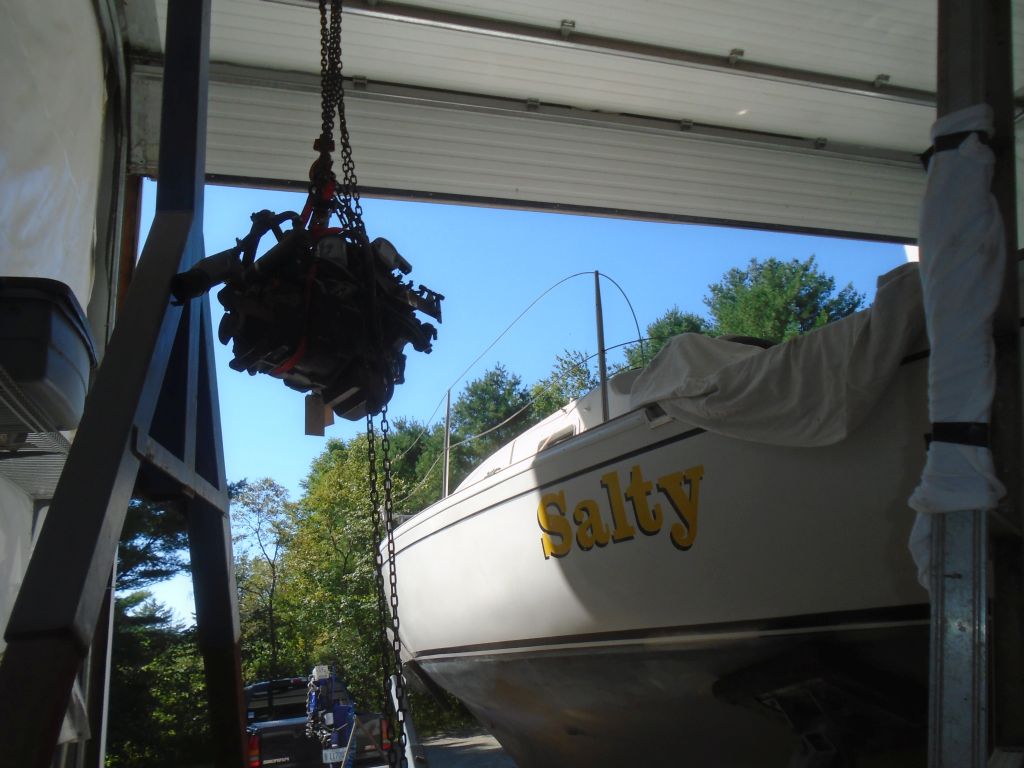
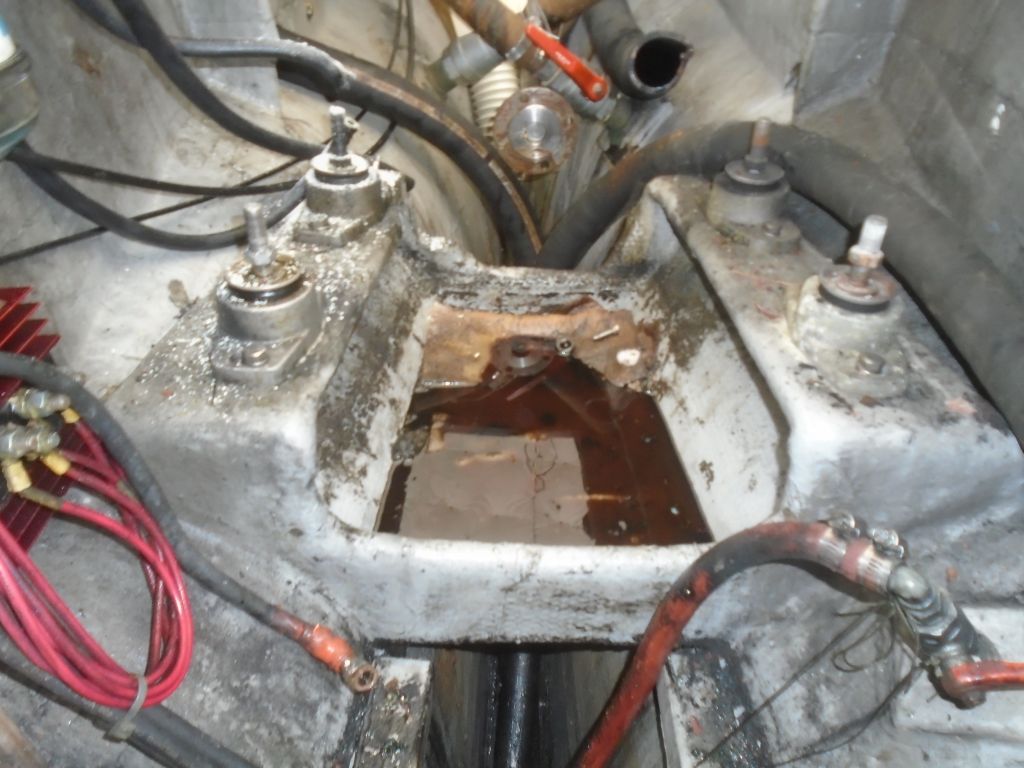
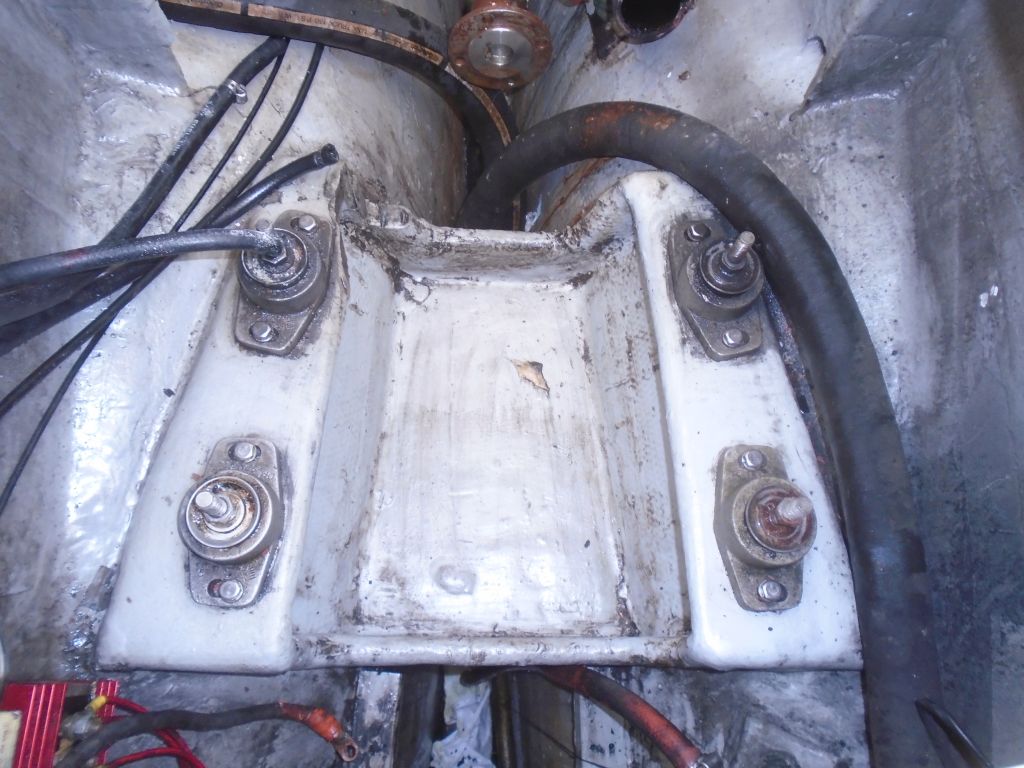
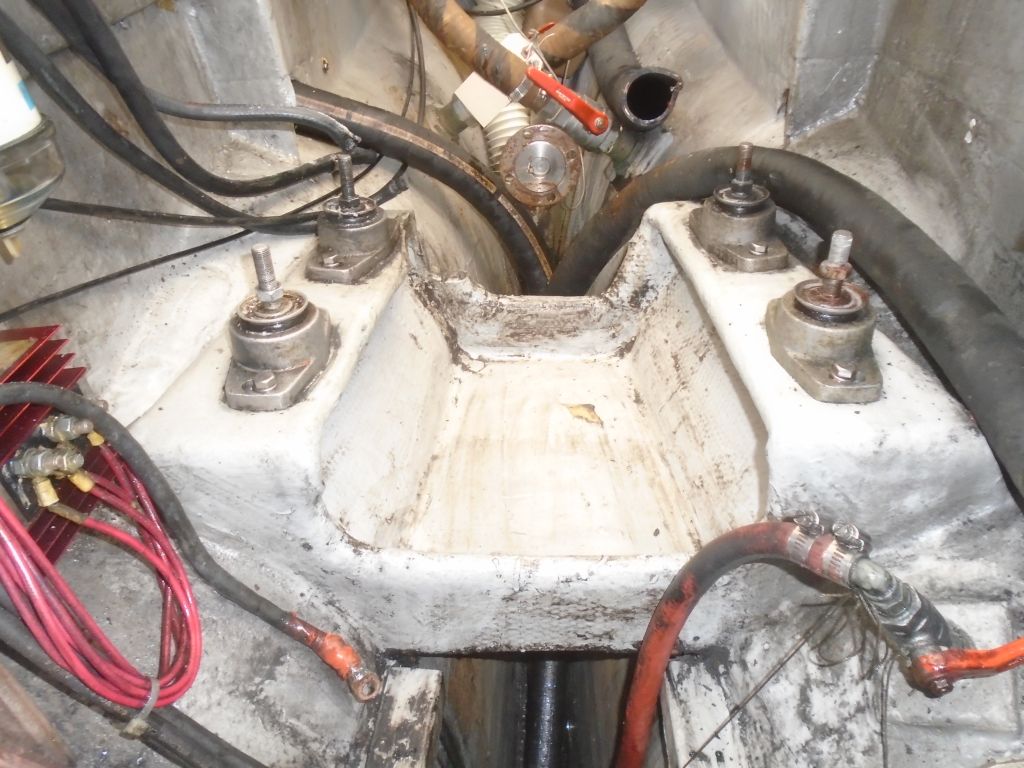
With all the ancillary connections disconnected, I removed the nuts from the engine mount studs (I planned to leave the flexible mounts in place, at least for now) and prepared to hoist the engine out. I moved the boat forward so I could use my crane to lift out the engine. Once I lifted it off the mounting studs, I halted so I could check out the clearances and work on removing whatever else needed to be removed. In the end, I found that removing one of the two forward mounting flanges (secured to the engine with four bolts) that there’d be enough–barely–clearance to squeeze the engine through the hatch.
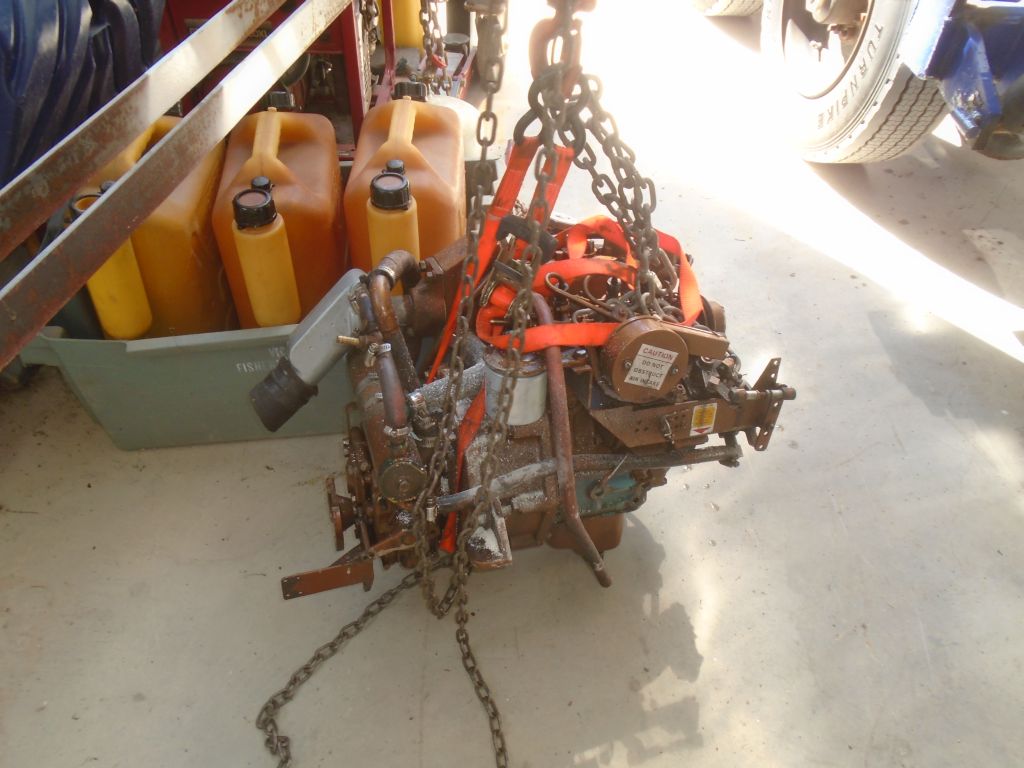
At the aft end, I couldn’t see how the fixed rear flanges could pass through the opening as is, so with a saw I carved out a small area on one side of the hatch to allow a critical extra inch of room, after which the engine was free. I swung the engine over the side and down to the floor. Soon I’d build a little shipping crate for the engine, and reconnect the things I’d removed so that everything stayed whole for its journey to the rebuilding shop.

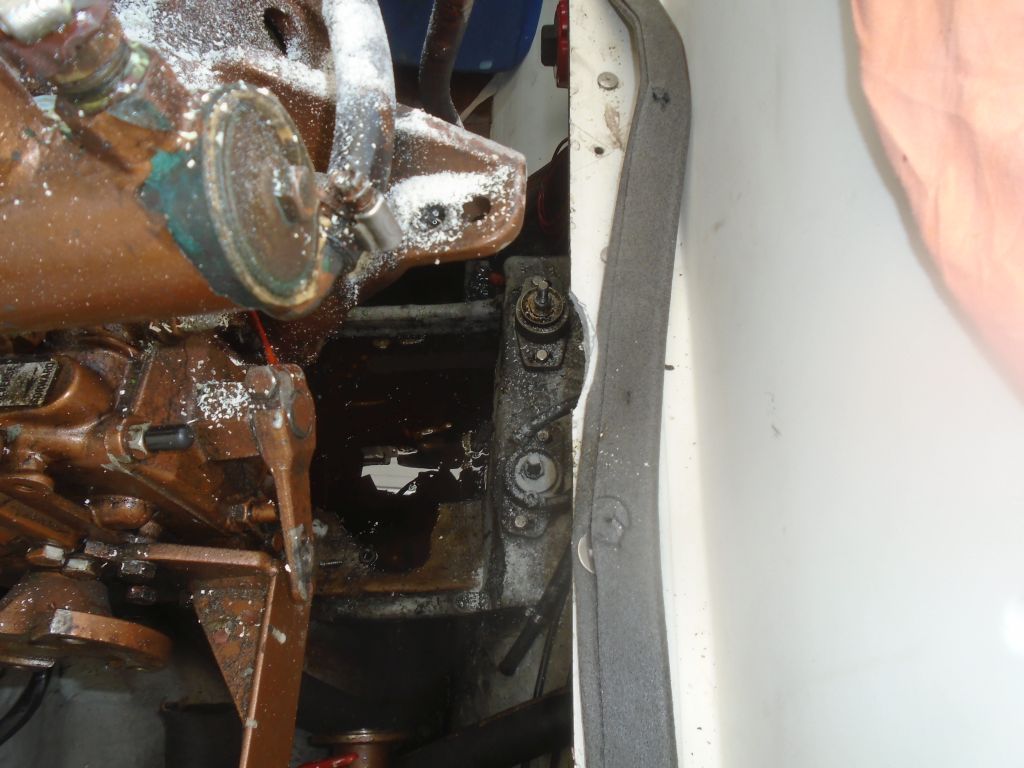


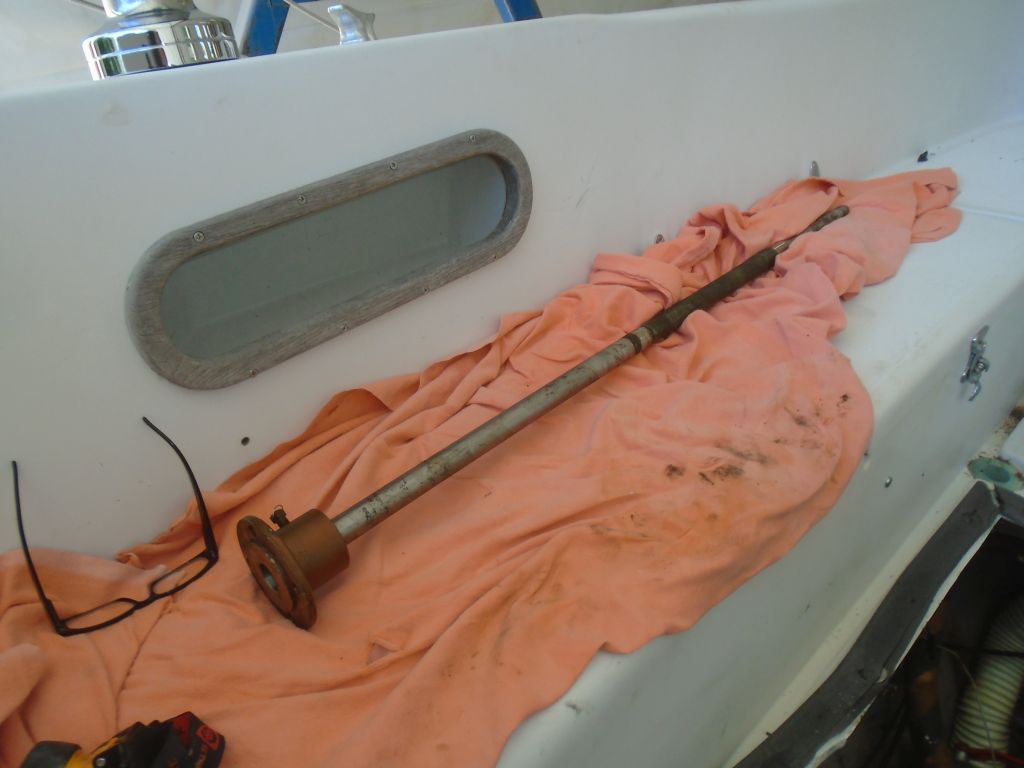
The pan beneath the engine was disgusting with oily residue (fortunately only a small amount of oil; most of the liquid was antifreeze) and, beneath an oilzorb pad, an inch-thick layer of indefinable sludge. I’d leave a more significant cleaning for later, but for now I had to get the worst taken care of, leaving the engine pan and foundations relatively clean. I pulled the shaft out from the inside, and my work there was done for the moment. After fruitlessly searching the bottomless bilge for a 3/8″ wrench that I’d dropped earlier–I didn’t have the heart to go digging through the greasy hoses and detritus down there at the moment–I abandoned the wrench to await a later surprise discovery. It’d be easier to buy a new wrench for now.

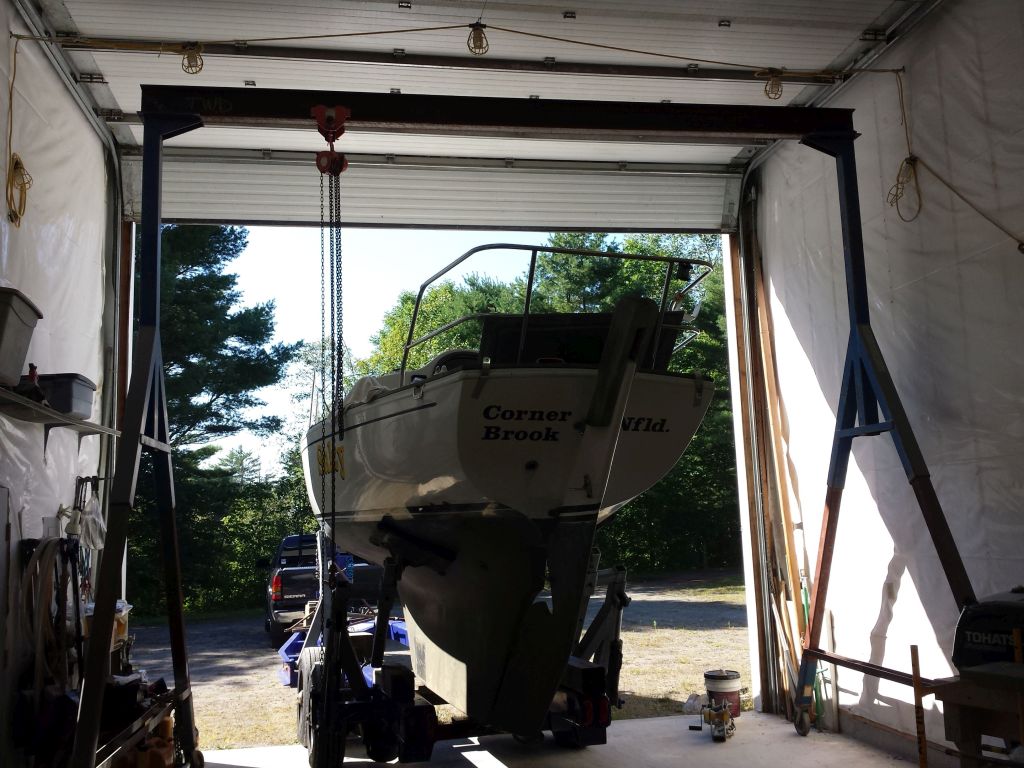
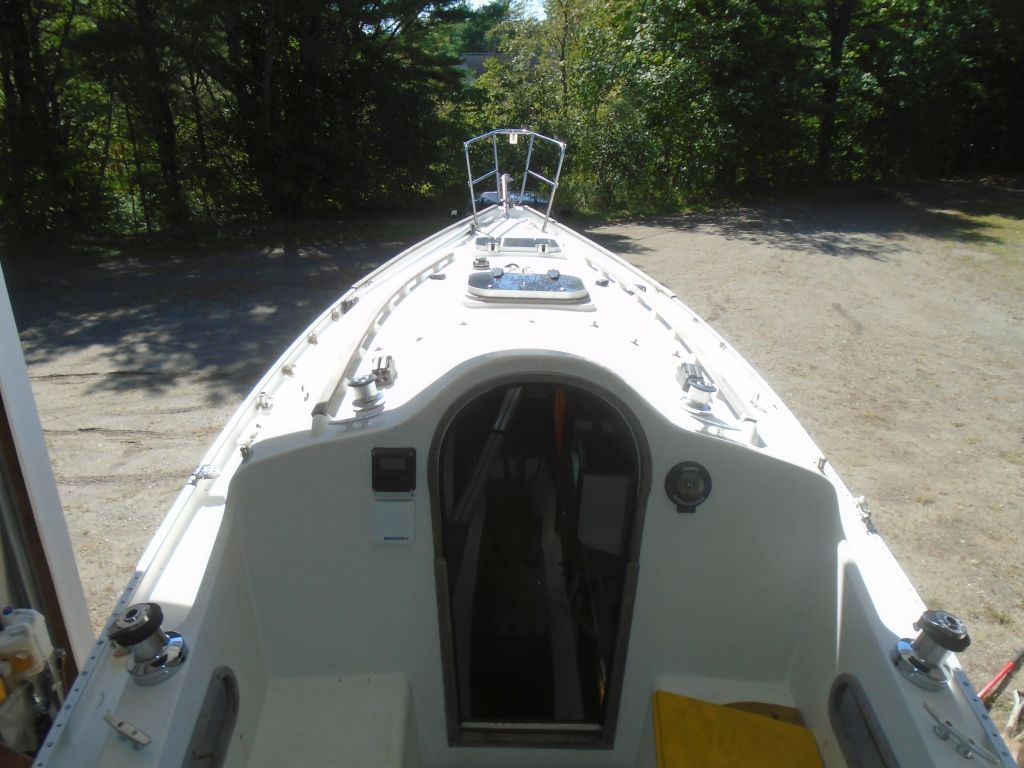
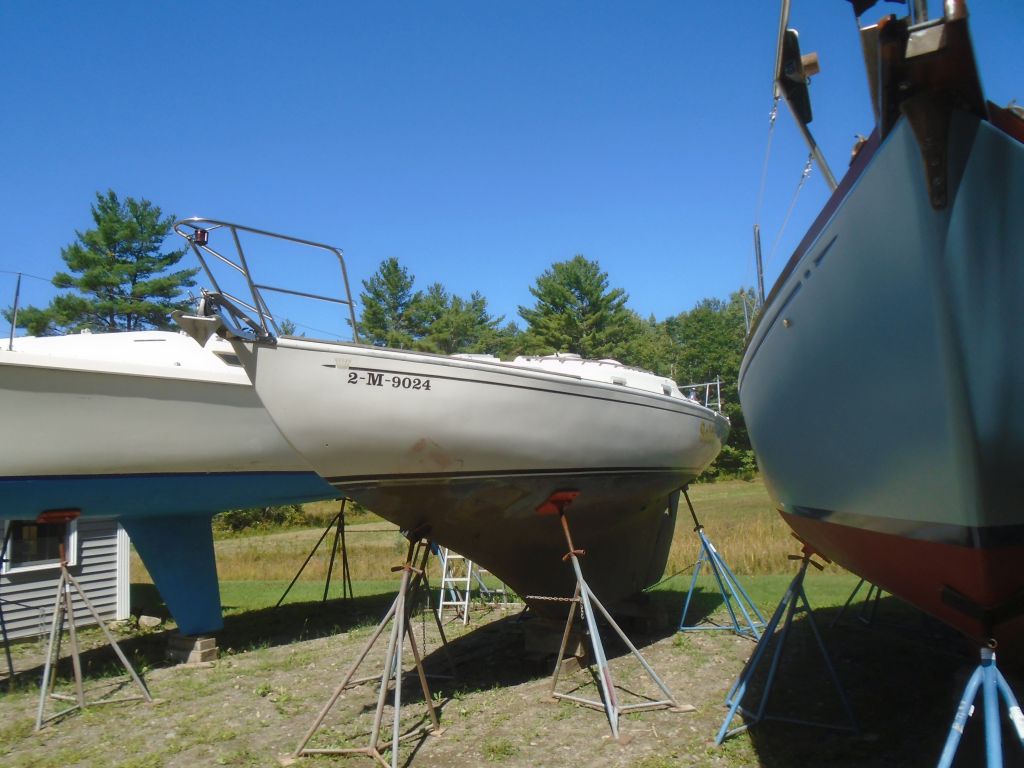
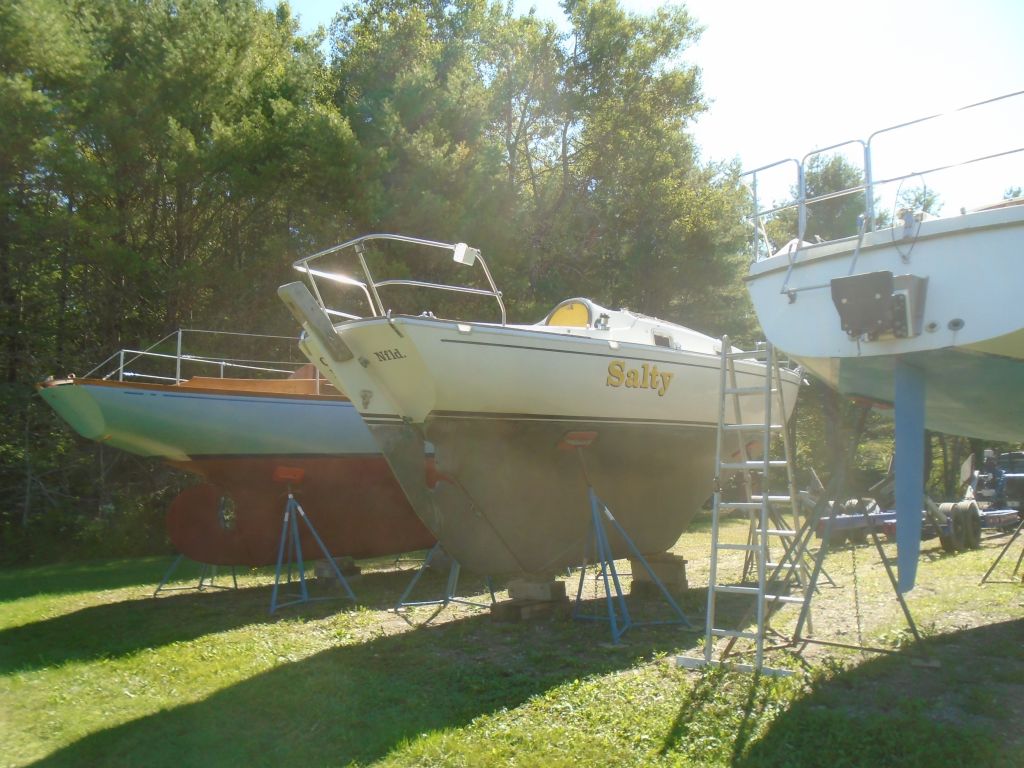
Before moving the boat back to her outdoor storage spot, I removed the stanchions and lifelines, storing them in the cabin. These needed to be removed to allow the winter cover to fit properly. Then, I repositioned the boat in the yard, where she’d wait till the actual project began sometime in 2016.
Total Time Billed on This Job Today: 3.5 Hours