


May 18, 2016
Salty 49
Wednesday
After one final, hopeful, yet unsuccessful attempt to somehow twist the new propeller onto the shaft in the tiny space before the rudder, I gave in and went up and removed the flexible coupling from the shaft. This gave me additional space to slide the shaft forward, which allowed me to get the prop into position without removing the rudder. Then, I slid the shaft (with prop loosely in place) as far aft as possible so I could reconnect the couplings inside.
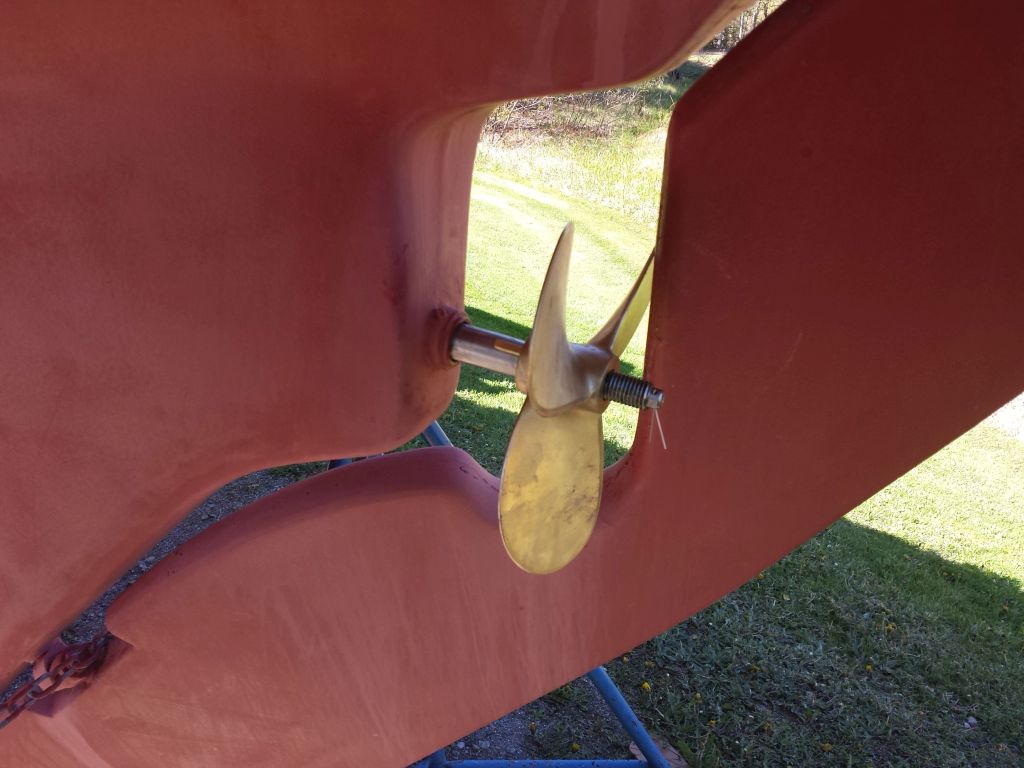
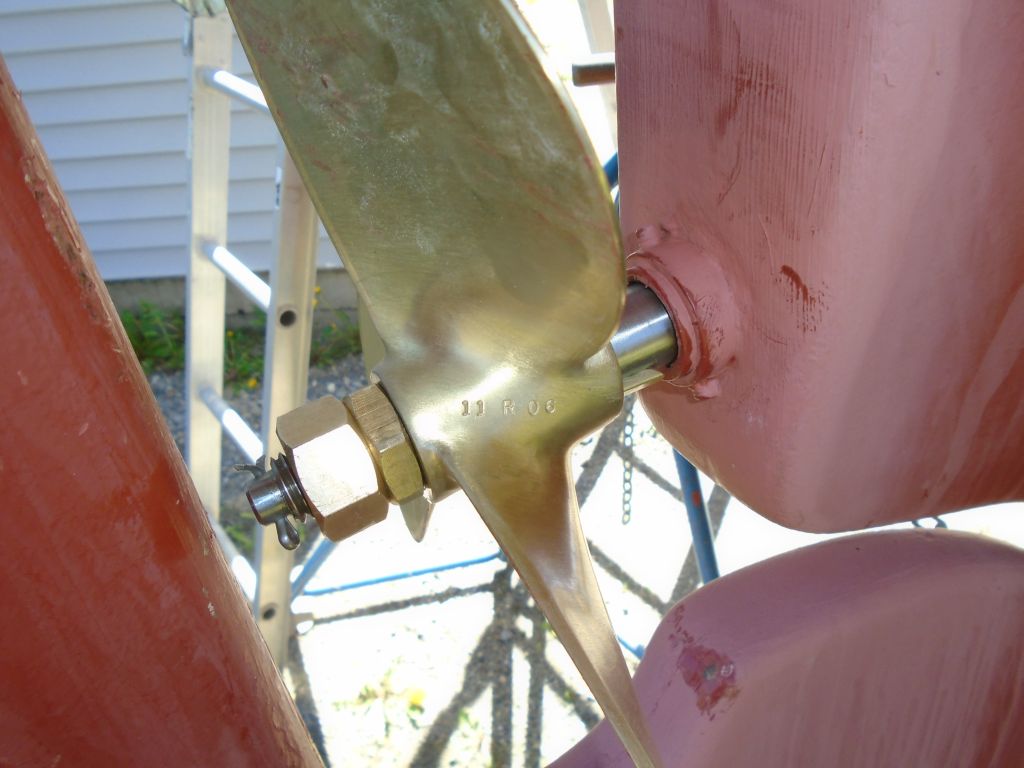
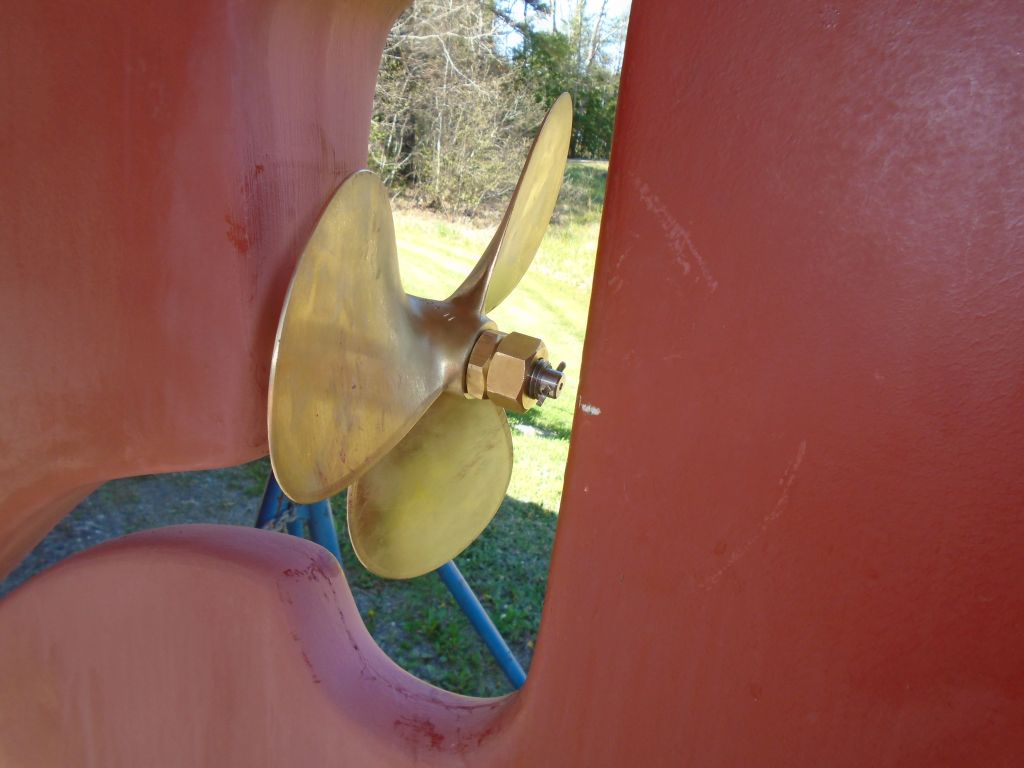
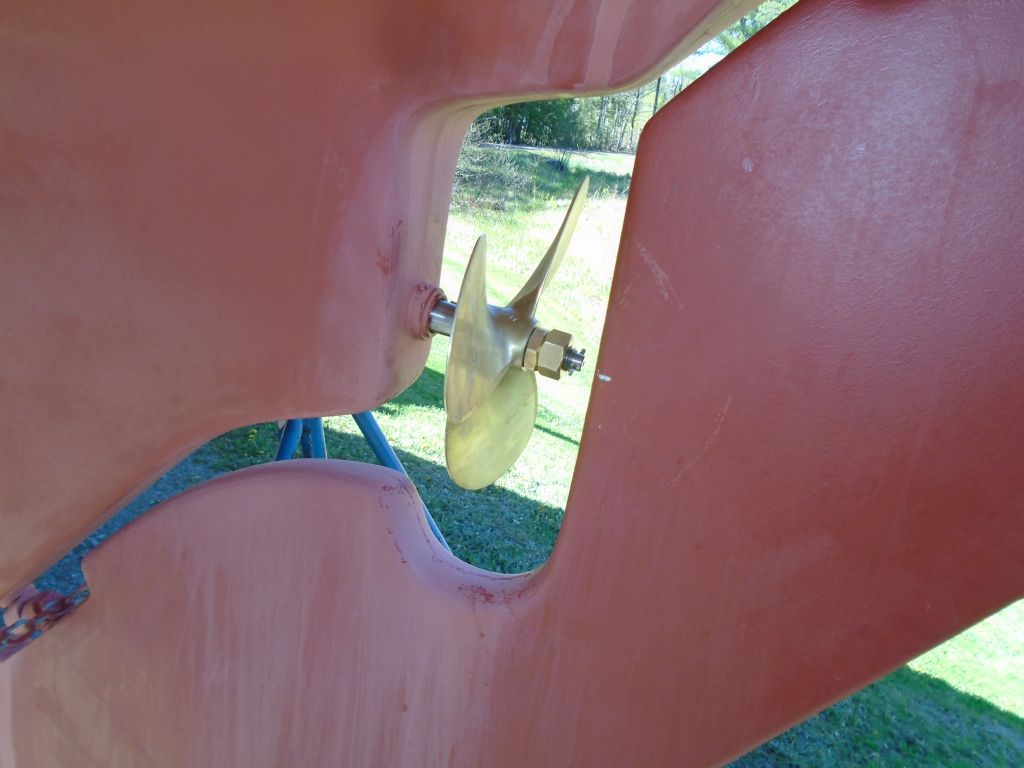
Afterwards, with the couplings reinstalled and bolted tightly into place, I finished up the propeller installation by securing it in place with its nuts and cotter pin. The propeller size is 11RH6.
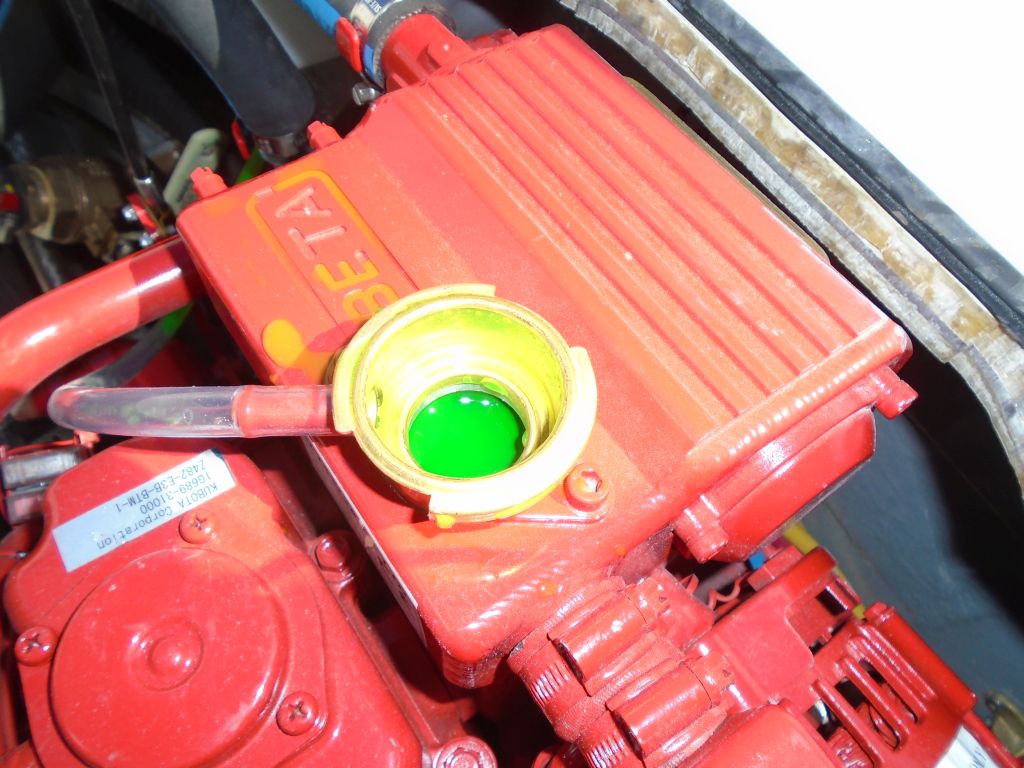
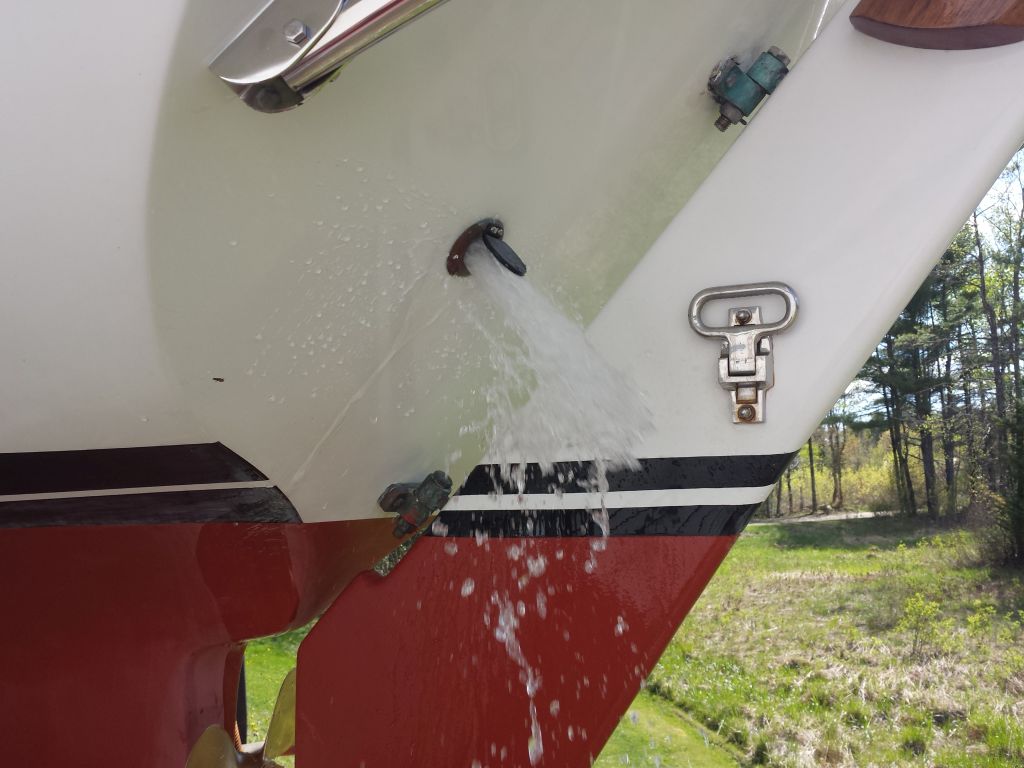
Now, I prepared the engine for its initial firing by adding fluids as needed: engine oil and coolant. Fuel had partially filled the fuel filter by gravity from the tank since I’d made those connections, but I added more fuel to the filter to fill it to the top. I installed the start battery, and prepared a temporary cooling water intake line with a length of hose and a bucket.

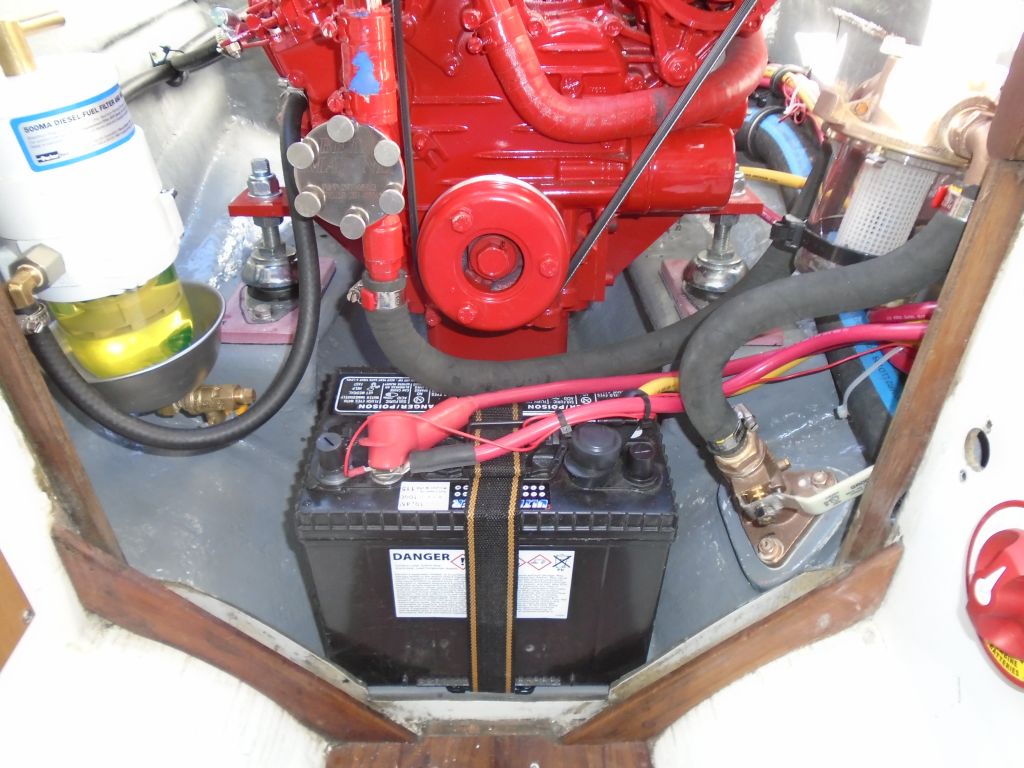

With everything in place, I bled the engine at the secondary fuel filter, using the engine’s built-in pump lever to prime the system till I got fuel (and air) out of the bleed screw at the top. (14mm) Once I saw relatively clear fuel, it was time to fire the engine. I knew from past experience that these engines were almost completely self-bleeding, so there was no need to chase fuel through the rest of the system.

Once I started the engine, it took a few times to get it to run properly as it worked fuel and air through its system. After two starting attempts–the engine started, but wouldn’t run for long–I rebled the fuel system at the secondary filter, and afterwards the engine stayed running once I’d started it. Easy peasy.
After running the engine for a few minutes, I shut down so I could check the fluid levels again. Both oil and coolant were fine and I didn’t need to add any. With this check complete, I started the engine again for a longer run. The three videos below show various stages of the process.
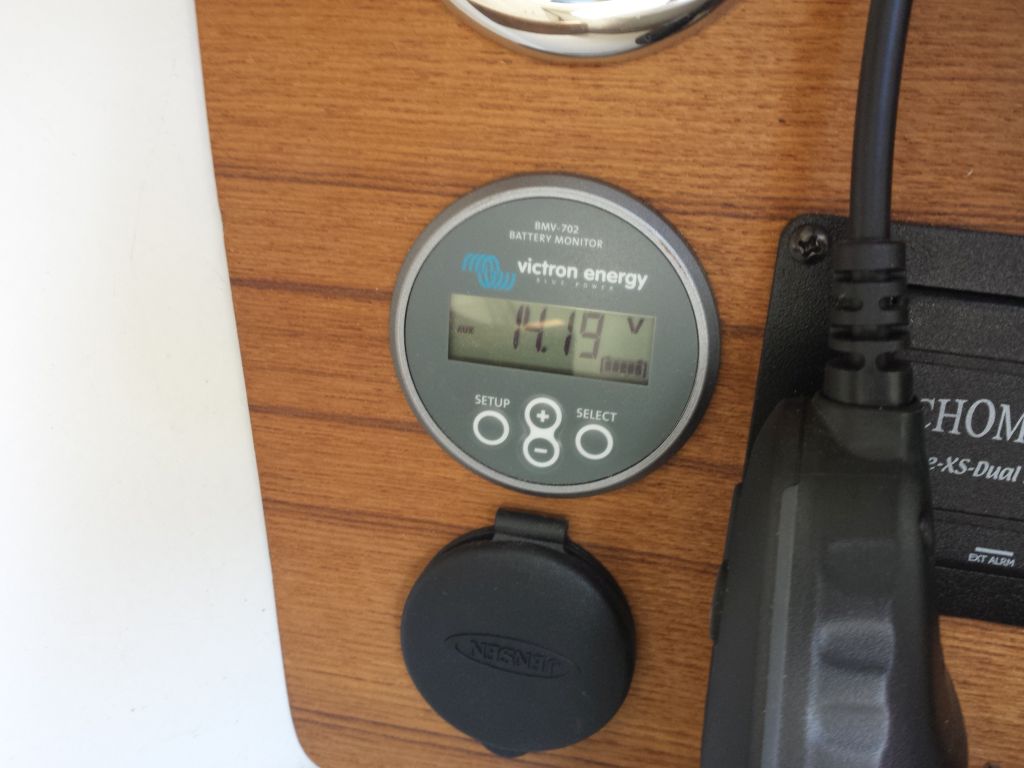
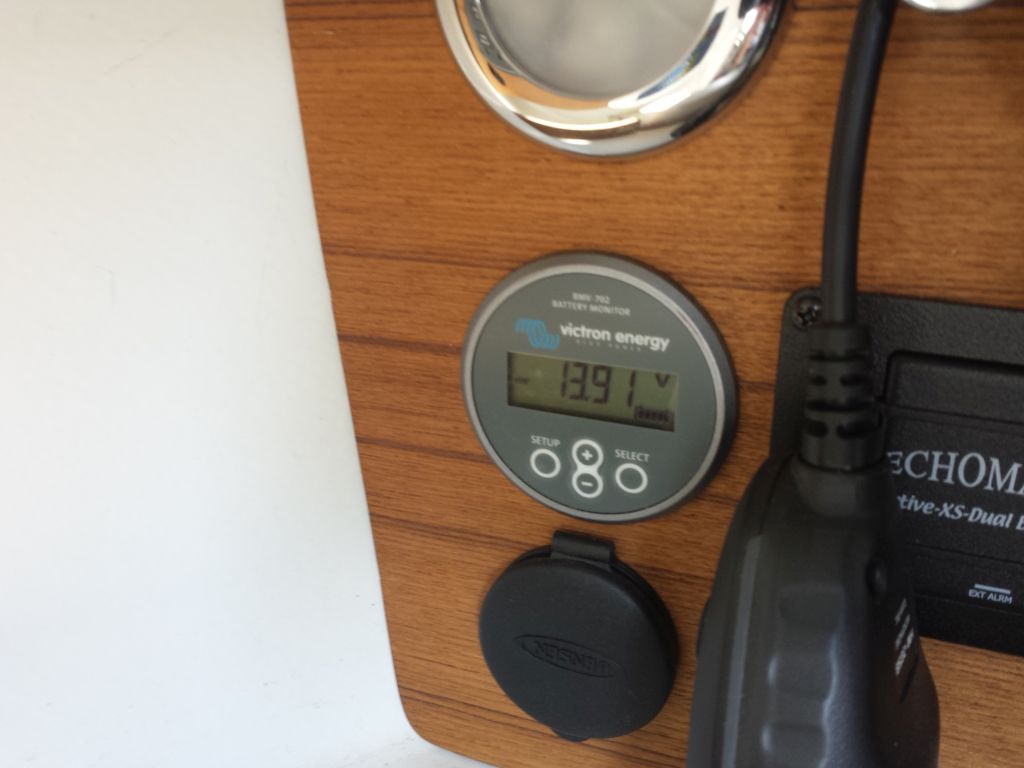
Sorry about the bad reflection on the battery monitor in the video above. These photos show the battery charging amps at higher speed and again at idle speed.
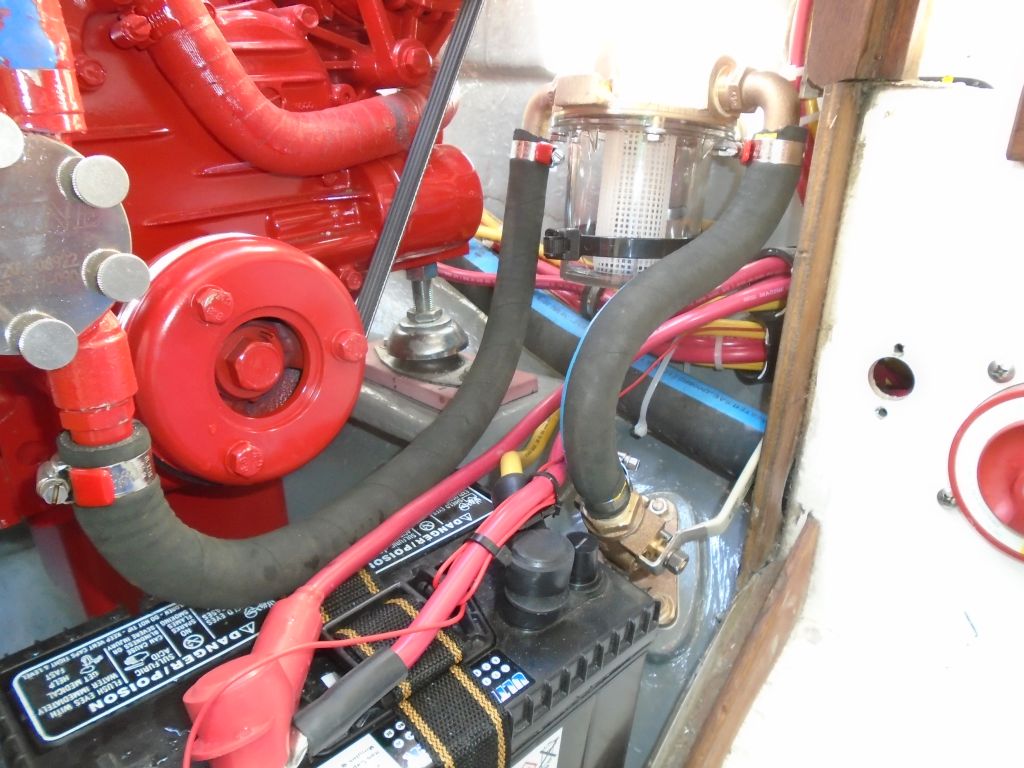
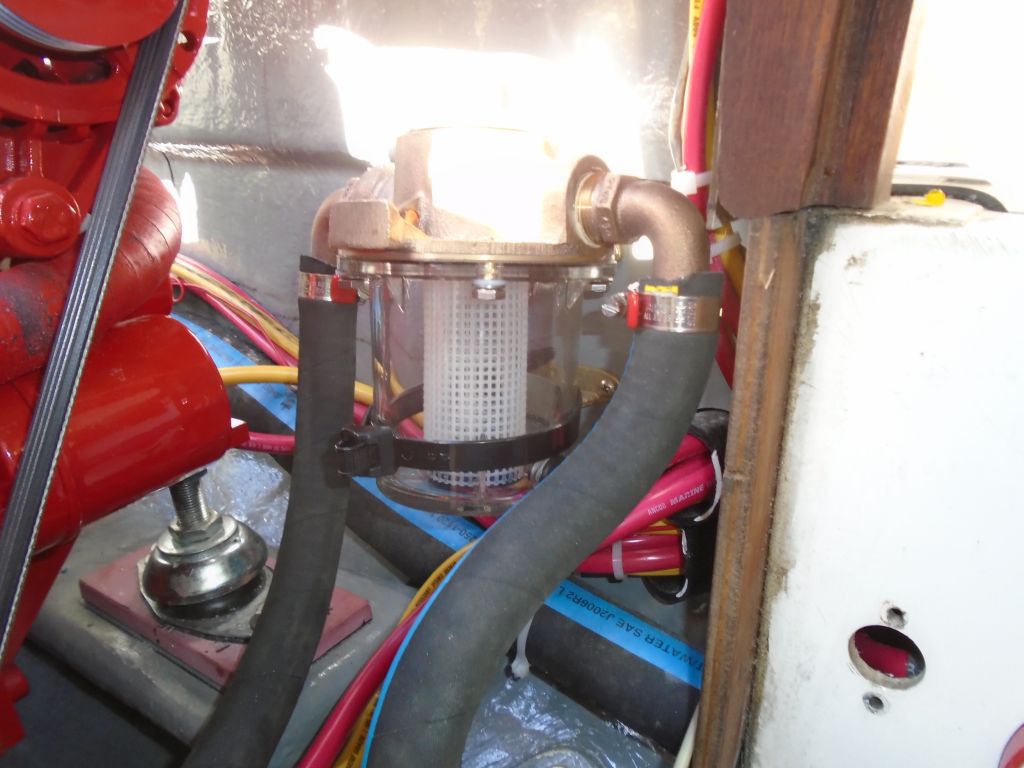
With the successful test firing behind me, the job was complete, and I spent the last minutes of the day cleaning up a bit and putting the boat back together. I installed the raw water strainer and its hoses, and buttoned up the engine compartment.
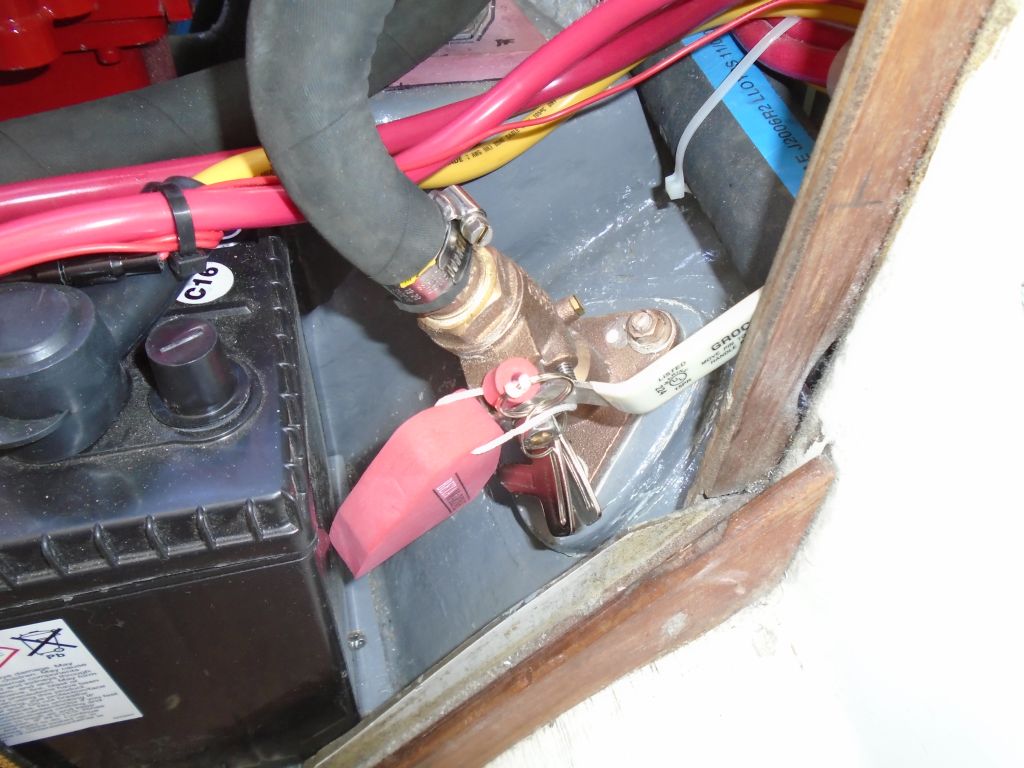
I left the engine raw water seacock closed, and since I wouldn’t be there at launching, to help future operators remember to open the seacock before starting the engine I hung the engine keys right on the seacock (located at the forward end of the engine room and accessed from the panel behind the companionway).
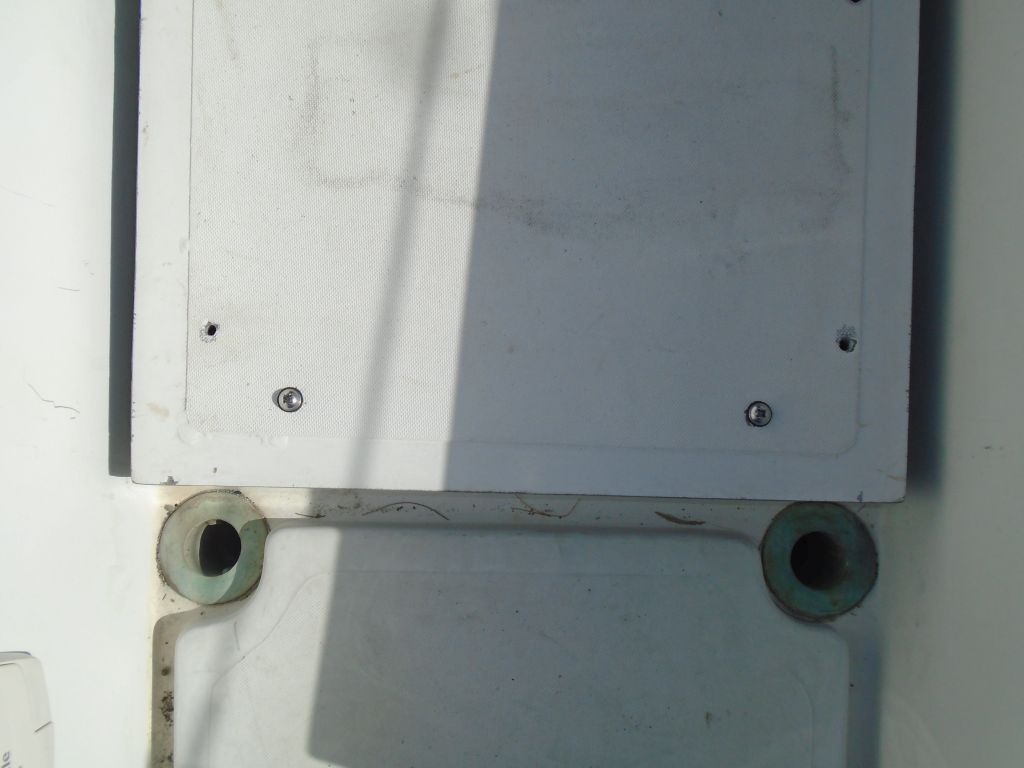
I installed the engine hatch with four screws (out of a total of about 12) so it’d be secured during transport, but easy enough to remove at launching to check the stuffing box and engine.

Total time billed on this job today: 5.25 hours
0600 Weather Observation:
40°, clear. Forecast for the day: mainly sunny, 60