


April 6, 2016
Salty 34
Wednesday
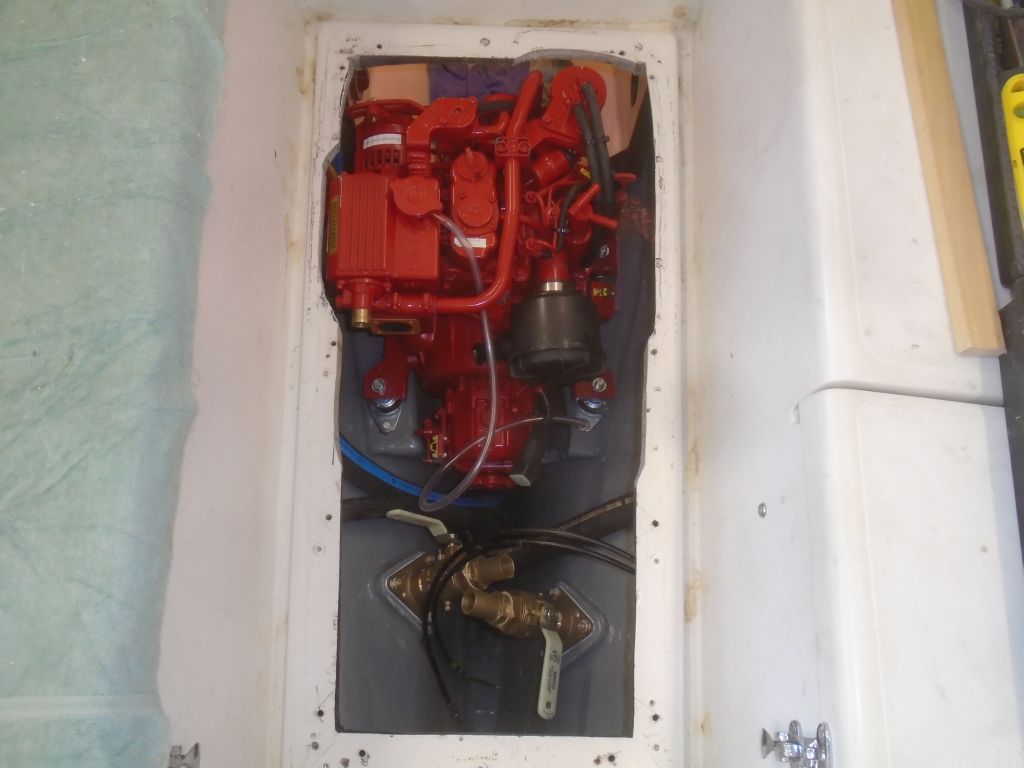
The first order of business was to widen the opening into the engine room, the second time I’d done this, as I was trying to avoid removing any more of the flange than necessary; otherwise I would have made the cut wide the first time around. After cleaning up the cutting spoils, I pre-installed the after flex mounts on the engine, and prepared to lower it into the engine room. Even with the extra cutout, it was still a tight fit, and I found I needed to widen it even more right next to the heat exchanger on the port side, which was too close to the cutout when the engine was approaching its final position.
Once I had the engine partially lowered, I paused so I could install the forward mounting flanges and flex mounts from the cabin access.
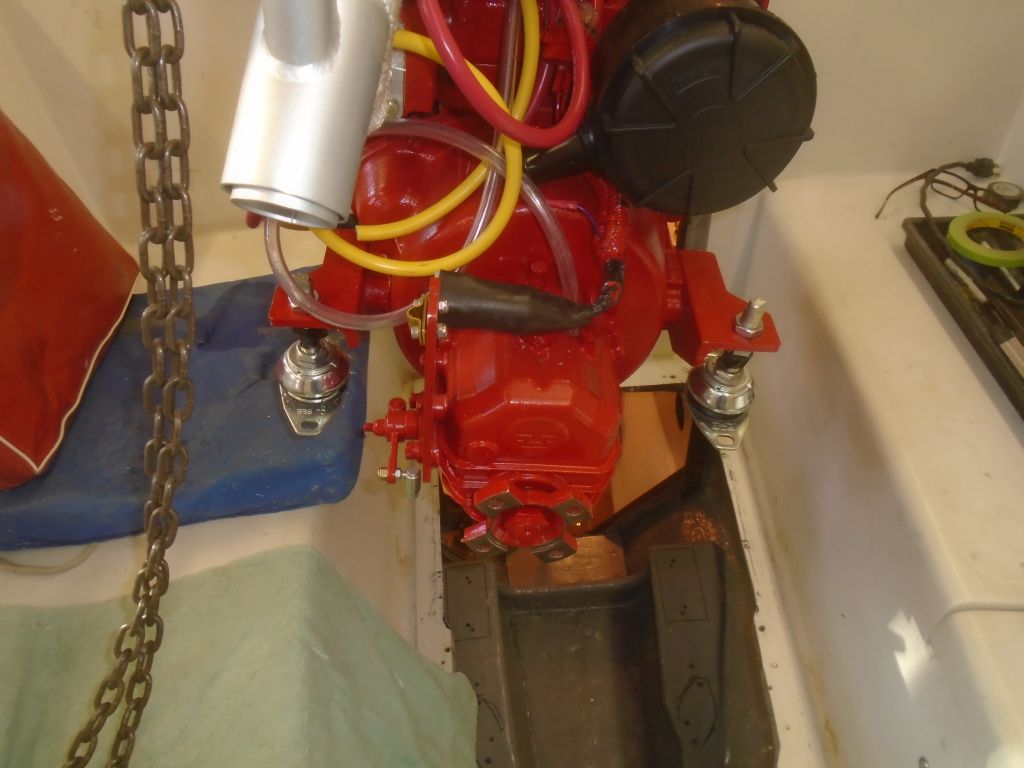


Now I dropped the engine the rest of the way till it rested on the foundations, and pushed it around a little so I could align the mounting bolt holes and get the bolts started. At this point, every fastener–the mounting studs and bolts–was loose to allow future movement and alignment, but the engine was basically in its final position.
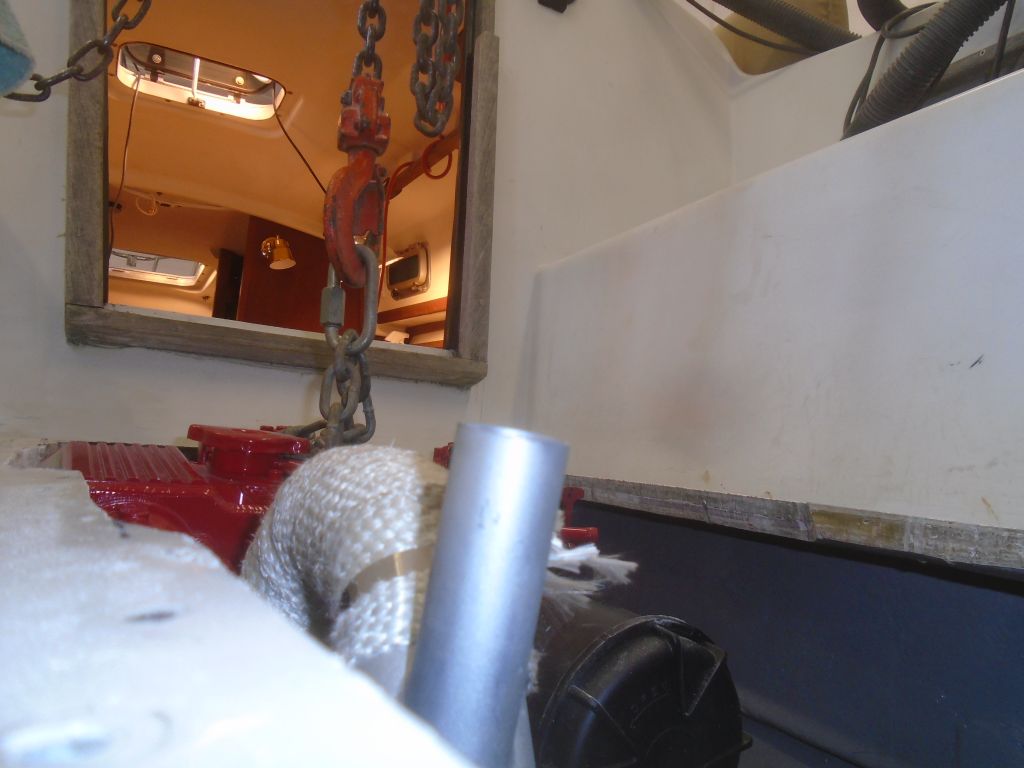
And sticking up an inch or so above the top of the engine room opening.

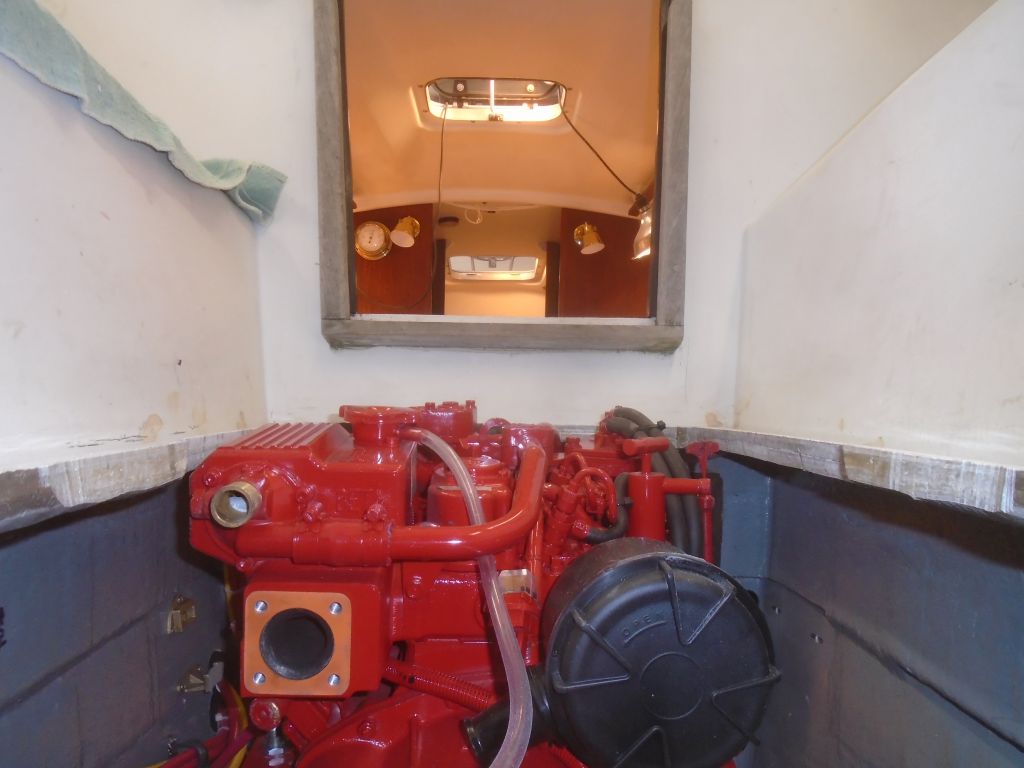
This was a vexing–if not altogether unexpected–development. During my first attempt at engine placement the day before, I’d thought the engine seemed miles above where it needed to end up as I got it close to its final position, but since I never got the engine fully on the beds at that time, I chalked it up to visual misperception and hoped it would turn out OK. As it turned out, however, my eye was right (as it usually is).
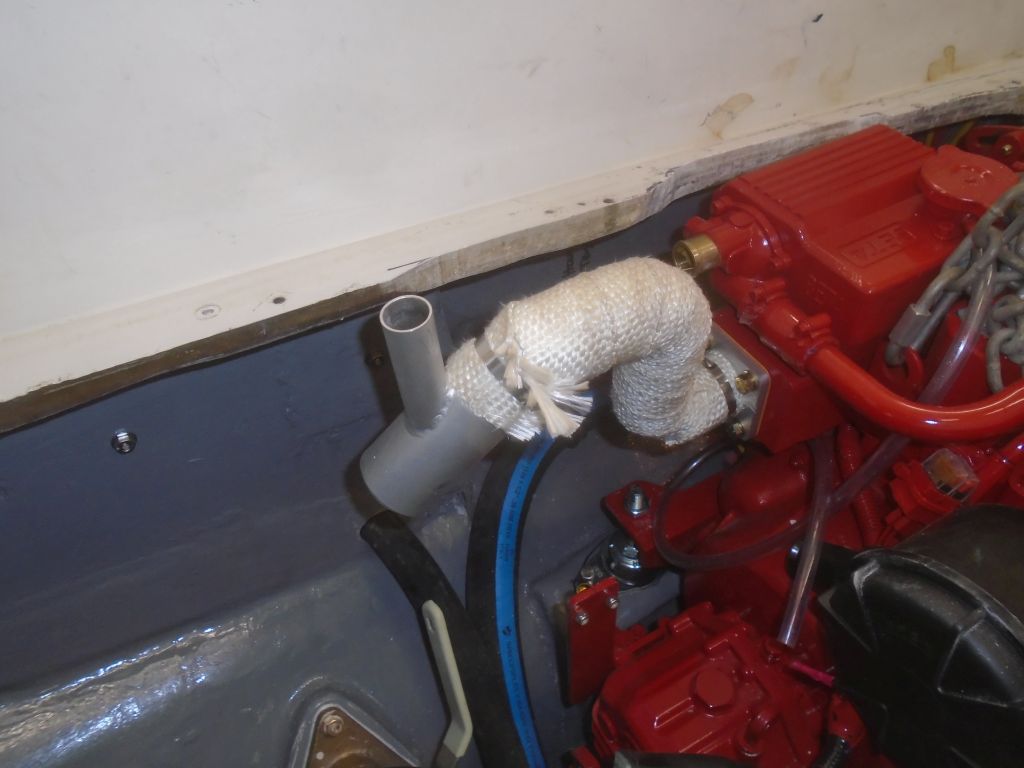
Even worse was the high-rise exhaust elbow, which I’d thought would be a challenge to fit even under better circumstances, and now I knew that no matter what I did from here, there was no way to accommodate the higher elbow. I’d have to exchange it for the normal elbow.
All throughout the engine process, dating back to some months before when I removed the original engine and made various measurements, I’d known the clearance inside the engine room was a tight fit, but I’d installed the same basic engine in a sistership seven years before (the engine had changed somewhat since then, and the new version was actually shorter and narrower than the one I’d put in before). It was surprising how different the space apparently was. That previous installation was also easier to fit through the cockpit opening too, and had required a lot less widening.
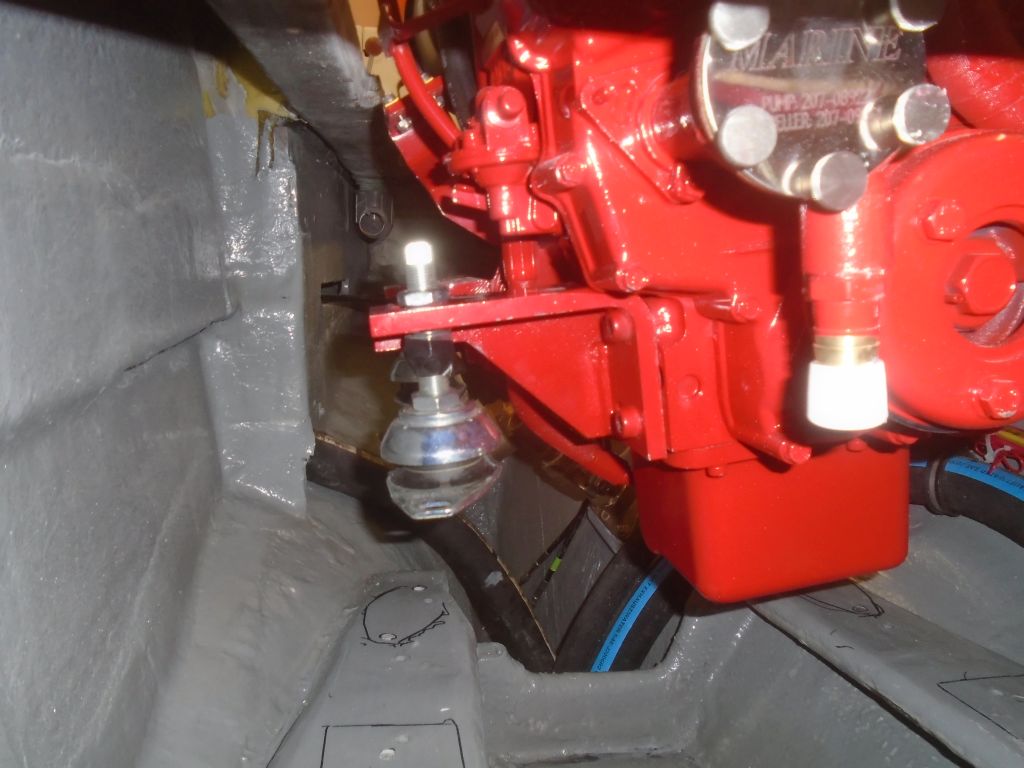
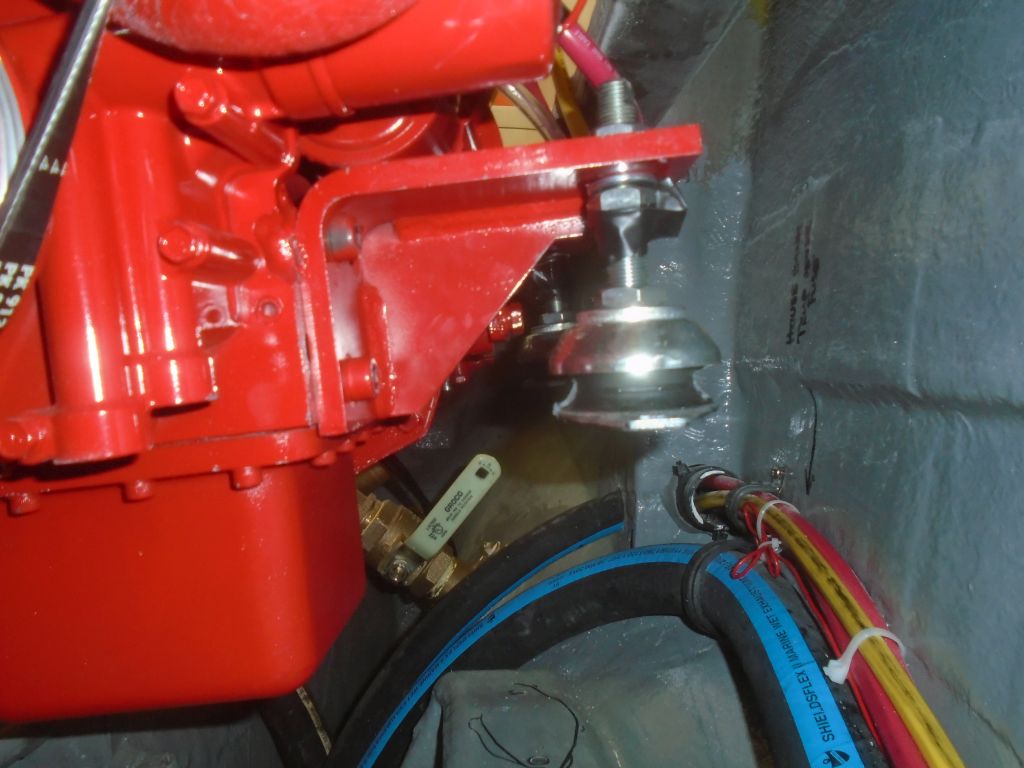
The engine was right where it needed to be according to the propeller shaft, however, so there wasn’t any way I could lower it meaningfully with the engine mounts. The shaft log was where it was, and the engine had to fit it. And did.
Other than the basic manipulations required for final alignment, the center of the transmission coupling was right in line with the stern tube. There wasn’t room to move the stern tube even if that had been an approach that made sense, so now I had to put all the questions aside and move forward with a way to cope with the fact that the engine was taller than the space afforded it.
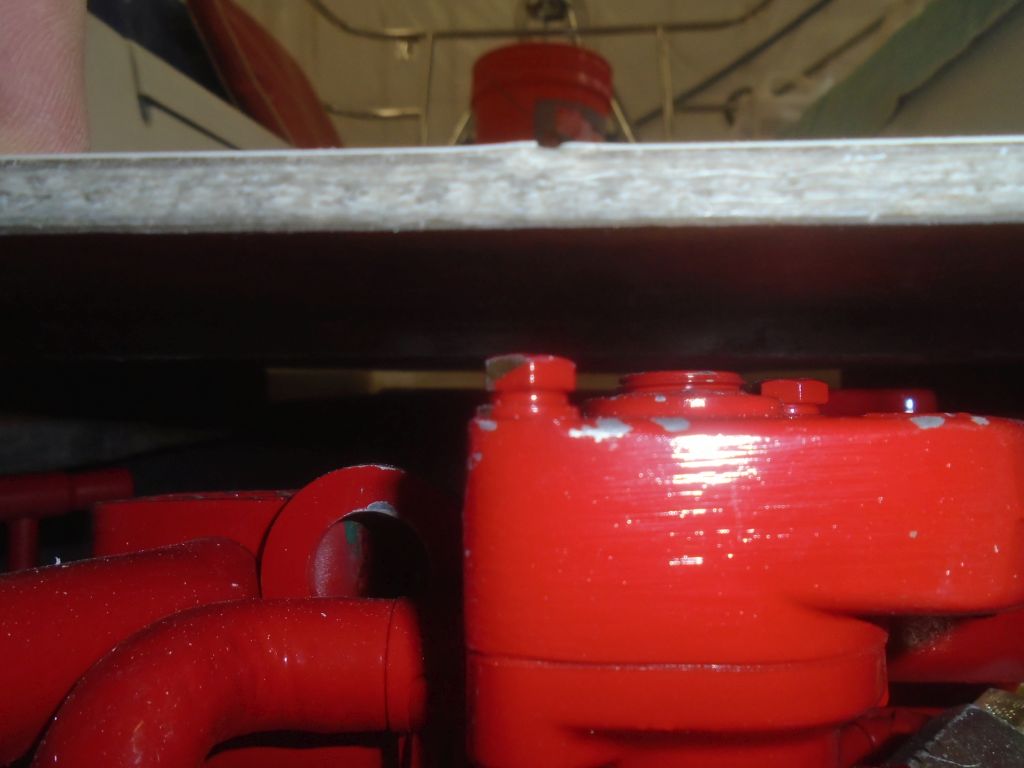
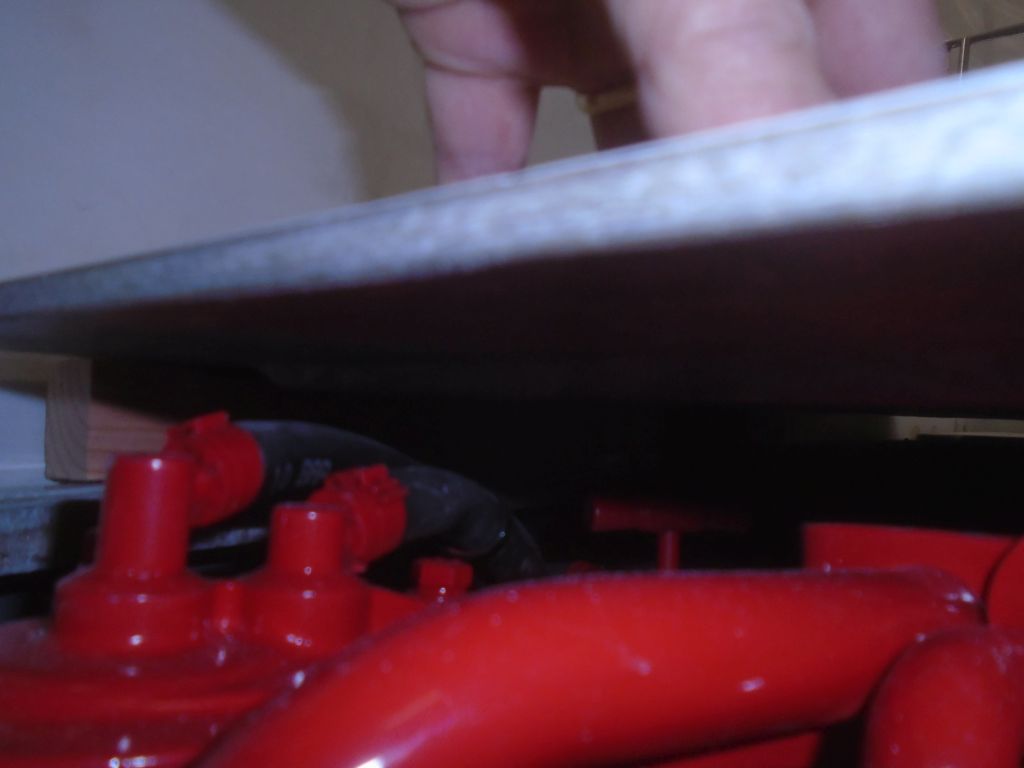
Complicating the issue a bit, the engine hatch–i.e. the cockpit sole–featured a cored center section that protruded down into the opening, so in order to clear that I had to raise the edges even further. Eventually I determined that I’d need to raise the hatch by 1-1/2″ in order to safely clear the engine.

With some 1-1/2″ blocking on all four sides of the hatch opening, I test-fit the hatch over the top, and checked clearances from beneath. This just cleared the highest part of the engine. Fortunately, this would have a minimal practical effect on the hatch or the cockpit, other than creating a small step between the hatch surface and the after part of the cockpit (something that could be conceivably taken care of with a wooden grate over the aft part, if needed down the road). So, after discussing the issues with the owner, I moved forward with a plan to add a 1-1/2″ fiberglass lip to the underside of the hatch–a fairly straightfoward fix, fortunately.

Next, I wanted to measure for the propeller shaft so I could get that ordered without delay. Clearance was quite tight in the aperture, and the original shaft had extended to within a relative hair’s breadth from the rudder. I wanted to allow just a bit more clearance there if I could, which really was the one measurement that would define everything else about the shaft (rather than coming up with an idealized version based on other measurements), so I decided to assemble a false shaft with all the critical pieces in place in order to get the most accurate shaft-only measurement. From previous jobs, I had a length of 1″ fiberglass tubing on hand just for this purpose, and I fit this into the new coupling at the correct place, making a mark on the aft side for later reference when assembling this in the boat.
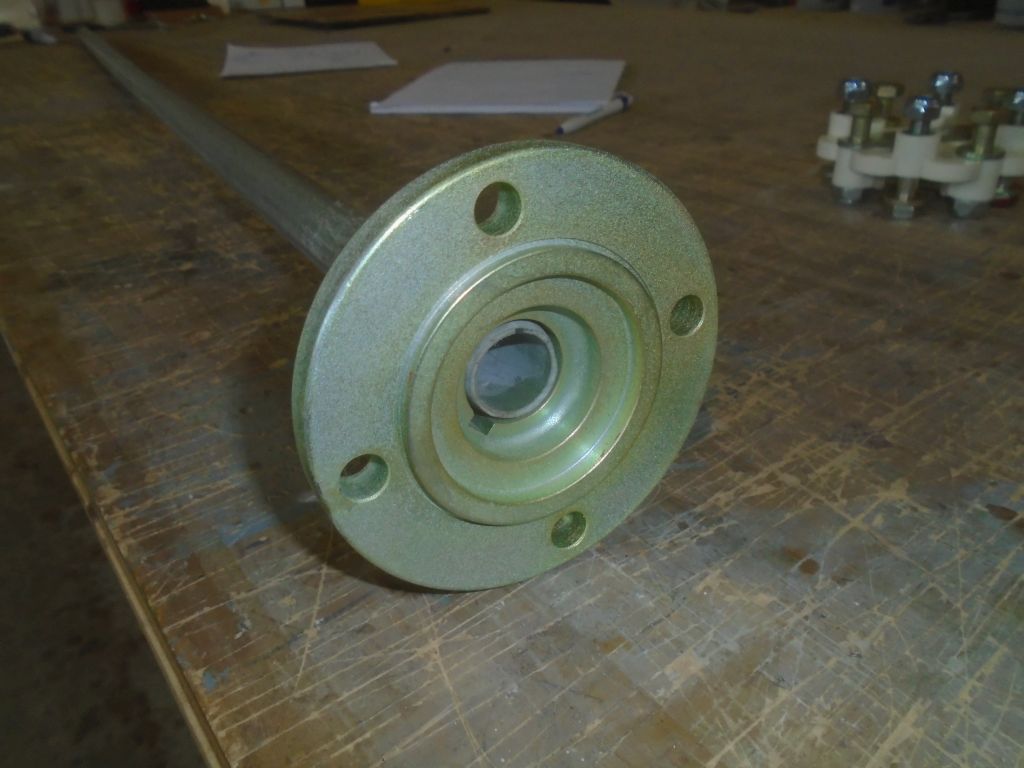
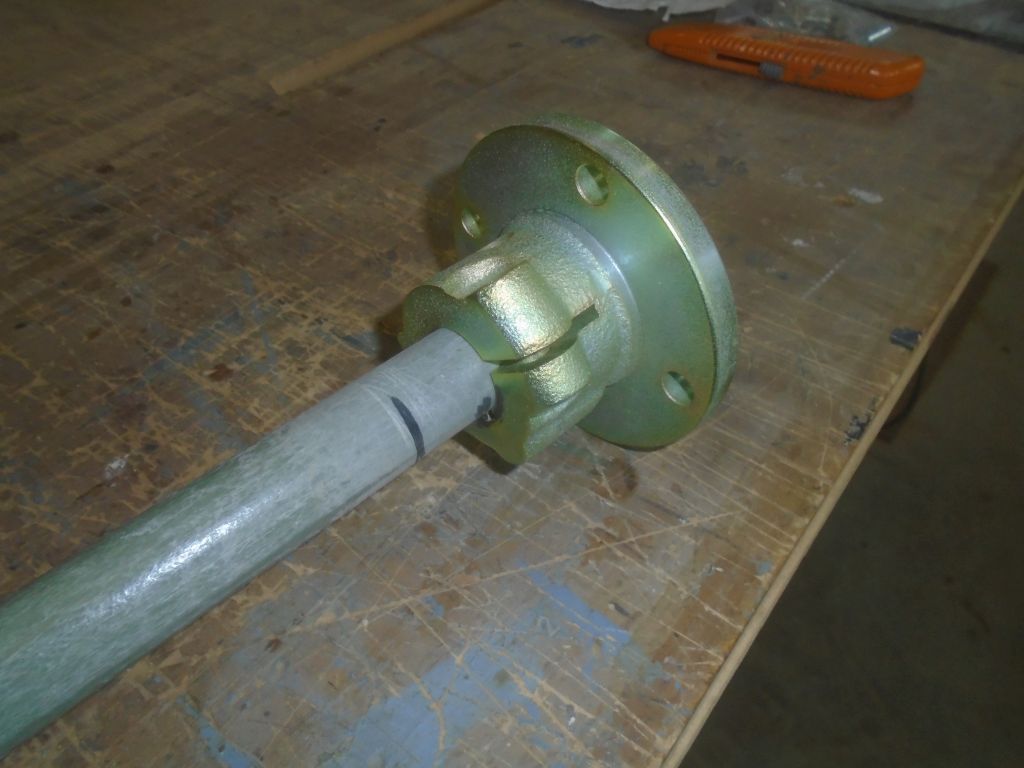
With the new Cutless bearing just started in the tube–I didn’t want to fully install it yet–I ran in the fiberglass shaft, and inside the boat I assembled it with the coupling and a sacrificial coupling, dry-fitting it all to the transmission hub as needed.
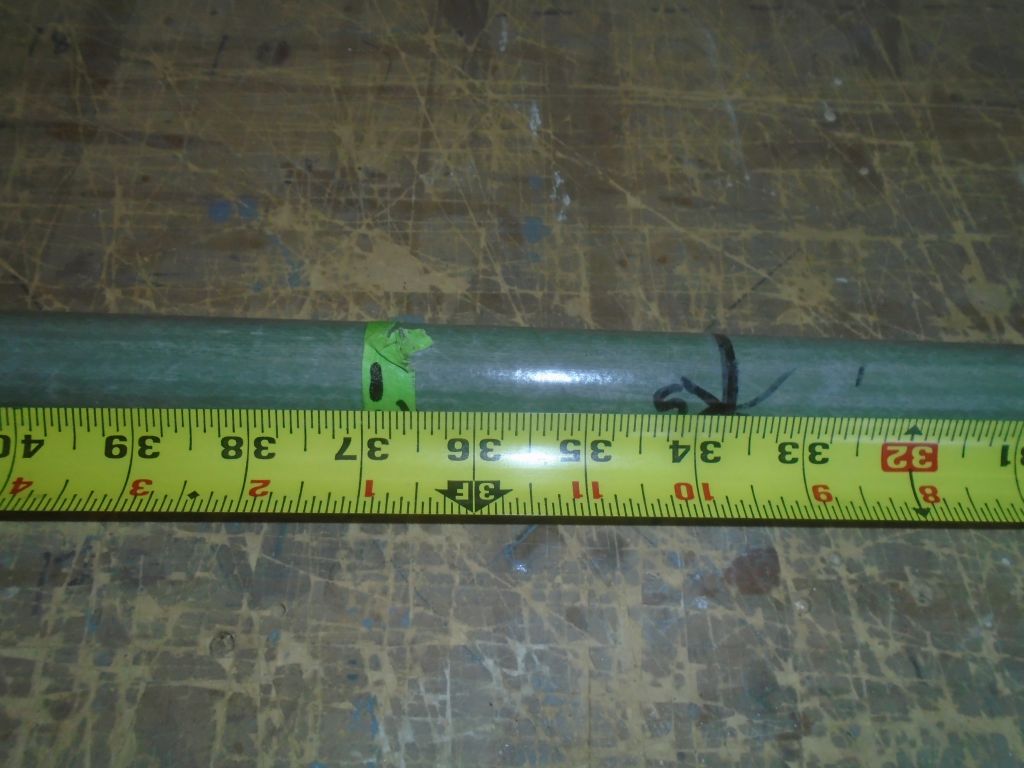
After ensuring that the shaft extended the right amount into the coupling (based on my mark), I went outside the boat and made various marks to indicate where the rudder hit the shaft, as well as a mark 5″ aft of the stern tube, which was the same amount the original shaft had extended.
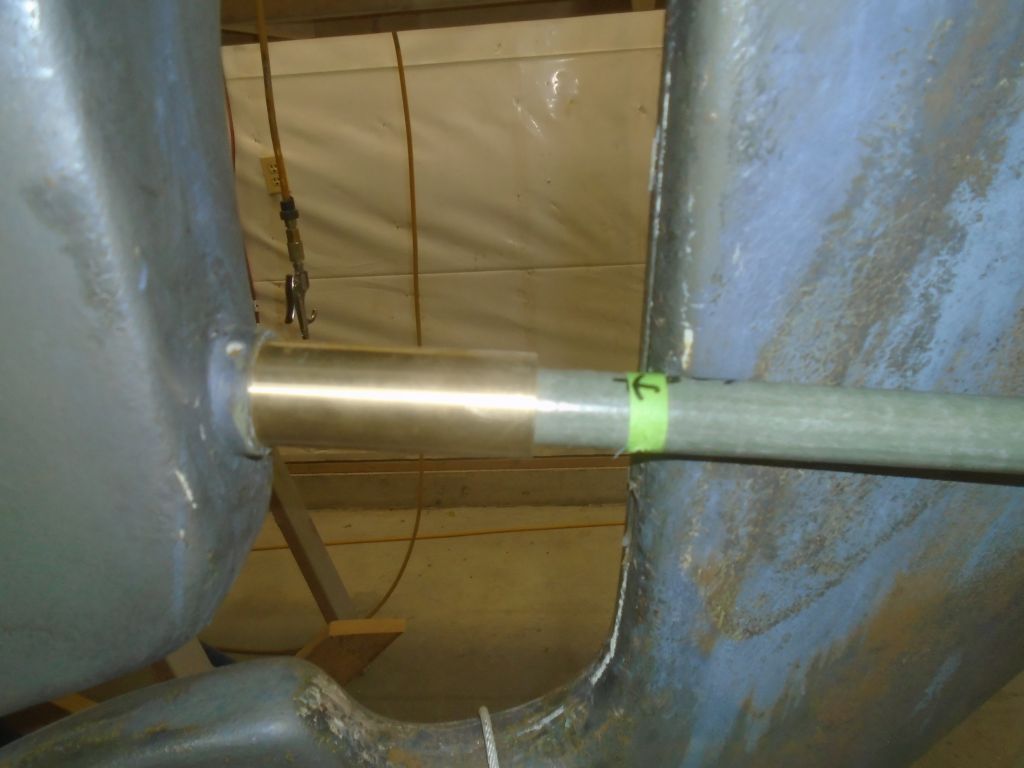
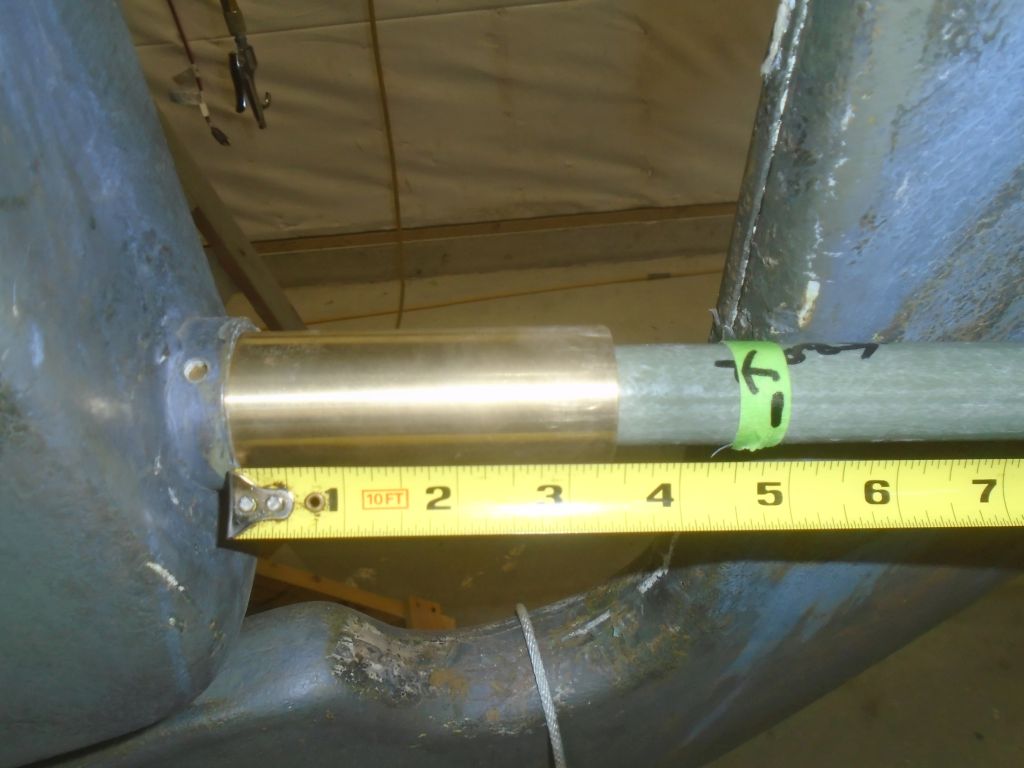
After double-checking the whole arrangement 12 or 13 times, I removed the “shaft” and measured the overall length from the coupling end to the final mark I’d made, erring on the short side. Then I could order the shaft, and I boxed up the coupling to ship off to the machine shop as well so it could be properly fitted to the end of the shaft. The final measurement was 36-7/8″.
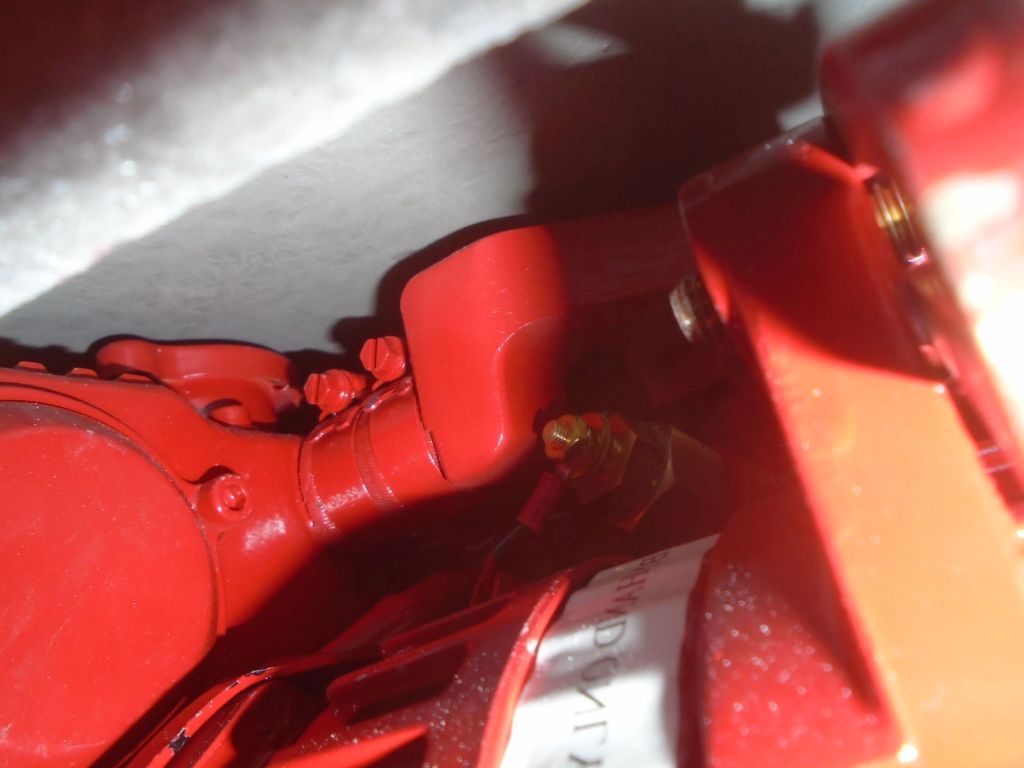
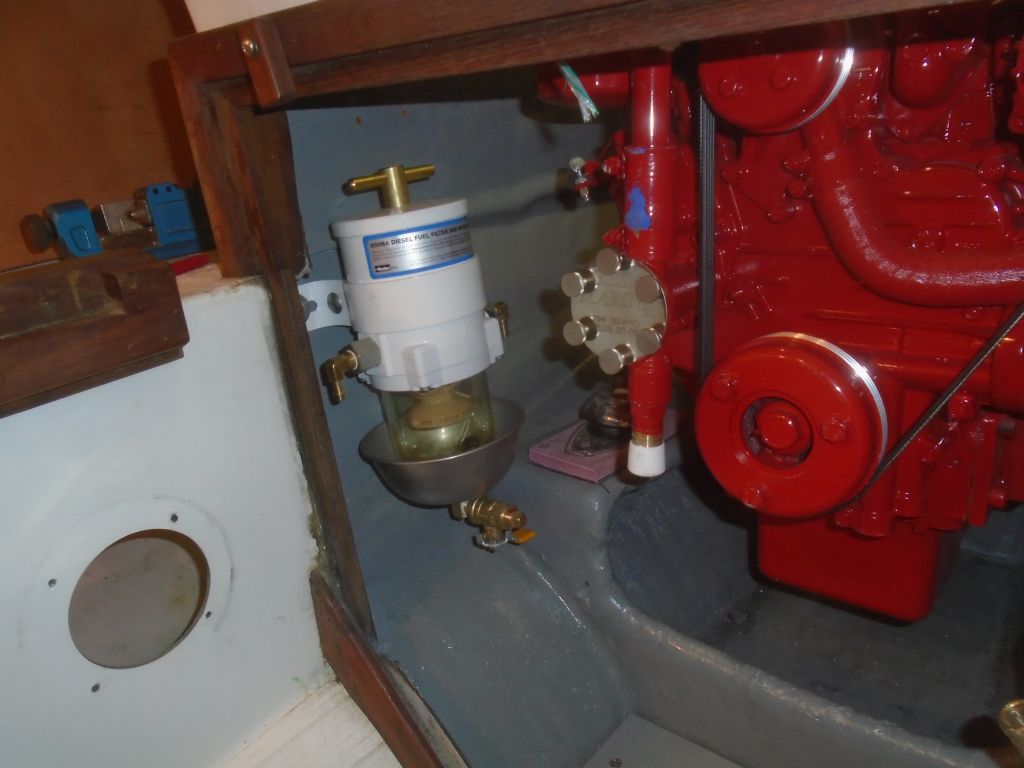
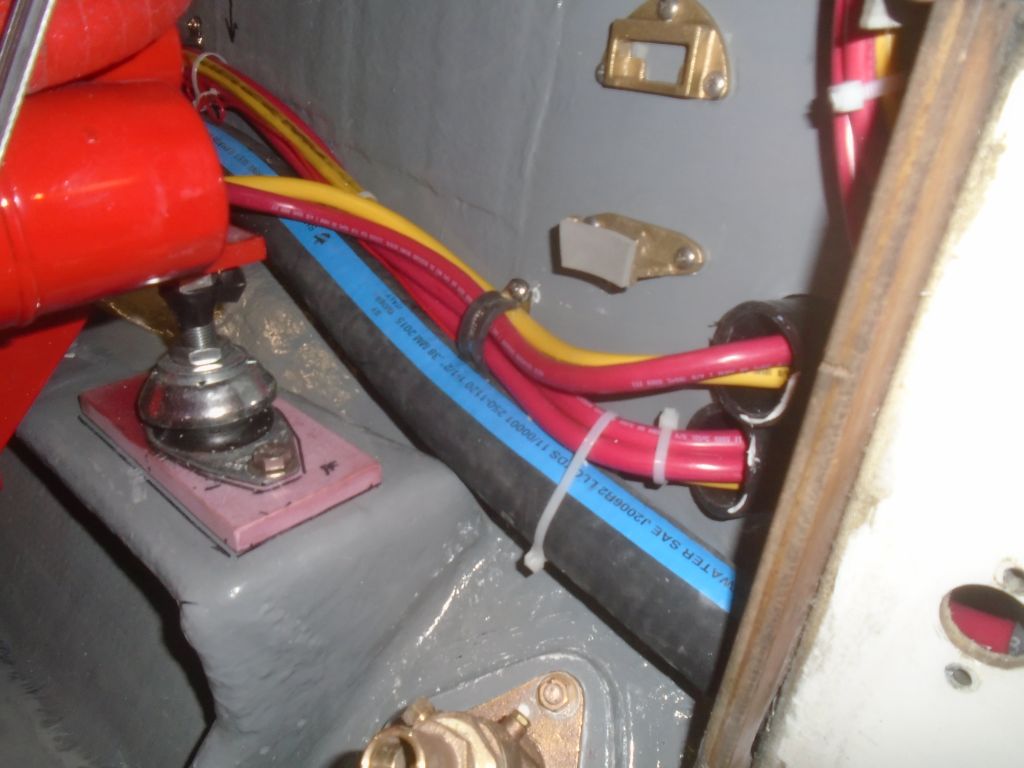
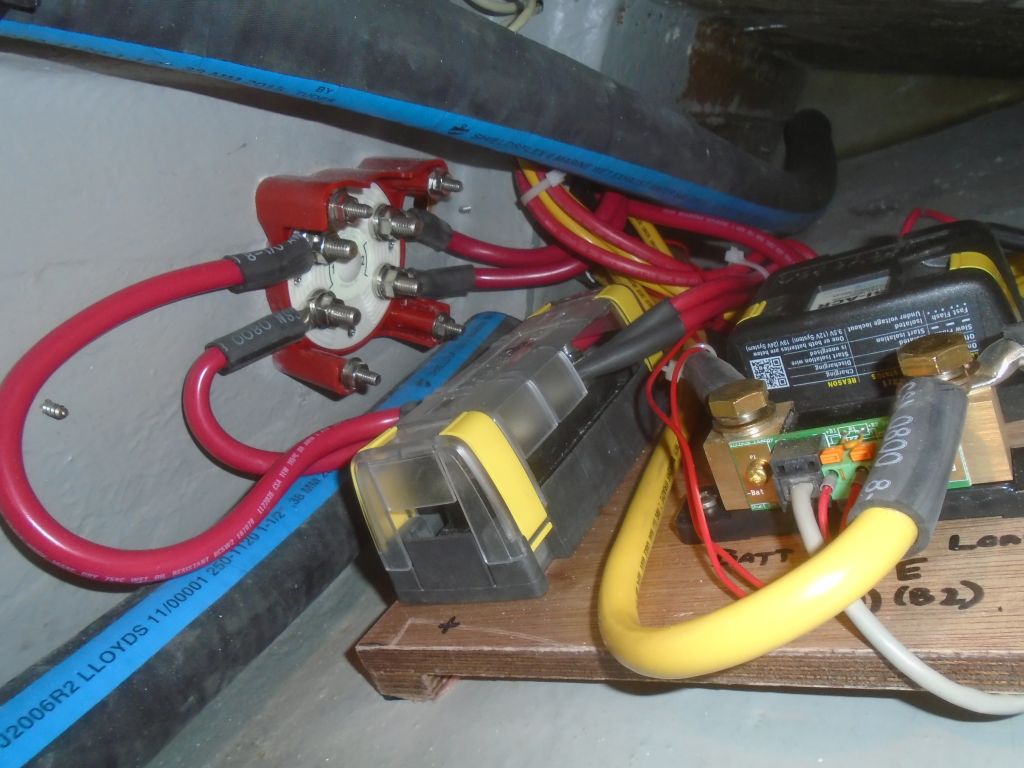
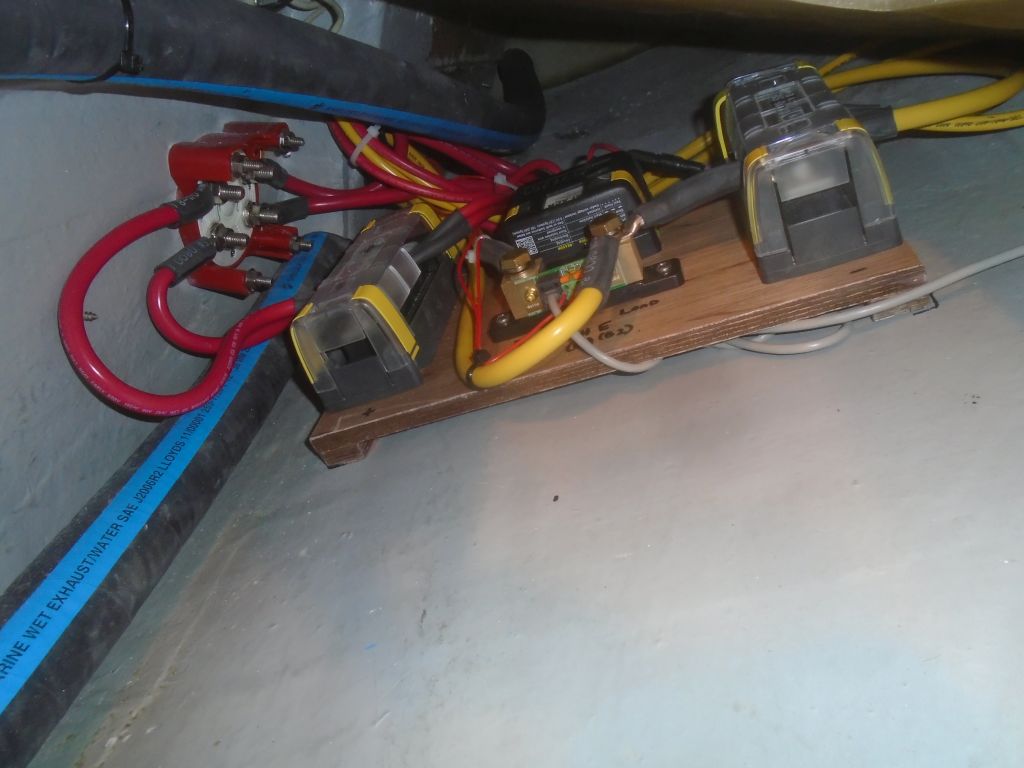
With all that out of the way, I could move forward with the various final connections to the engine. I reinstalled the fuel filter–permanently, this time–and was preparing to install the rest of the fuel system, but decided instead to finalize the start battery position and therefore the last set of battery cables.
With the actual start battery now on hand, I test-fit it on the platform ahead of the engine, which looked workable, as I’d hoped. I’d strap it in place and cover the terminals, and that would be that. So now I could make up the final cable ends, starting with the two cables leading to the engine starter and ground, and then the three cables to the battery from the switch, ACR, and the required position on the monitor shunt, along with another temperature sensor for the battery monitor.

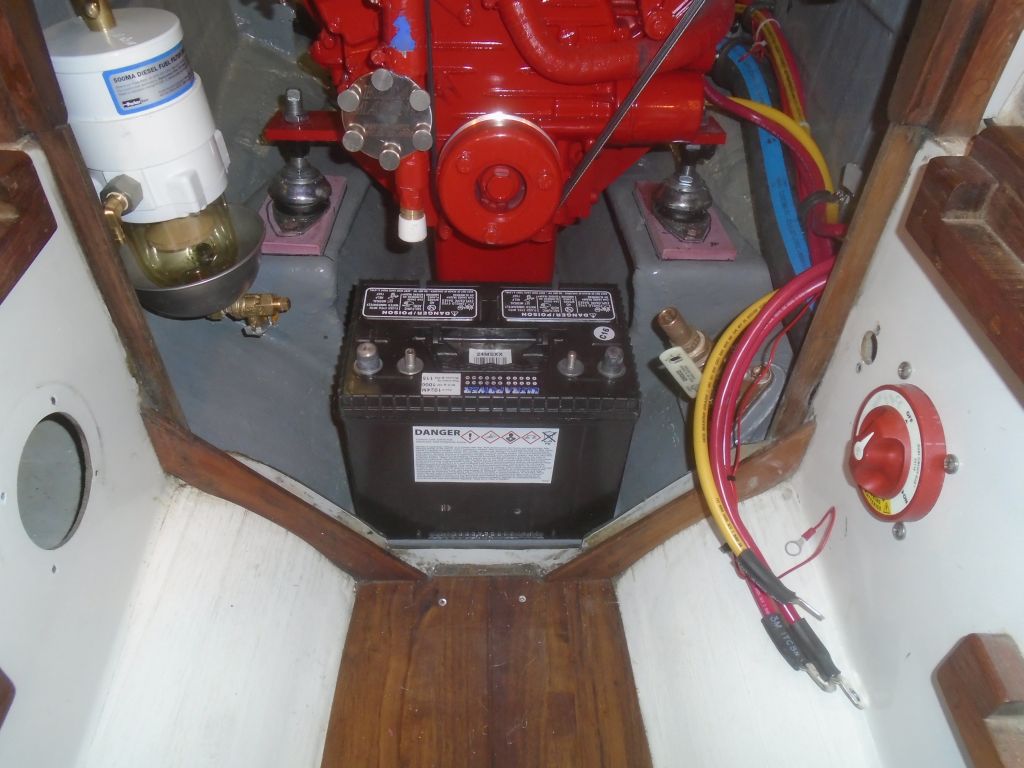
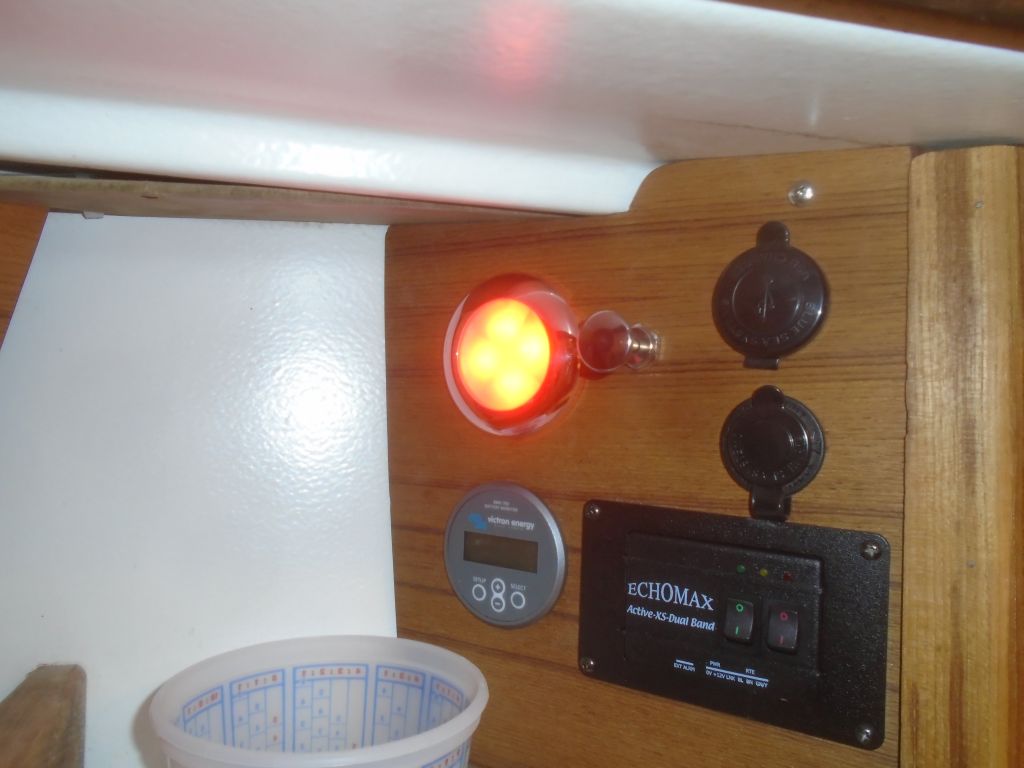
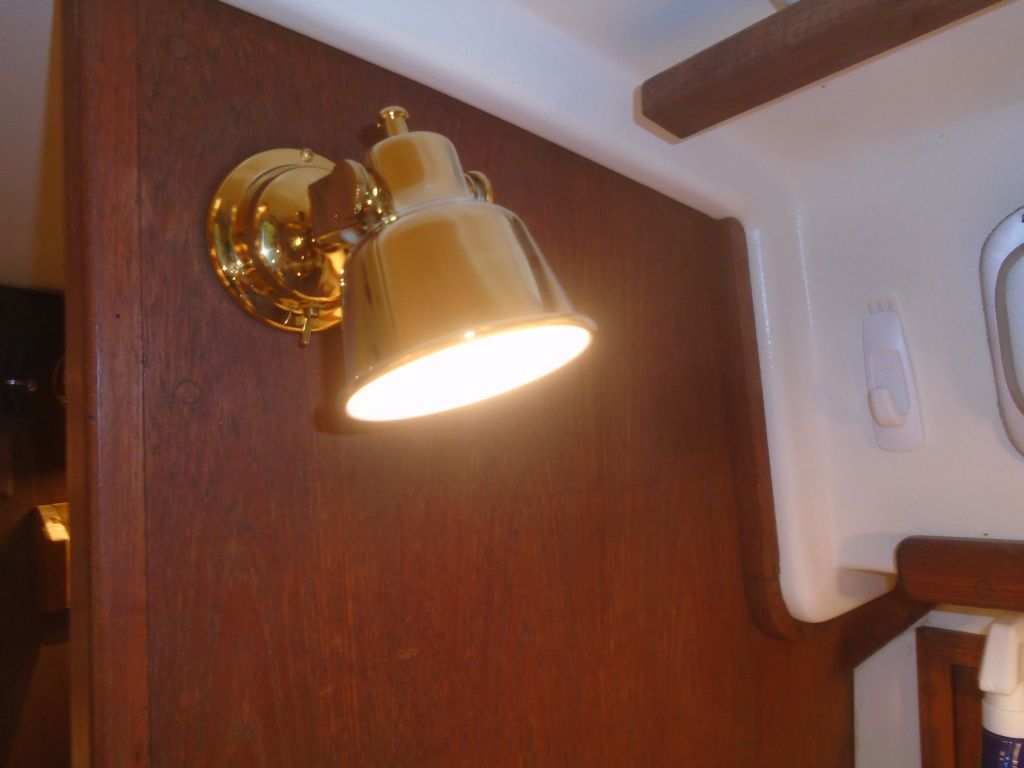
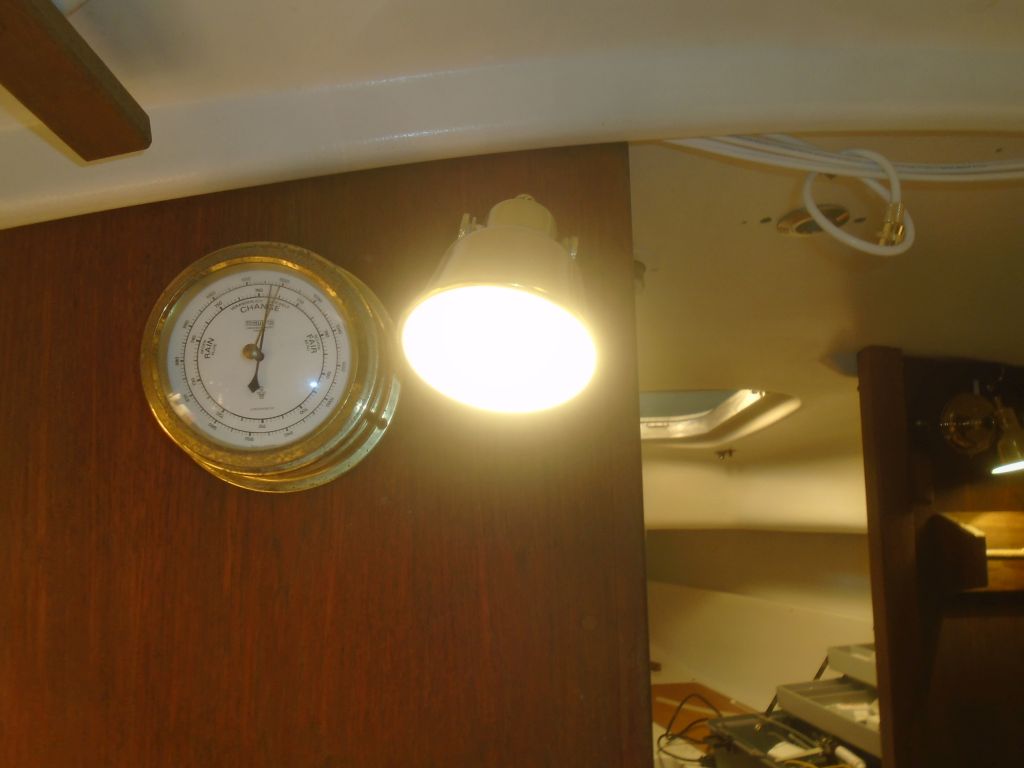
I couldn’t resist the chance to temporarily connect the battery and, through the “combine” position on the battery switch, energize the ship’s power to check out the operation of what I could–namely all the cabin lights and running lights. Afterwards, I disconnected and removed the battery for now, and cleaned up from the wiring project since that was essentially done and I needed to get some things off the boat to make way for the remaining work.


Total time billed on this job today: 8 hours
0600 Weather Observation:
20°, clear. Forecast for the day: increasing clouds, 35