


March 2, 2016
Salty 7
Wednesday
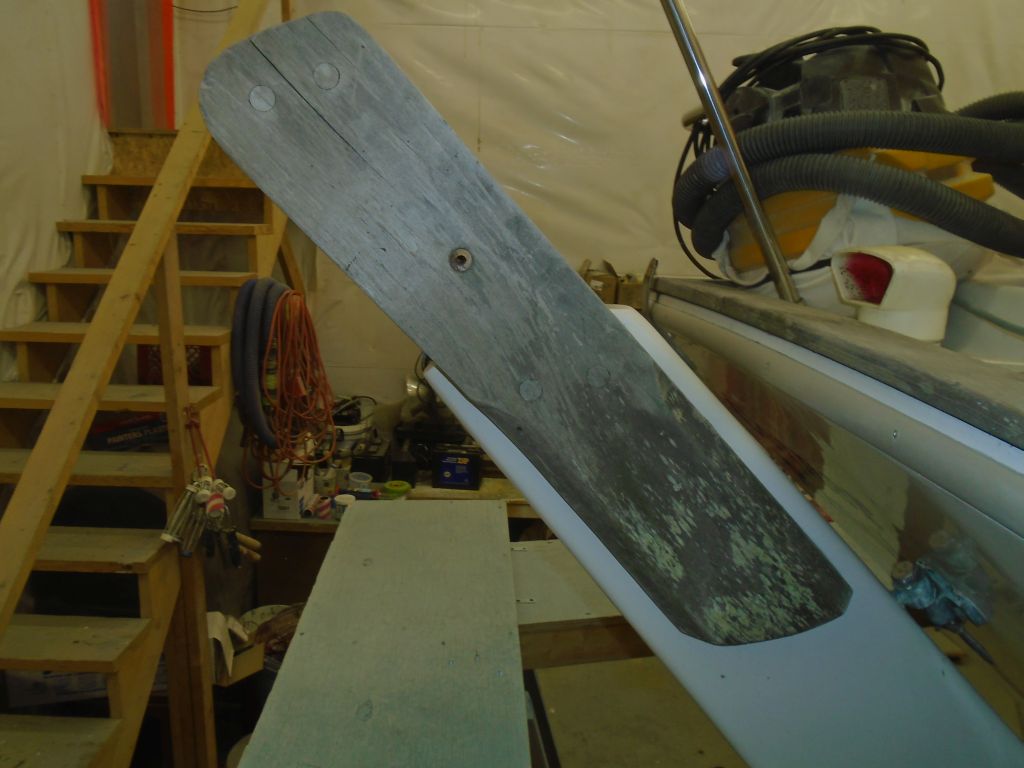
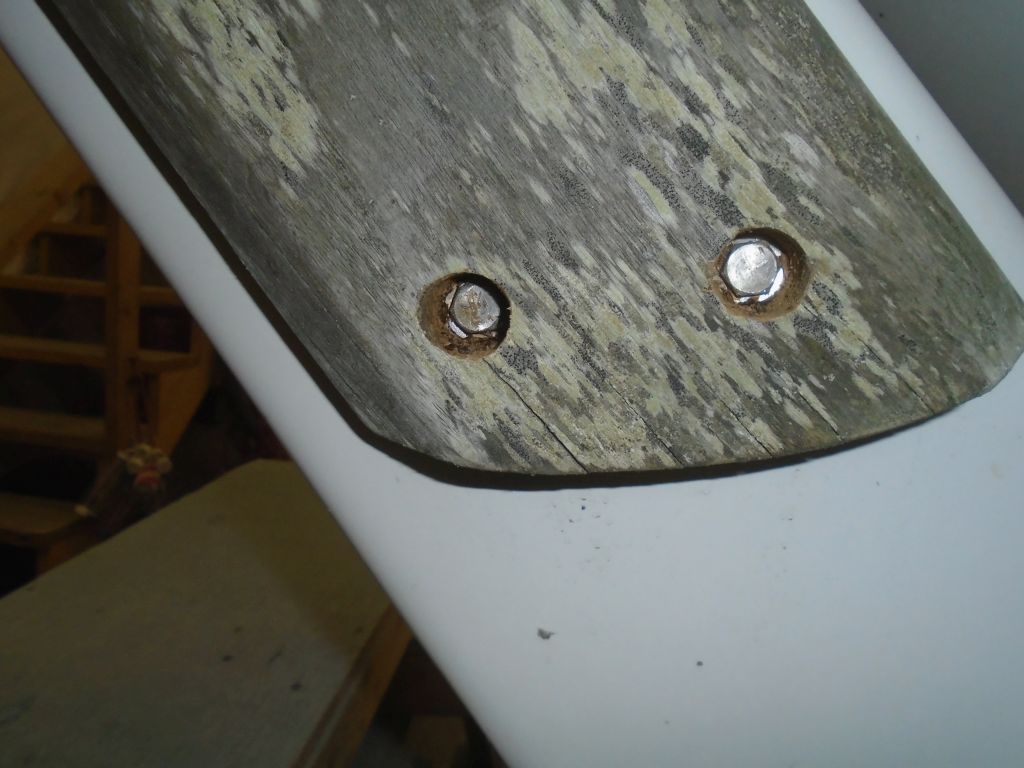
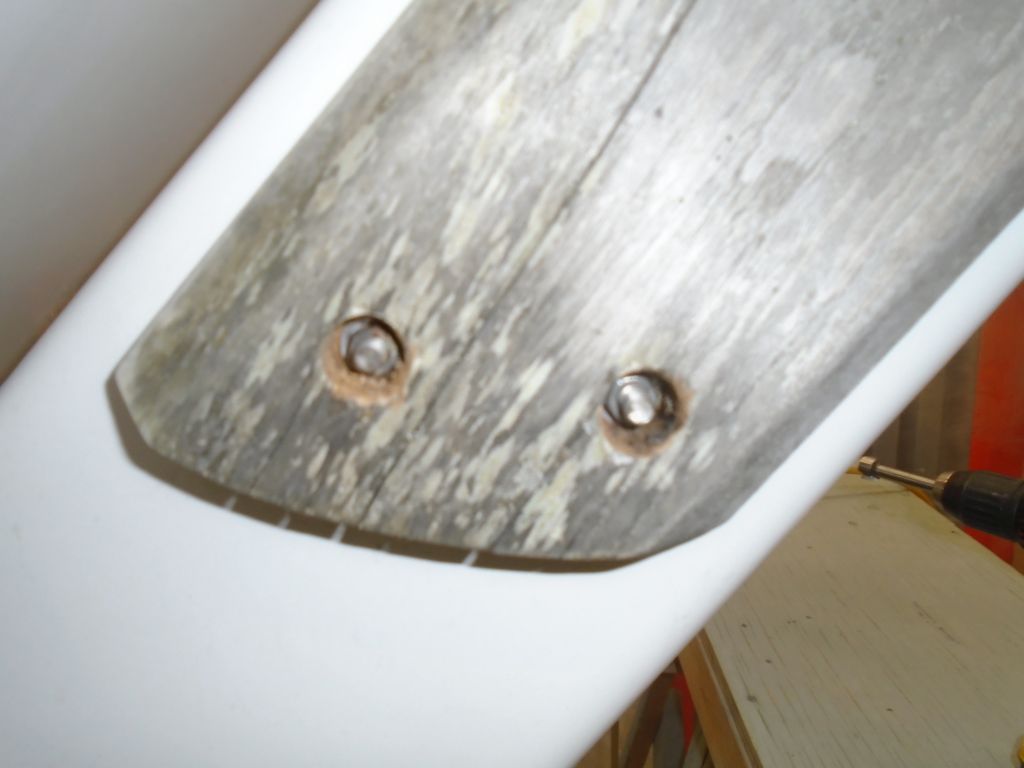
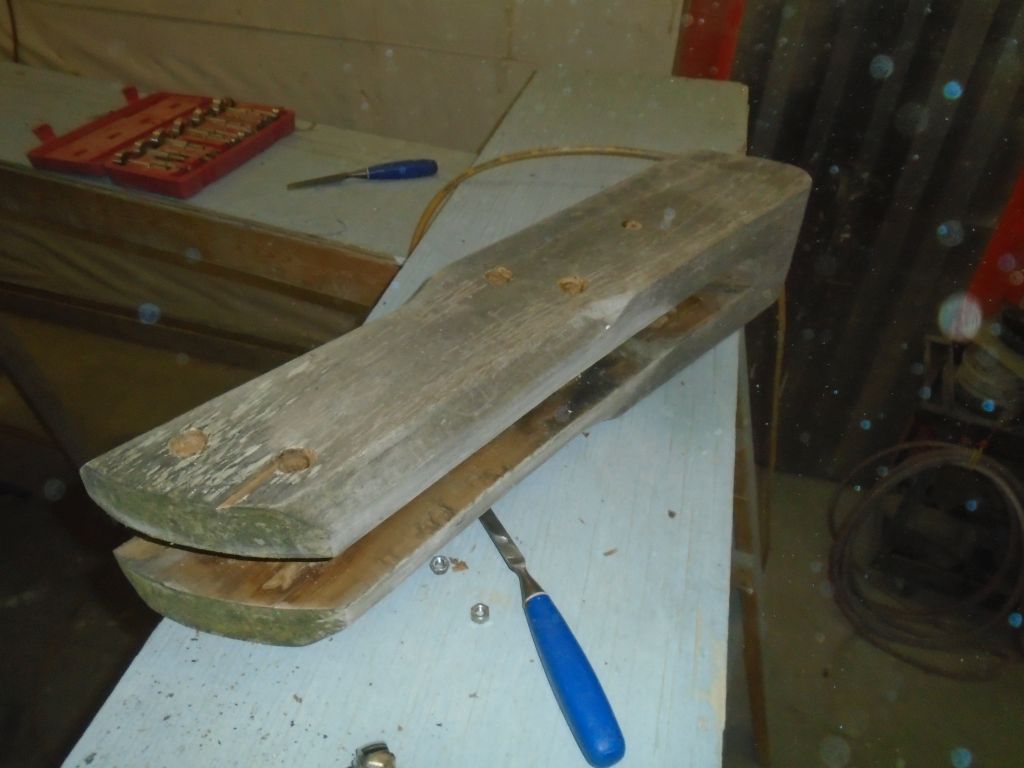
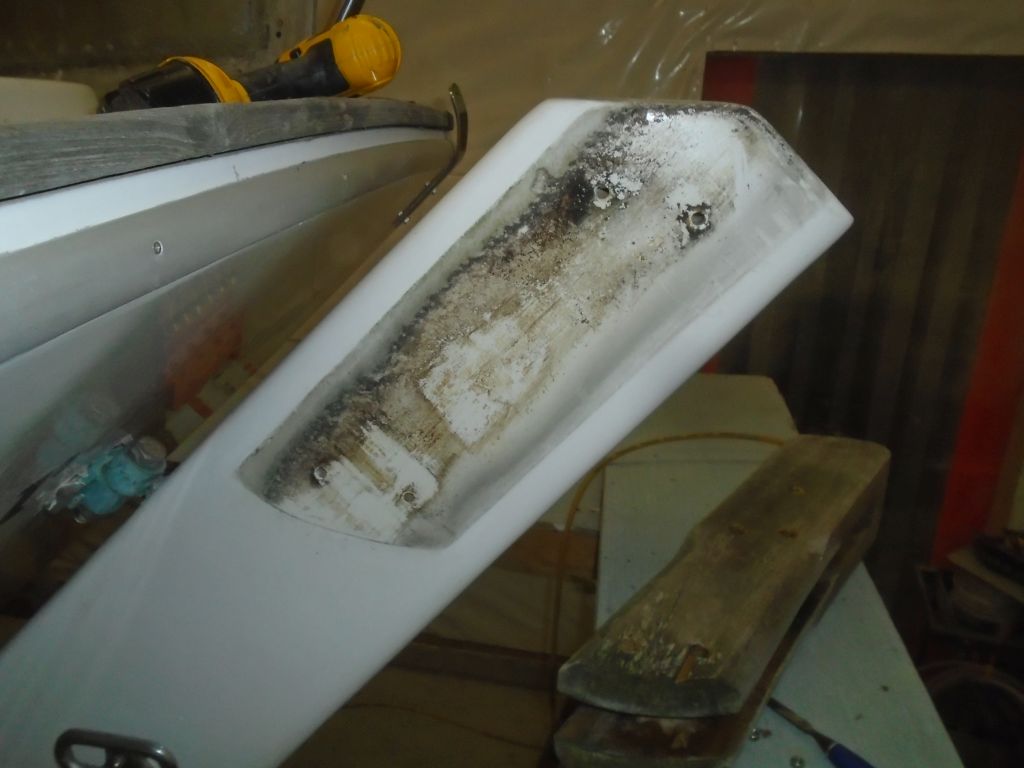
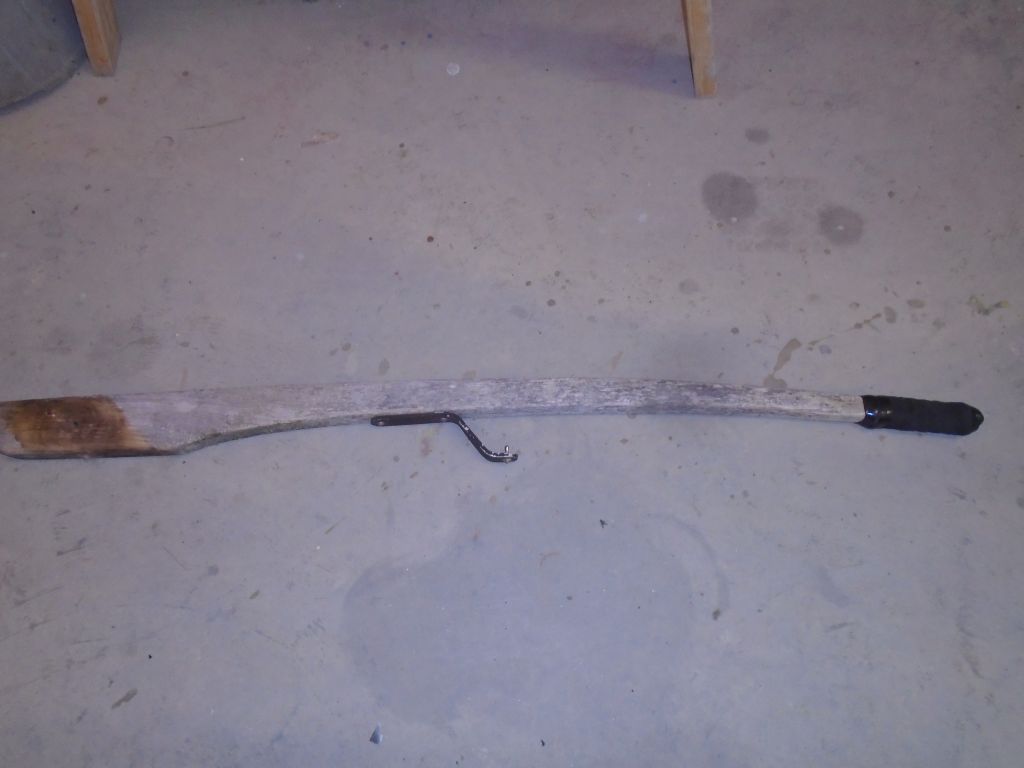
The teak rudder cheeks, which held the tiller, were well-weathered, but were still sound, with no rot or punkiness detectable. The tiller was in similar condition, and the owner chose to replace both. To to begin the day, I removed the rudder cheeks, which were secured to the top of the rudder with four through-bolts hidden behind large bungs. With a drill, I bored through the bungs, and dug out the remains with an awl and chisel as needed so I could access the bolts and nuts for removal. With the cheeks removed and down on the bench, I disassembled the two sections from the spacer in the middle, so I could pattern and measure the pieces as needed.


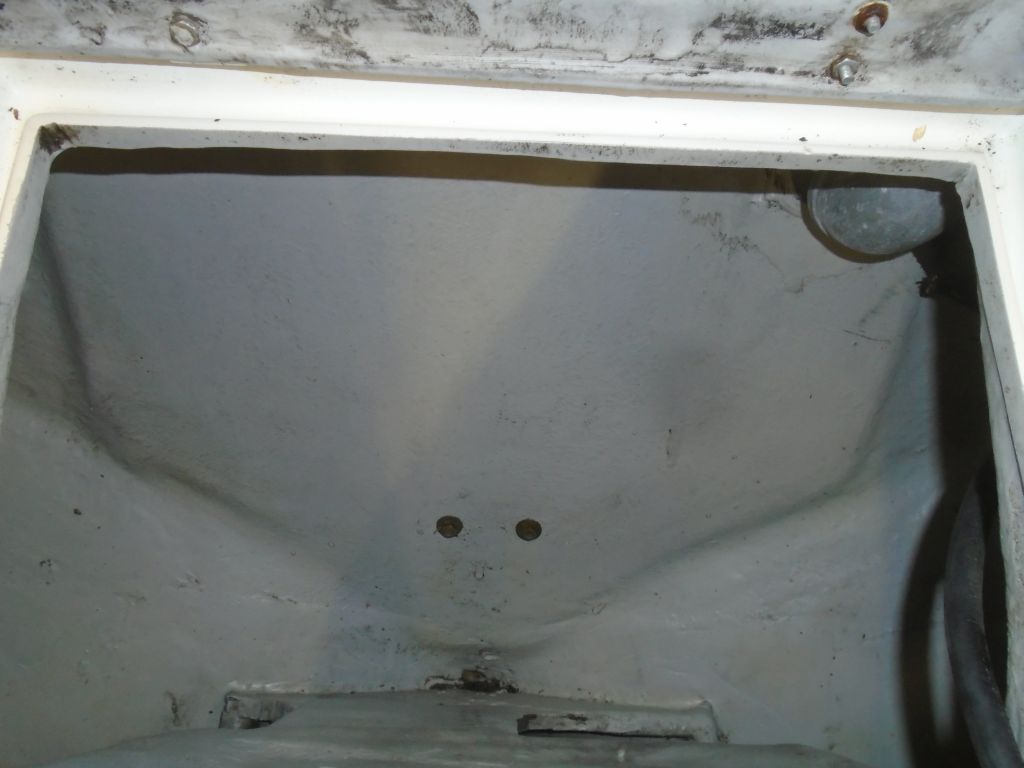
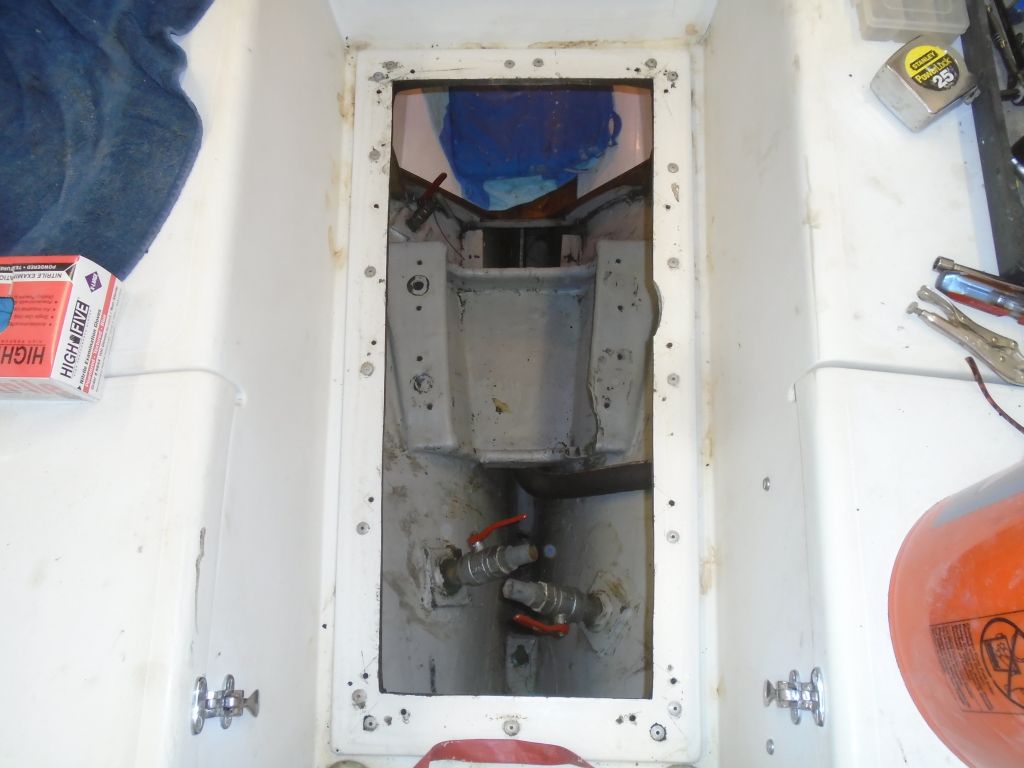
Back in the boat, I spent some time cleaning up and assessing the fuel tank and fuel situation. Though the tank initially looked nasty, I found that it cleaned up well, and the tank itself was in excellent condition.
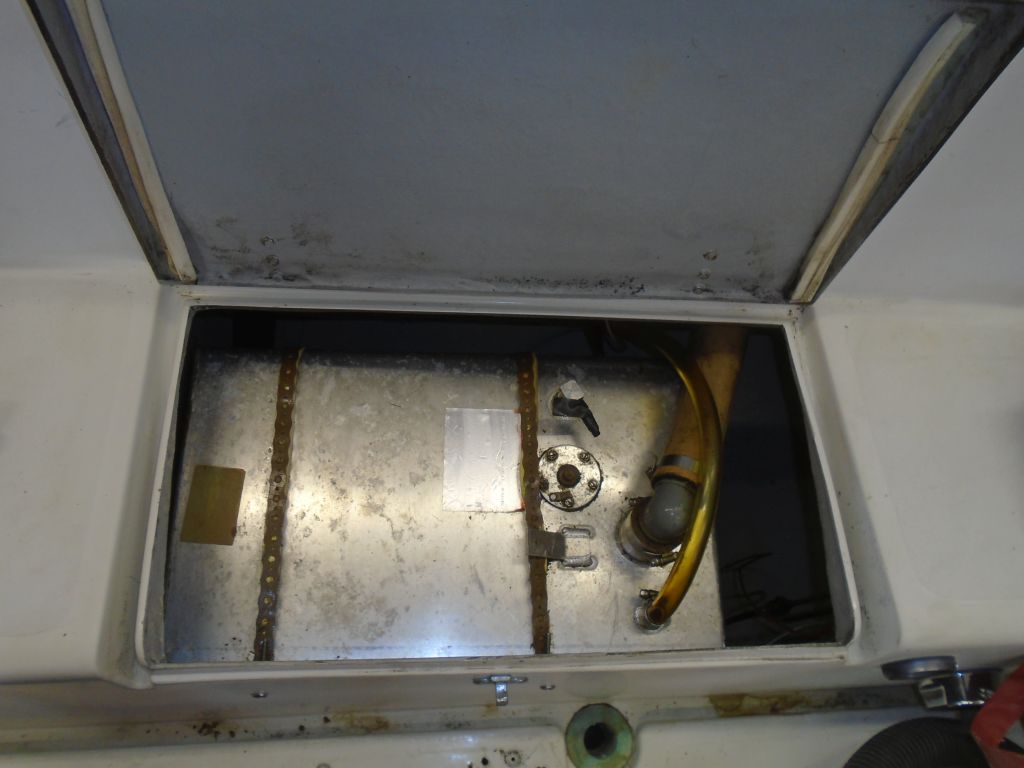
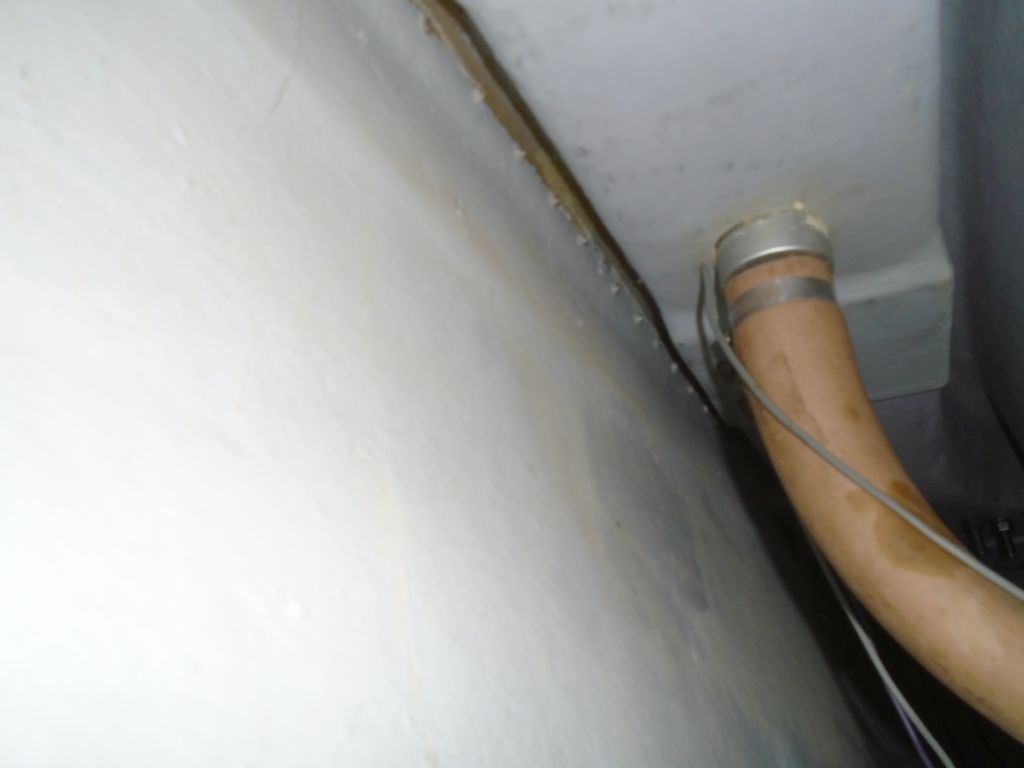
The owner was rightfully concerned about running old or dirty fuel through the new engine, so I removed the fill hose (and the vent, which was in the way and which I found (fortunately) was not clamped to its vent fitting up in the cockpit coaming, so I could easily replace that particular hose.

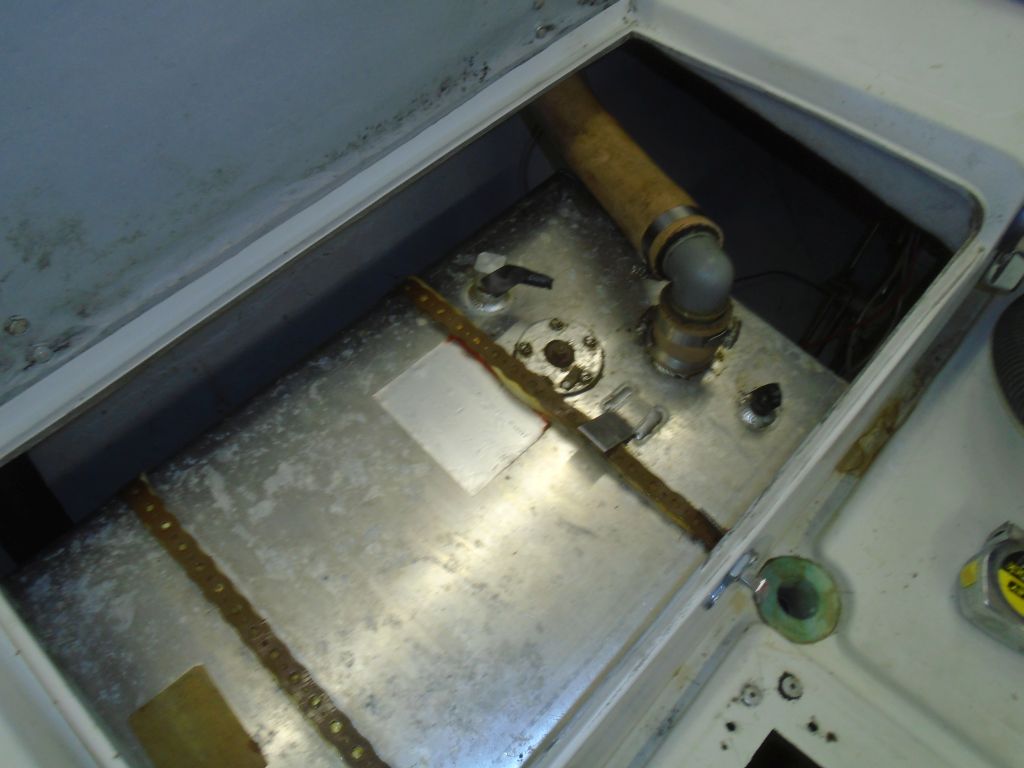
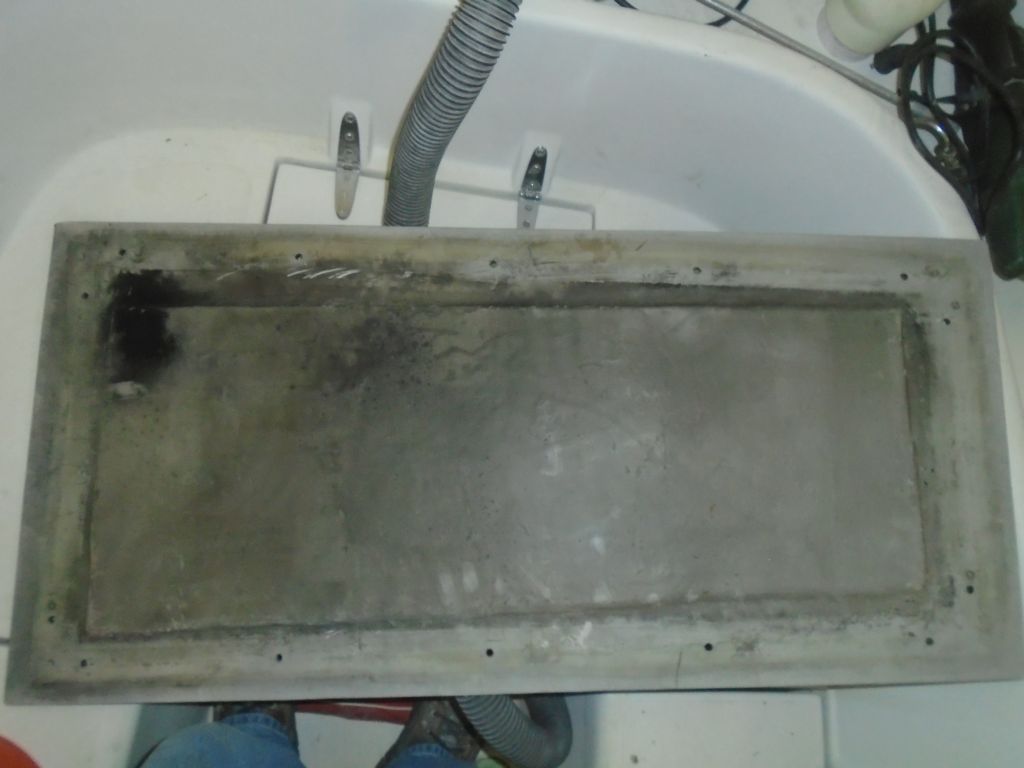
With the fill hose removed from the tank, I could get a decent look inside. The fuel looked clear and clean (and nearly full), and I could see the bottom of the tank easily, with what minimal signs of any dirt or debris in the tank. In short, I thought it looked good. I did my best to show this in a photo, and though the view isn’t great, it shows the clean, clear fuel and the bottom of the tank as well.

This was all good news, as past experience and the overall measurements of the tank and its permanent fittings meant that tank removal or replacement would be time-consuming and challenging, given the not-quite large-enough locker opening to remove the tank. So I was happy to recommend leaving things as is, and with a good new fuel filter arrangement planned for the new engine, I saw no cause for concern.
I found I could work around the tank well enough to continue work in the locker, and I removed the control cables from the existing throttle control in the cockpit, as I’d be replacing these for the new engine (but keeping the control).
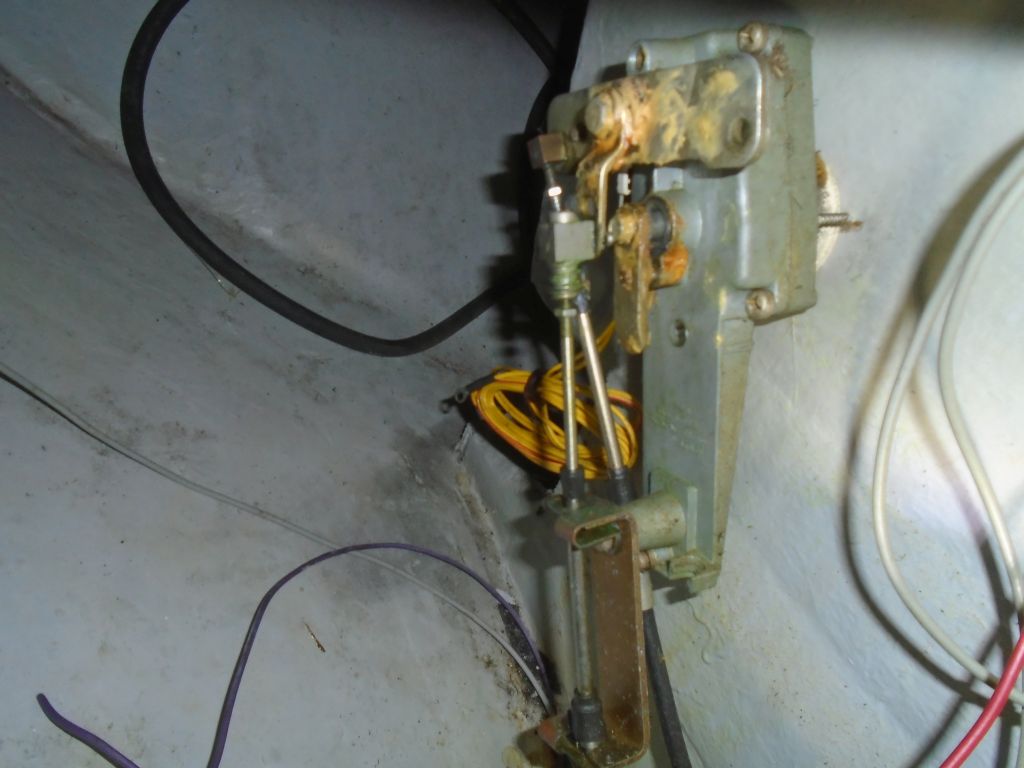
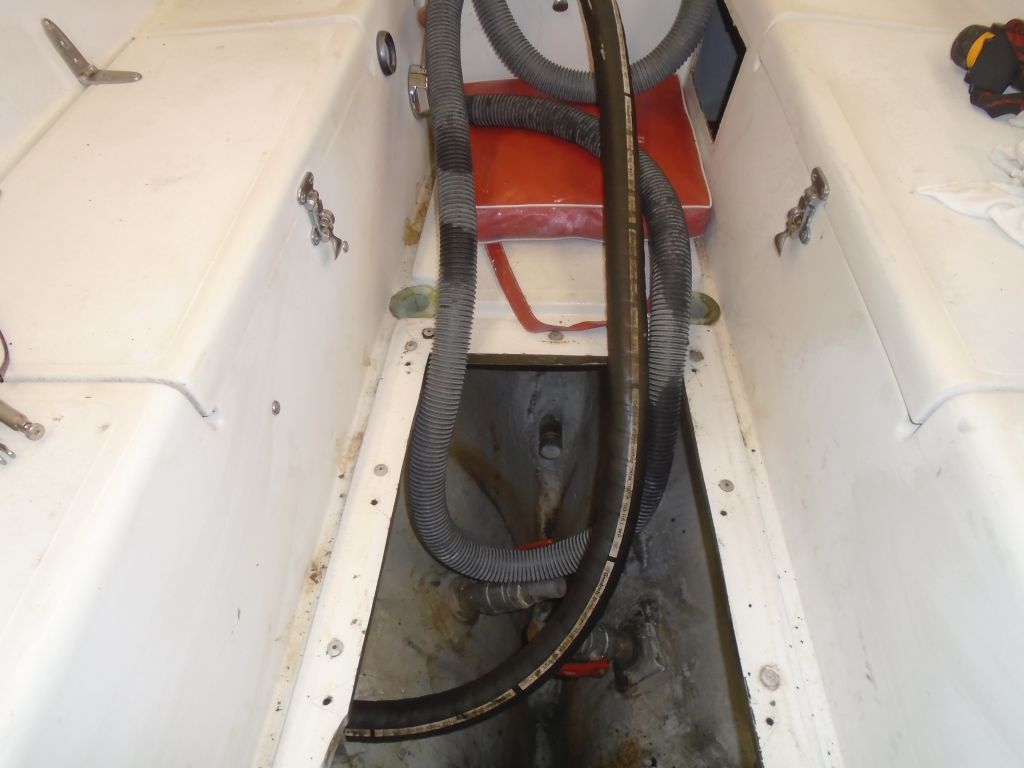
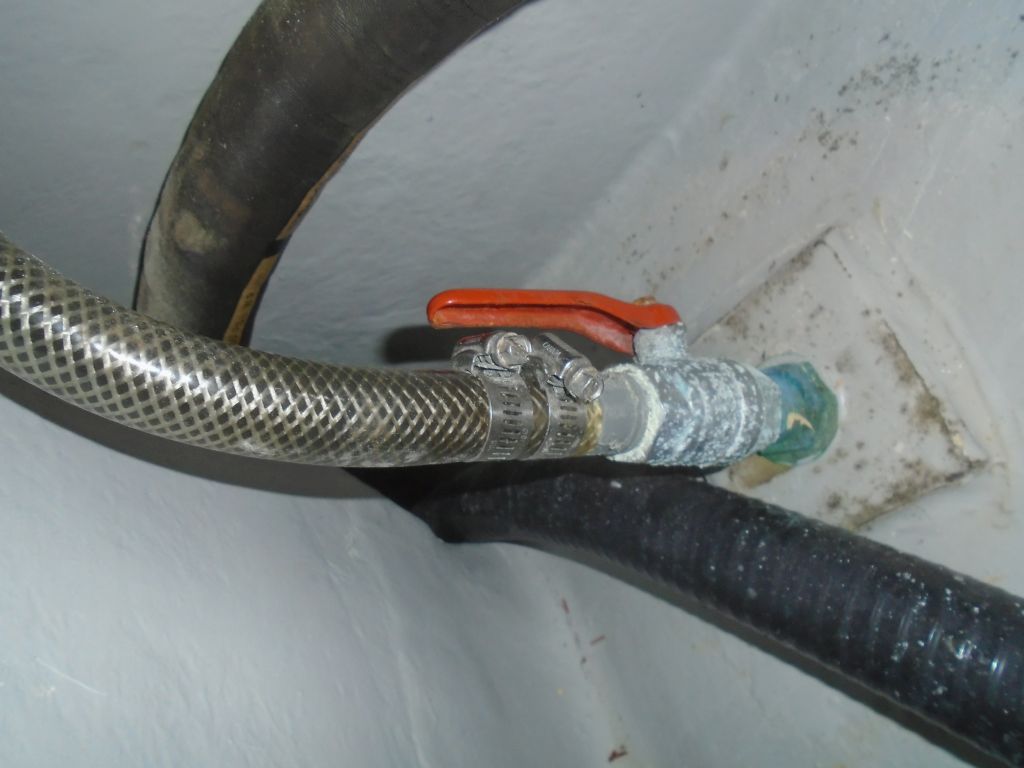
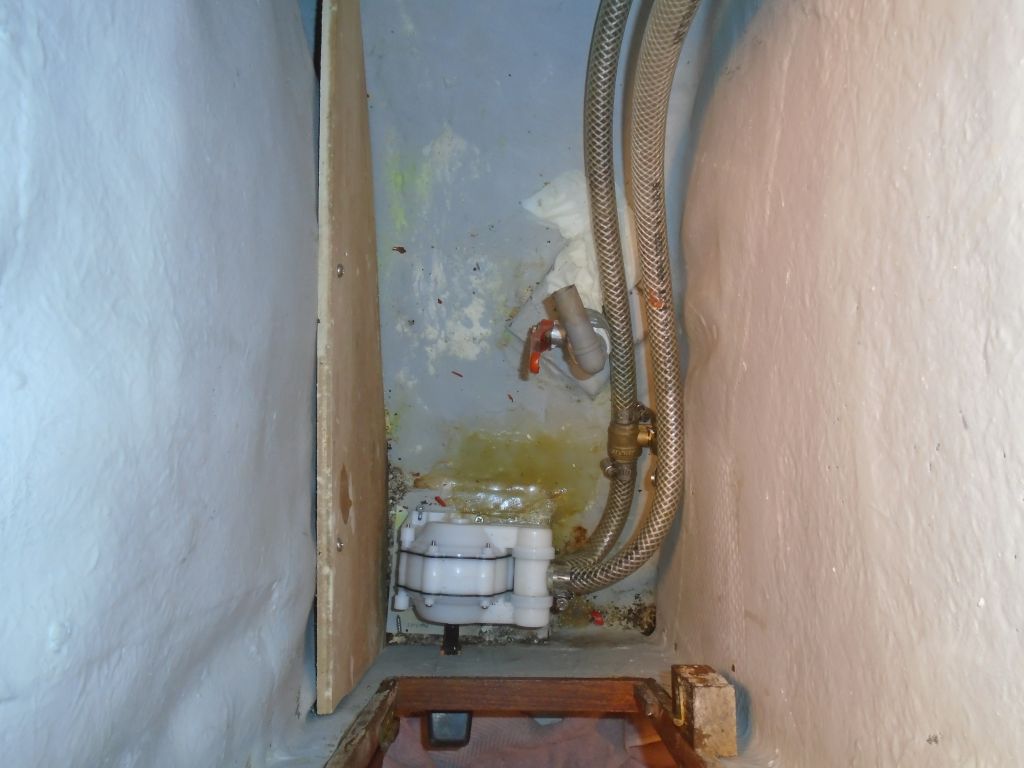
I had hand (but not visual) access to the fuel fill hose, as well as the waste pumpout hose. I wanted to replace the fuel hose (the light-colored one), but the waste hose, which ran through the engine room and forward to a tank beneath the cabin sole, was in good condition throughout (you’ll see why I know this in a moment) and I saw no need to replace it.
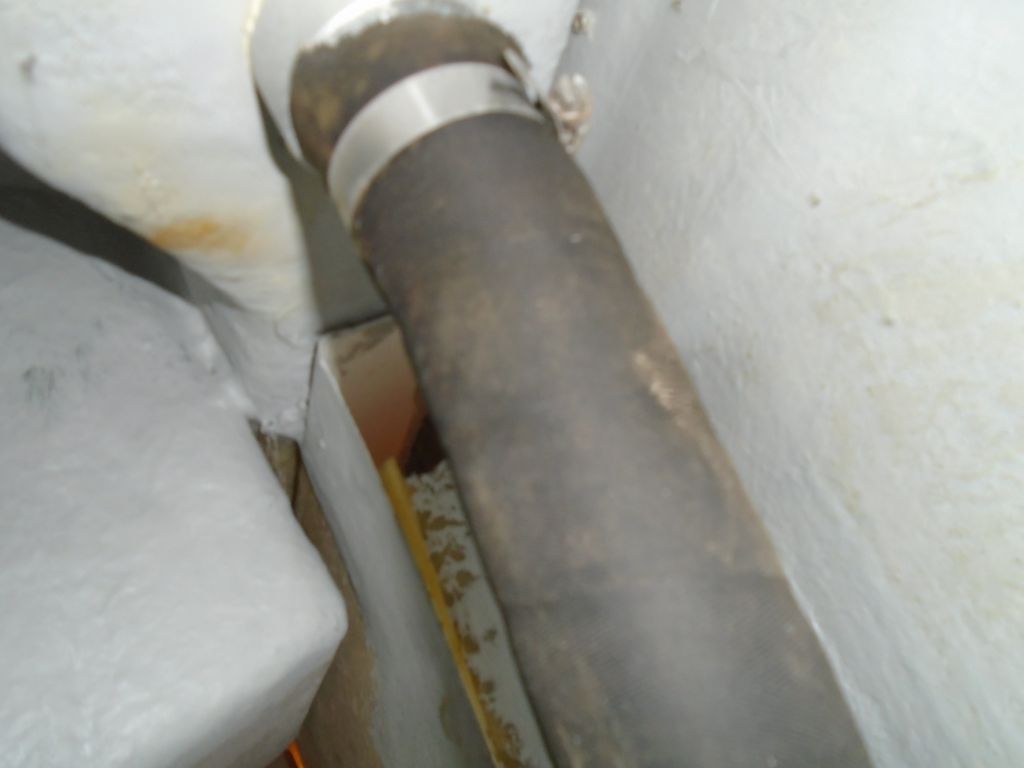
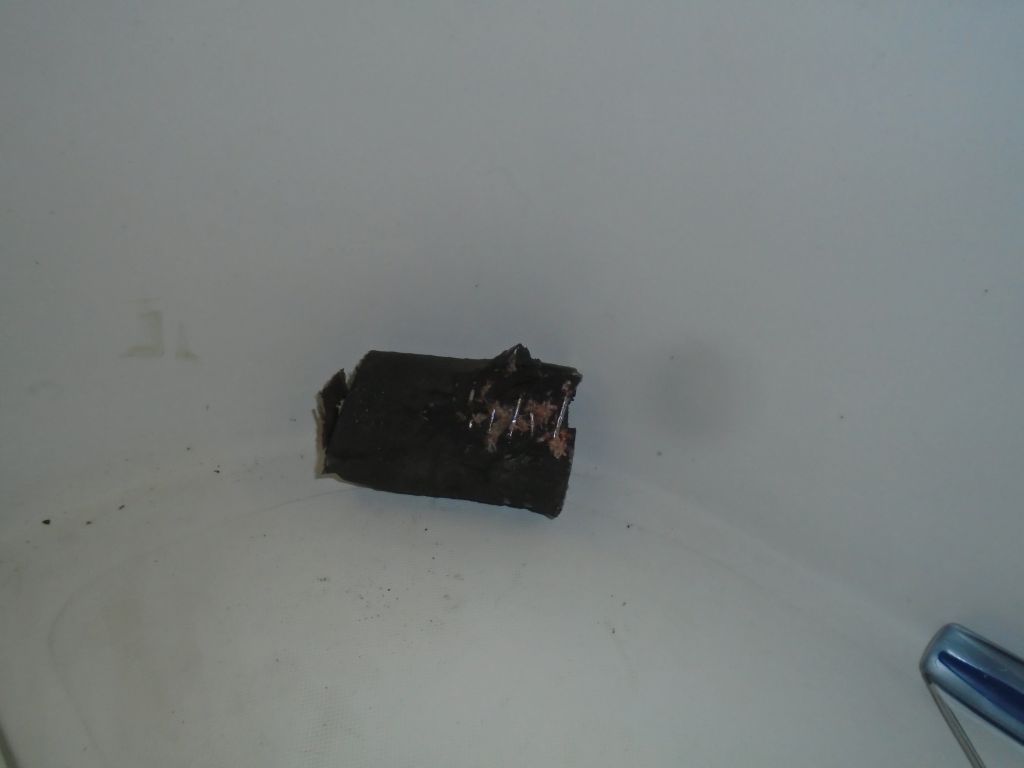
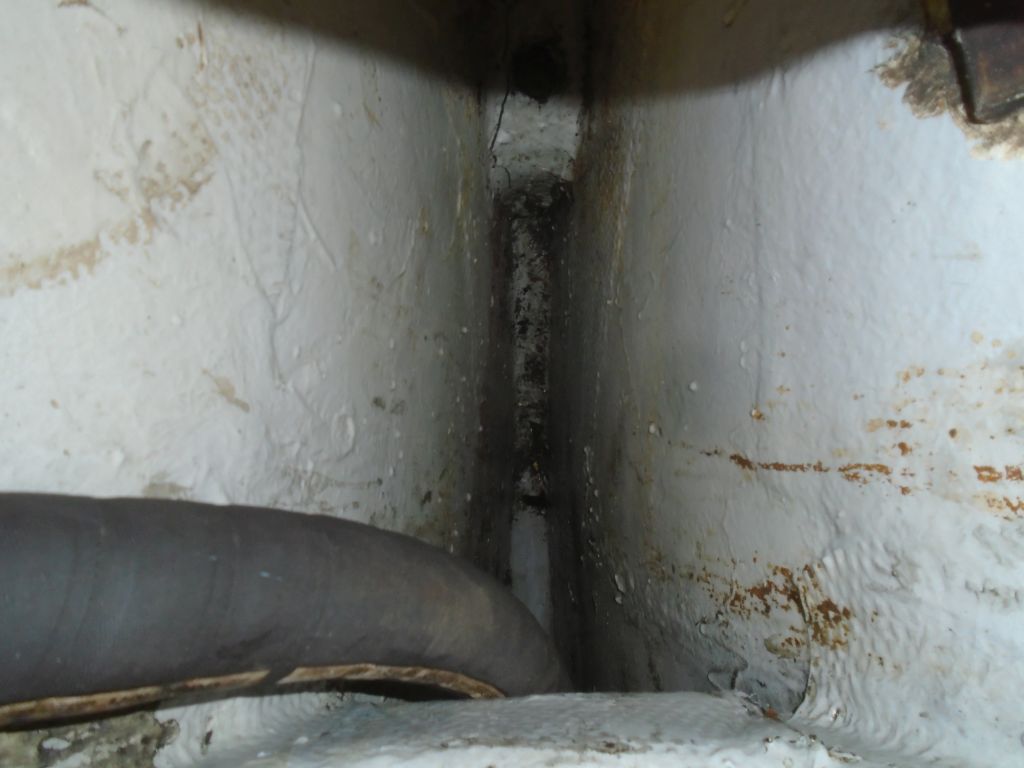
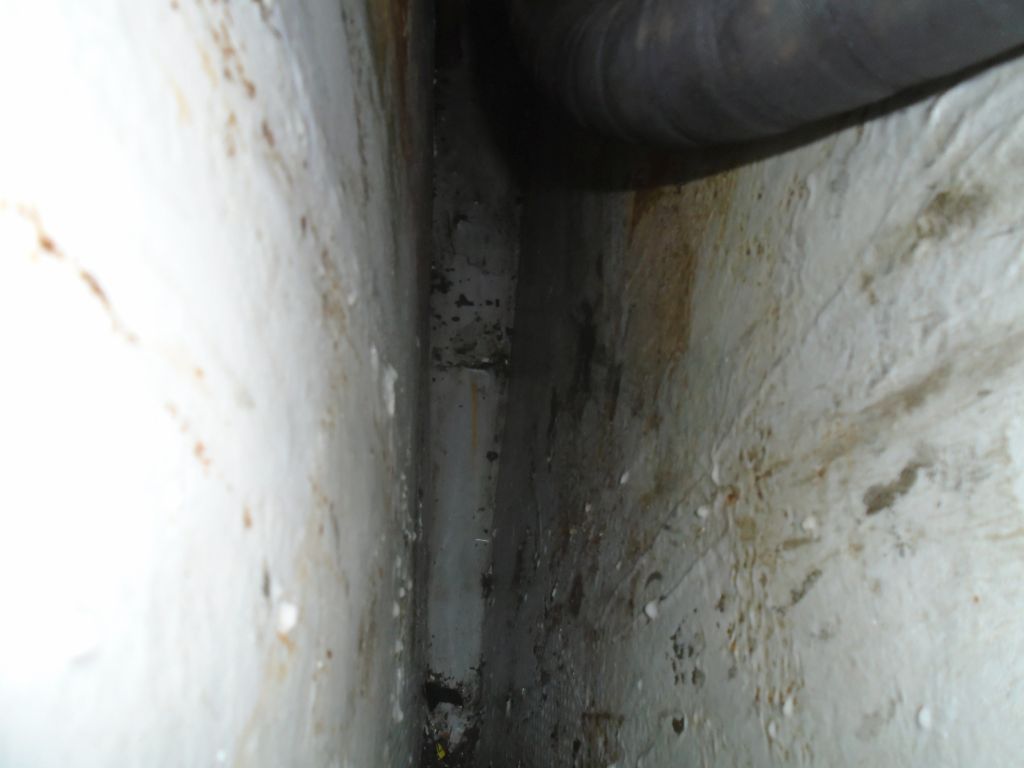
Happy with the positive news on the fuel tank situation, and with the control cables and some stray wiring now out of the way, I cleaned up the rest of the starboard locker with some cleaner; the original gelcoat-painted surface cleaned up well. Continuing aft, I removed–with effort–the little stub of exhaust hose from the gooseneck fitting at the transom (I had to use a saw to cut through the hose and wires), and cleaned up the locker surfaces there as well, and continued with the process into the port cockpit locker. One can see how misaligned the gooseneck arrangement is, which is why the hose was such a tight fit against the hull at the lower end. I doubted I’d have any luck (or leverage) to crank that leg another 1/8 turn and straighten it out, but perhaps I’d try later.

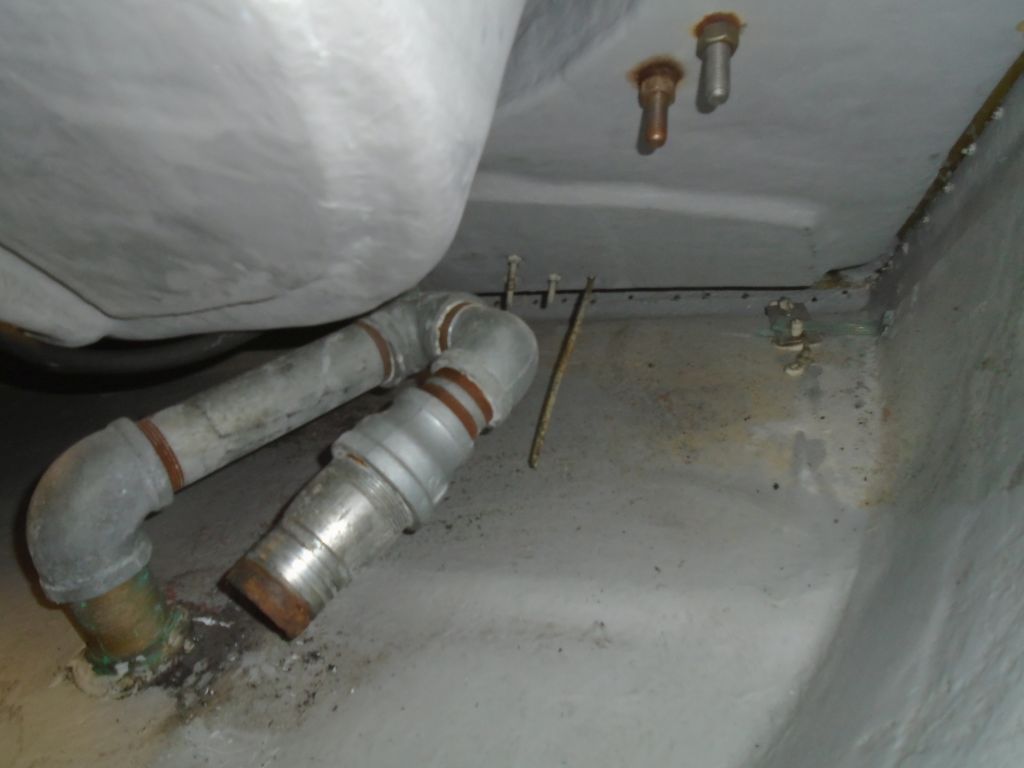
The waste pumpout hose was already disconnected from the waste tank, for whatever reason, so I pulled it through and out of the engine room to get it out of the way for now, cleaning it of dirt, oil, and greasy debris as I went. This allowed for a through inspection as well, which revealed the hose was in good condition.
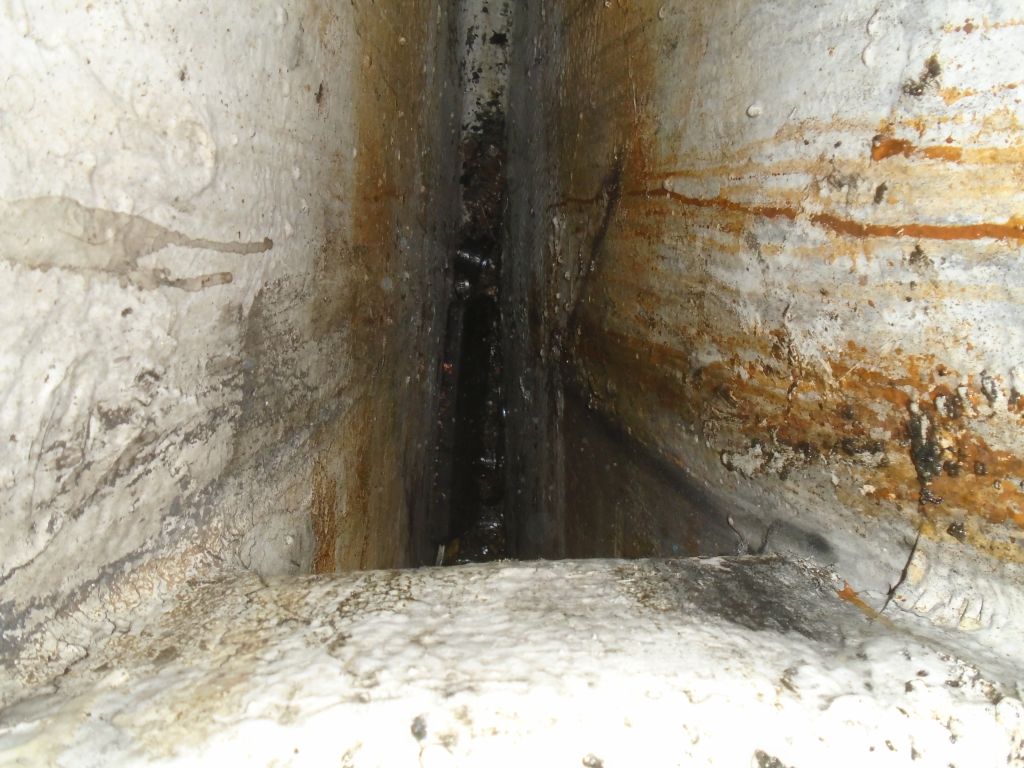
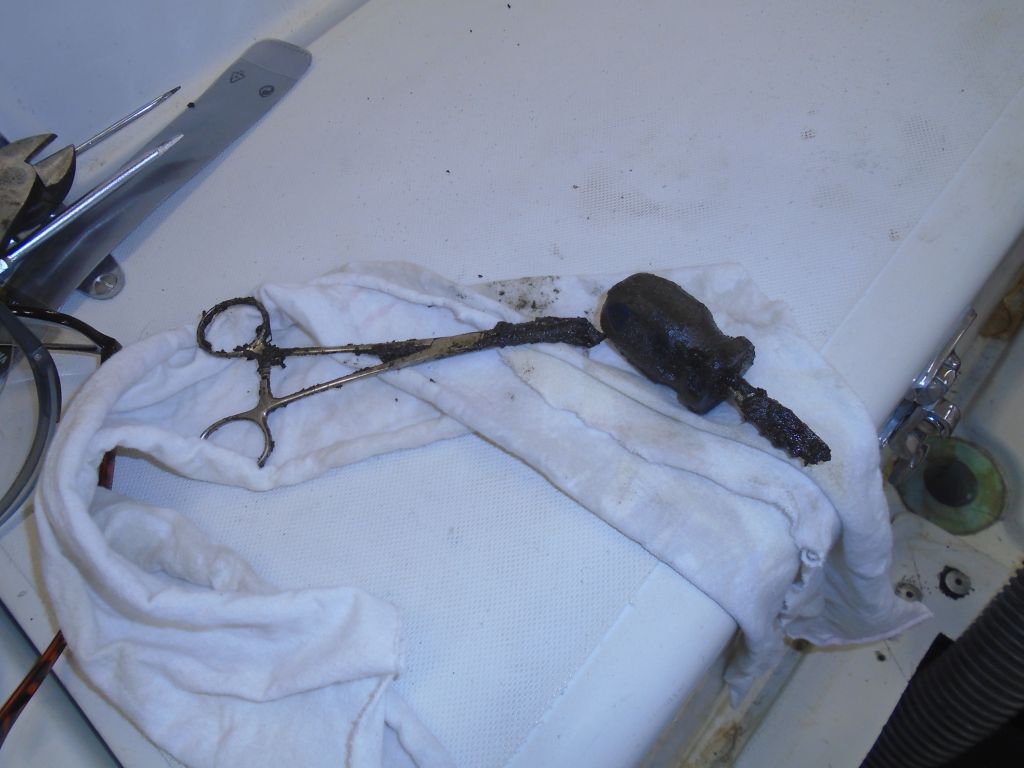
With the bilge as free and clear as it ever would be, I spent a couple hours cleaning it and the engine room as much as possible, removing various detritus and lost tools from the depths (including my 3/8″ wrench that I dropped down there when I removed the old engine back in September), and using long tools to dry out and clean the surfaces in the bottom, where I couldn’t actually reach. I continued the process with the rest of the space, removing dirt, belt residue, oily black exhaust staining, and generally making the space habitable.
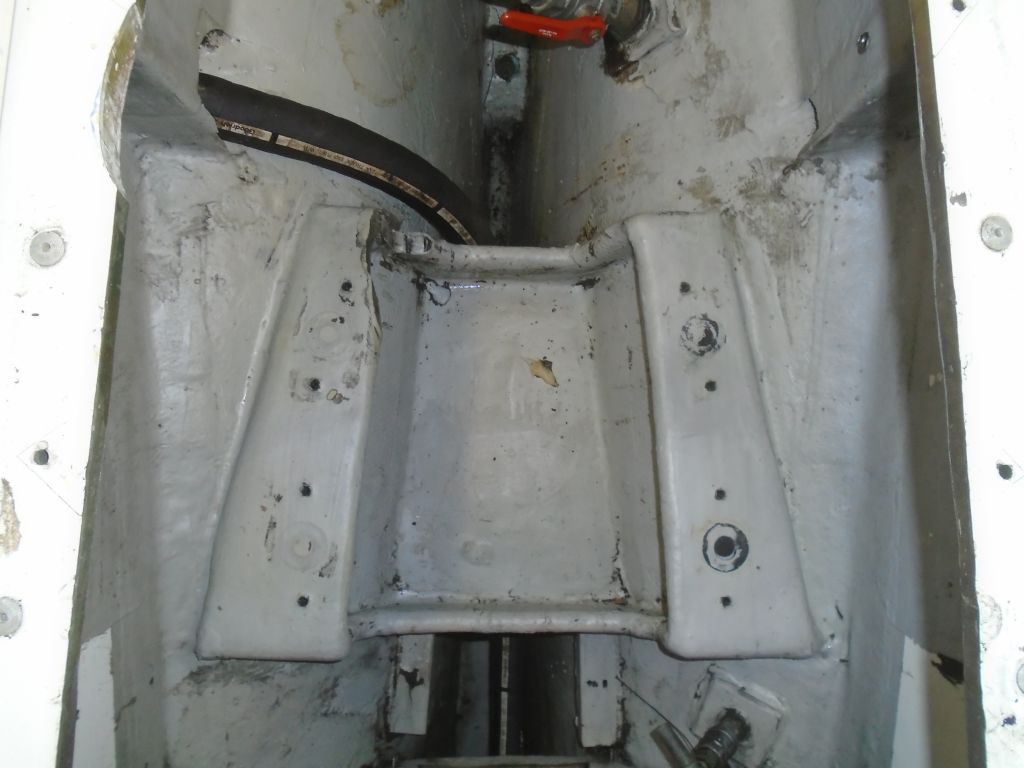


Now I could work in there without getting myself filthy every time.
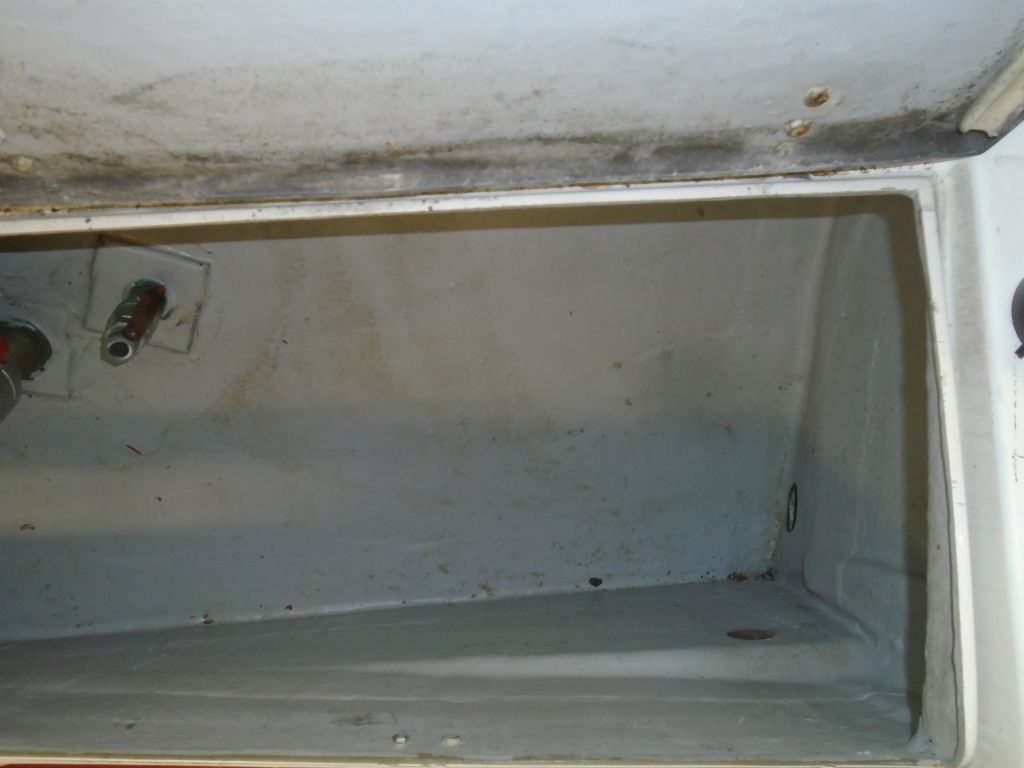
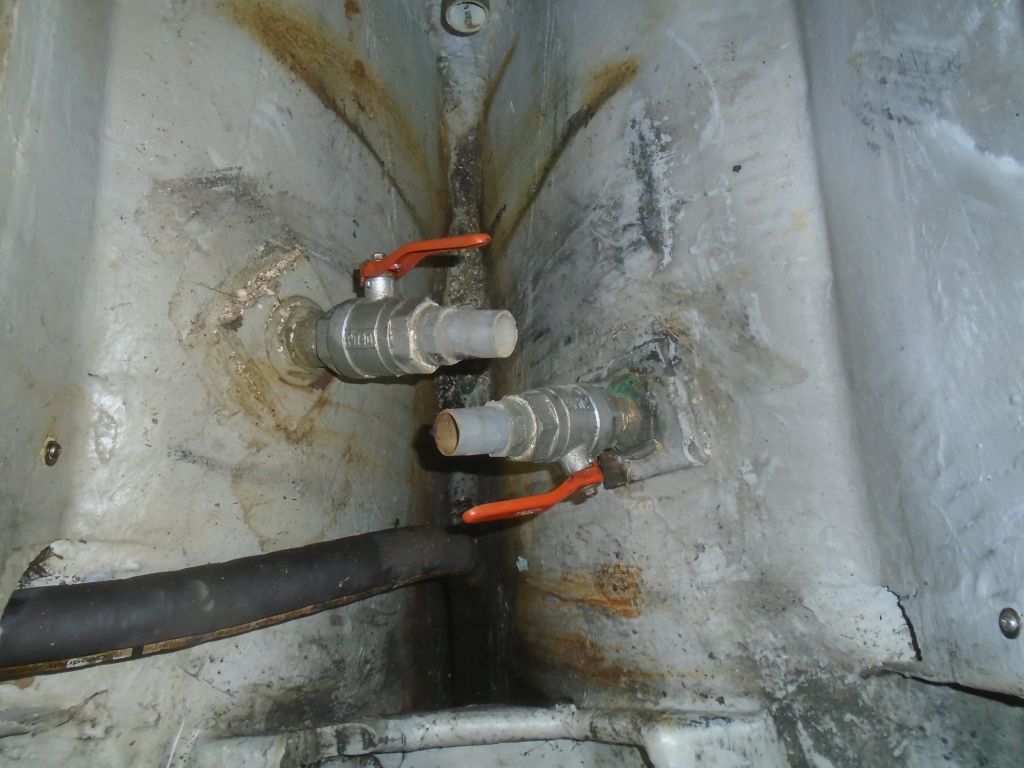
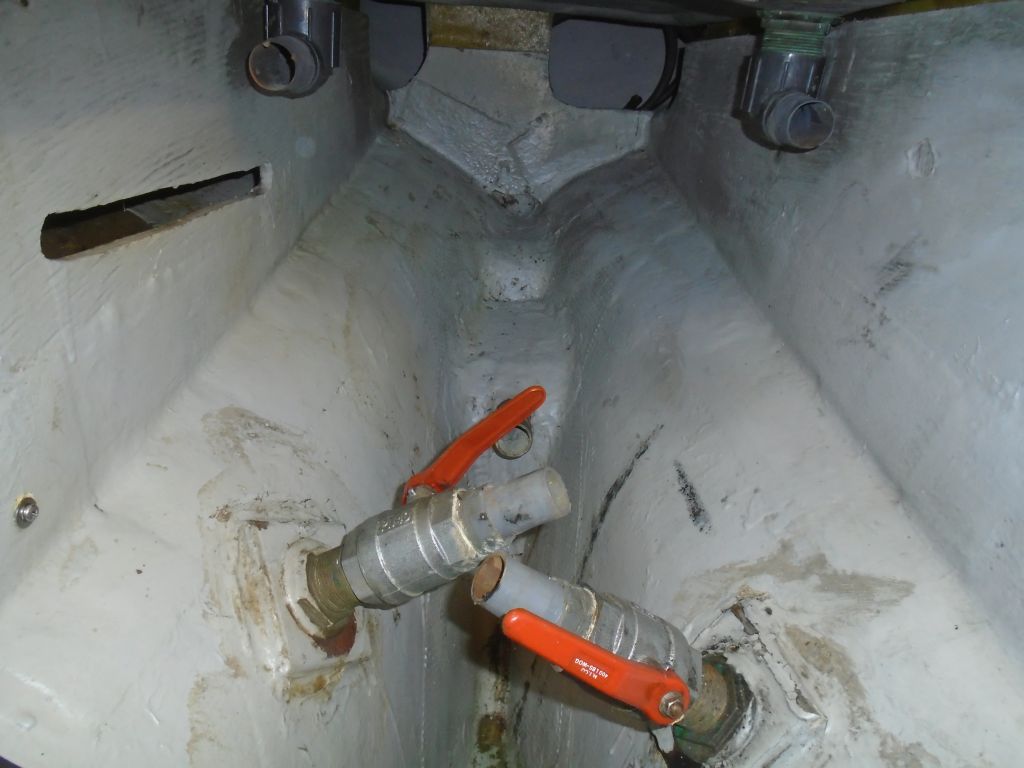
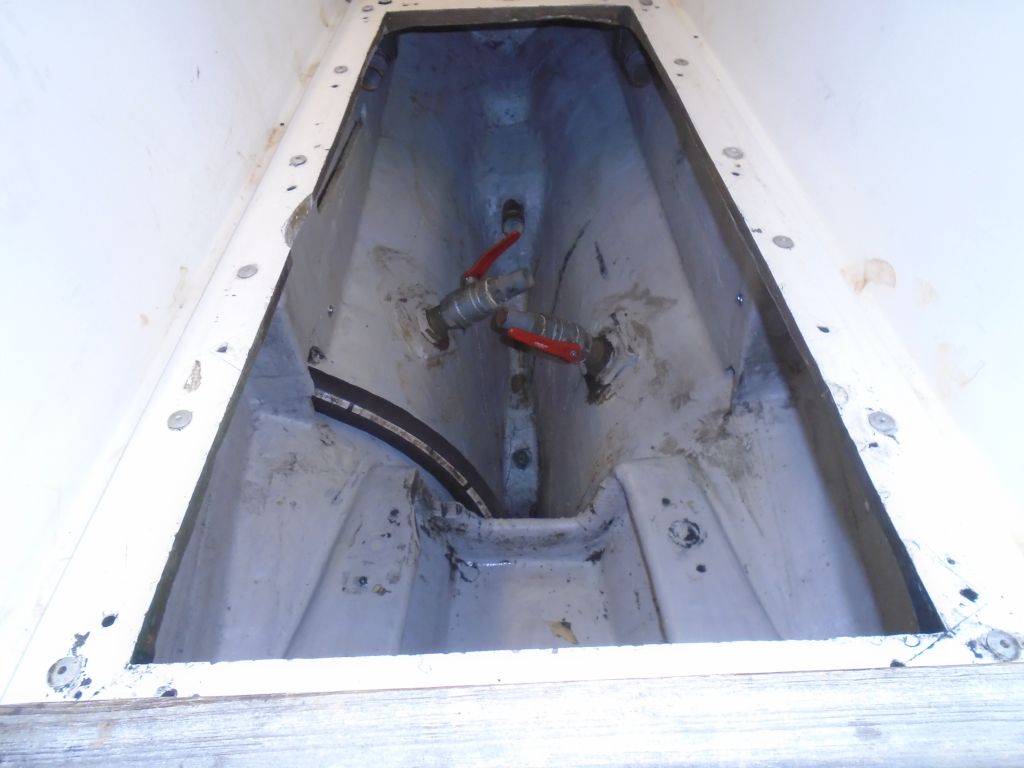
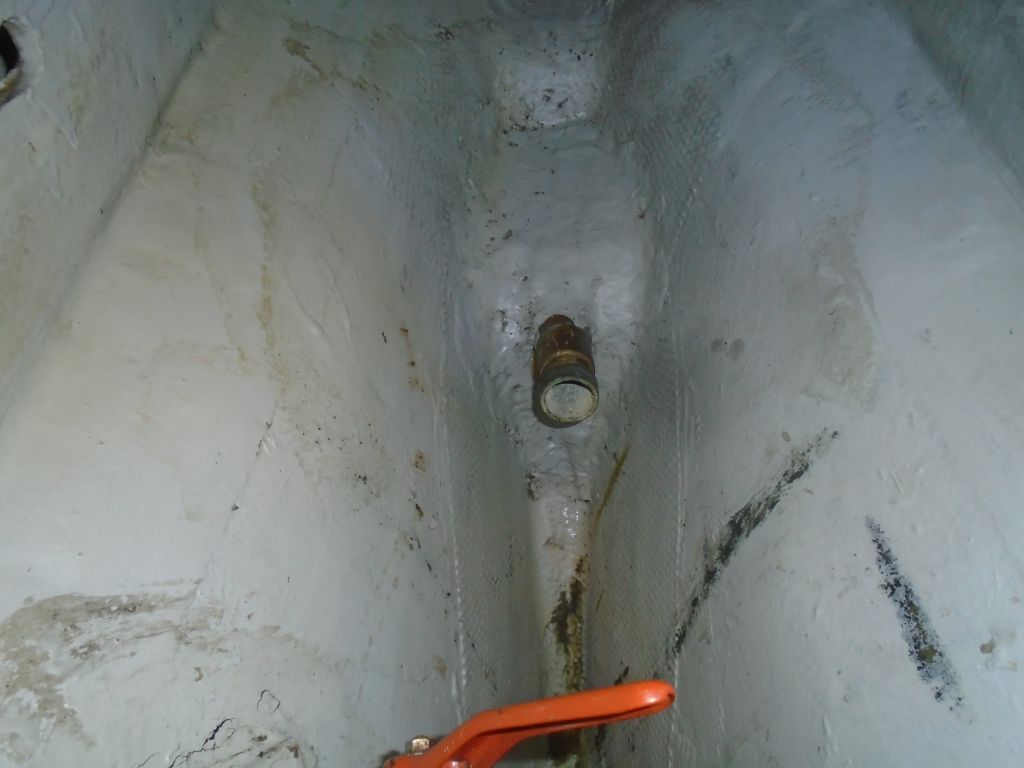
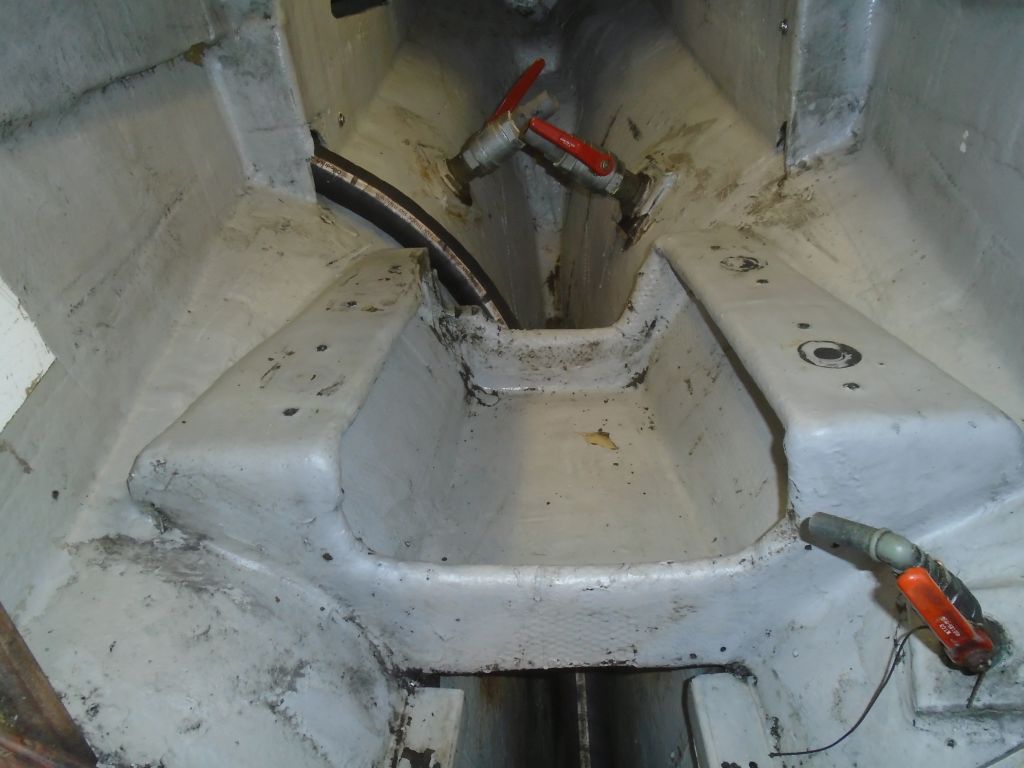
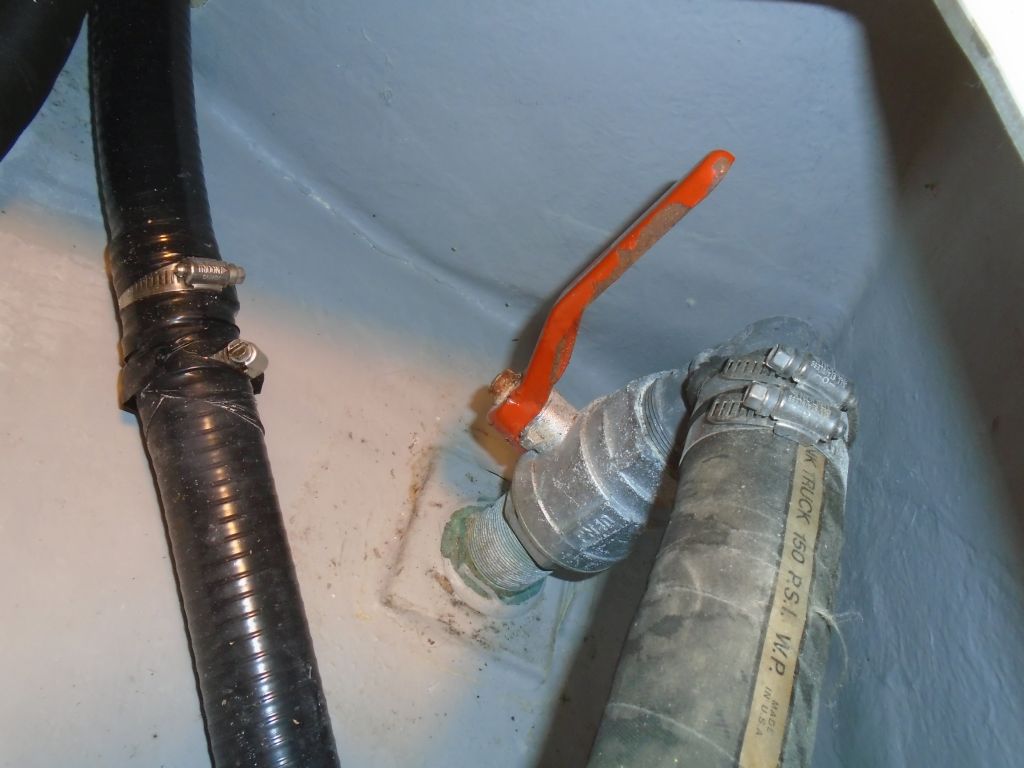
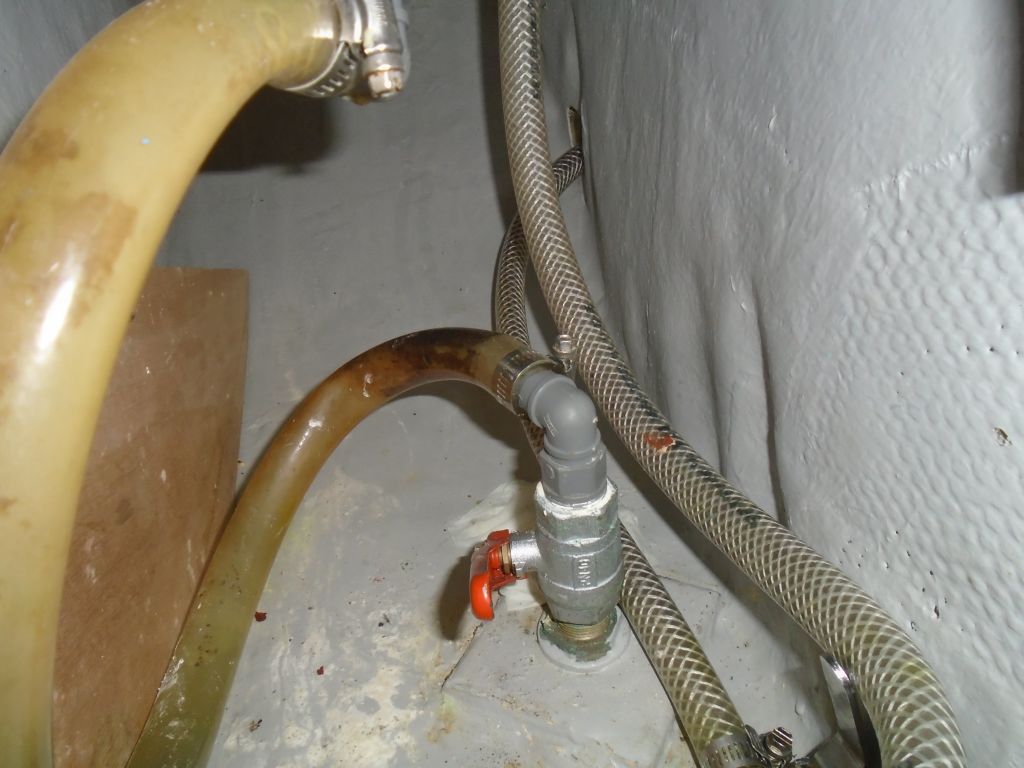
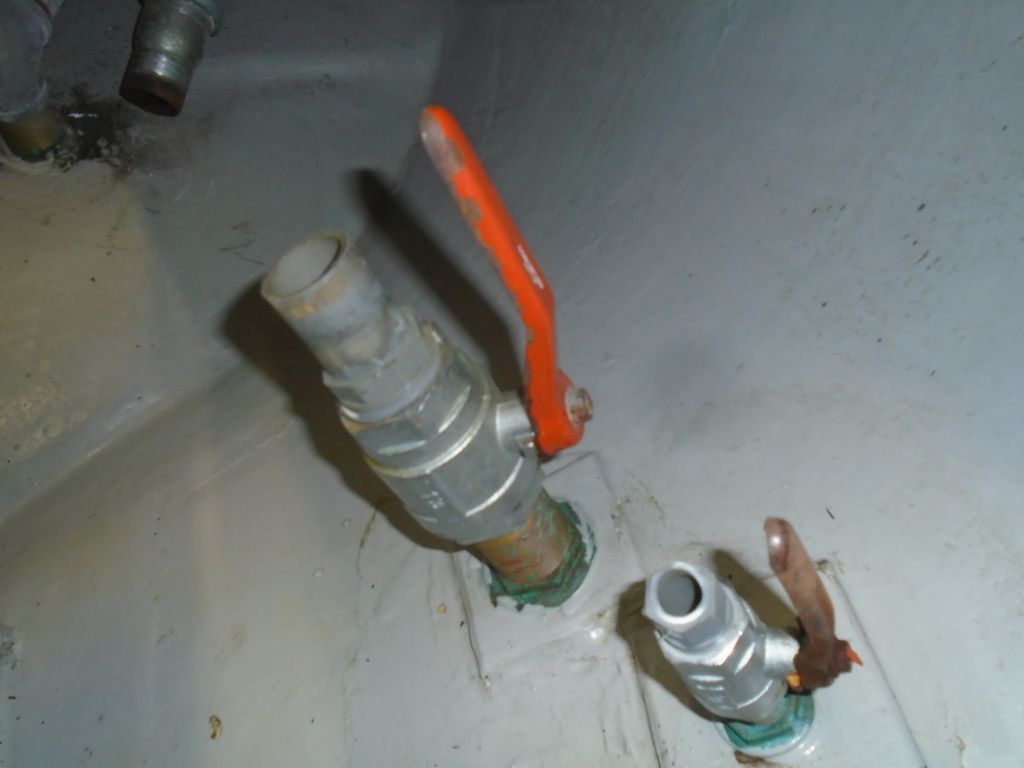
The existing through hulls (8 total) were in fair condition with bronze through hull fittings, to which were screwed ball valves of indeterminate type. All the valves operated when tested, some easily, some less so. In order as shown, these are the head intake and discharge; the galley sink drain; cockpit scuppers; bilge pumps (these two above the waterline); and engine intake. I hadn’t yet addressed the waste hoses (they were in decent condition and the waste system was outside of the scope of the project for now), but later I removed the drain hose from the galley sink, as the existing hose was ill-suited to its task. None of the installations was what I would do, but they were all functional and essentially sound as is. We’d be deciding soon how to proceed.


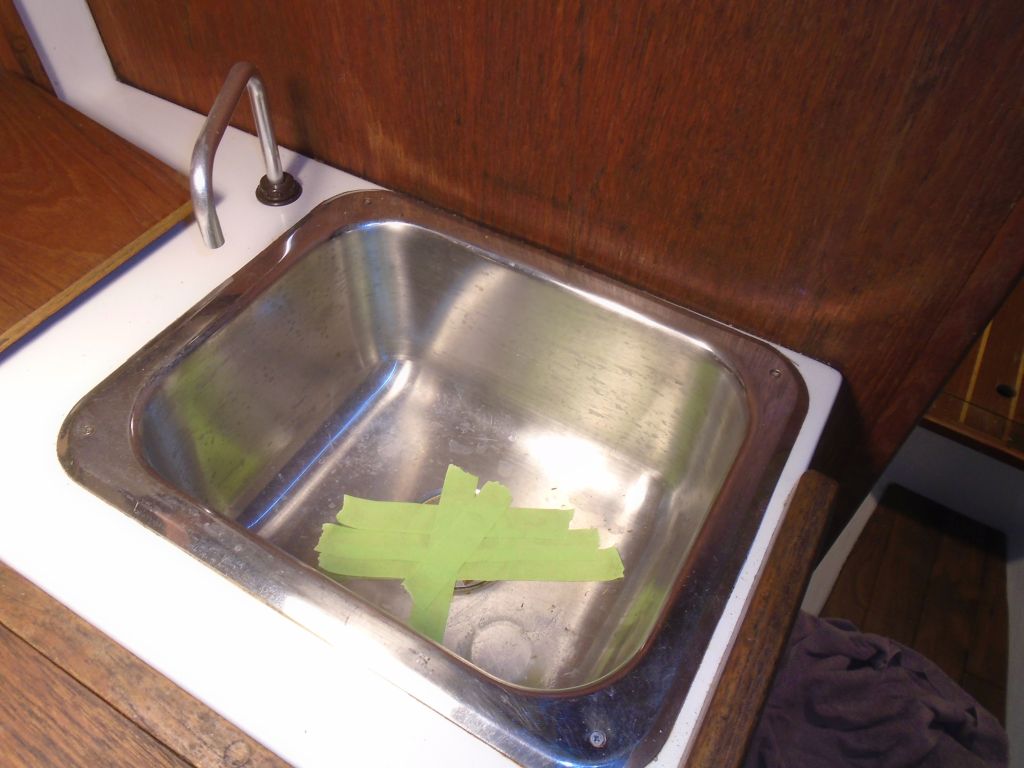
To better access the tight space beneath the galley, I removed the sink, which was secured with sealant and four screws from the top.

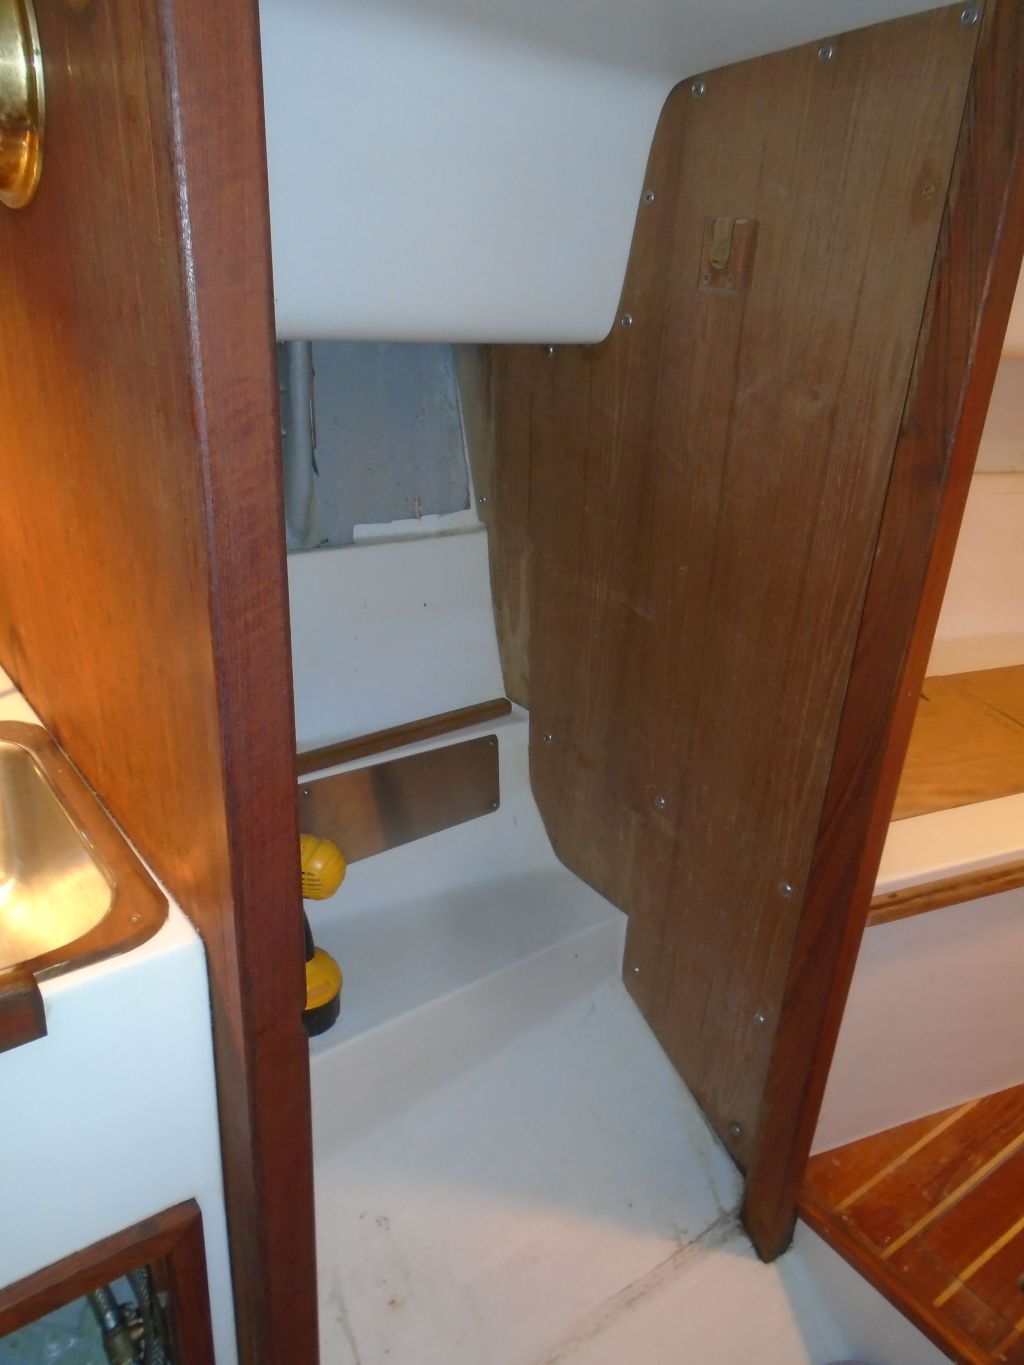
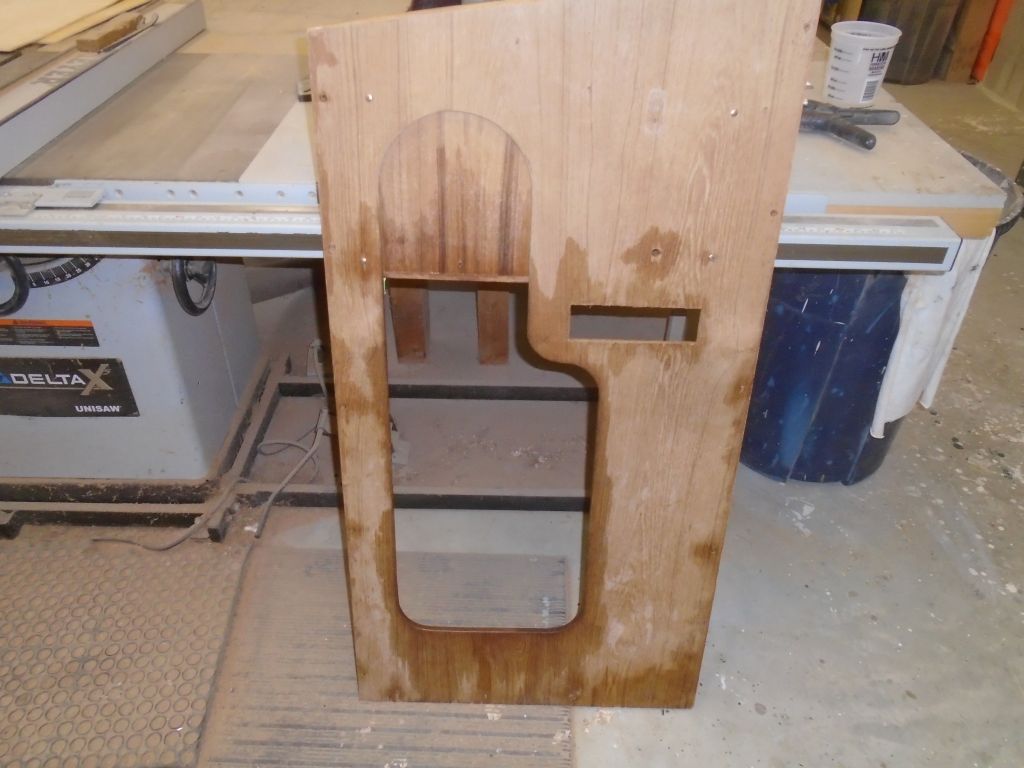
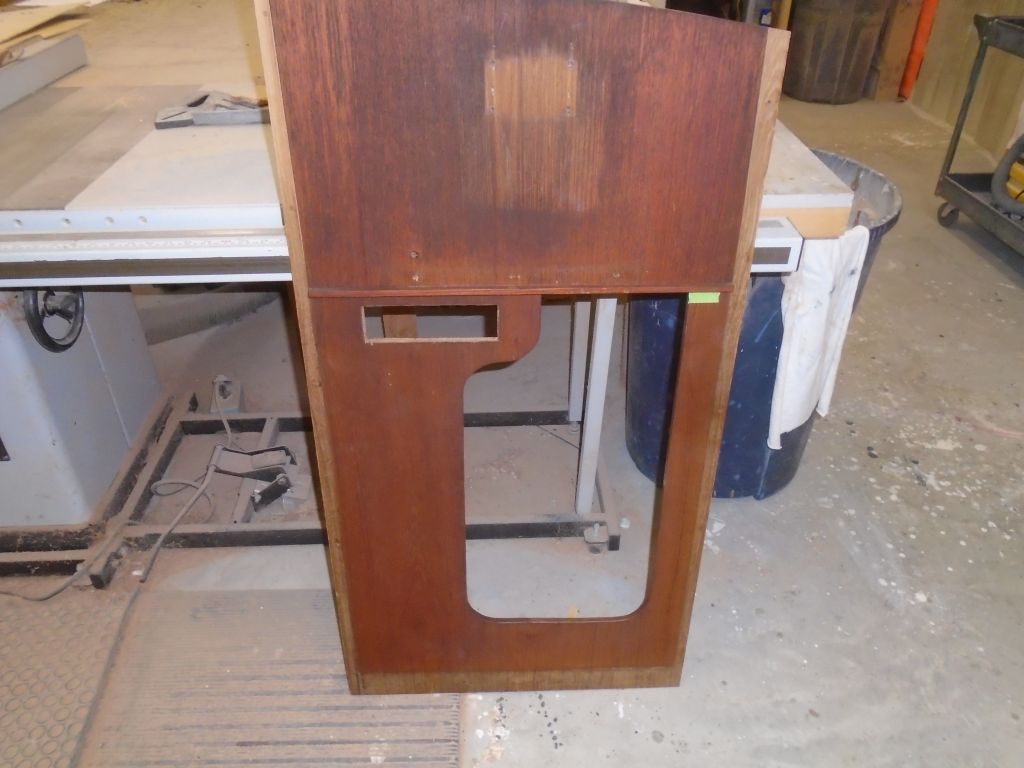
With the removal of the stereo from the hanging locker panel, the owner requested that I enlarge and make symmetrical the existing opening, which would also remove the old stereo hole. To make this easier, I removed the whole panel, which was secured with screws from inside. It’d be simpler to make the changes down on the bench. This would also improve access to the space for wiring or other needs.
With most dismantling and systems removal now complete, and the spaces mainly cleaned up, it would soon be time to begin new installations and rebuilding.
Total time billed on this job today: 7 hours
0600 Weather Report:
33°, rain, coating of snow and sleet overnight rapidly turning to slush. Forecast for the day: rain, high in the 40s, then clearing and temperature dropping through the 20s and teens overnight.