


March 8, 2016
Salty 11
Tuesday
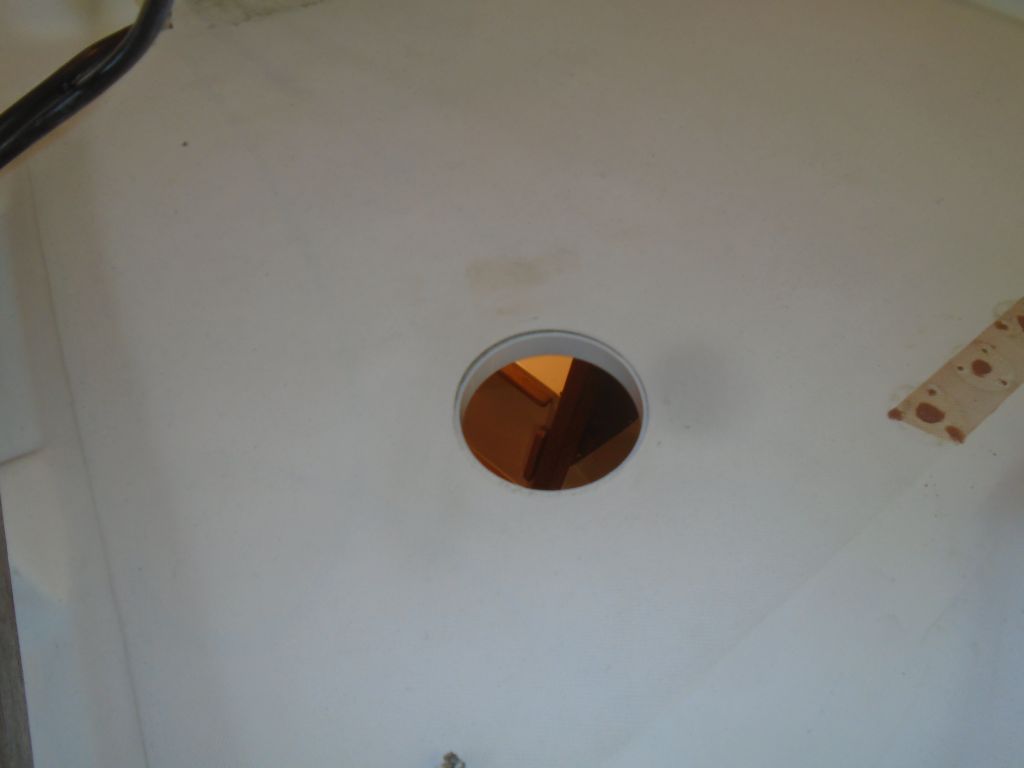
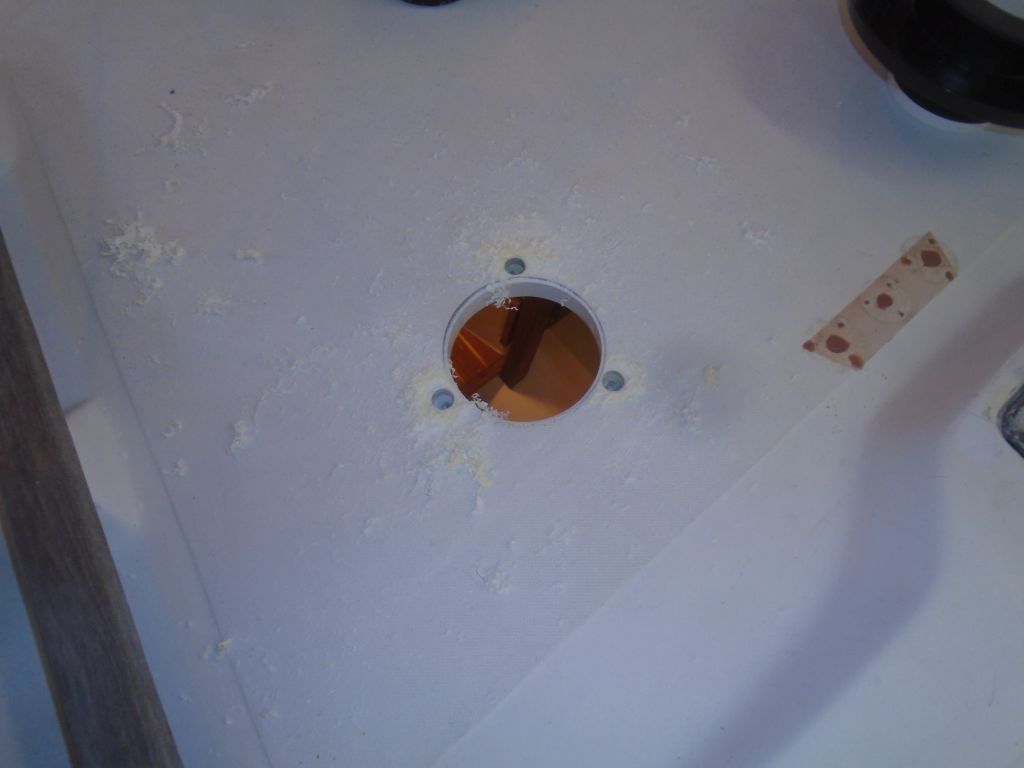
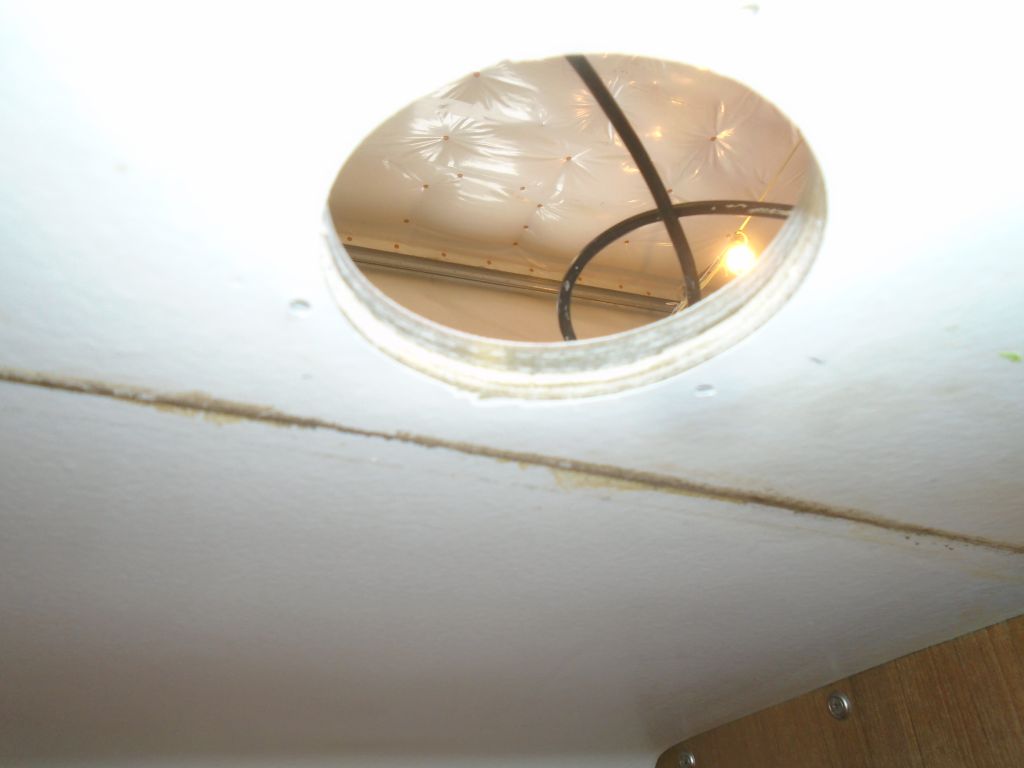
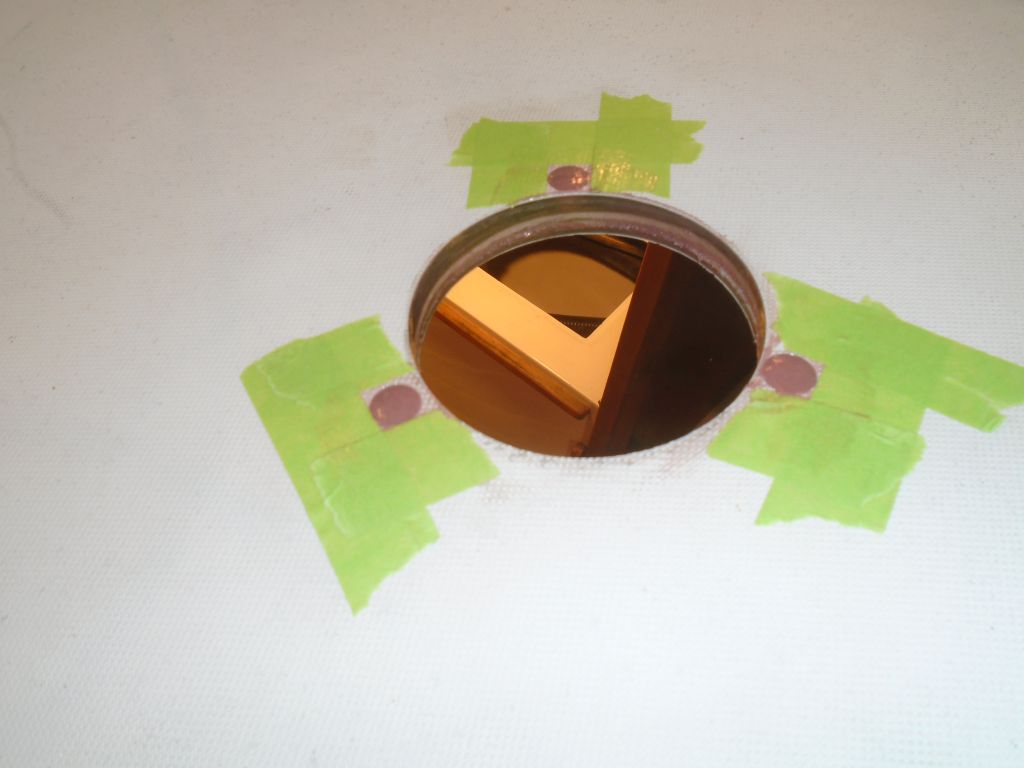
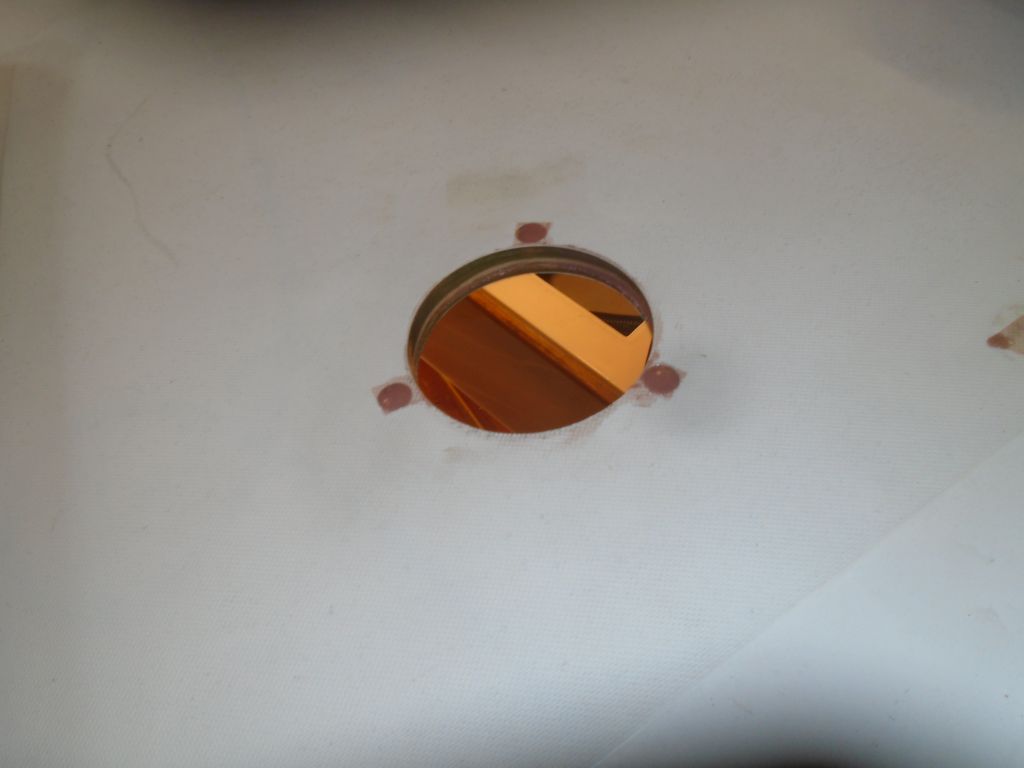
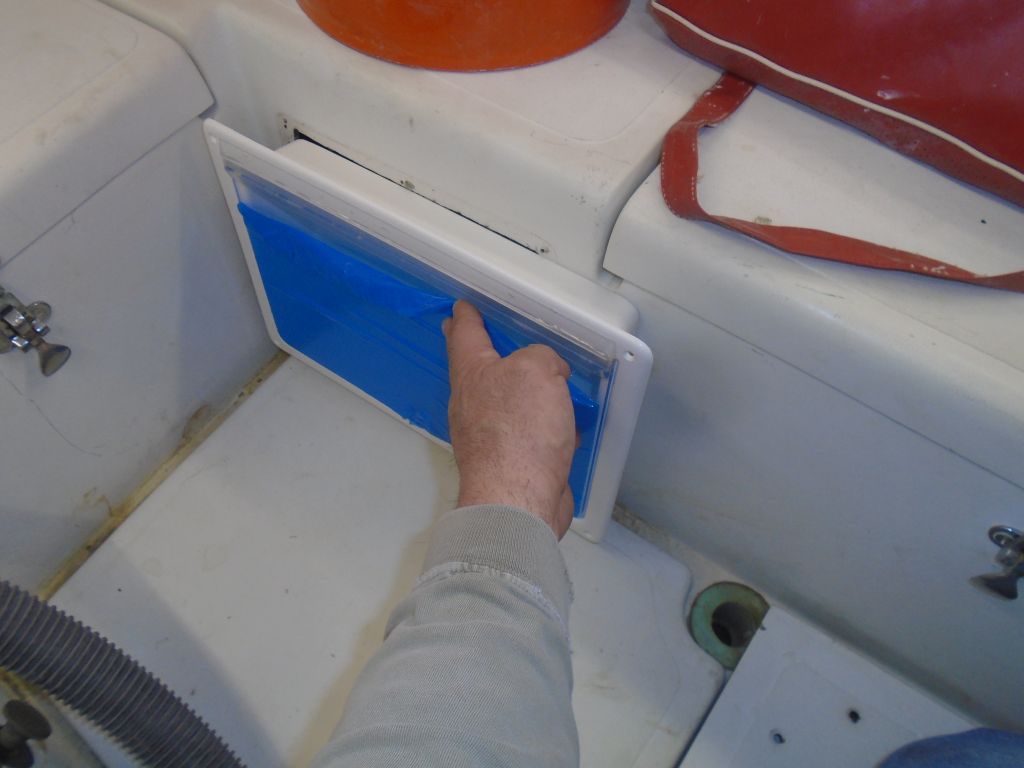
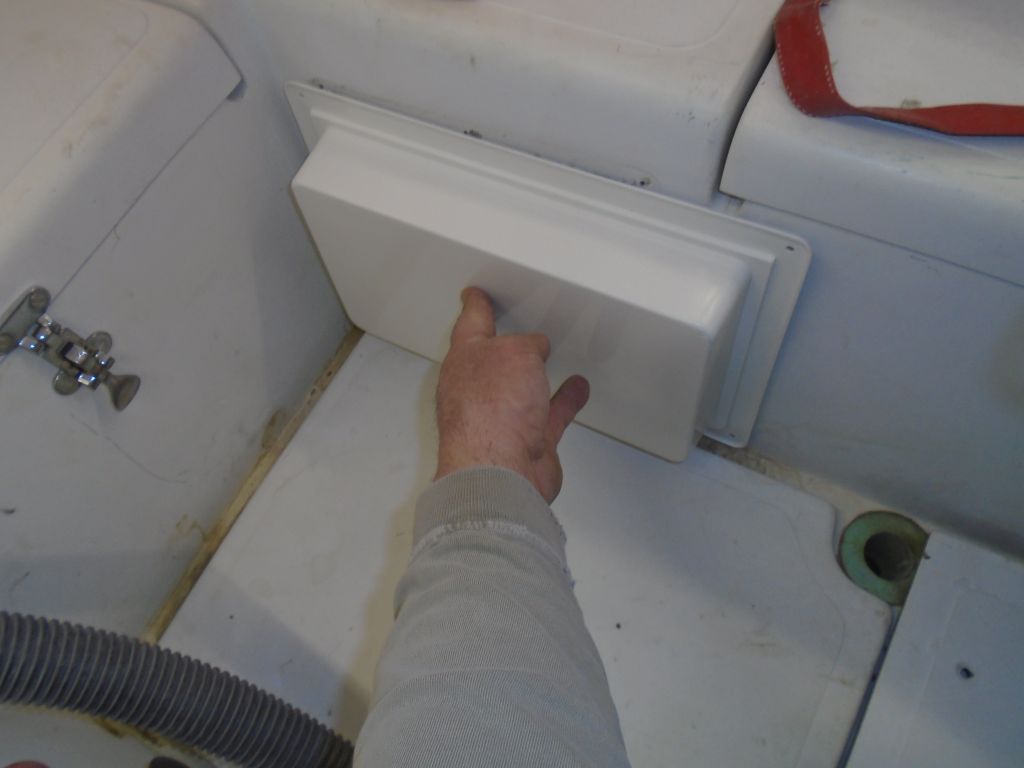
After going through several boxes of newly-arrived parts and supplies, I decided to continue with the solar vent installation, as this would require some additional hole and deck preparations. The location was preordained, more or less, but to determine exactly where to install the vent over the newly-filled deck hole left over from the old cabin heater, I started in the cabin with the included plastic trim ring so I could locate the vent where it’d be clear of the hanging locker bulkhead, which was nearby to port. Once I’d determined that, I drilled a pilothole from inside, which allowed me to start the hole saw in the right location from the deck surface. This fitting required a 3-3/4″ hole. The deck was in good condition within this opening. The only core visible was a layer of what appeared to be Coremat or similar laminate bulker, which was low in the opening near the tightly-fitting inner liner. This laminate schedule was mirrored elsewhere in the decks where I’d so far drilled holes (such as the midships cleat locations and bow pulpit).

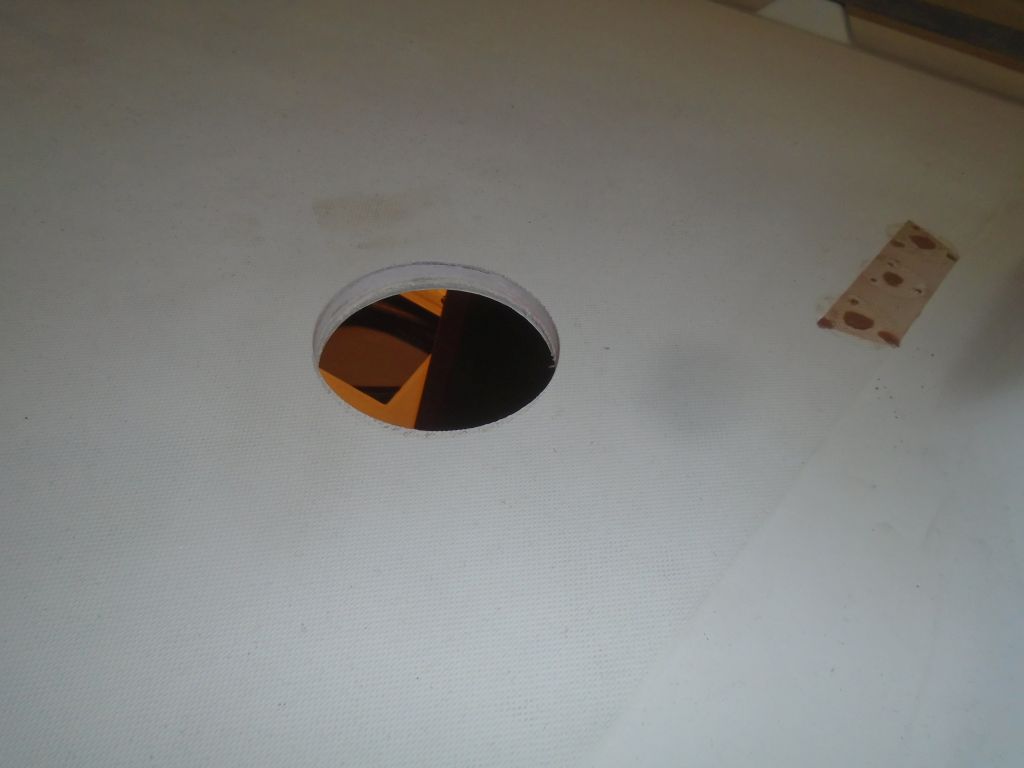
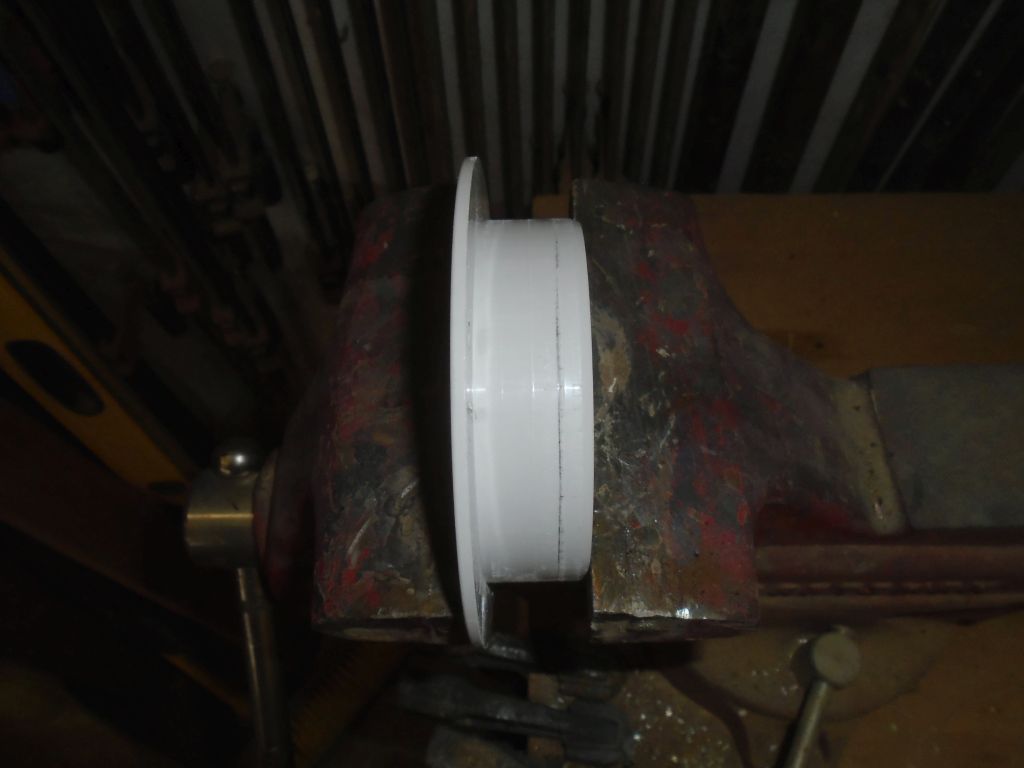
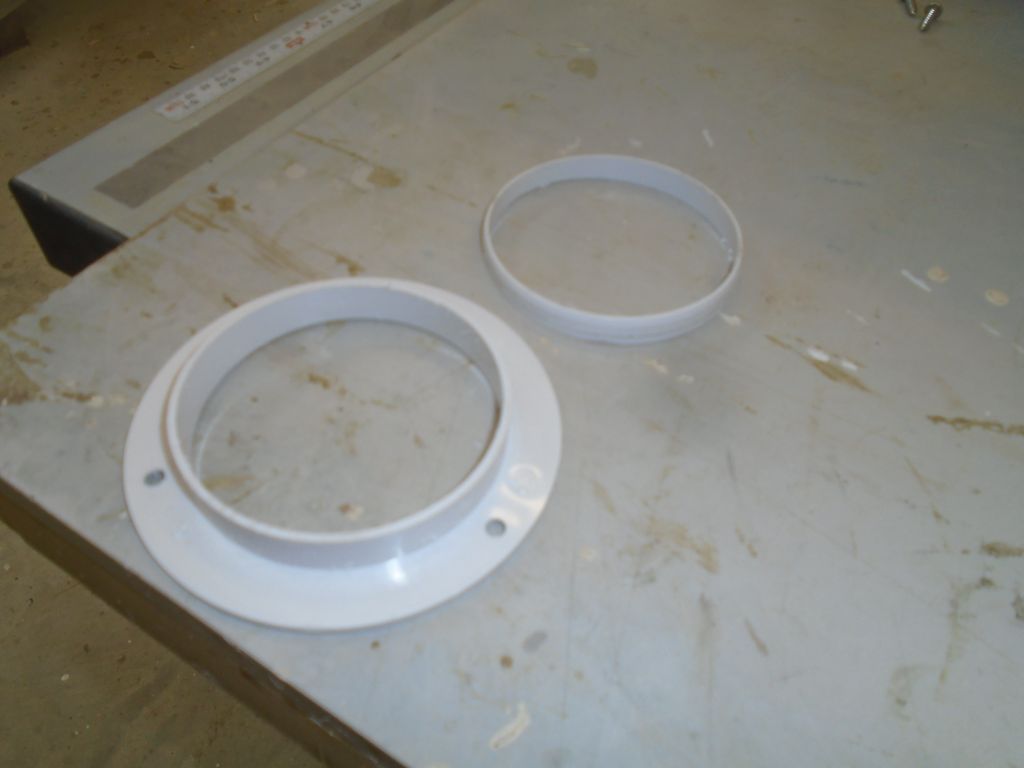
The plastic trim ring that would help dress up the inside of the opening was too tall for the thickness of the deck, so I used a fine saw to cut off the excess, allowing for a flush fit within. Then, with the trim temporarily installed from within, I could insert the top portion of the vent (with the top removed for access) and mark the fastener holes. Even though there wasn’t much for core material, and the fasteners might not even penetrate what passed for it. I overbored the fastener location as a matter of course, and filled the voids with thickened epoxy. I also coated the inside of the large hole with epoxy to seal it.


While working in the cockpit the day before, I’d noticed that the space available where the old engine instrument panel had been was a lot smaller than I remembered, and, having recently unpacked a special molded and covered recess for the new panel (which I’d never used before, as it was a fairly new offering), it occurred to me that there’d not be room for the insert. While the panel itself was nearly the same size as the old one, the insert was substantially bigger, and a quick test-fit confirmed my fears: there simply wasn’t enough space in this small cockpit to fit the large enclosure. It interfered with the locker lid gutters and the cockpit sole. I’d have to send this back, unfortunately, and install the panel normally.
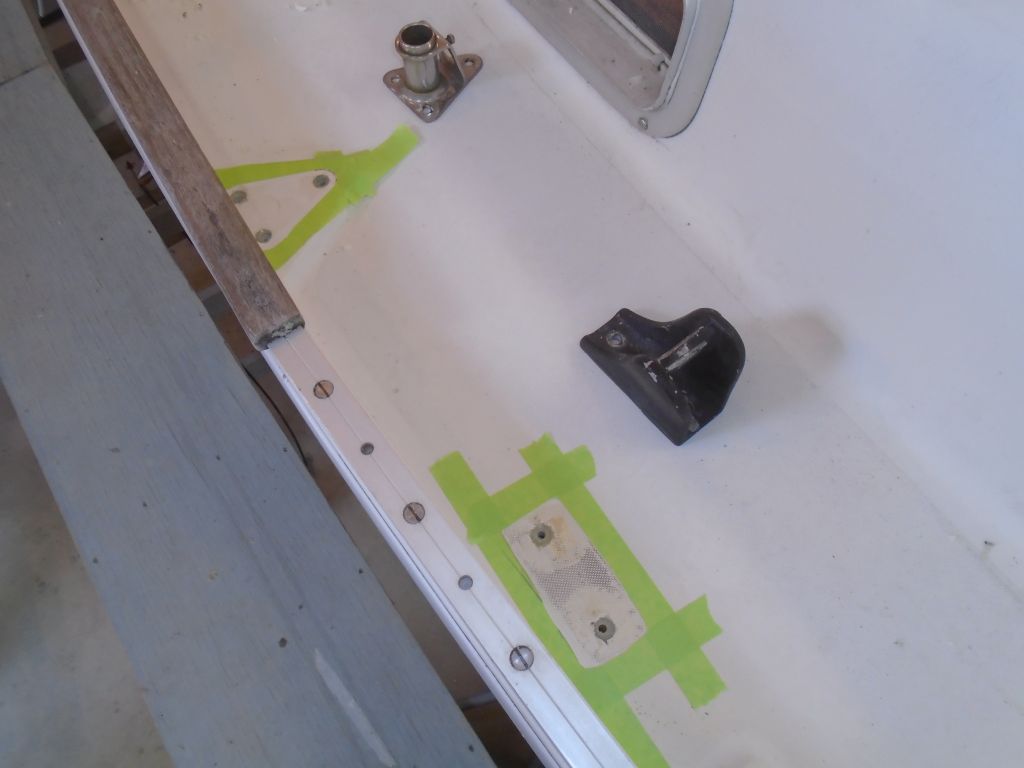
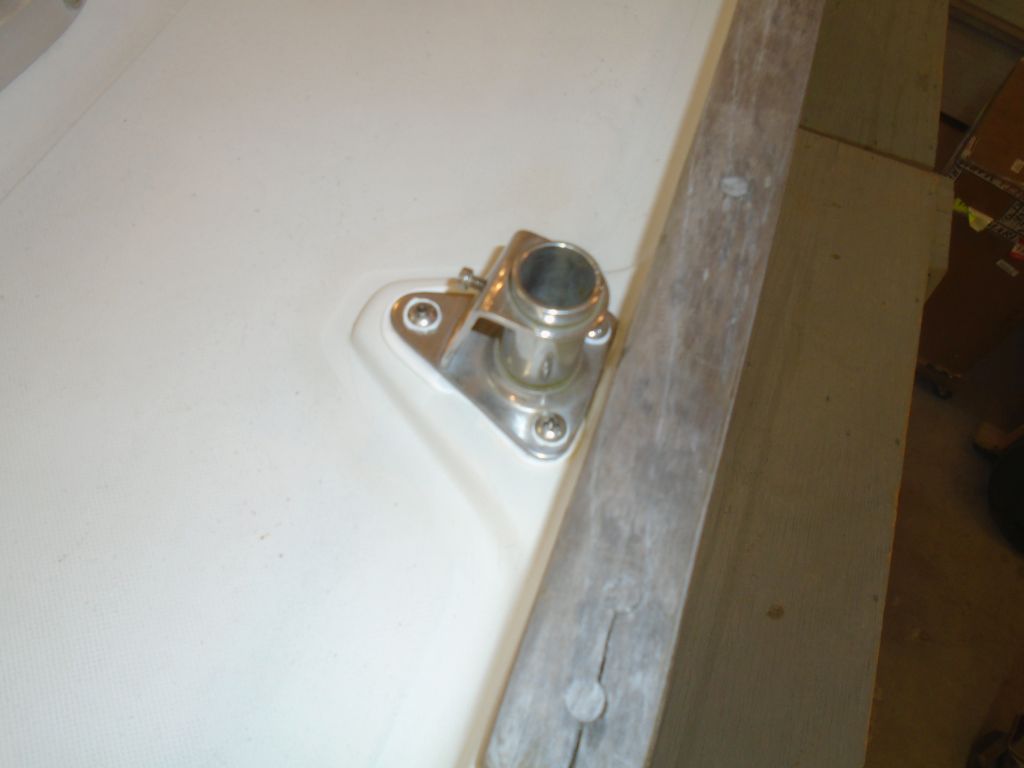
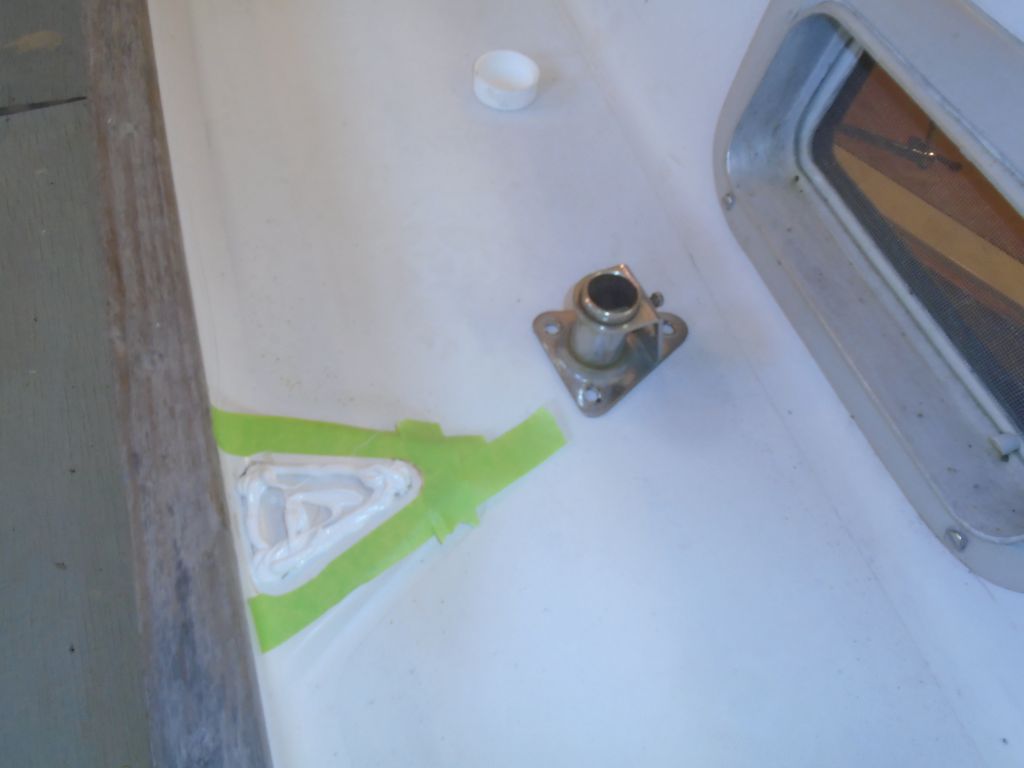
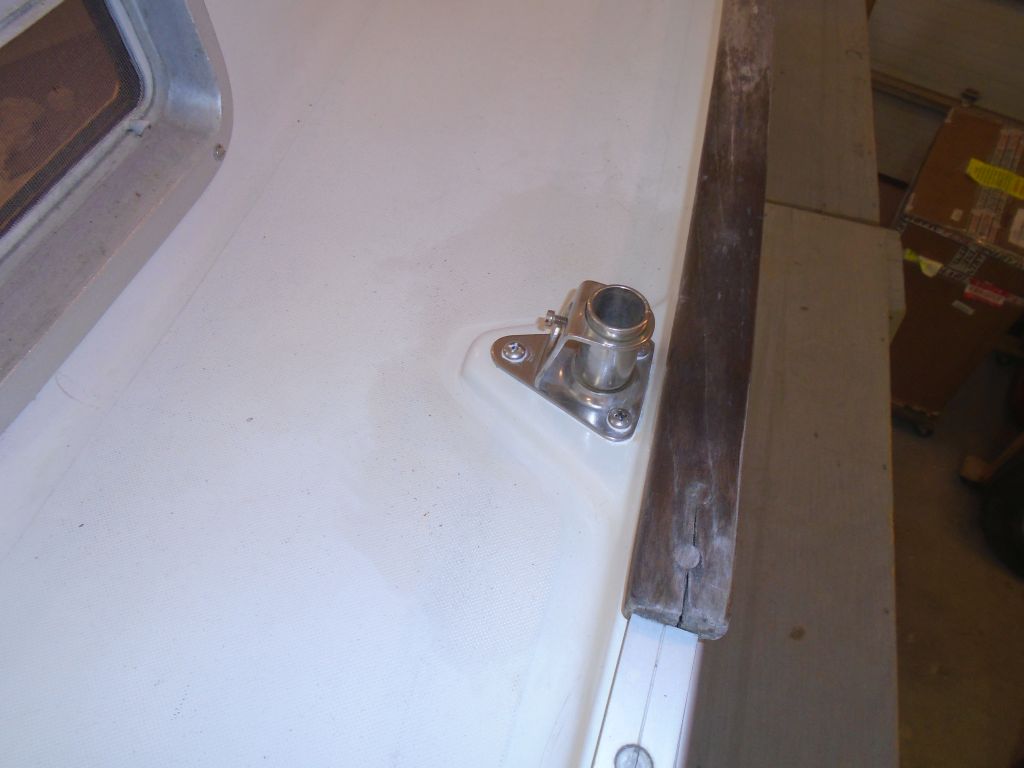
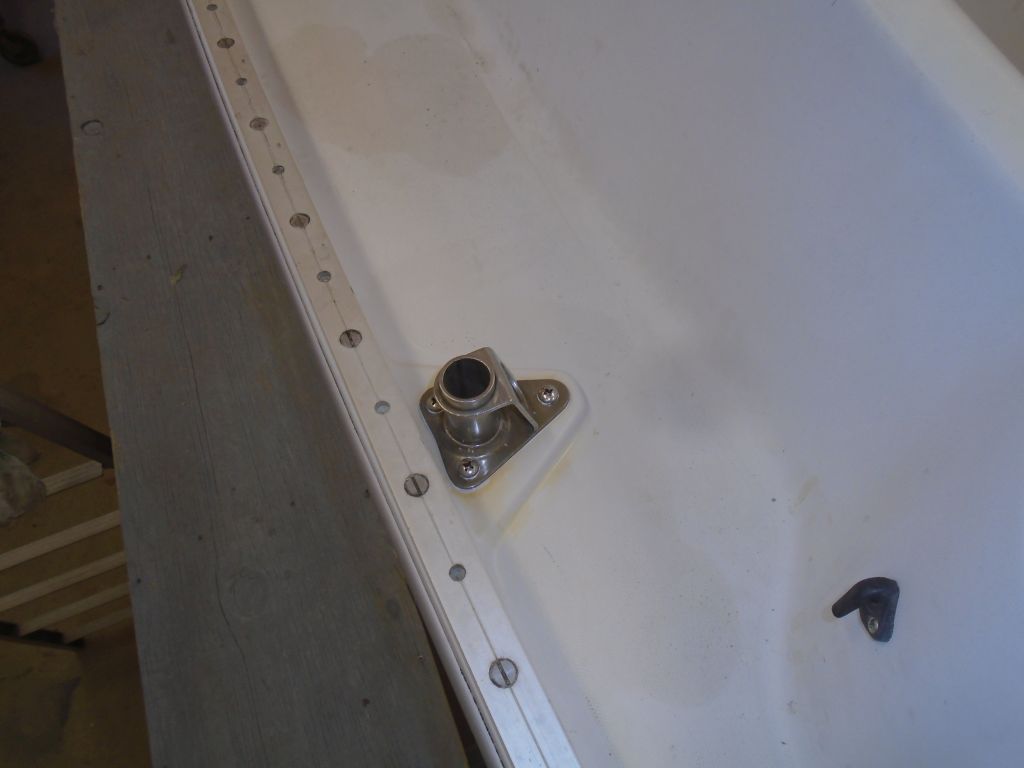
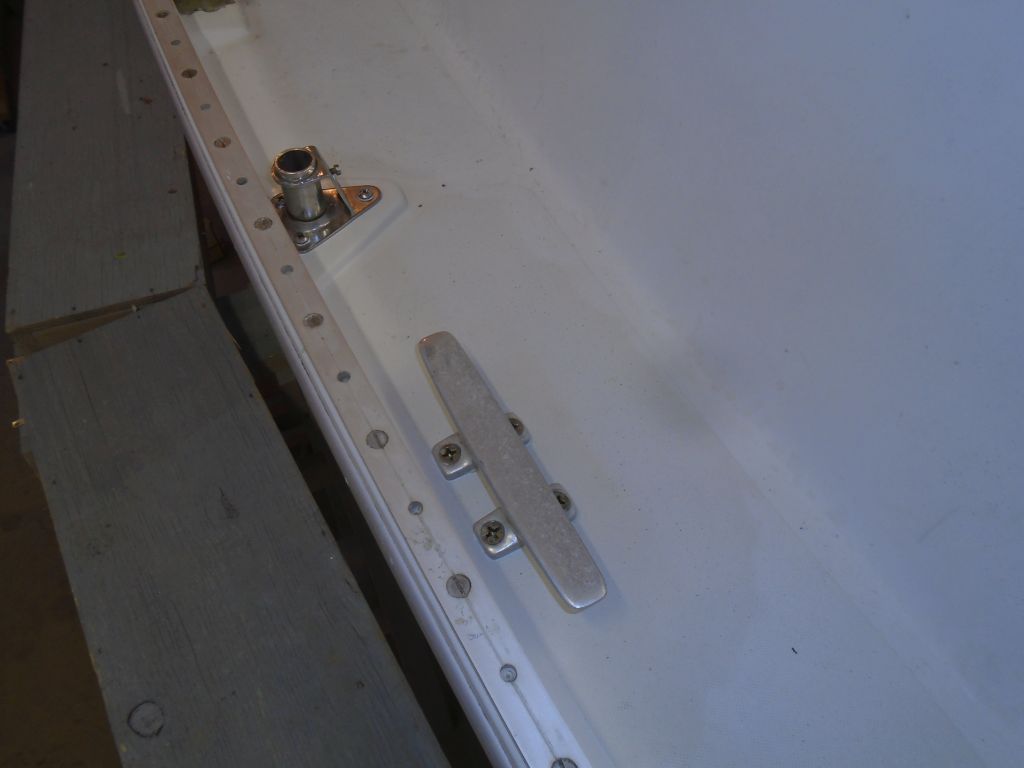
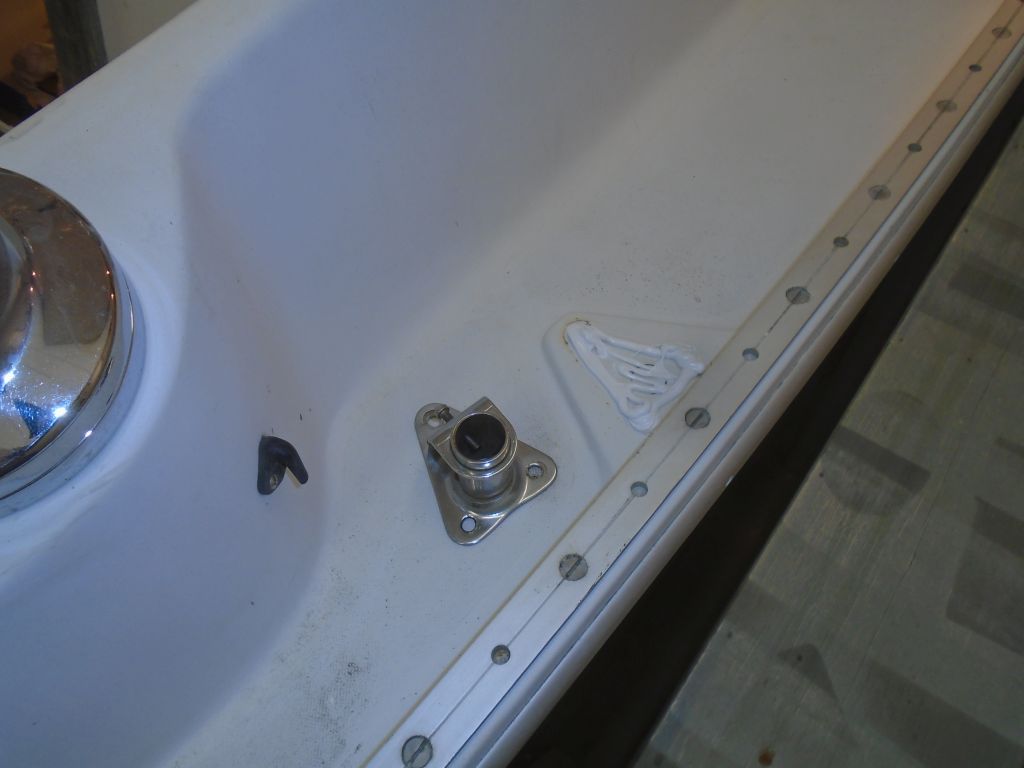
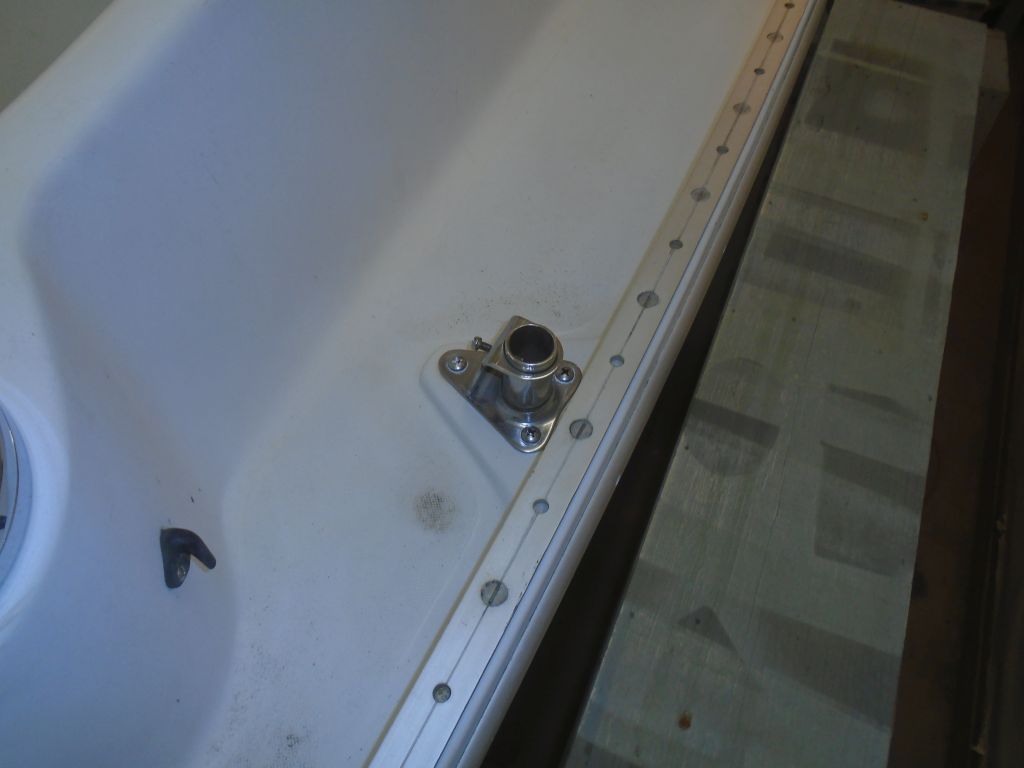
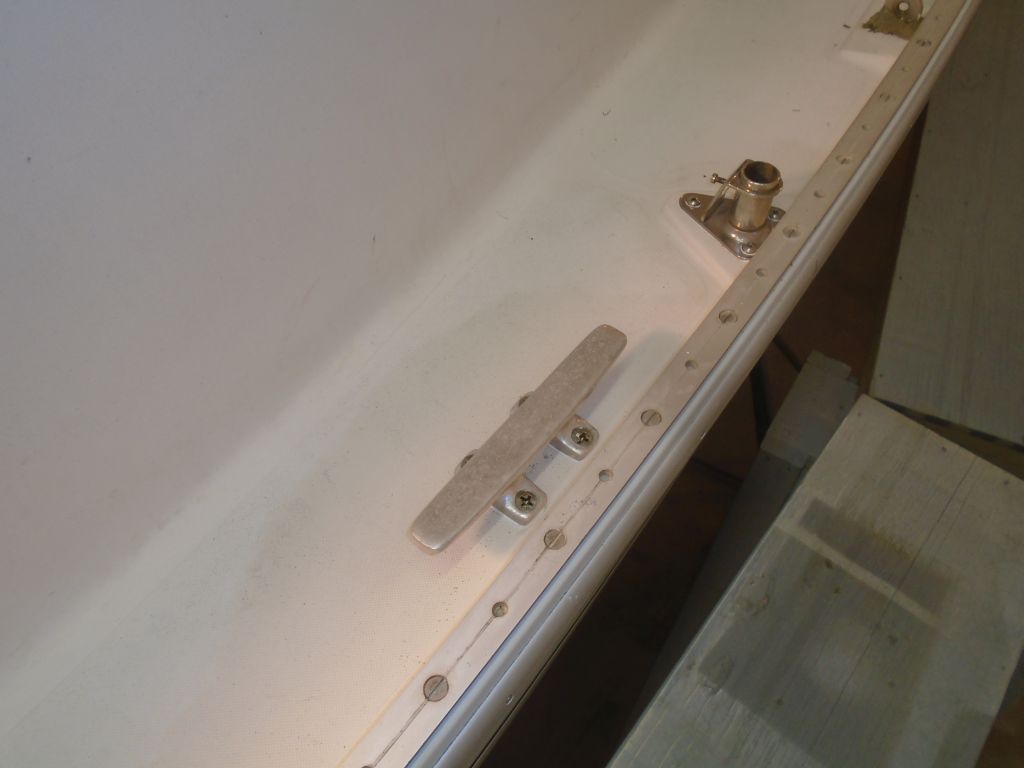
Now that the hardware holes for the stanchion bases and other sidedeck hardware were epoxy-filled and cured, I decided to move on with the reinstallation and rebedding of the hardware that I’d removed. So at each location, I prepared the deck by marking, drilling, and tapping the new epoxy for the appropriate size machine screws, and masking around the hardware to protect the deck from sealant (mainly nonskid areas). Because of the raised, smooth-gelcoated platforms on which the stanchion bases sat, after masking all three on the port side I decided that it really wasn’t required for the second side, so I skipped this step for the stanchion bases on starboard, which saved time and effort.
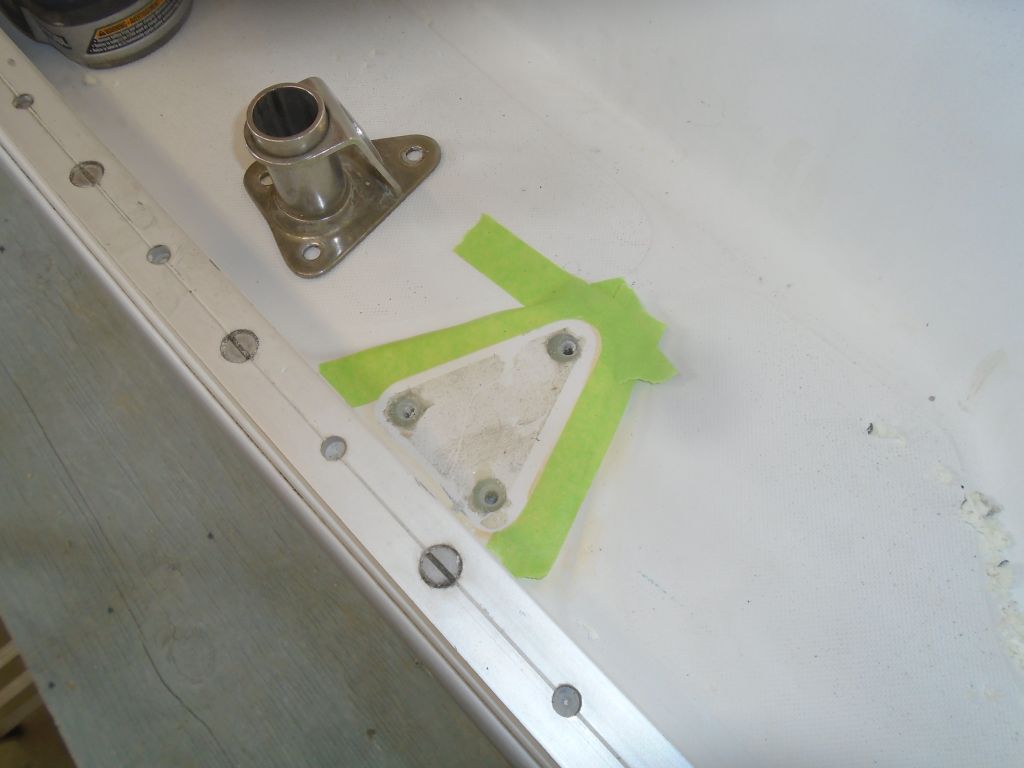


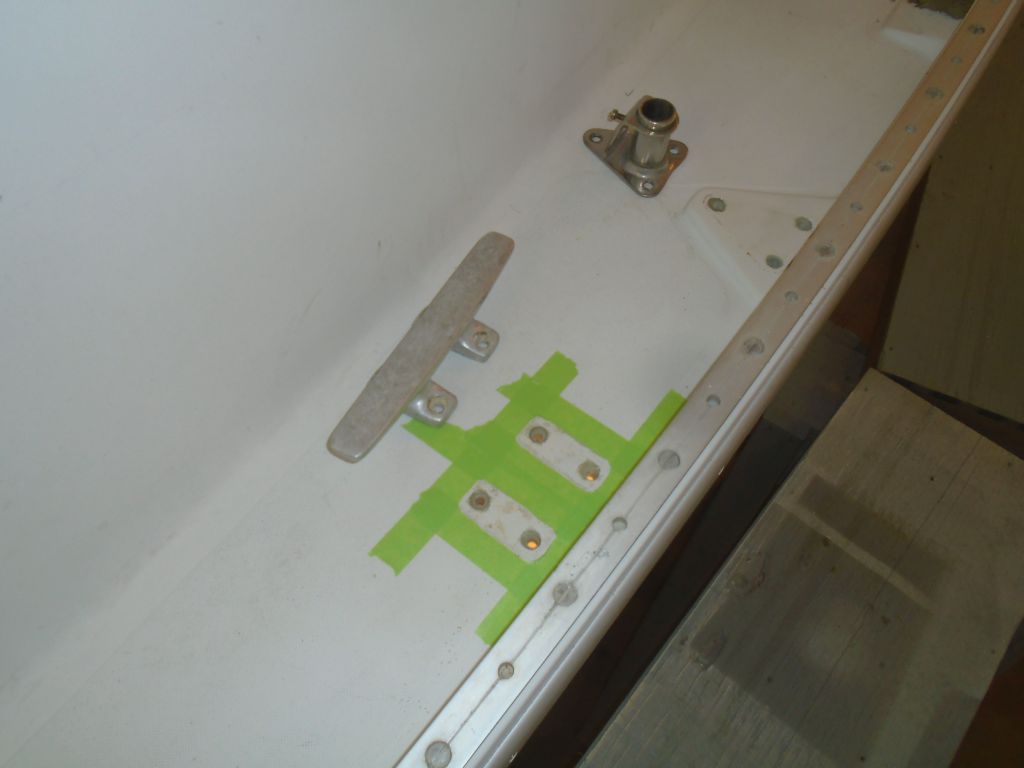
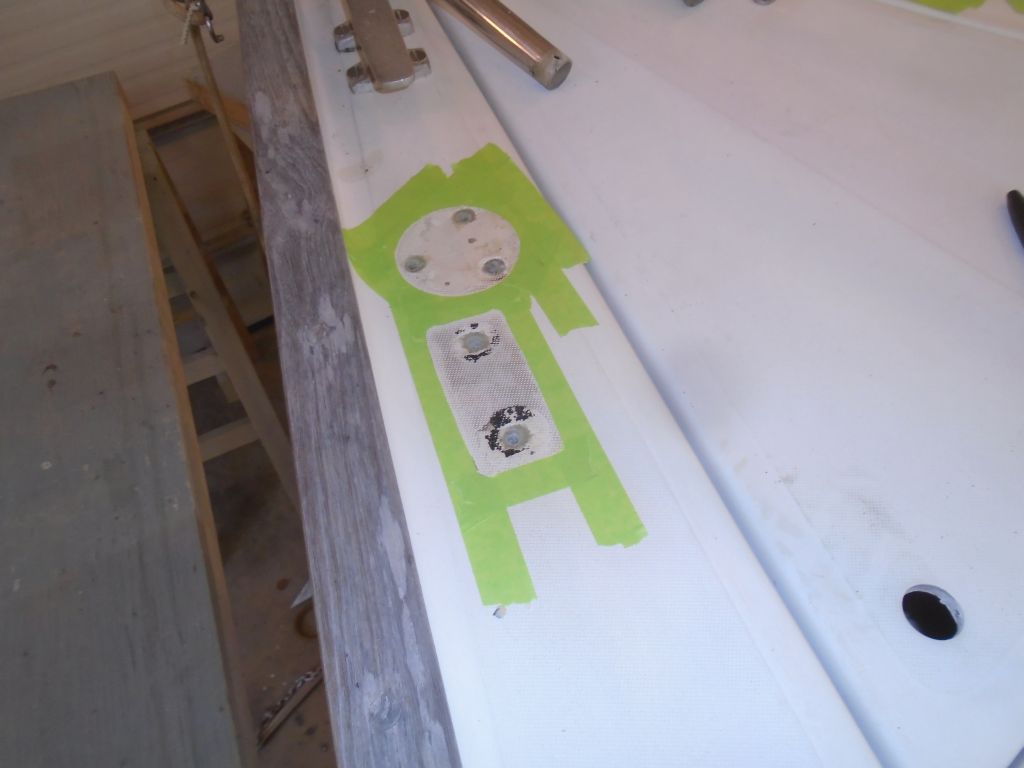

With all the locations prepared, I started at the bow and installed all the hardware. The pulpit and forward spinnaker pole chock was easy enough to complete.


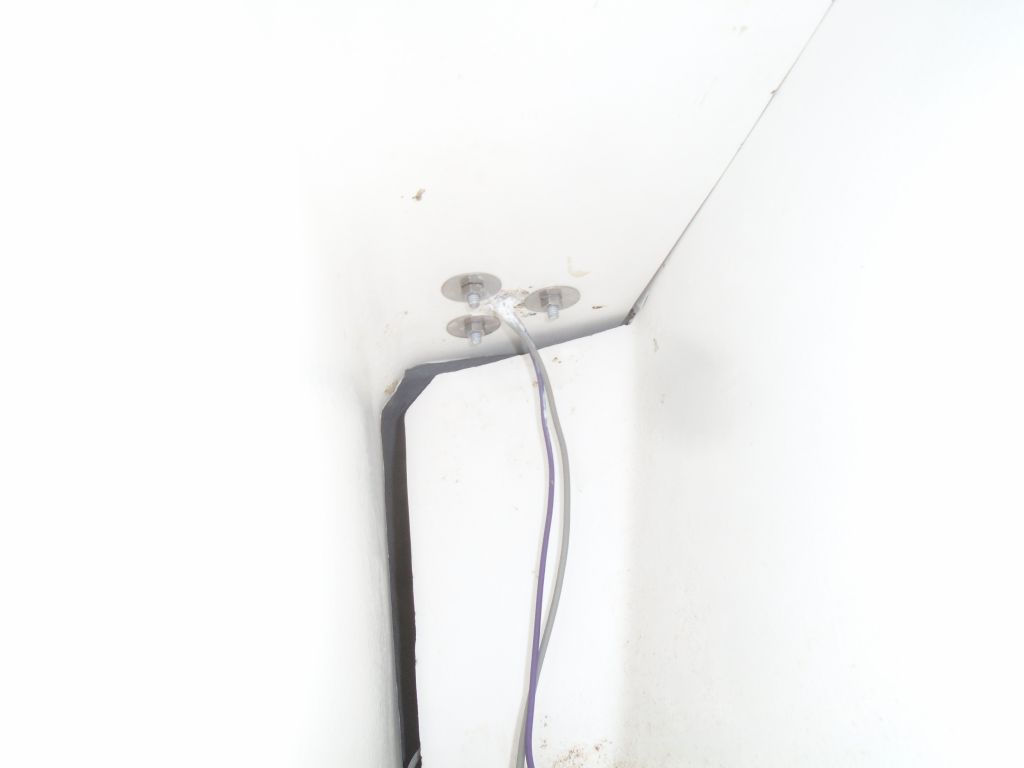
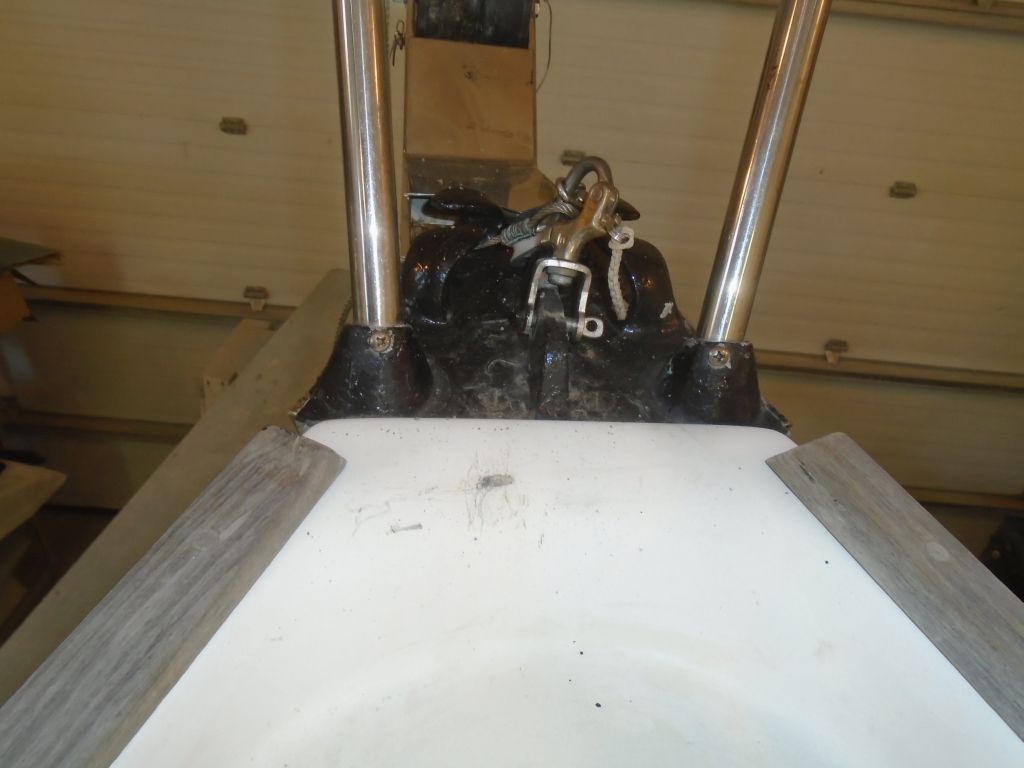

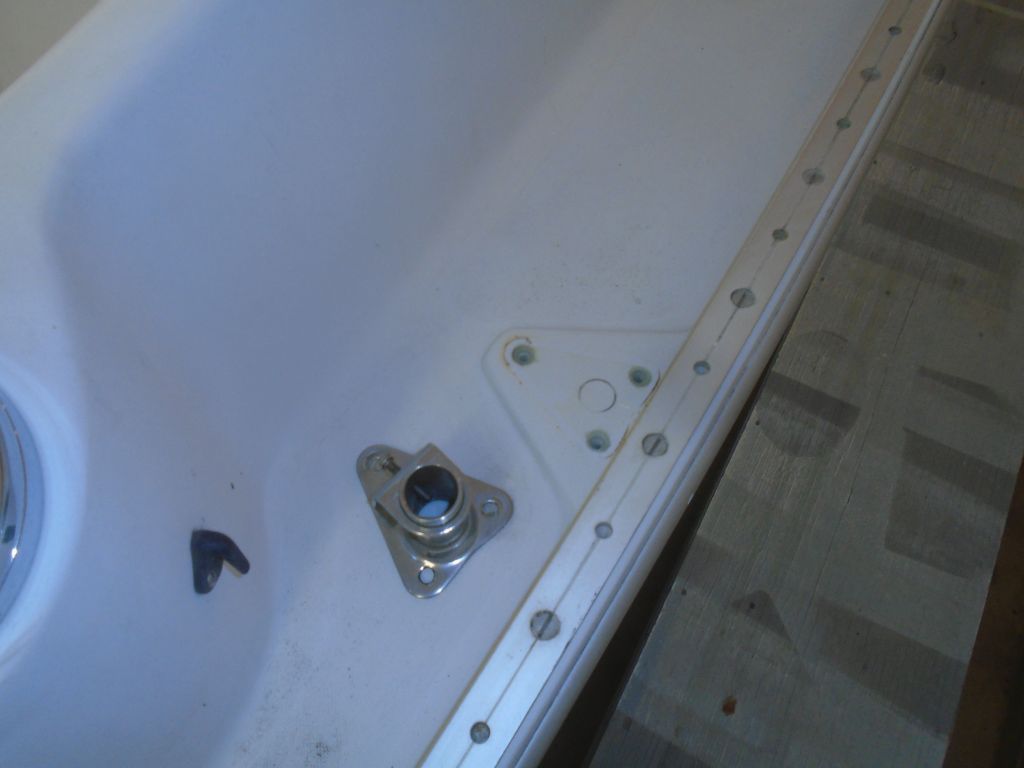
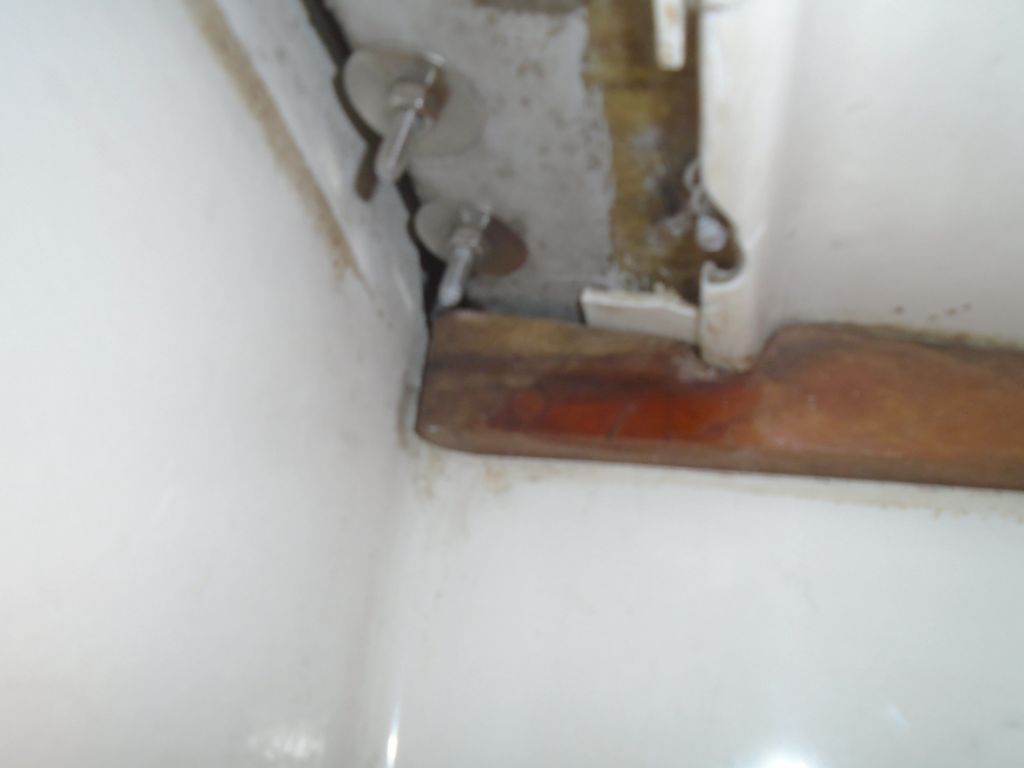
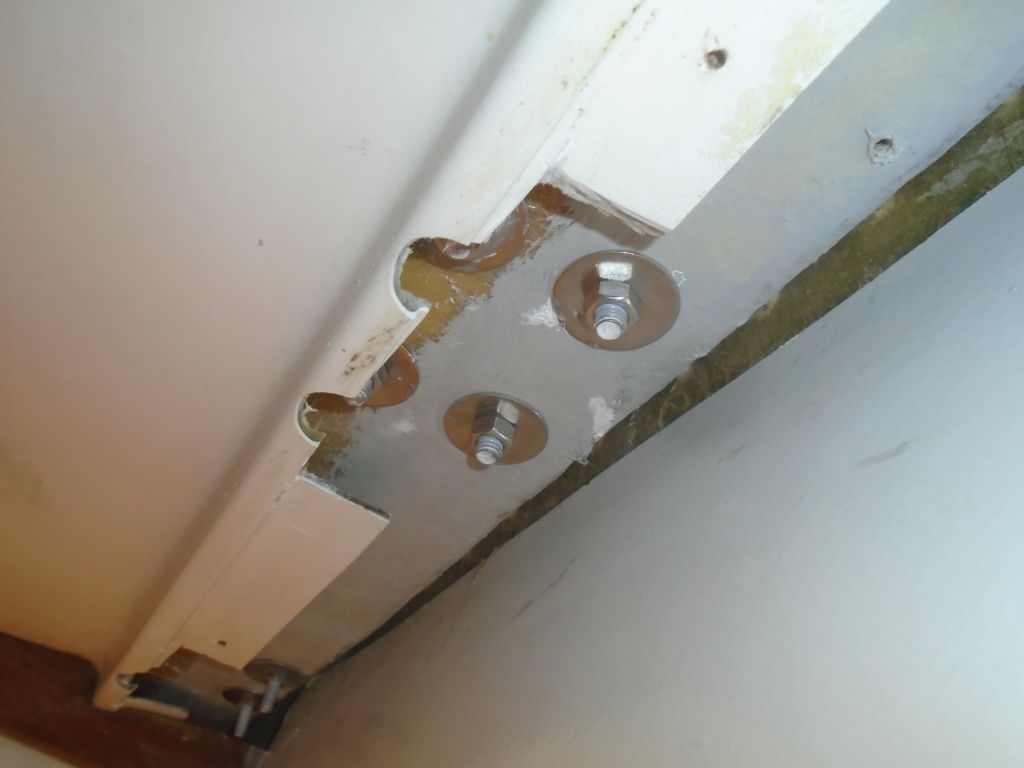
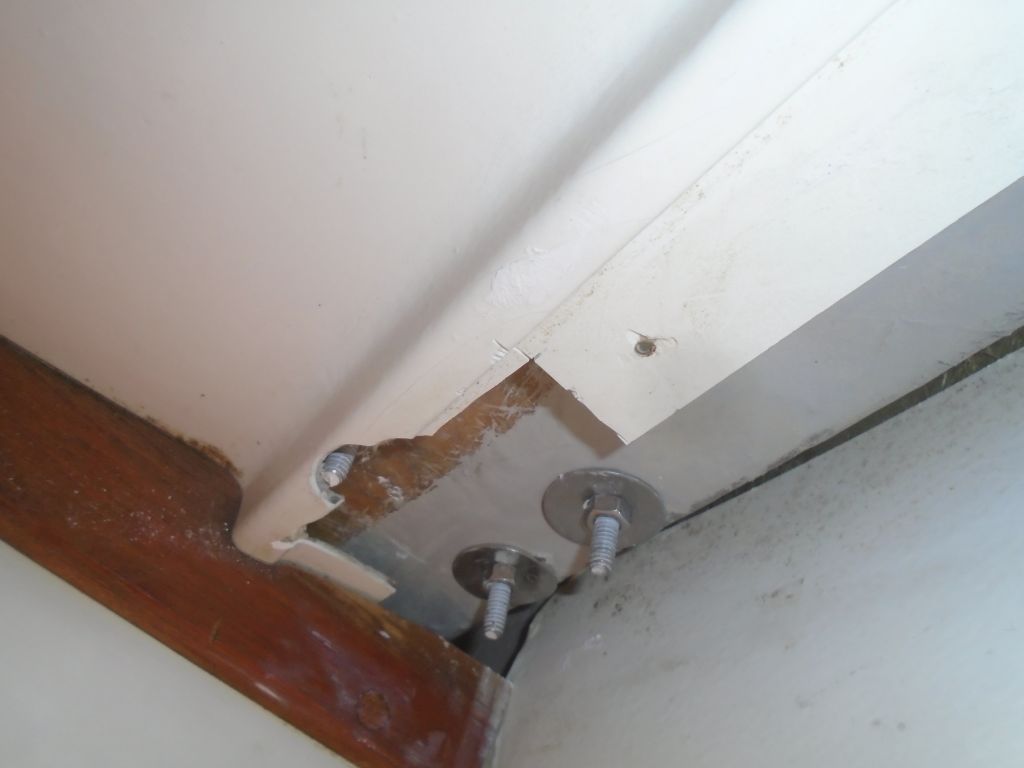
Moving on to the forwardmost stanchion bases, things slowed down considerably. If I thought that removing the old fasteners from those liner-hidden inboard locations of the stanchion bases the reinstallation proved me wrong: removal had been a day at the beach. Trying to thread nuts and washers onto these fasteners–blind and without even room for a pair of fingers–proved to be frustrating and time-consuming, and ultimately the only way it could happen was for me to open up the edge of the liner in way of the fasteners, just to allow a way to get the nuts started. I’d determined at the onset that there was no practical means of installing backing plates, nice as that would have been; as it happened, there was barely room for nuts and washers on these inside locations. I tried everything I could before resorting to using a drum sander to create a rounded notch in the molded liner in order to reach the inner fastener on each stanchion base, but there simply wasn’t enough access to start the nuts and washers till I made some room.
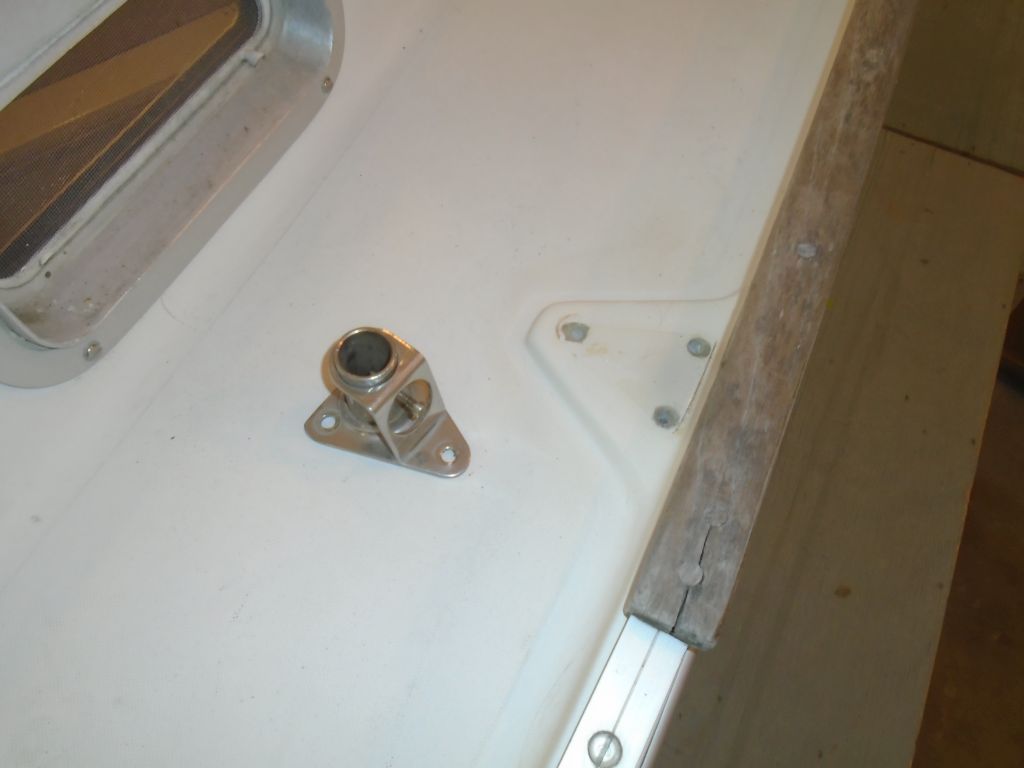
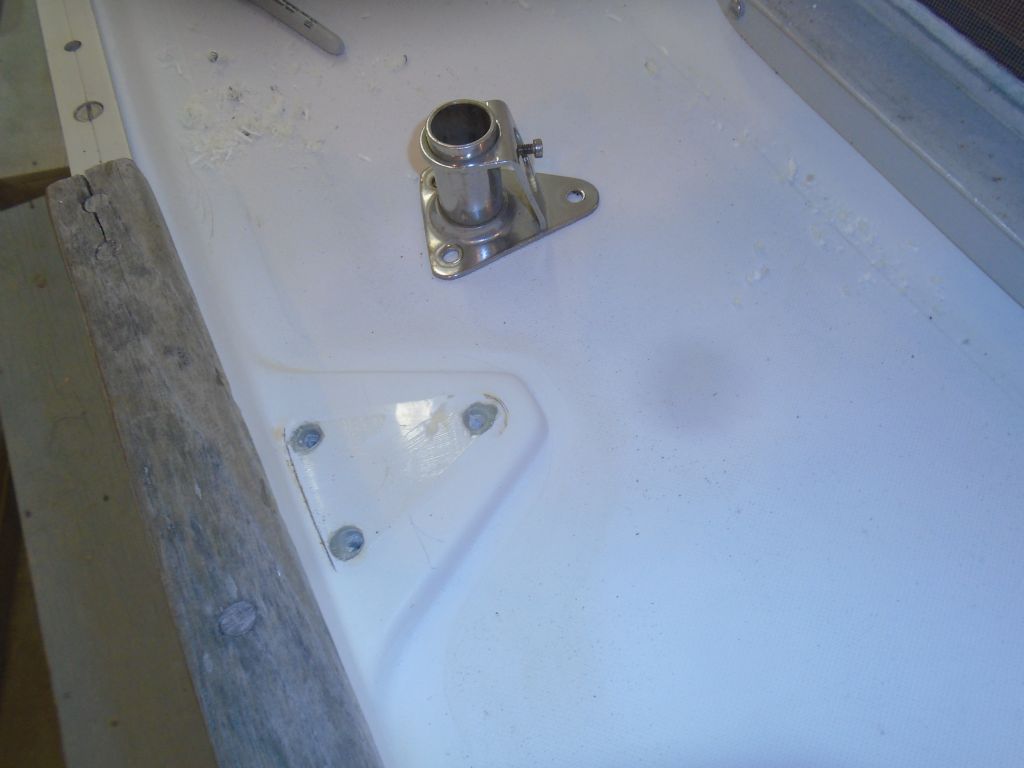
Even the after pole chock was challenging, since the forward bolt was directly above the bulkhead, and I had to leave the bolt partially unthreaded (from above) in order to leave enough room beneath for me to start the washer and nut, after which I could tighten down the bolt the rest of the way.

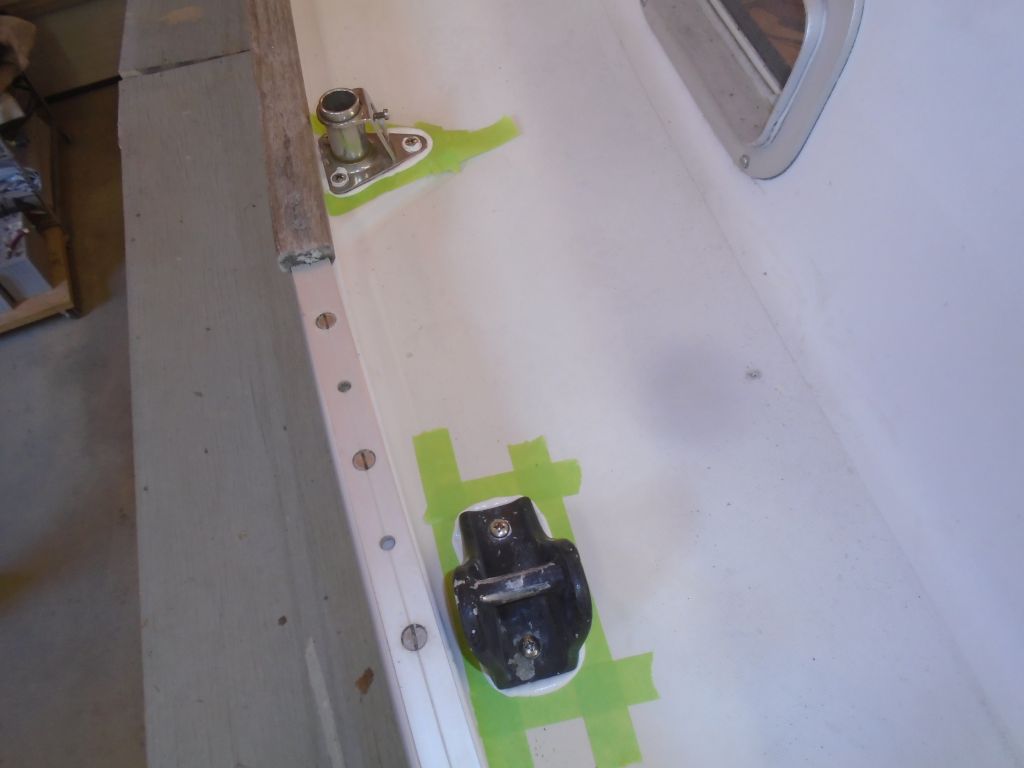

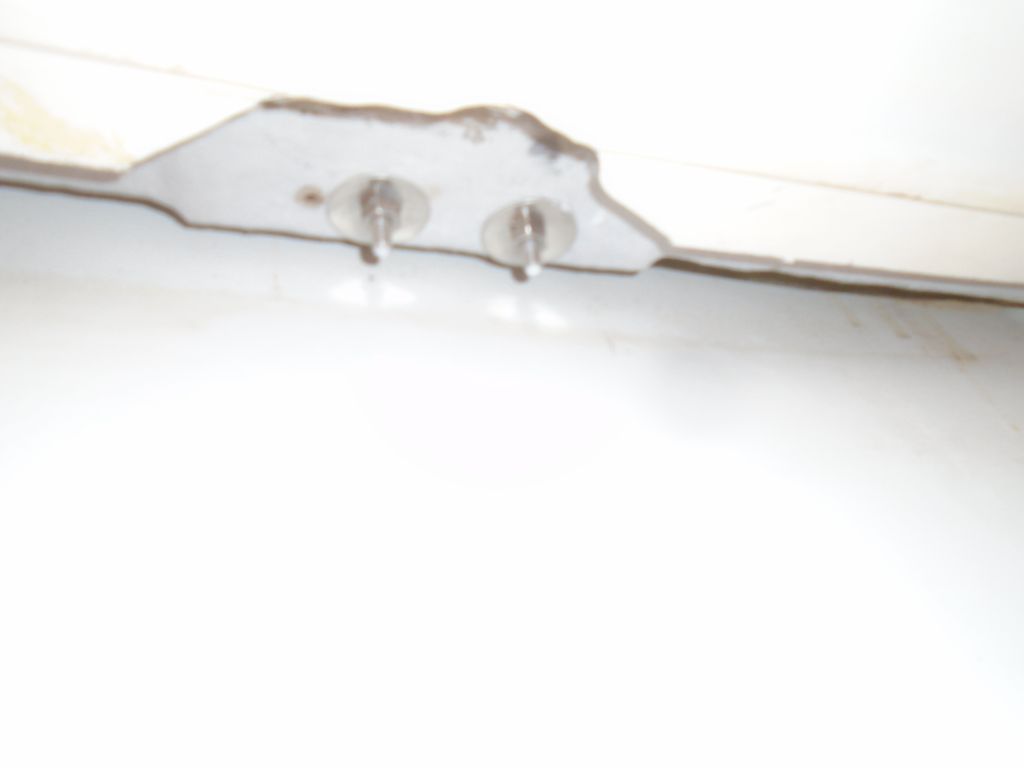
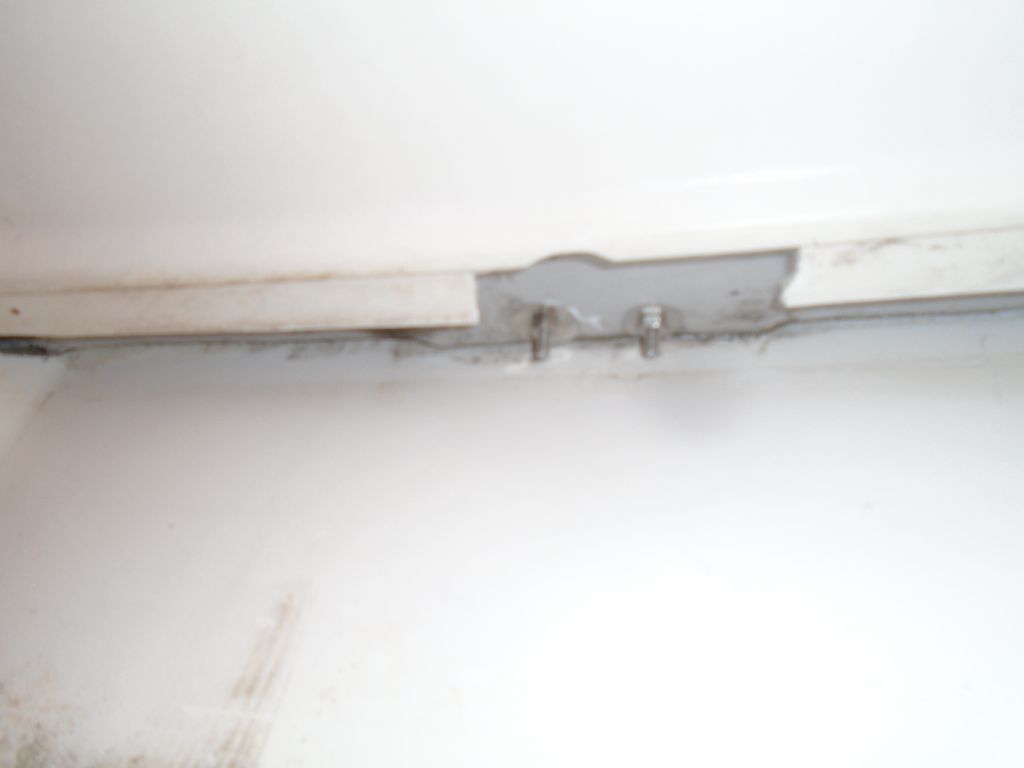
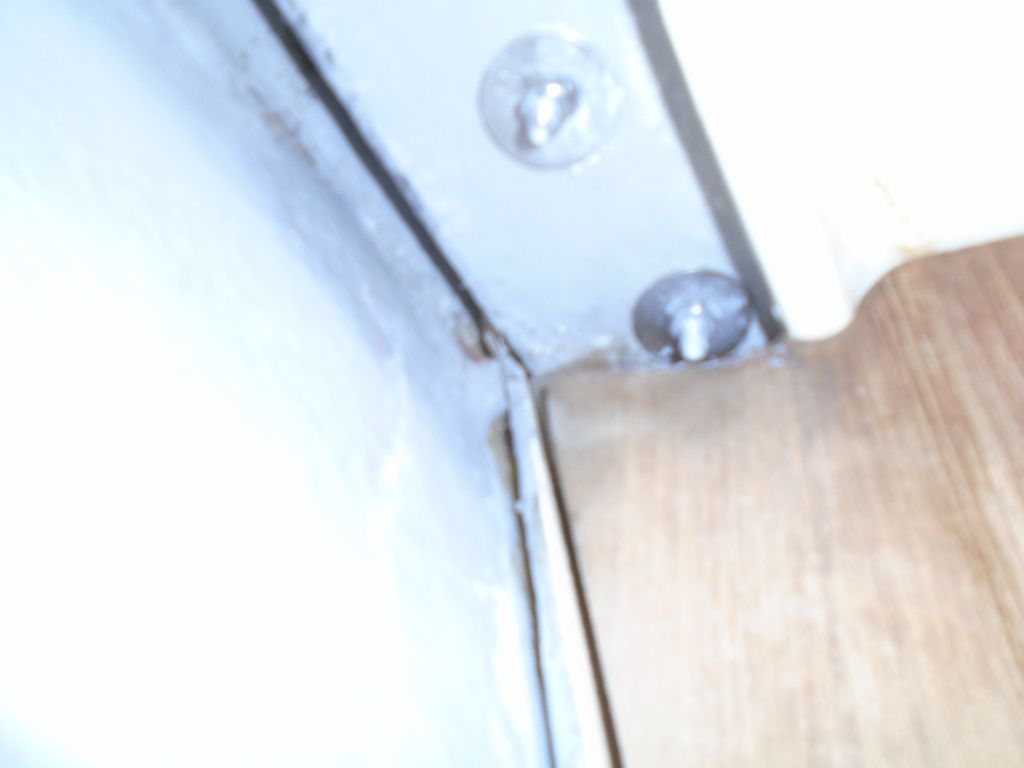
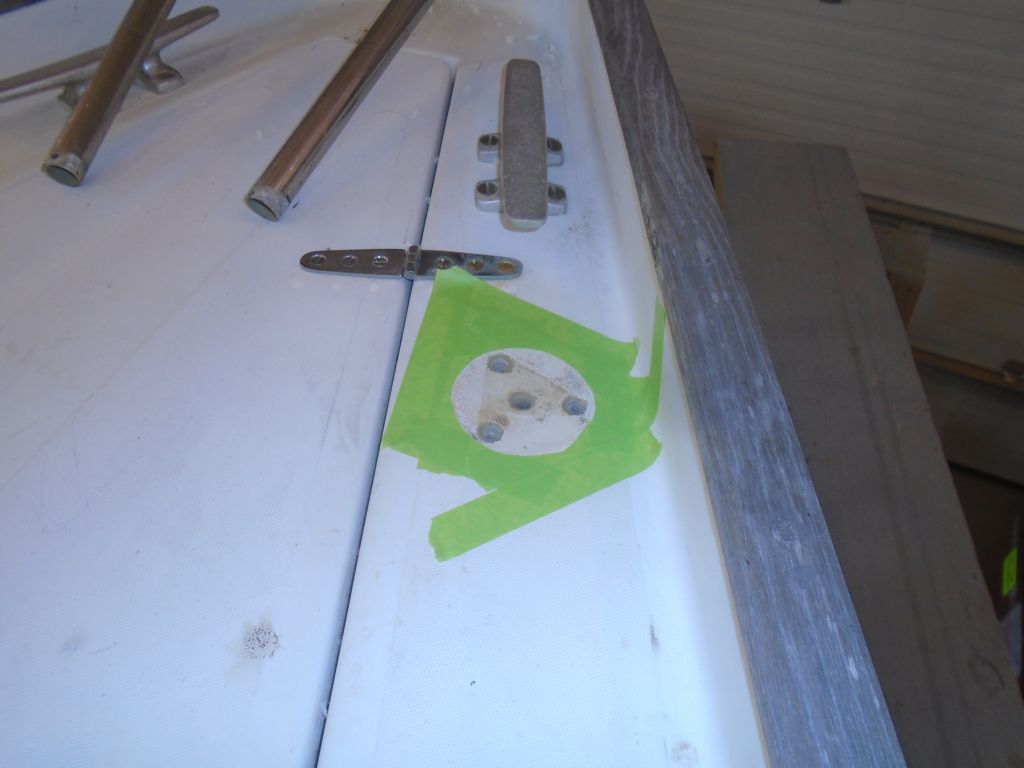
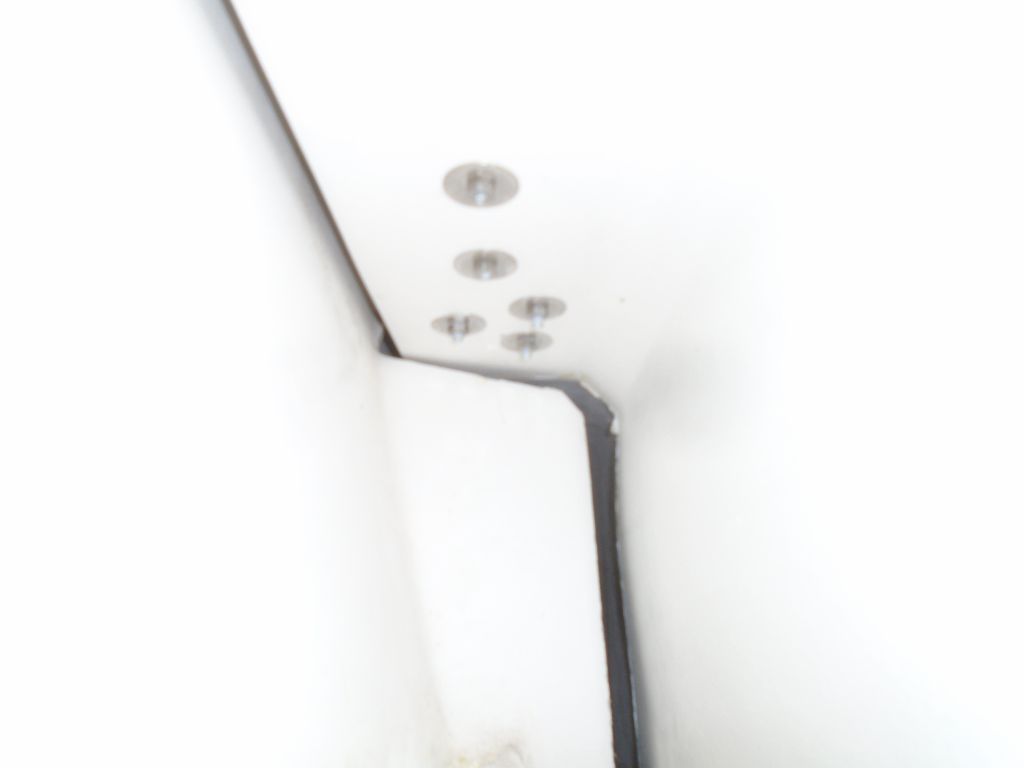
Moving on from the forward cabin, I thought the worst was past, but the access for threading nuts onto the inner sets of bolts on the stanchion bases and midships cleats was no better here than it had been in the v-berth. What’s worse is I could almost get the nuts started on the middle stanchion base and nearby cleat, but despite all efforts I just couldn’t succeed despite many frustrating attempts and varied techniques. So in the end, I was forced to use the drum sander again, just to gain barely enough access to complete the installations. I’d started with the port side, so with this hard-won knowledge I got smart on the starboard side and pre-notched the liner where I needed to, which made the final installations late in the afternoon go much more quickly. I used large washers wherever possible, but had to resort to regular-sized washers for the innermost fastener on the stanchion bases, as there simply wasn’t room for a fender washer. The final set of stanchion bases, which I could access from inside the electrical panel areas, was almost a treat with luxurious one-hand blind access but no liner in the way. The angle and closeness of the photos make the notches look huge and much worse than they are; in reality they’re not really visible from normal cabin attitudes, but I’d think about a simple way to cover them nonetheless.


Total time billed on this job today: 8.25 hours
0600 Weather Report:
25°, mostly cloudy. Forecast for the day: Mostly sunny, high around 50°