


March 25, 2016
Salty 26
Friday
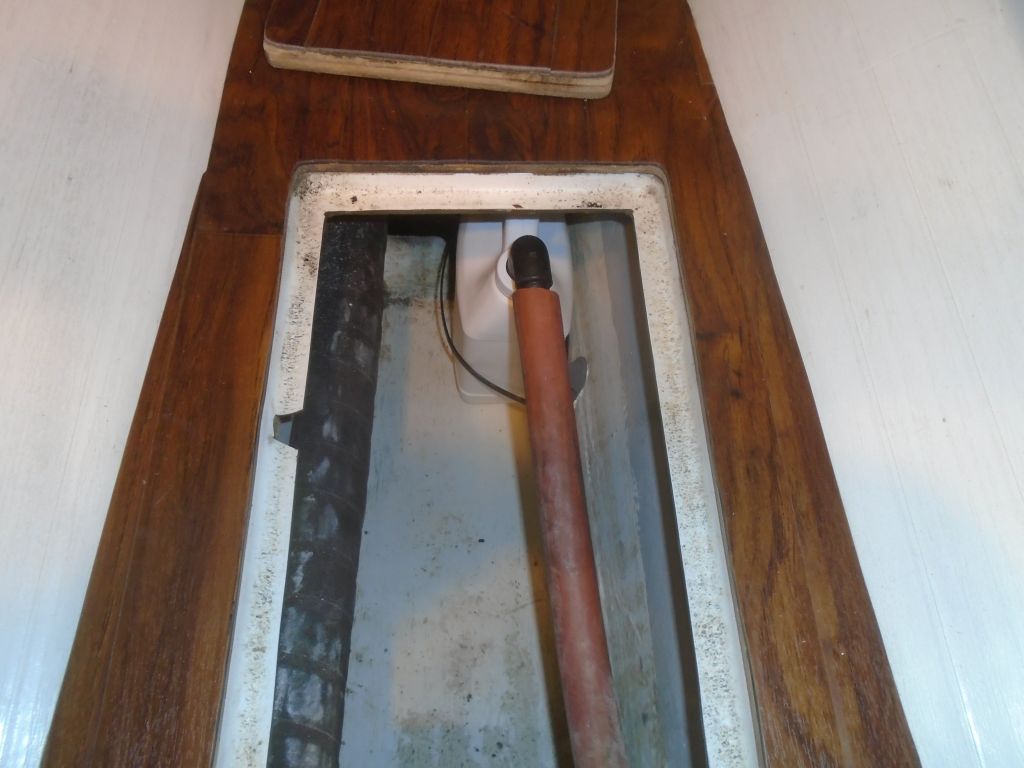
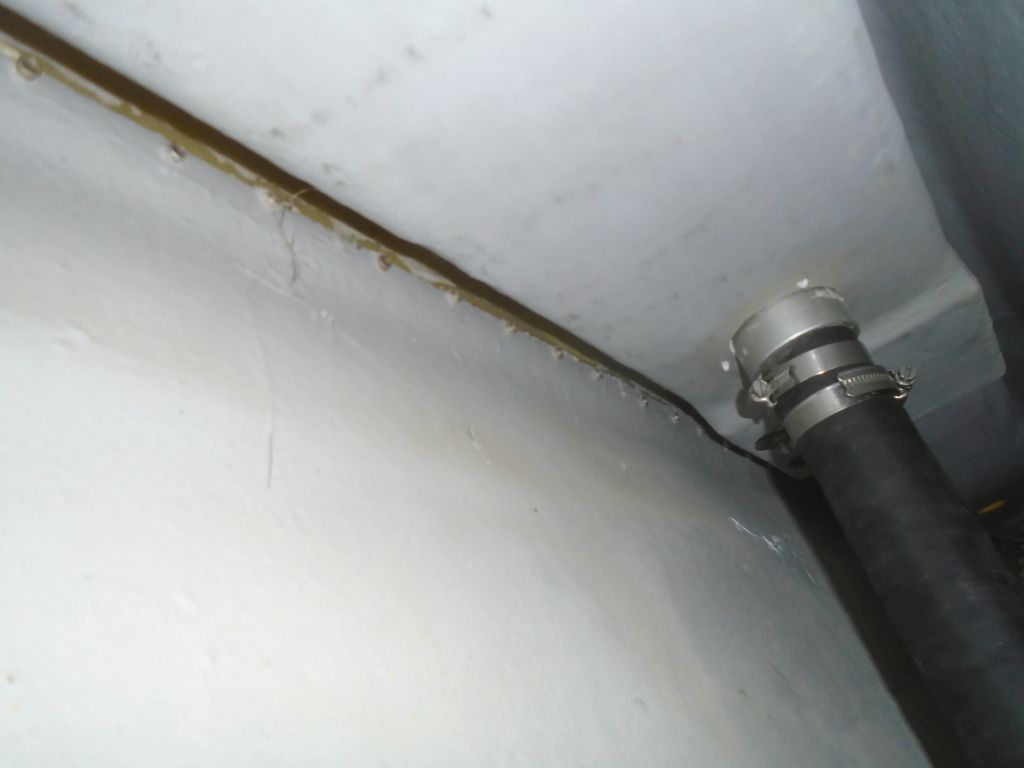
Tying up one loose end from earlier in the week, I installed the discharge hose for the cabin bilge pump.
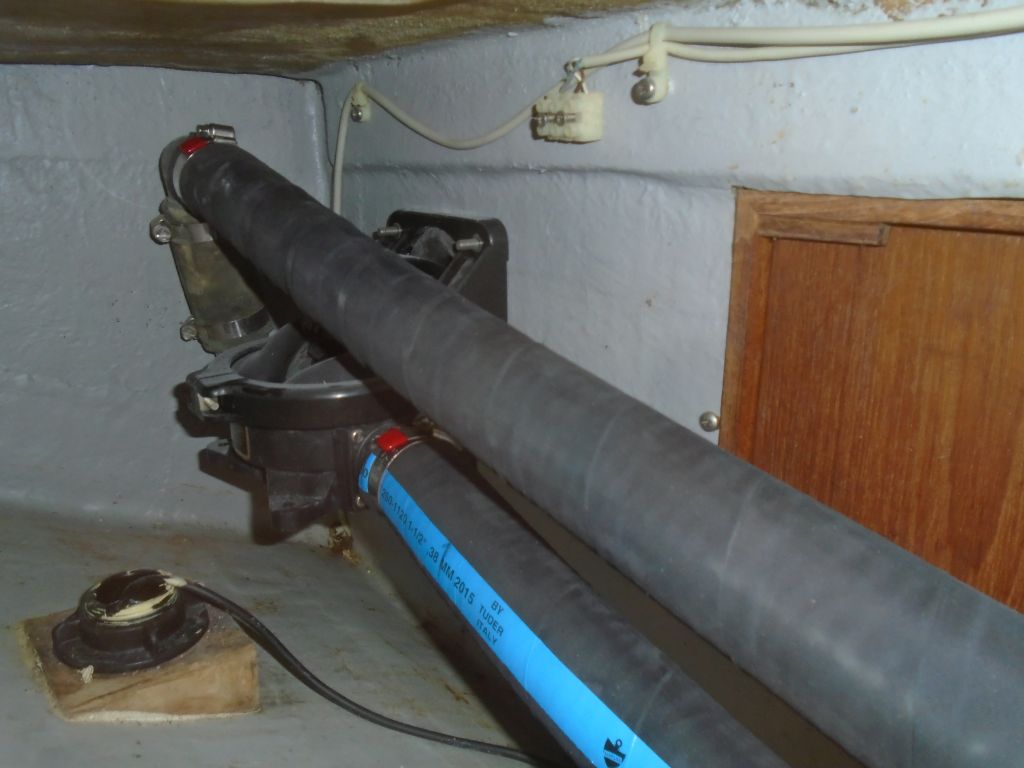
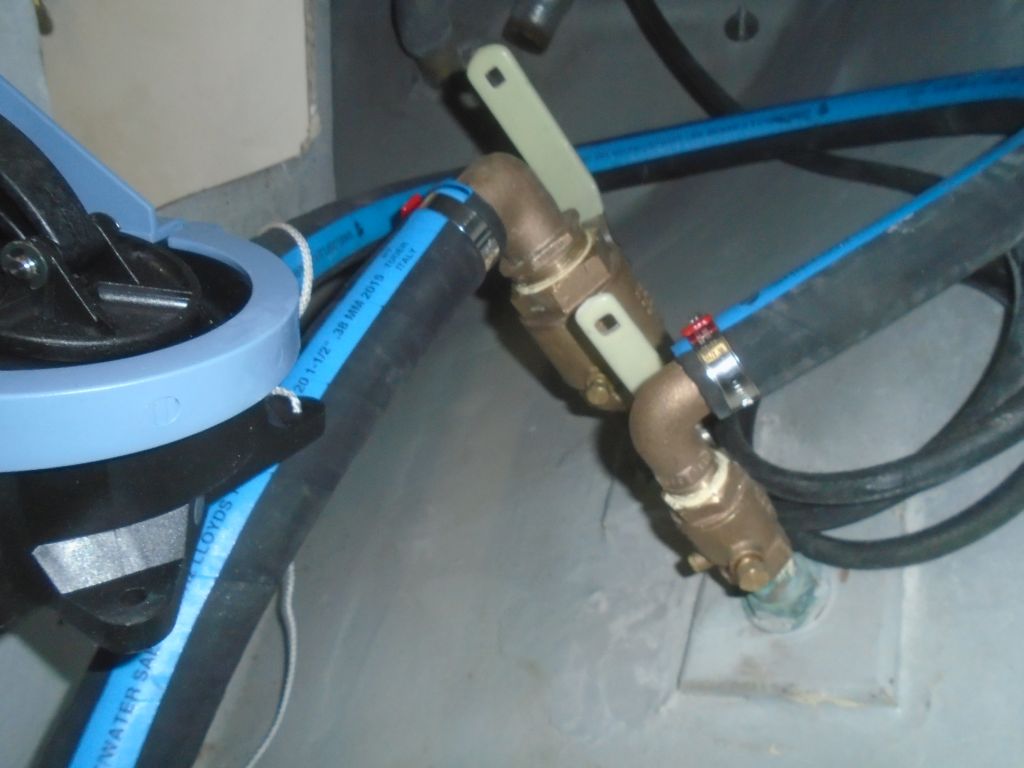
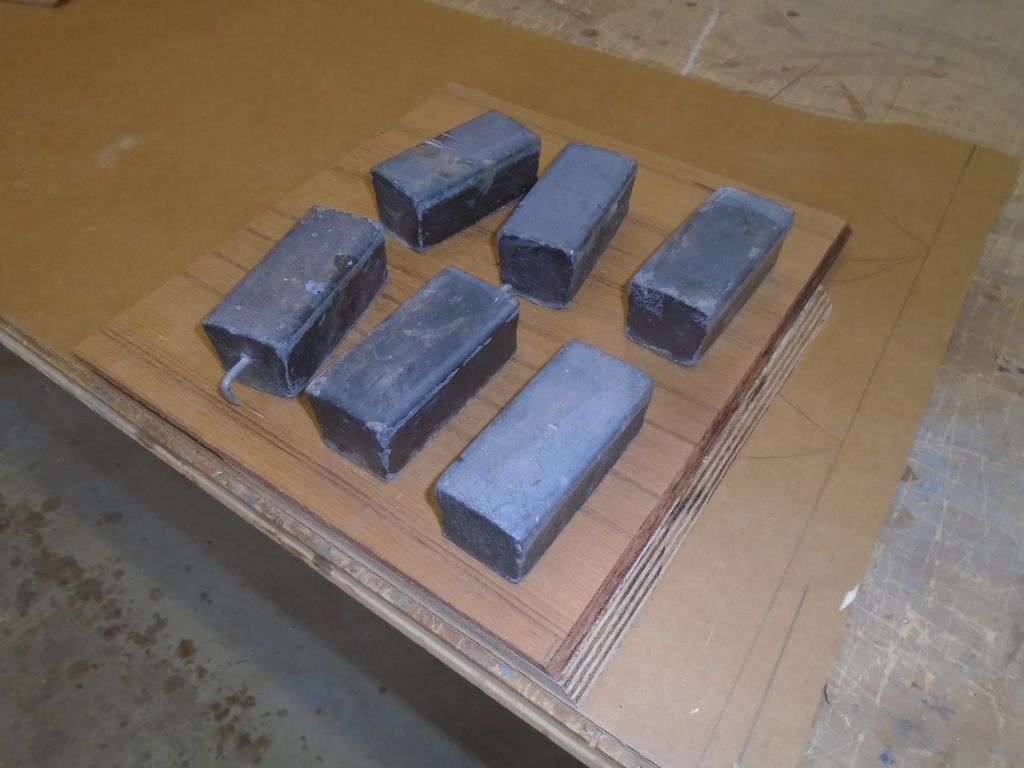
Throughout the boat–including around the bilge pump hoses in the settee locker–I installed wire tie mounts, planning ahead for running wiring and for securing other installations as required. The special adhesive required (based on experience) plenty of cure time before applying any loads to the mounts, so whenever I could I liked to get these glued in well in advance. This is just a representation of the mounts that I located throughout the boat in planned wiring areas.
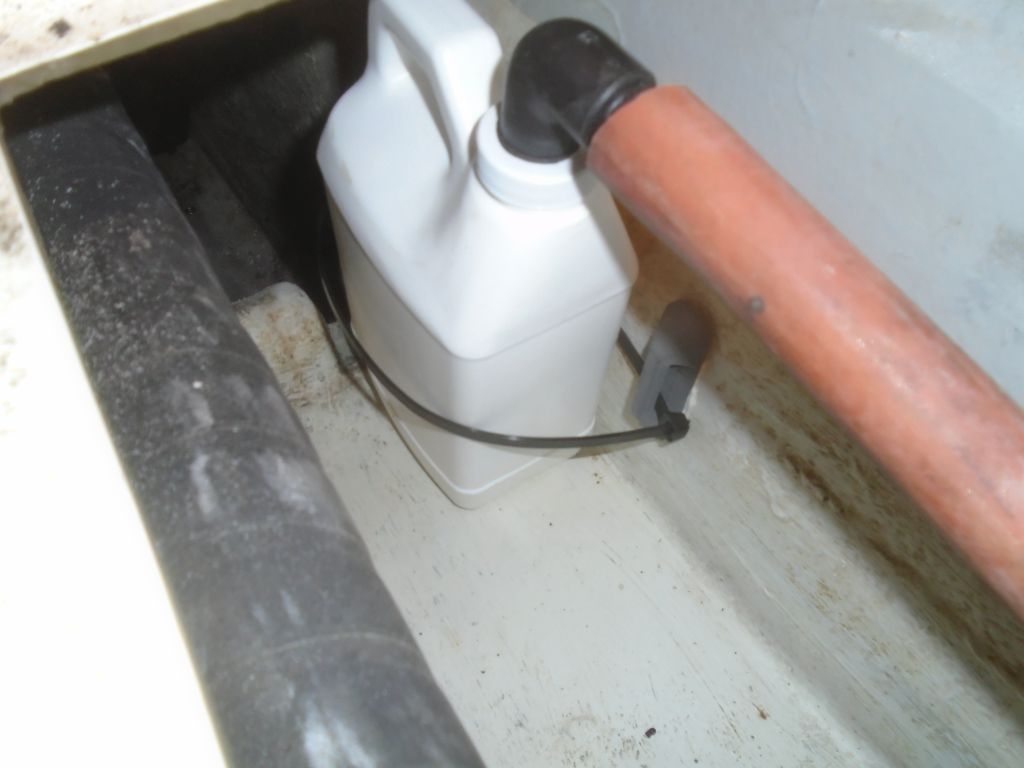
Among other places, I installed two larger mounts in the locker beneath the cabin sole, so that later int eh day I could install a strap to hold the icebox reservoir in place. I kept the strap intentionally loose enough to allow the jug to be removed as needed.
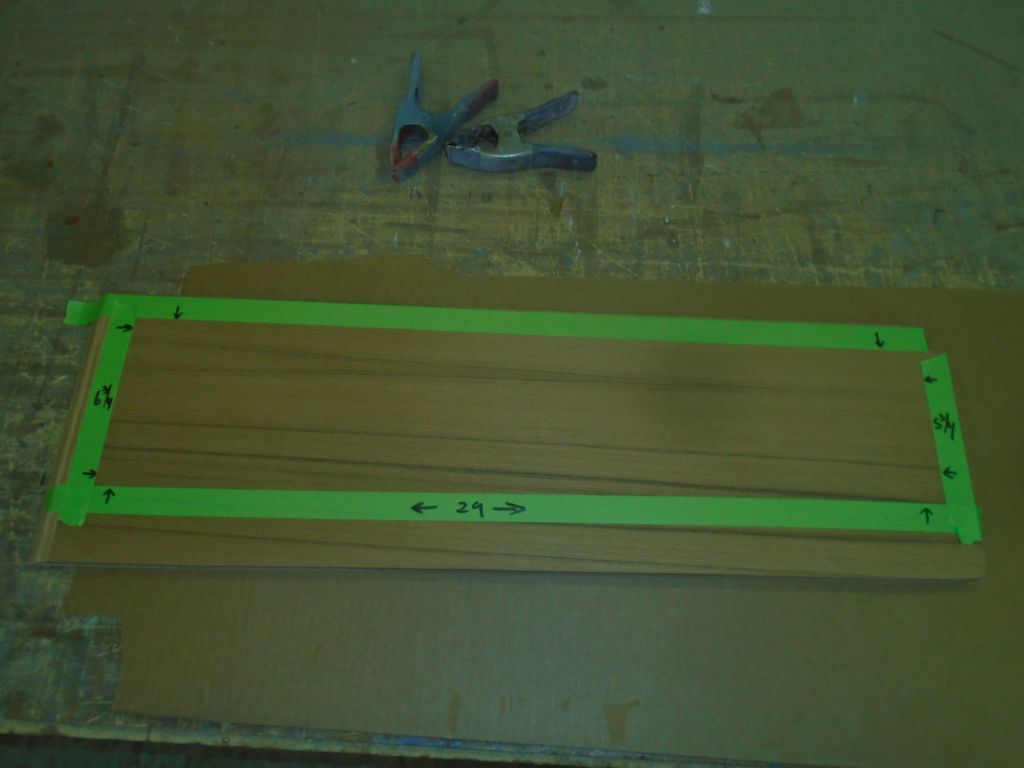
Using my cardboard template as a guide, I prepared the base plywood panel for the front of the electronics locker. I left it long on the aft end while I test-fit it and marked where it overlapped the angled panel, and then I cut the aft end to the corresponding angle.
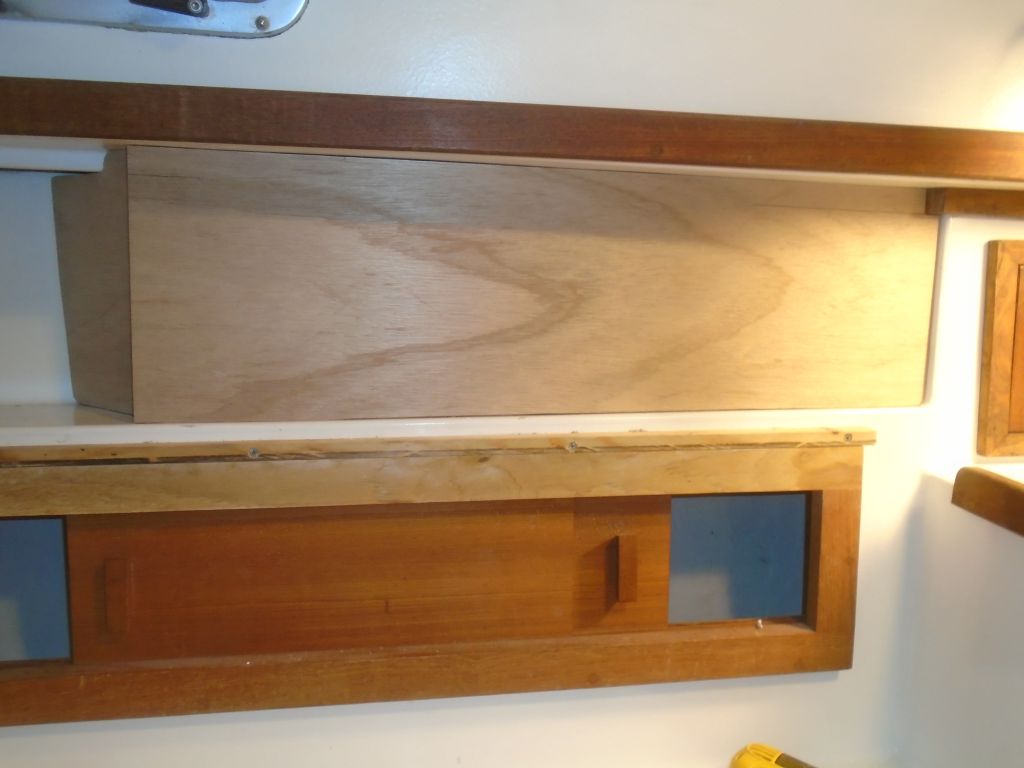
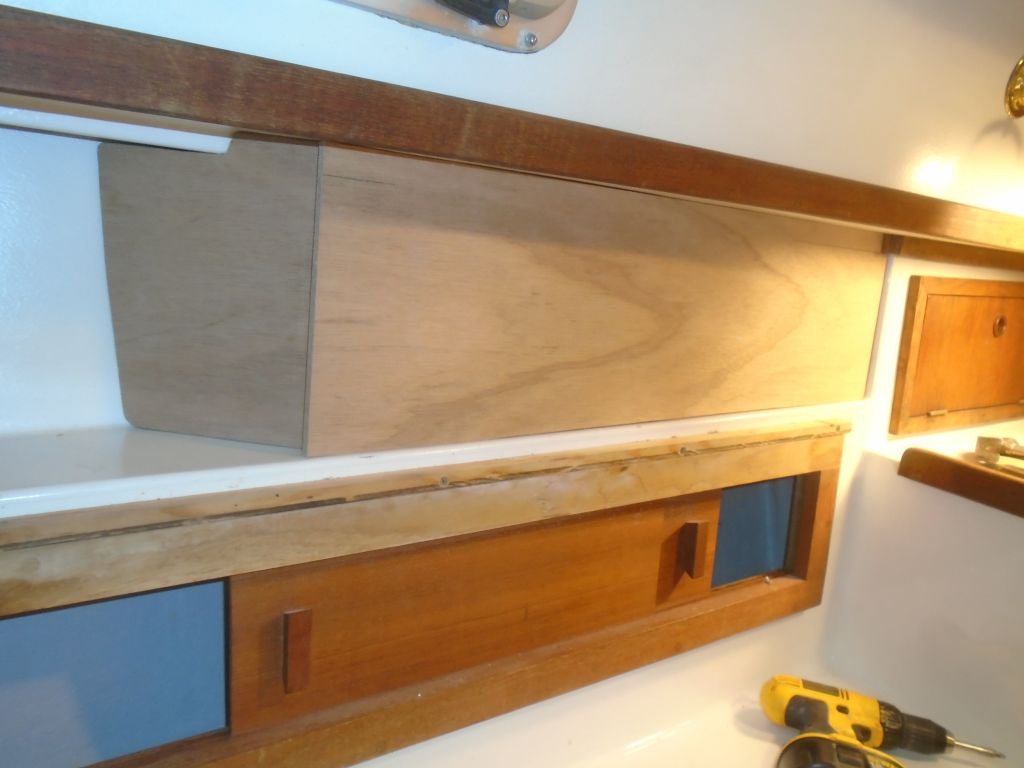

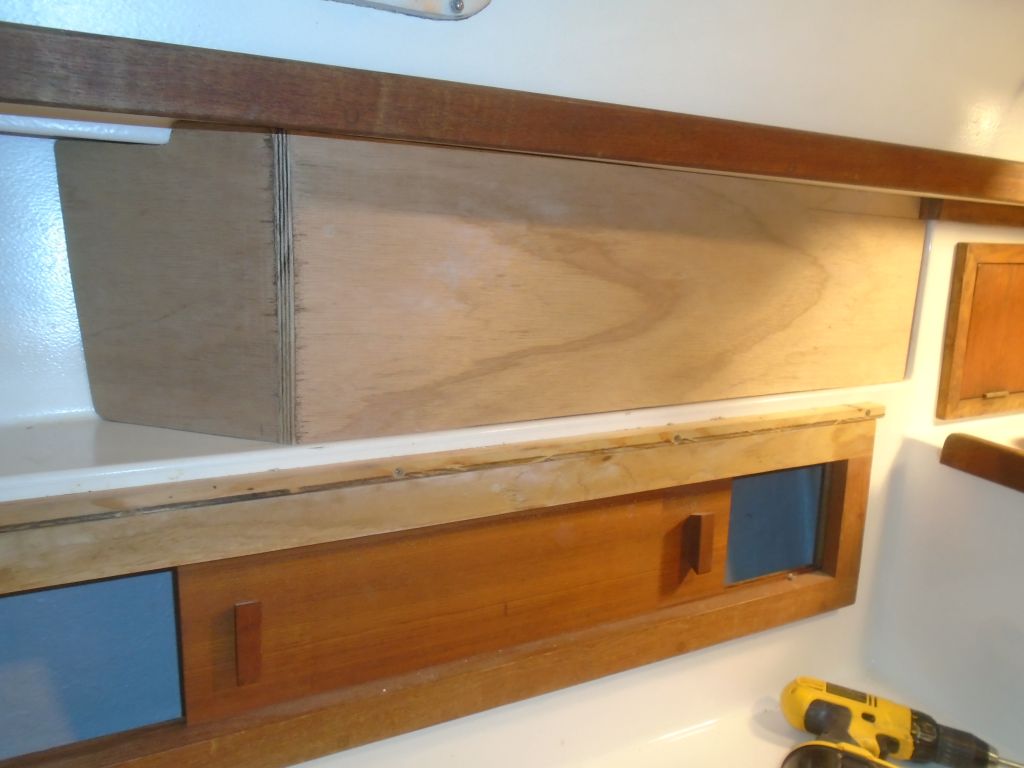
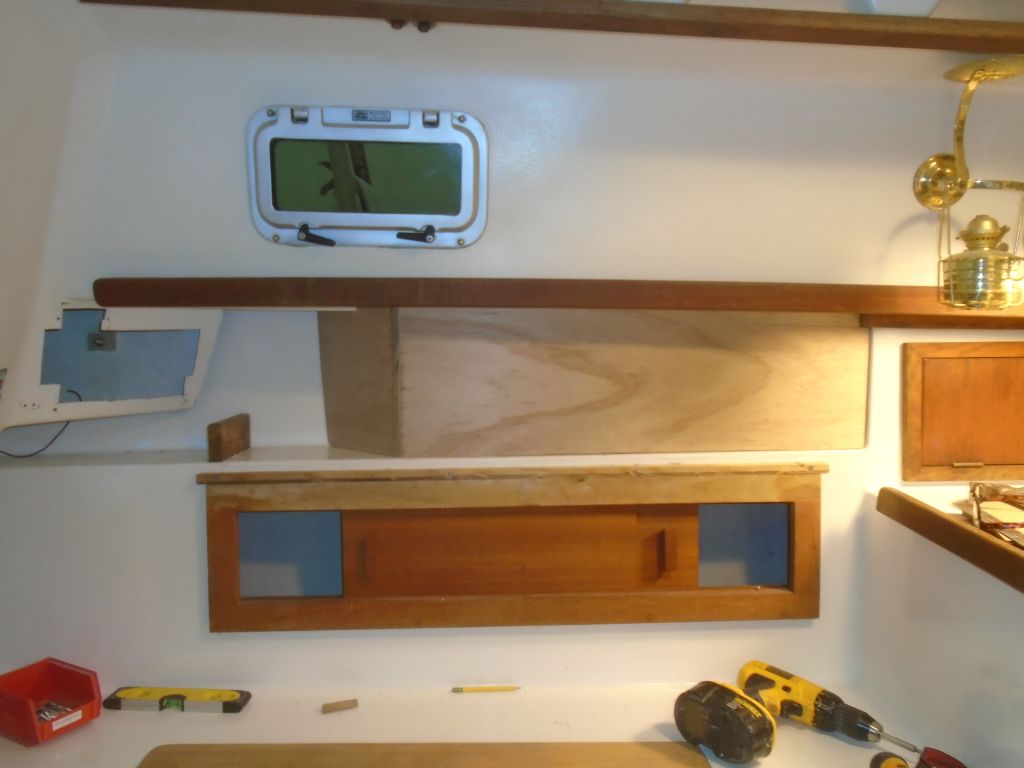
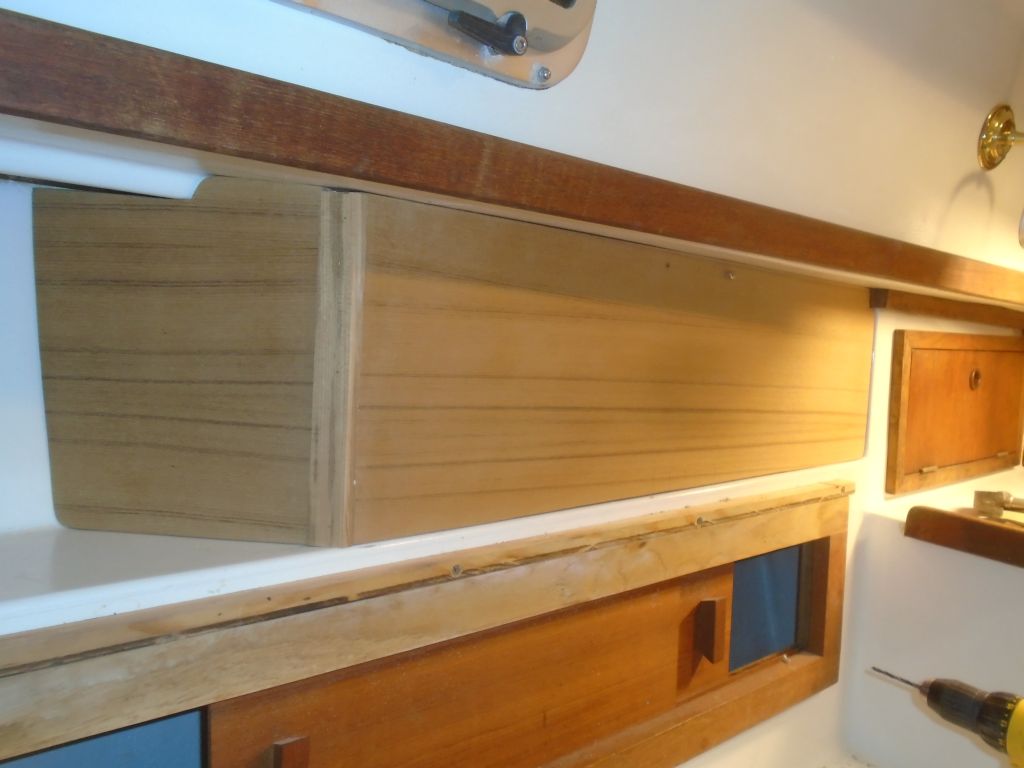
With the panels’ sizing and shaping complete, I cut pieces of 1/4″ teak plywood to cover the substrate, letting the teak run wild over the edges to allow for later trimming, except at the two sharply-angled sides, where I pre-cut the teak to the correct angle and, when gluing the veneer to the substrate, carefully aligned this section on both pieces. I laminated the teak to the plywood with waterproof wood glue, and clamped the pieces securely for several hours before continuing.


While the panels were in the clamps, I worked on other loose ends, starting with the engine control cables. I installed these now so that I could wrap up work in the starboard cockpit locker with the fuel tank, since access to the back side of the controls was best right now, while the fuel fill hose and vent were not installed. The existing control unit was in good condition, so I purchased new cables and, using the old cable ends saved from the originals, I reconnected the throttle and gear cables to the back of the control. I had to put the gear cable on the opposite side from original, since the new engine’s transmission was “pull for forward, push for reverse”. SImilarly, the throttle cable clamp system needed to be inverted for the new engine from how it’d been originally, as the new engine required a “pull to advance”.


This video shows the full action in both directions: first clutch into forward, then full throttle; back to neutral, then the same in reverse. Wicked excitin’.
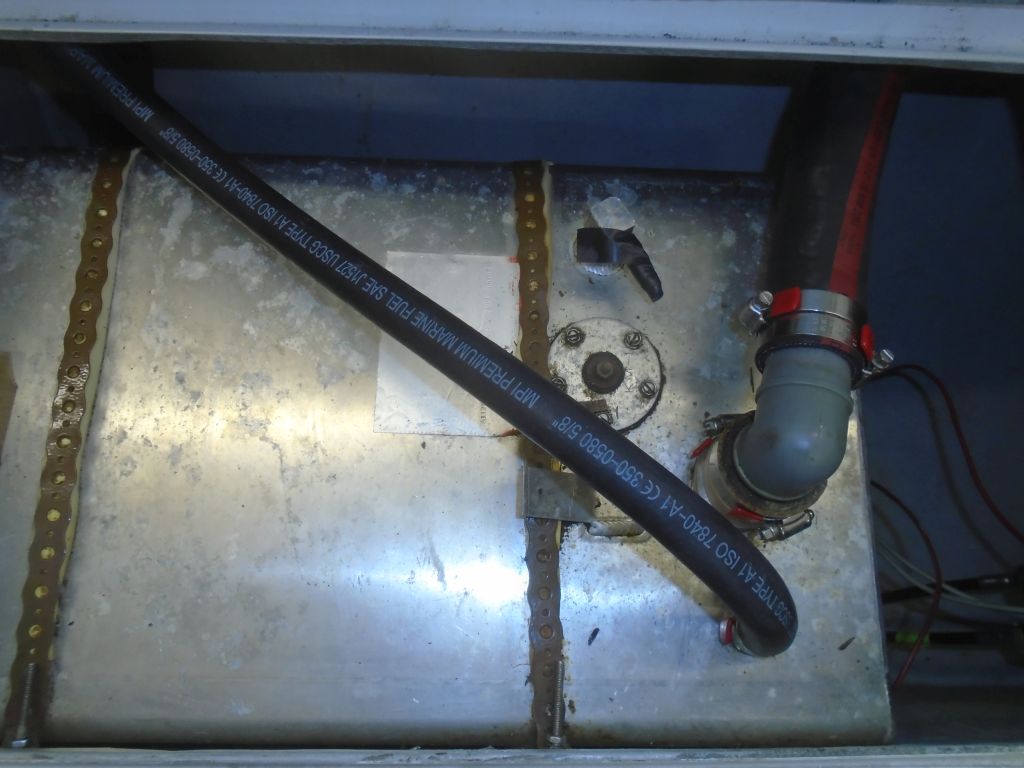
Now that the control cables were in place, I could install a new fuel fill hose. First, though, I wanted to test the fuel in the tank for water. Earlier, I’d determined that the fuel (and tank) looked clean and good, but now with some thieving paste spread on a stick, I checked the tank for the presence of water. The first photo shows the stick after applying the paste, and the second shows it after I’d inserted it in the tank. Had there been any water present, the green paste would have turned bright purple.
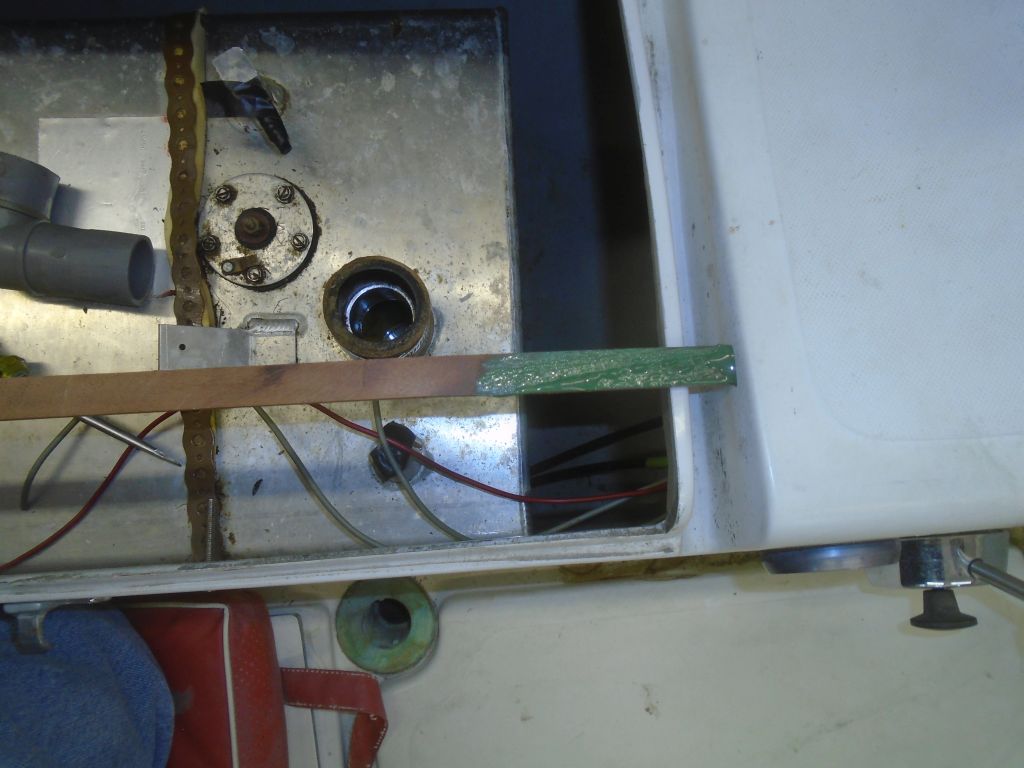
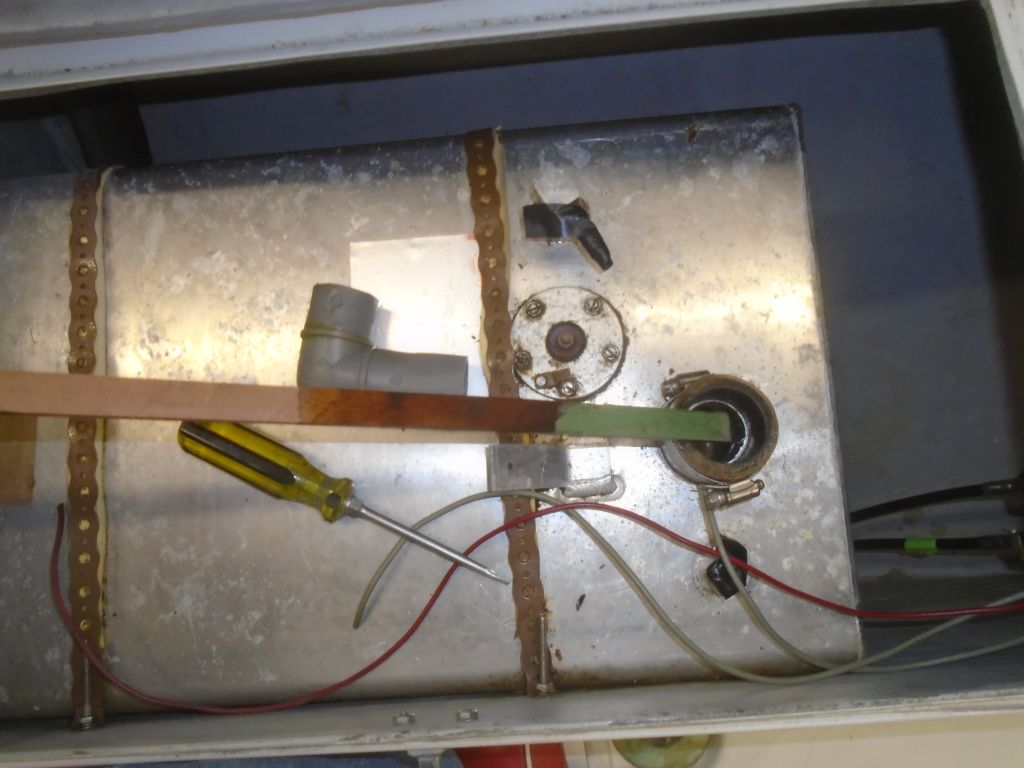
I installed new fuel fill hose with new clamps, and a new vent hose as well. The fuel supply line would come later.
By now, the glue had had ample cure time, so I unclamped the electronics panels and trimmed the excess teak flush with a router and sanding where necessary. Then, I cut a strip of solid teak to trim out the angle at the aft side of the main panel, covering the only exposed plywood end grain.
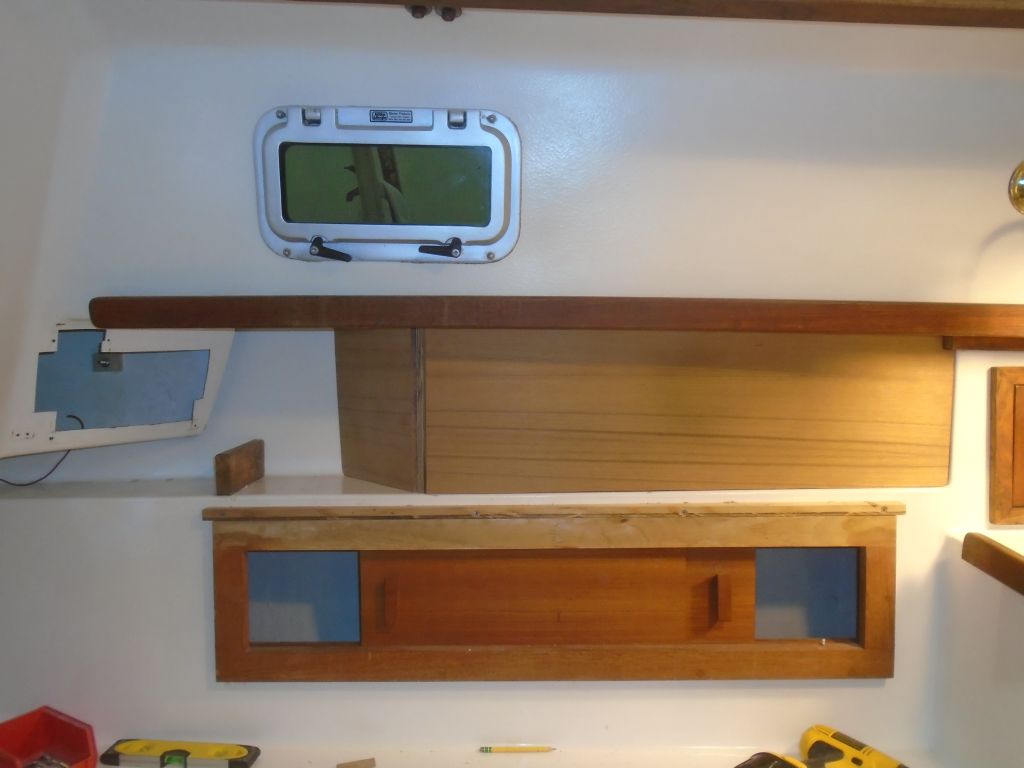
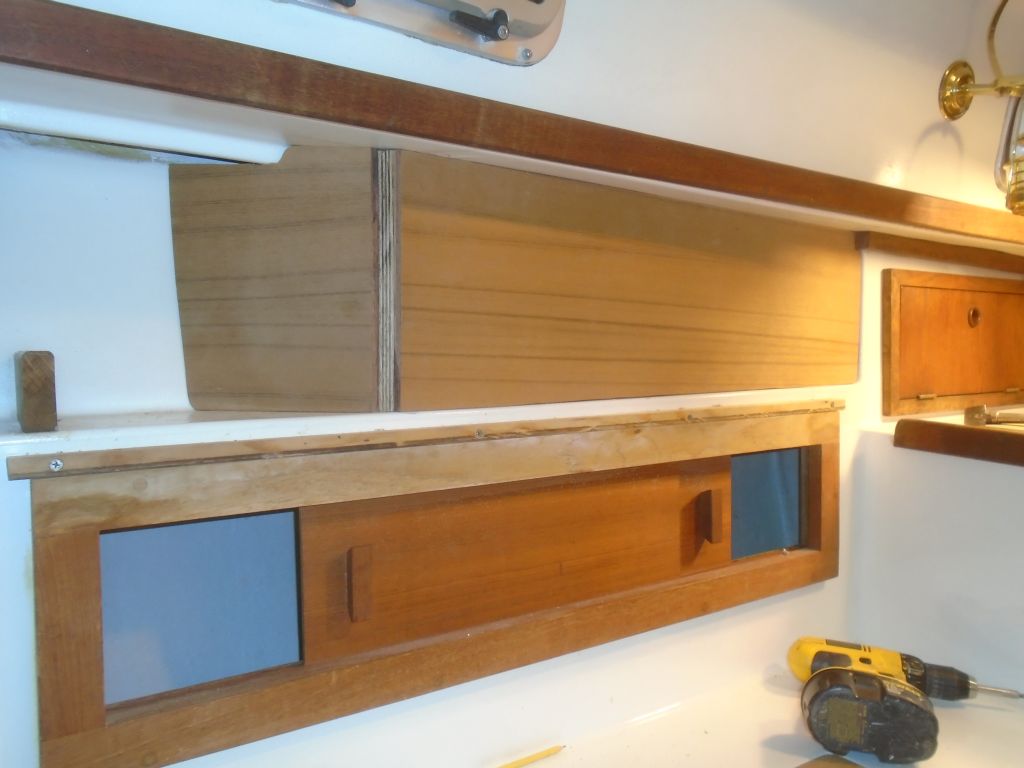
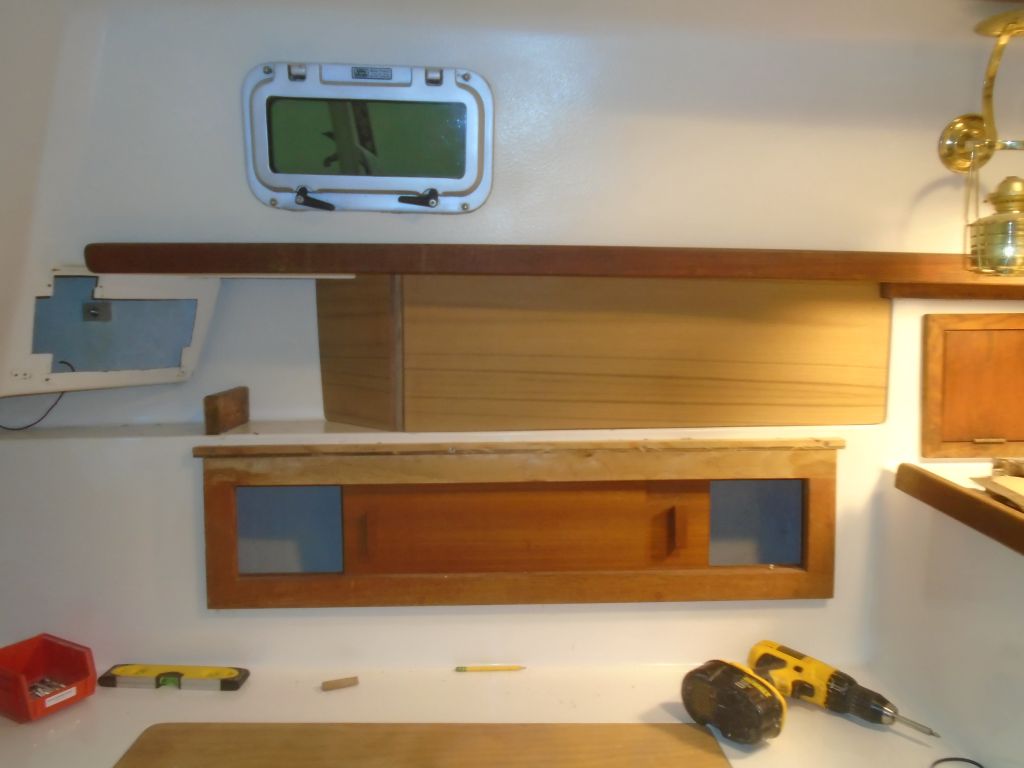

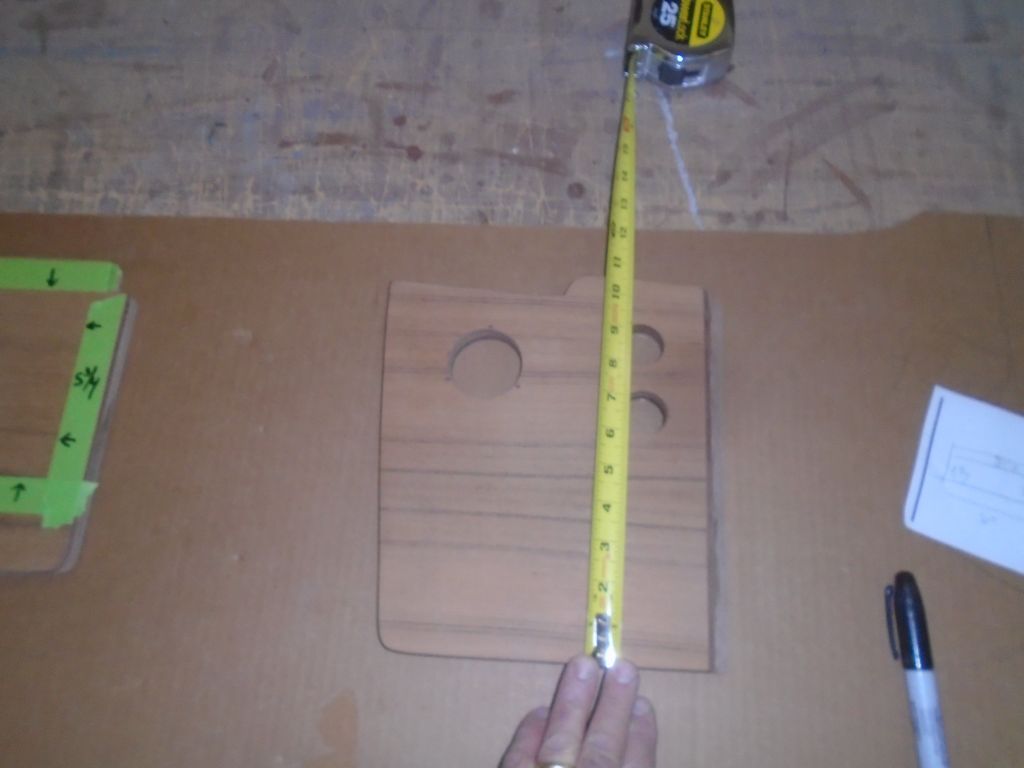
I temporarily installed the backrest once more to determine exactly the space available on the large panel so we could lay out the desired installations. Allowing for the support cleat at the top, and the overlap of the cushion, the space was fairly constrained, but offered enough room for what the owner intended.
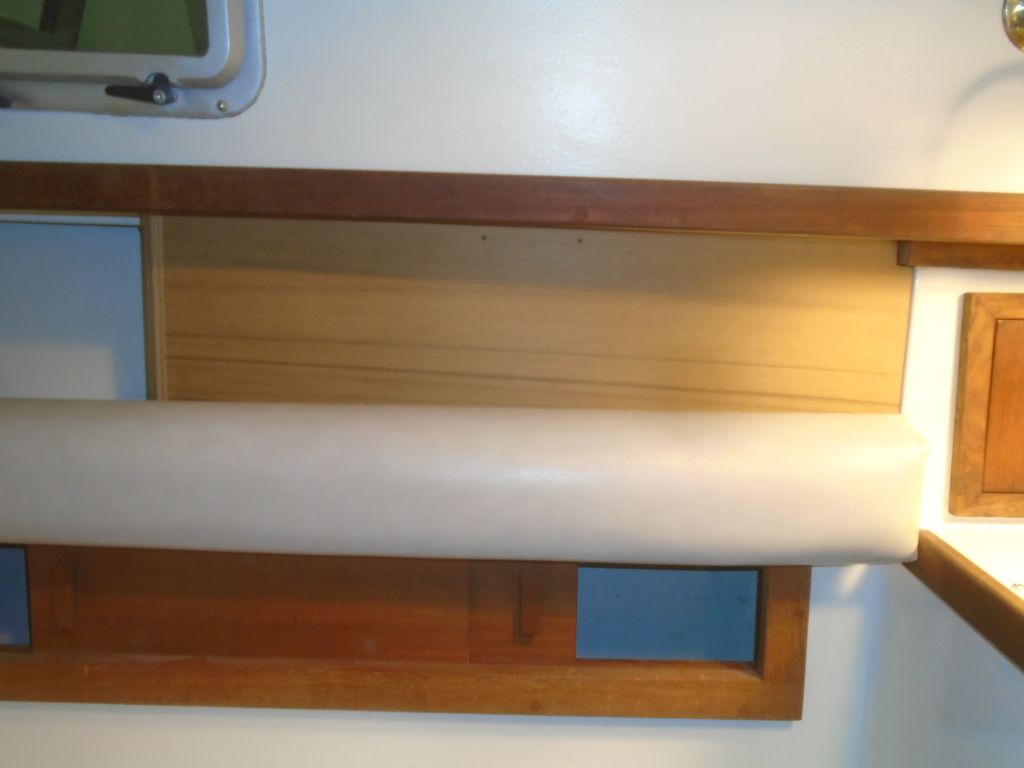
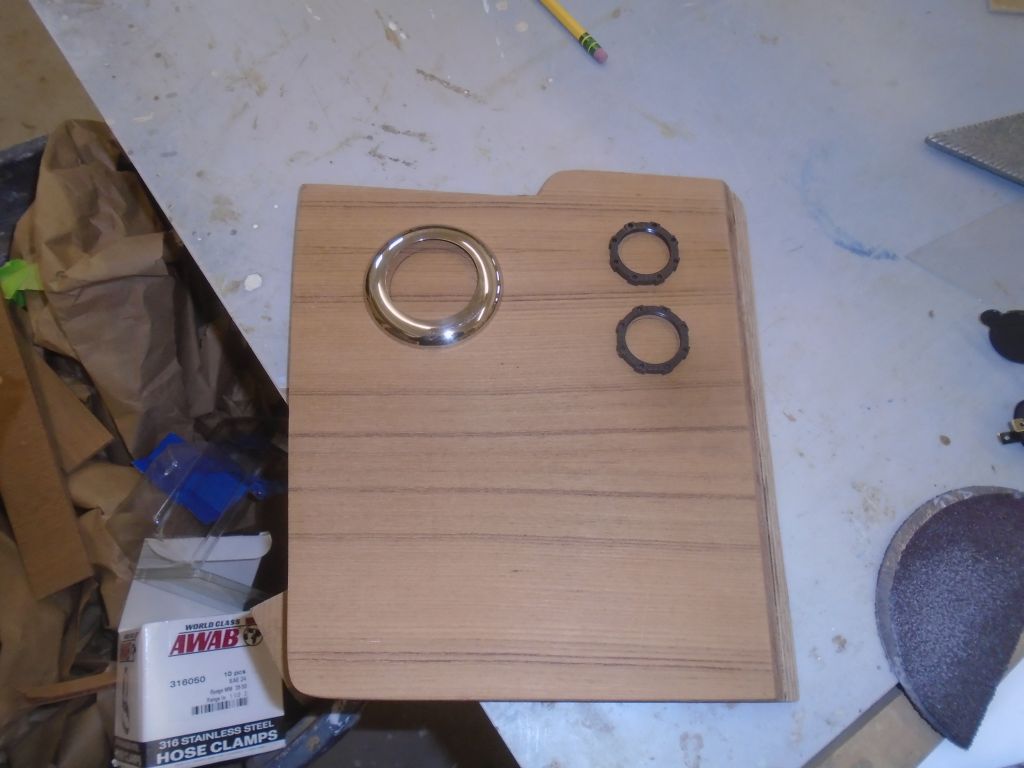
On the angled panel, I went ahead and prepared mounting holes for a red LED night light, and two power outlets–a USB plug and a standard cigarette lighter-type outlet. Later, I’d install a small battery monitor display here as well, and there’d be room for other mounts or installations later on .


Total time billed on this job today: 7.25 hours
0600 Weather Observation:
20°, freezing drizzle. Forecast for the day: Freezing drizzle and rain, eventually turning to rain, temperature slowly rising into the 30s