


March 10, 2016
Salty 13
Thursday
I inventoried the new through hull hardware to determine what pieces I was missing, as a number of things had been originally backordered and had dribbled in over the past few days. I still needed a few pieces before I could continue with the installation, but most of the hardware was on hand, though I discovered that according to my invoices I was supposed to have four of the 1-1/2″ valves already on hand, but only had three. (This proved to be a picking error at the supplier, and a new valve would be sent.)

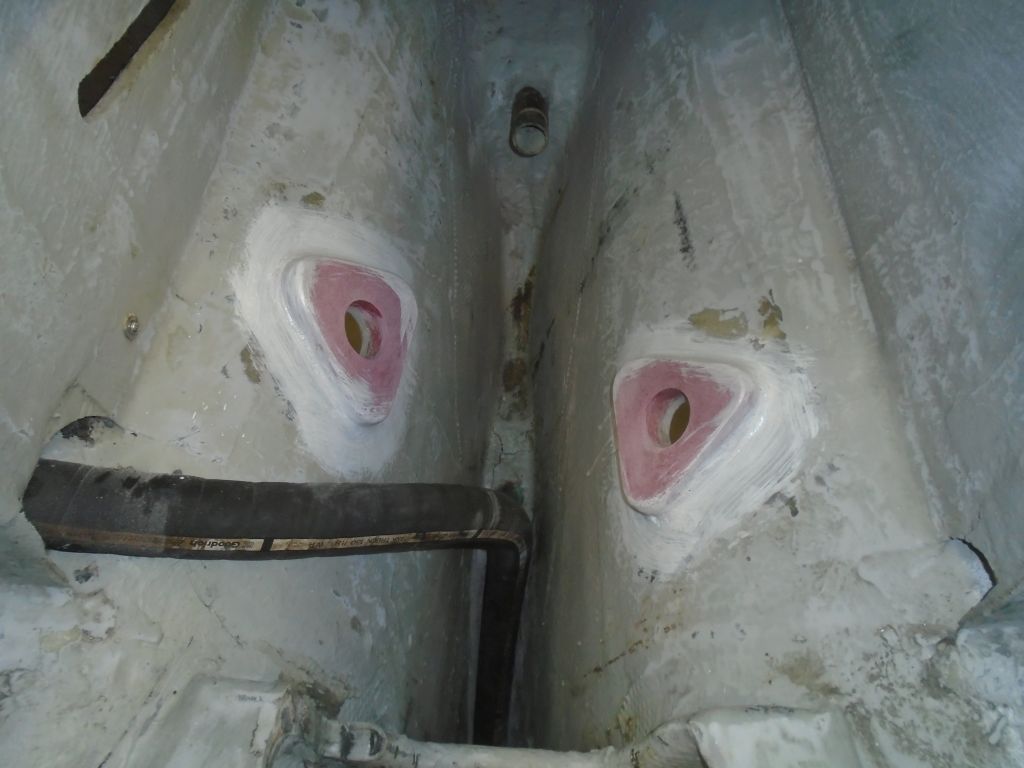
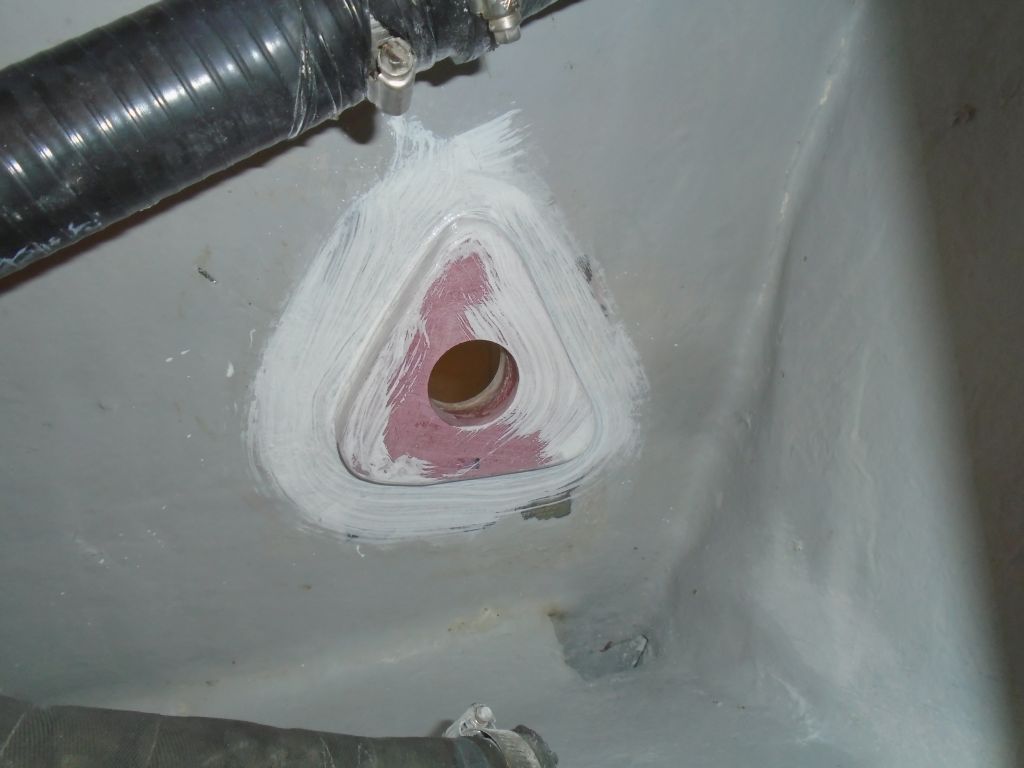
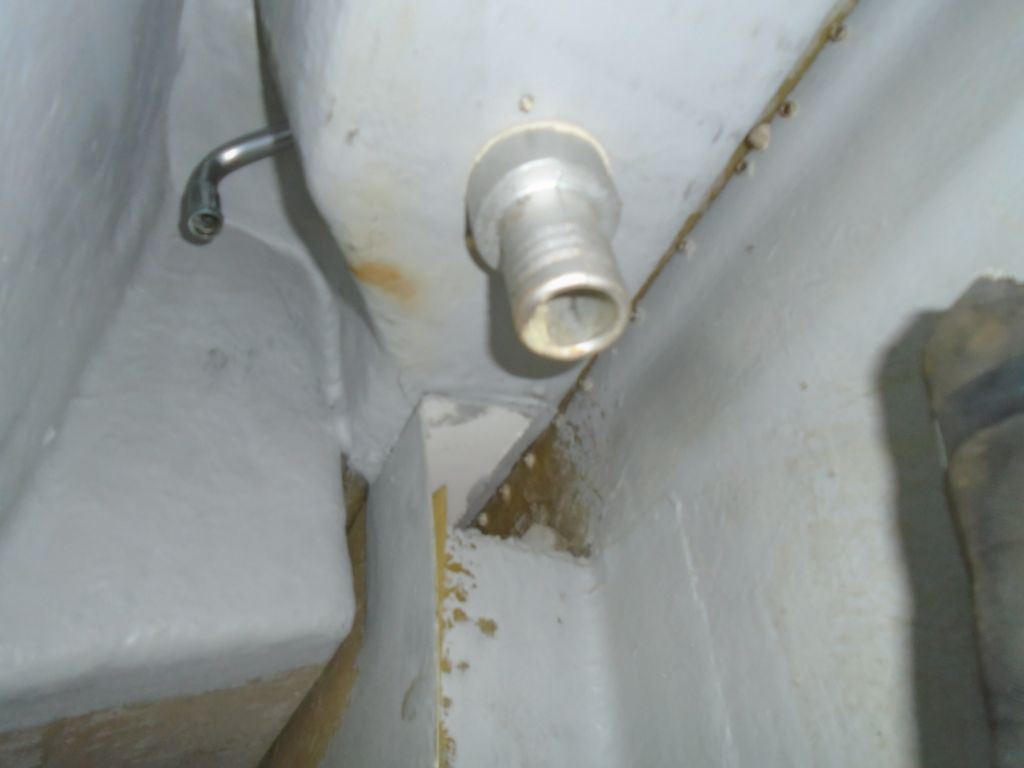
I hadn’t planned on repainting the engine room, but looking at the space as I contemplated the final prep on the new through hull pads, I thought there was no way I could leave it as is, so along with lightly sanding the new epoxy and through hull pads, I gave the whole engine room a quick scuff so I could give it a coat of paint later. It didn’t make any sense to start a brand-new engine and systems installation in this space unless the space itself was truly ready.
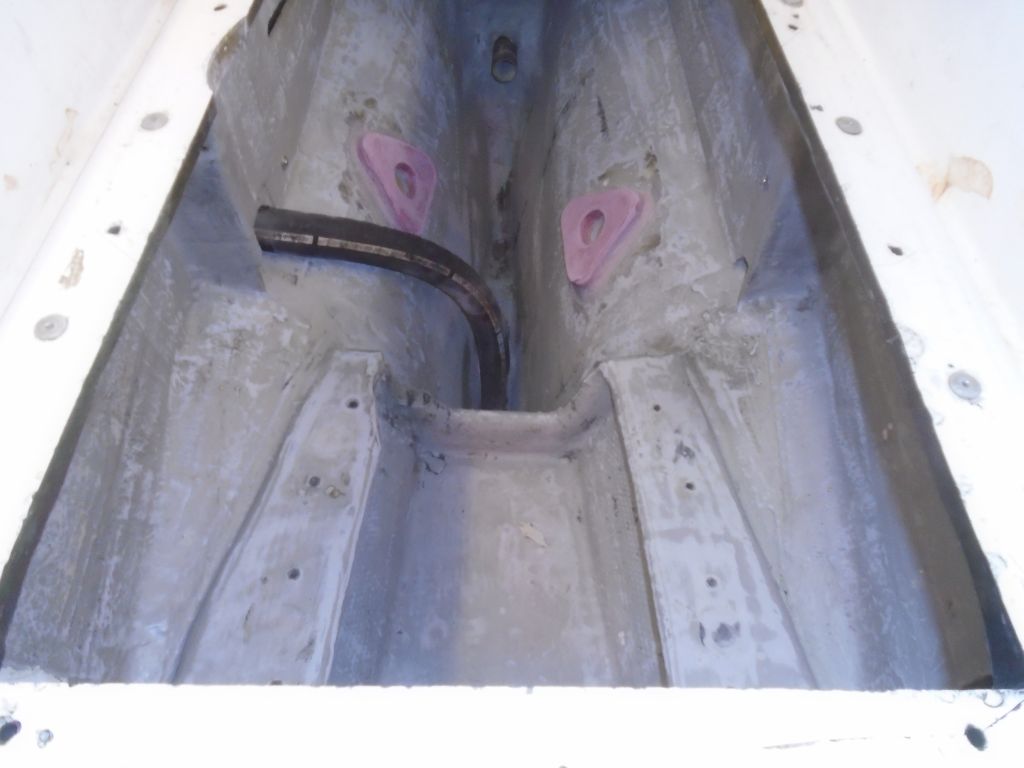

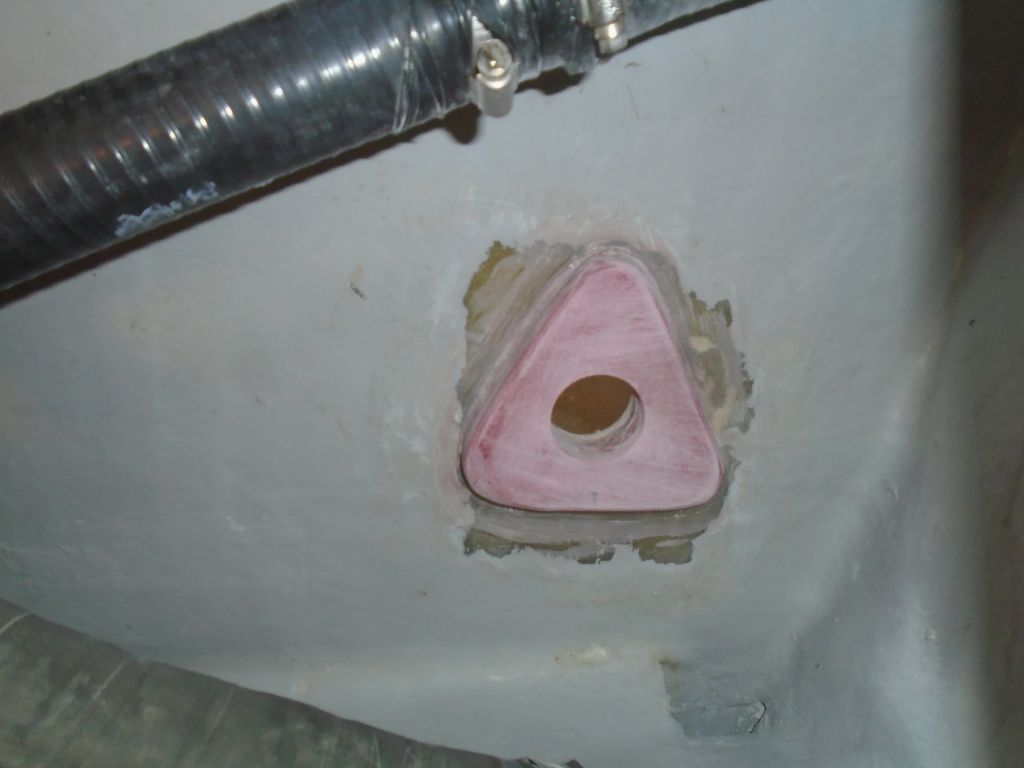
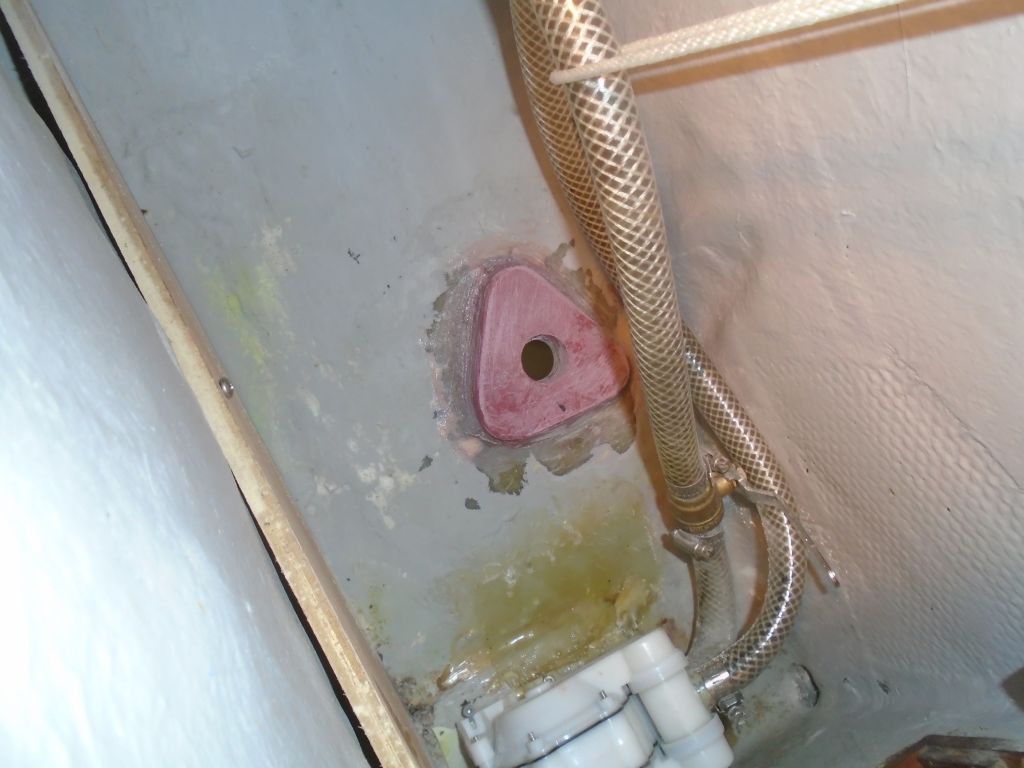
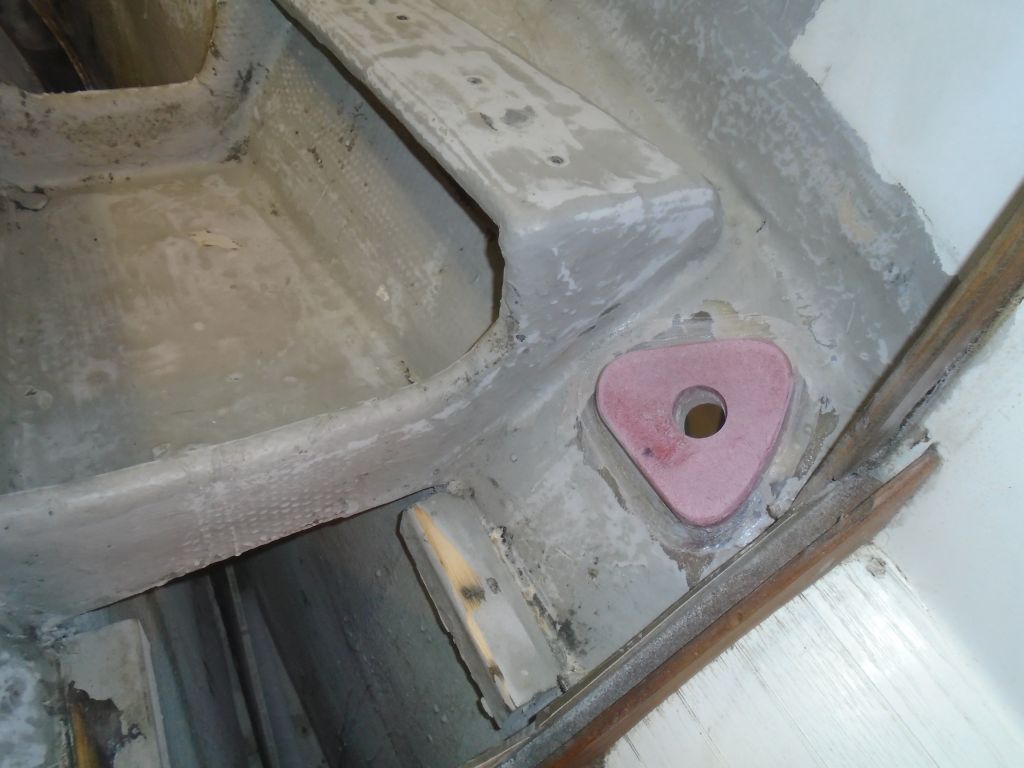
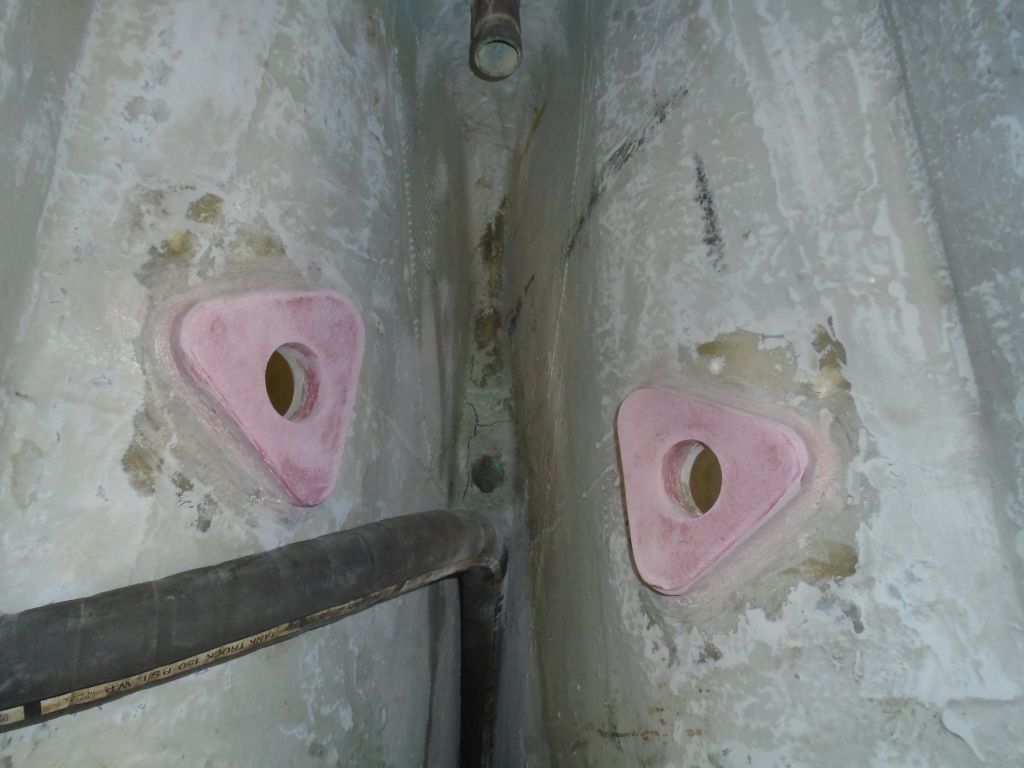
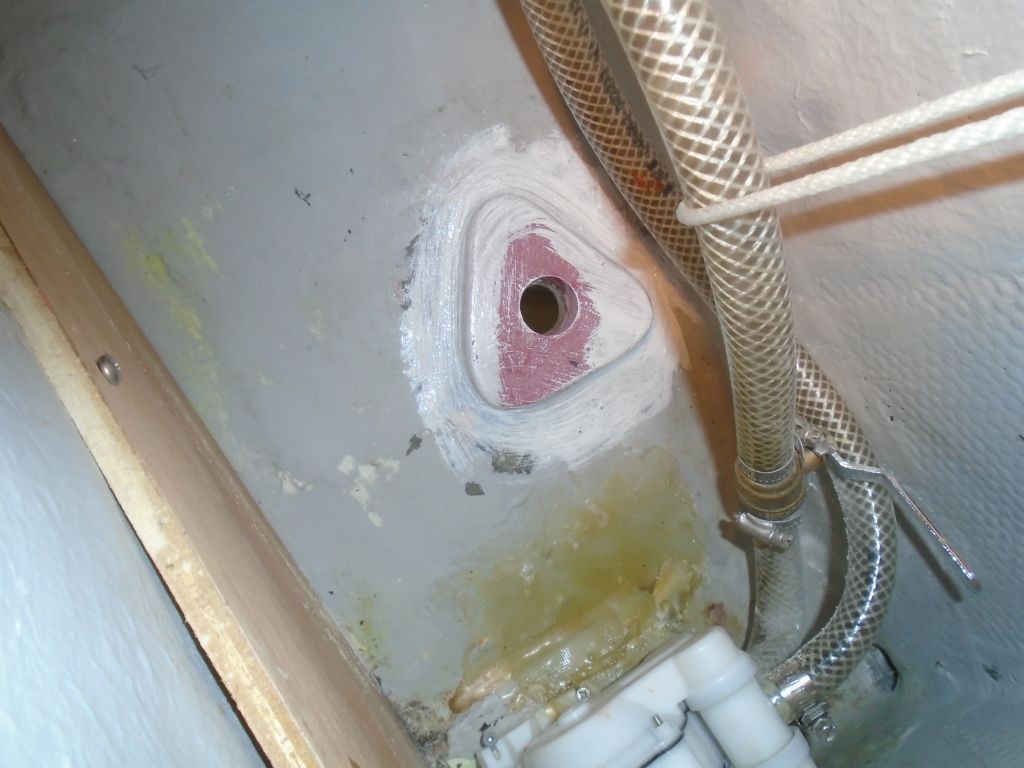
In order to move ahead sooner than later on painting the engine room and other through hull pads, after cleaning up from the light sanding I applied a coat of my “impatience primer” to the new epoxy. One-part paints don’t cure properly over fresh epoxy, and the options were to wait a few weeks for the epoxy to reach its ultimate cure state (impossible), or apply a quick coat of epoxy-based 2-part primer to the new epoxy, which primer would cure properly on its own and then provide a decent substrate for paint.


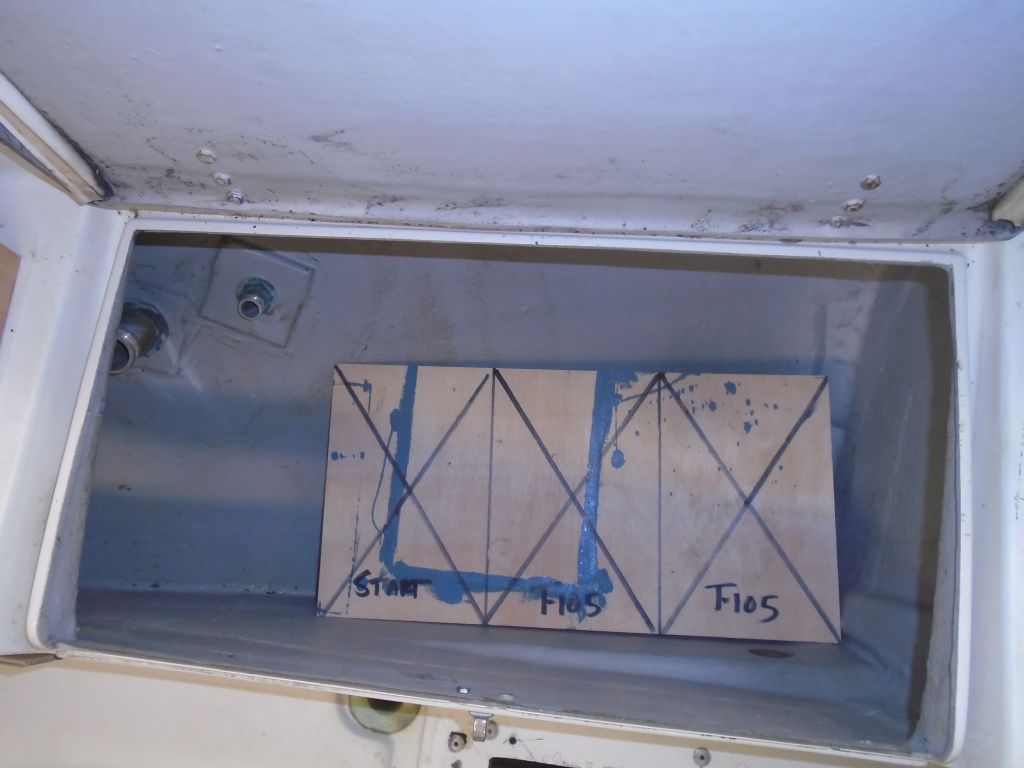
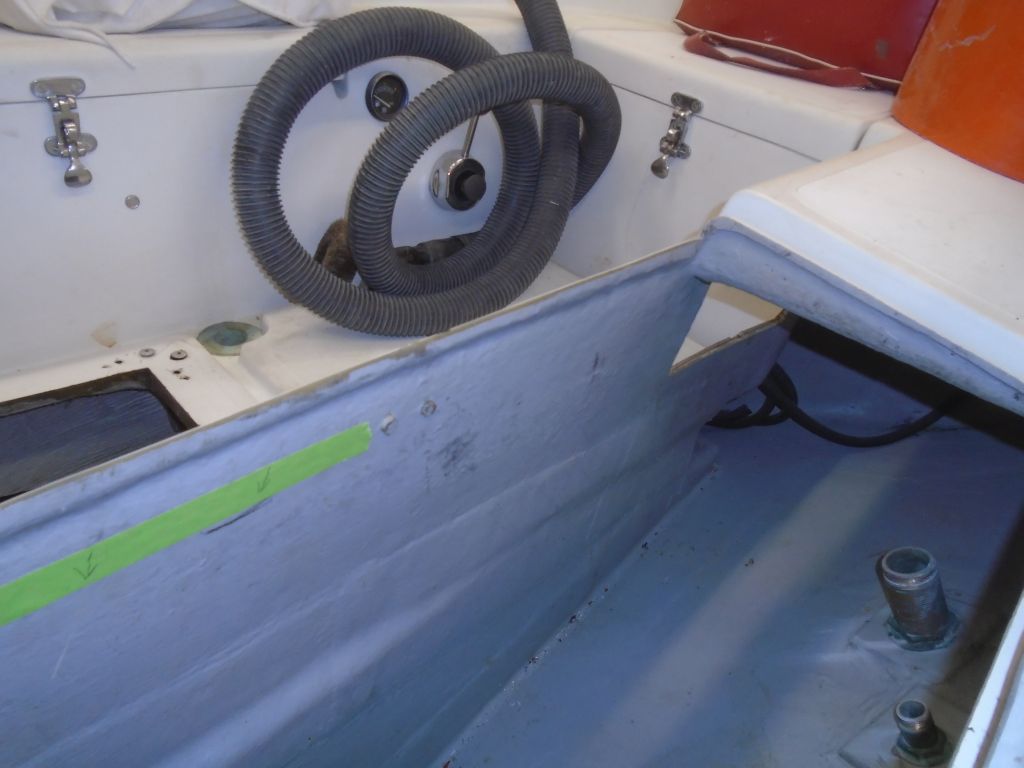
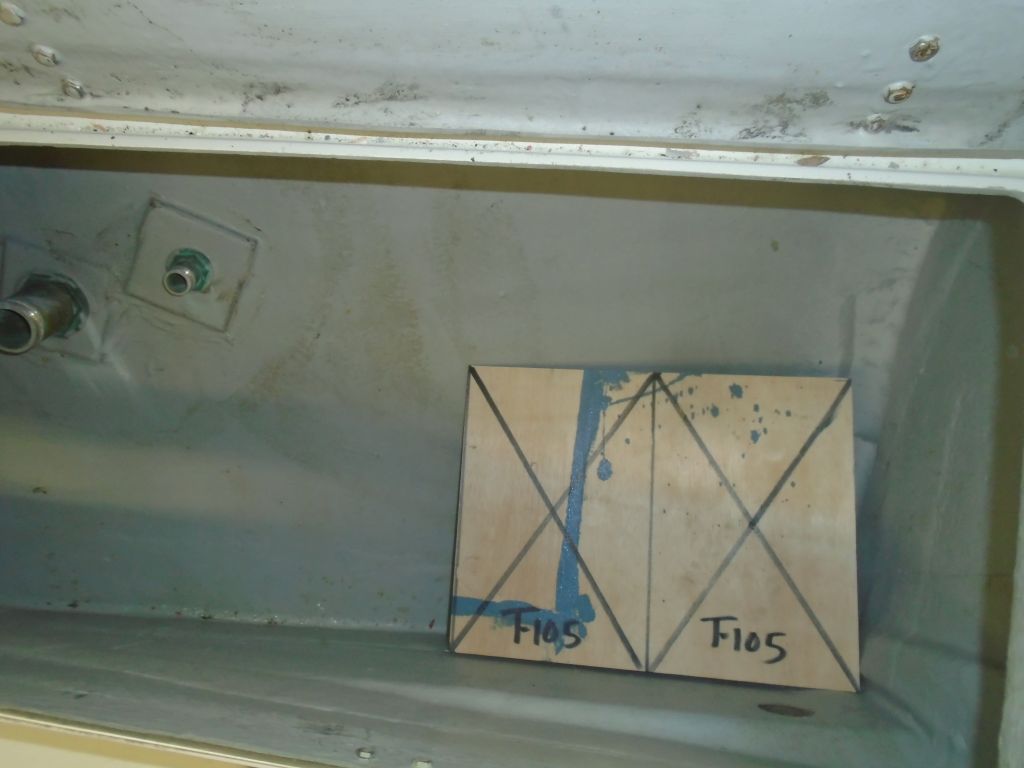
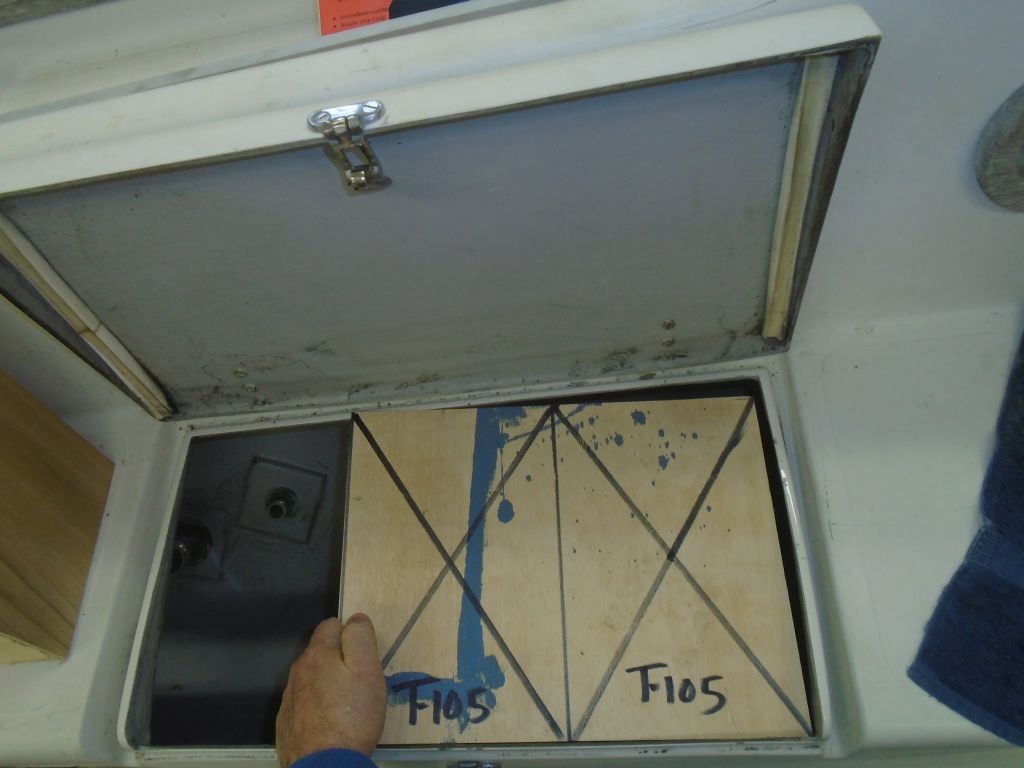
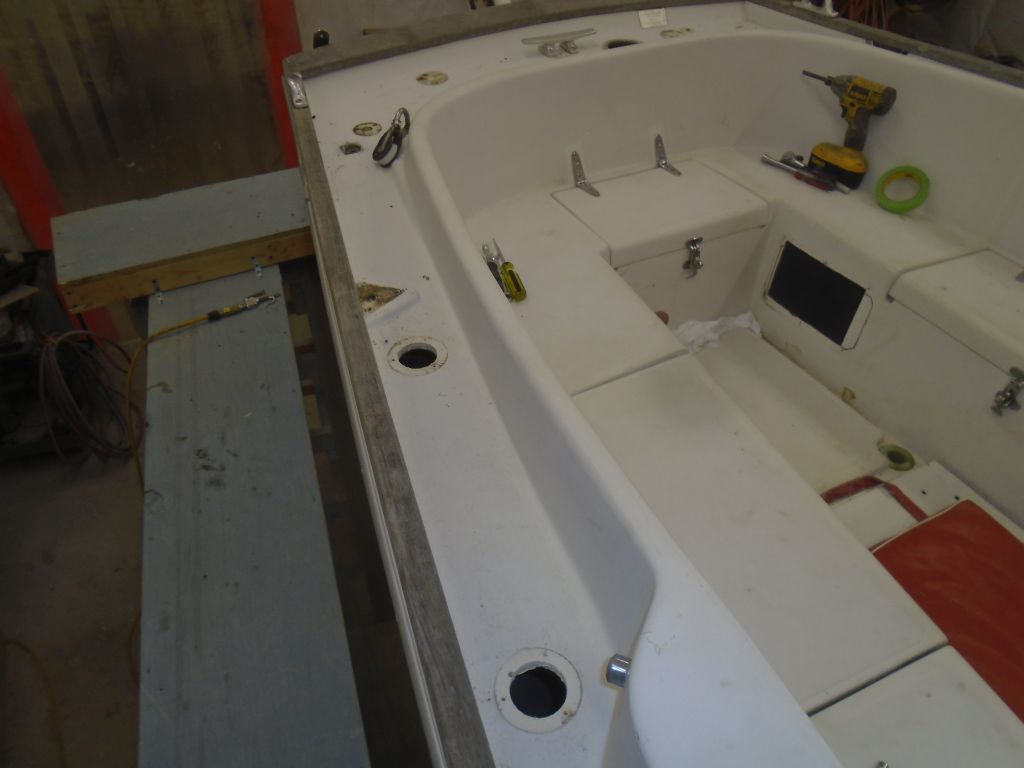
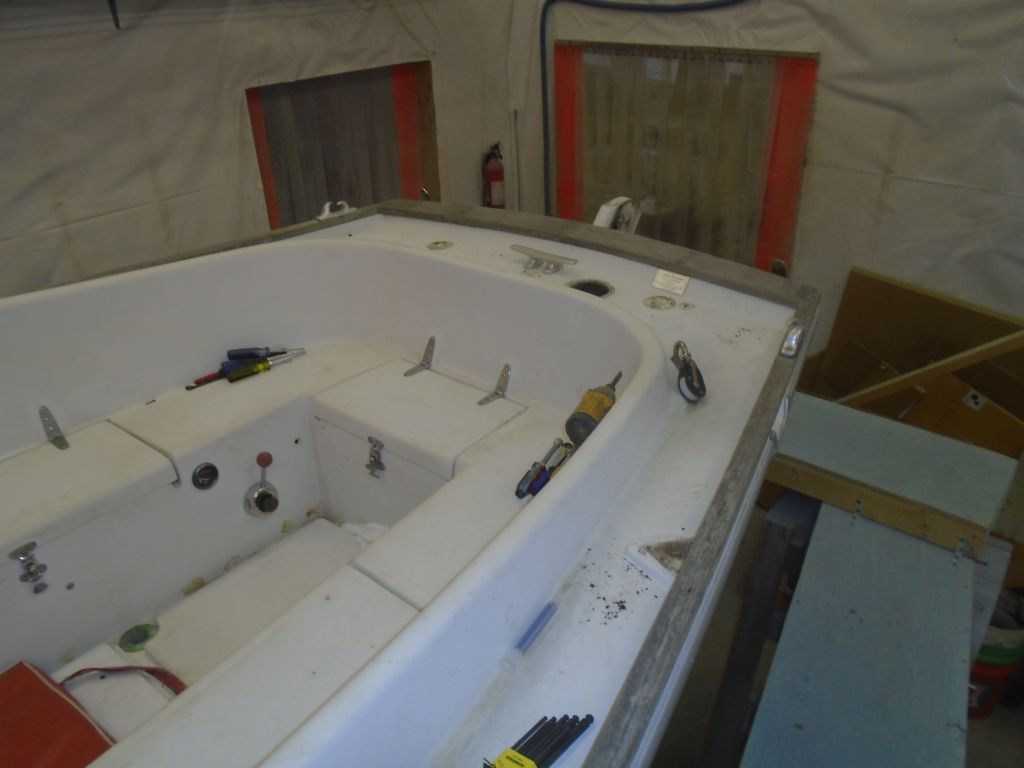
My goal of these first few weeks was to work on and finish all the significant fixed or structural installations that would affect–and set the course of–the remaining systems installations, so high on my mind was the new battery storage situation. With the port cockpit locker already chosen in concept as the house bank location, I worked on a basic platform template made of scrap plywood to prove the concept and work out any final details before moving on with construction. Thinking that it’d be nice if all three batteries (including the start battery) could fit in here, I started with a platform designed to hold both house batteries and the starting bank. While there was plenty of room for this itself, the other requirements of the locker would preclude installing all three batteries like this, as I needed some of the locker real estate for other purposes.
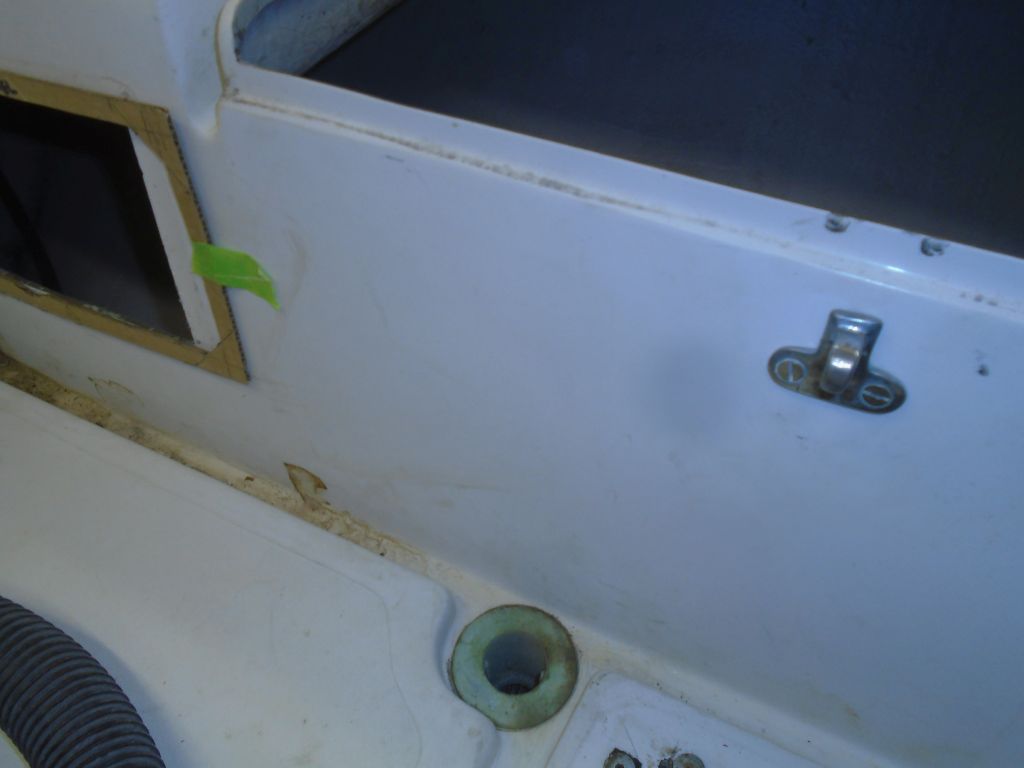
One reason this wouldn’t work is that I needed space on the locker wall–and also inside the locker itself–to install a second manual bilge pump, which would require clear access from both sides. The height of the batteries and/or battery box would get in the way of the space I needed for the bilge pump, and there was nowhere else logical that the pump could–or should–be mounted. In order for this to work, the battery platform and box would need to end further forward, so I cut off the tho
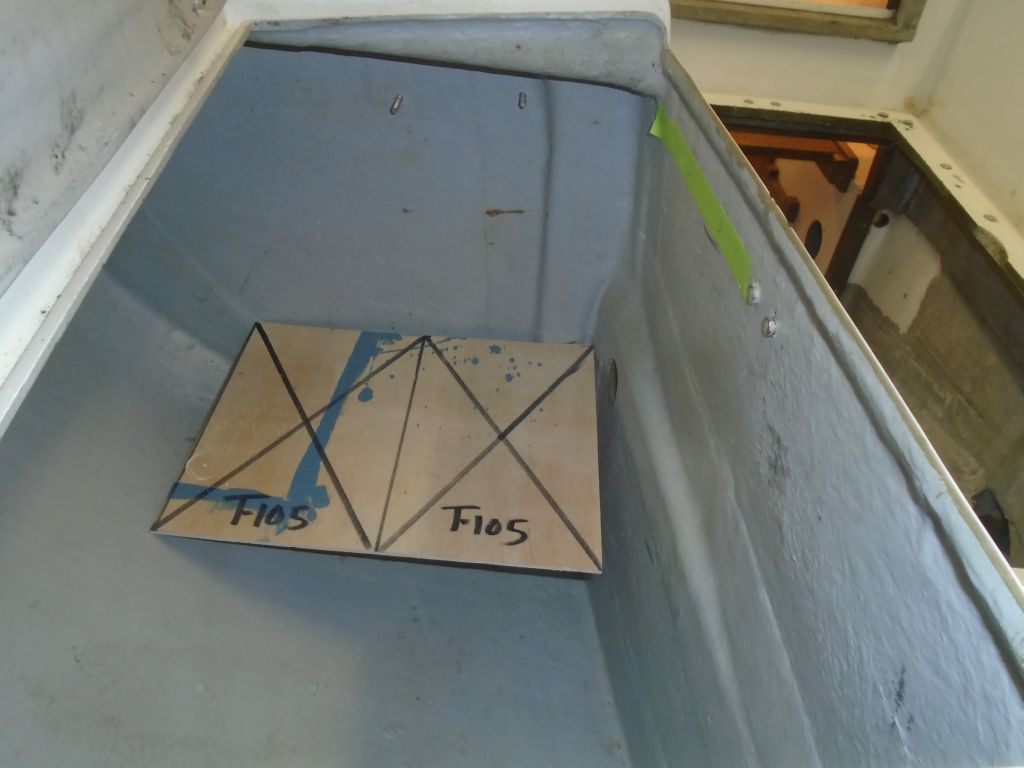
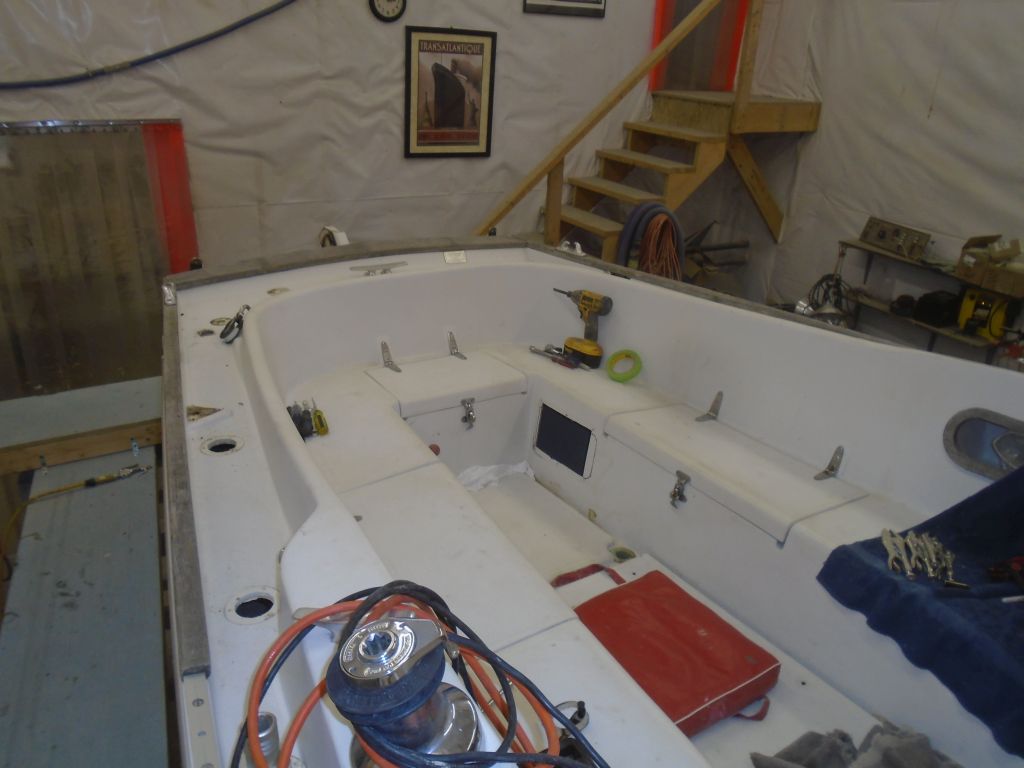
Eventually, I turned the template sideways, to orient the batteries athwartships rather than longitudinally, and I liked this position best. The platform size–not even accounting for potential sides of a box–was too large to fit through the locker opening, so I’d have to build the box in place, and this meant I hoped to keep the installation as simple as possible, so I could use the existing locker sides as two sides of the new box. The owner also approved of this plan, and I’d move forward with construction soon.

The starting battery had two potential mounting locations: on a platform in front of the engine (this is where the battery had been installed in the original setup), or in a locker beneath the cabin sole. Neither location was perfect, but both had their advantages also.
One concern with the engine room location was that the battery might interfere with reasonable access to the front of the engine and related components (such as fuel and raw water filters, and the raw water pump housing), but only further time would tell whether this was an issue, since at this early stage I wasn’t sure exactly how the space would come together with the engine. There was room for a normal group 24 starting battery here, however, and if it could be installed so as not to be in the way of normal access requirements, this might end up being the spot.
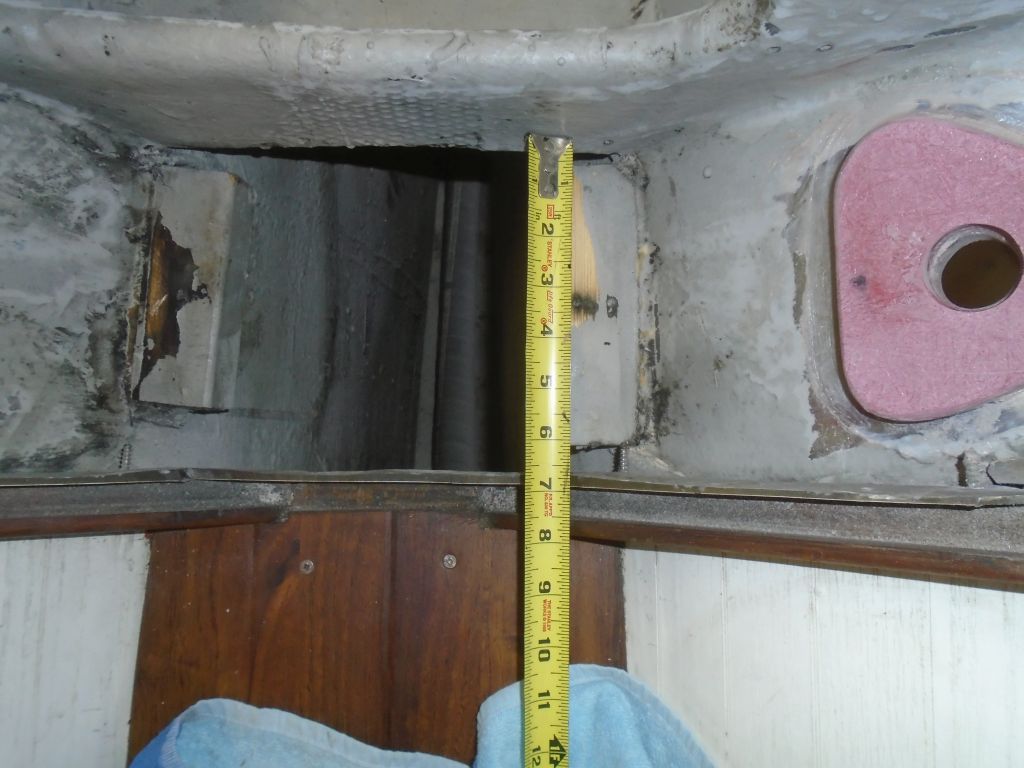

The storage space beneath the cabin sole, a bit forward of the engine room, was where batteries had been previously installed, and there was ample room, but the low location was potentially vulnerable to water problems, and while it was a good and reasonable option if the engine room didn’t work out, for the moment we were hoping to go in the other direction. The tight access to this space also meant that the battery would have to be installed and hooked up while in the open area, then pushed back to its final location beneath the aft part of the sole.
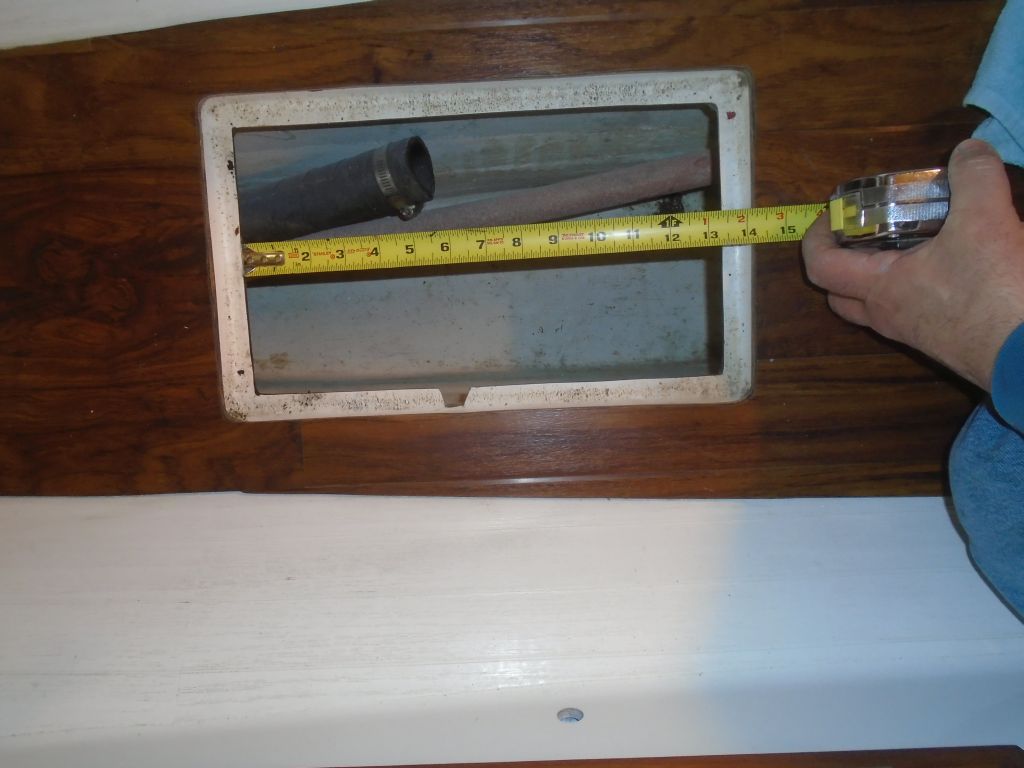
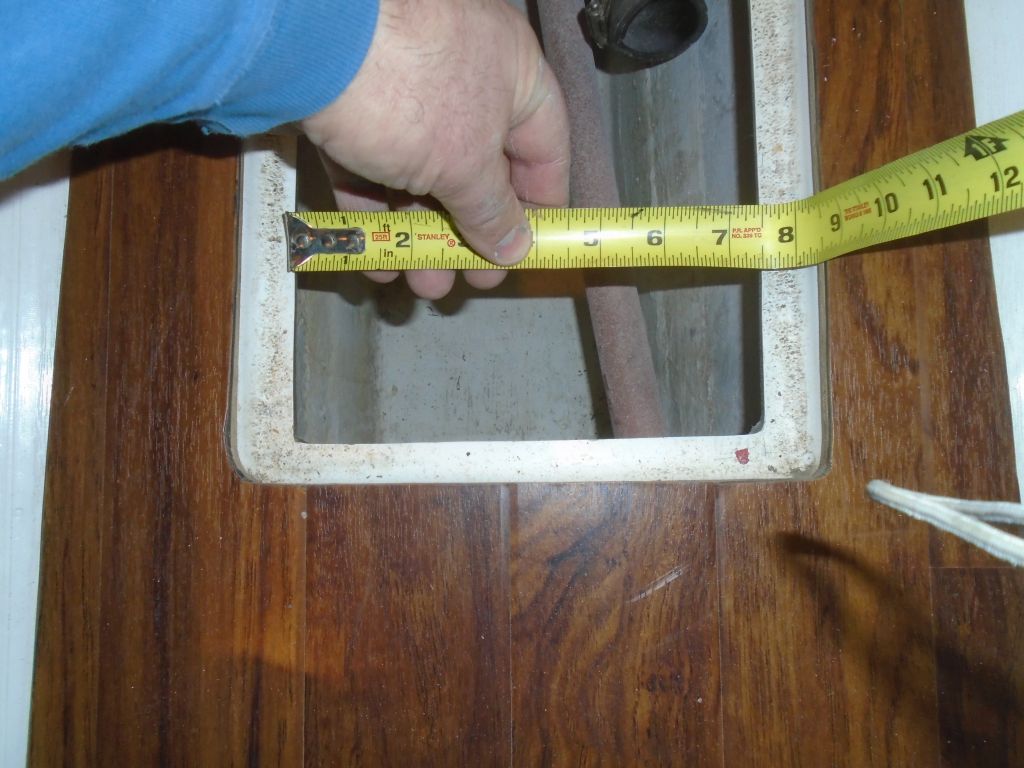
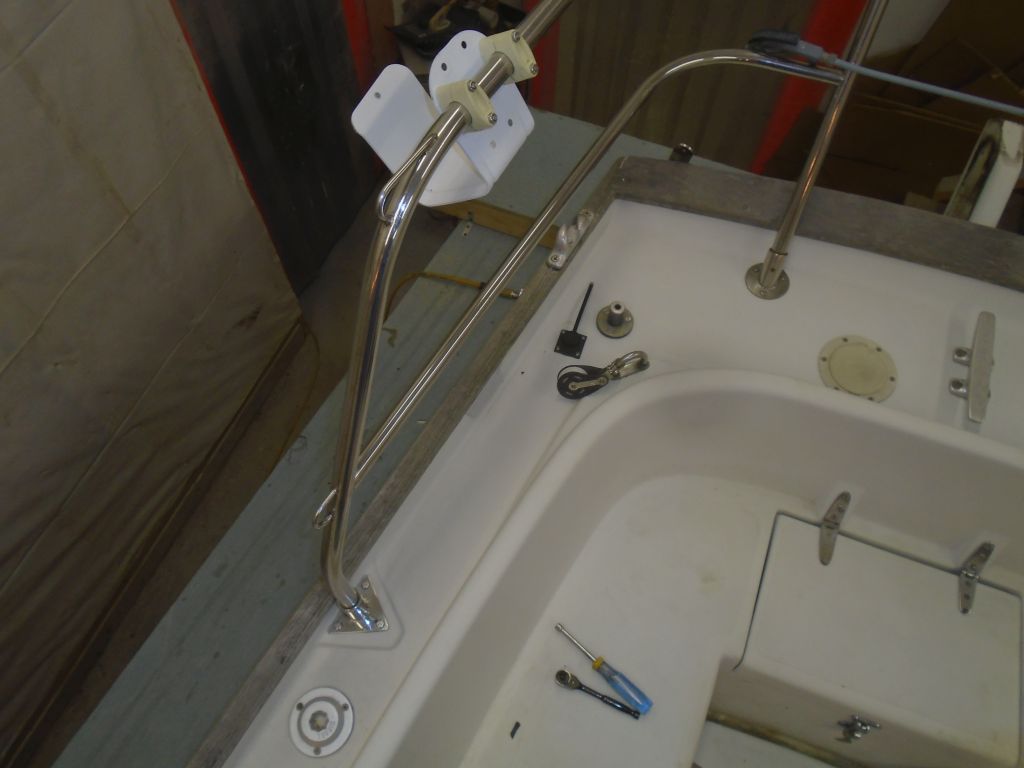
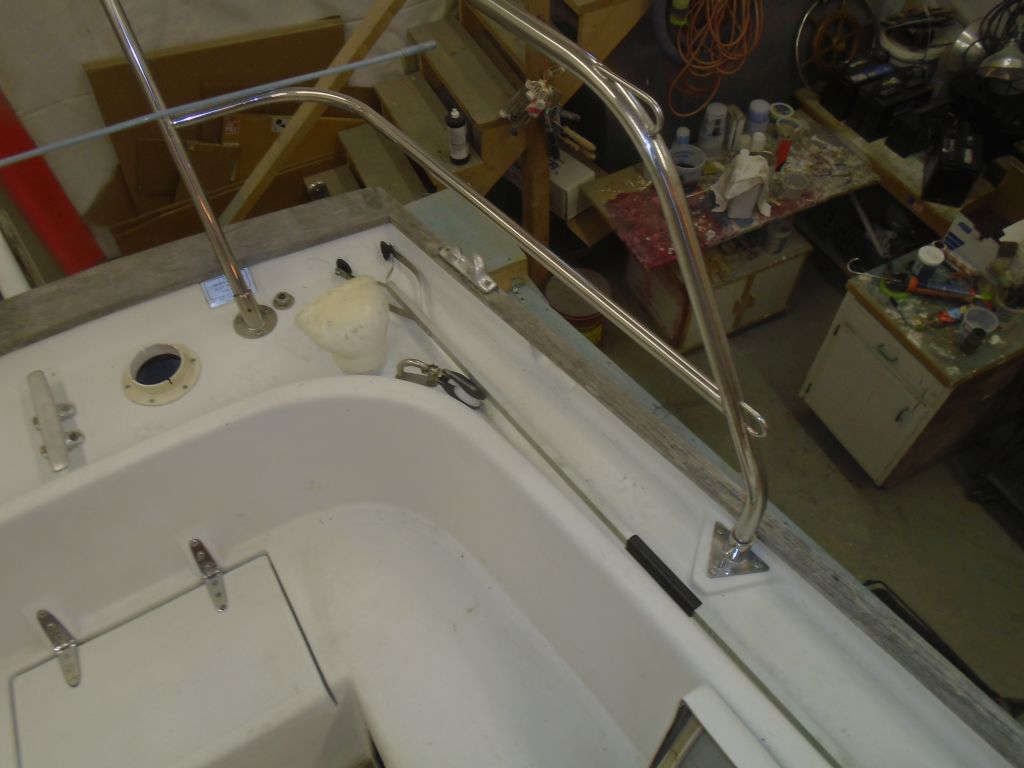
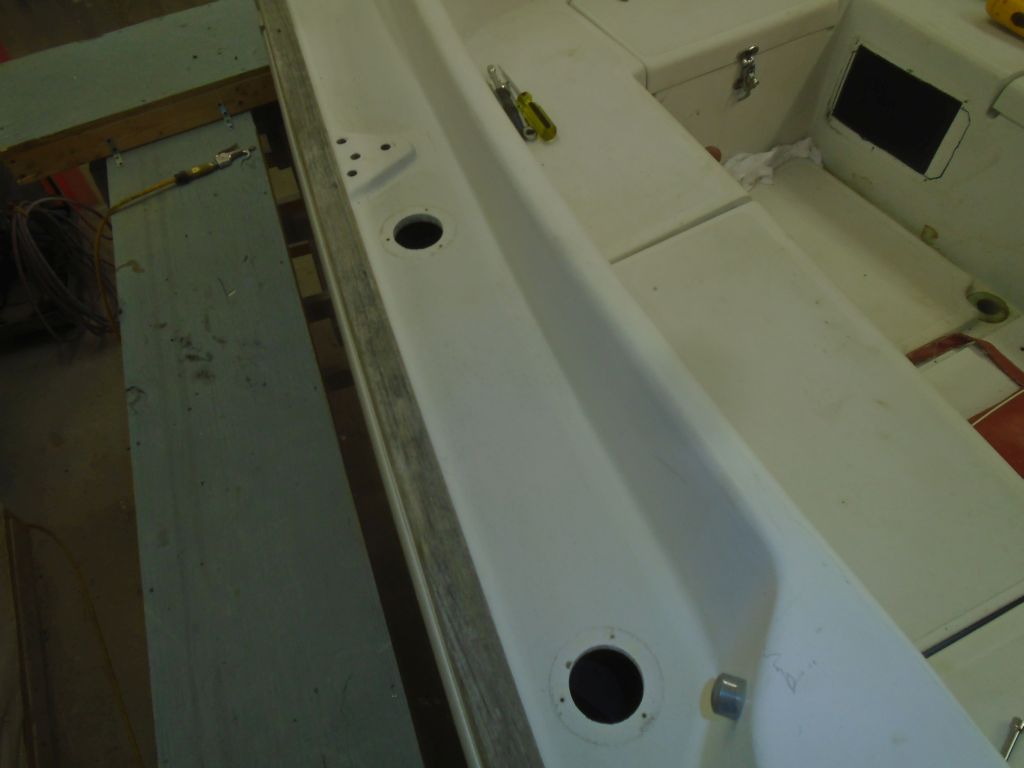
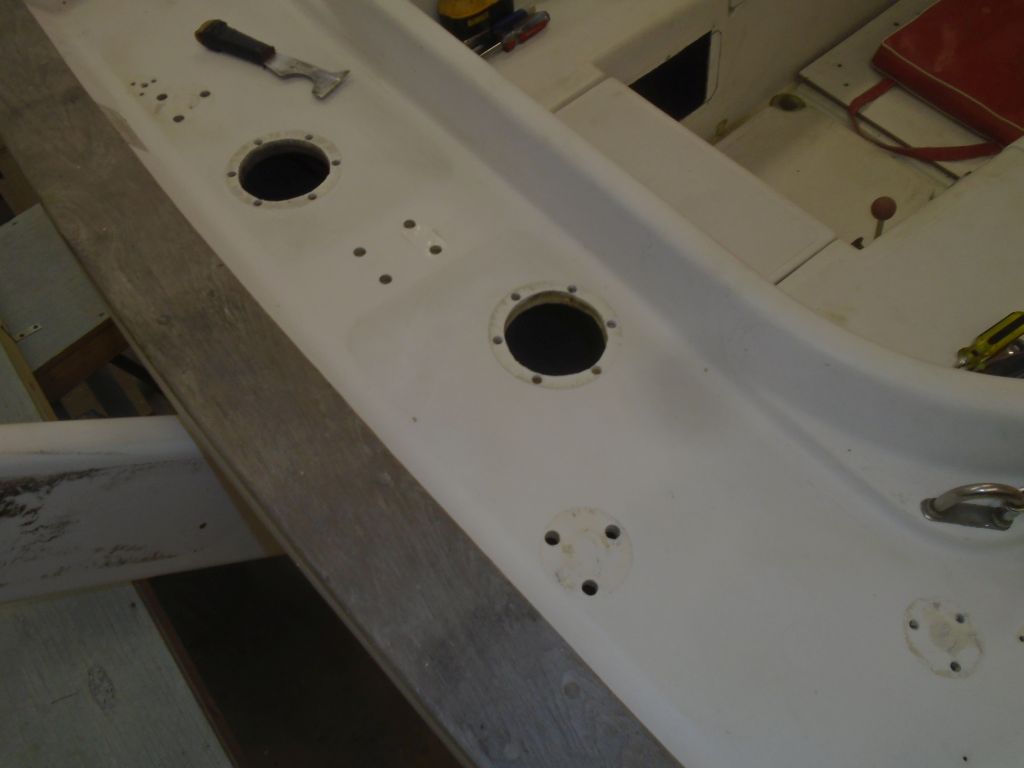
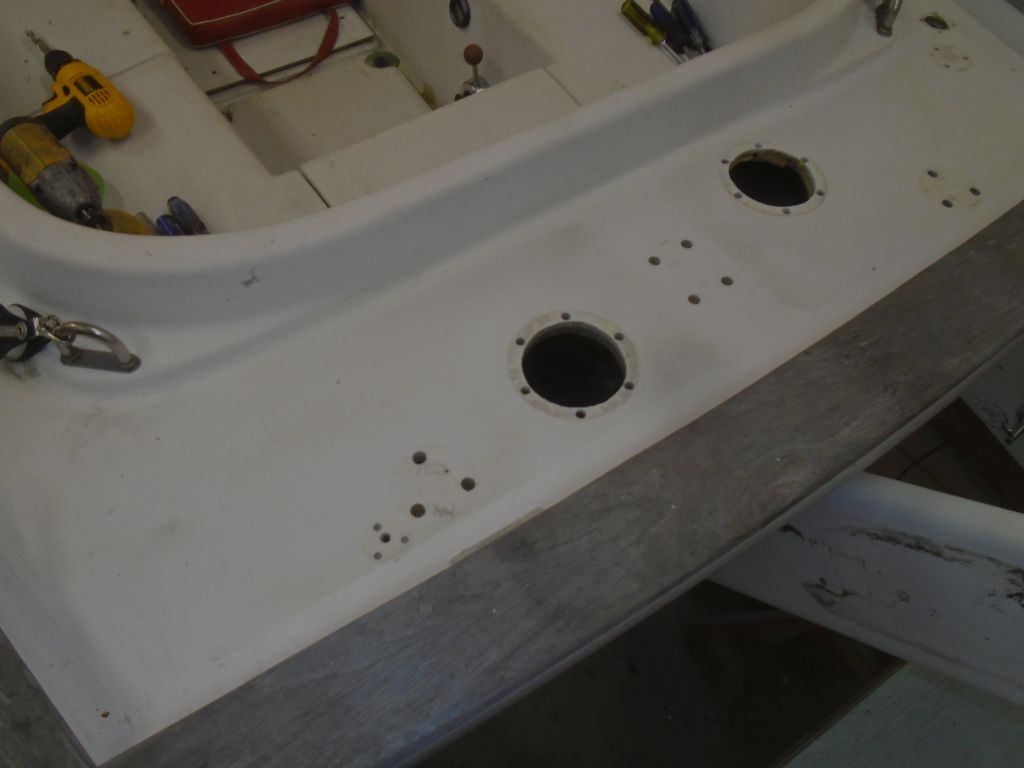
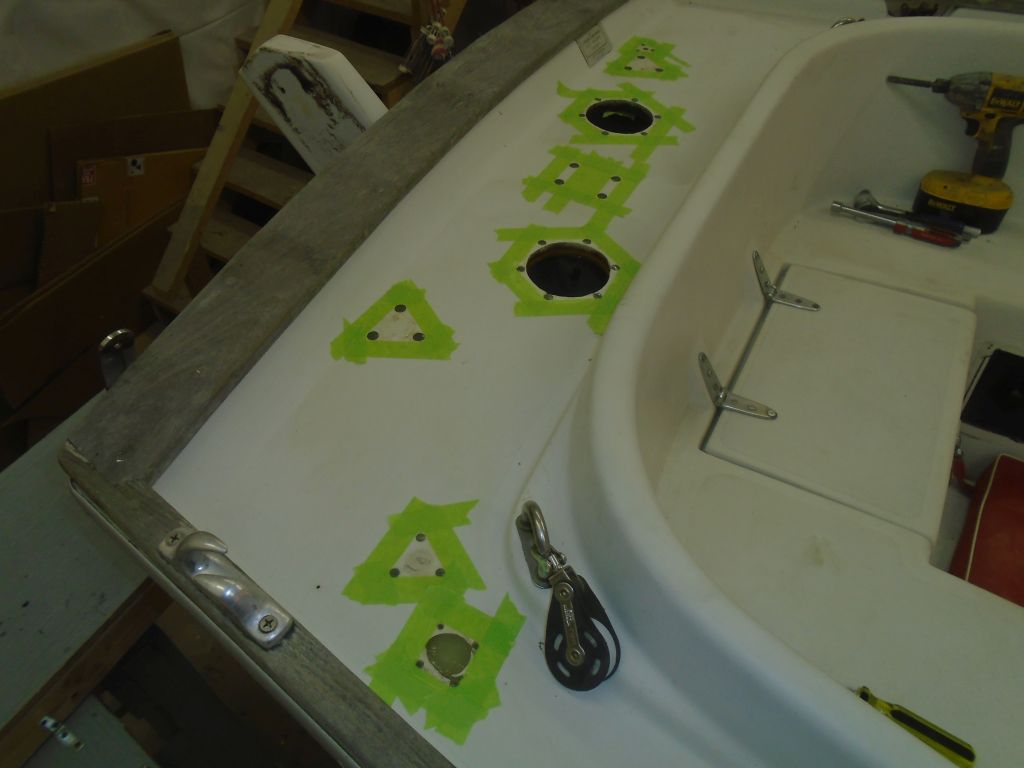
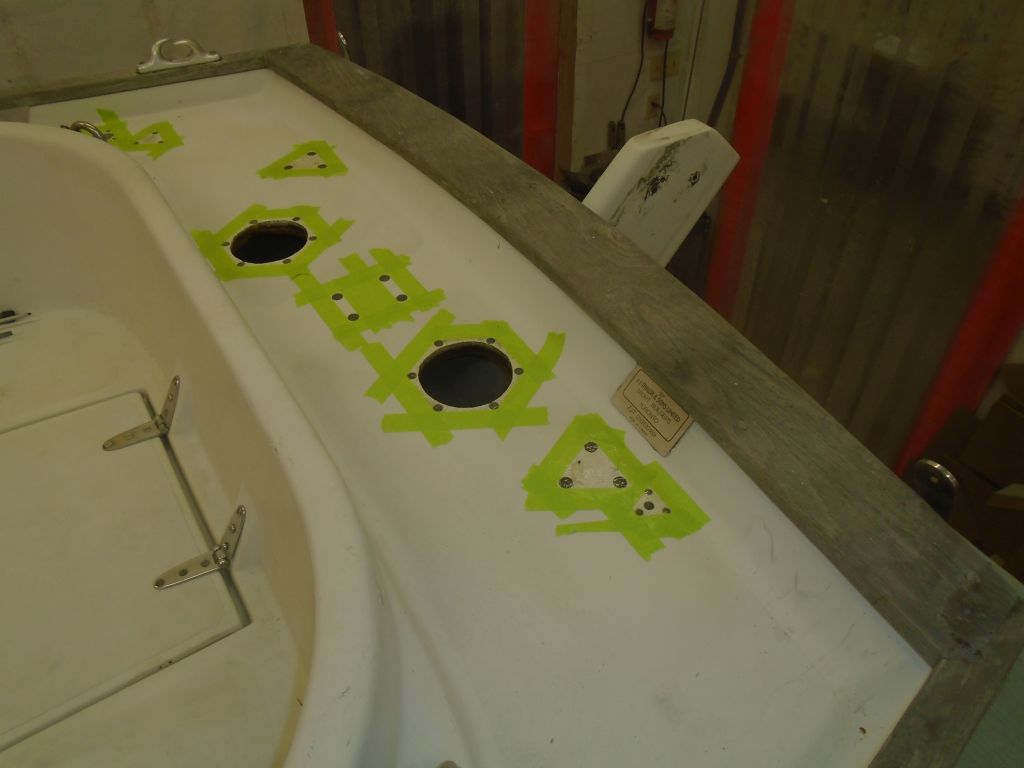
With the important battery question now resolved–the proof of concept and a clear direction for the house battery bank–I continued work on the deck hardware rebedding, this time the stern quarters of the boat, which included the fuel fill and waste pumpout, stern pulpit, and various other hardware.
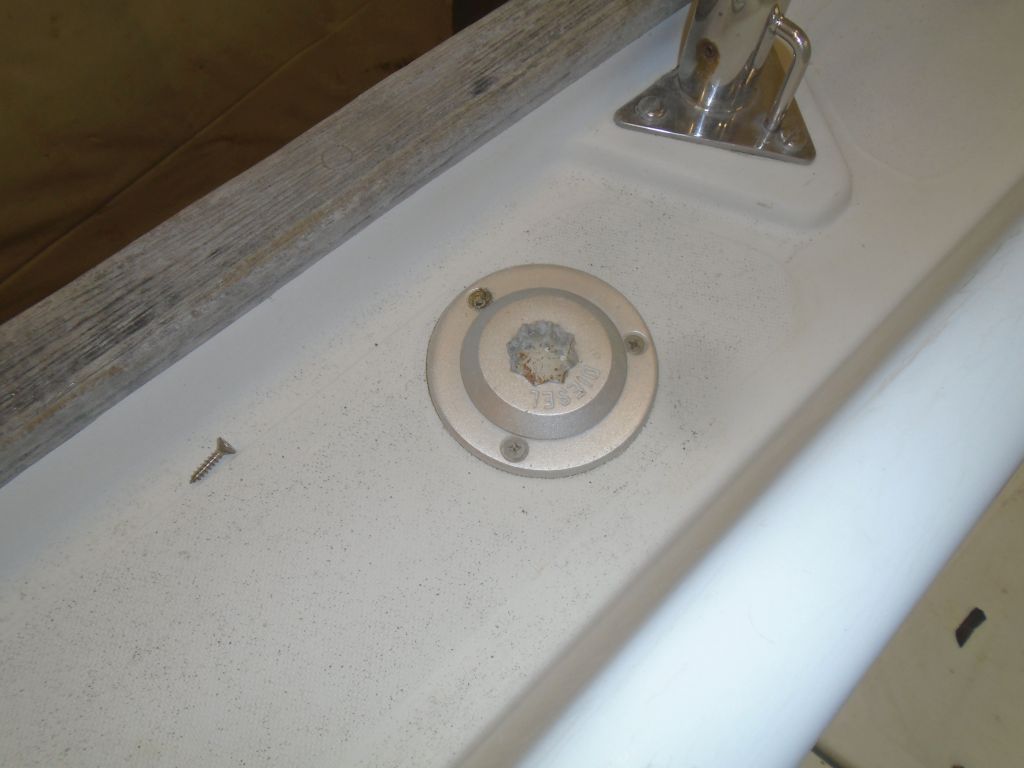
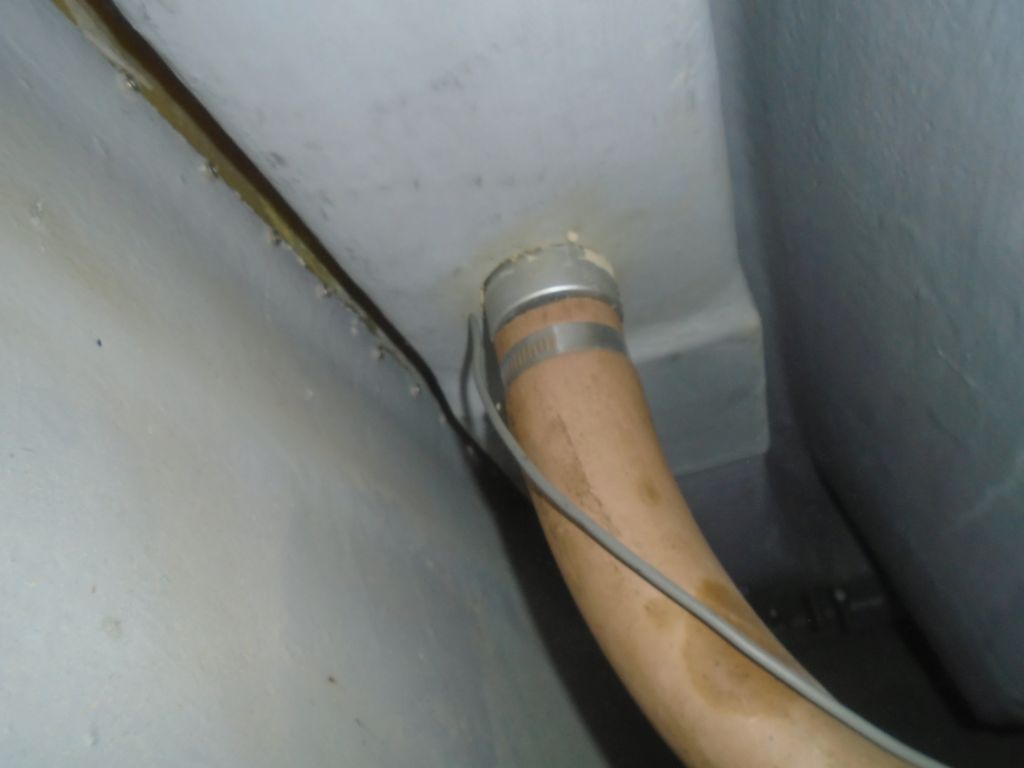
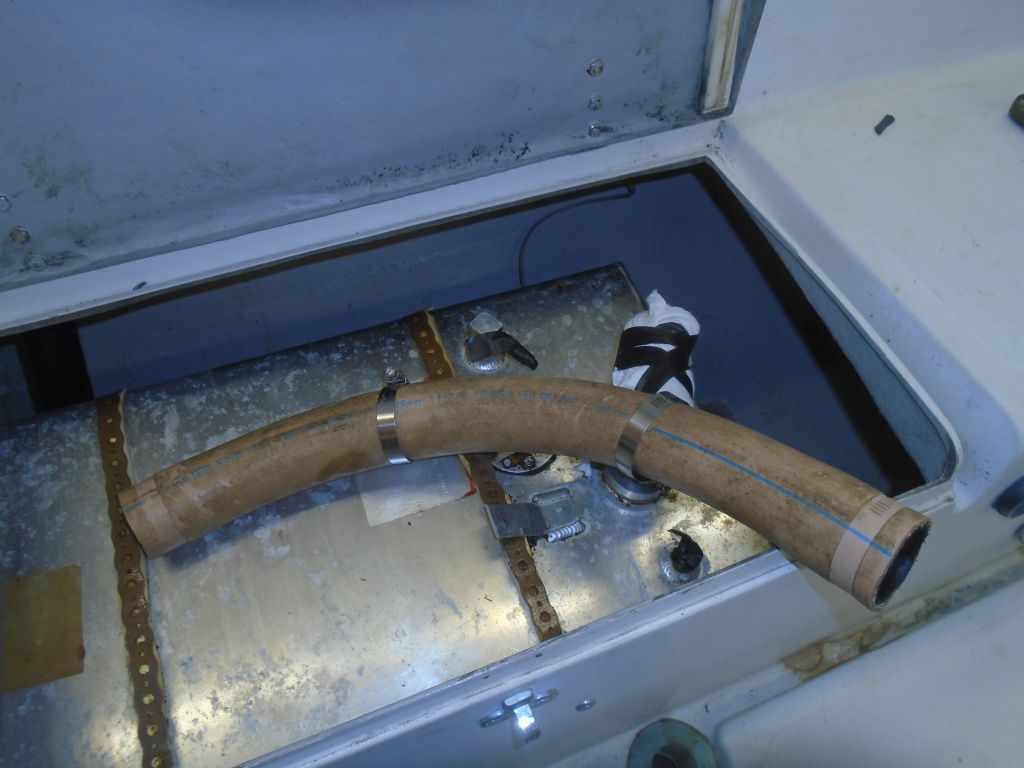

Because of the limited access through the locker lids, some of these fasteners were at (or almost beyond) my ultimate reach, at least while being required to also work the top end of the fastener. Fortunately, despite some fairly long exposed thread on some of the fasteners, I found that the nuts came off easily, making this job far less onerous than it could have been, a tiny moment of relative pleasure for which I was most grateful. I even had little trouble removing the hoses from their barbs on the two deck fills, and in relatively short order I had the area cleared of hardware, other than a couple pieces that I’d attend to later on their own. There were also several old pass-through wiring connections on the aft deck, which were abandoned but I’d have to deal with their old locations somehow.
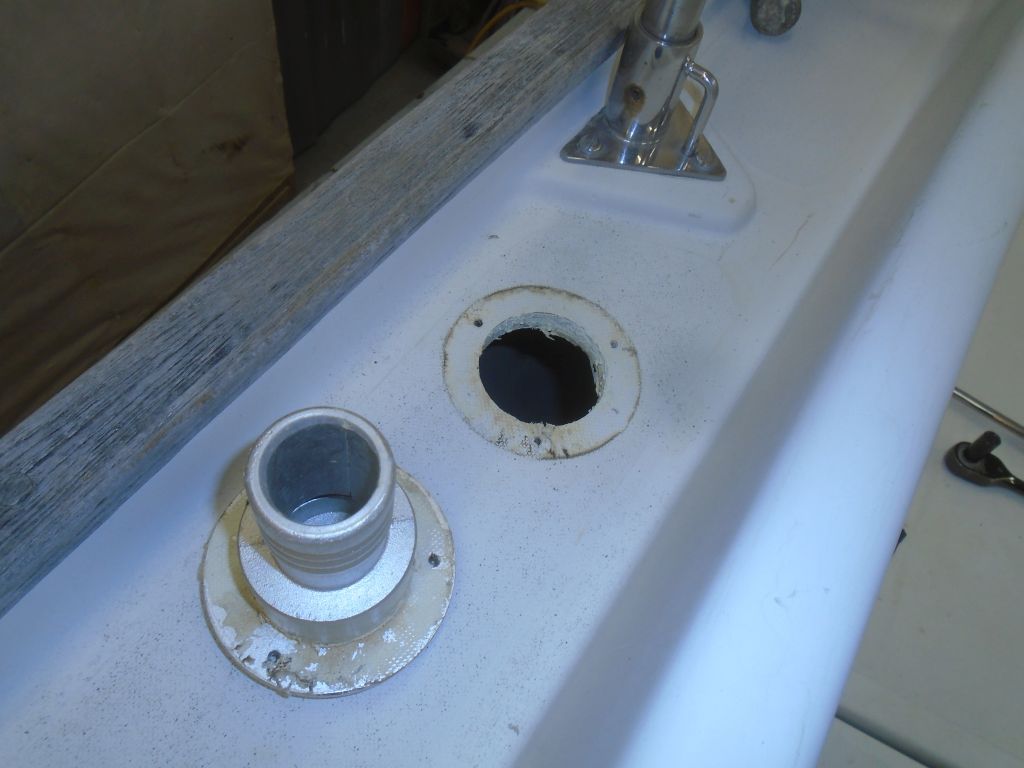

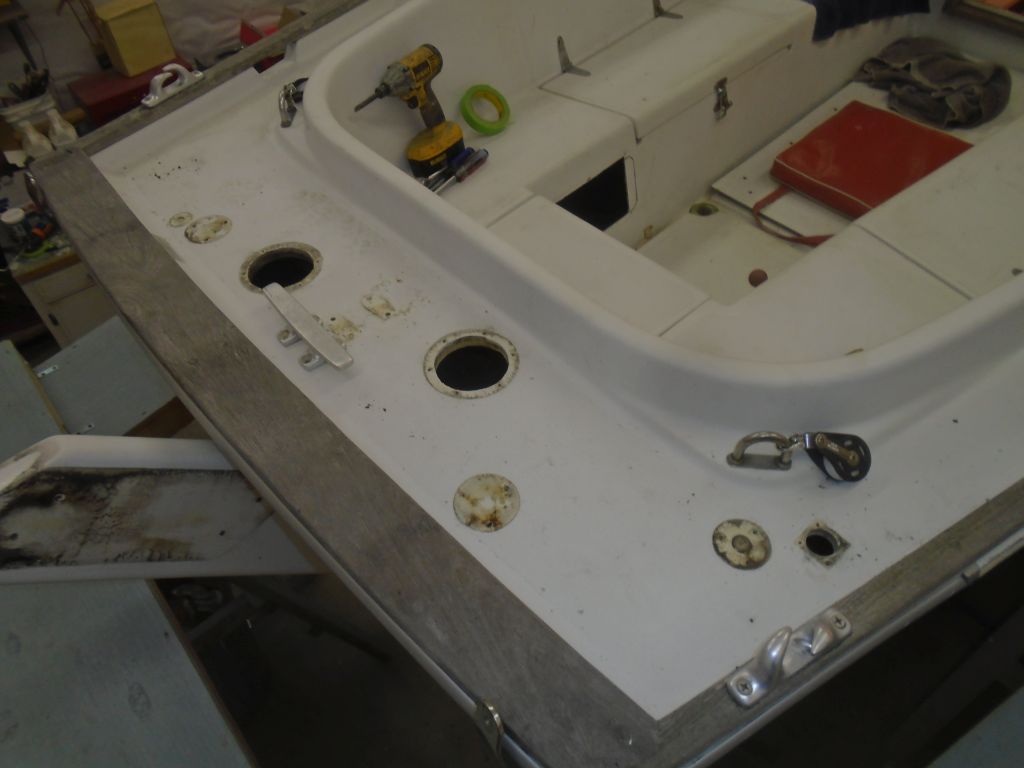
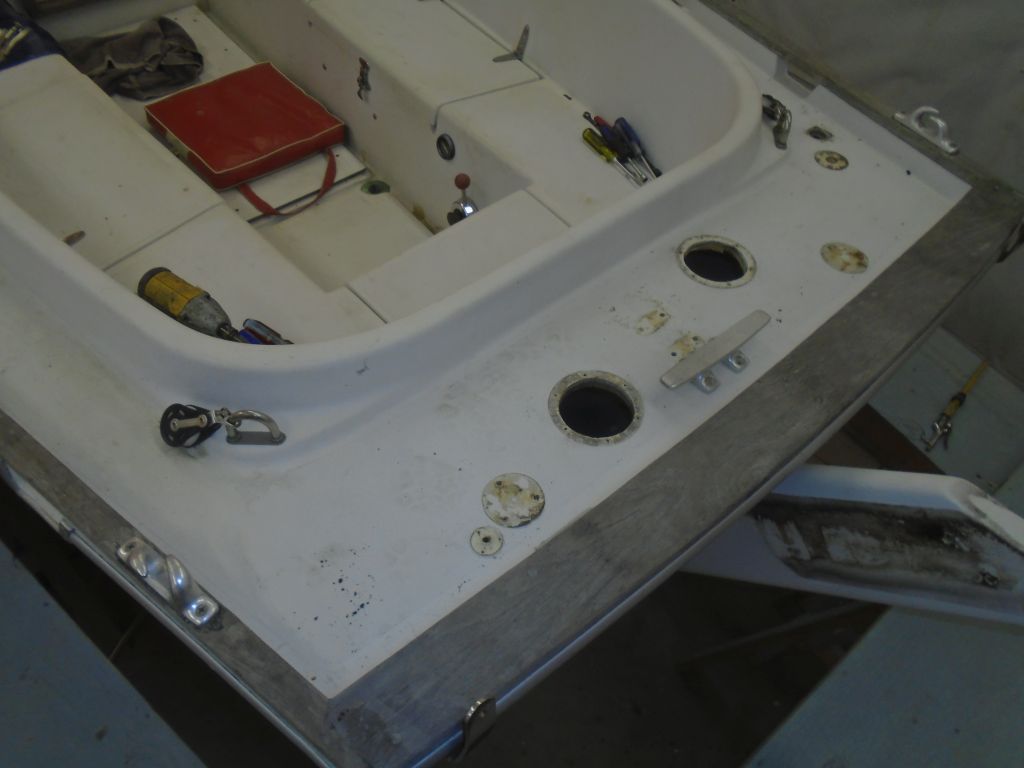
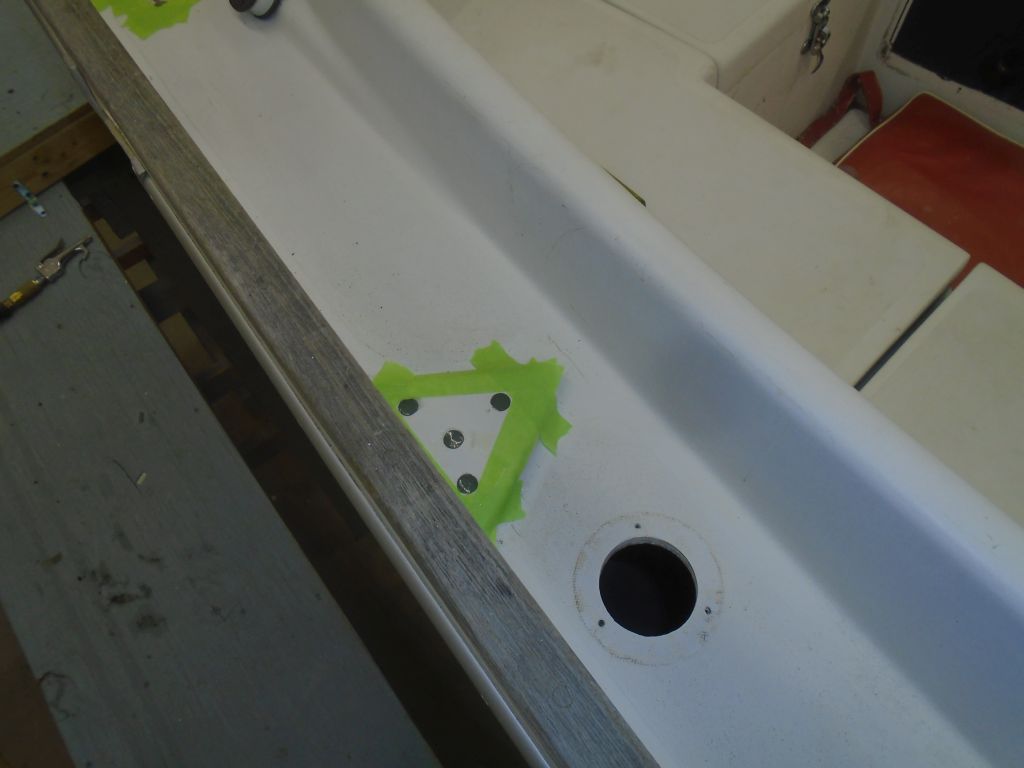
Afterwards, I cleaned off old sealant and the like, and prepared the fastener holes (where needed) by boring larger holes at each location, removing any core material from about the hole. The small poop deck itself, at least the center 2/3 or so, featured a plywood core–visible through the plastic vent openings–and the forward pulpit bases were on those raised platforms like the stanchions, but the sidedeck in way of the two deck fills was uncored, and I had no need to do any further preparatory work on those openings or fastener holes.
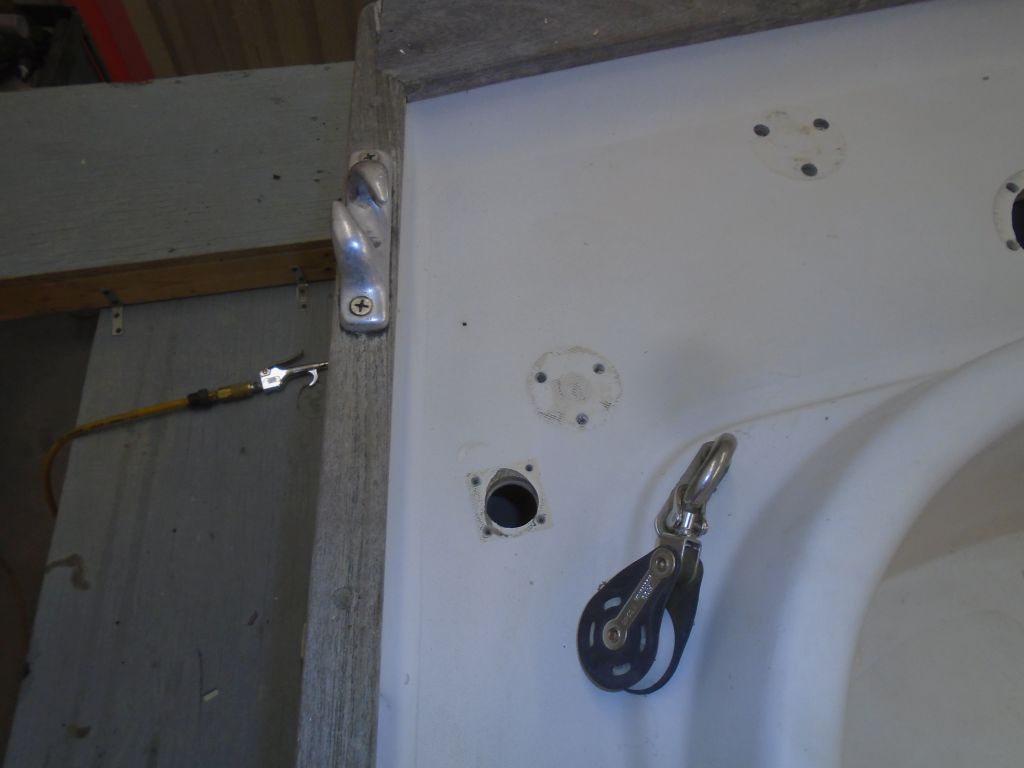

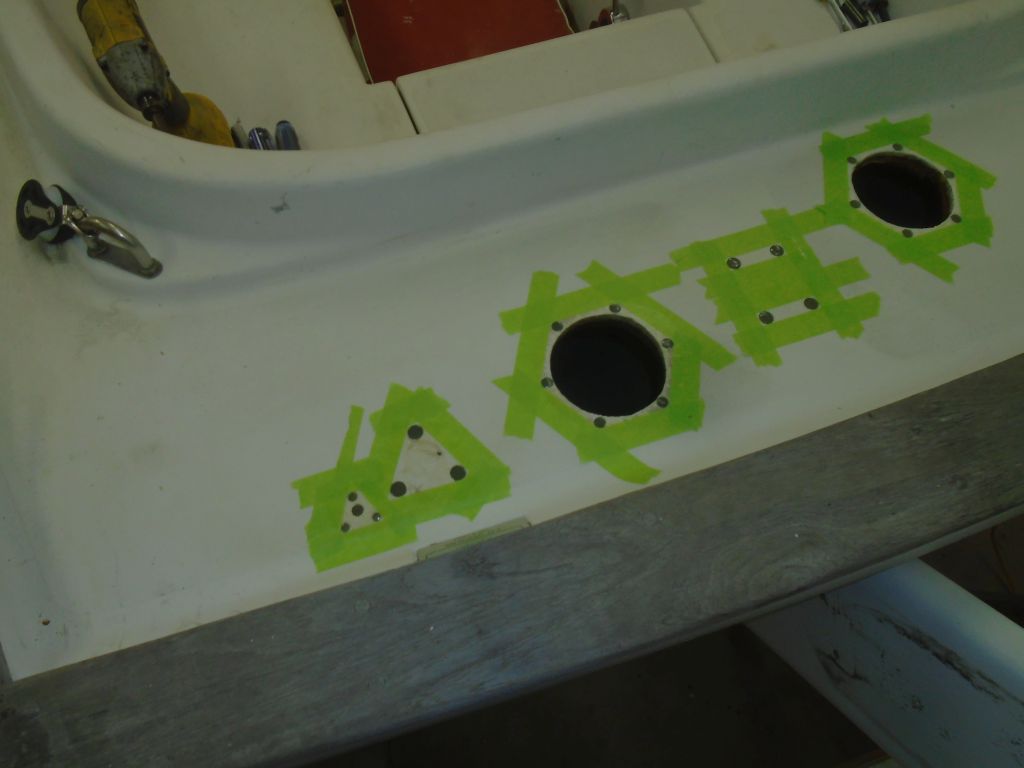
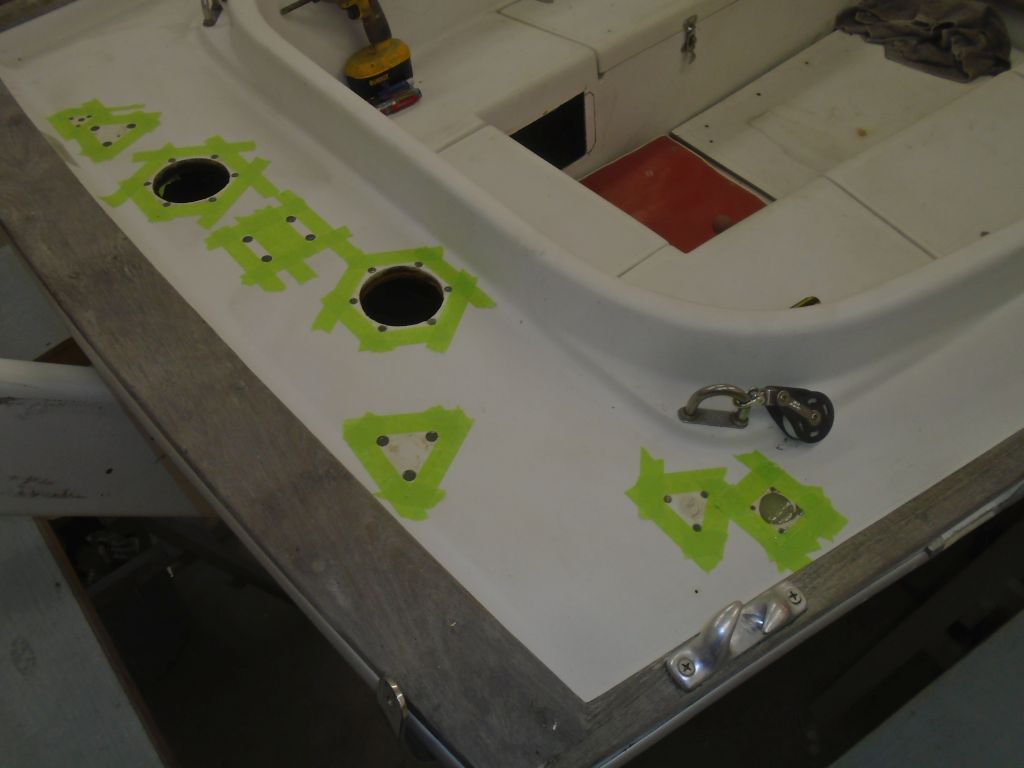
With everything prepared and cleaned up, I masked around the fastener holes to protect the deck, and filled all the enlarged holes with thickened epoxy, and coated the exposed core in the two larger openings.

Total time billed on this job today: 7.25 hours
0600 Weather Report:
55°, cloudy. Forecast for the day: Cloudy, temperatures falling, rain by evening.