


March 23, 2016
Salty 24
Wednesday
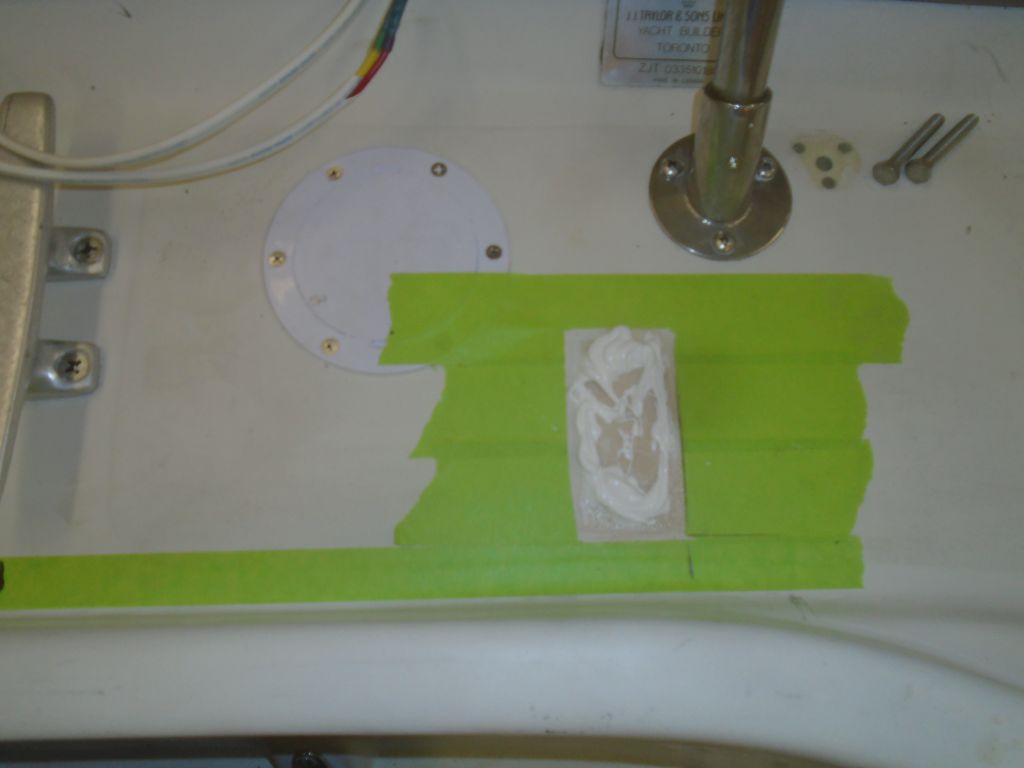
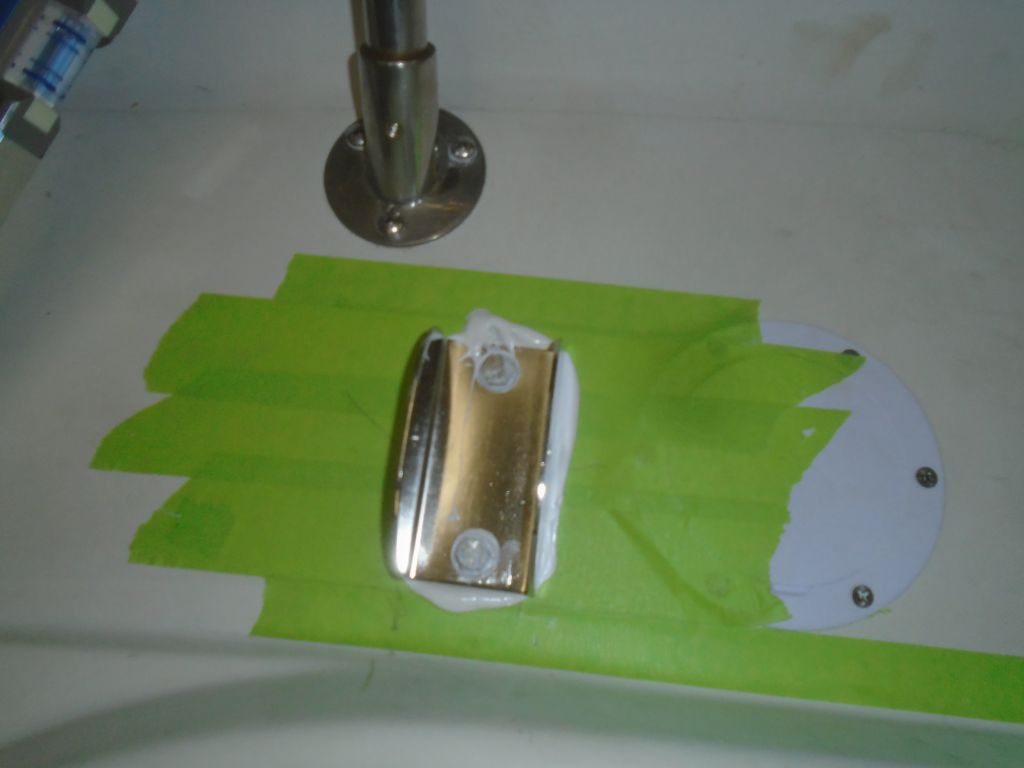
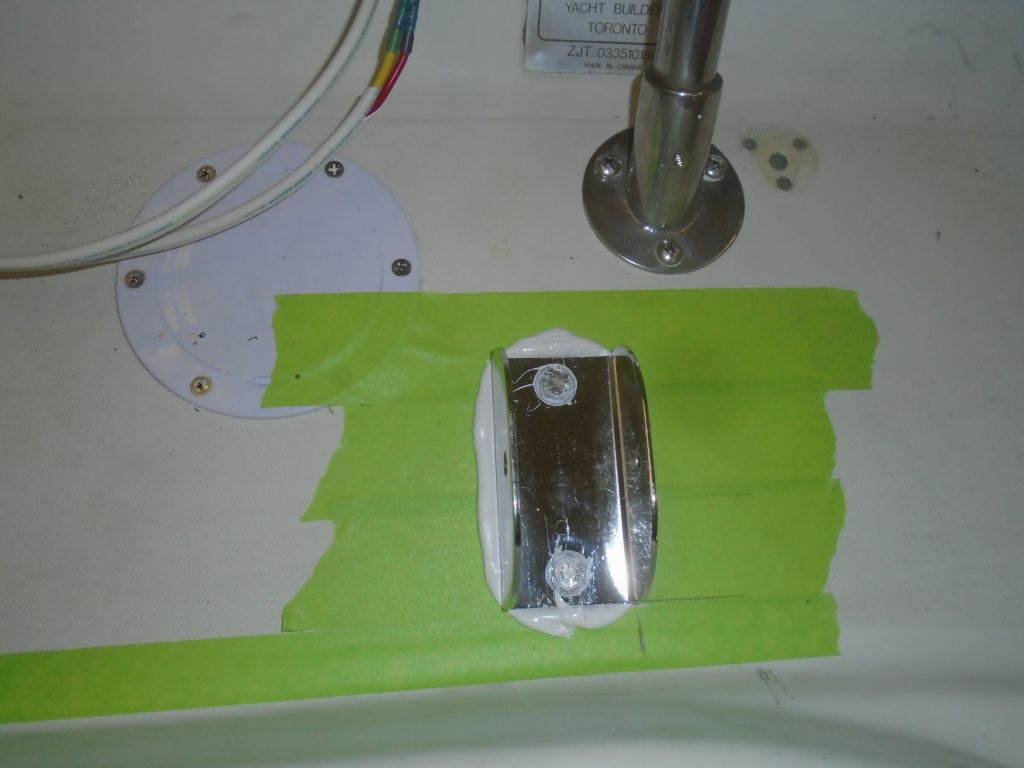
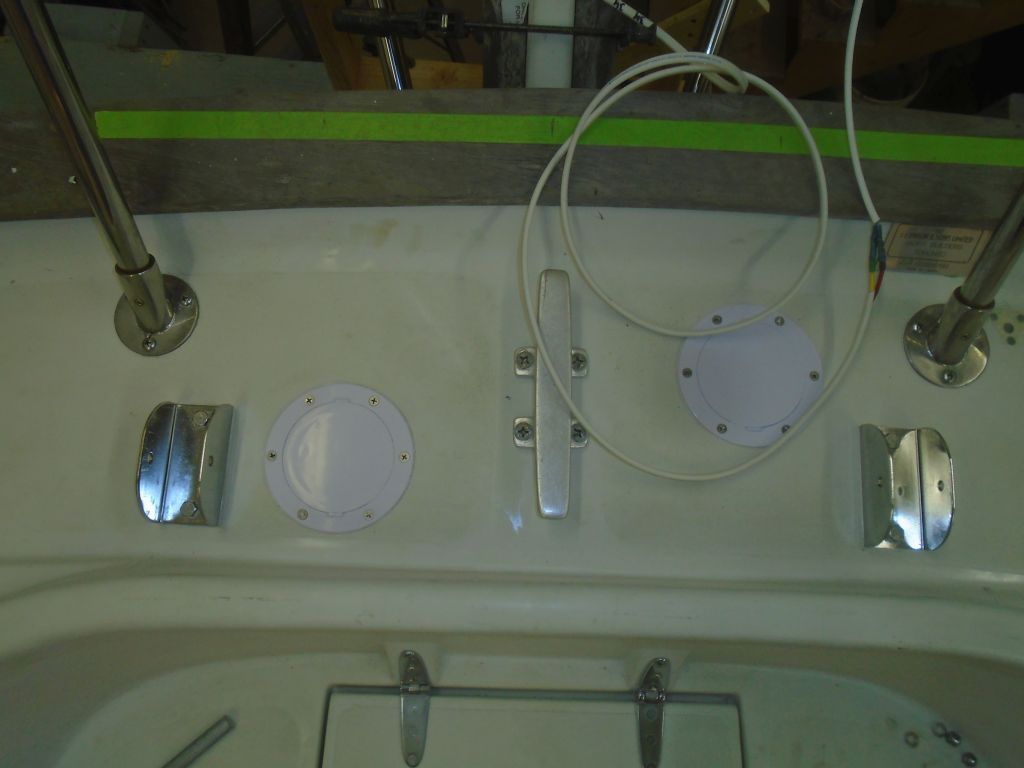
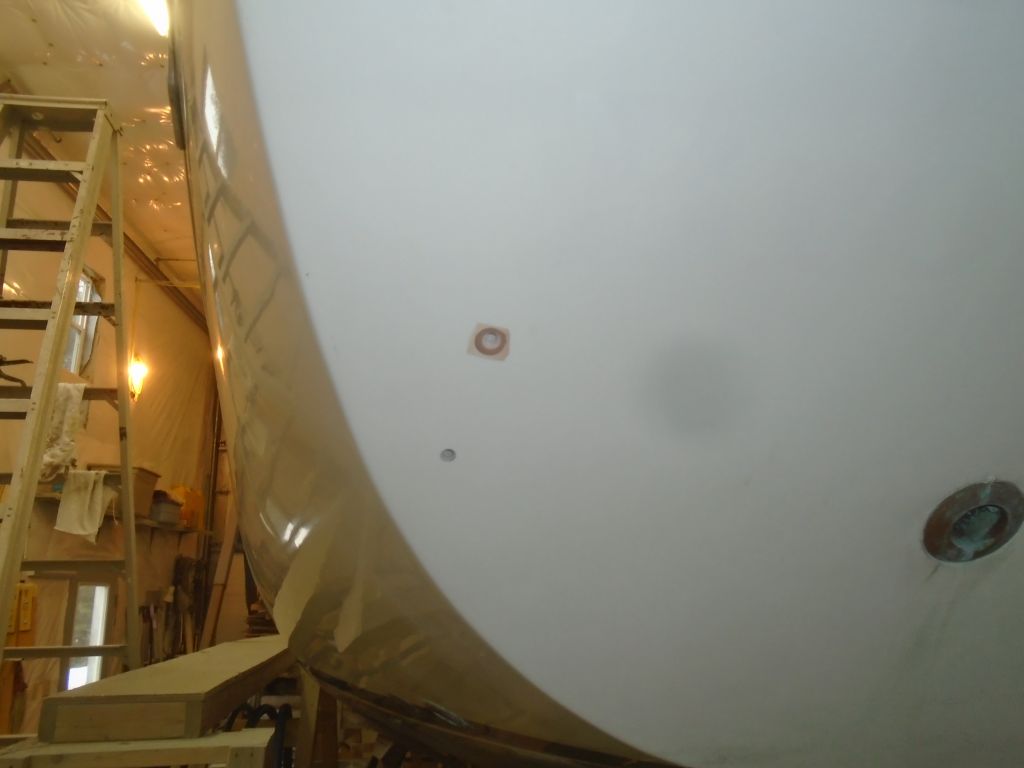
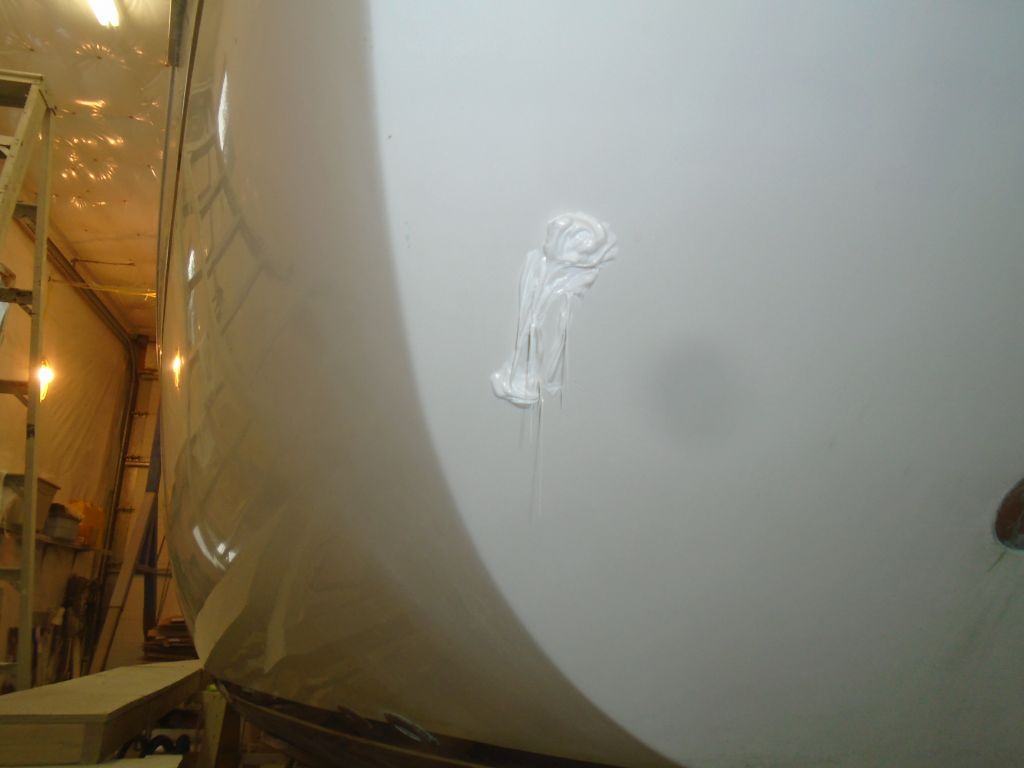
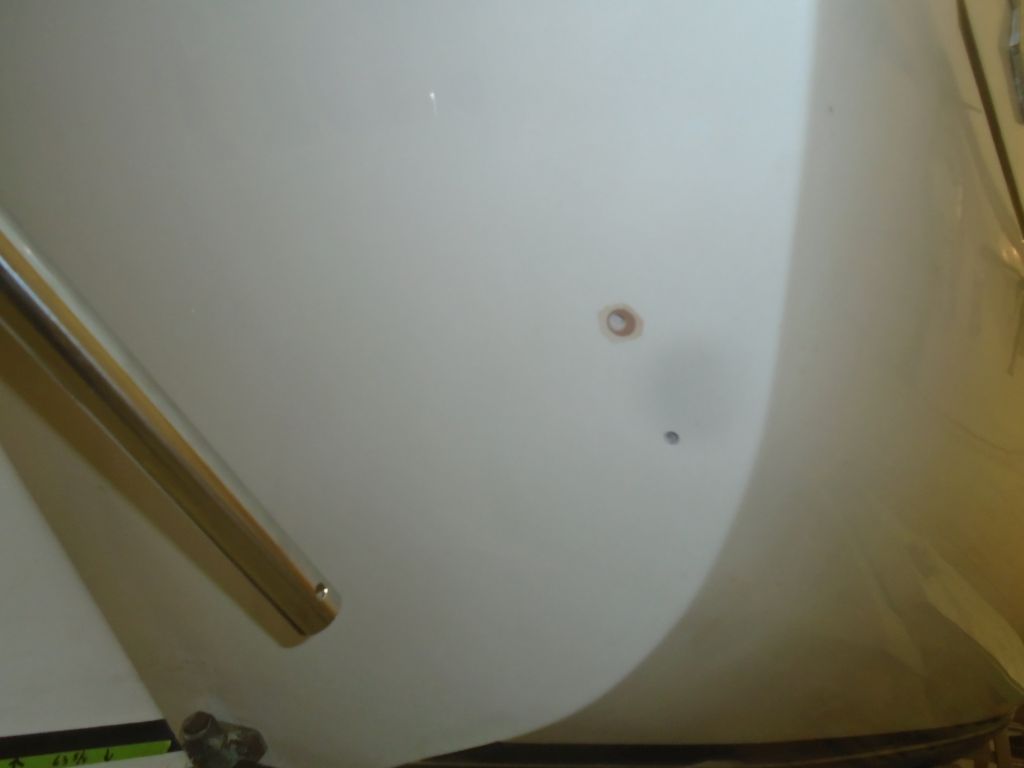
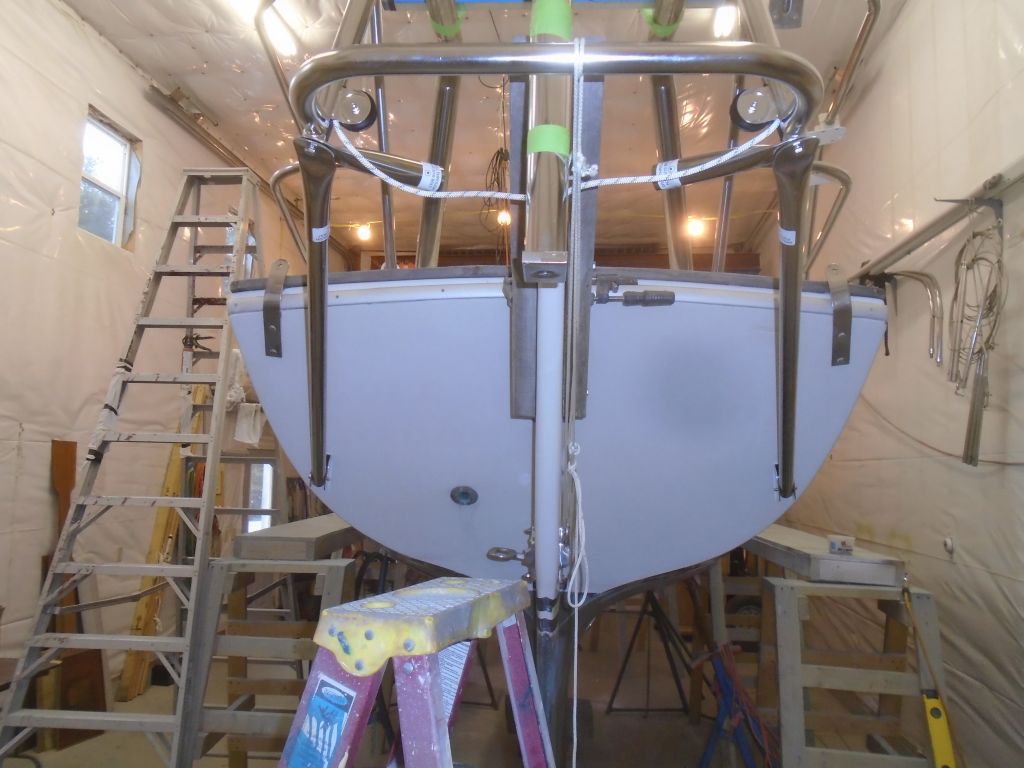
Now that my epoxy-filled bolt holes were ready for further work, I could get on with the final installation of the Monitor frame. I started with the deck brackets, and went through all the usual steps to prepare the bolt holes and install the brackets: drill, tap, countersink, apply sealant, bolt, clean up. Because of the way the top framing tubes worked on this particular installation, I decided to add 1/2″ fiberglass backing plates beneath the deck brackets; it just seemed prudent, particularly since part of the bracket fell over an uncored section of the poop deck. (Oops, I didn’t get all the masking tape off the bottoms of the holes…)


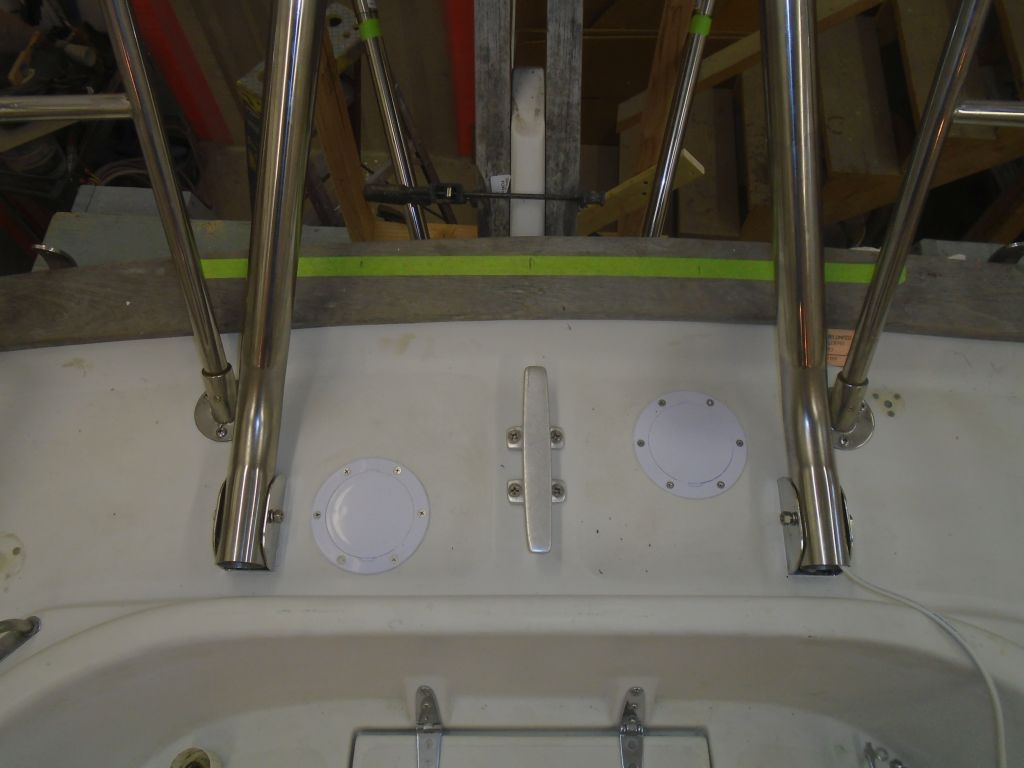
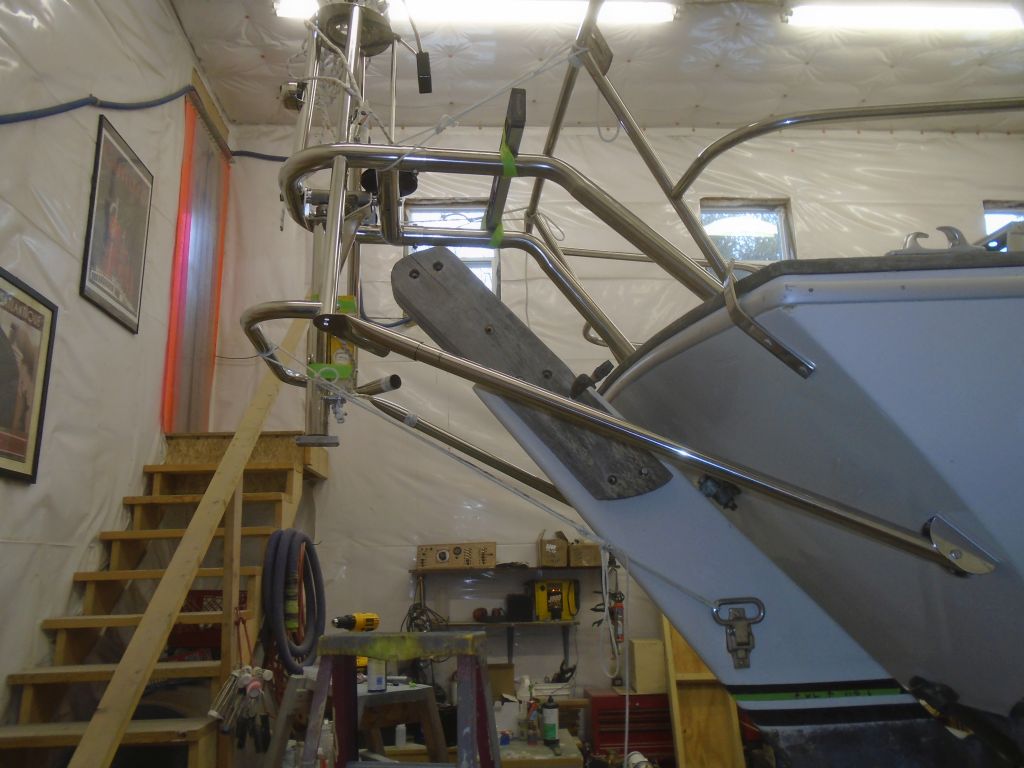
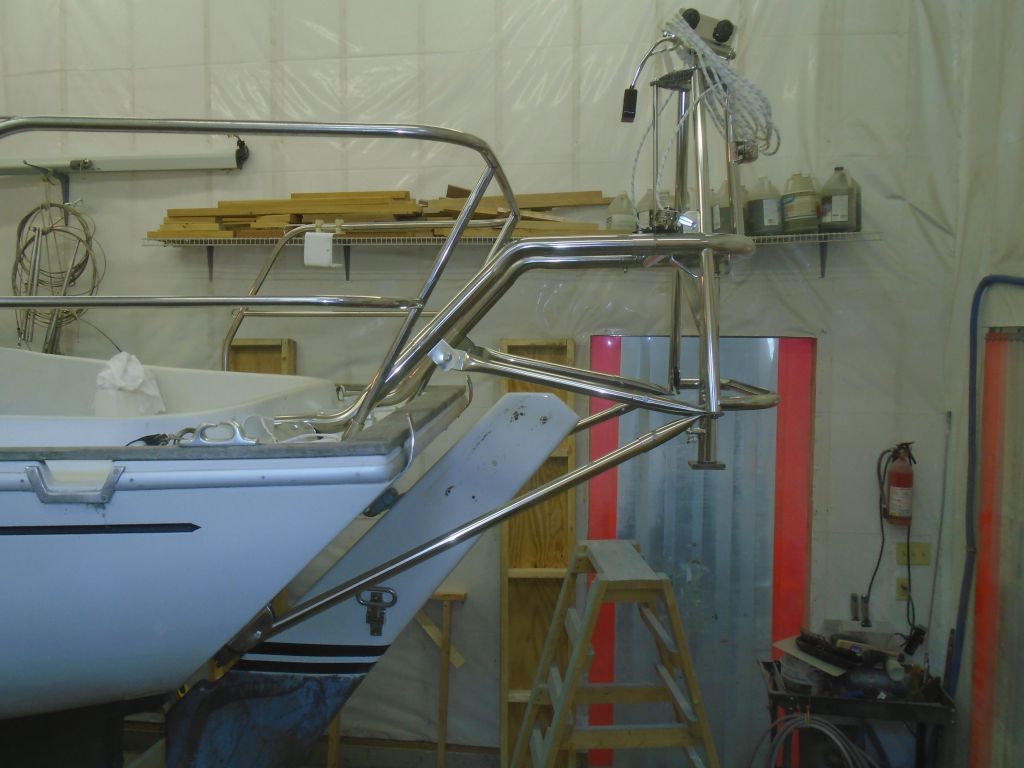
With these brackets now permanently in place, I installed the two top frame tubes, which were ready for their last installation since I’d already drilled the pin/bolt holes at the frame end, and secured the metal compression spacers within. I led the stern light wire through the port tube as required. At this time the Monitor frame was still secured to and supported by my wooden framework behind the boat. During the several times I’d installed and removed these tubes during earlier steps, I’d found the fit to be extremely dry–tight–so for the final installation I added some waterproof grease to ease the way. Once I’d twisted the tubes in all the way and to the correct orientation, I put in the bolts at the frame end, and also at the deck bracket end, but for the moment I left the bolts untightened.

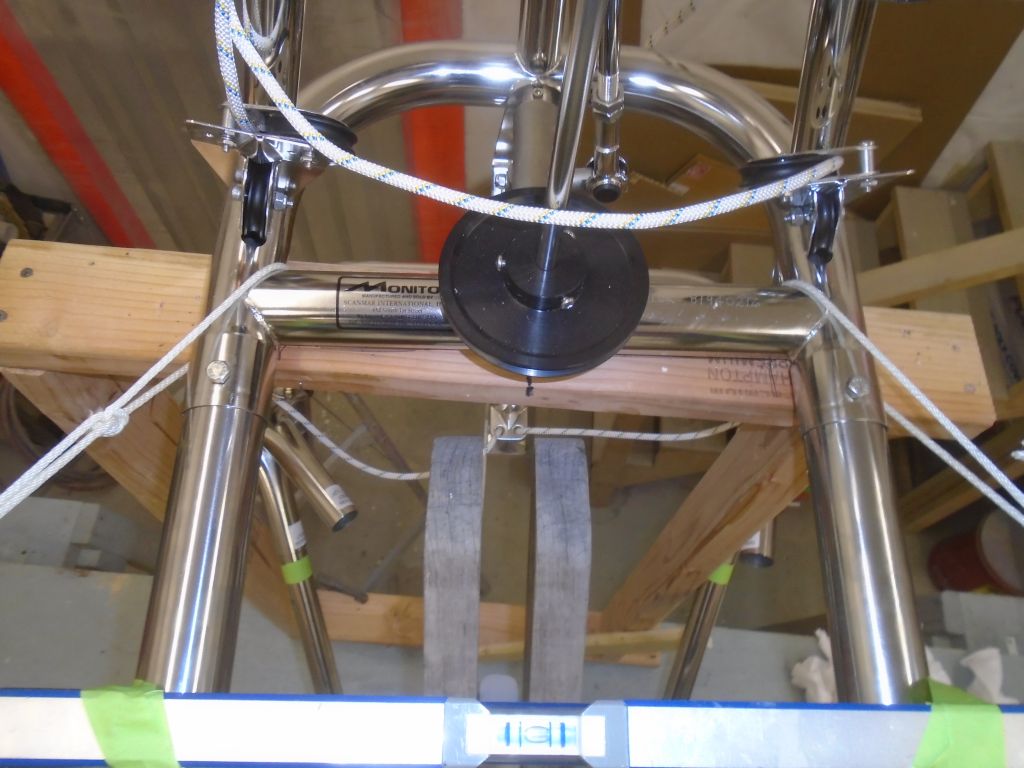
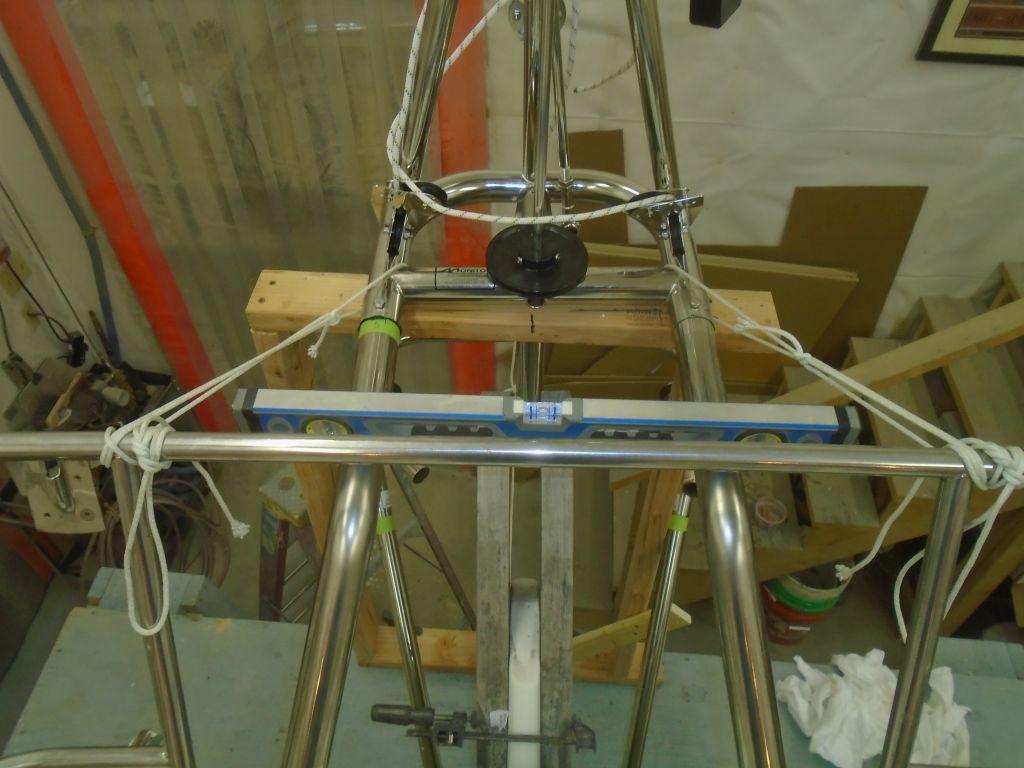
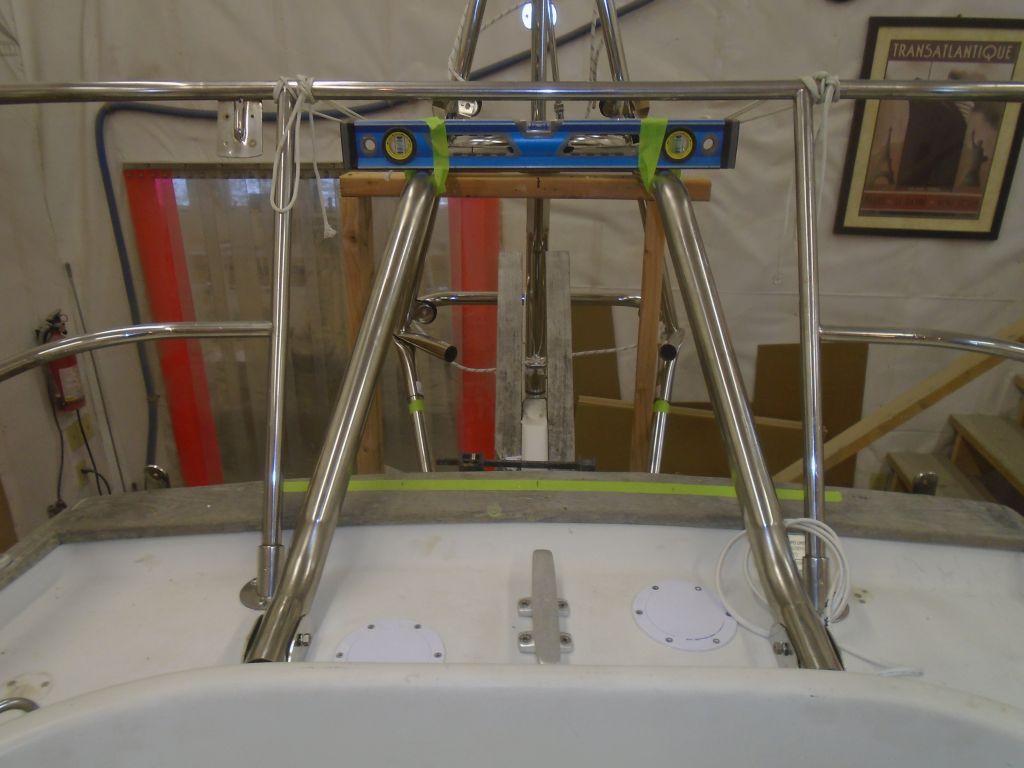
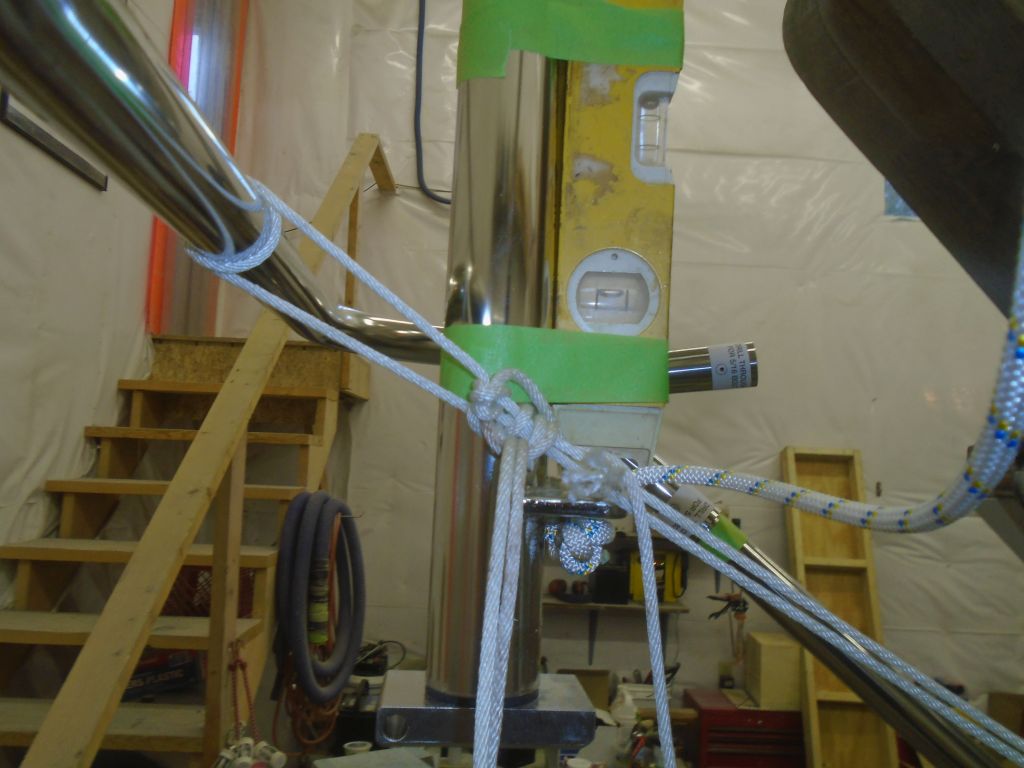
Now, with some lines running between the frame and the pulpit, I adjusted the Monitor frame till it was level side to side, which process also lifted it just clear of the wooden framework so I could remove that now for the last time, along with the staging so I could clear the way behind the boat for the lower frame installation. I taped a level in place on the upper frame tubes so I’d have a constant reference as I worked on the lower supports.
Down on the ground, I installed another level on the pendulum arm, and with a line running forward to the rudder I adjusted the frame till it was level in the fore and aft direction as well. With the frame now properly aligned in all directions, I went ahead and tightened the bolts on the upper frame tubes–at both the deck bracket and the Monitor frame itself.

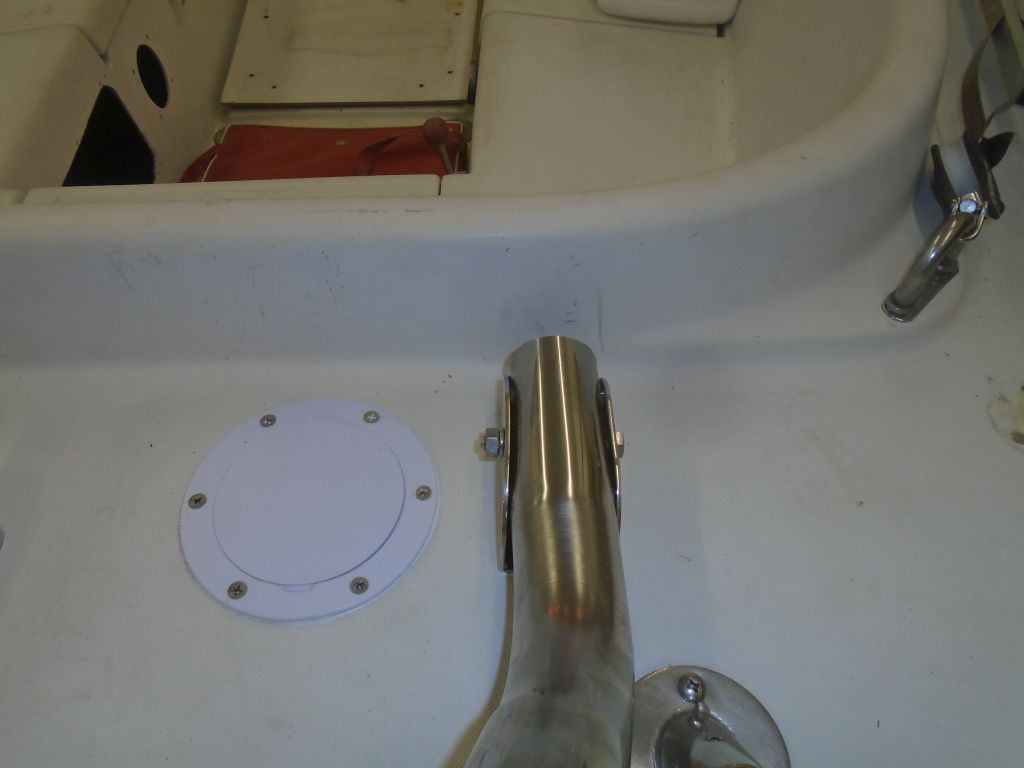

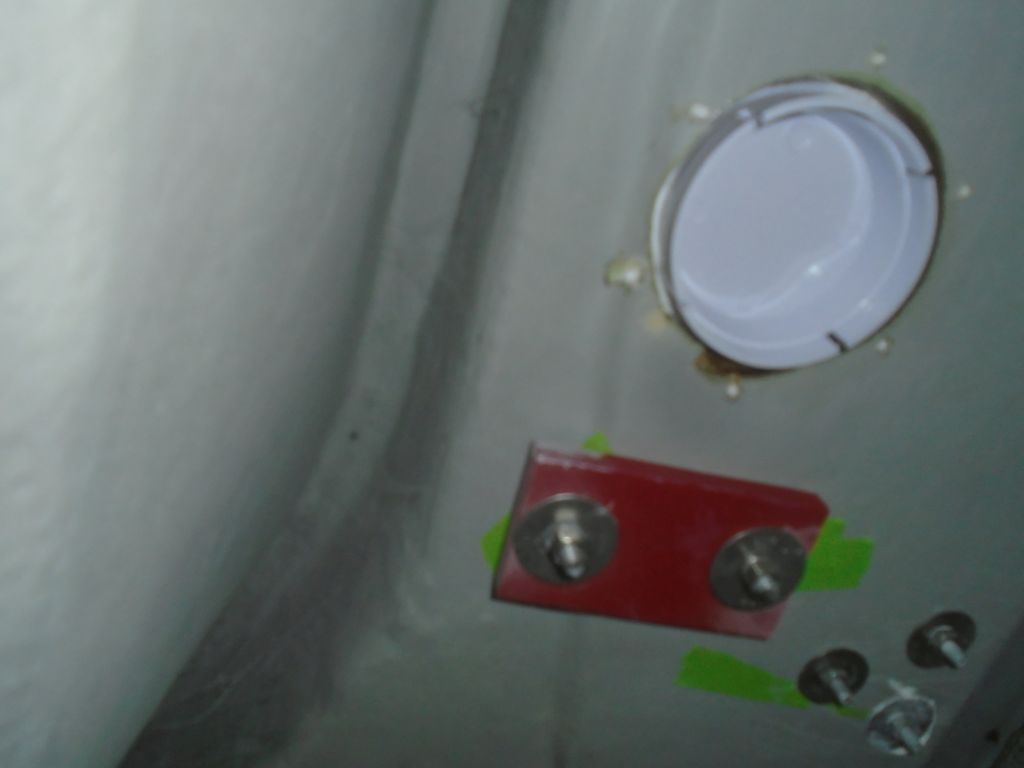
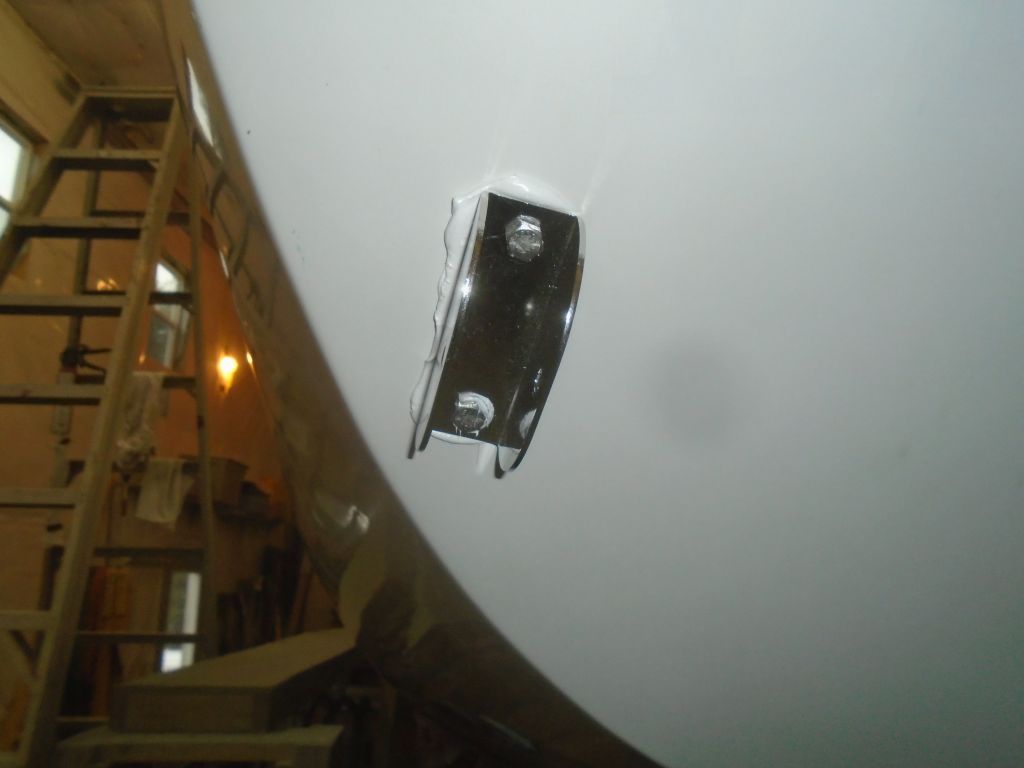
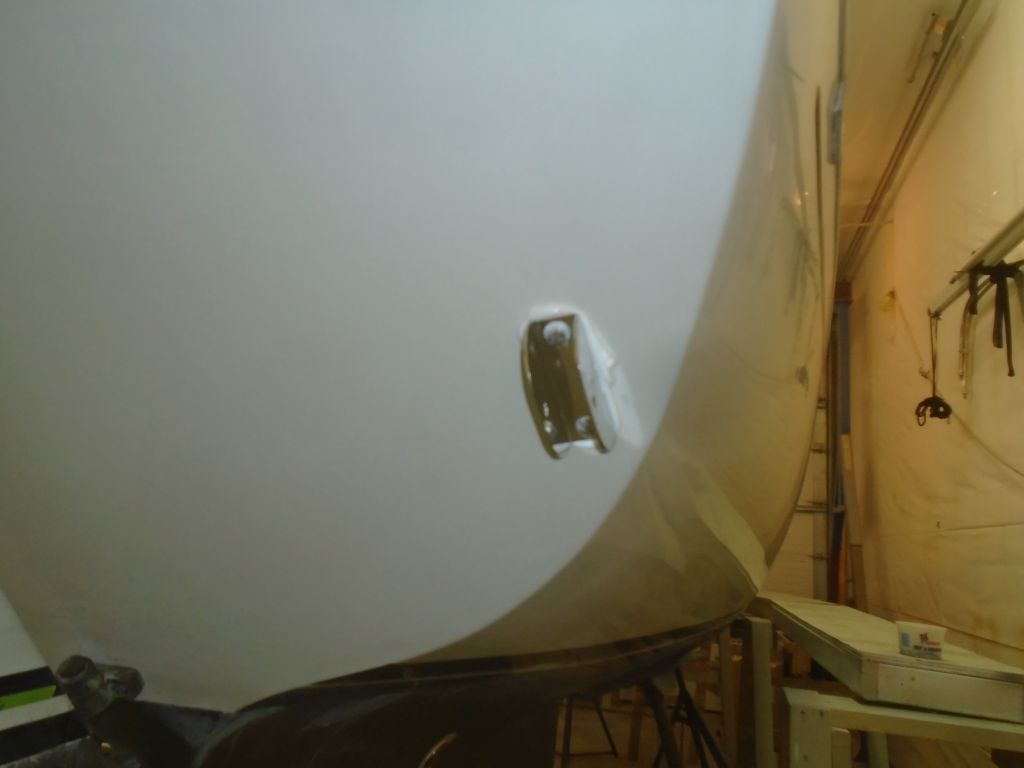
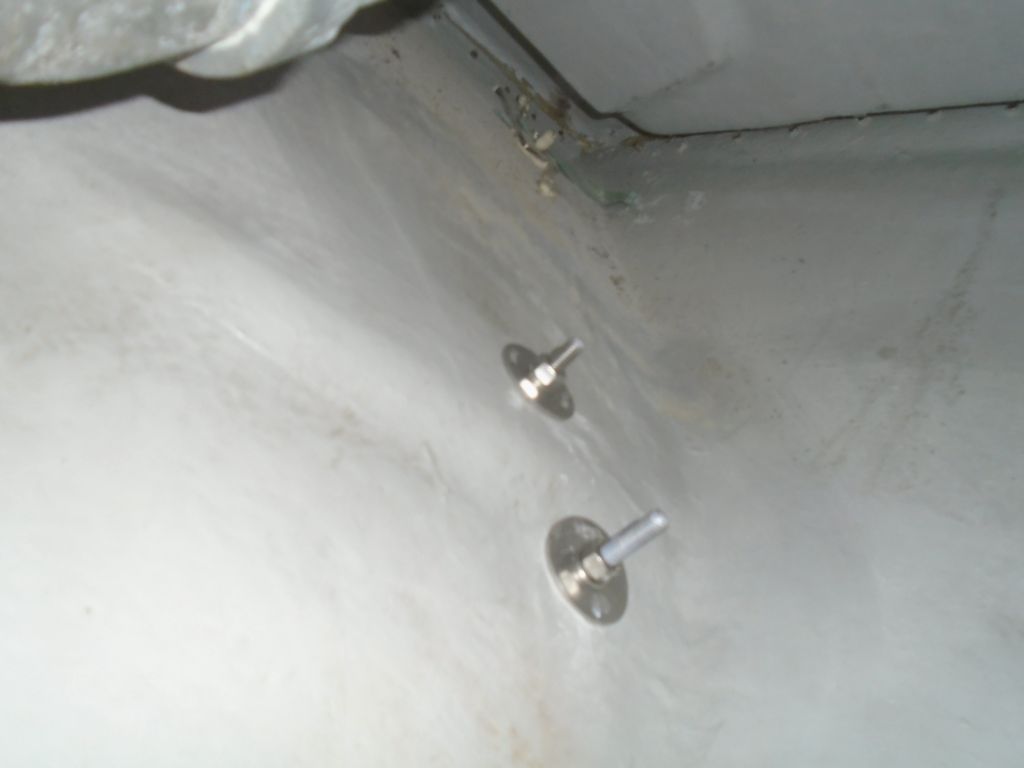
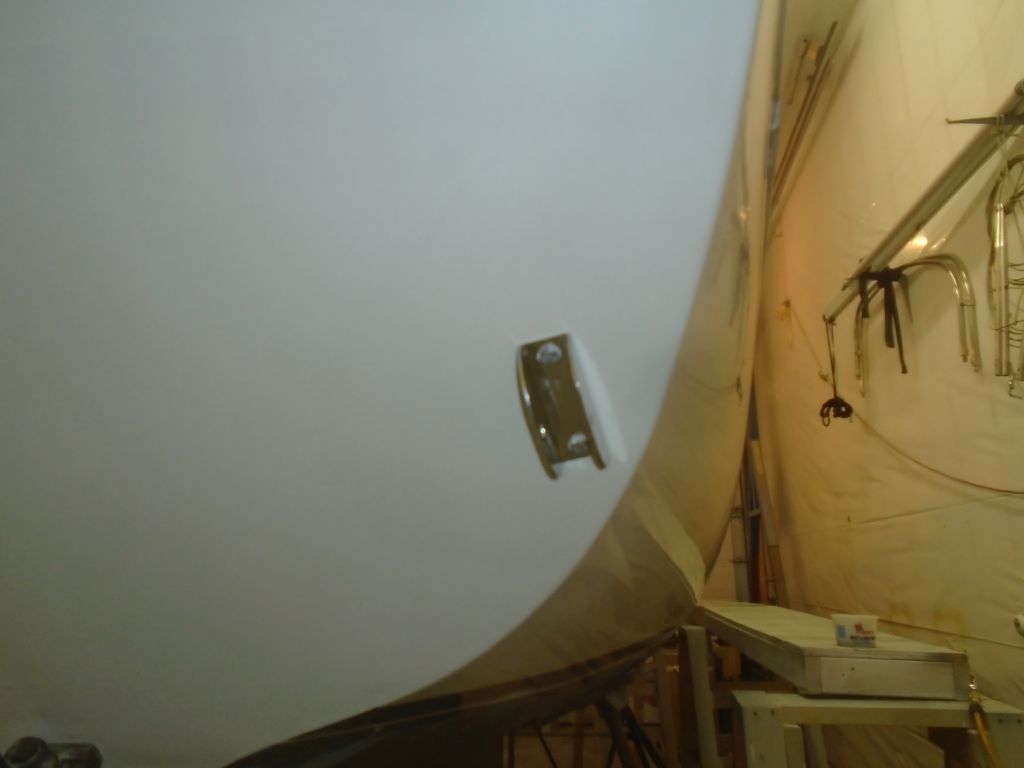
From the ground, I prepared and installed the two hull brackets on the transom.

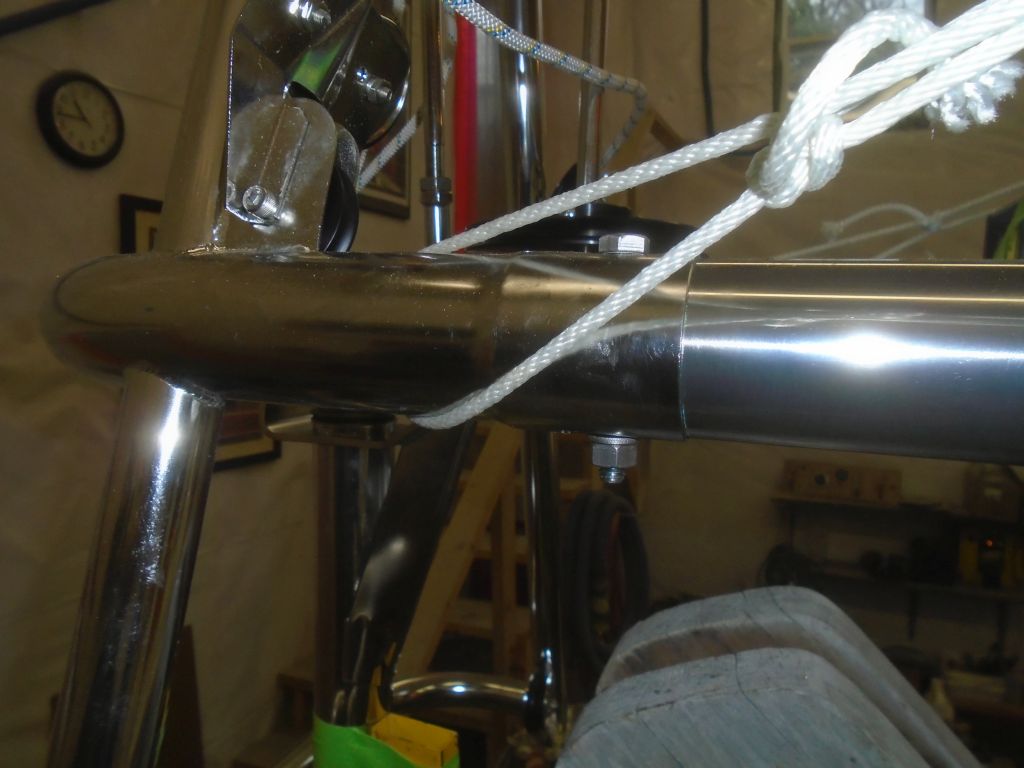
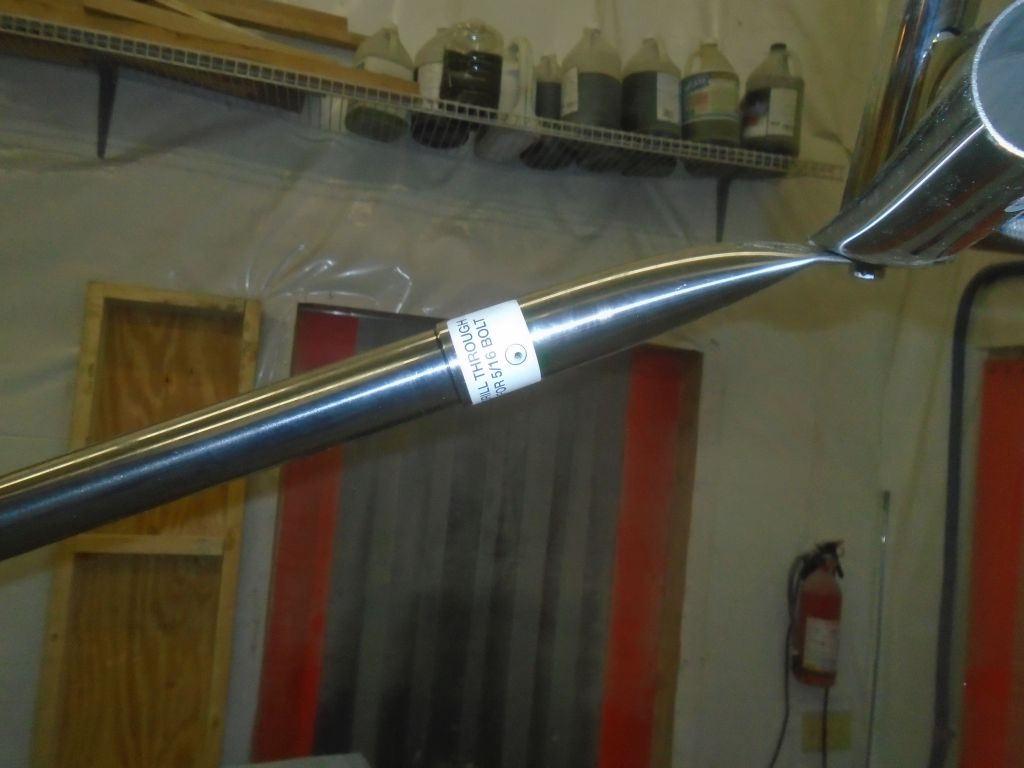
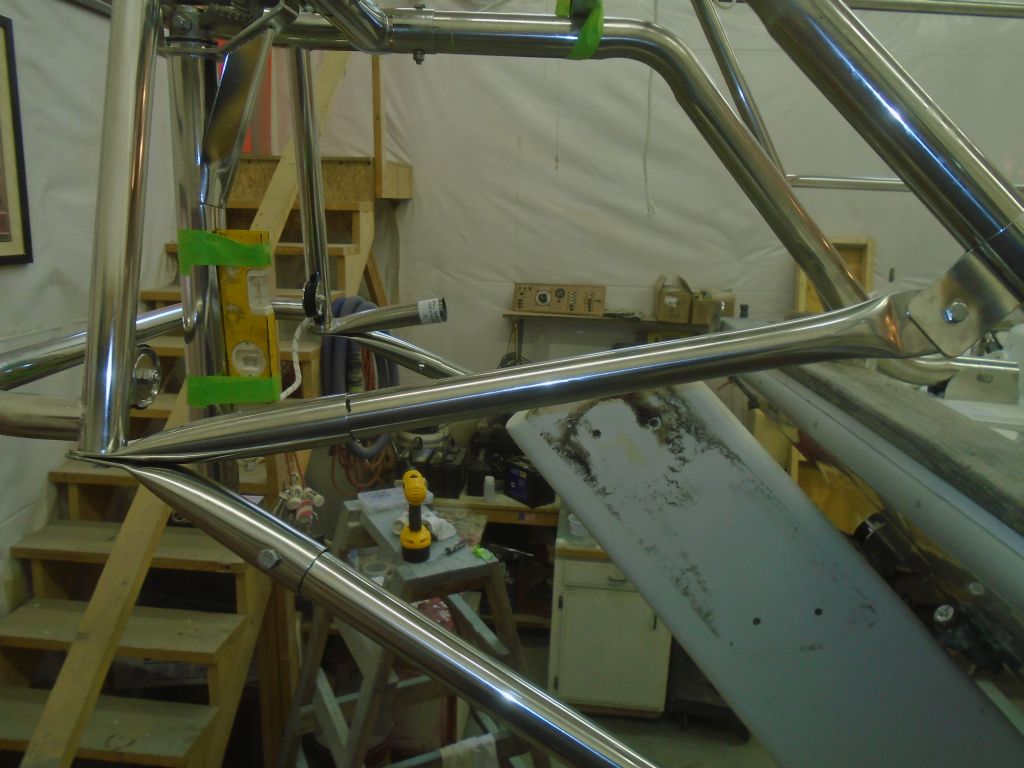
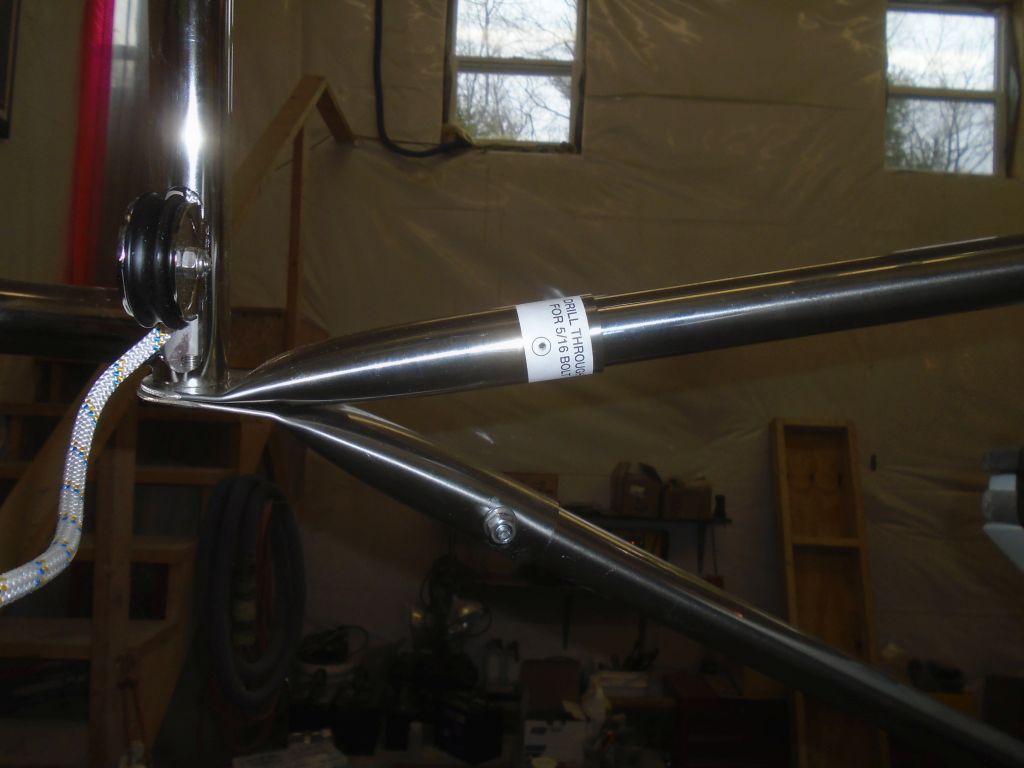
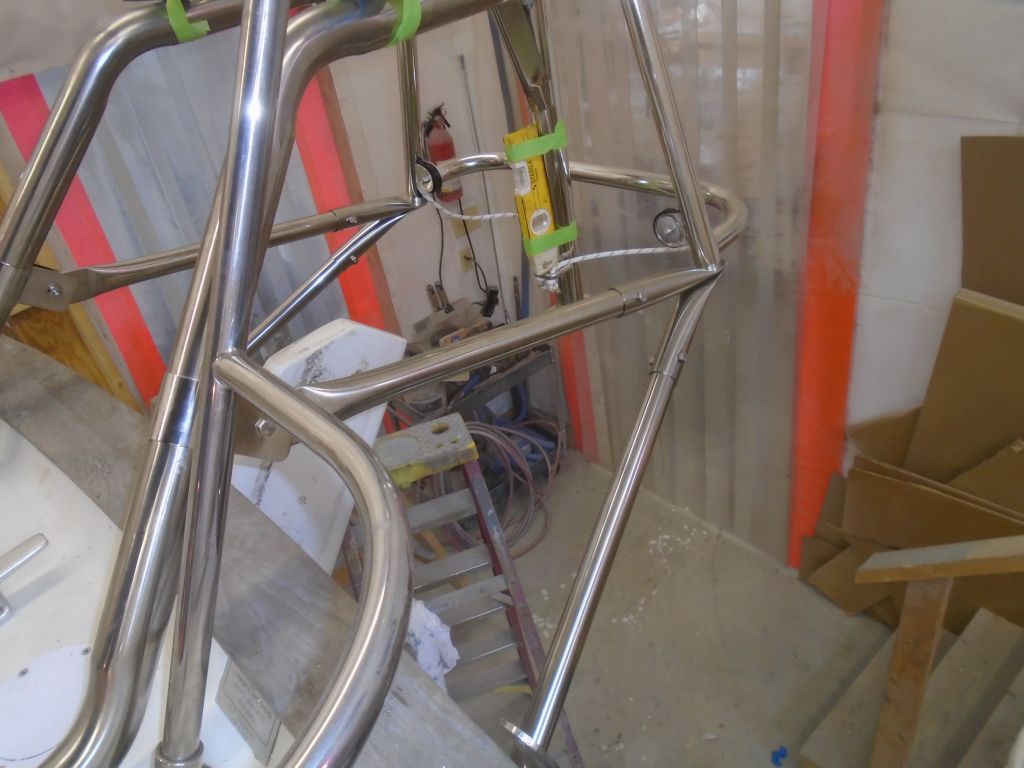
I’d already cut the lower support tubes to length during the initial setup, but now I checked them again; they still fit the way they should. So with the tubes fully inserted at the top end, into the mounting sleeve at the Monitor frame, and secured with their bolt at the hull bracket, I prepared to drill the bolt holes at the top end, which would pin the tubes in place at the frame and ultimately hold everything rigidly.

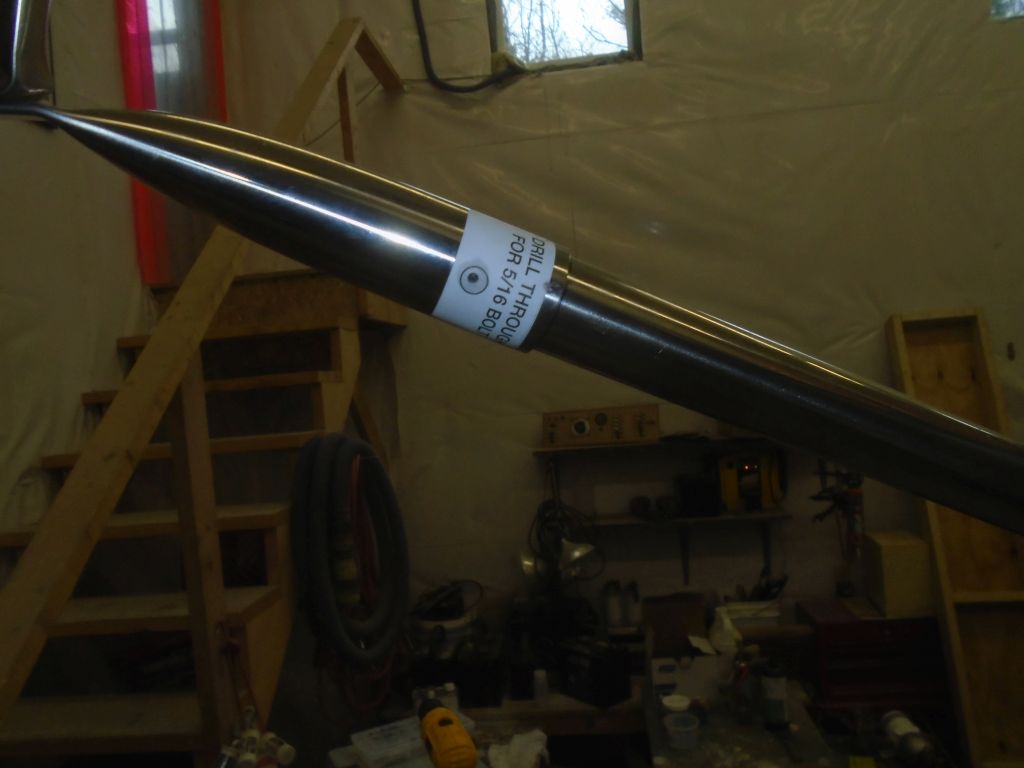
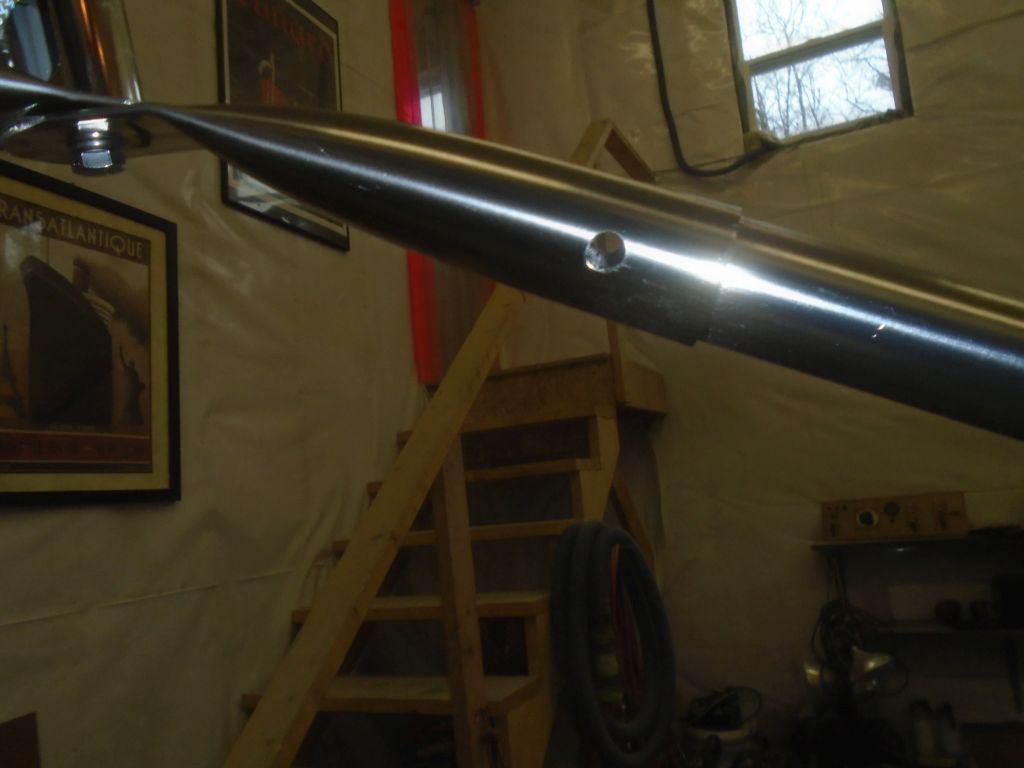
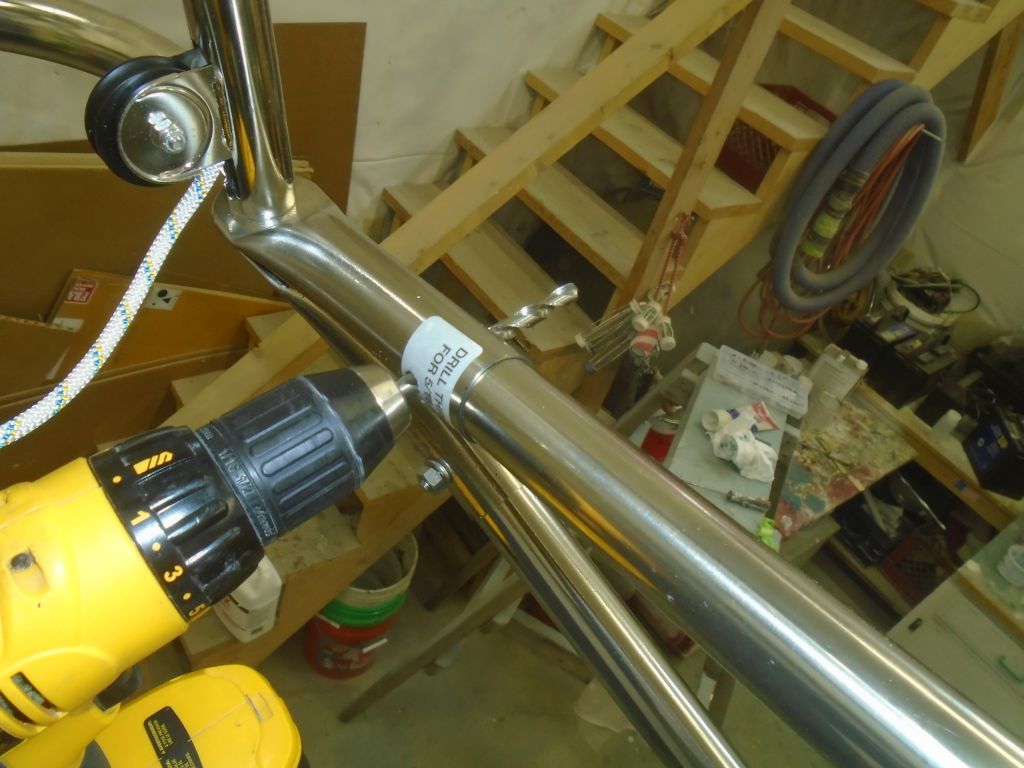
Drilling these 5/16″ through holes in the stainless tubing–there were eight locations requiring it on this installation (including the deck brackets and upper tubes, plus the diagonal supports that would come later)–was the most challenging part of the installation. The instructions rather breezily indicated that drilling stainless was “easy”. Well, it’s certainly possible, but “easy” is not an adjective I’d have chosen under any circumstances in the real world and under the less-than-ideal conditions found in the midst of an installation on a boat like this. The issue was less with the physics of drilling the tubing (which isn’t that bad, honestly, if one does it right) and more of the fact that access and drilling position (likely to be the case on nearly any installation in the field) made the job much more difficult, or at the very least extremely time-consuming and taxing.
Every installation is bound to be different, but on this installation, the nature of the frame position and how it all interacted with the boat meant that for me, I felt I had to choose to drill all these bolt holes while the framework was in place on the boat, since nothing held the frame rigidly through the process (in fact, it was only after I finally installed the diagonal braces–the very last step–that the frame became rigid and immobile on its own. This was largely because of the way this frame worked on this particular boat, with very long support members that allowed movement till braced together). So since the bolt location was critical, I didn’t feel comfortable trying to remove the tubes and do the drilling down on the bench, where it probably would have been much easier. But even a slight mis-step in the position or angle of one of these holes could throw off the whole carefully-aligned installation, so drilling the tubes in place seemed the smartest–if least easy–option.
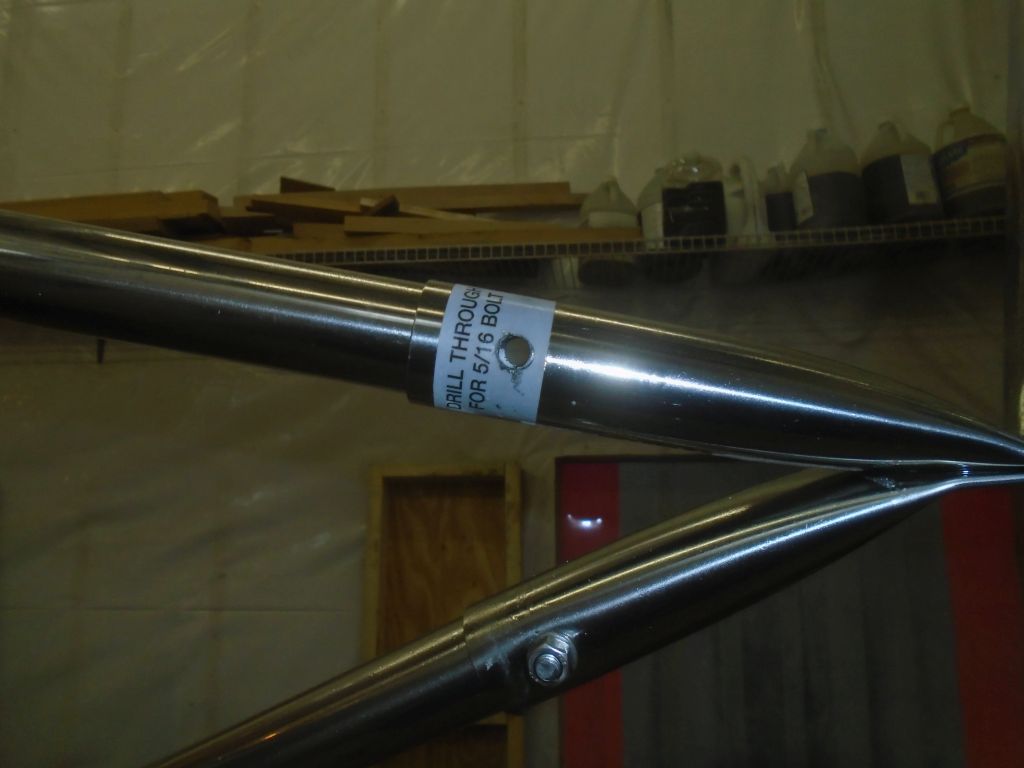
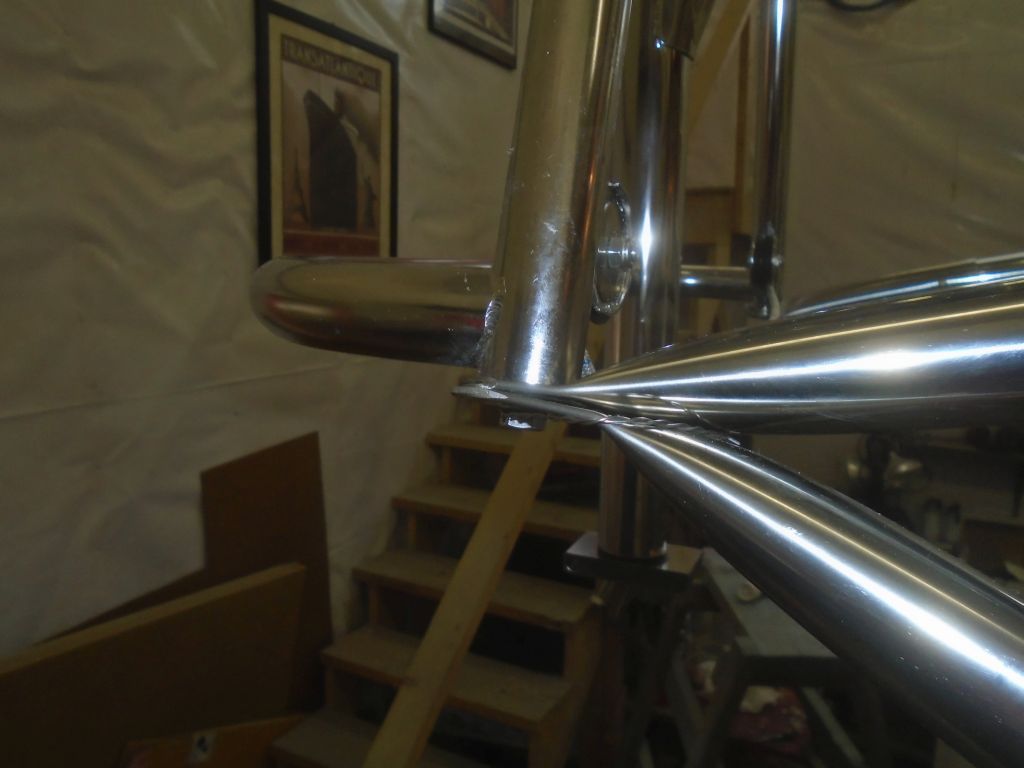
The bolt holes at hand now were at the top end of the lower braces, where they slipped into the sleeves that were bolted to the bottom of the Monitor frame. These pieces came with the bolting locations well marked with labels, and with a small pilot hole on one side to start the process. All very helpful. But there were still four layers of stainless to drill through. If I were to do this again, I’d probably pre-drill the sleeve first, down on the bench. (Actually, I’m not sure why the manufacturer couldn’t provide the sleeves with the holes completely pre-drilled on both sides. This would make marking and drilling much easier in the field.)
In any event, I’d probably try to drill the sleeve first, given the lessons learned this time around, which would then allow me to mark both sides of the tube where it needed to be drilled, and therefore much easier to remove the tube and do the drilling somewhere down-hand where it would be quicker and less taxing to drill. But now, I needed to drill through the sleeve and tube with it in place.
I’d started the installation the other day with one new 5/16″ bit on hand, and several used ones available. Drilling the first sets of holes (in the tubes where they met the deck brackets, and then the tops of the upper tubes where they met the frame) hadn’t been too bad, as my bit was still good, and the drilling position was suitable for the pressure and patience required to get through the stainless. I’d ordered several new bits in the meantime (they’d be here later in the day), but for now I didn’t have them, and I needed to continue. So a duller bit didn’t help, but again, the toughest part of the drilling was because I was standing on a ladder, with limited access to the hole for the drill and operator (me), and no ability to drill down-hand. So, frankly, it was simply long and tiring to drill these holes. It would have been nice if it’d taken half as long, as keeping up the pressure on the drill was exhausting after a time.
None of this is to complain. Stainless steel is what it is. The installation process and instructions (not to mention the quality and sheer beauty of this windvane) were all second-to-none. Perhaps my experience will make the process easier on someone else, and certainly will on me if I get the chance to install another one of these. Scanmar, the builder of Monitors, clearly has listened to–and implemented–scores of owner/installer-based suggestions, changes, and recommendations over the years, and the overall process seemed pretty well-tuned. Yet still, each individual case presents its own challenges and specifics.
In any event, I got the next pair of holes drilled, not without effort, but in the end being done was all that mattered.
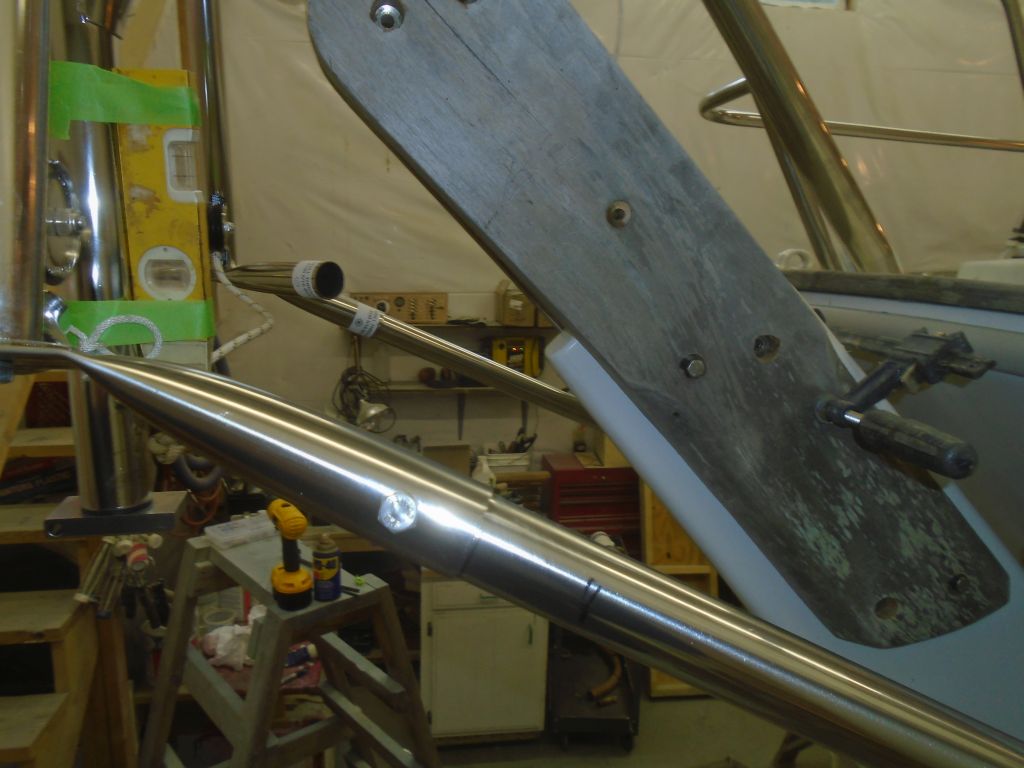
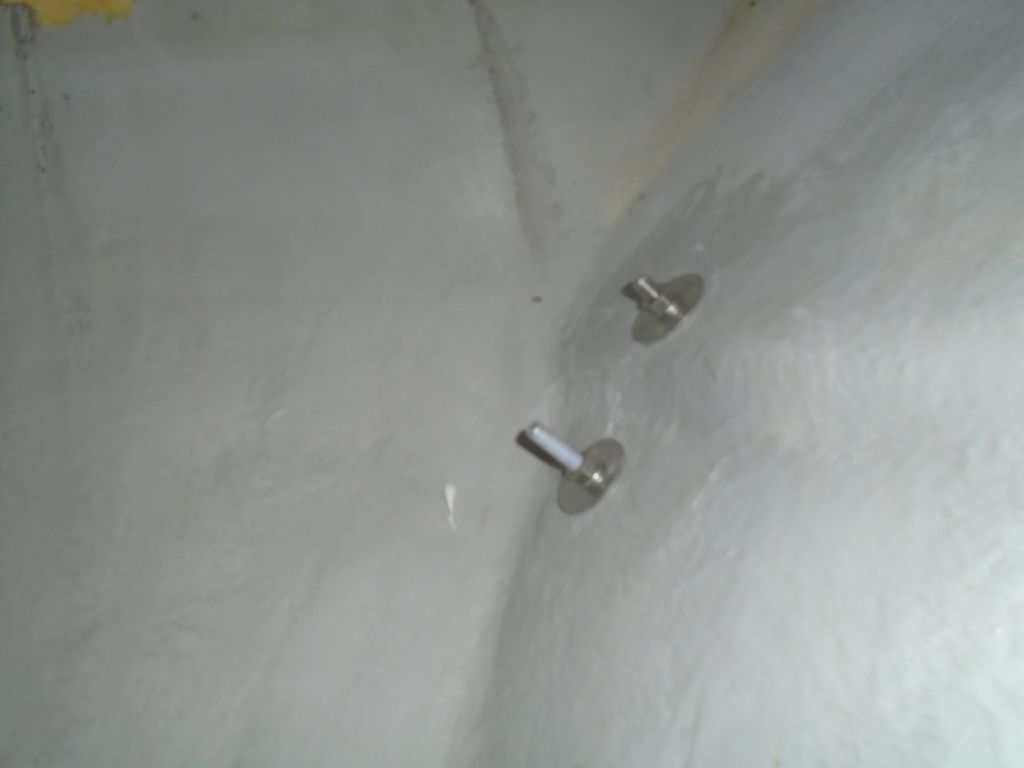
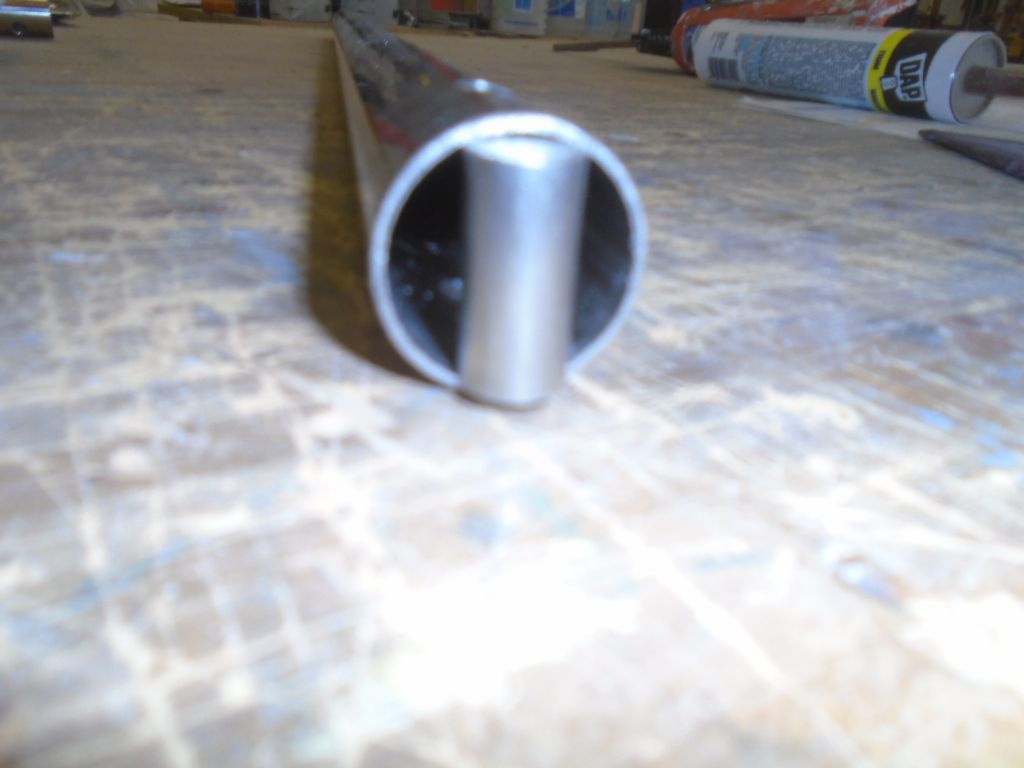
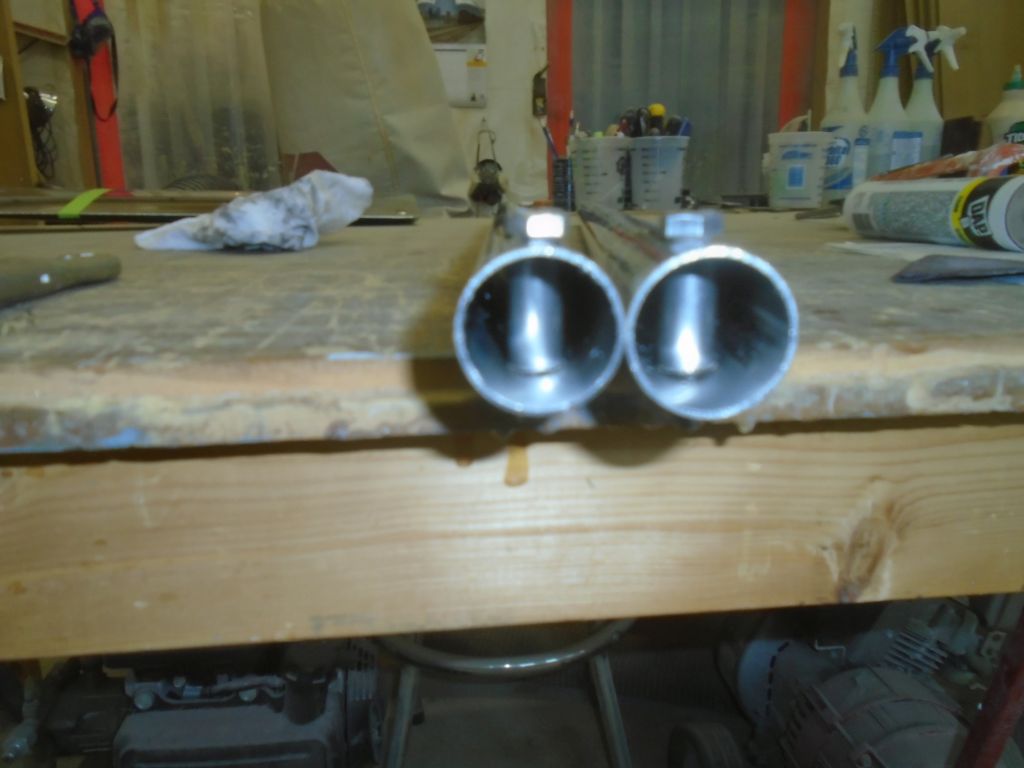
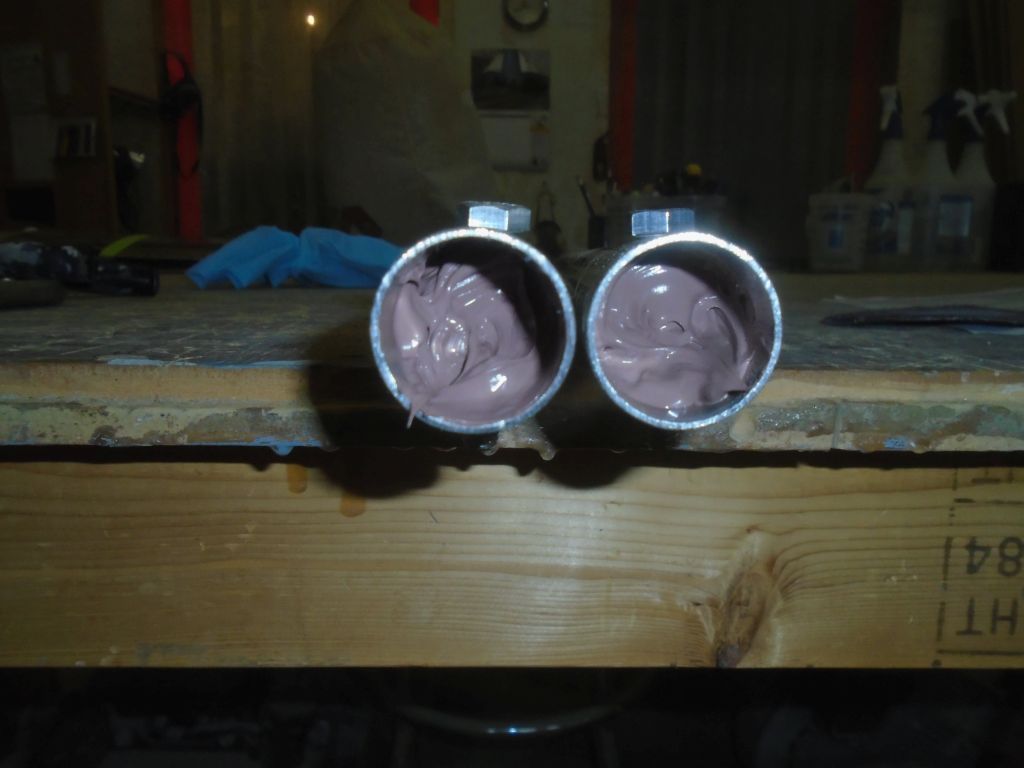
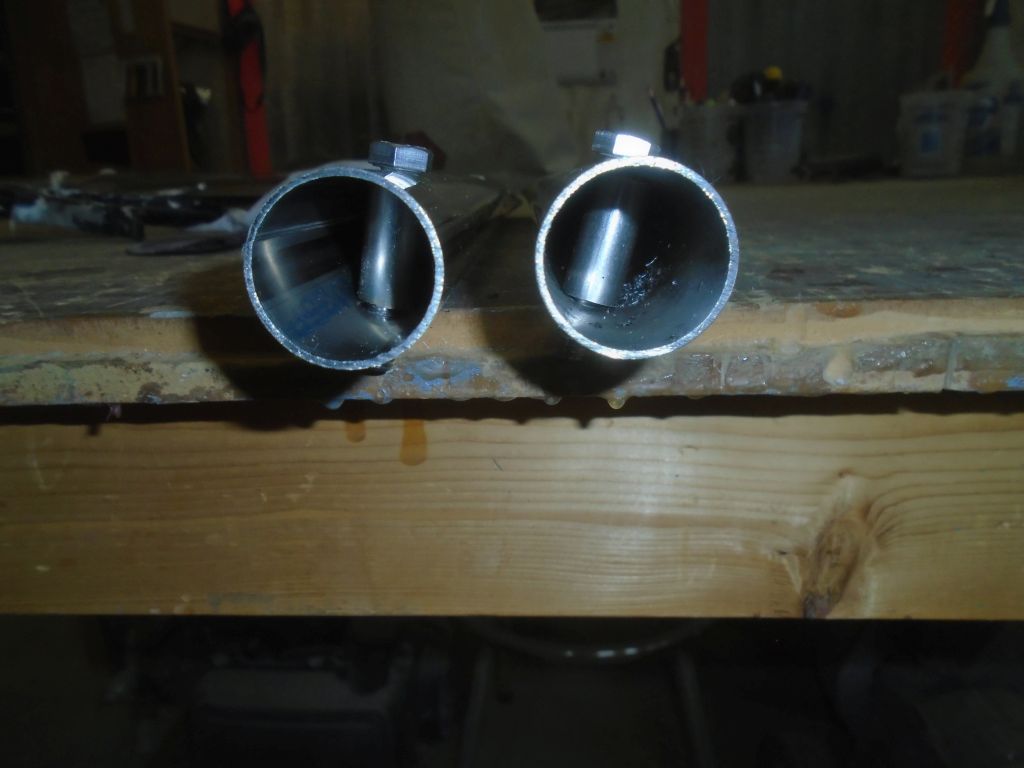
I removed the two lower tubes and, down on the bench, prepared to install the compression sleeves within. Here I ran into another small problem: the compression sleeves were just slightly too long to fit into the end of the tube. Maybe there was a burr there from cutting the tube to length, or maybe the sleeves were just a bit too long, but I had to shorten them a bit (I did this by grinding them down on an inverted belt sander). Once the compression sleeves fit, I installed them (holding them in place with the bolts themselves) and used some quicker-drying sealant (just latex caulk in this case–all it does is hold the sleeves in place) to secure them, accelerating the dry time with a heat gun since I wanted to continue the installation. Once I felt that the sleeves wouldn’t move, I reinstalled the lower tubes on the boat, and put in the bolts loosely.
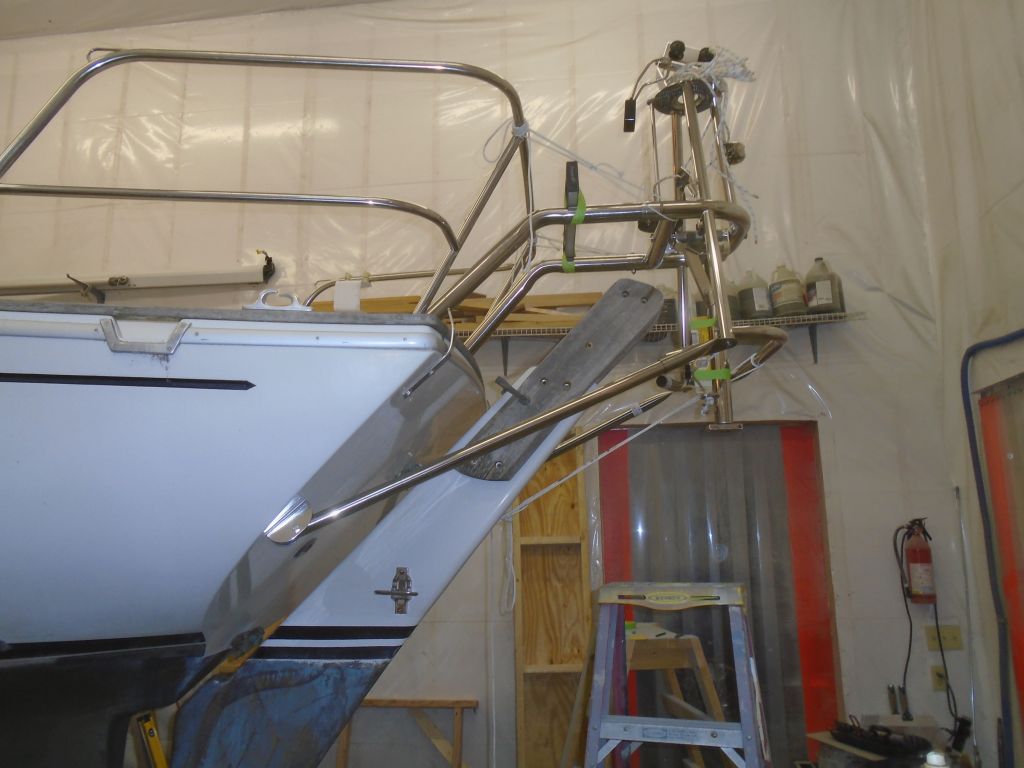
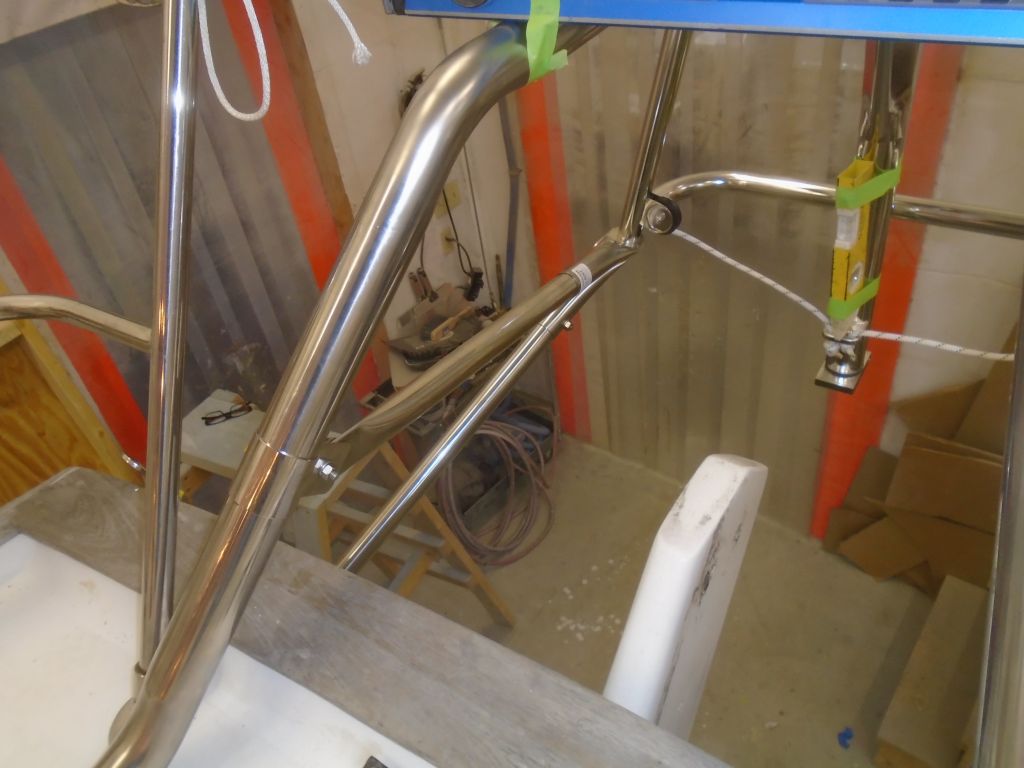
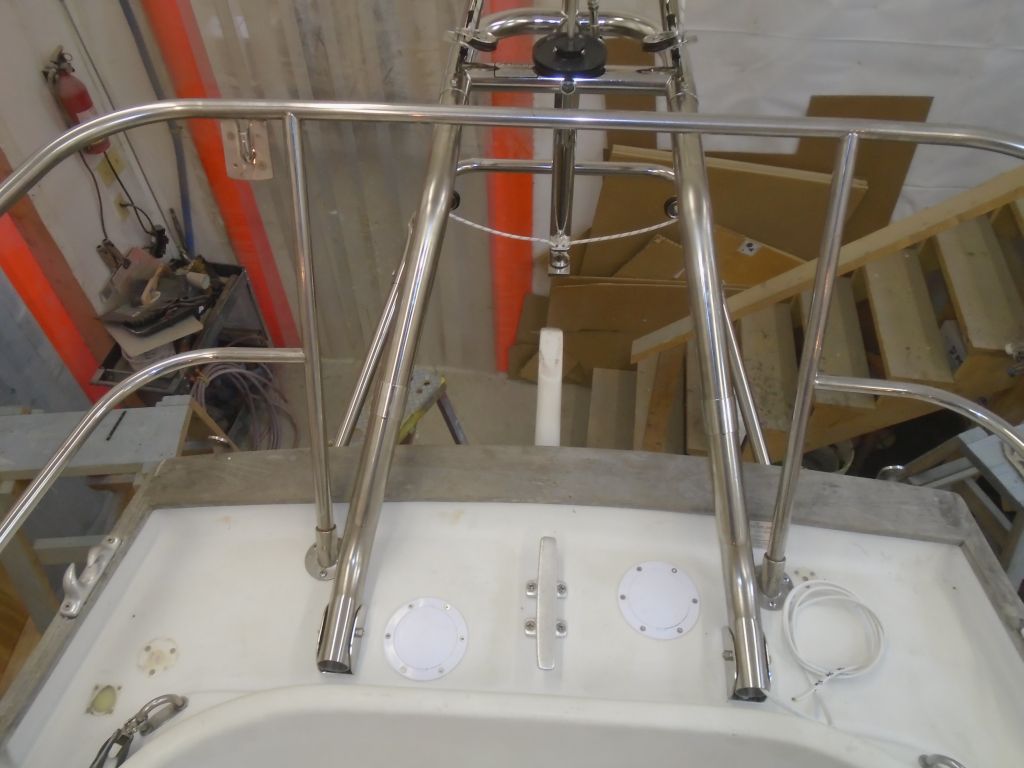
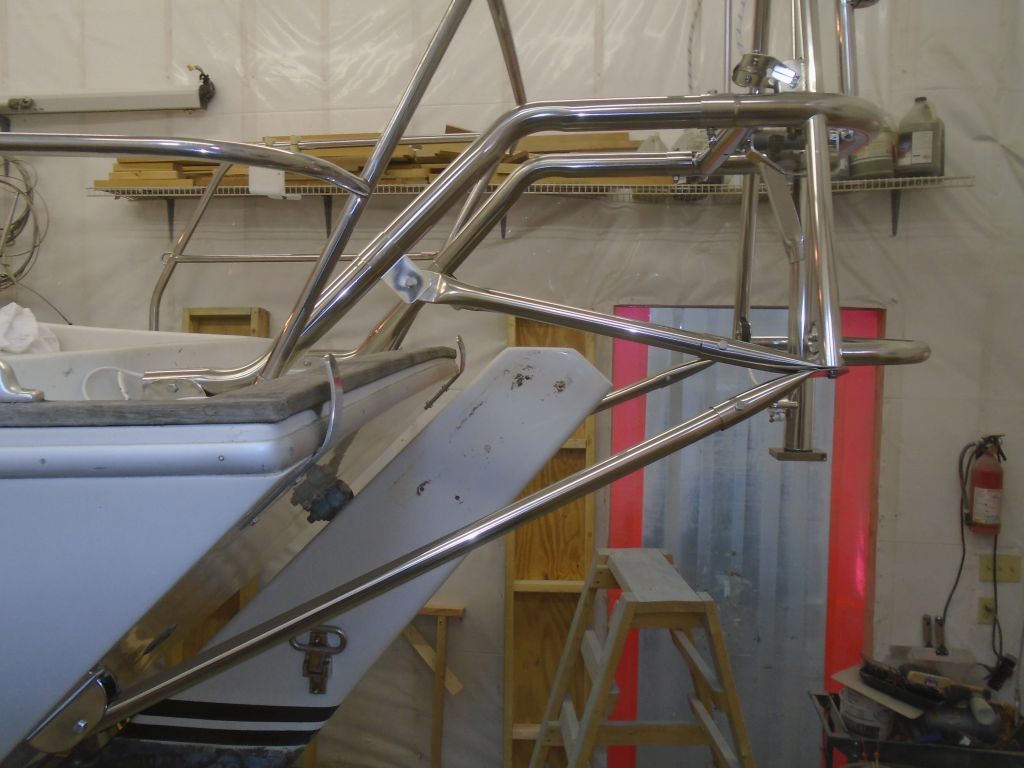
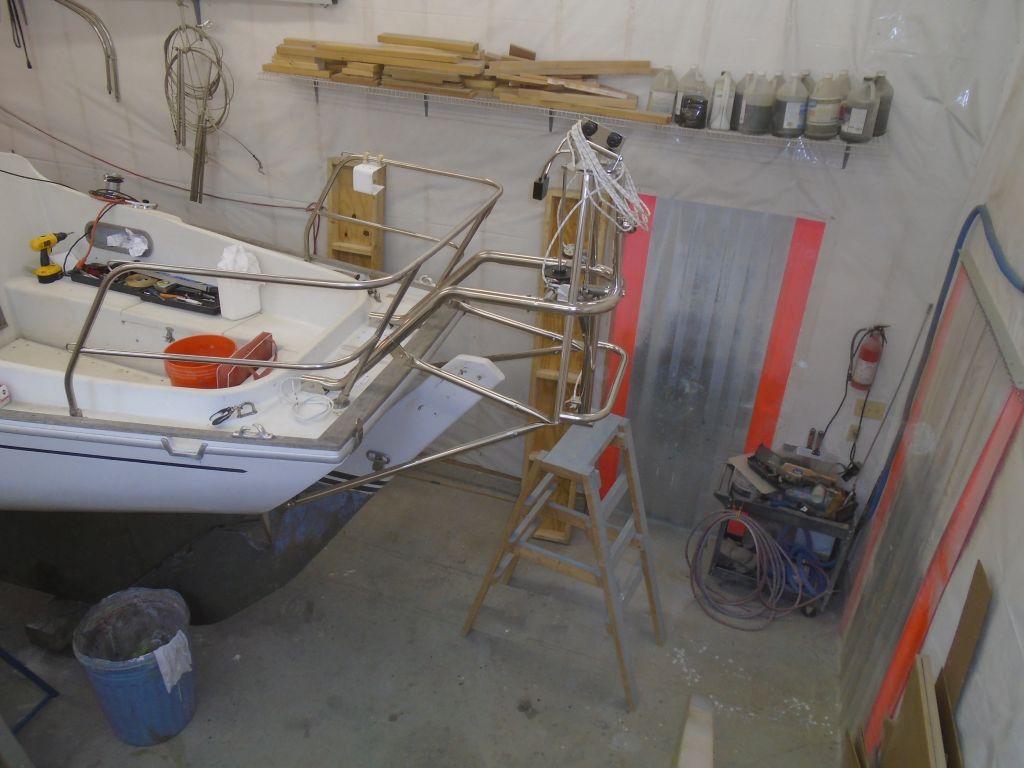
Now that the four main support components were in place, I could move on to the diagonal supports, which were critical in this installation since all the other members were so long, and oddly arranged by requirement, that the frame couldn’t be truly rigid till the diagonals pinned it all together. Because the sleeves for the frame end of the diagonals shared the bolt at the lower end of the frame with the lower tubes, I’d already installed the sleeves during an earlier part of the installation (they fit above the lower sleeves), so those were already where they needed to be. The other end of the diagonal braces would fit into a clamping bracket that fit around the large upper support tubes. I could have installed those brackets just about anywhere on the upper tubes, but I chose a location that triangulated the braces nicely and simply looked right to me, and, with the clamps in the same place on both sides, measured and cut the diagonal tubes to fit as required.
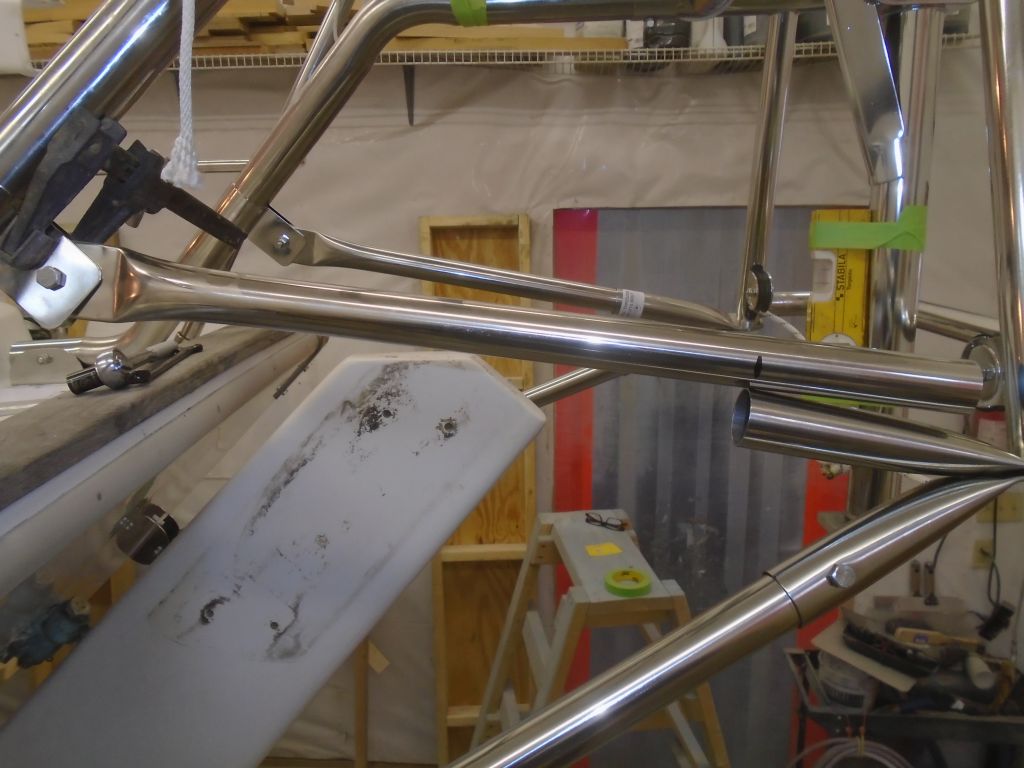

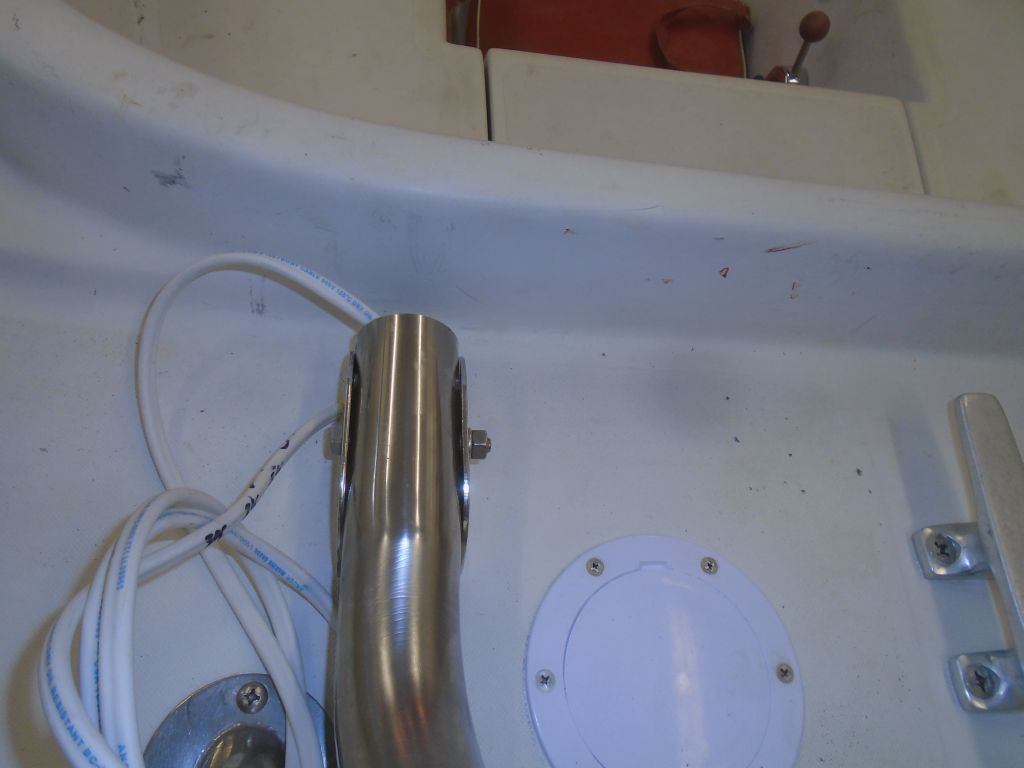
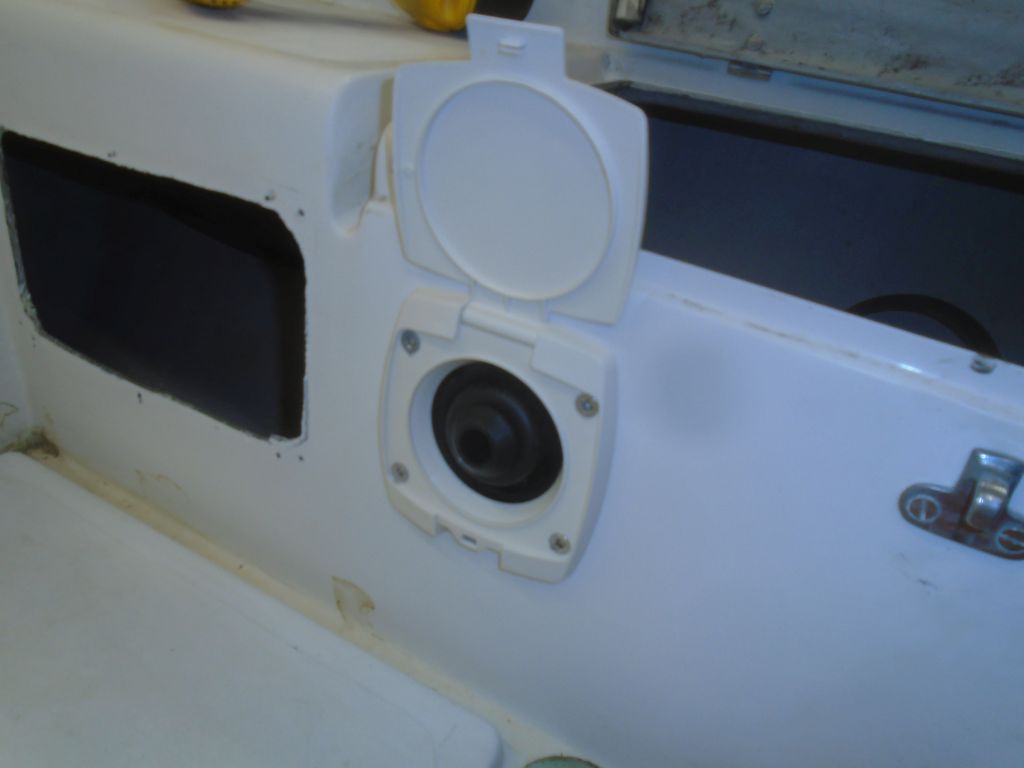
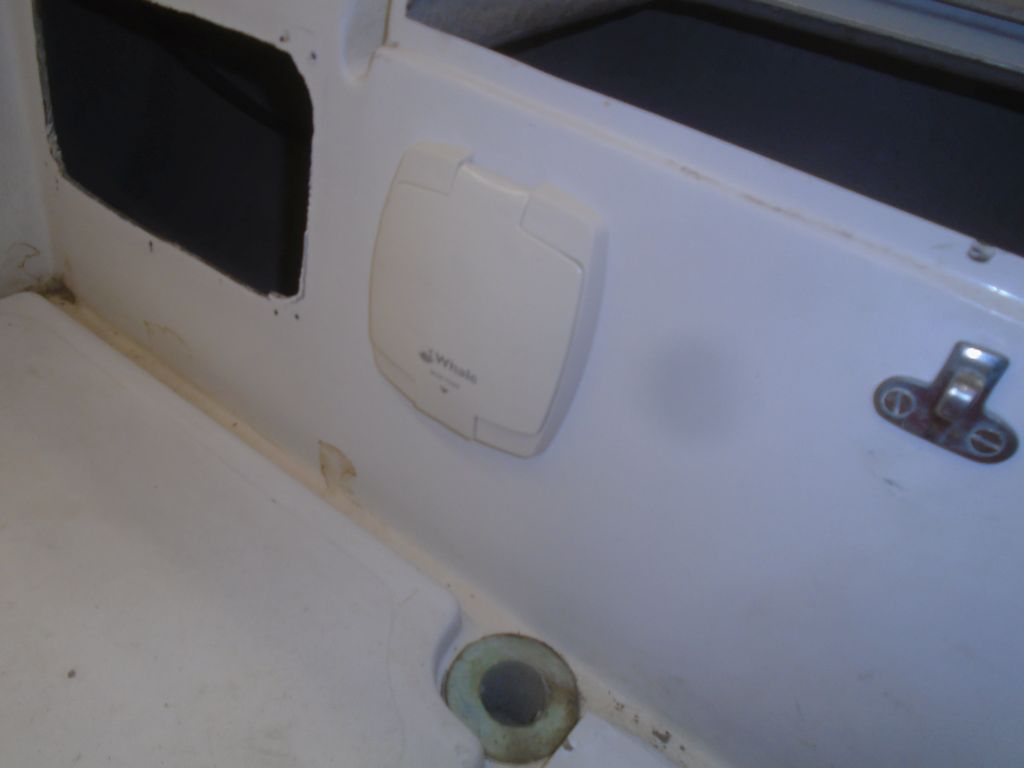
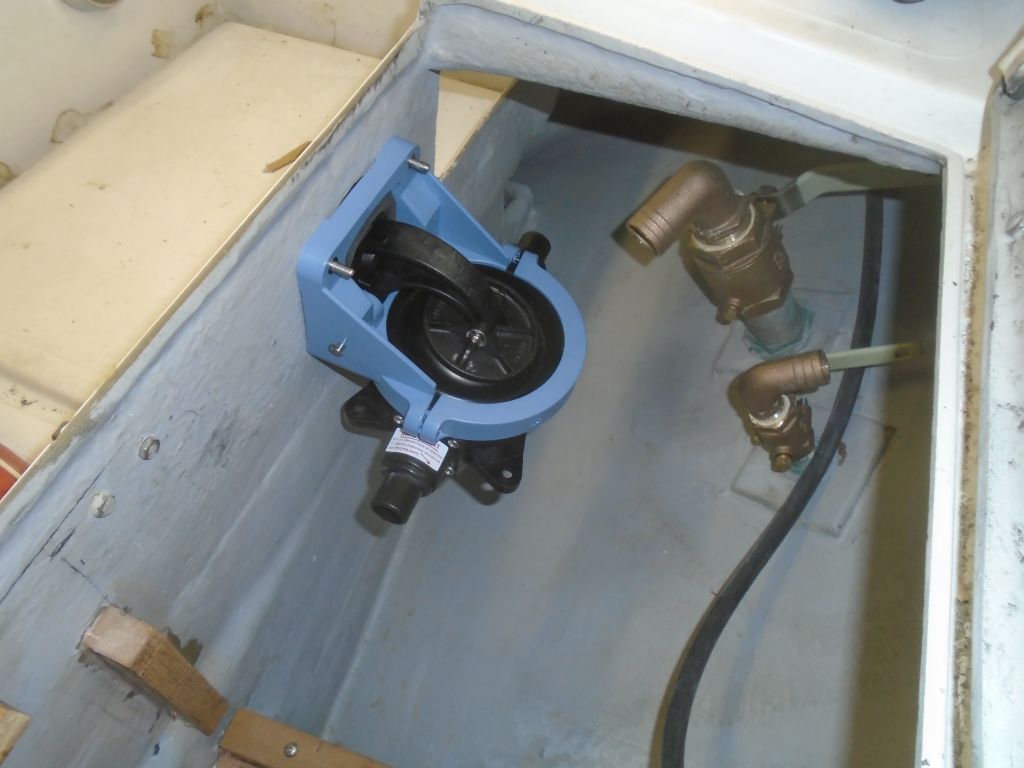
There were two more bolt holes to drill through the diagonal sleeves, but at this point in the day–early afternoon–I didn’t yet have my new drill bits, and I wasn’t going to attempt these holes with the now-dull bits I had on hand. So briefly, I shifted gears and began the installation of the cockpit-mounted bilge pump, which I’d laid out and prepared the opening for a little earlier. There was no reason not to install it now, and in fact I wanted to get the hoses run and in place, so I completed the basic pump installation, but fortunately my delivery containing the drill bits arrived just before I finished, so I got back to the Monitor installation.
The marks and pilot holes for the diagonal brace bolts were on the inside of the frame, and to drill these holes in place was awkward. Again, perhaps I could have or should have removed the braces for the drilling, but I felt the alignment and position was too critical to risk this, so I drilled them in place. This was laborious, but I’ll spare the details and move on to the happy moment when the drill came through the other side of the second (and final!!!) hole. As with the other installations, I could then remove the diagonal tubes, install the compression inserts (I also had to sand these down to fit within the tube), and reinstall the braces permanently.

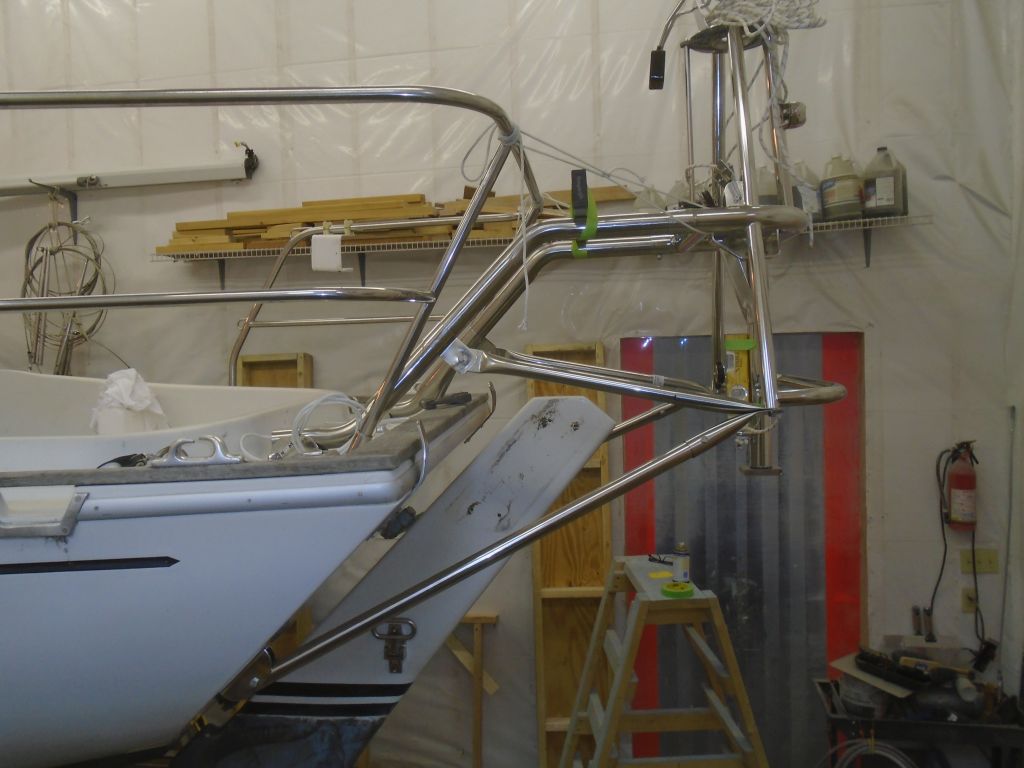
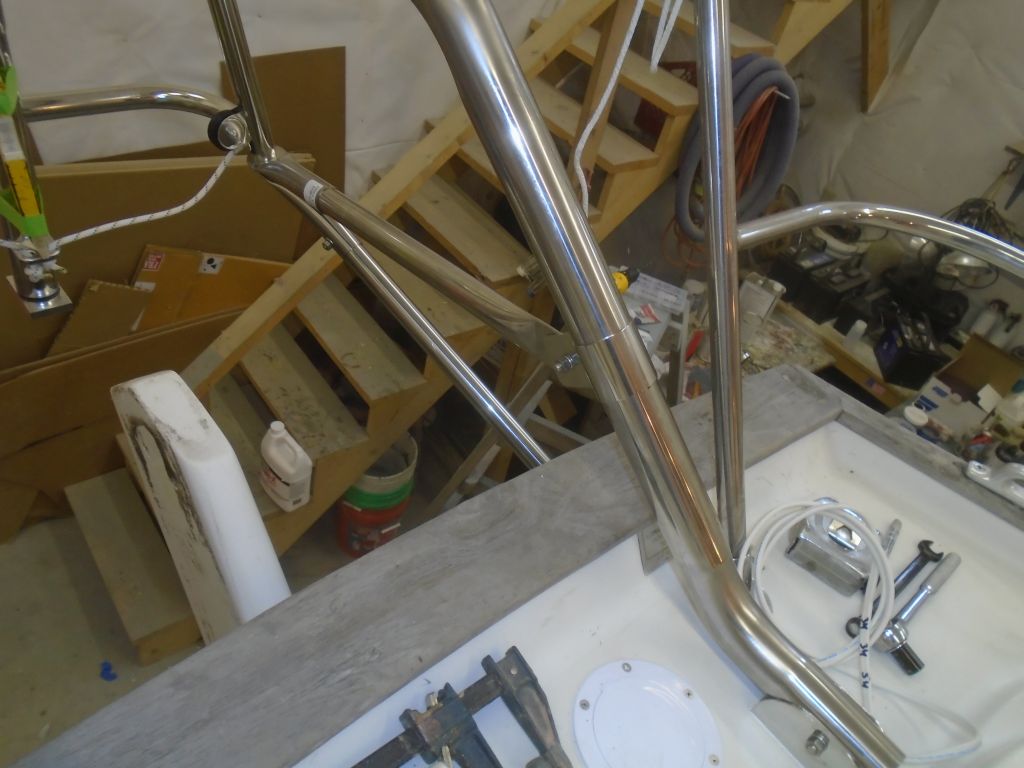
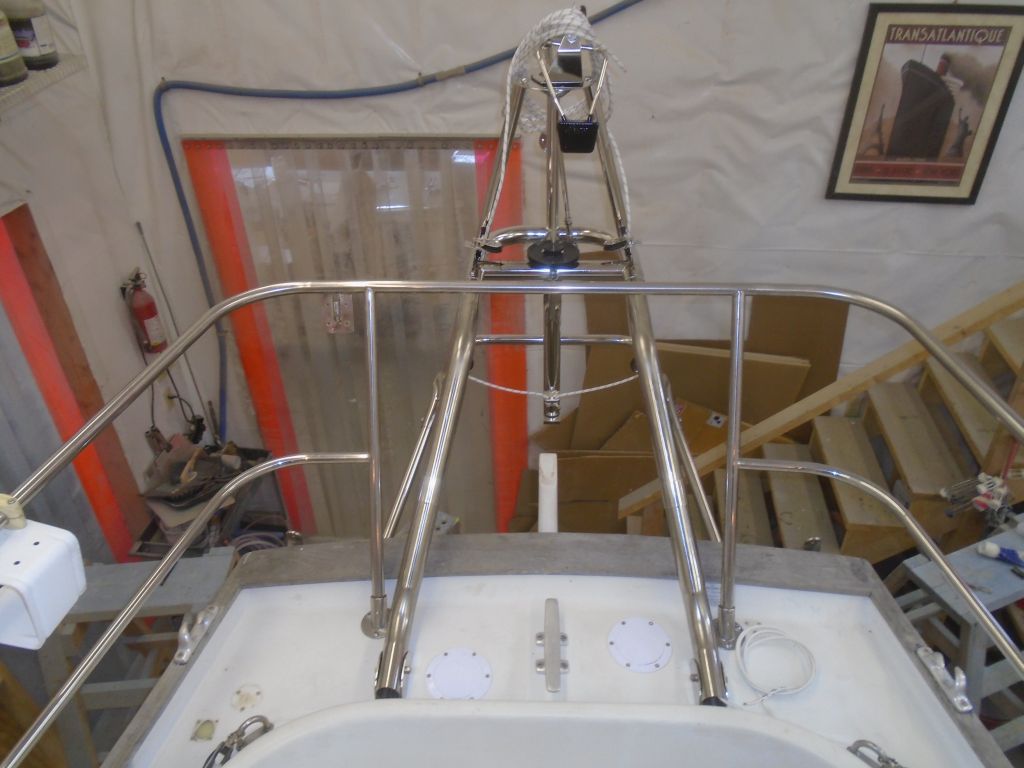
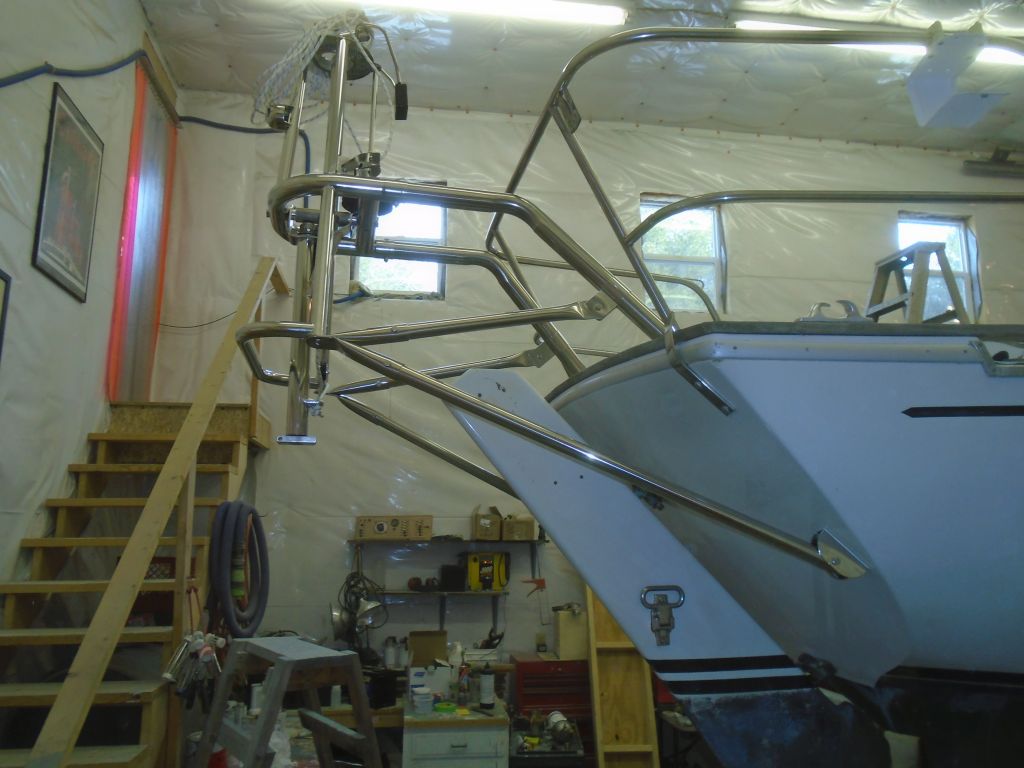
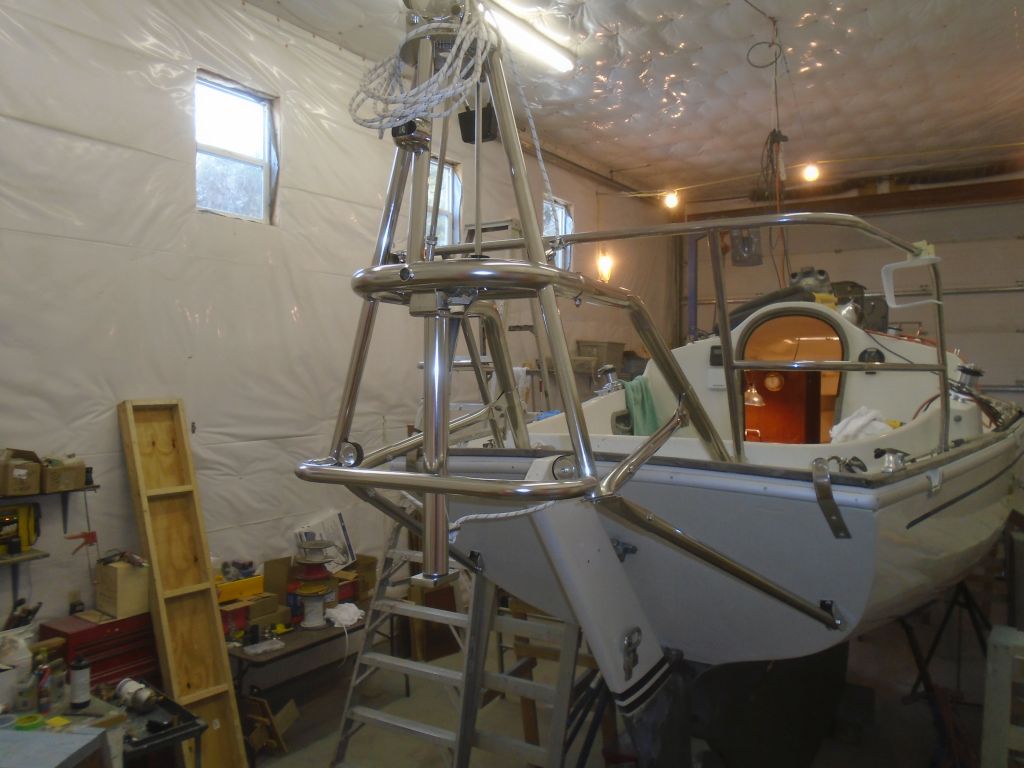
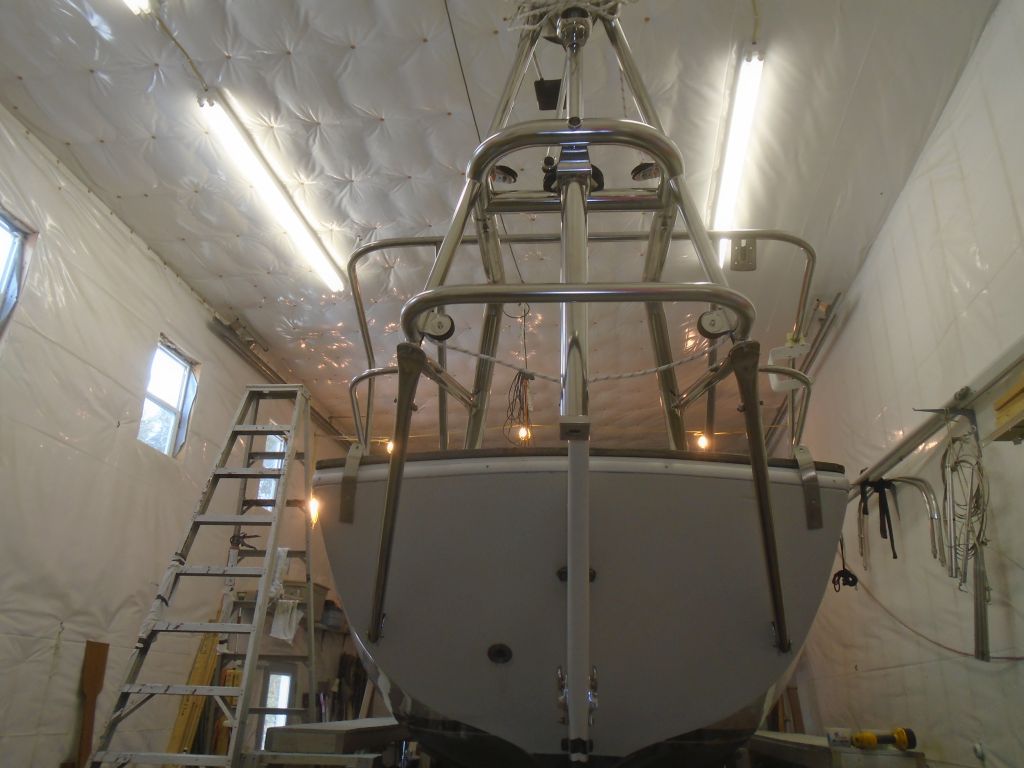
At this point, I could–and did–tighten all the bolts securely, which finally allowed me to remove the control lines, as the frame was now extremely strong and rigid thanks to the diagonal braces. At the bottom end of the frame, through the special bolts-with-a-hole-in-their-heads, I installed mousing wire supplied in the installation kit to secure these bolts to the frame and prevent them from loosening.

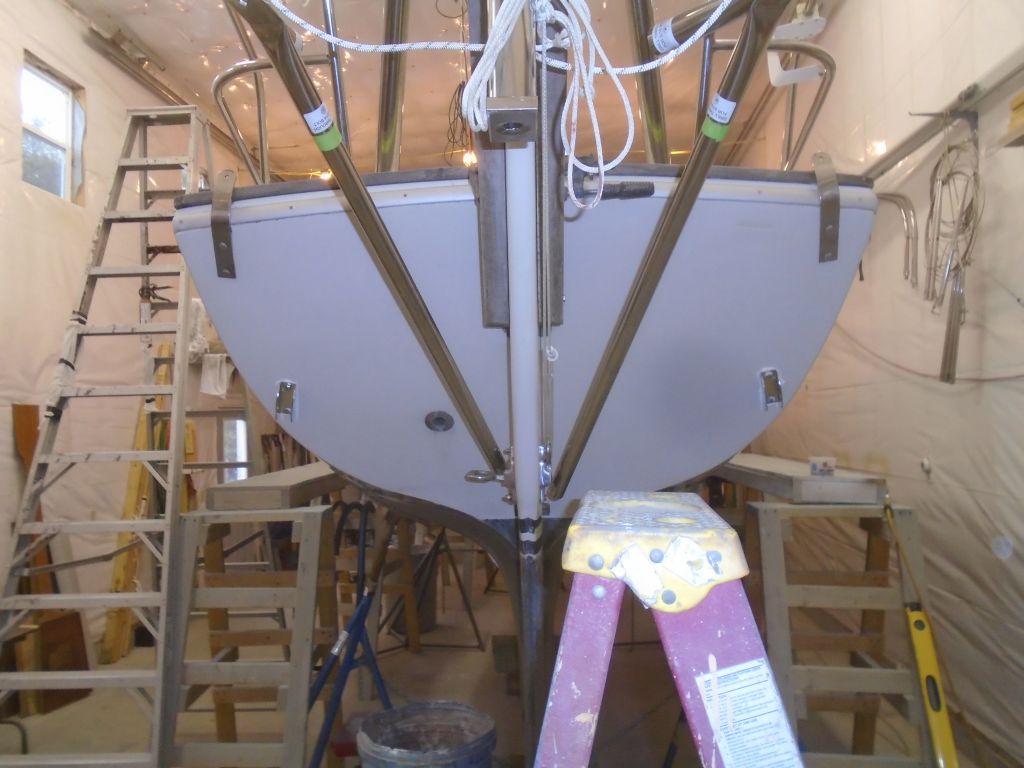
This completed the basic installation, other than running the pendulum lines forward to the tiller (eventually), so I celebrated by taking lots of pictures of the completed frame and knocking off a little early.


Total time billed on this job today: 7.25 hours
0600 Weather Observation:
32°, cloudy. Forecast for the day: clouds, mid-40s