


April 4, 2016
Salty 32
Monday
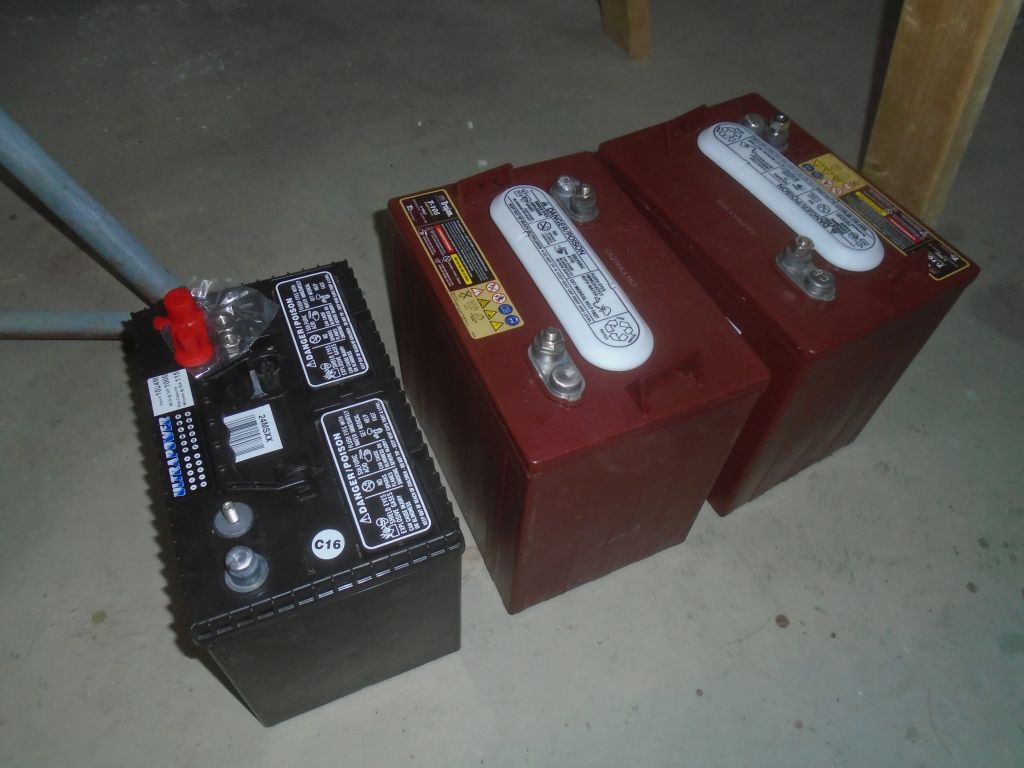
With other business away from the shop at the end of last week, I took care of some errands at the same time, and picked up the new batteries for the boat.
During the weekend, I sanded and varnished the tiller, completing the coating for now with the 6th coat.

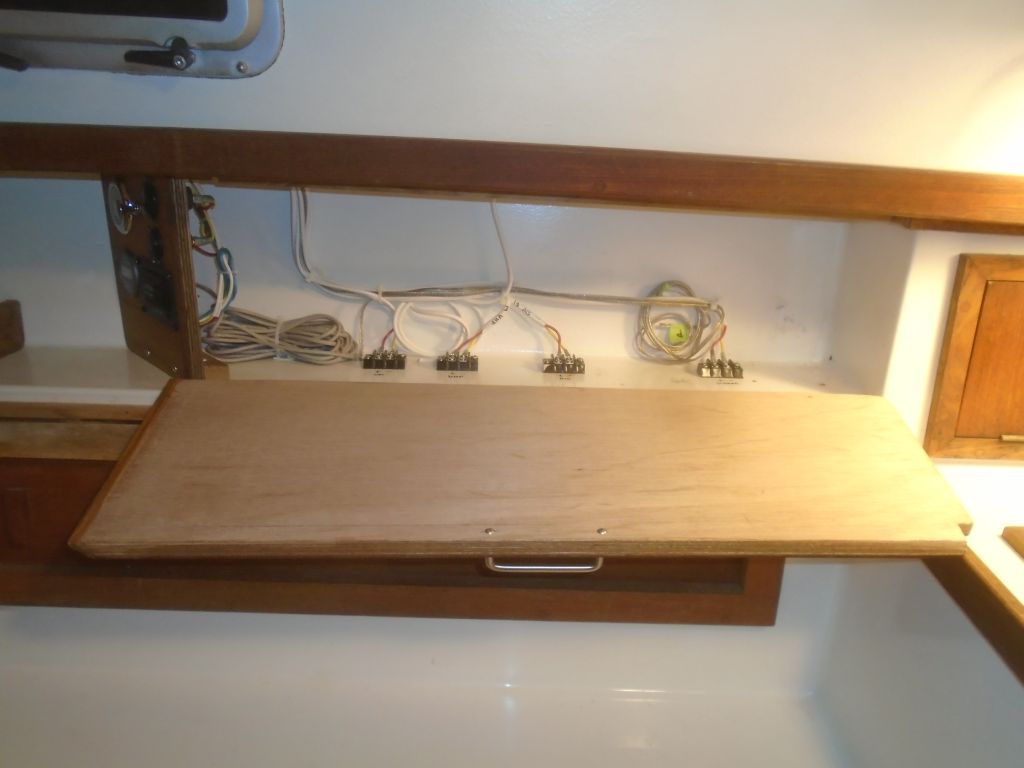
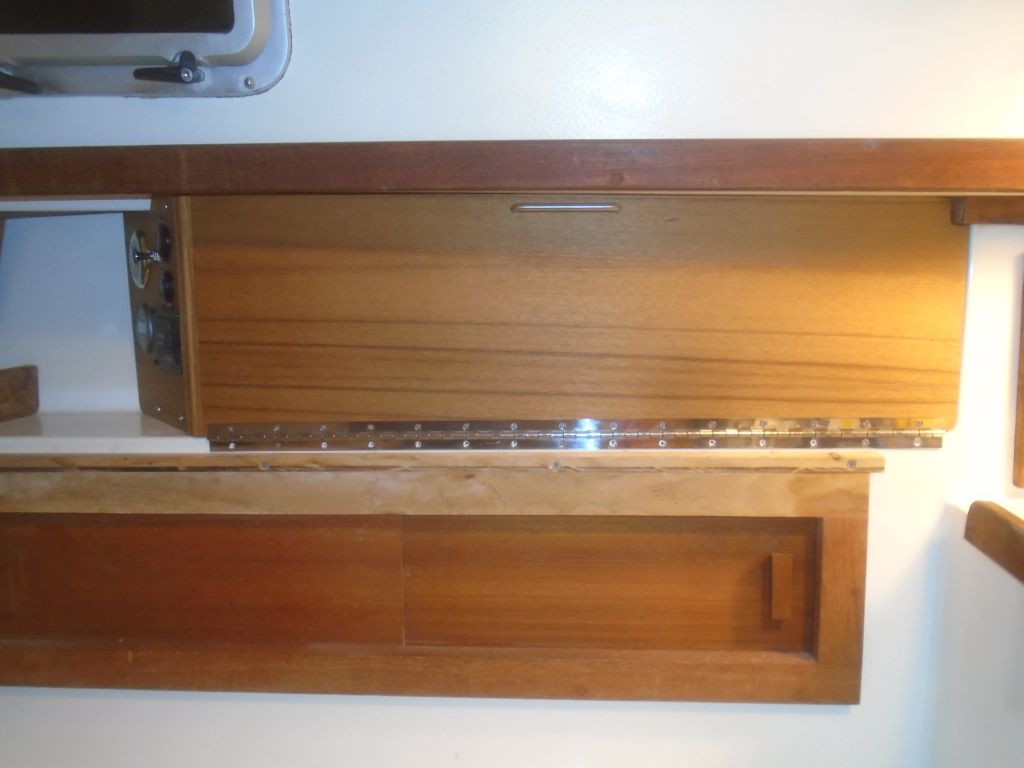
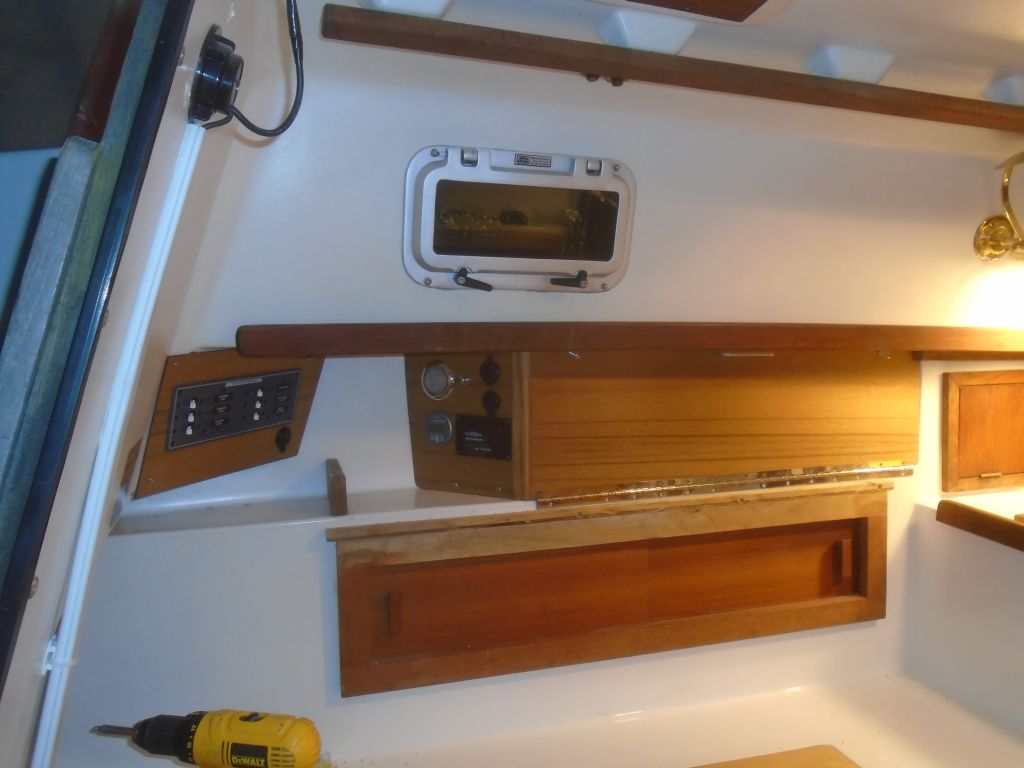
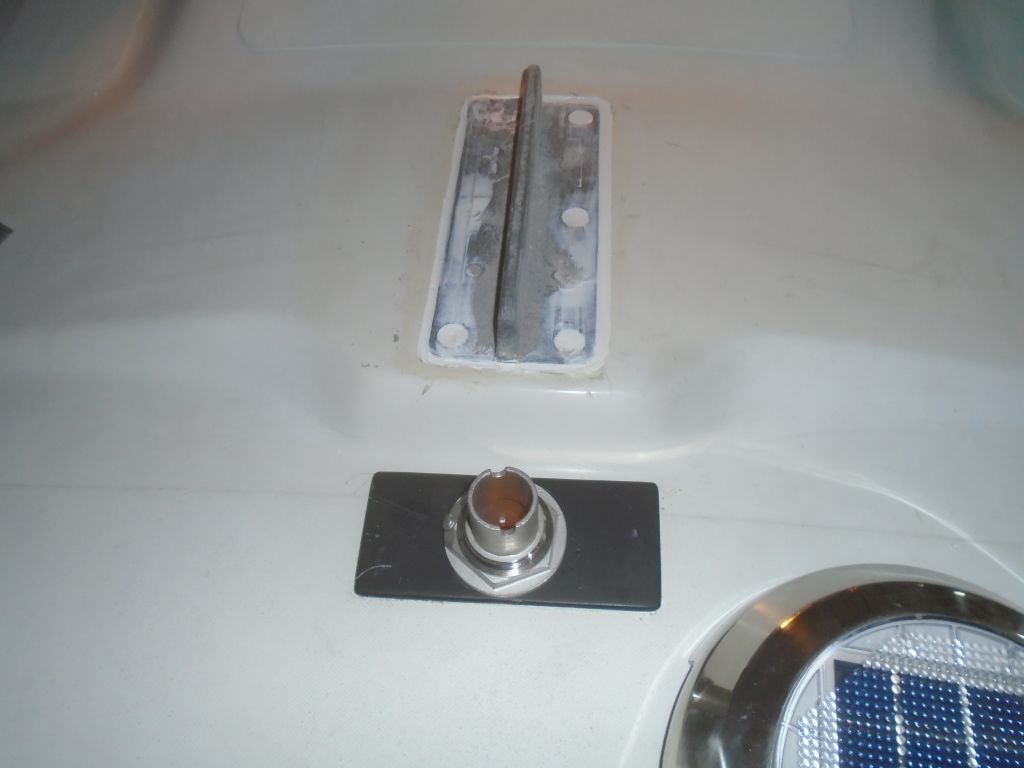
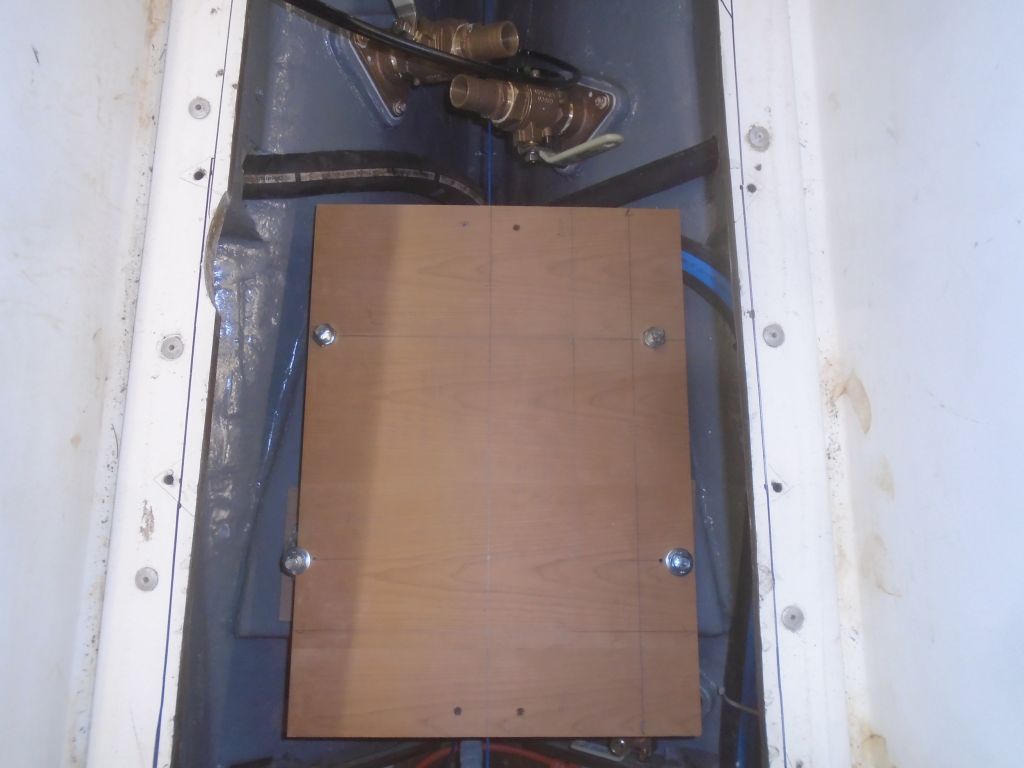
To finish up the electronics locker, I installed a continuous hinge along the bottom edge, securing it to the existing cabinetry. For now, I used only a few screws on the bottom leaf of the hinge since I’d need to remove the panel to install some of the electronics. To secure the panel when in place, I added two screws at the top edge, and also installed a simple handle to allow the panel to be easily swung down or removed as needed.

Meanwhile, I removed the tape and excess sealant from around the mast wiring chase and mast step.
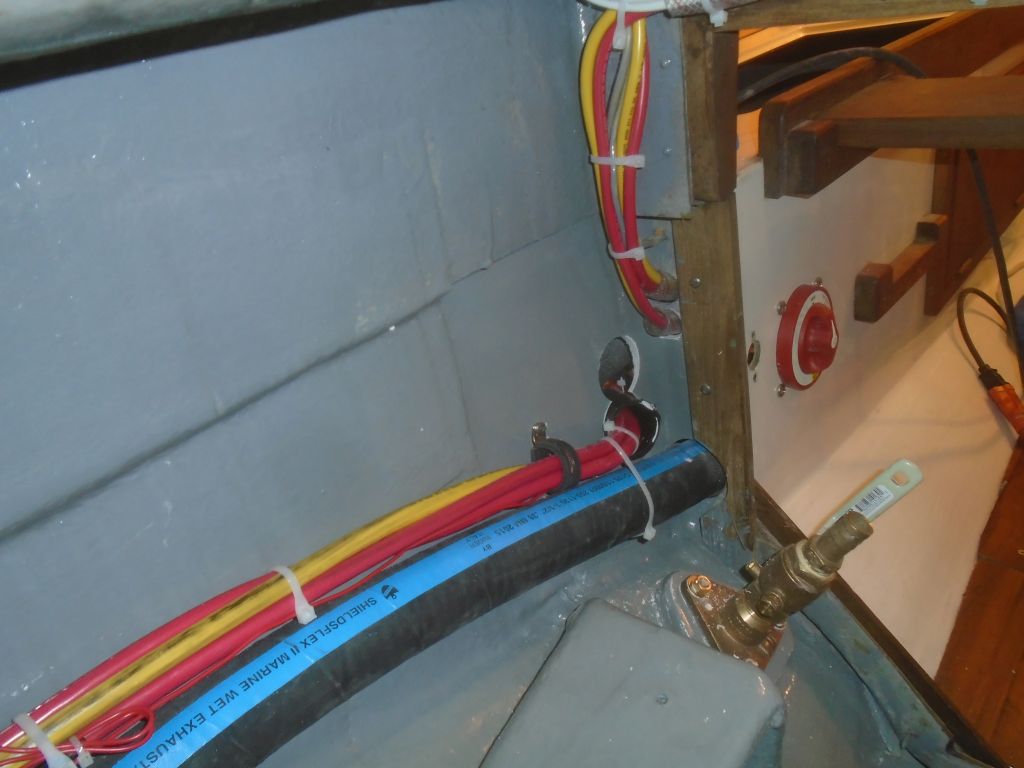
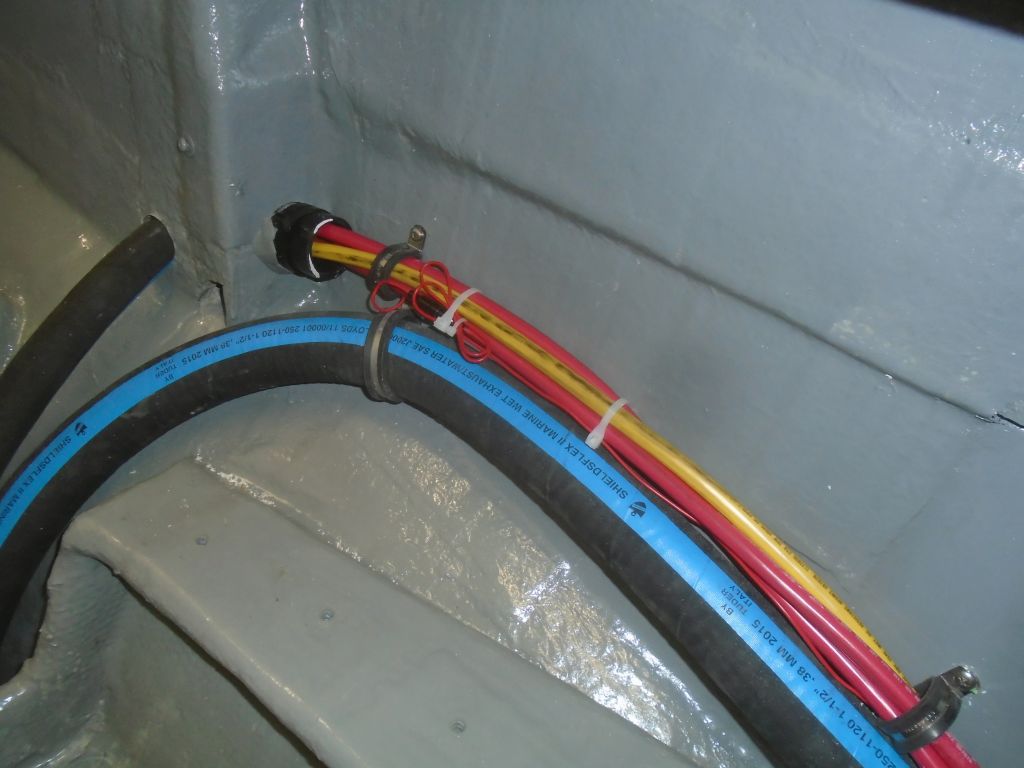
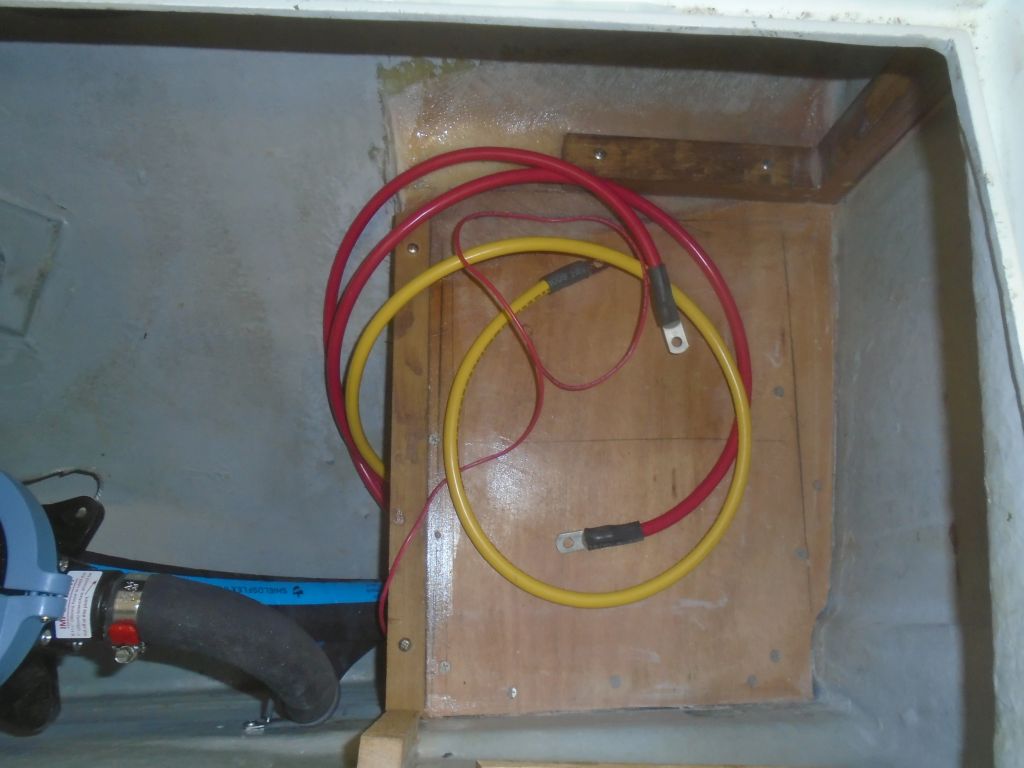
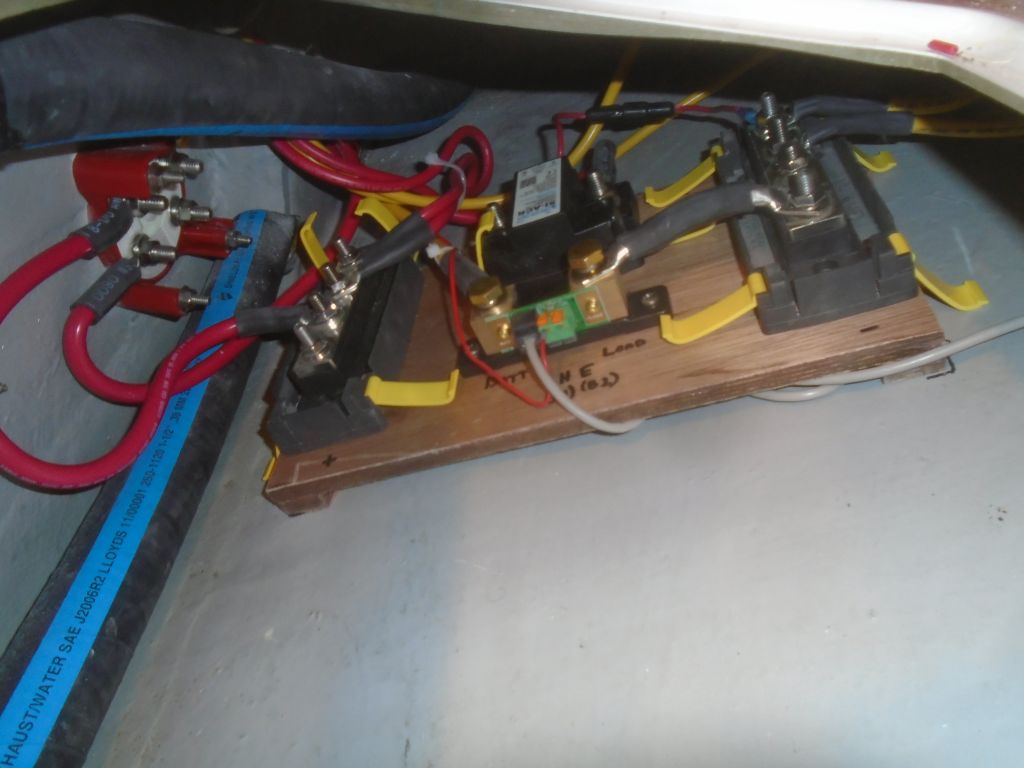
Next up in the electrical system was the battery cables. Each battery bank would require three cables–two positive wires (leading from the battery switch and ACR) and a negative cable in each case. With the final start battery position still up in the air pending the engine installation, I started with the cables to the house bank in the port cockpit locker. Eventually, after consideration of various alternatives, I decided to run these cables out from the battery switch area (port settee) into the engine room, then aft and through a small bulkhead that connected with the locker containing the batteries. After determining the lengths required, and making up the ends, I led the three cables (plus a small wire for the battery monitor temperature sensor) aft, securing them along the way and running the cables through short conduits where they passed through the bulkheads. At the battery end, I provided enough slack to allow the cables to run up, over, and through the battery enclosure.
Back in the battery switch area, I made up the other ends of these cables, along with the positive and negative cables running between the distribution busses and the electrical panels on each side. I’d finish up the st art battery and engine cables soon, once the engine was in place and I could determine the cables’ requirements.
To that end, I next turned to the engine layout so I could pre-adjust the engine mounts and determine their locations in the engine room. Using existing foundations, I’d long ago determined that the basic layout was adaptable to the replacement engine, but since I didn’t build the foundations specifically for this installation, the final fit and placement wasn’t preordained.
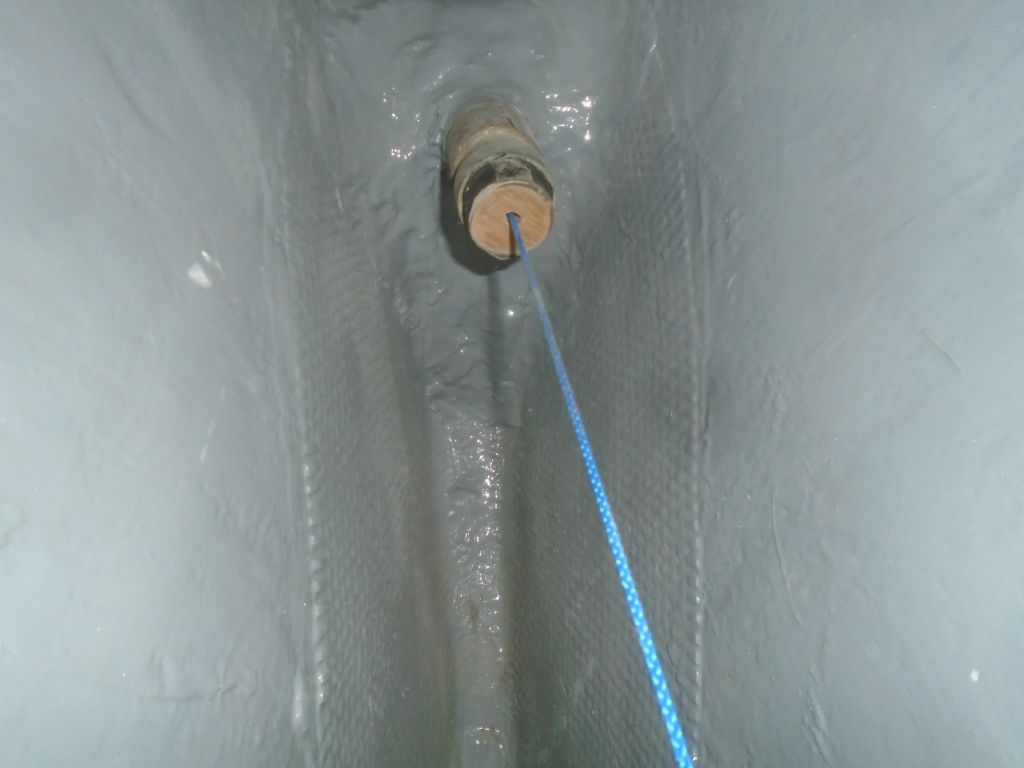
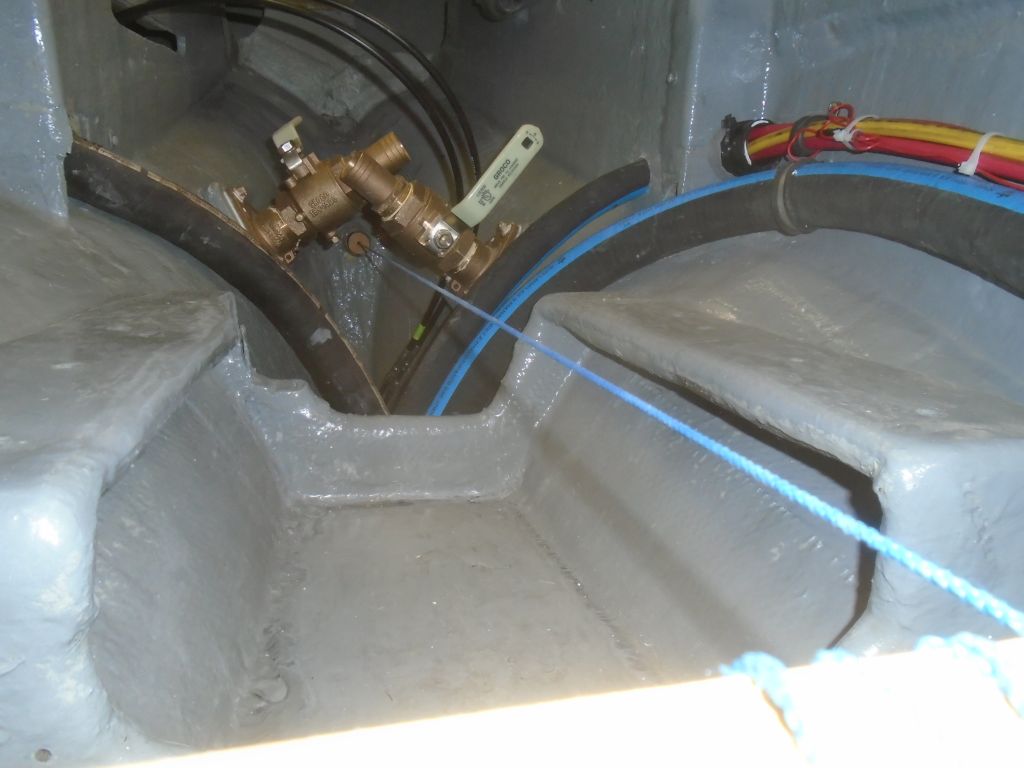
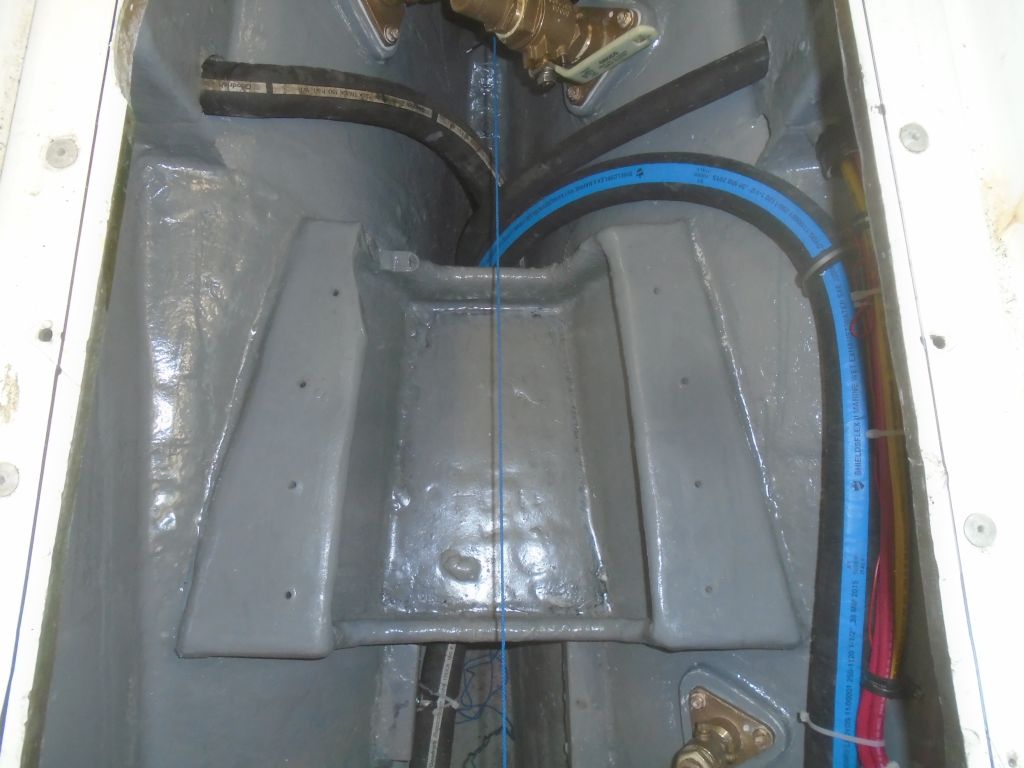
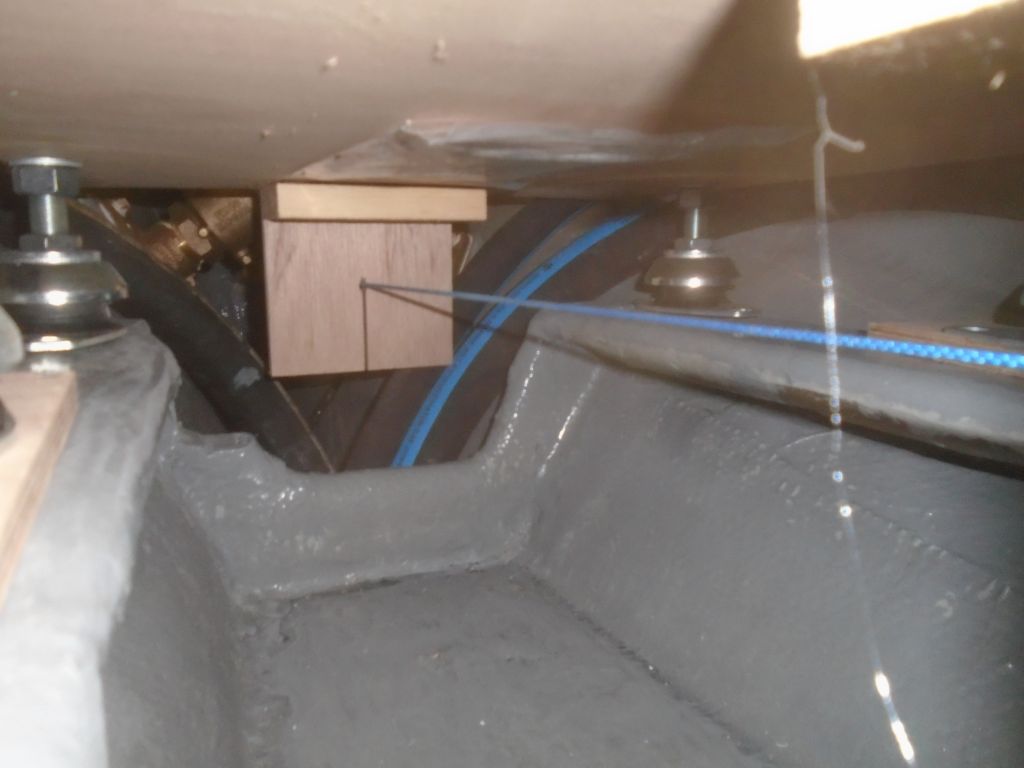
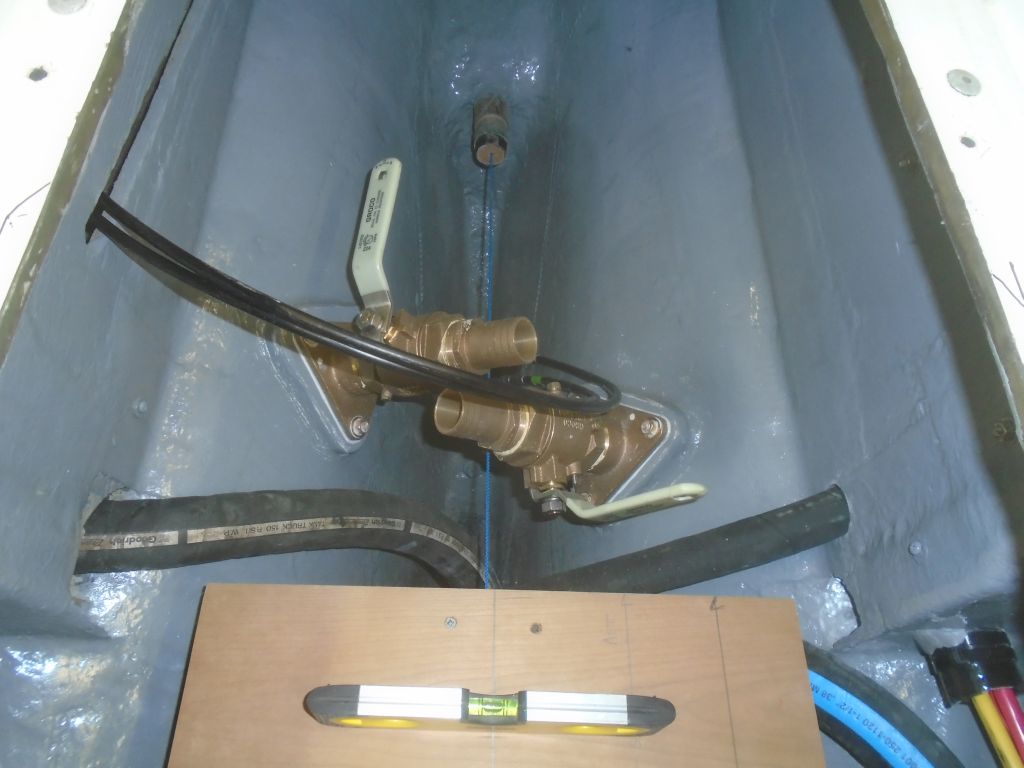
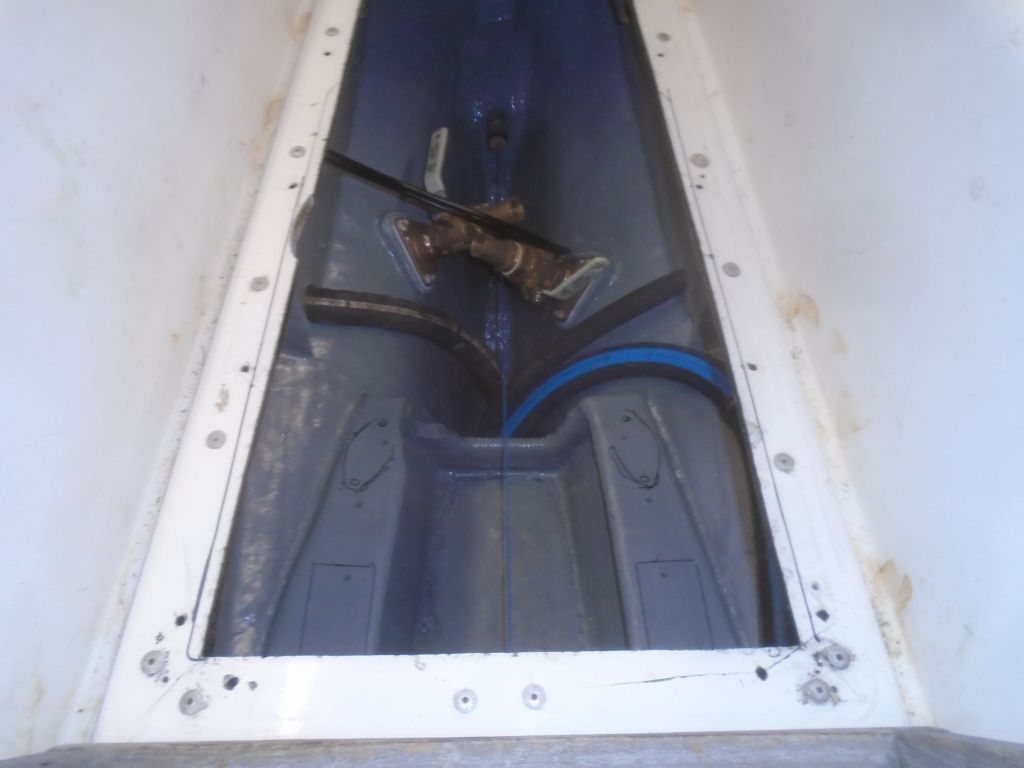
To begin, I set up a layout/centerline string to represent the shaft centerline, leading it through a pair of centering plugs in the stern tube and into the boat, where I adjusted it as needed to center it in the shaft log before securing the string on a temporary cleat.

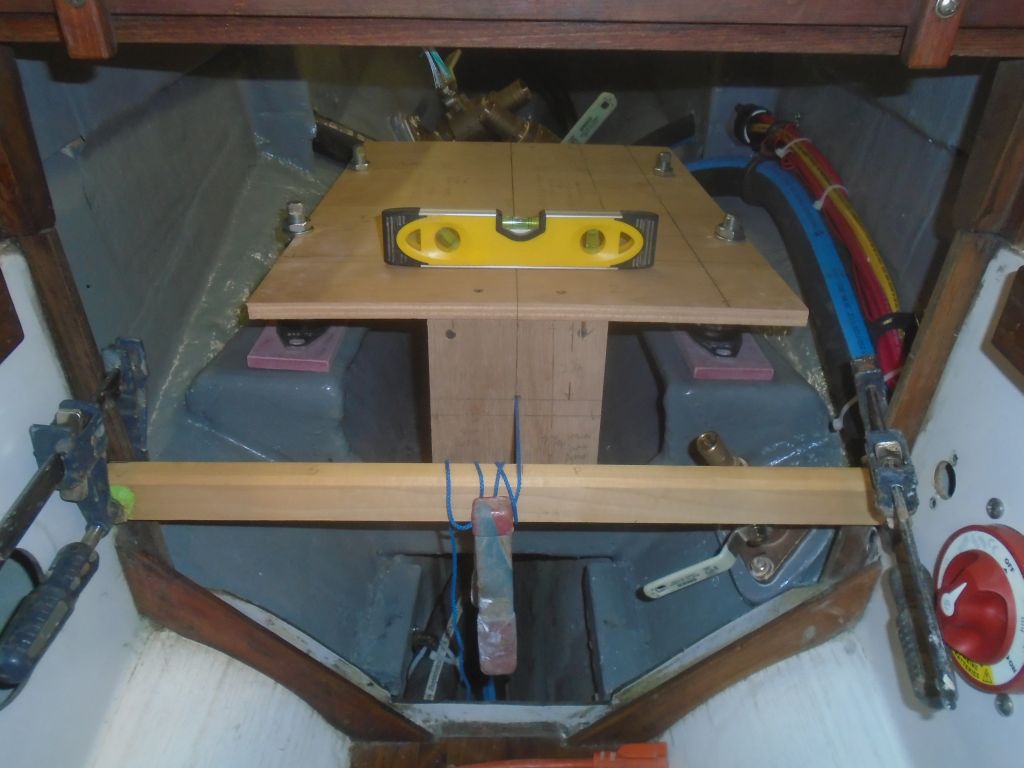
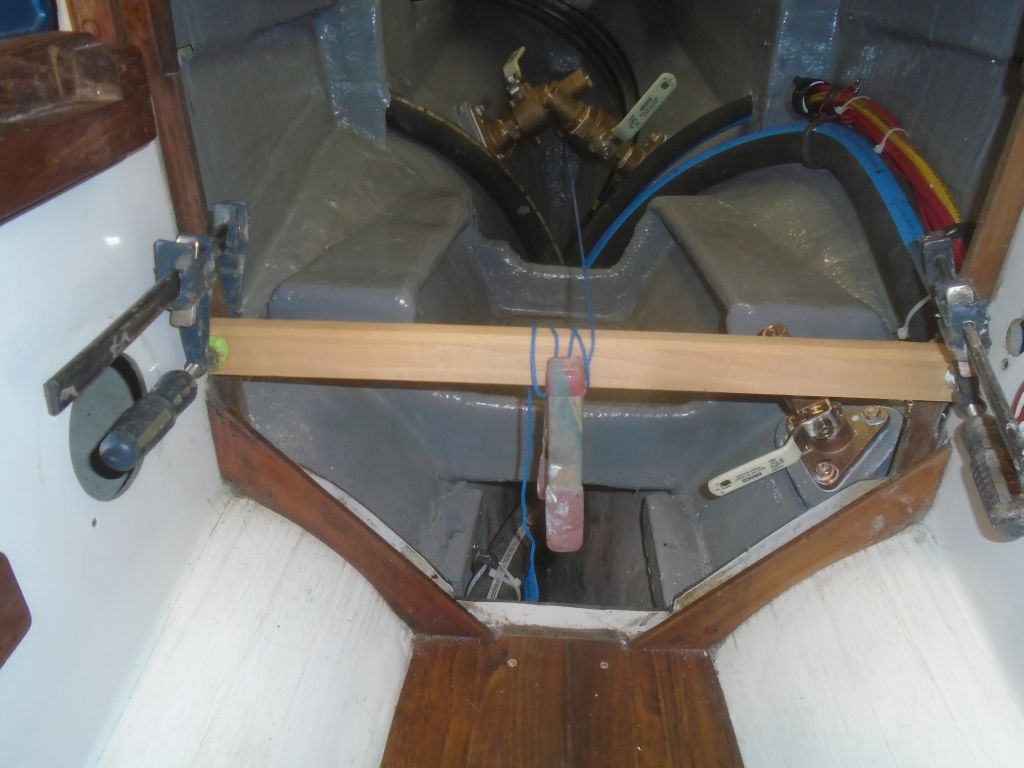
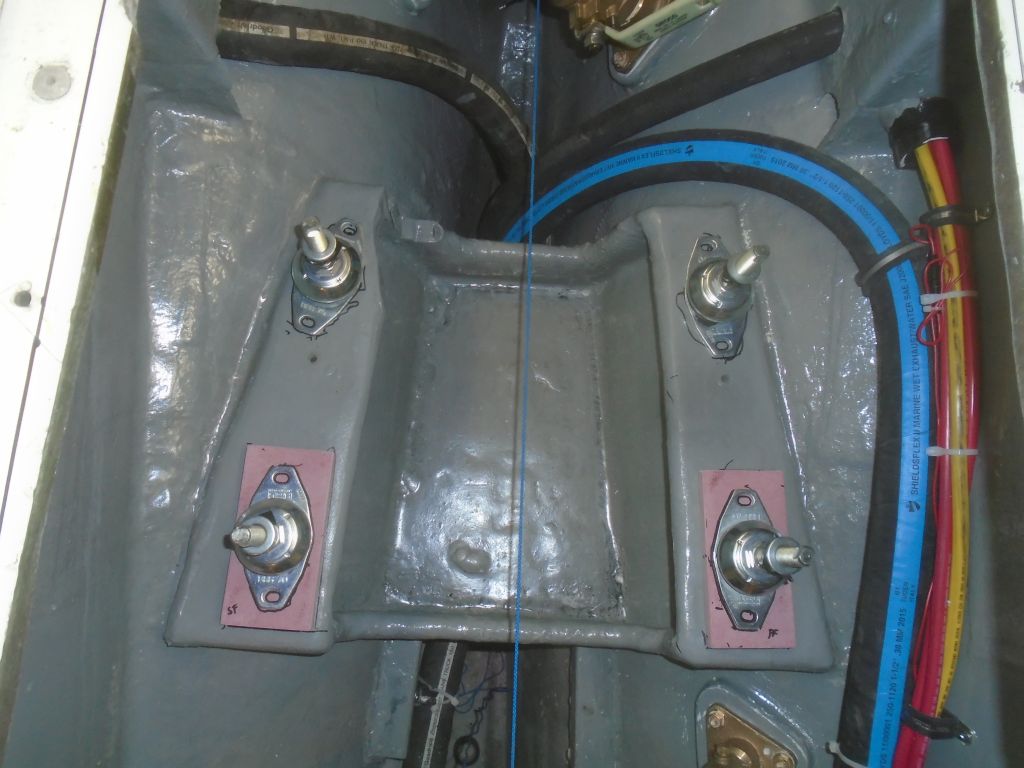
I placed my engine template over the string, slipping the string into the slots leading to the shaft center holes in the jig, and adjusted the mounts as needed to eventually align the jig properly with the string–and the boat. The front end needed to be raised a bit, too much to do with just the mounts’ adjustment studs, so I added 1/2″ fiberglass blocks beneath the forward mounts. At length, I adjusted everything so the engine was centered and level.

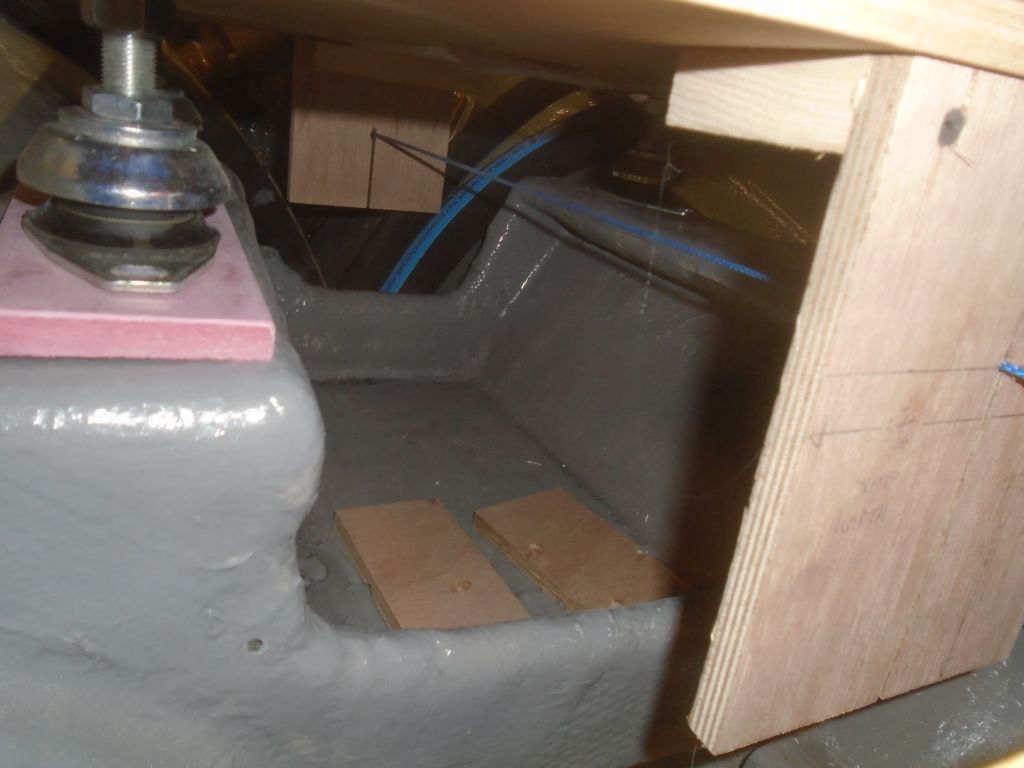
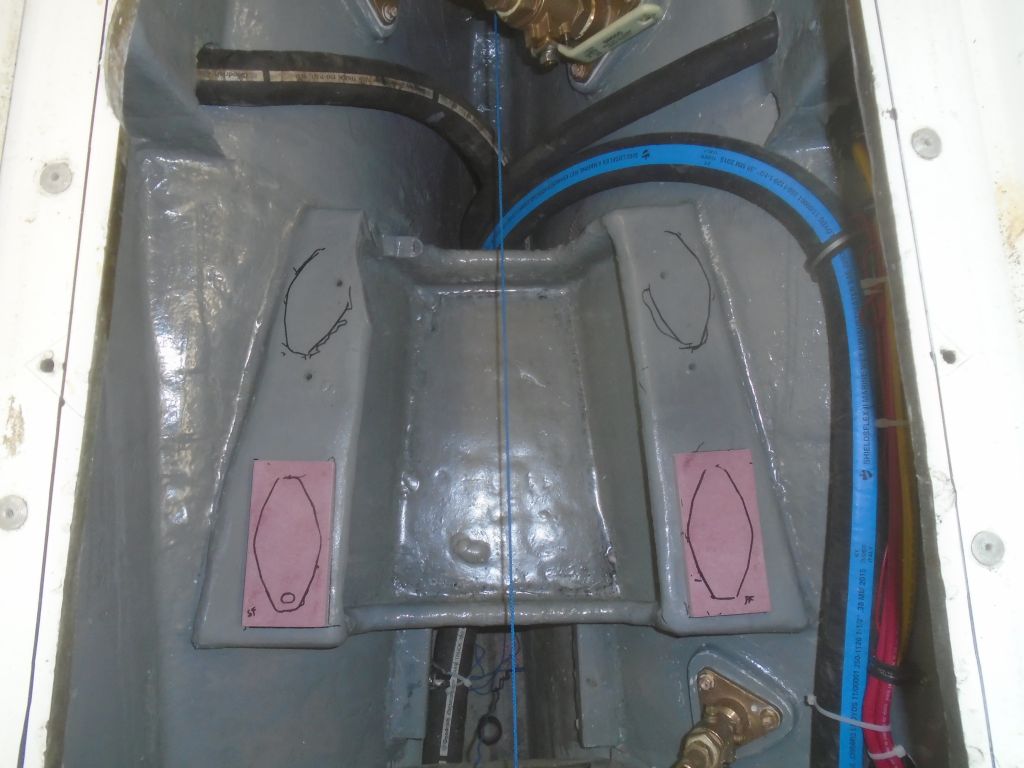
I marked the position of the mounting feet–easy at the forward end, but hard to reach at the aft end with the curvature of the hull and overhang of the template–then, with the “engine” removed and the mounts placed back on the rough marks, I pre-drilled pilot holes for the mounting bolts.
There were some additional installations to complete before I actually put the engine in place, and I also wanted to address the engine opening, which still had the old rivets left over from a long-ago removed gasket system (there’d been an ineffective gasket made of flattened foam pipe insulation in place when the boat arrived here). I drilled out the rivets so I could start fresh with a new gasket, and also opened up the forward end of the opening as much as I could on each side, since the opening was not wide enough for the engine (even with the widening), and I wanted to minimize how much I needed to remove from the engine itself in order to squeeze it through. I knew I’d have to remove the forward mounting flanges, which stuck out an inch or two beyond the actual engine dimensions, but hoped to avoid removing the alternator or anything else if I could. These photos show the before and after.

Total time billed on this job today: 8 hours
0600 Weather Observation:
12°, clear. Forecast for the day: increasing clouds, chance of snow, high around 30°.