


March 16, 2016
Salty 18
Wednesday
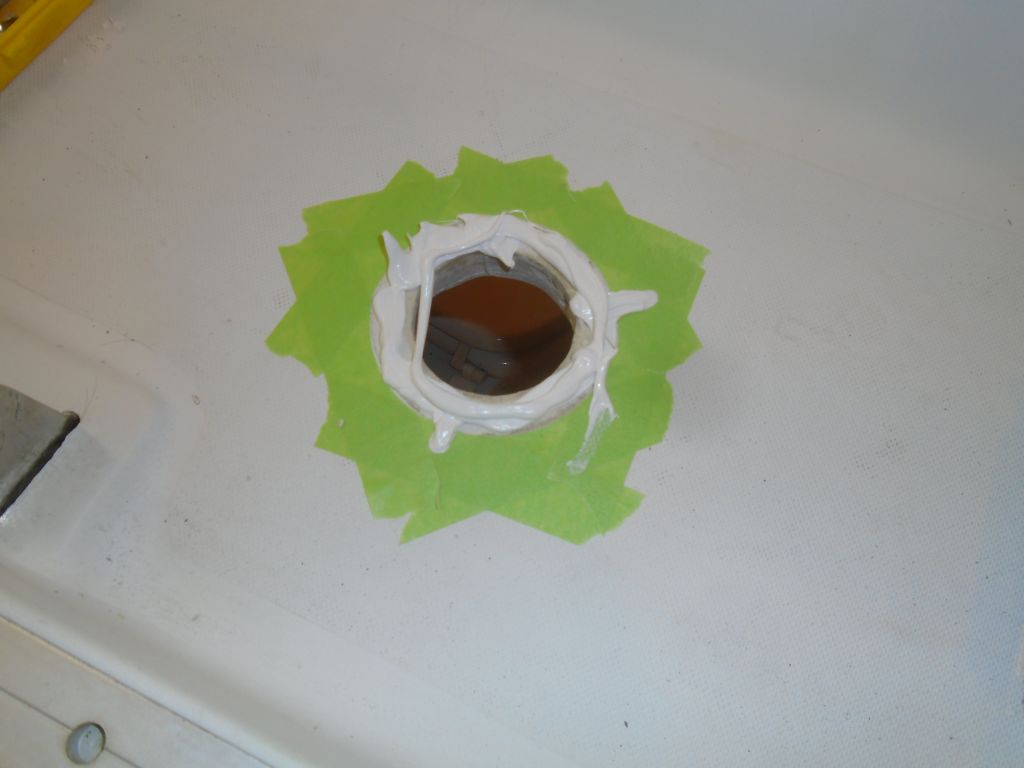
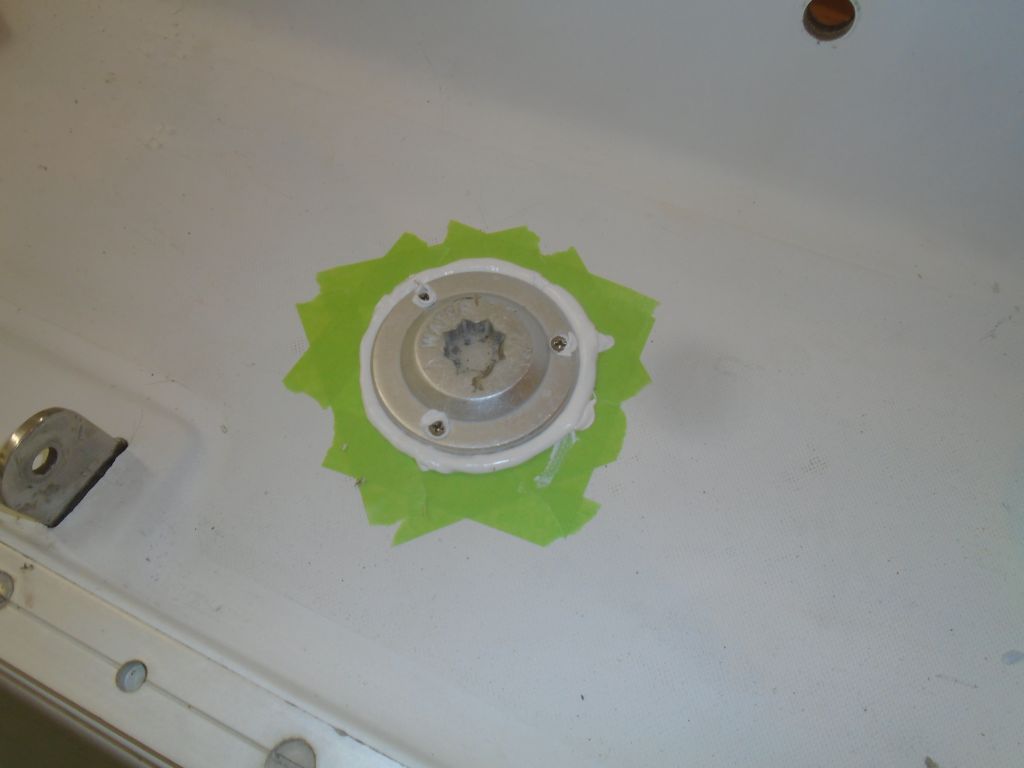
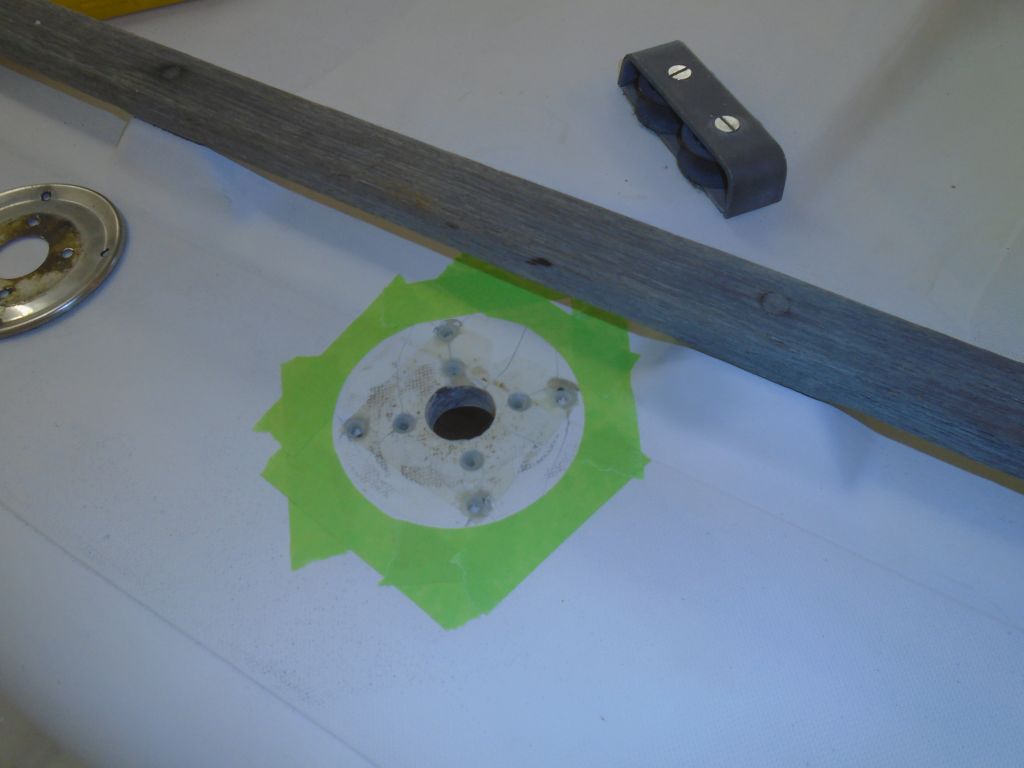
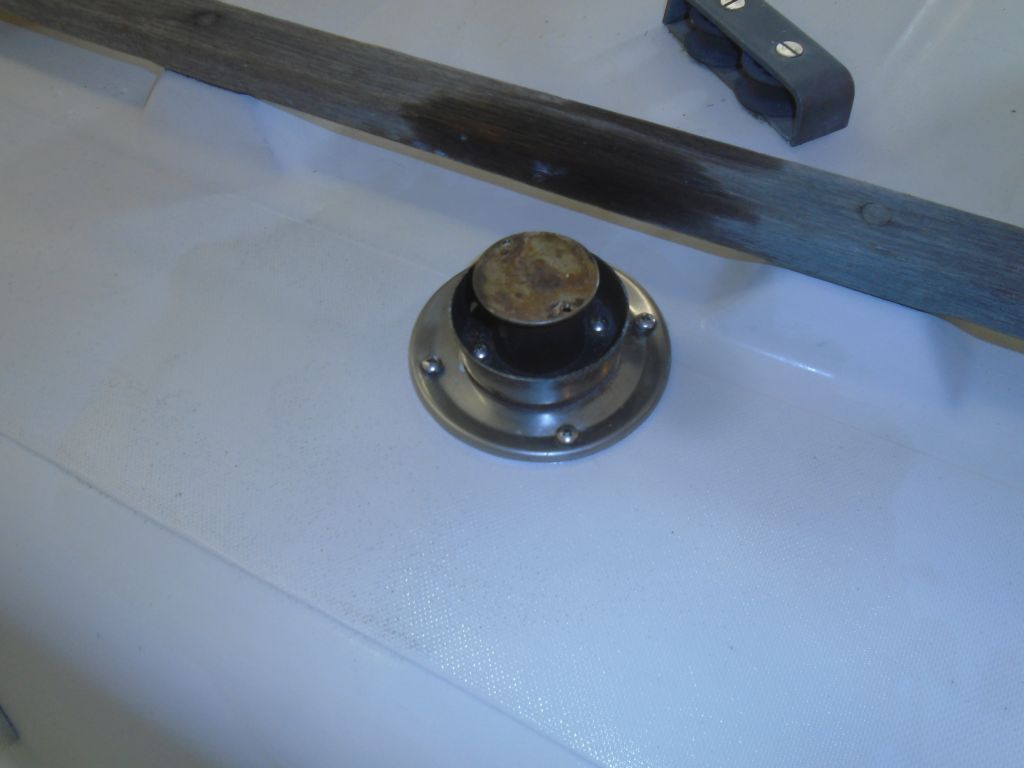
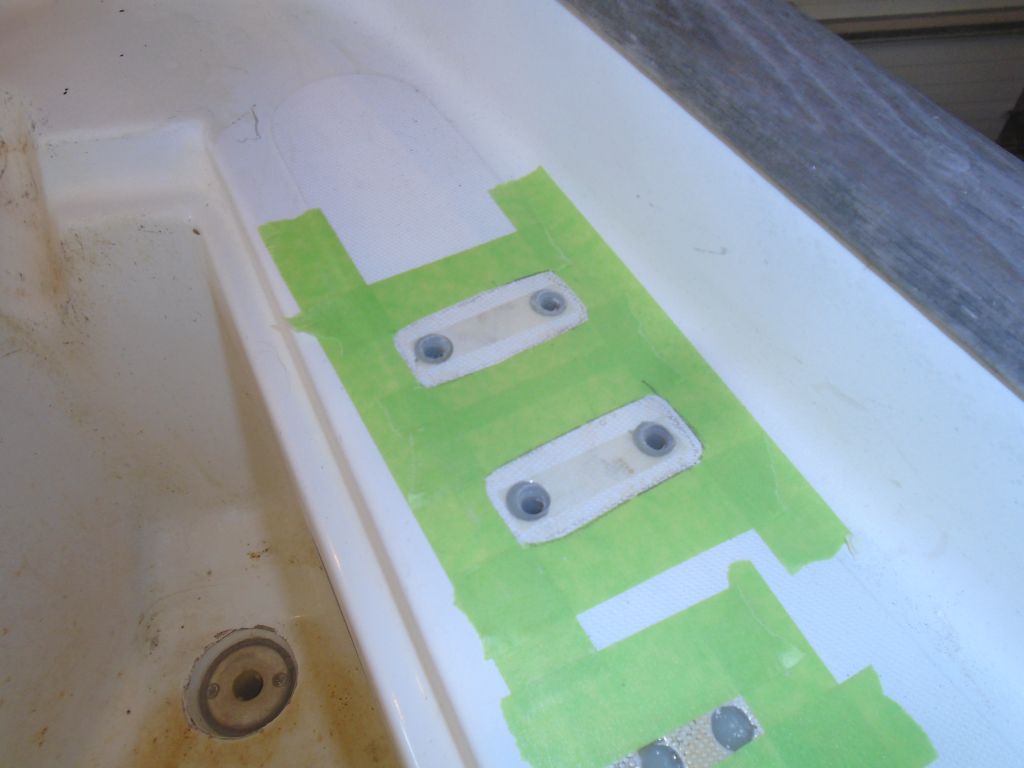
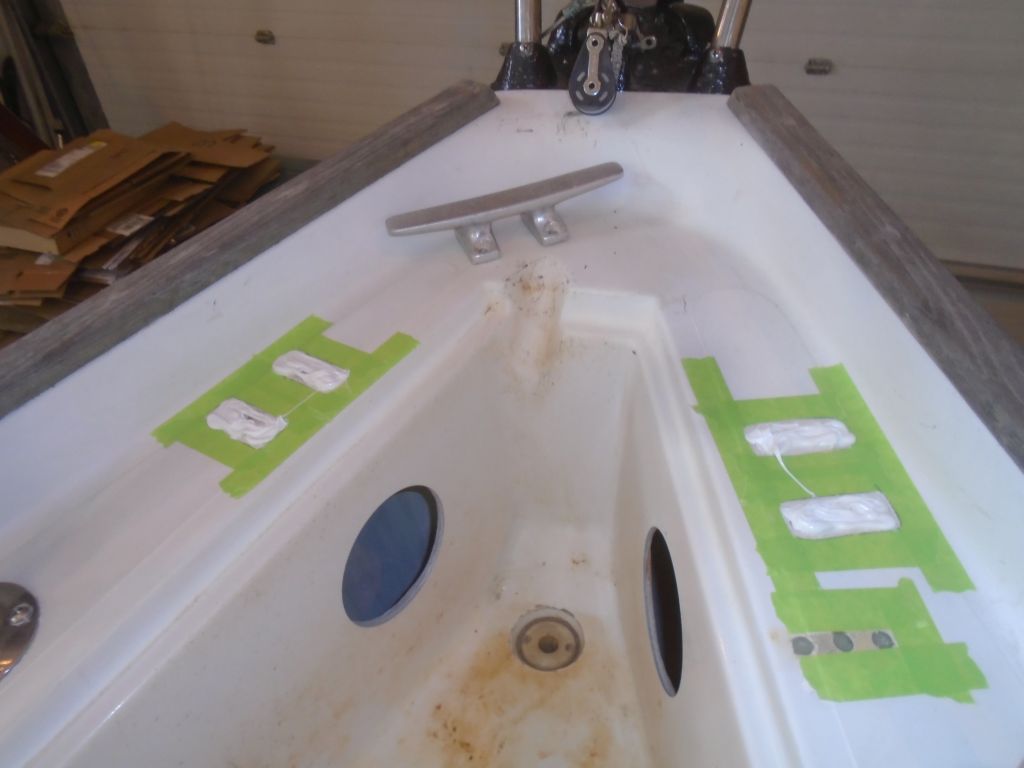
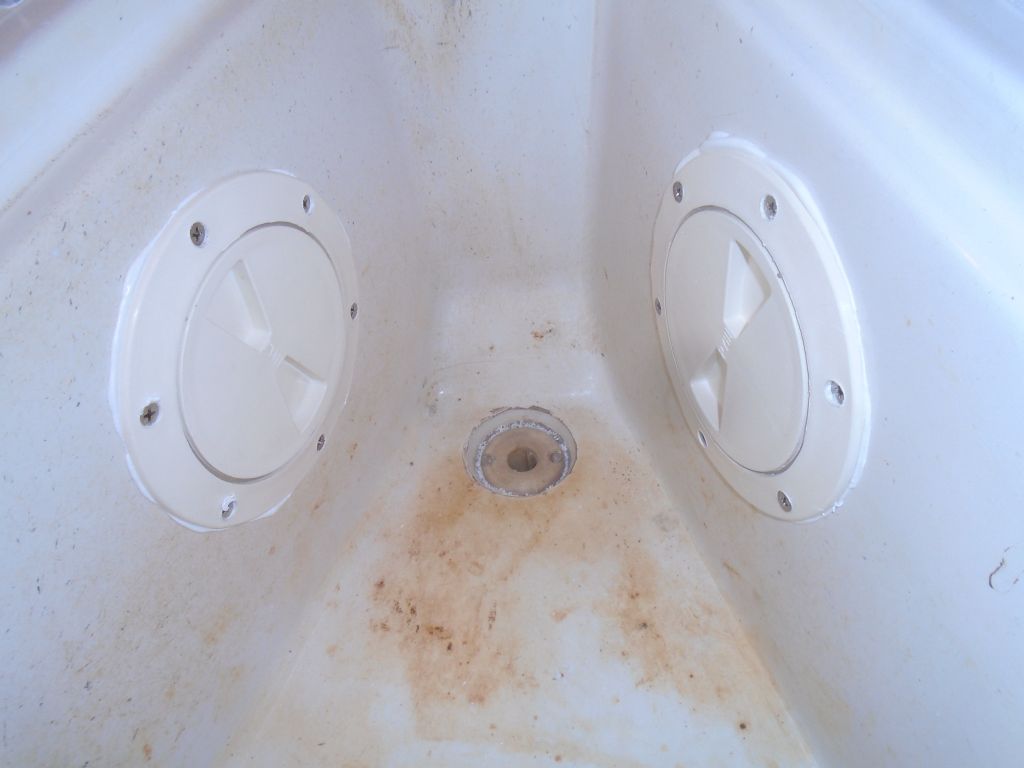
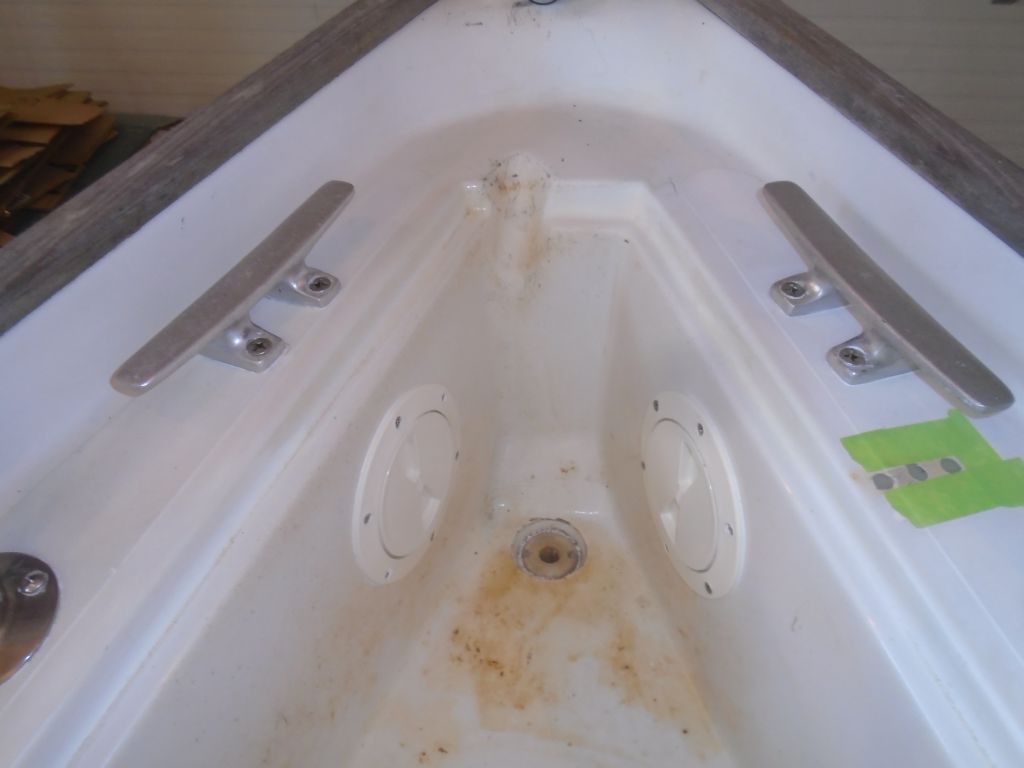
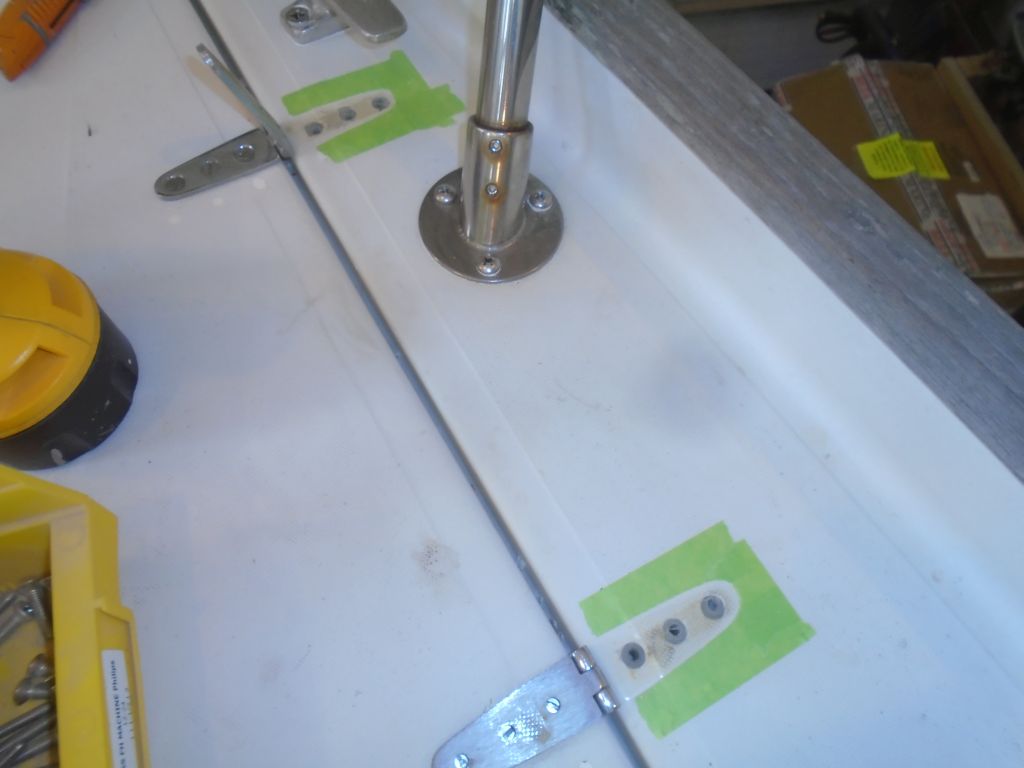
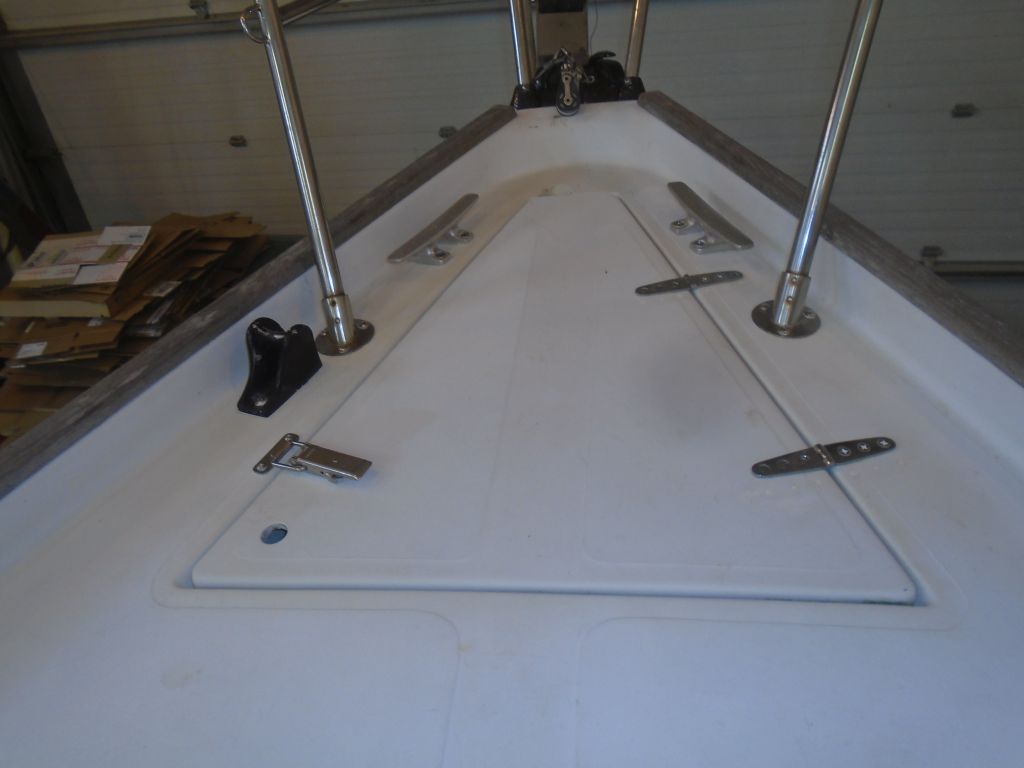
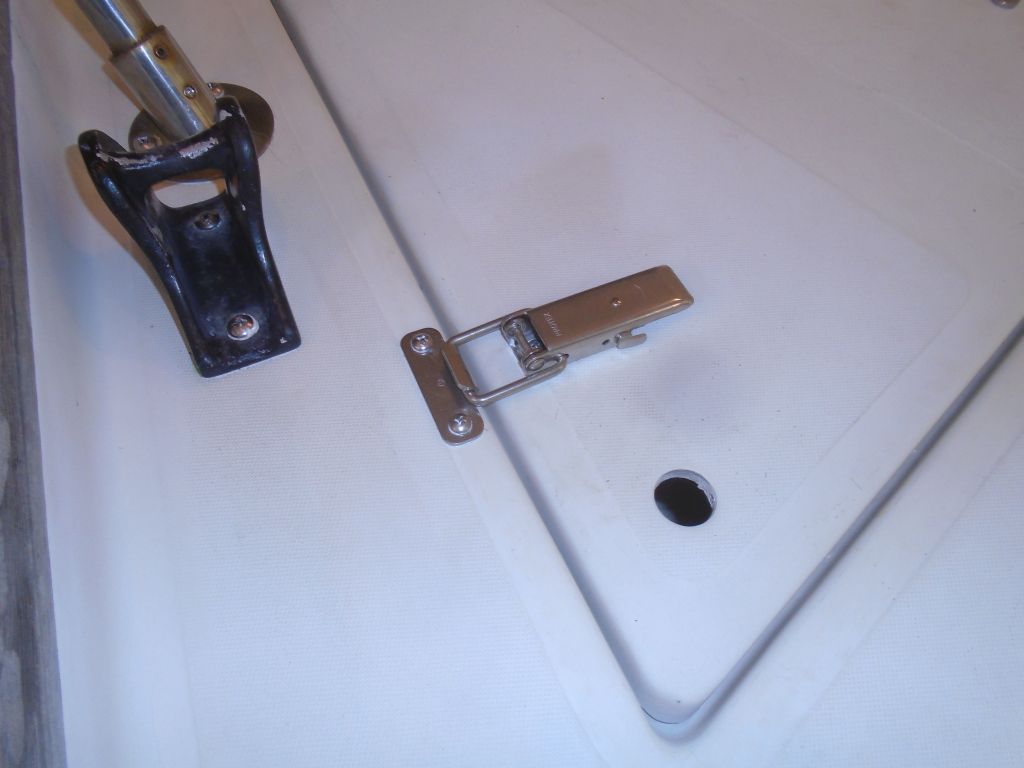
During the morning, I went through all the my preparation steps–layout, drill, tap, mask, sealant–to reinstall various hardware, including the water fill deck plate, cookstove vent, bow cleats, access ports, and anchor locker hinges, plus the new locker lid latch.
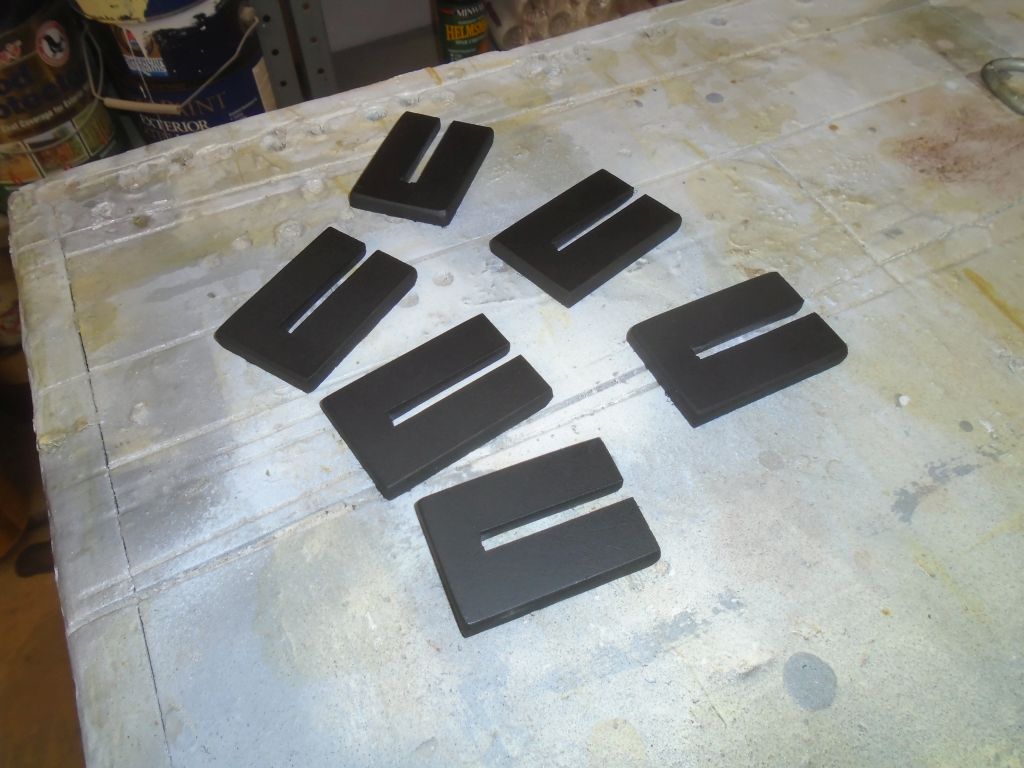
I lightly sanded the primer on the new chainplate covers, then applied a few coats of satin black paint to complete them, just like Jerry Maguire.
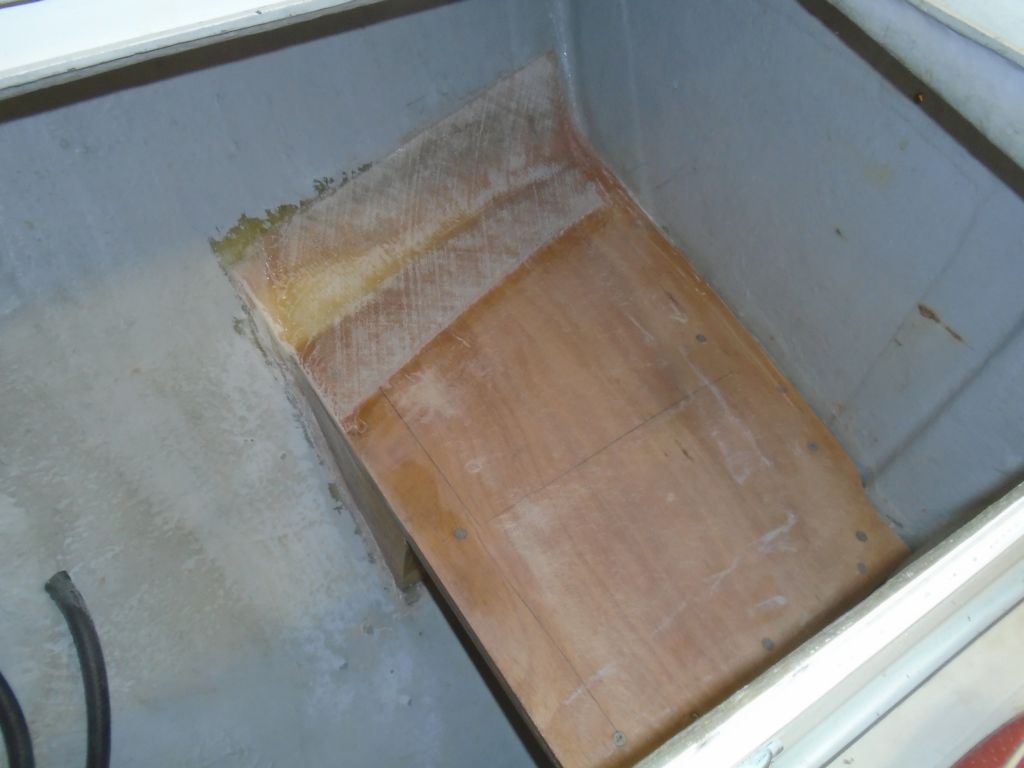
To allow access, battery installation, and construction, the battery box that would surround the batteries on their new shelf had to be at least partially removable, and as such would be mainly for protection, not necessarily self-containment: that is, the batteries would rely on other means to hold them in place, not specifically the box itself. I figured the outboard side of the box would mainly remain in place semi-permanently, though the ability to remove it could be helpful someday should access be required beyond it, but the aft side would be removed as needed to install or remove the batteries from the box. The fit for the batteries, as well as the requirement to install cables, increasingly made it look like top-only access might be unnecessarily hard.
So after the usual water wash and light sanding, I laid out several hardwood support cleats that would give me places to secure the two external sides of the battery box, and installed the cleats with epoxy adhesive, screws where possible, and clamps. The cleats left enough room (where needed) for the side panels and additional cleats as well as the battery footprints. I left the cleats and epoxy to cure.
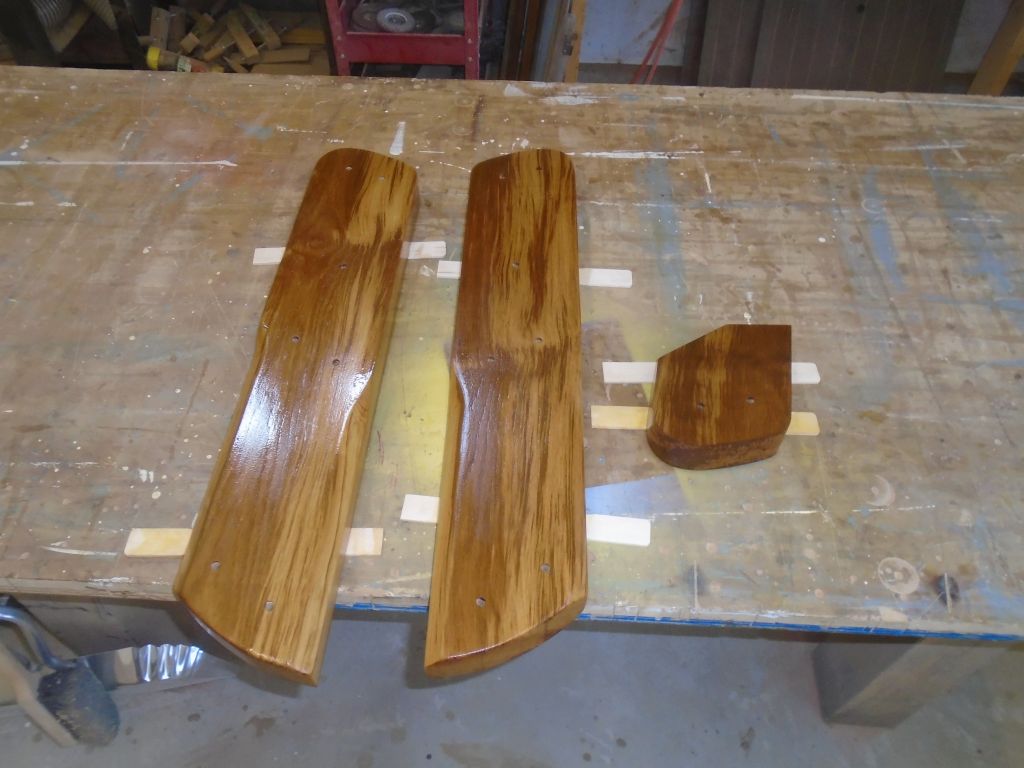
I received the new teak required to build the replacement rudder cheeks, and it seemed as good a time as any to get right into their construction. Starting with a rough board a bit wider and longer than the ultimate amount required, I first planed it smooth and dimensioned it to the same thickness as the original cheeks–or, more specifically, the center spacer piece, which truly dictated the final thickness since this matched the thickness of the fiberglass rudder itself.
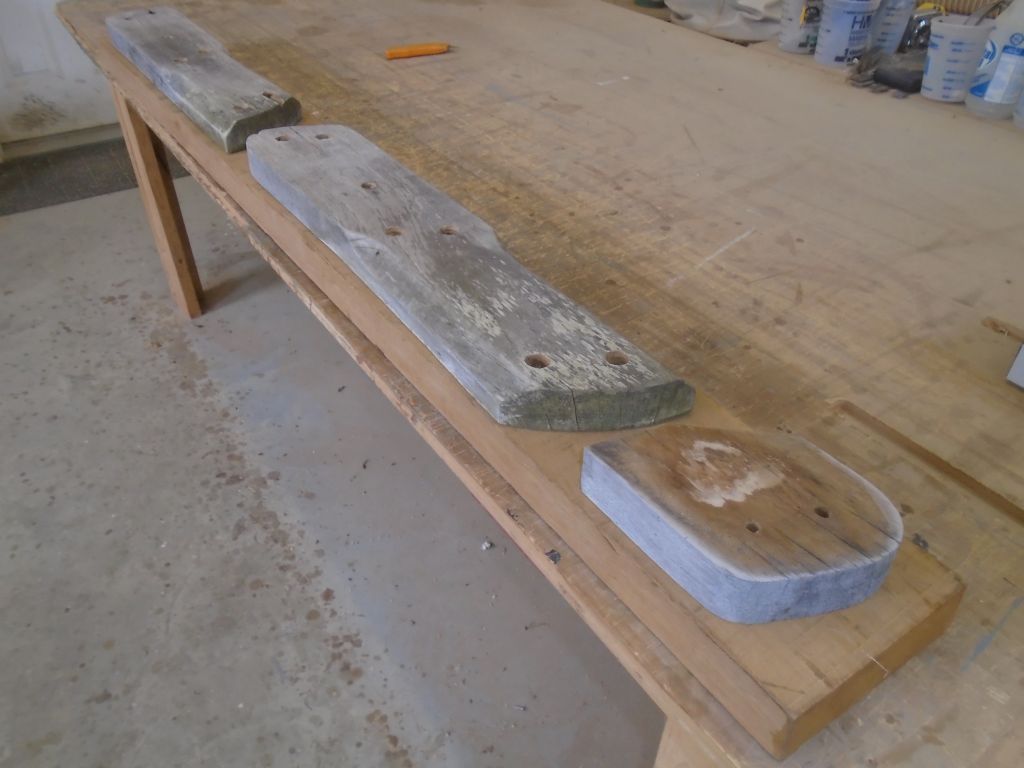
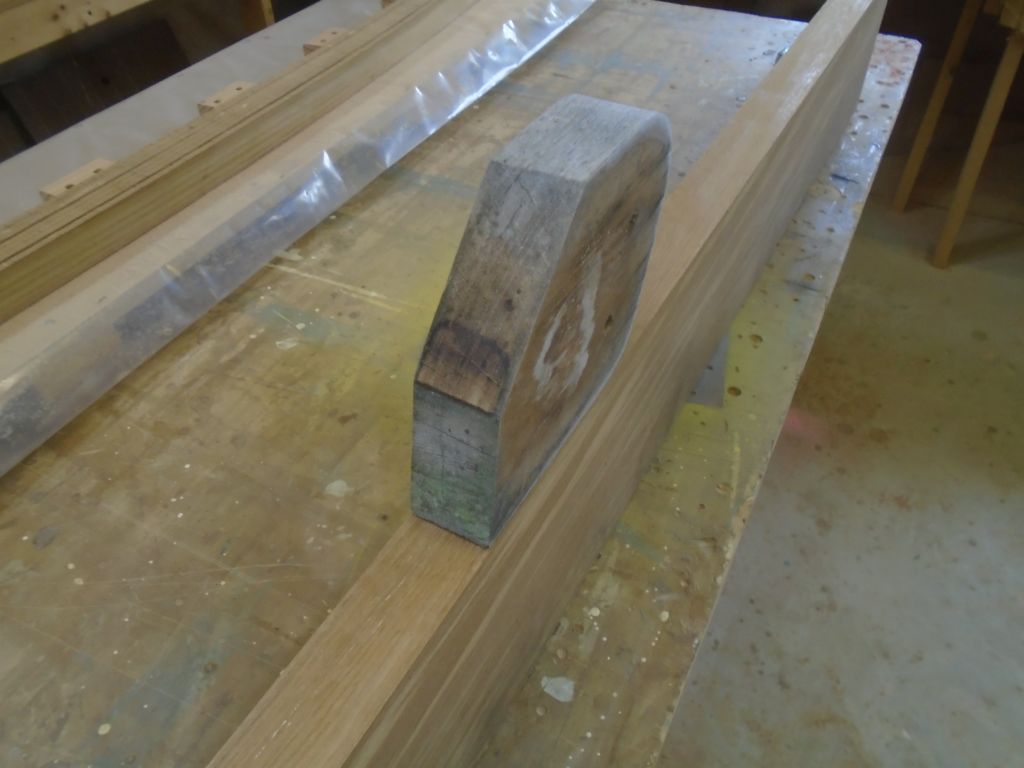
Through a series of sawing operations, I cut out the three new pieces required, using the originals as exact patterns. With the blanks cut to size, I milled the chamfers at the bottom edges to match the originals (not shown here).
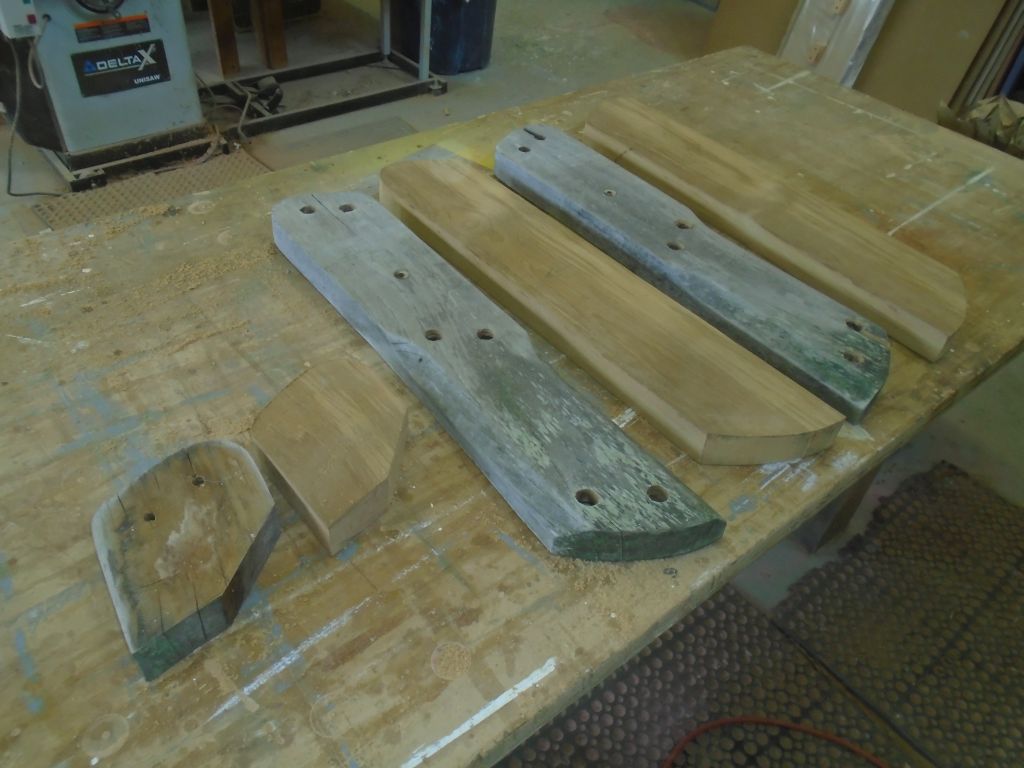
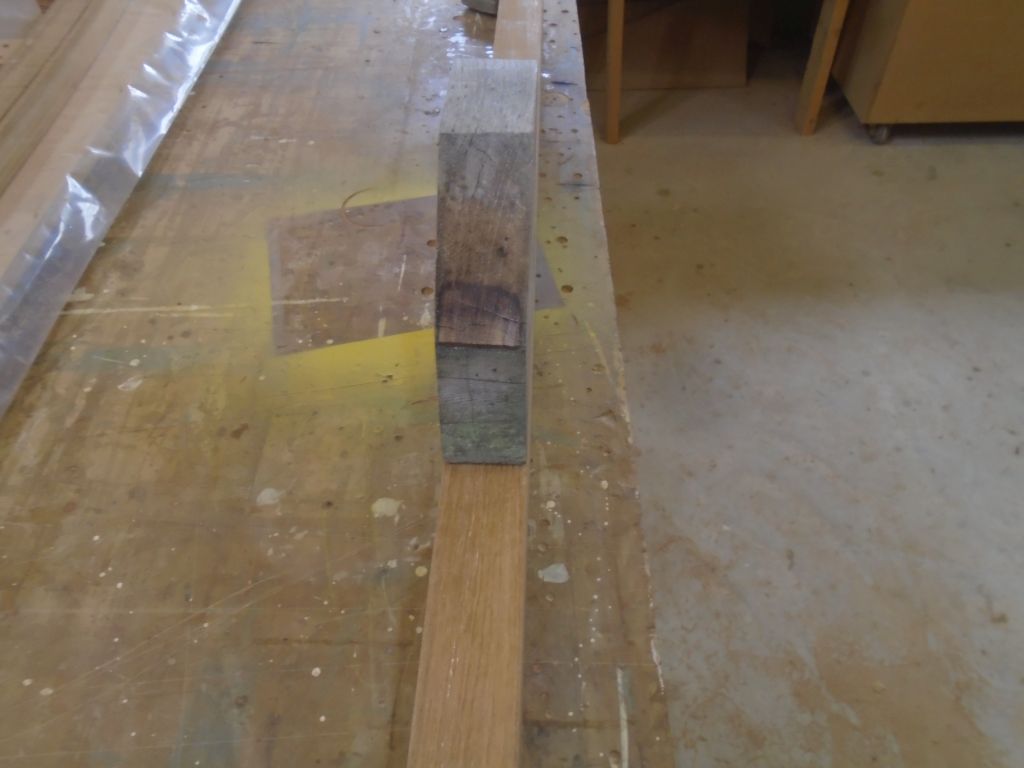
Securely clamping the old piece atop the new, I used the old bolt holes as guides to drill the holes in the new cheeks, one side at a time. Then, I clamped the cheeks together with the central spacer, aligning them where they needed to be, and drilled the bolt holes through the spacer, before sanding the top surfaces of the assembly smooth and flush with one another.
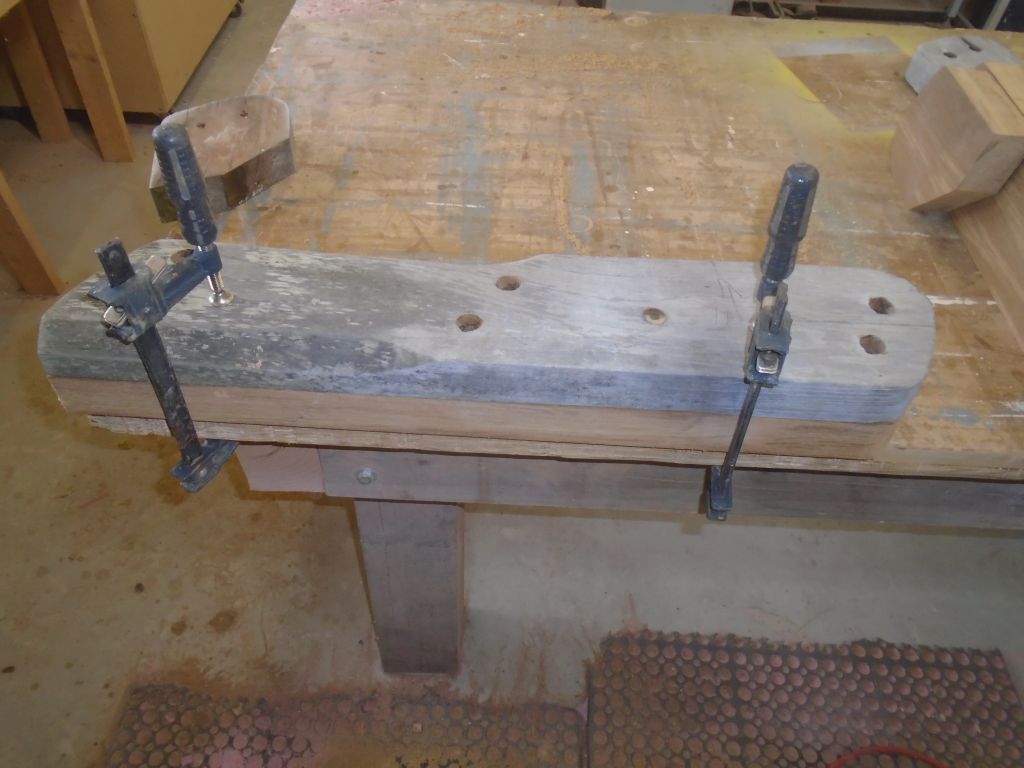


With the segments separated once more, I sanded the surfaces as required to smooth and prepare them for a sealer coat of varnish, which I applied to all sides. These new cheeks would be installed a little differently than originally, as I planned to use exposed hardware (rather than countersunk and bunged) to allow the cheeks to be readily removed for future maintenance. So I didn’t create any counterbores for the new fasteners. I ordered threaded rod and cap nuts to be on hand when I was ready to install the cheeks.

Total time billed on this job today: 8.5 hours
0600 Weather Report:
35°, clouds and drizzle. Forecast for the day: improving conditions, highs through the 40s.