


March 14, 2016
Salty 16
Monday
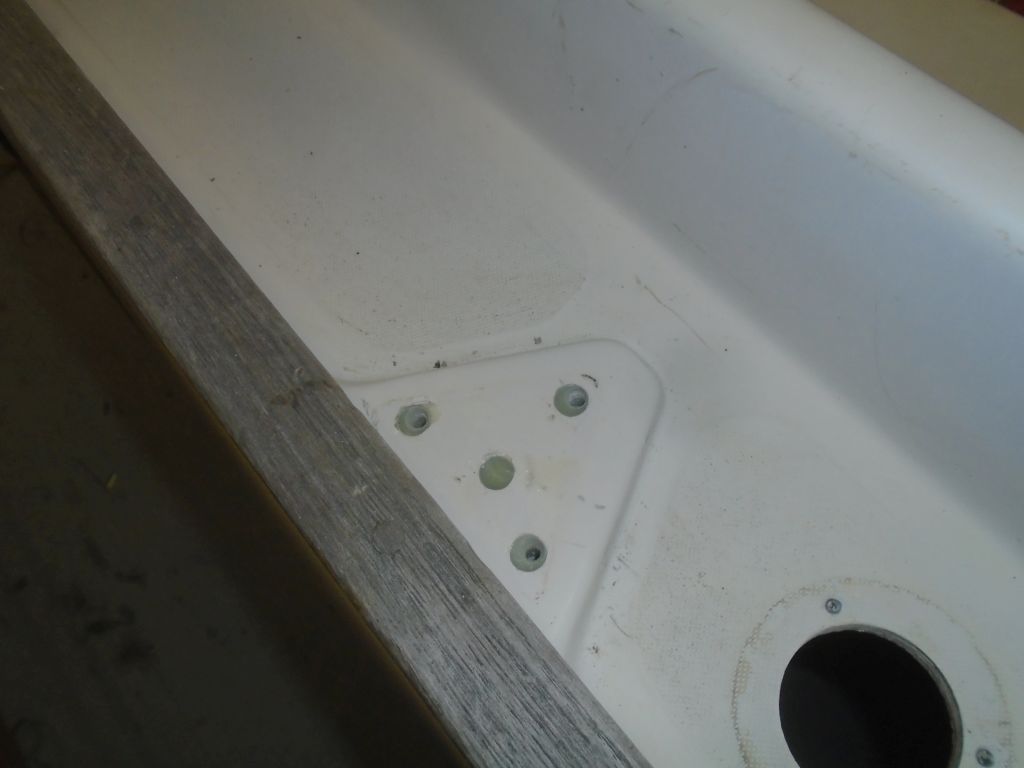
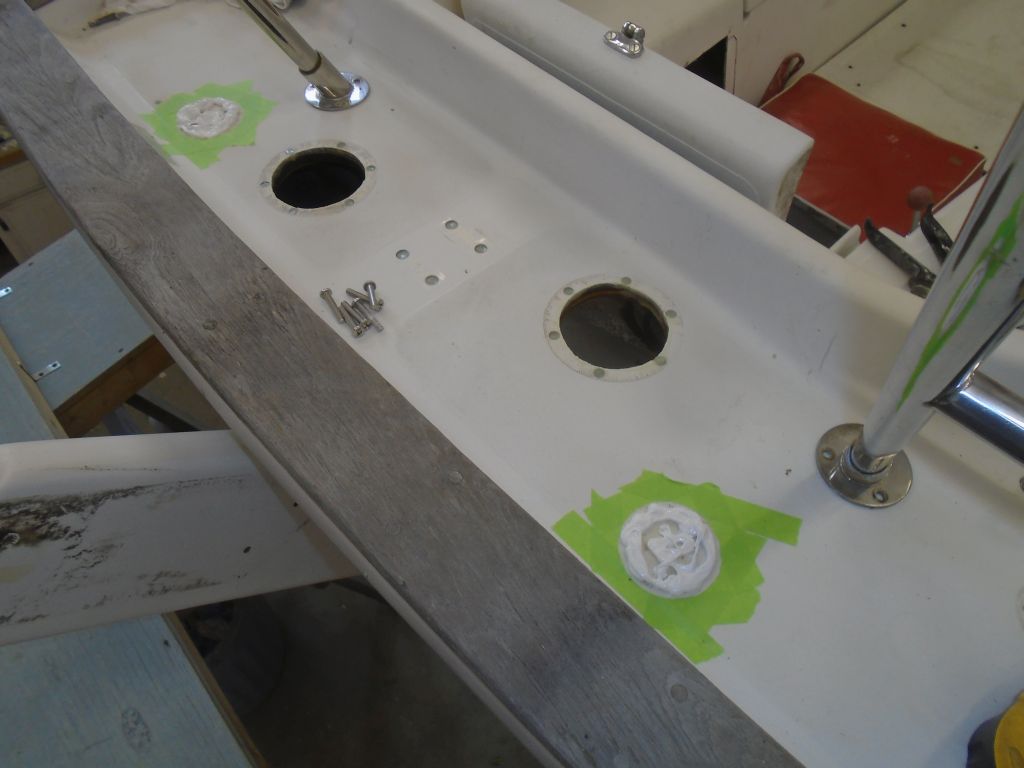
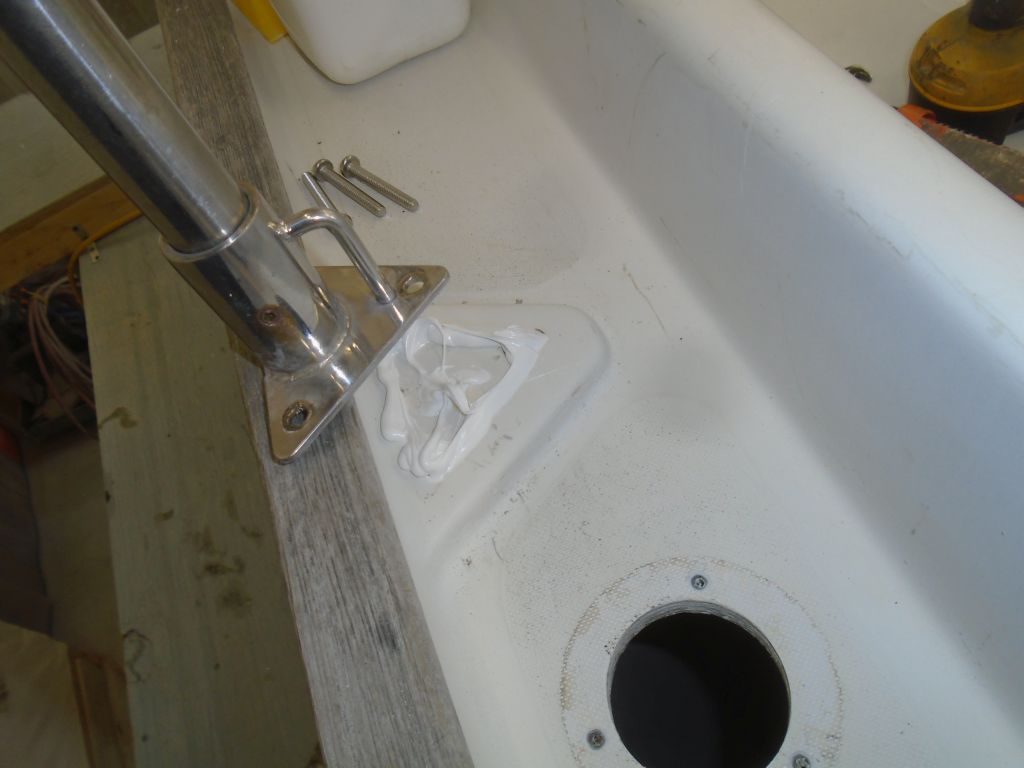
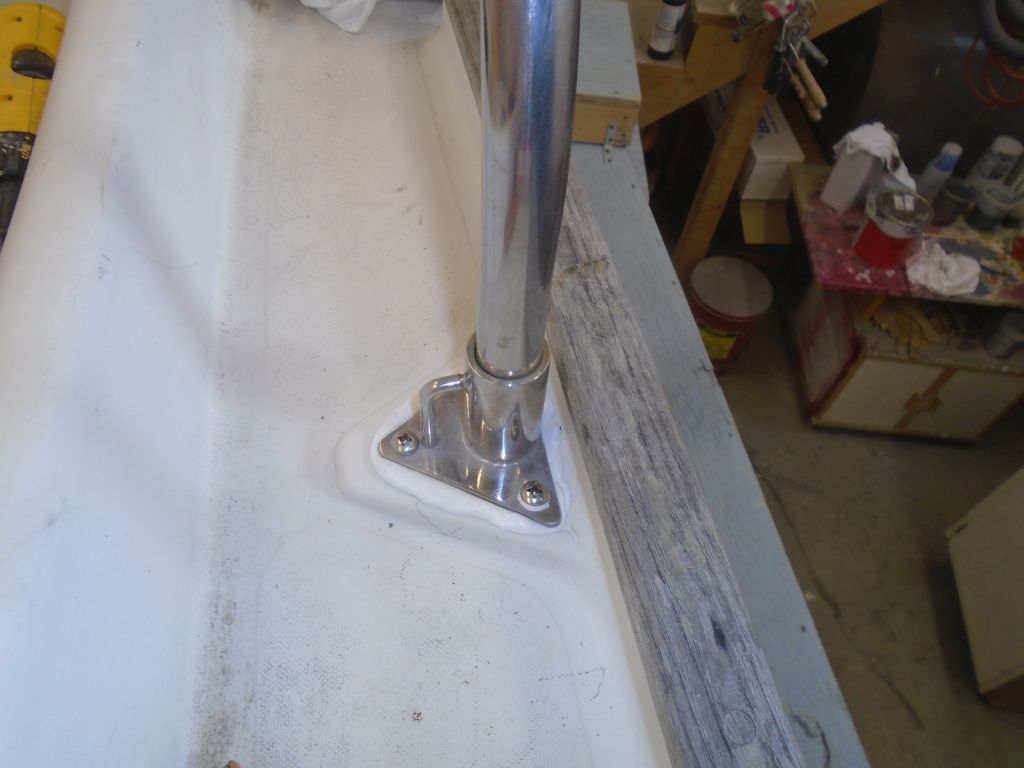
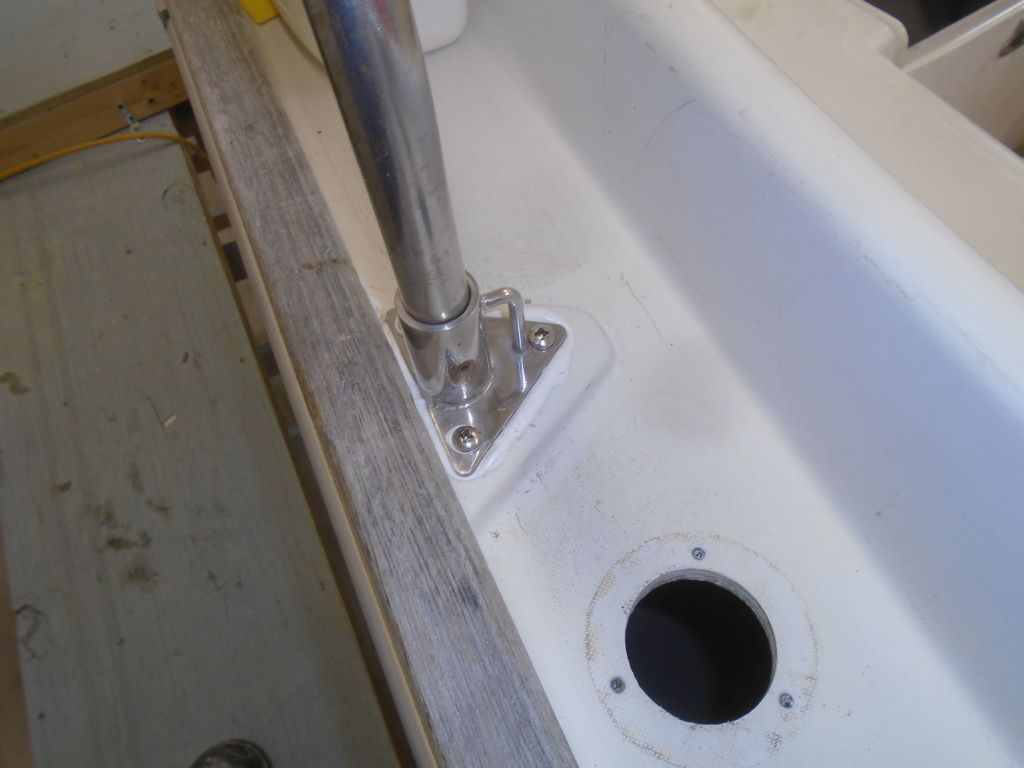
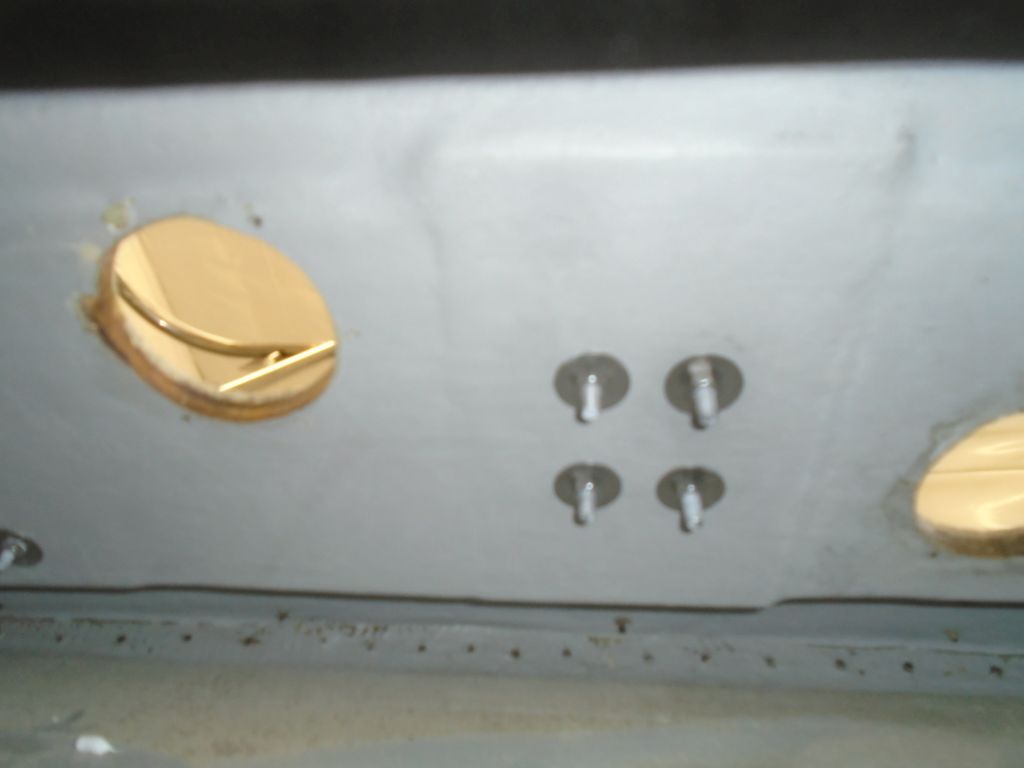
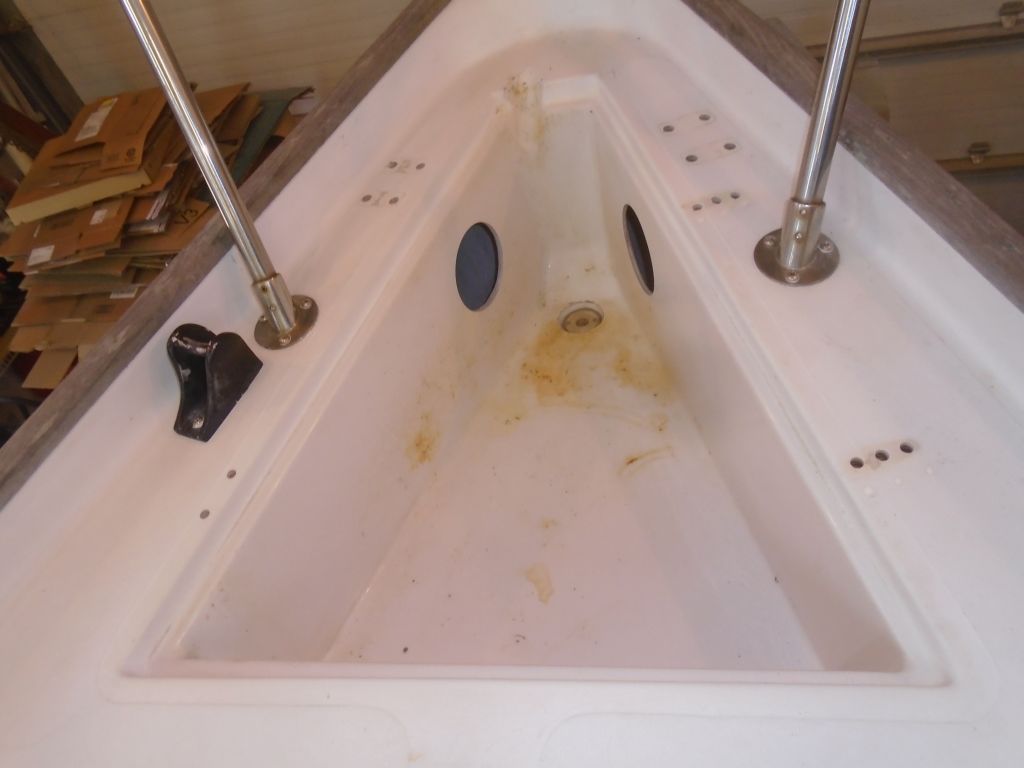
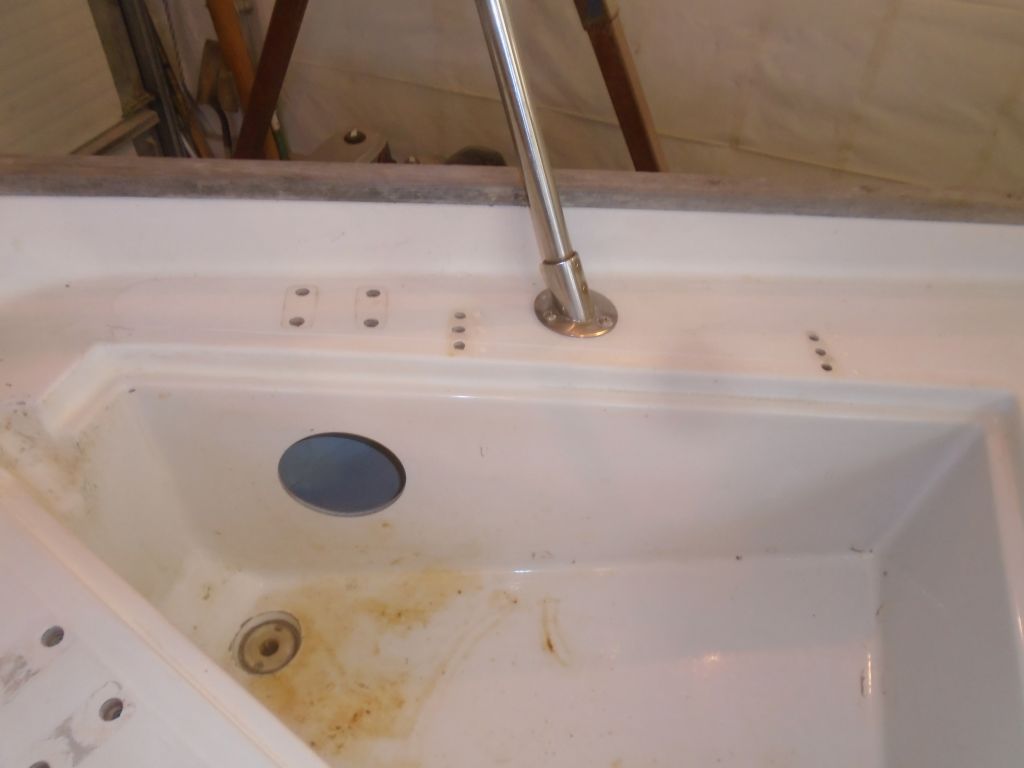
Back on hardware duty, I started by reinstalling the stern pulpit. With the pulpit dry-fit in place, I marked all the fastener holes (and masked around the two after bases), then drilled and tapped the holes for machine screw fasteners. Afterwards, I applied plenty of sealant and fastened the pulpit back in place. The outermost fasteners on the two after mounts were beyond the extent of my reach through the lazarette hatch–I could barely touch the screw, but couldn’t get a washer and nut started–but fortunately I could manage it if I put my hand through the nearby vent hole.


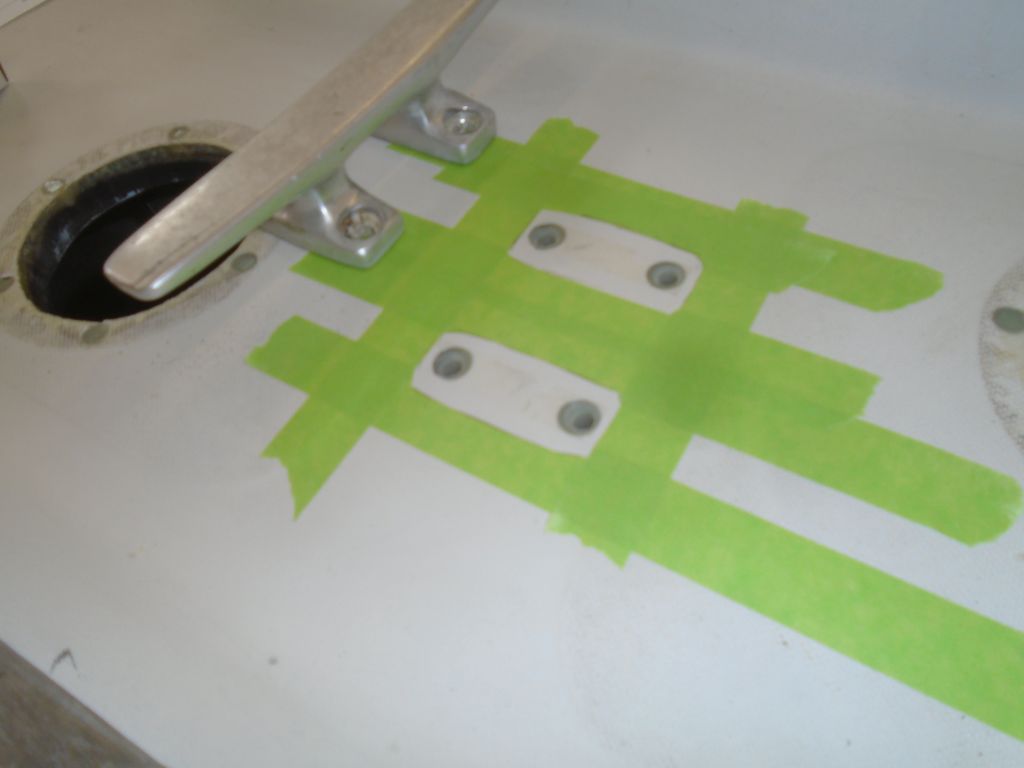
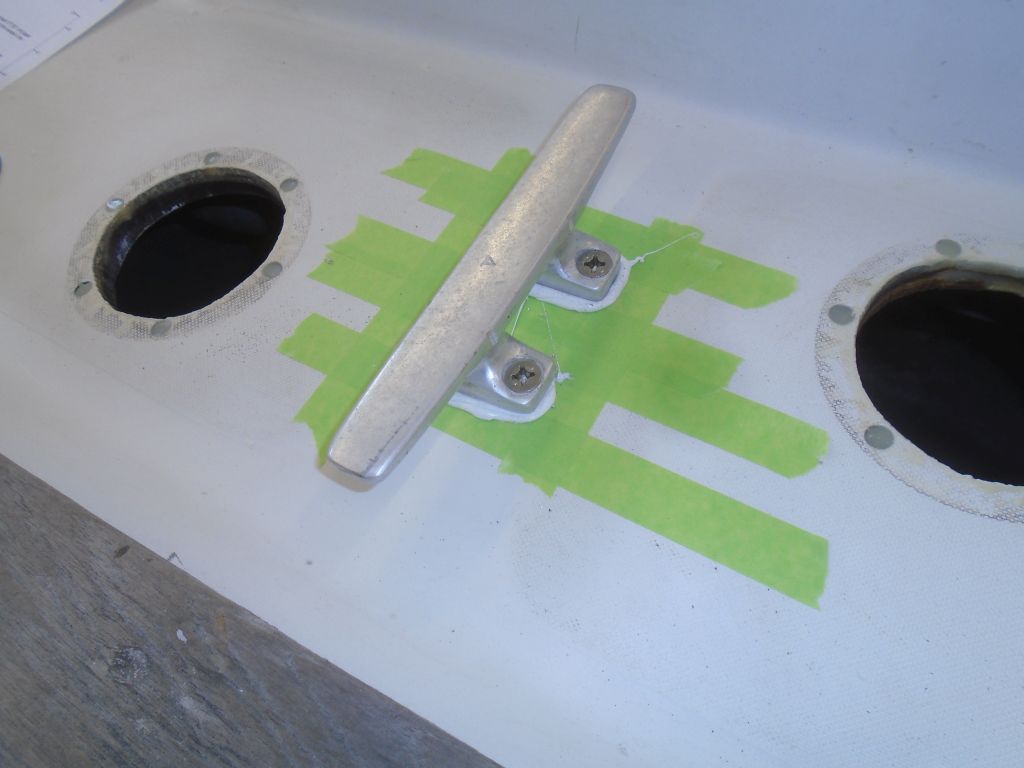
I continued with the stern cleat…

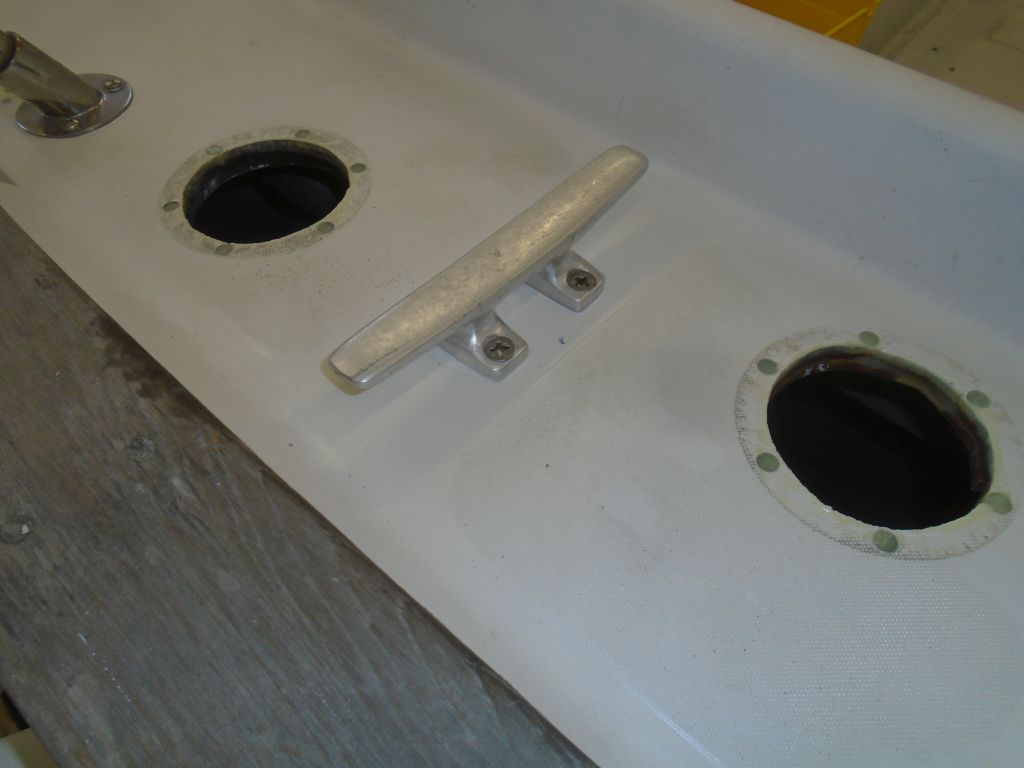
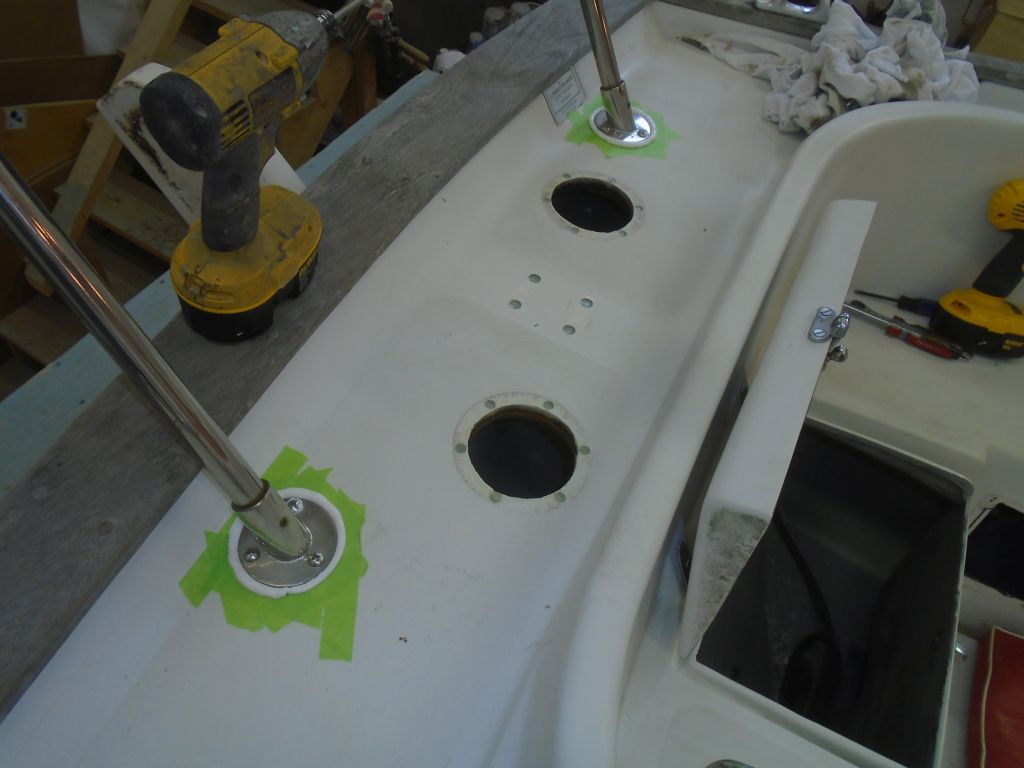
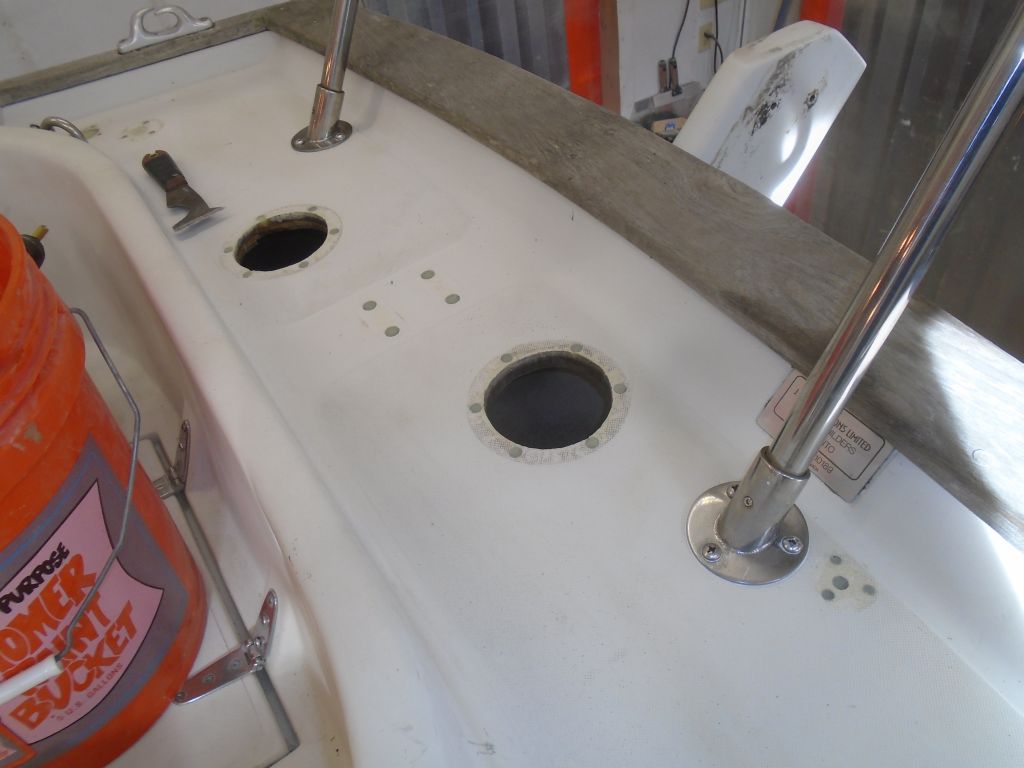
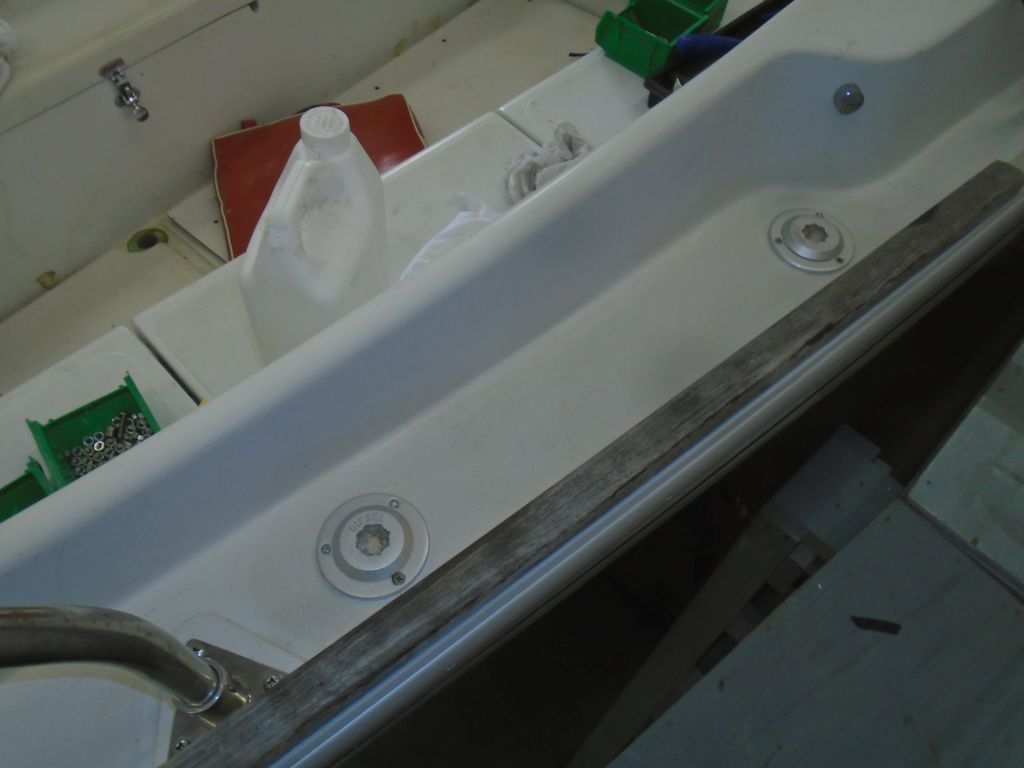
…and then the diesel fuel fill and waste pumpout deck plates. I reconnected the waste hose with a new clamp, but left the diesel fill hose for later, since access to the rear side of the engine controls was easier without the hose in place.


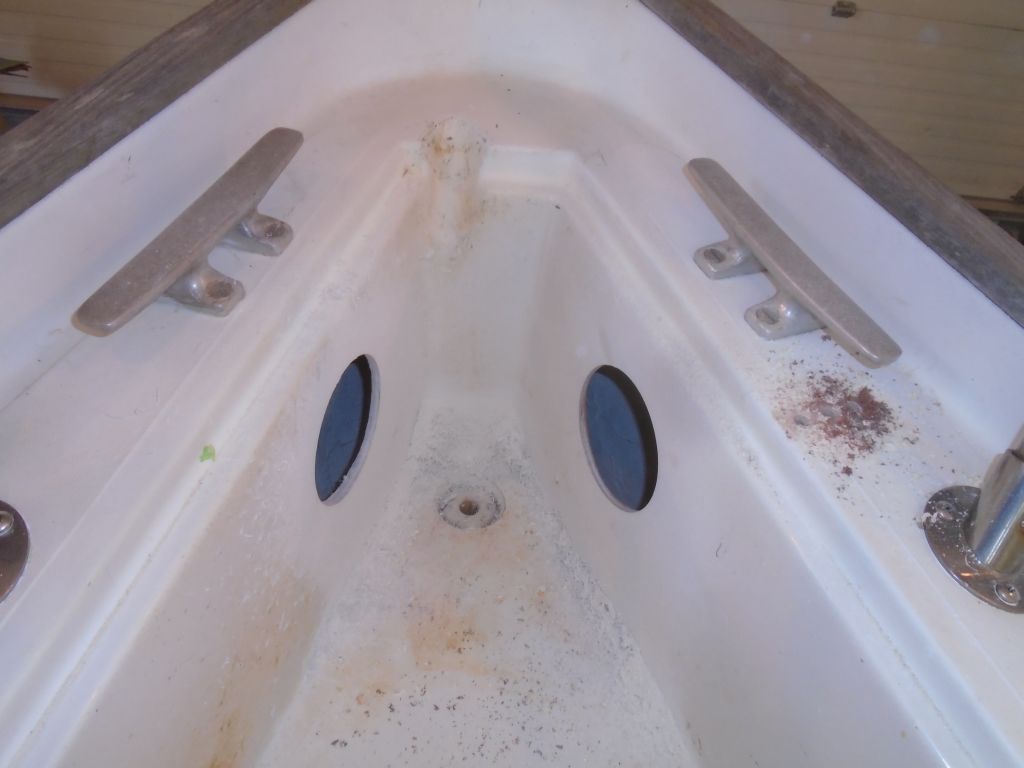
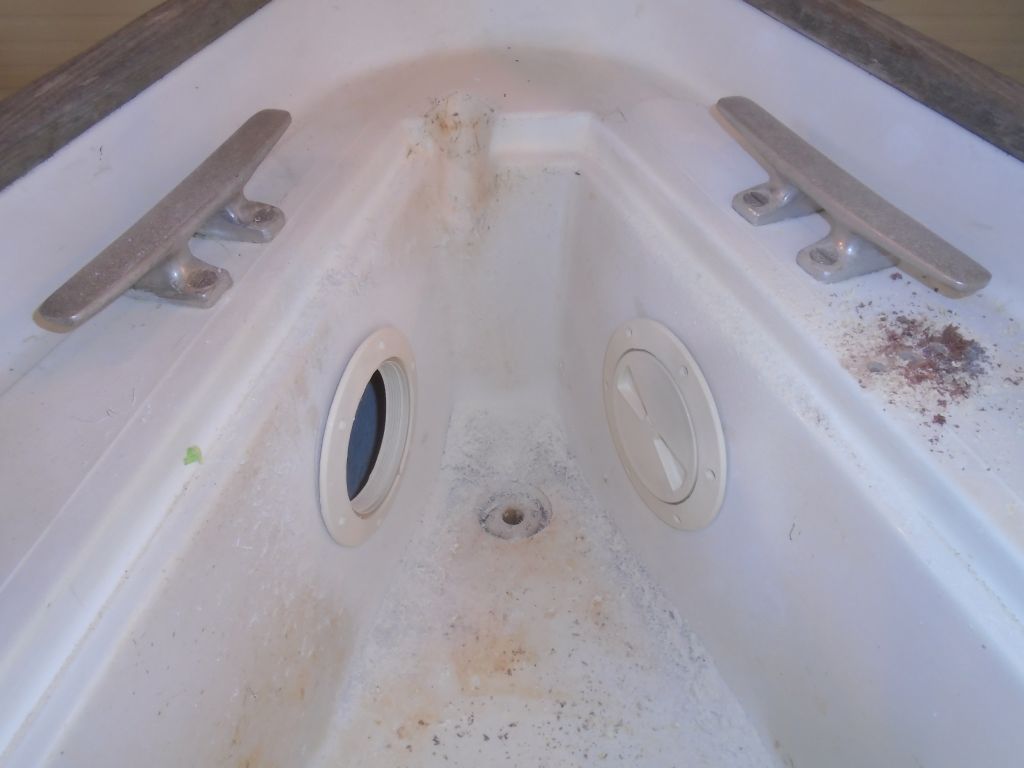
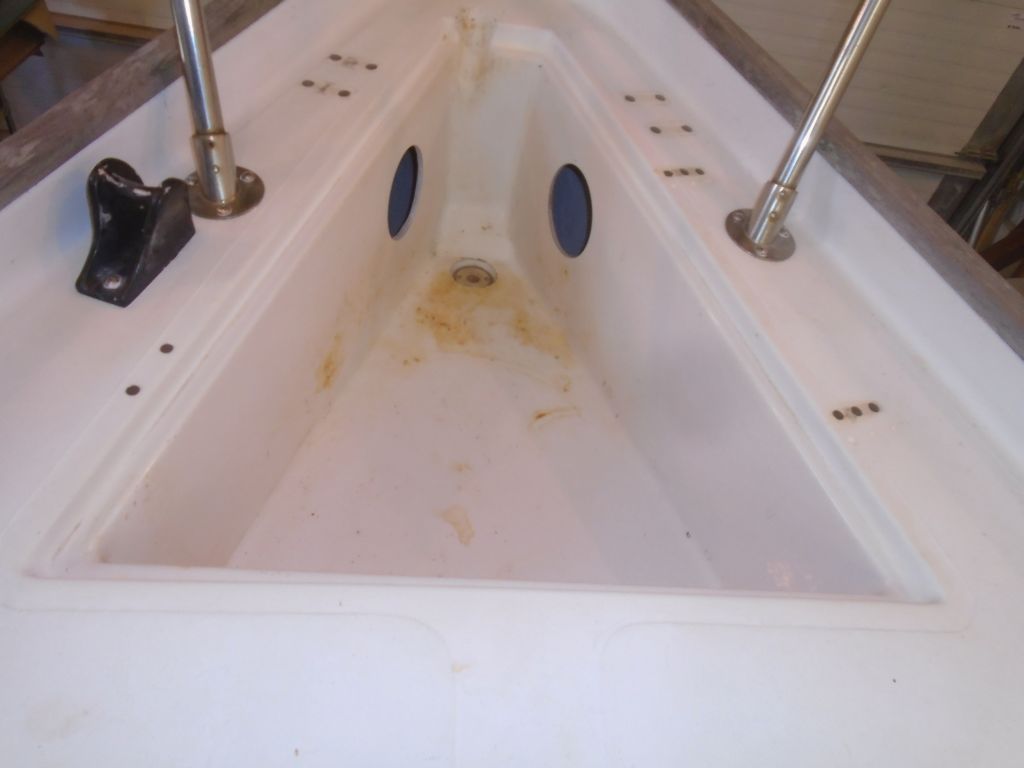
The old plastic deck plates and cowl vents from the poop deck were salvageable, but were faded and brittle with age, and the owner wished to replace them. Before I ordered the replacements, however, I wanted to satisfy a nagging curiosity or concern about the upcoming Monitor windvane installation, which would require two deck mounts for support. My early perusal of the instructions had left a figure of 15″ spinning around my head, and I thought that was going to land the mounts right where those vent holes were. I was right about the 15″: that was the width between the support tubes at the top end. But the tubes would flare out from a bend, and spread to a deck measurement of about 25″ on center. I checked this with a tape, and it looked like it would clear the vent holes, so I went ahead with the new purchase.

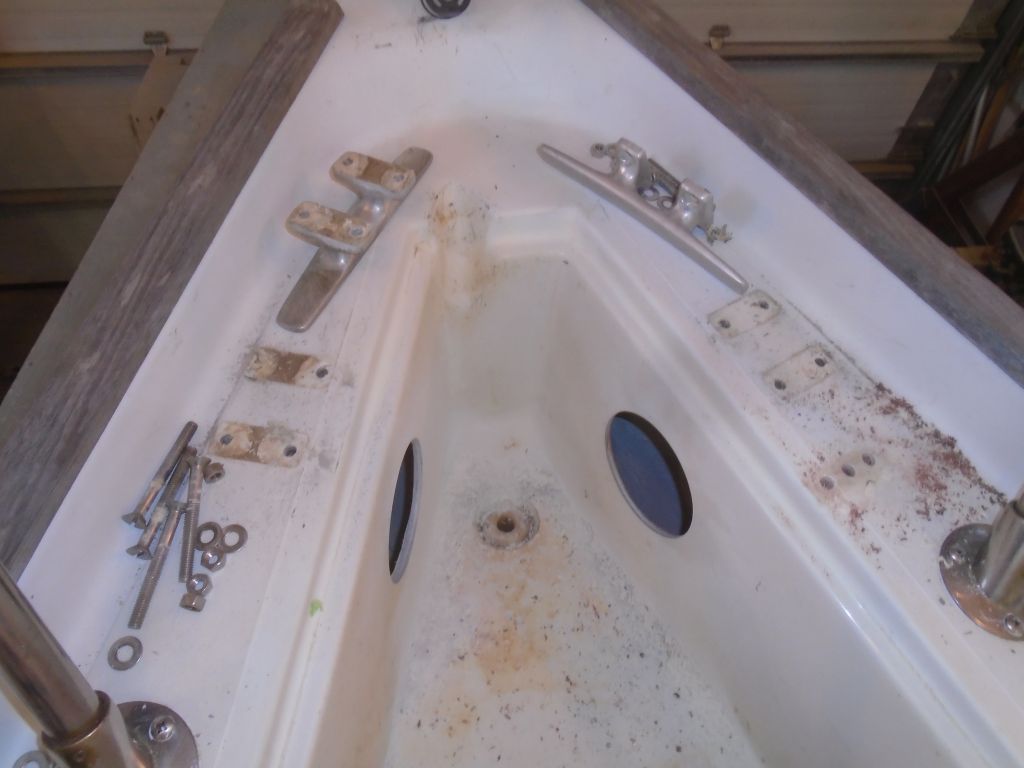
With the stern pulpit back in place, I figured I’d taken care of the worst part of hardware rebedding, with all the hardest-to-reach installations complete. But there was still more to do, and I continued now with various prepwork and additional removals. At the bow, I needed to create access to the underside of the two bow cleats. The design of the anchor well and interior liner prohibited any access from inside the boat, so the only way in was to cut access holes in the sides of the anchor well, which I’d fill later with screw-in deck plates. Once I cut the access holes, removing the cleats was straightforward, though the builder used 3″ long fasteners when 1-1/2″ would have been adequate.
Once the cleats were out, I overbored the fastener holes with a 1/2″ bit, removing the core, and did the same with all the other fastener holes around the anchor locker, including the hinges (deck side) and part of the mount for the new latch.

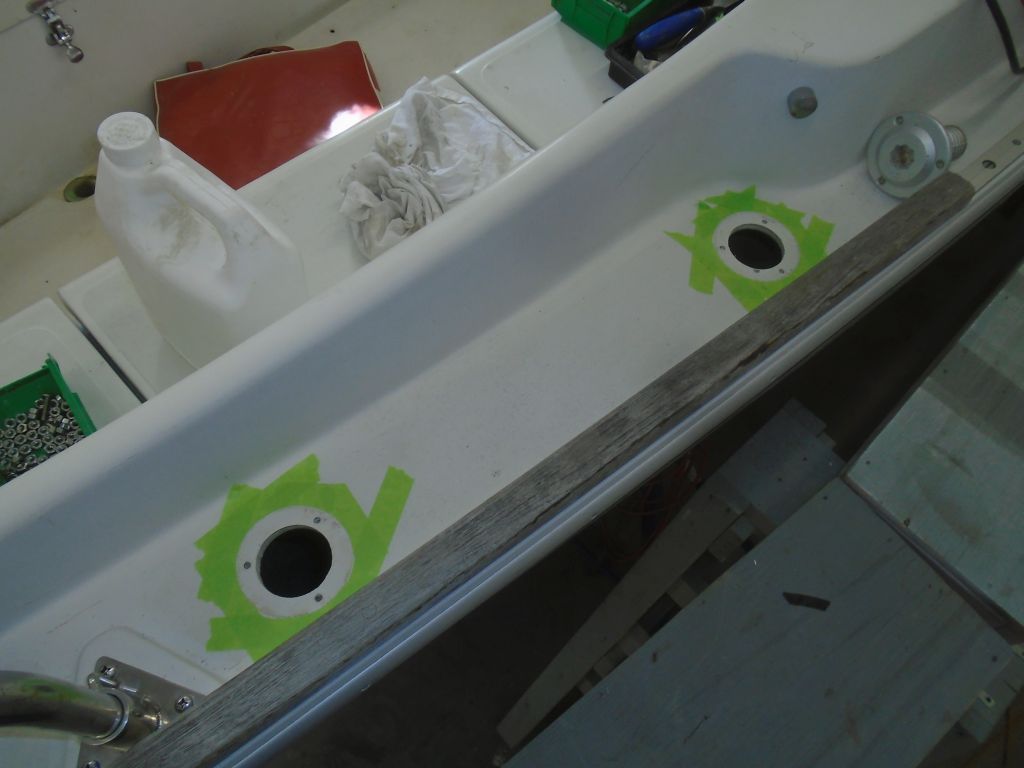
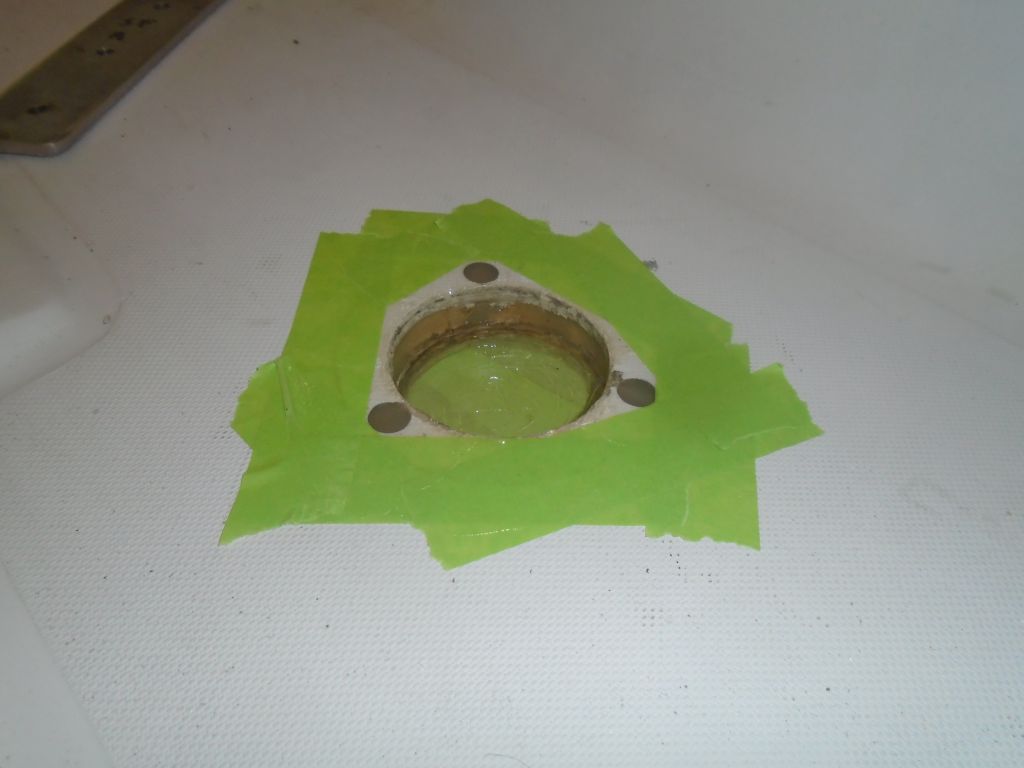
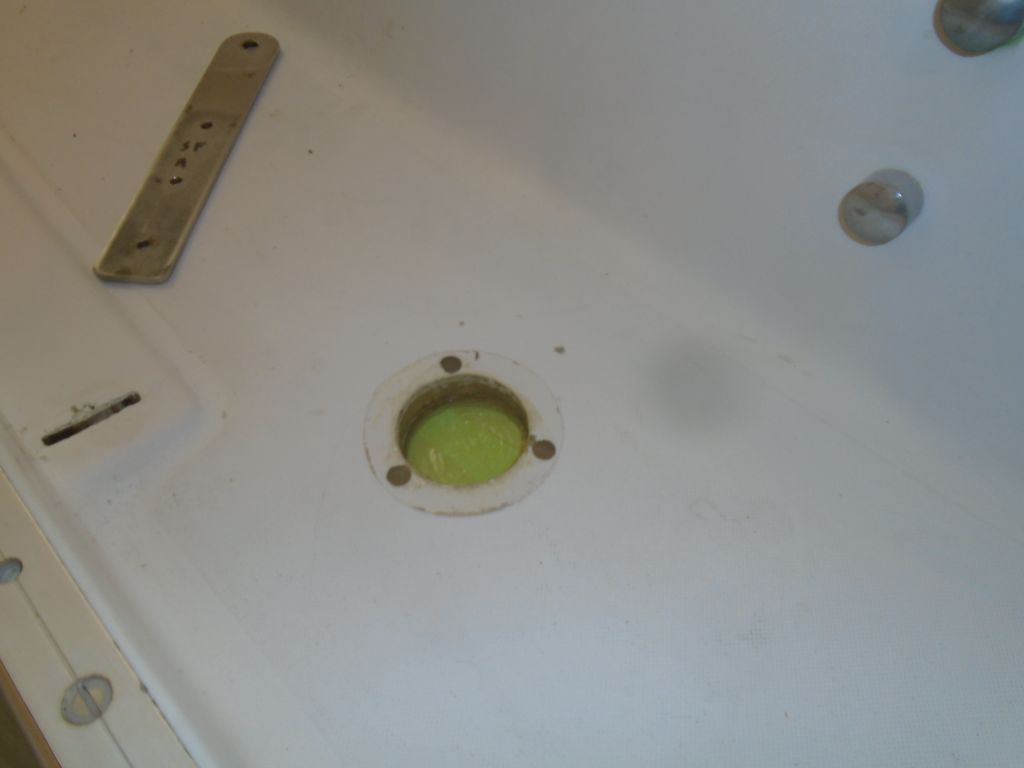
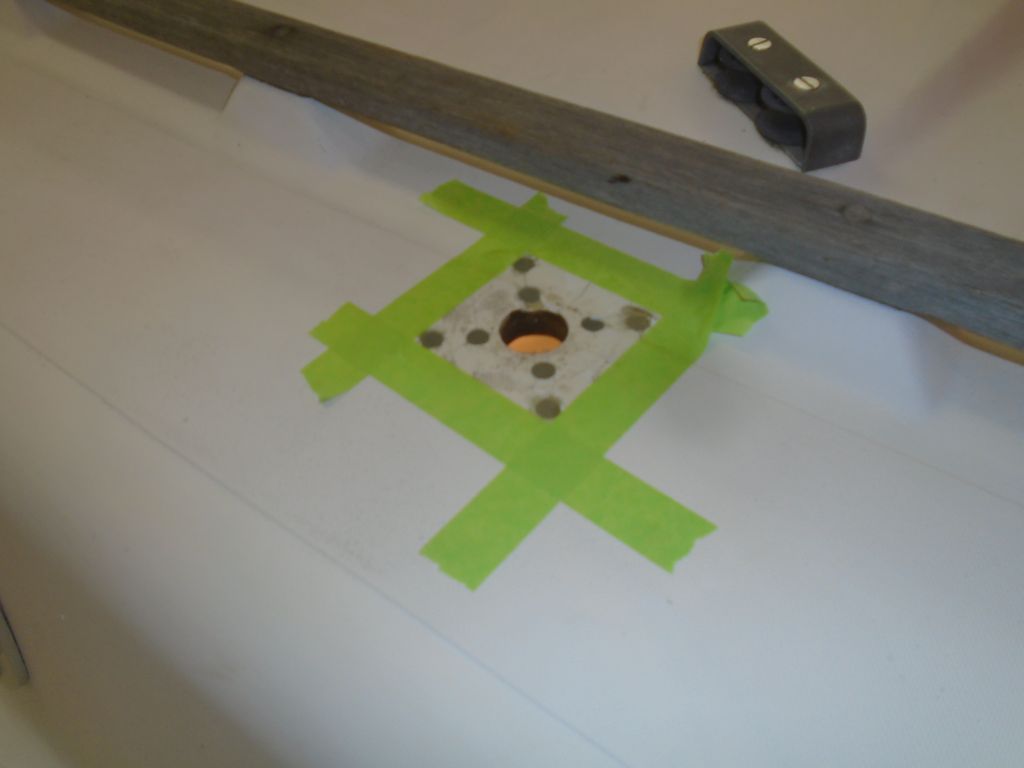
On the side deck, where I’d removed the water fill deck plate earlier, I reamed out the core from within the opening, and overbored the three fastener holes for the deck plate, and masked around the opening to prepare for epoxy.
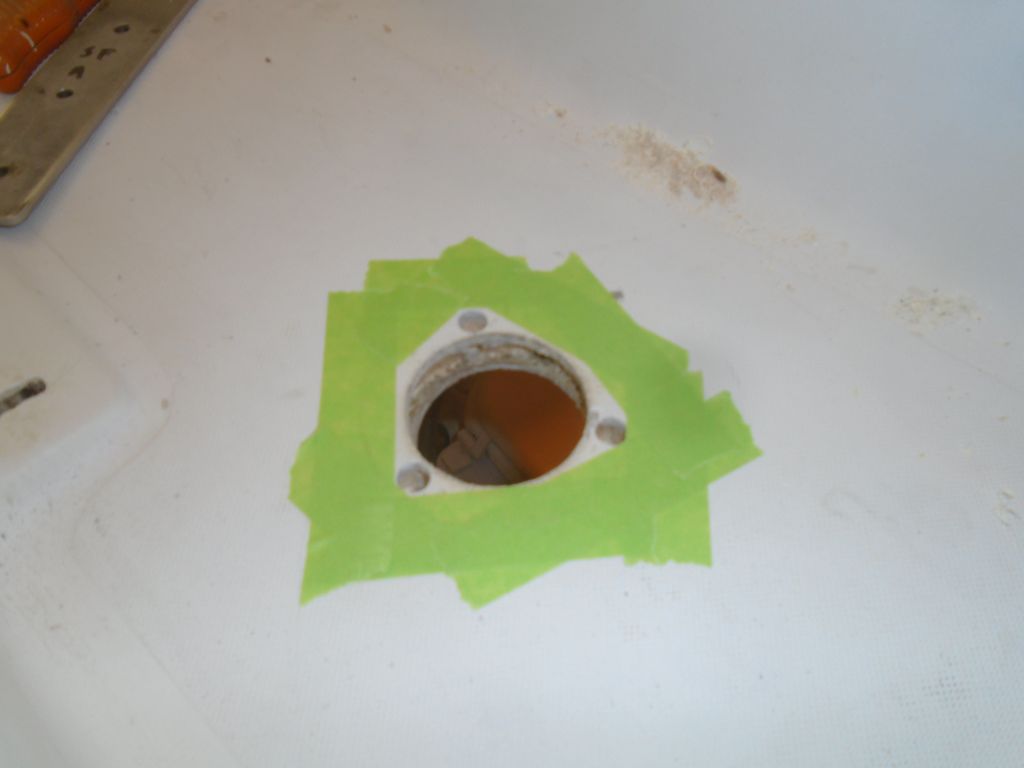
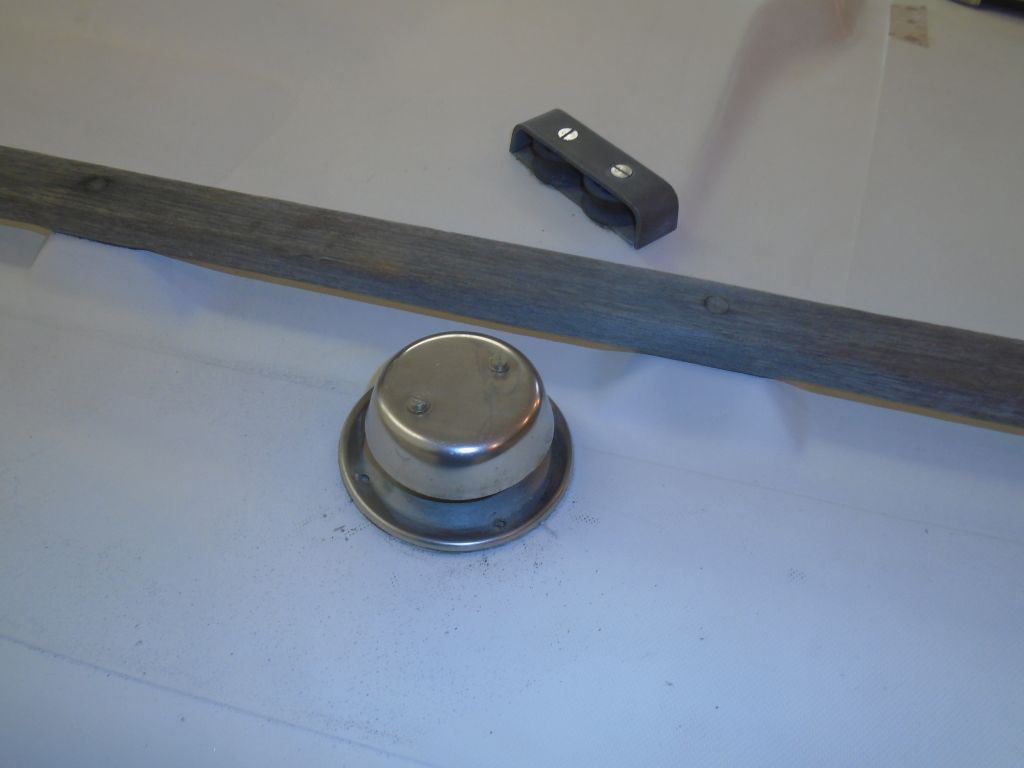
I removed the vent from the cookstove and prepared the main opening and the surrounding fastener holes for epoxy filling as well.
Later, I filled all these new holes and voided core with thickened epoxy, removing any masking tape afterwards.


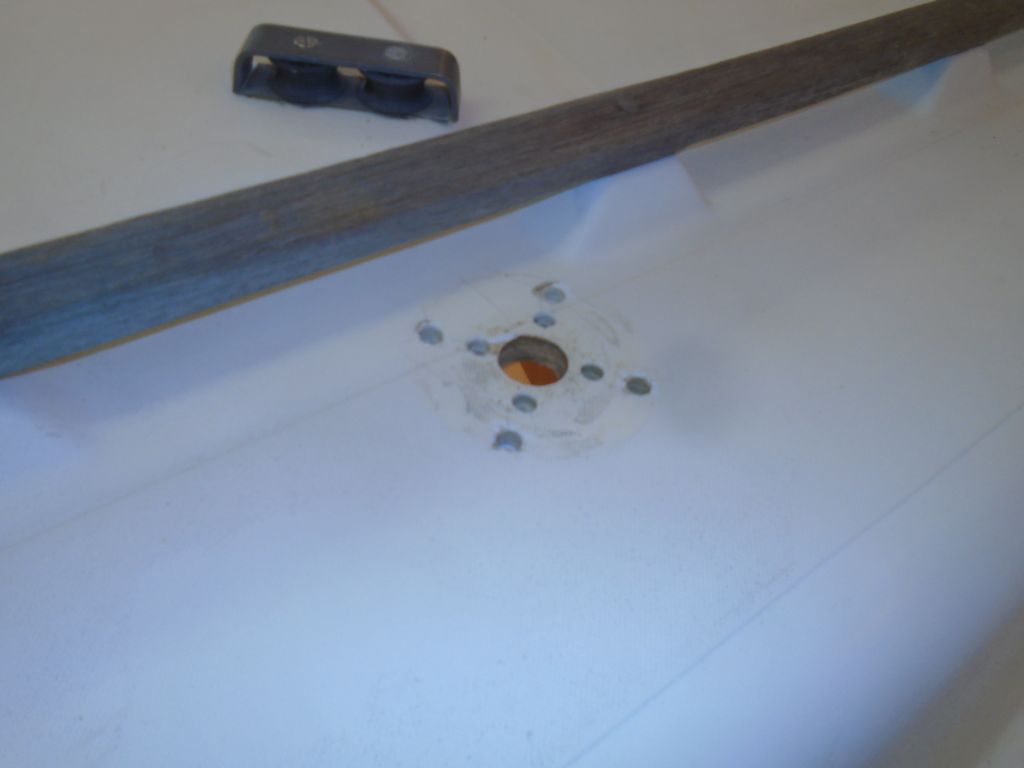
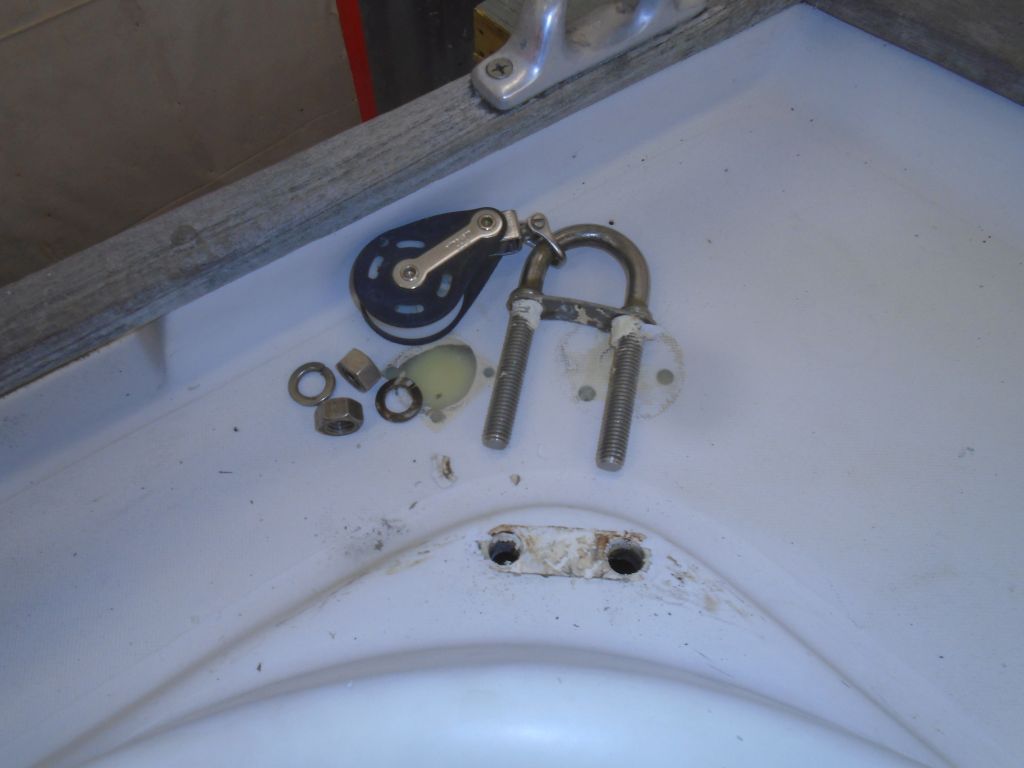
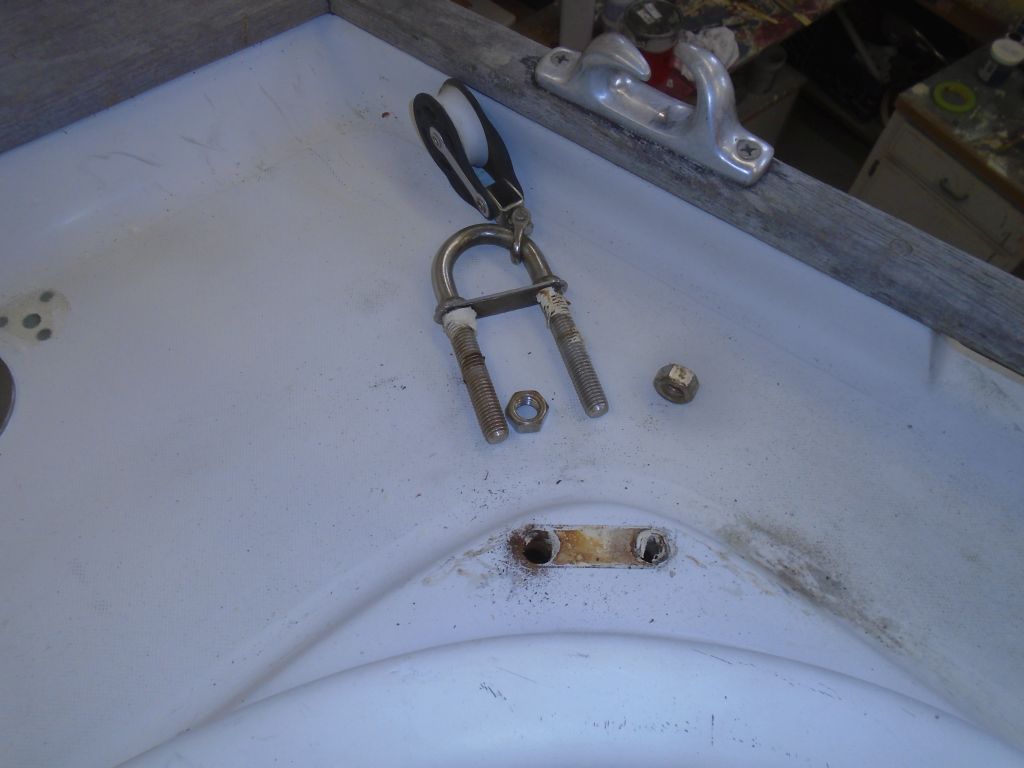
At the stern, I removed two 1/2″ U-bolts for the mainsheet. I’d worried a bit about removing these, as some photos I’d taken of their undersides (there was no direct visual access through the various openings) showed some ugly rust on the port side, and I’d run into issues with the same thing on a sistership I worked on years before. Fortunately, though, the nuts came off easily; the rust turned out to be only from a substandard lock washer that had been in place.
After cleaning out the holes (the footprint of the hardware wasn’t large enough to allow boring them out any larger), I sealed the insides of the holes with epoxy, whatever was in there. I couldn’t be sure whether there was any plywood in there, or just extra fiberglass in this location, but a little extra epoxy never hurt.


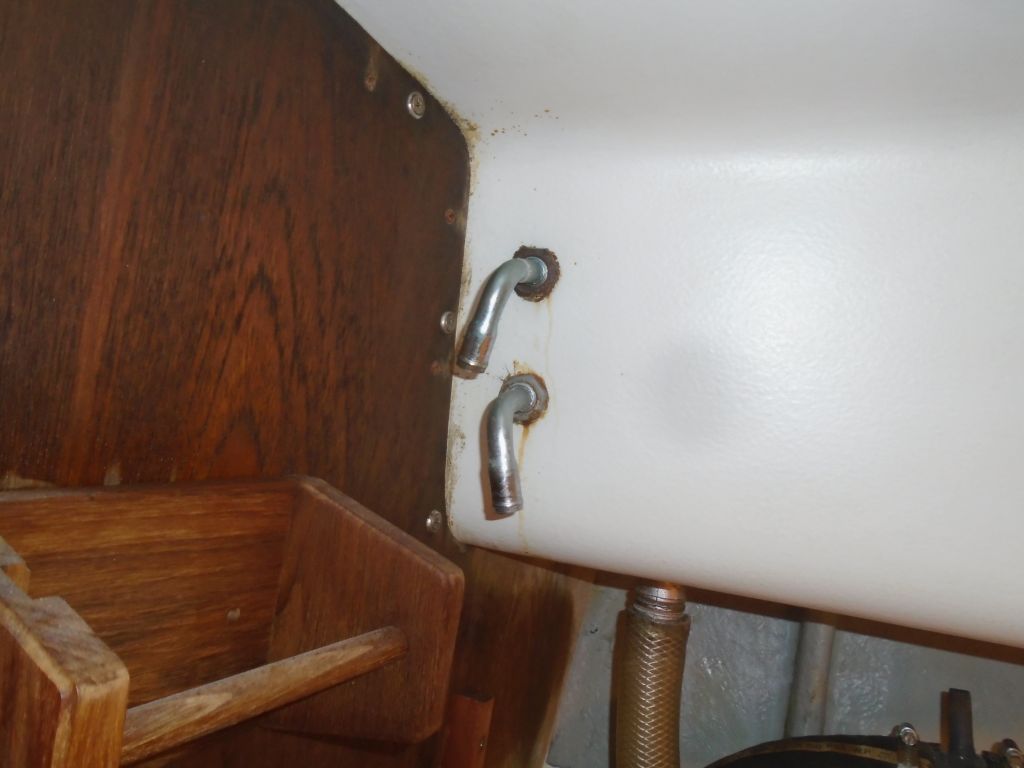
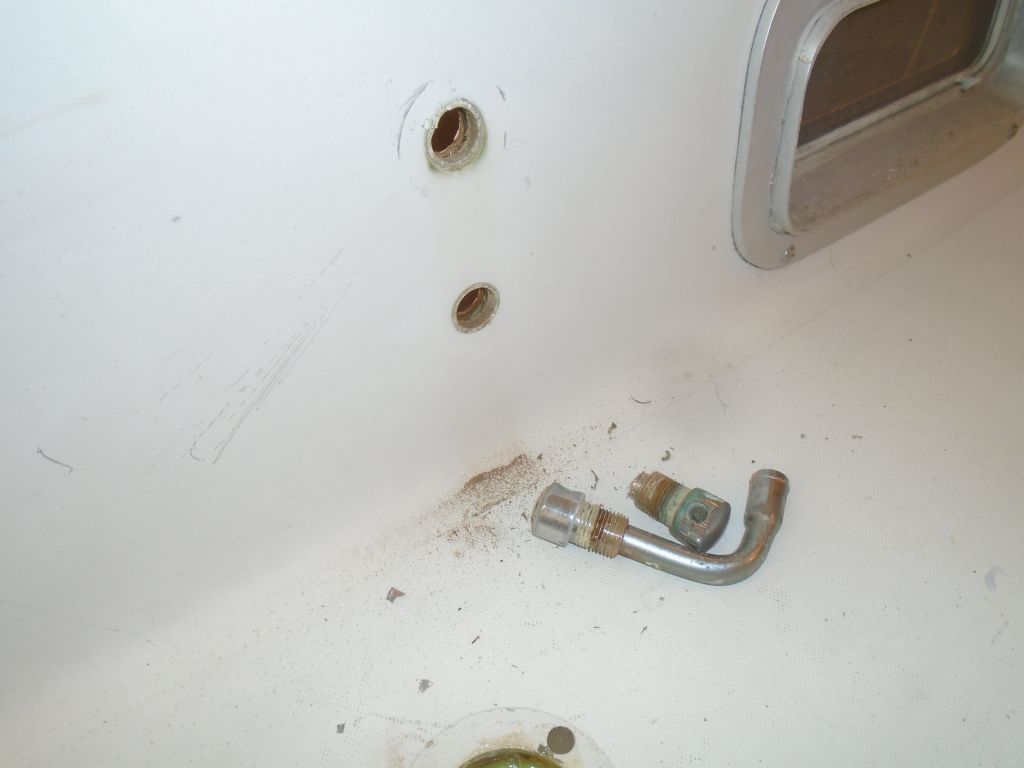
Ironically, the dumbest possible piece of hardware proved to be the most difficult to remove: one of the vent fittings located in the side of the cabin trunk above the head. The fitting itself was in fine condition, but the fixing nut on the inside was badly rusted and looked terrible, so replacement of both vents was in order. Of course removing this rusted nut proved to be a problem, as it was corroded to the threads and spun the whole fitting when I tried to loosen it. At first I tried to hold the fitting with another pair of pliers from inside, but all this did was crush the end of the brass fitting. Eventually, I locked a pair of pliers on the nut so it could spin against the overhead, and, from outside, used another pair of locking pliers to turn the fitting, and this eventually loosened the nut so I could remove it. Then, the nut wouldn’t pass over the crushed end of the fitting so to remove the fitting I had to cut through it with a hacksaw. (And people wonder why it takes so much time to do anything on a boat.)
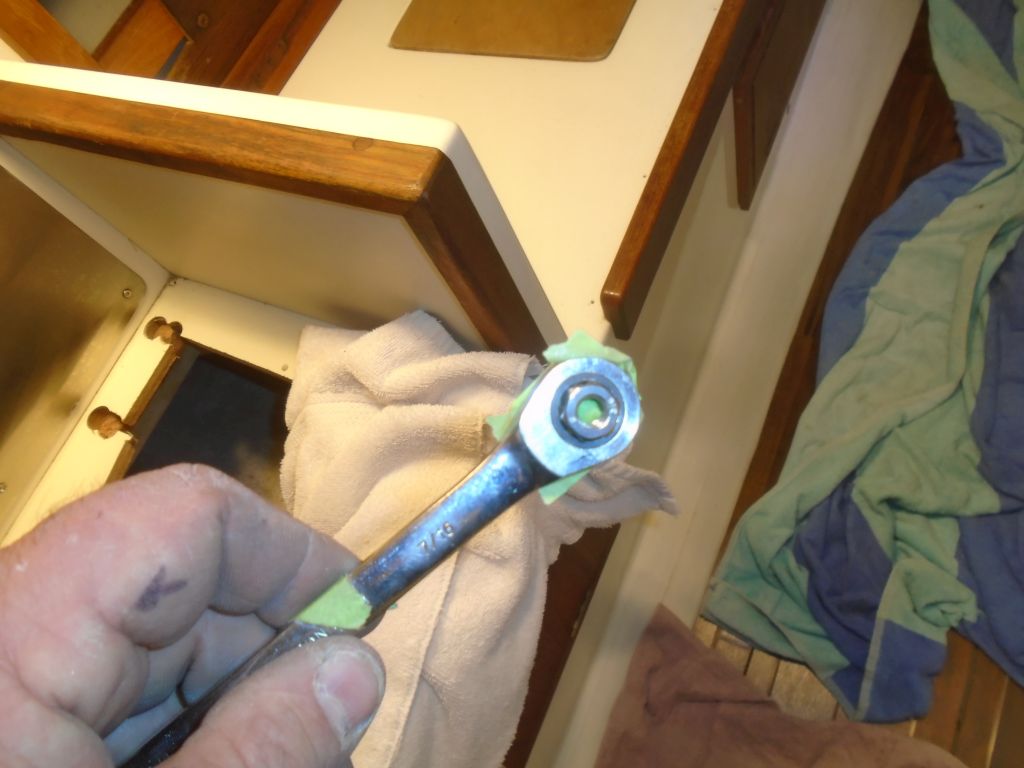
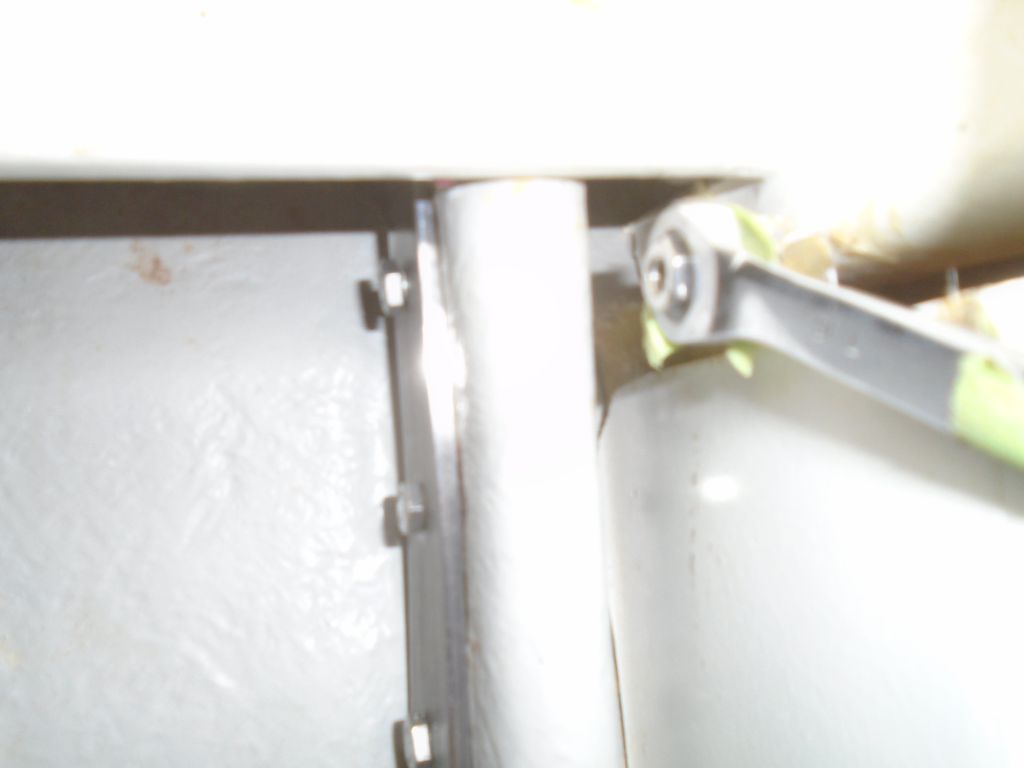
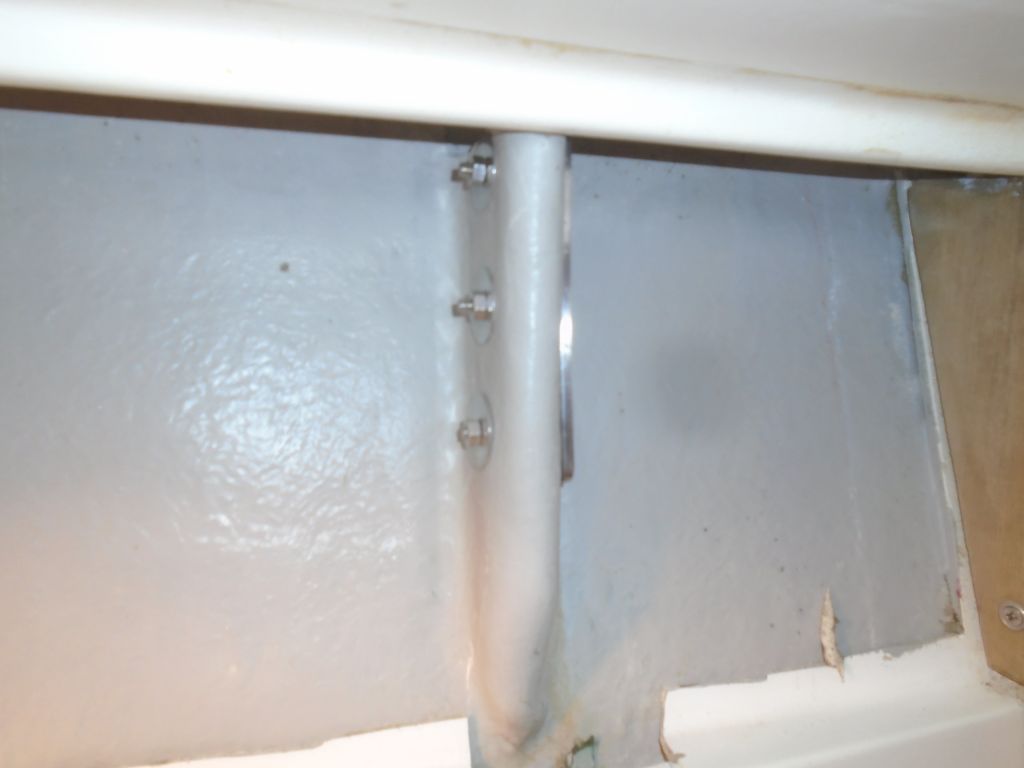
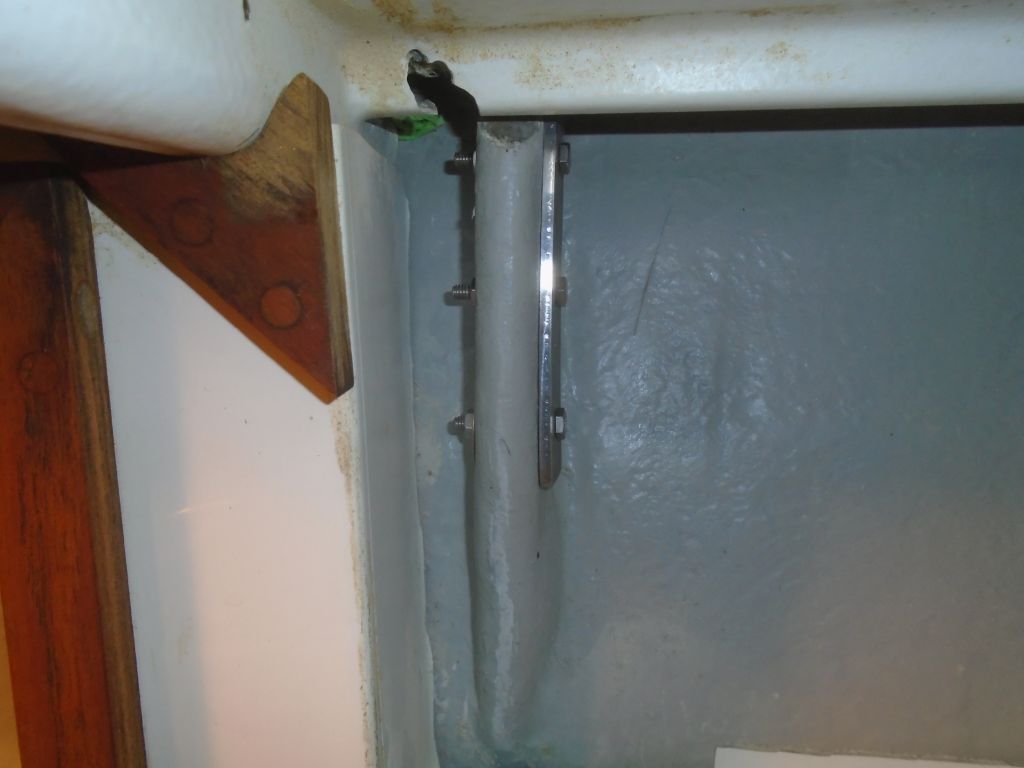
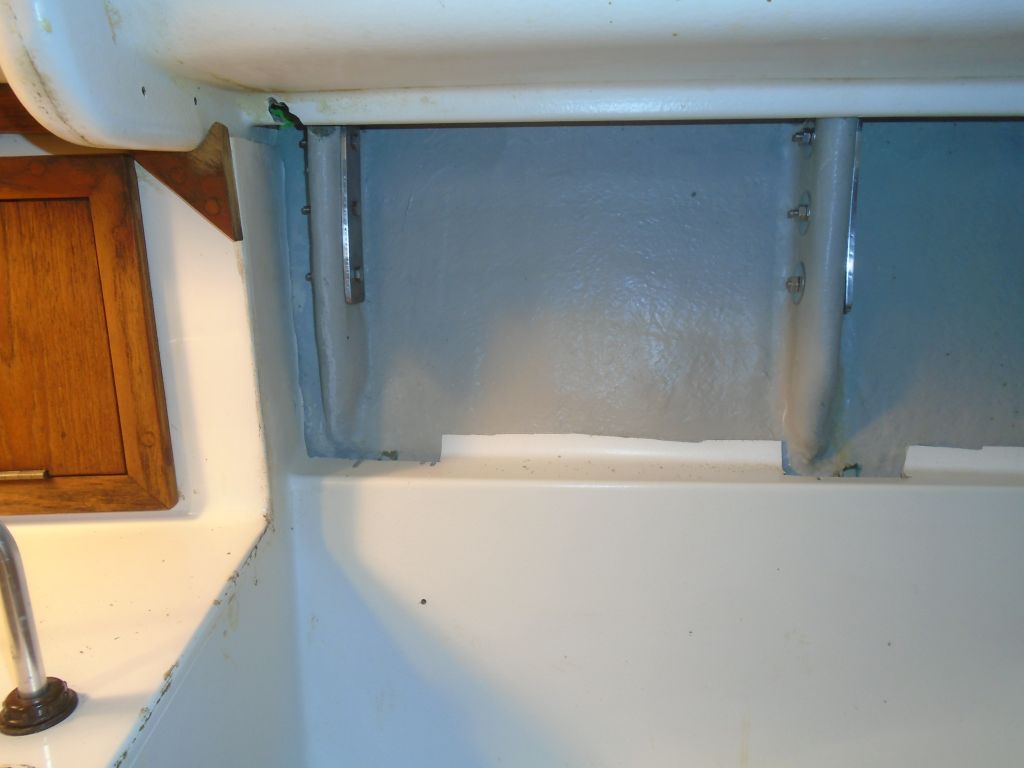
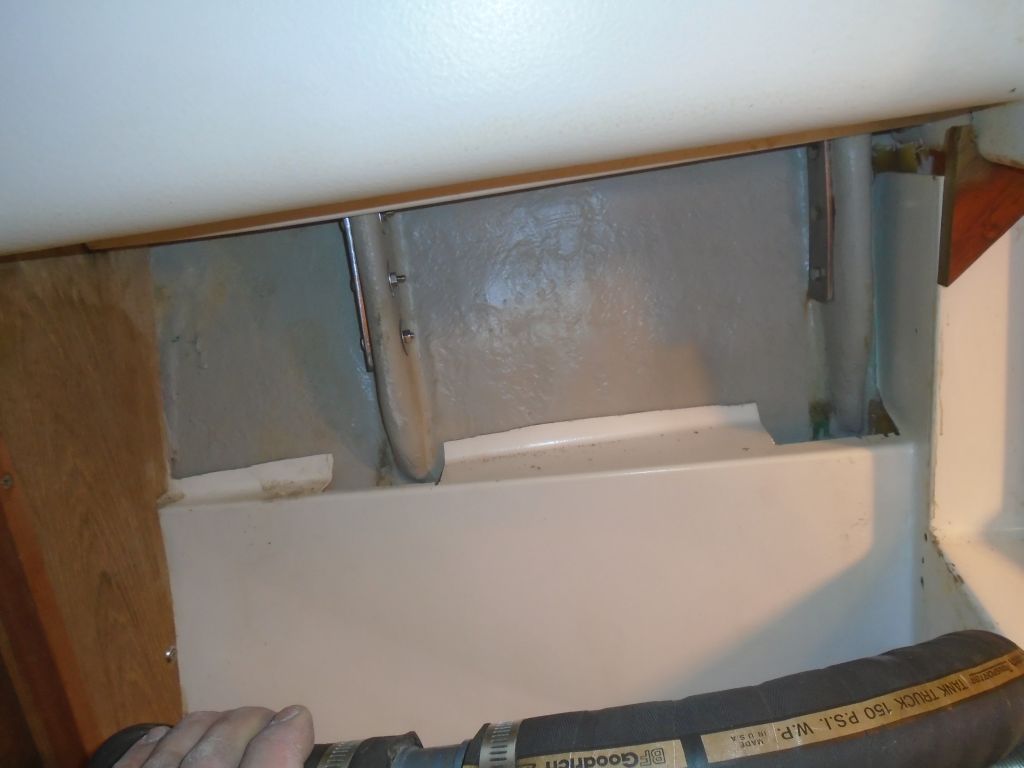
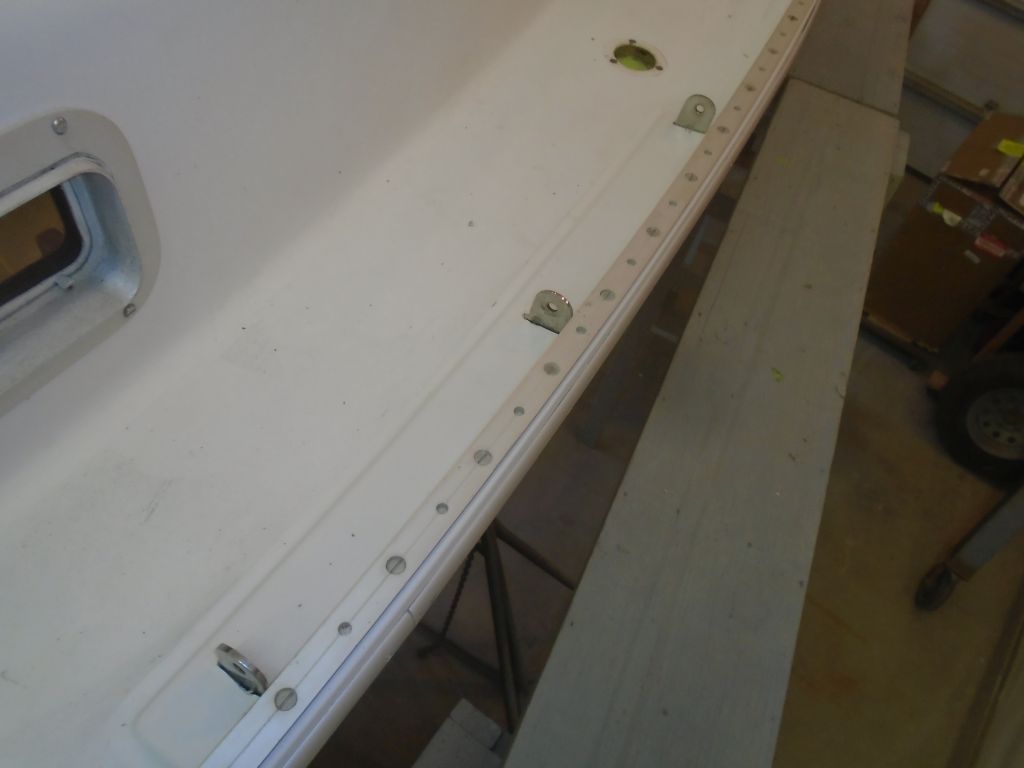
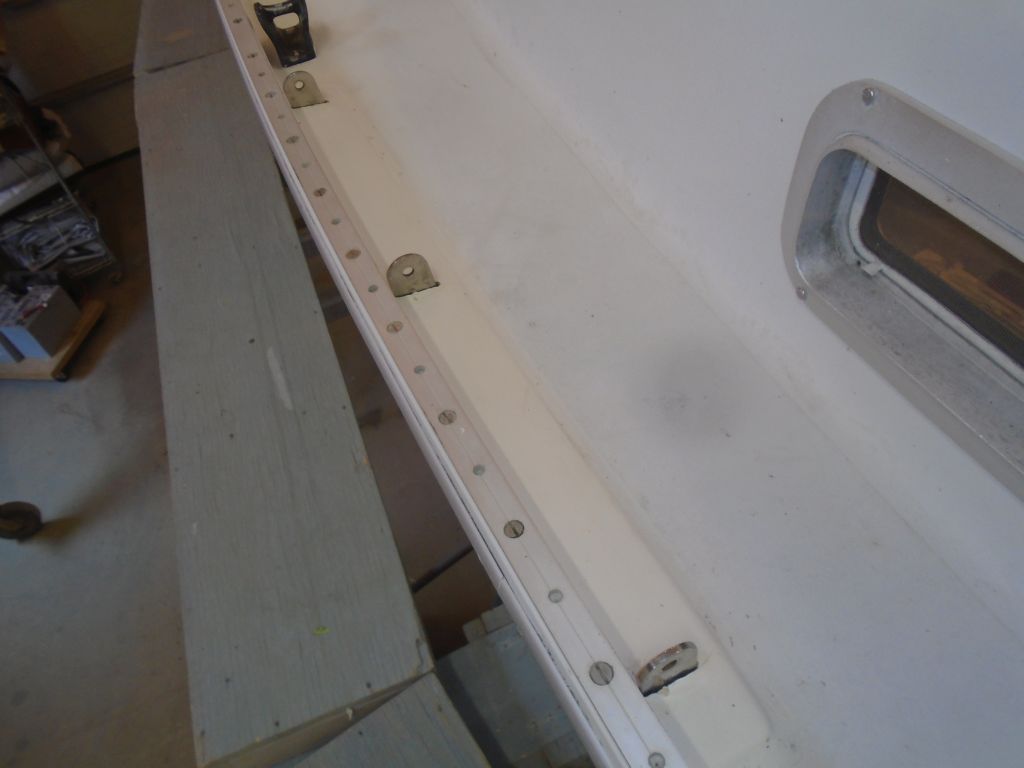
With new fasteners on hand after the usual afternoon delivery, I got back to work on the chainplates Installation was straightforward except for the starboard middle chainplate, with its extremely tight access. The way the knee angled aft just a bit towards the nearby molded/tabbed cabinet made it impossible for me to get a nut started by hand–there just wasn’t room to get nut-holding fingers in there. So I came up with a way to hold a nut inside a box-end wrench, which I could delicately hold in to the narrow gap and, by turning the bolt head, get the nut started. Once the washers and nuts were in place, it was no major problem to tighten them.
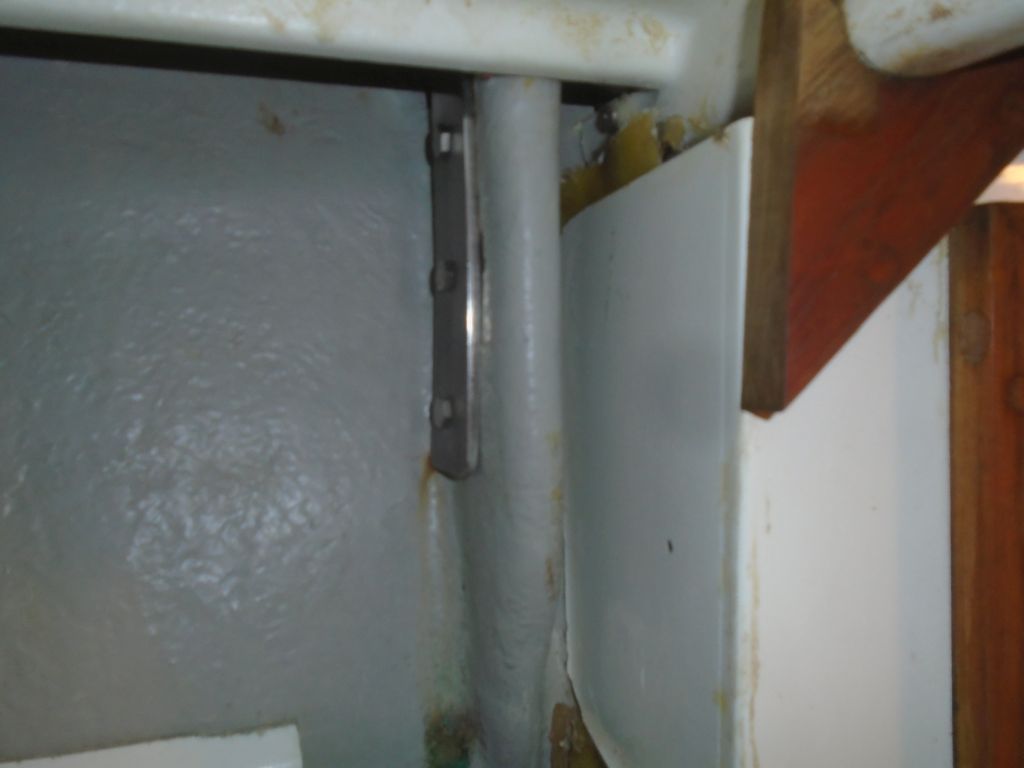
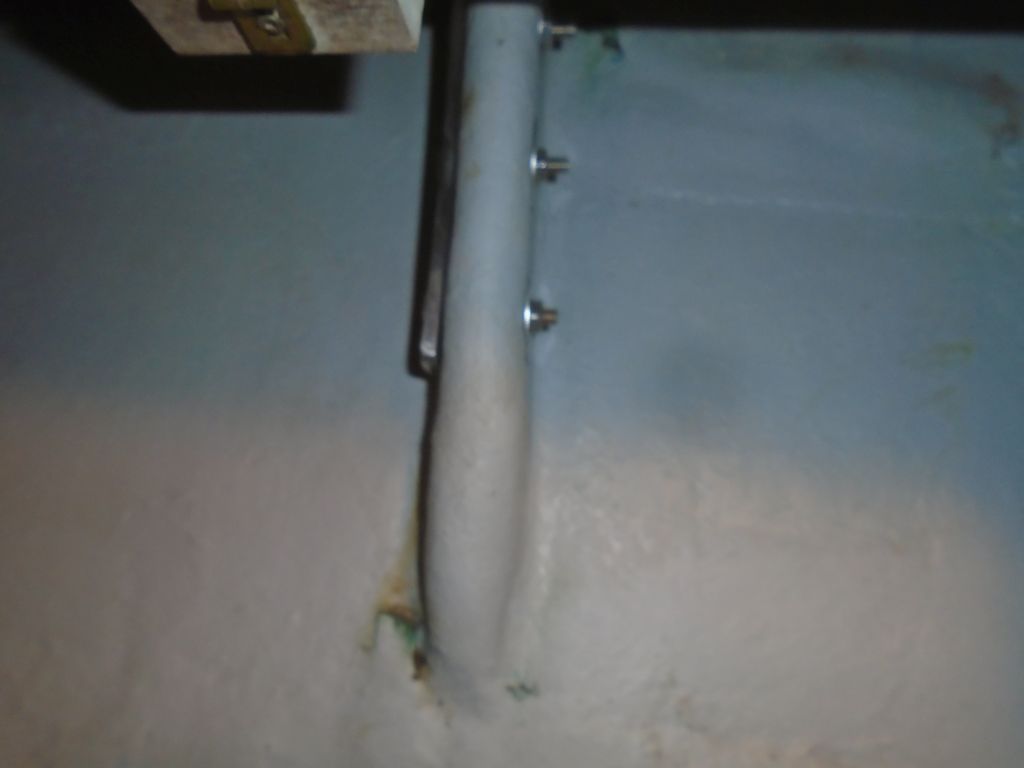
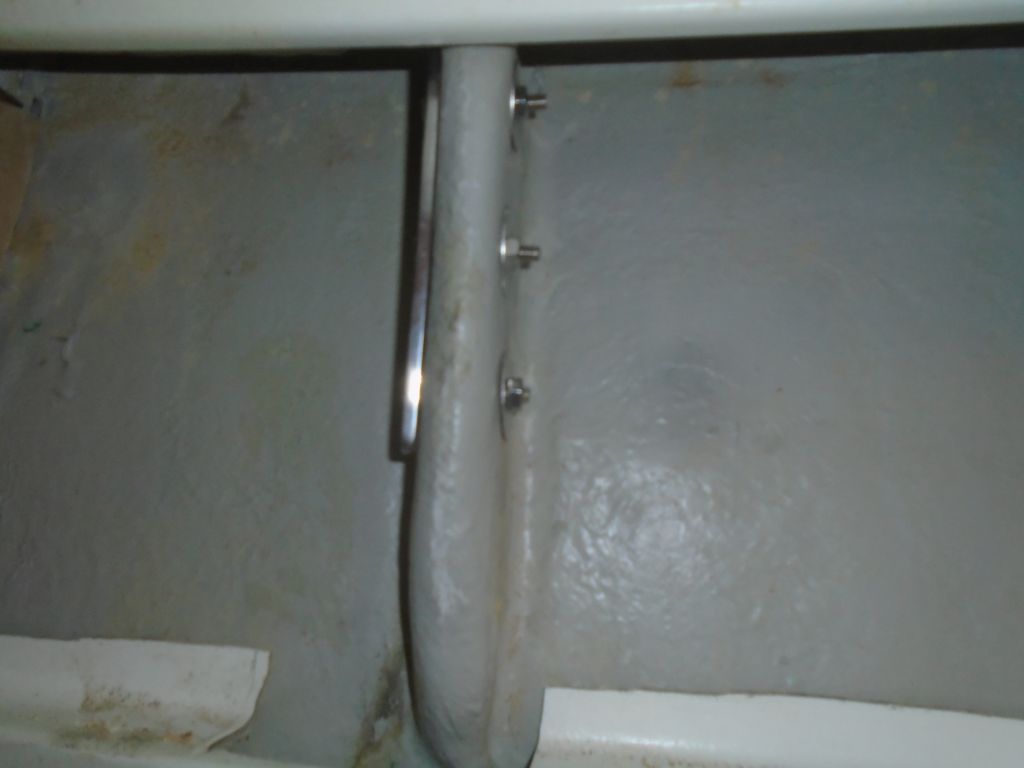
The port center chainplate had more room, so I could start the nuts by hand. And all the rest were wide open, relatively, and easy to fix the chainplates in place. I’d work on some deck covers for bedding the chainplates in the coming days.

Total time billed on this job today: 8 hours
0600 Weather Report:
20°, mostly clear. Forecast for the day: clouding up, high around 40