


March 28, 2016
Salty 28
Monday
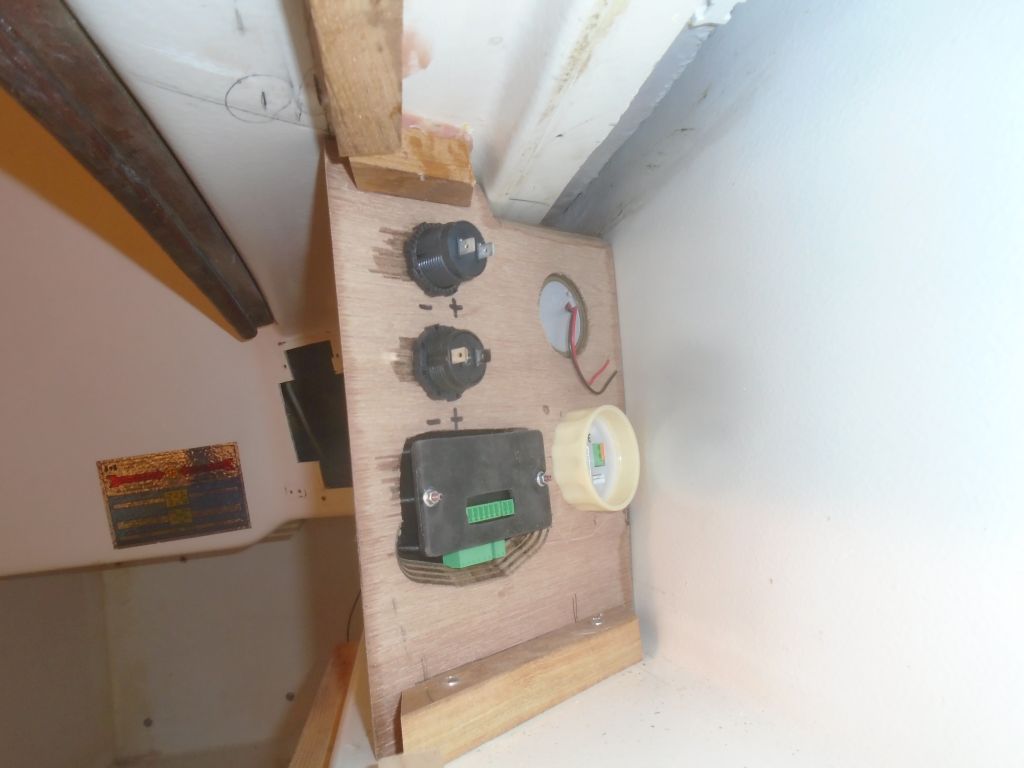
To begin, I assembled the various components into the small, angled piece of the electronics locker, and installed the panel semi-permanently with screws.

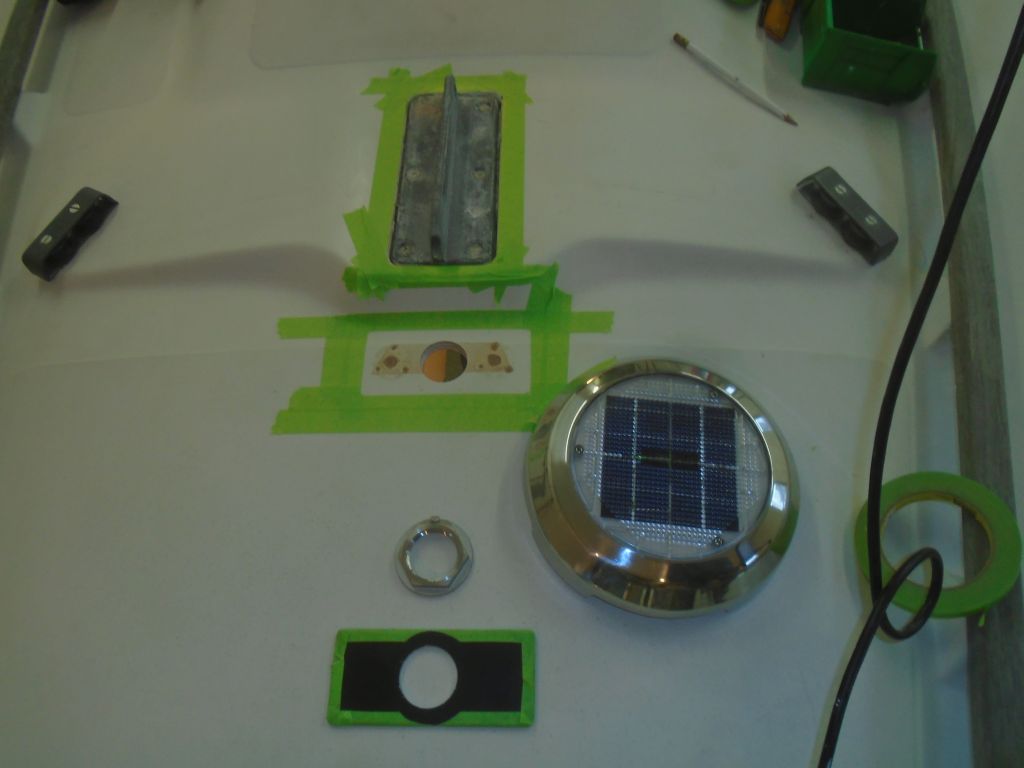
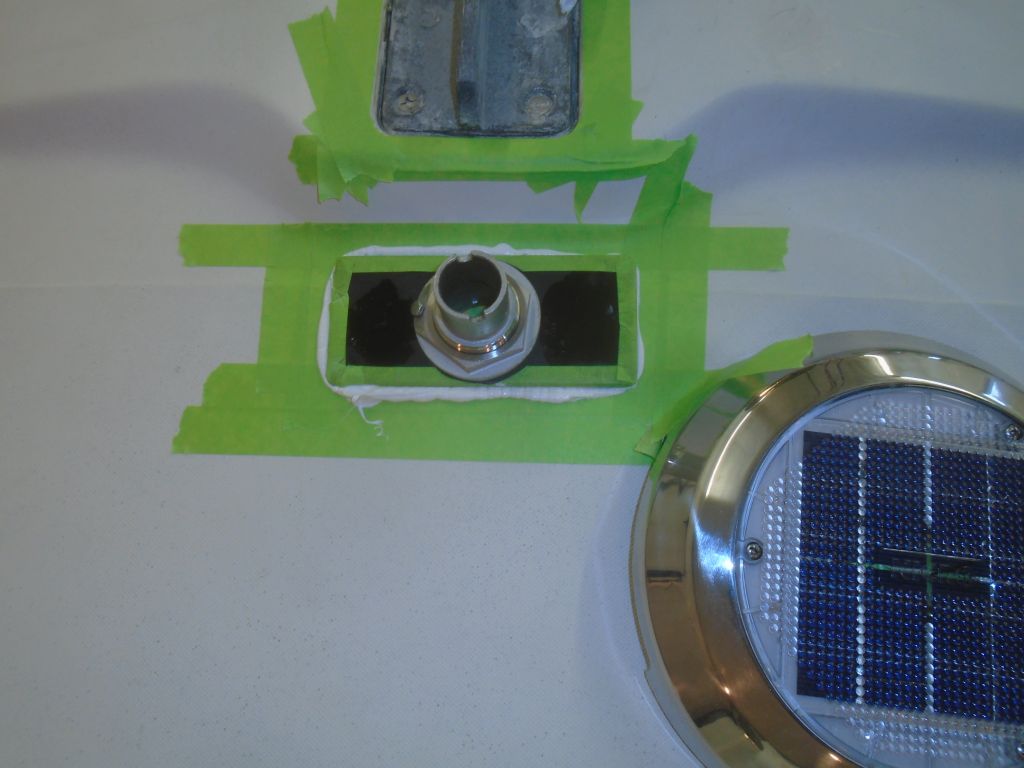
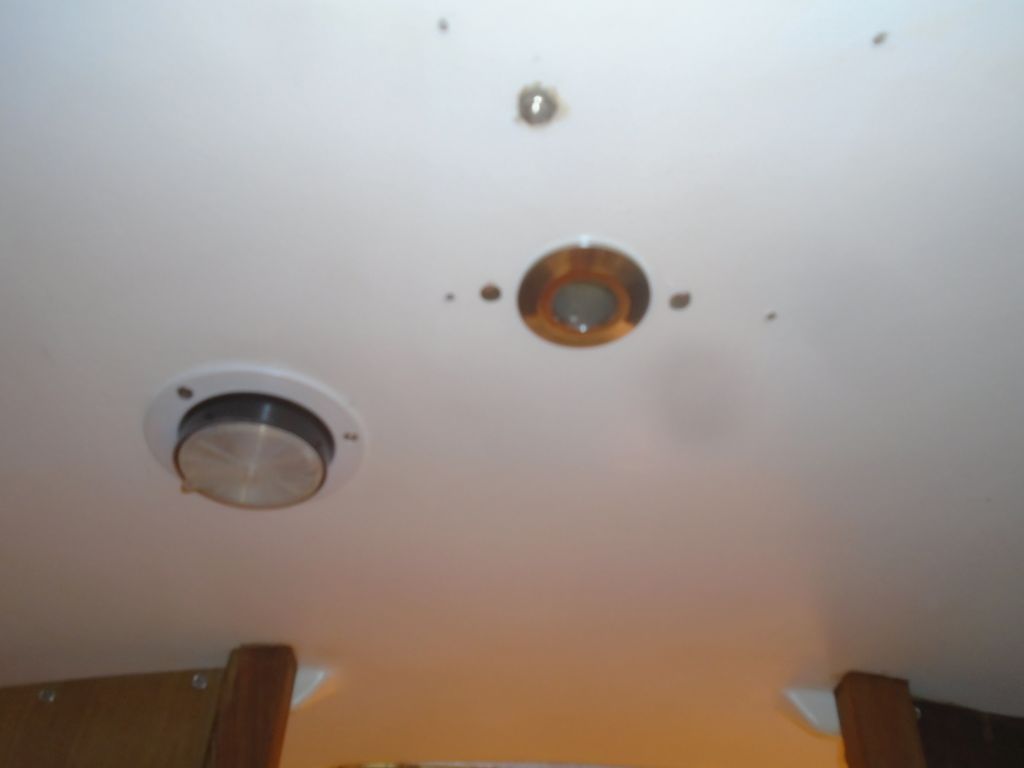
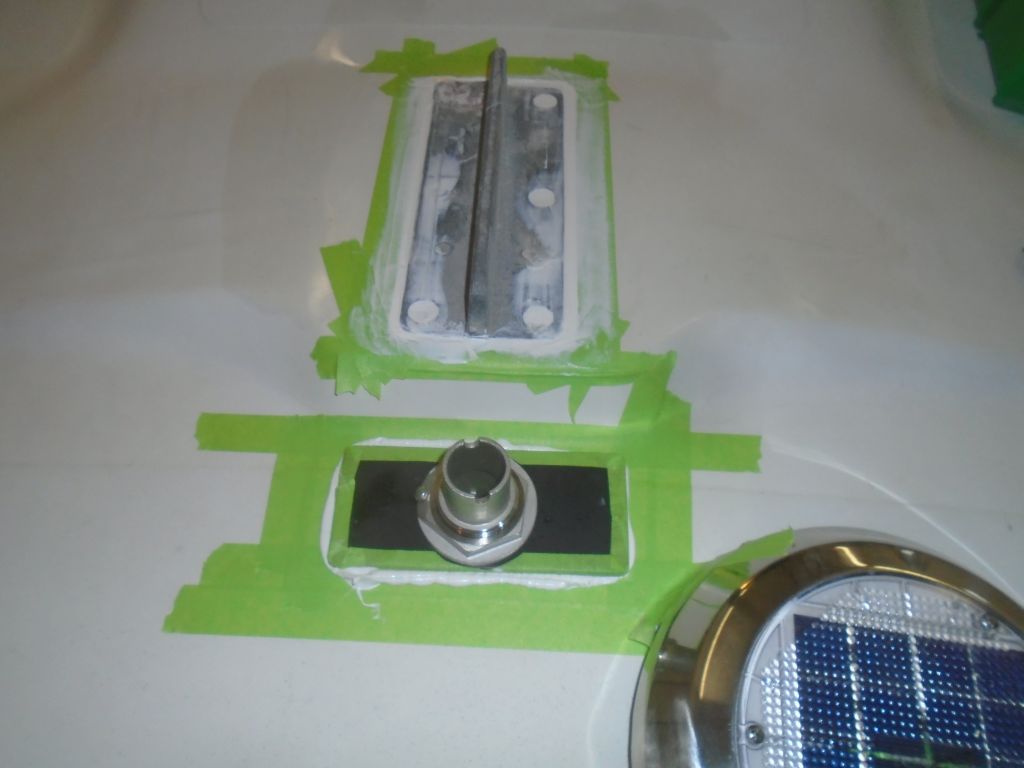
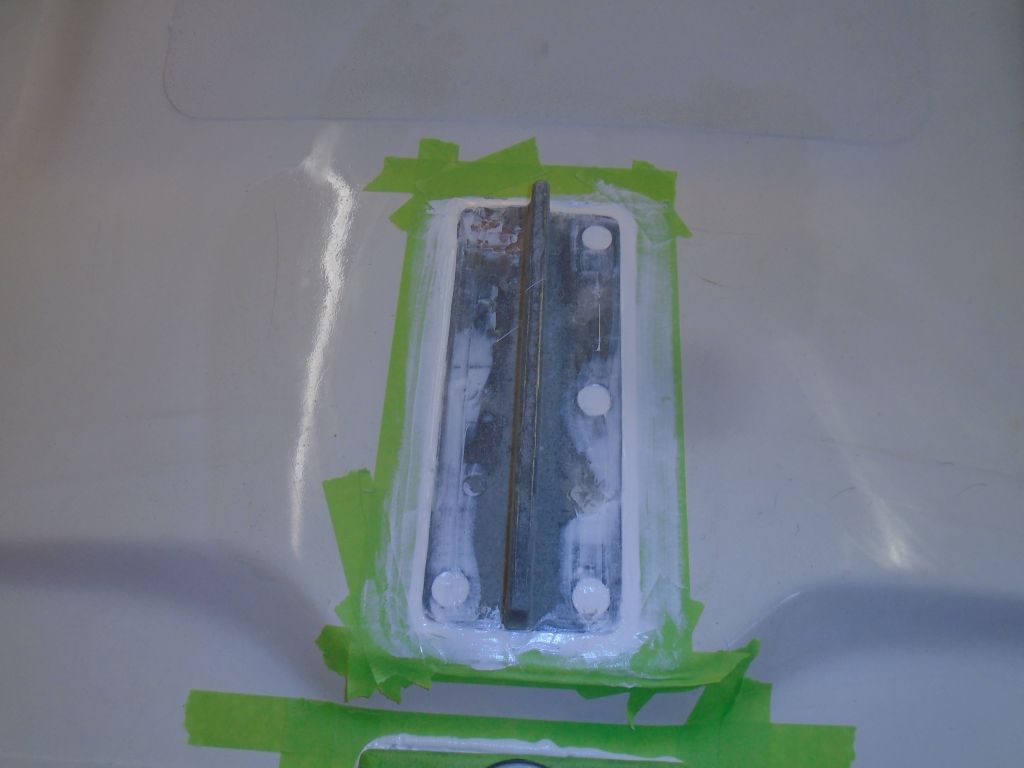
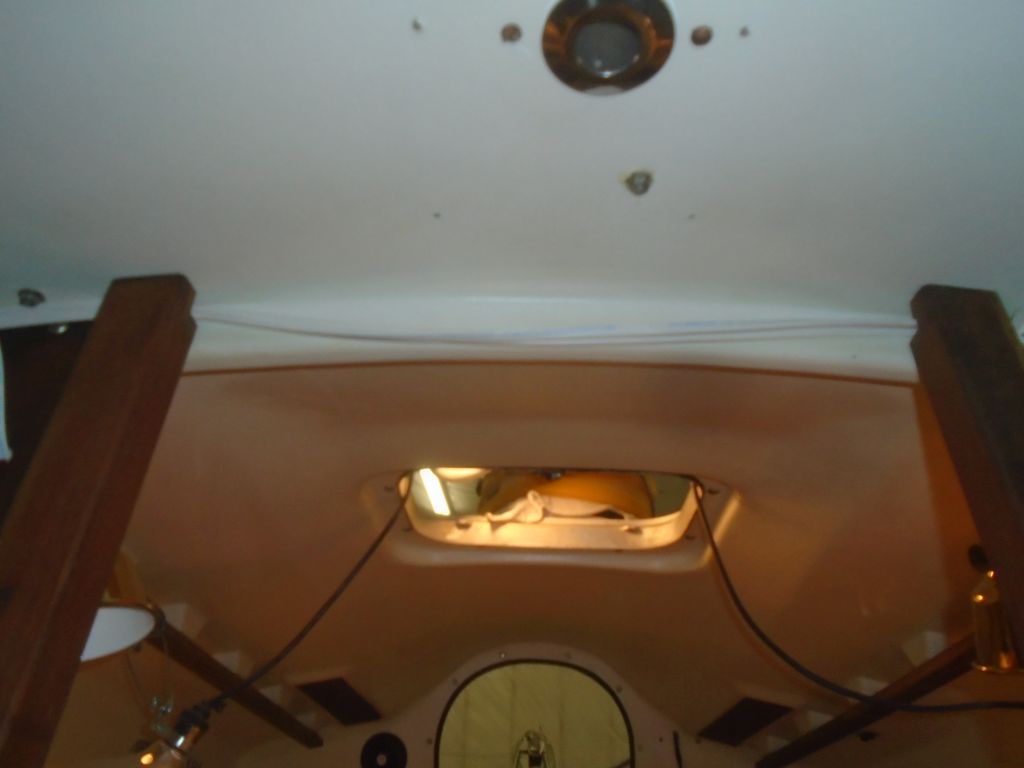
Forward of the mast step, I drilled a hole through the deck for the mast wiring chase, and installed it and a cover panel (to cosmetically cover the old, patched wiring holes) with plenty of sealant. The cover plate was secured only with sealant, and of course the through hull itself.
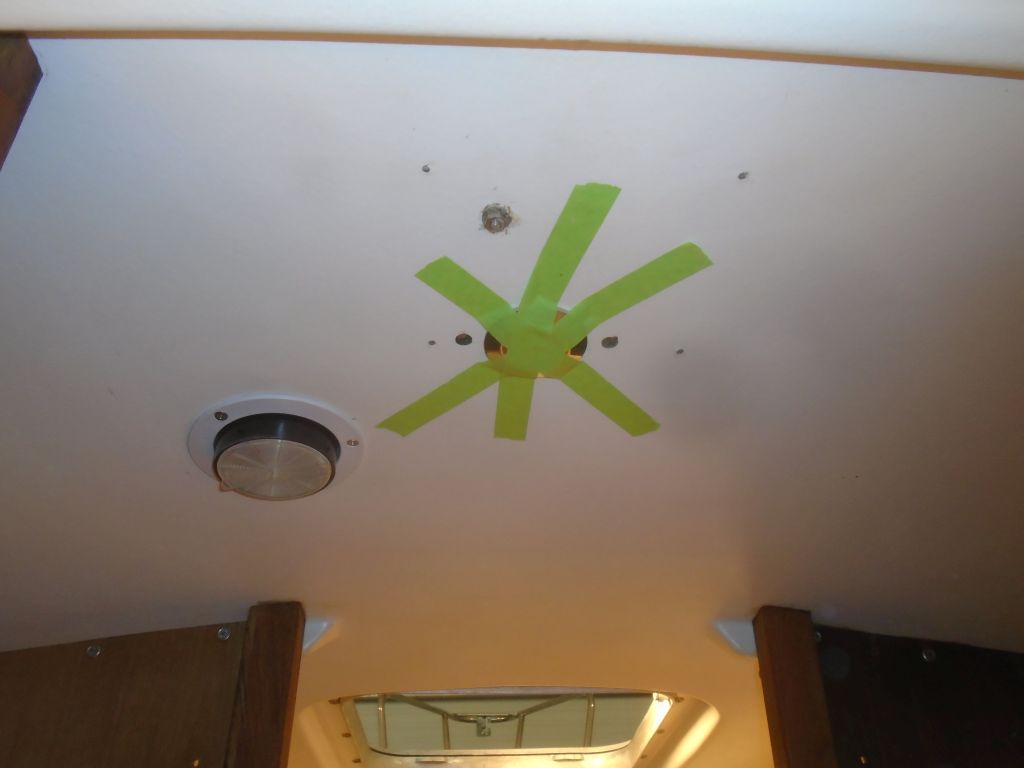
While I was in the area, I also applied new sealant around the dug-out edges of the mast step plate. I’d leave the tape in place till the sealant cured in this instance.
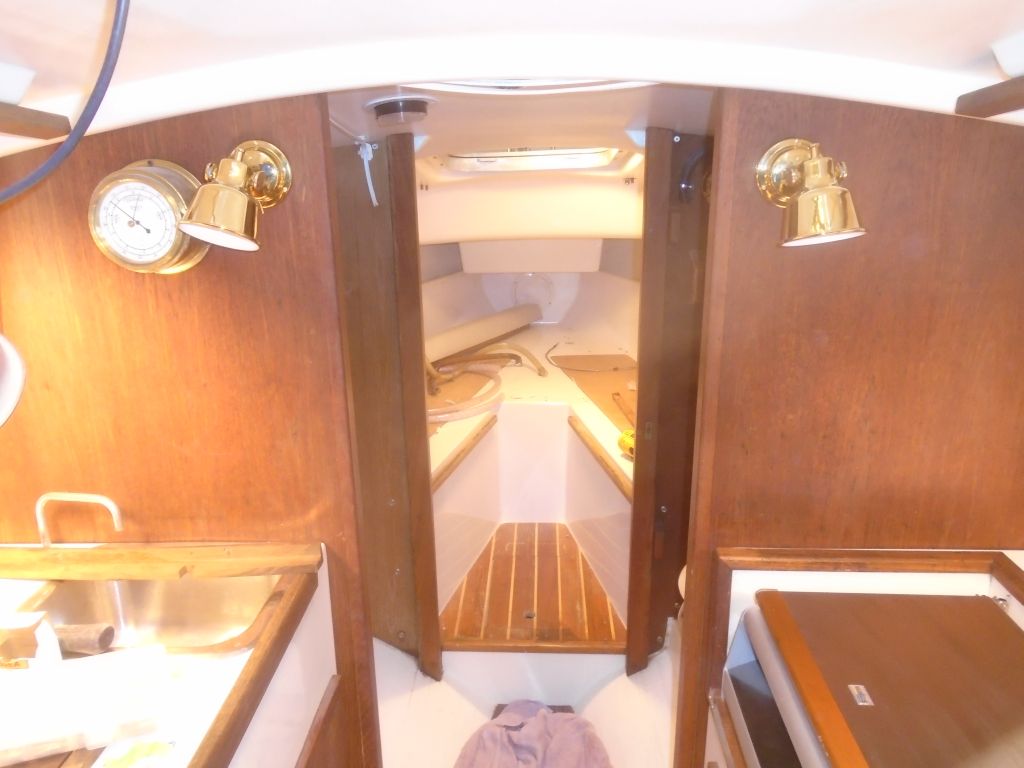
After loading aboard wire reels, tools, and related needs, I spent the rest of the day on bulk wiring, starting with the wire runs on the starboard side. Before beginning, I thought about how I wanted to lay out the circuits on the two switch panels, since I wanted to minimize wire runs from one side of the boat to the other, There was limited space in the hidden wire channels at the aft end of the cabin, the only way to communicate invisibly from one side of the boat to the other, and keeping this sort of run to a minimum would avoid extra-long wire runs also.
I started with the bicolor light on the pulpit, and ran a new wire forward through existing wire runs to interconnect with a leftover stub of the original wire in the forward cabin. There was no other wiring to run this far forward, so I could go ahead and secure the new wire in the pre-installed wire tie mounts. I pulled the slack back towards the starboard panel area, and, leaving plenty of excess wire for final termination later, cut off the wire and began the next run.
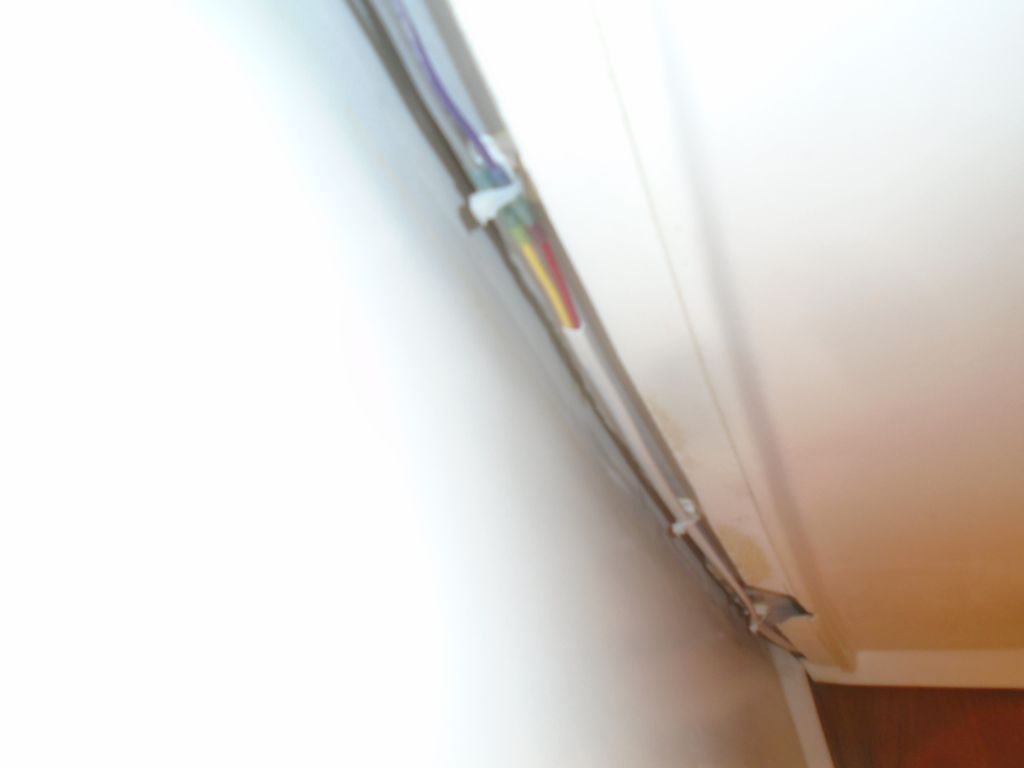
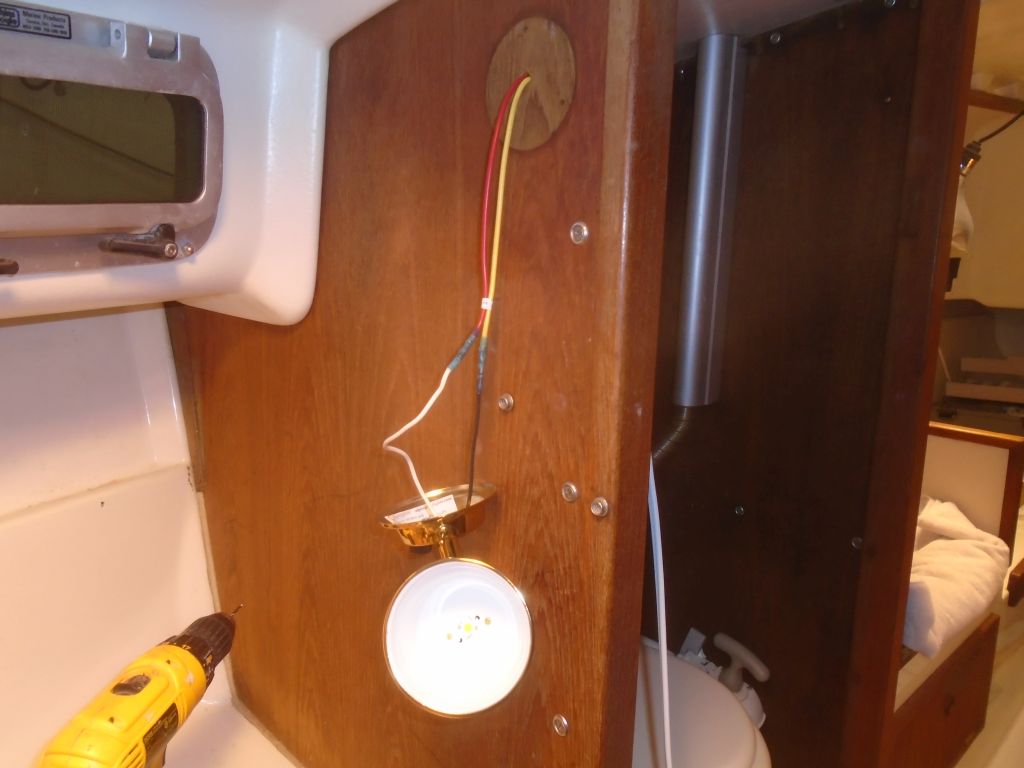
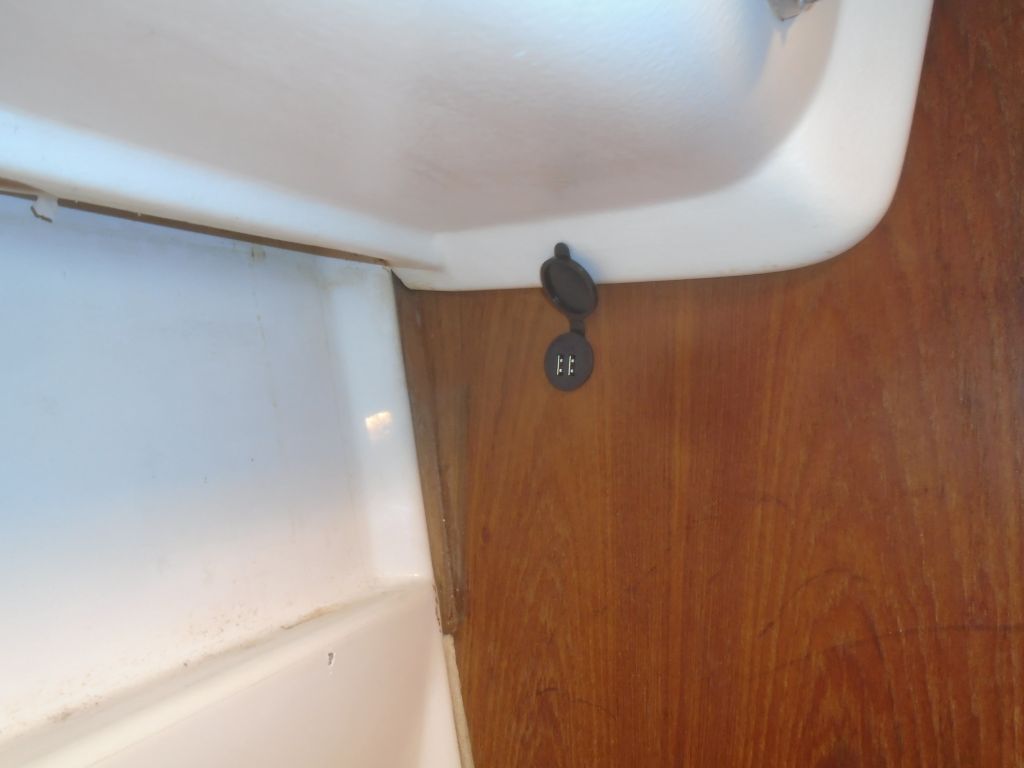
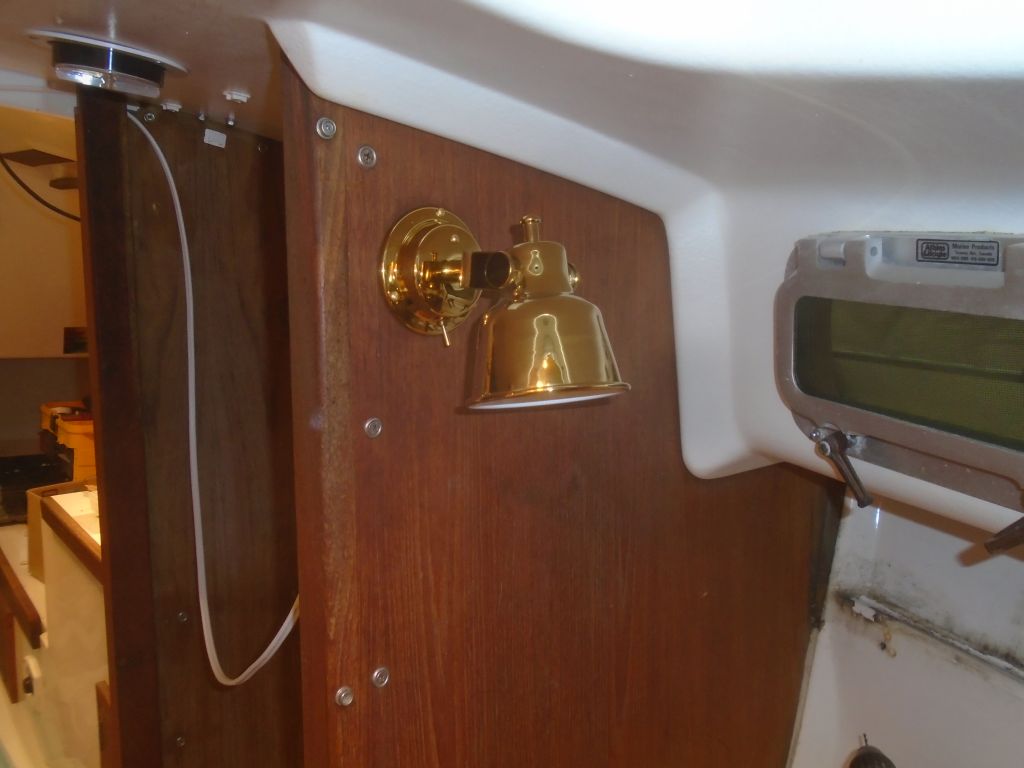
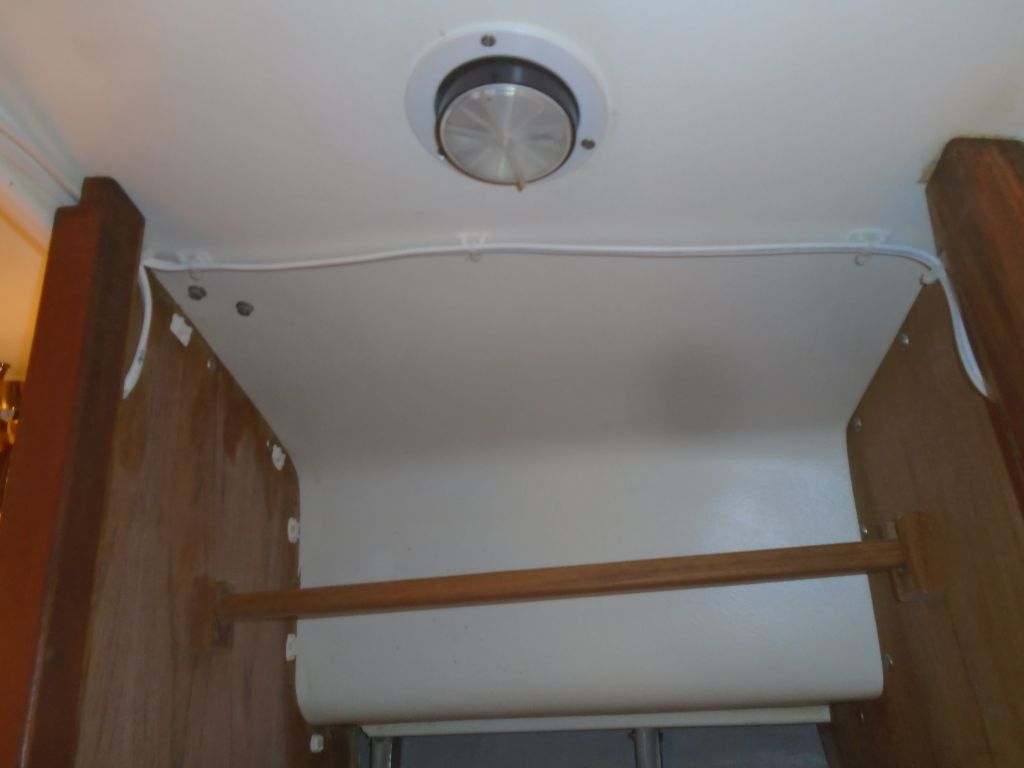
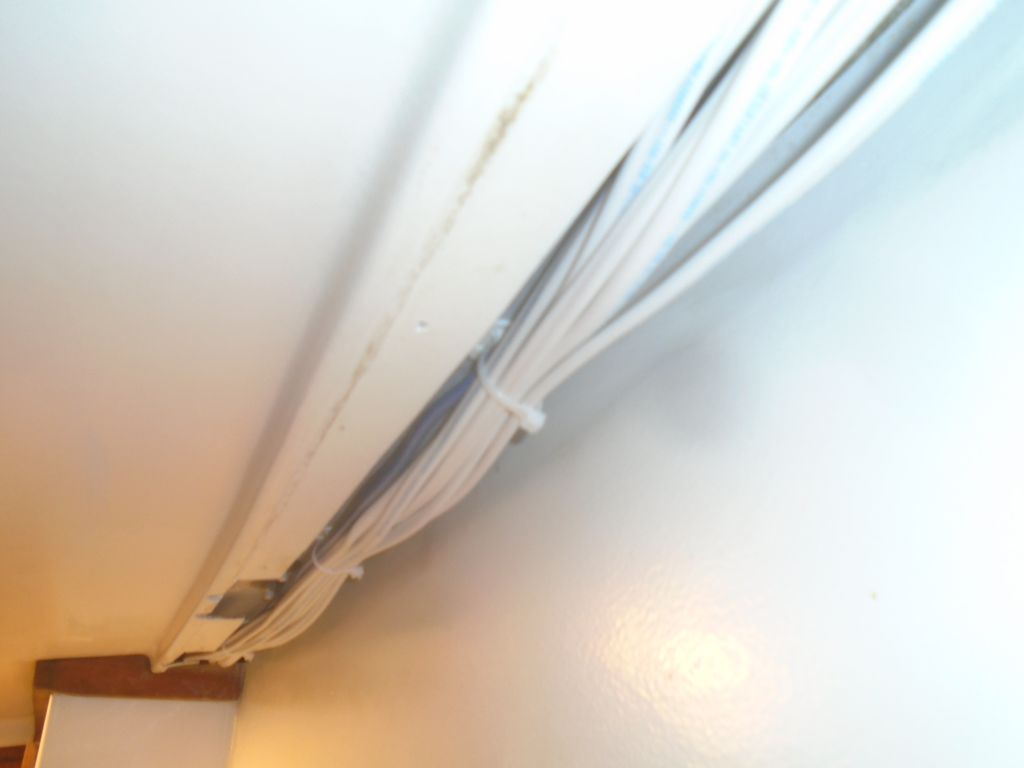
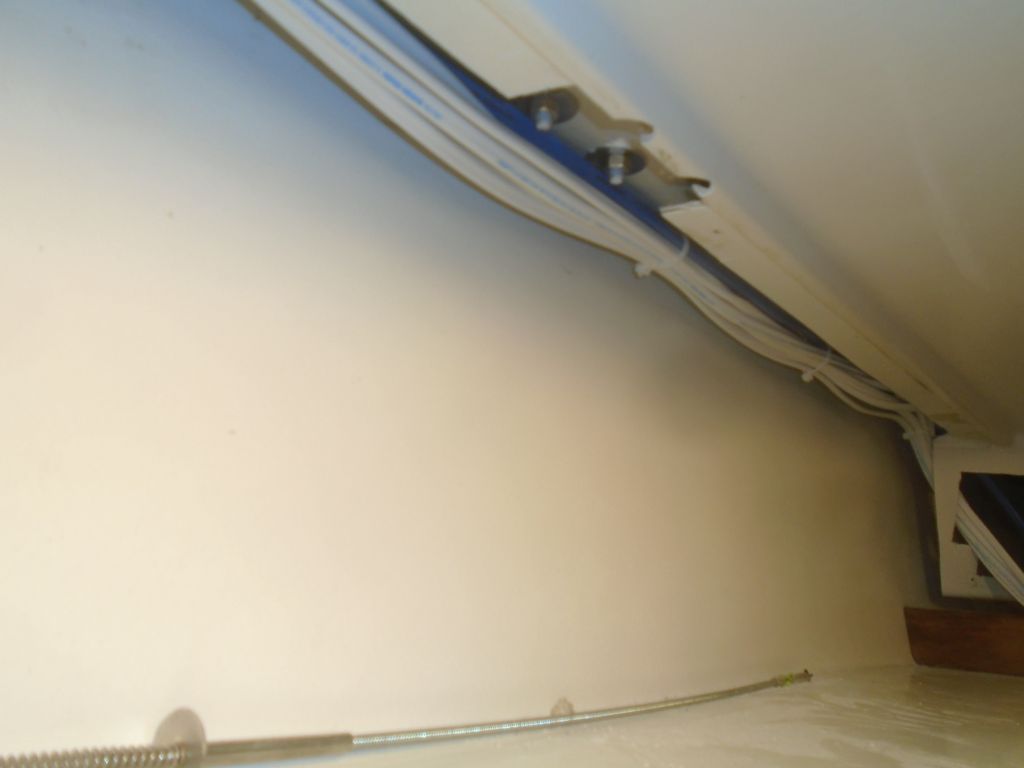
Working my way aft, I ran new wires to the forward cabin and head on the starboard side, where I installed new LED lighting fixtures in both locations, as well as another USB charging port in the forward cabin (located so as to be hidden behind a cover panel in the head). In the head, where the wires had to be exposed, I led the wires through split loom and secured it neatly against the overhead.


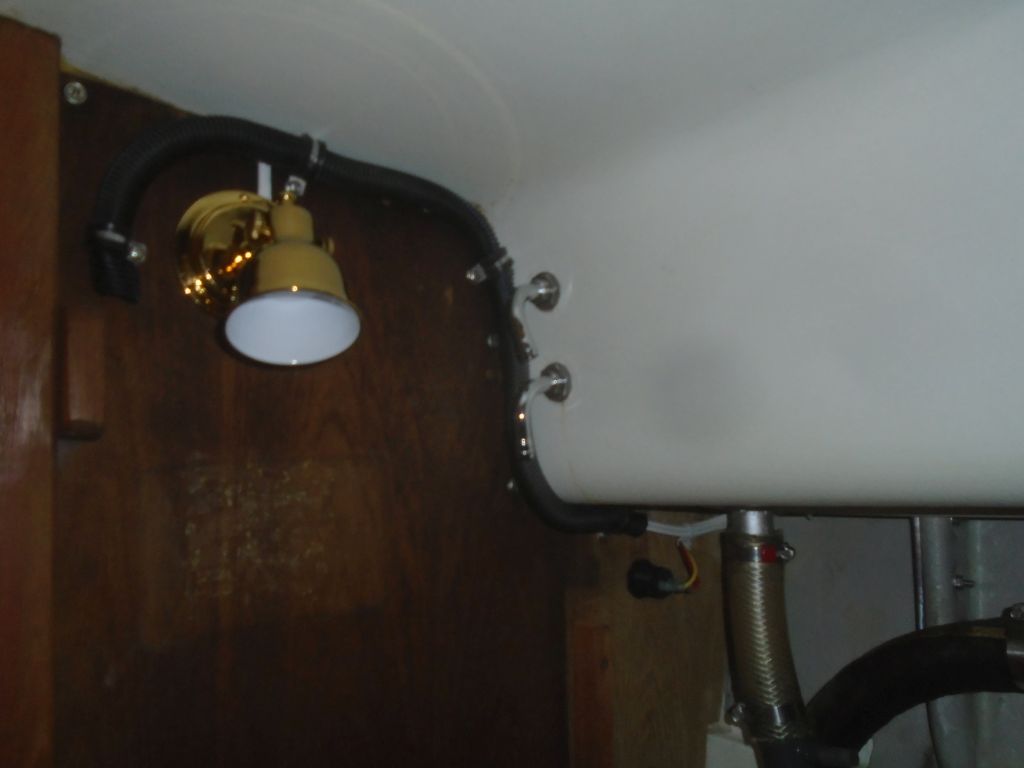
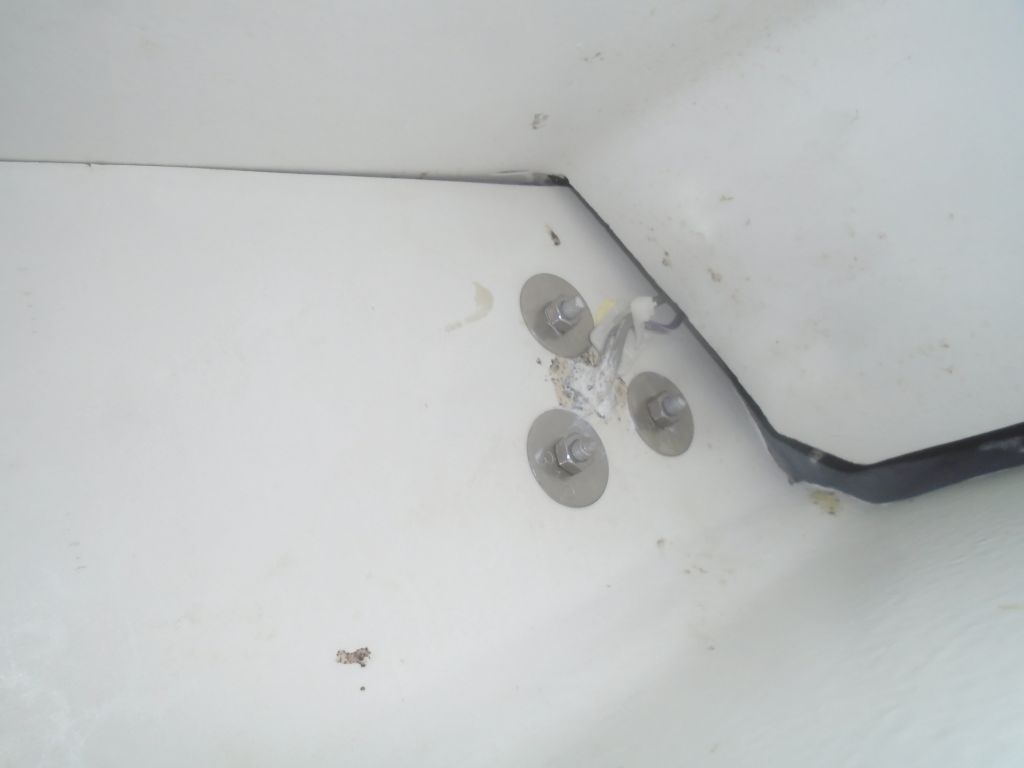
With an existing wire chase spanning the passageway in the head, near the mast step, I could run wires across the boat from starboard to port in order to service the lighting fixtures in the port v-berth and port galley, and then to the starboard galley lighting fixture as well. Where the wires would be open to view, I secured them in more split loom secured with rubber clamps; in the hanging locker, where the wires would be behind a partial bulkhead (currently removed for access), I used glue-on wire mounts for simplicity. Each fixture had its own wire pair led aft to the panel location.


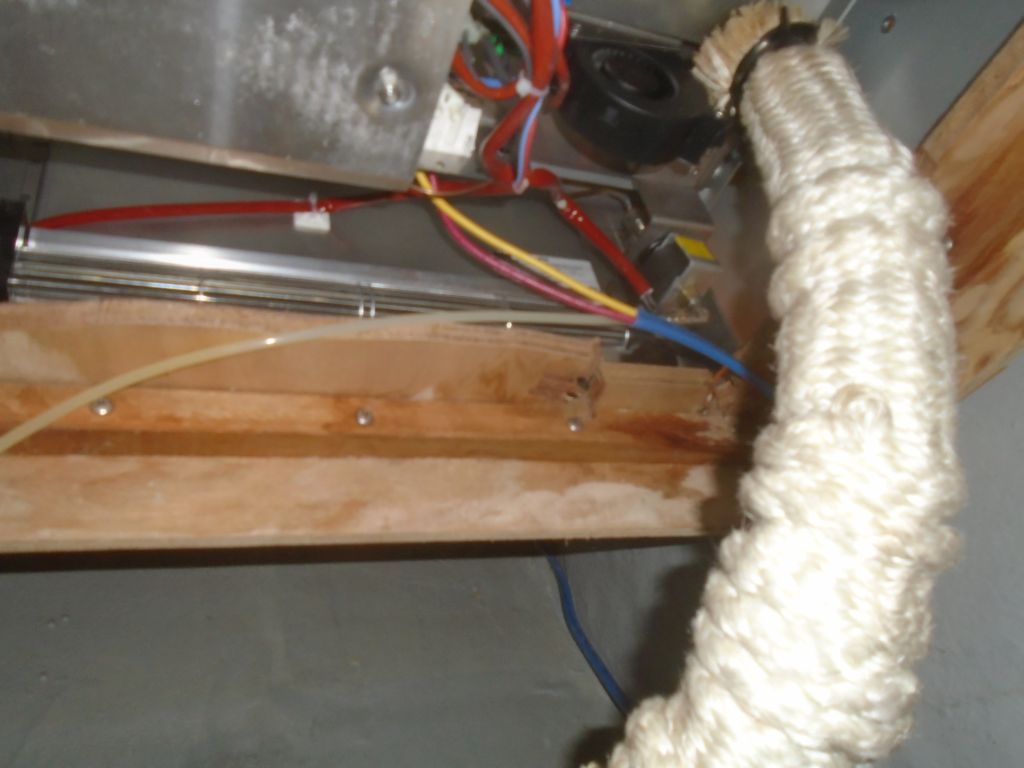
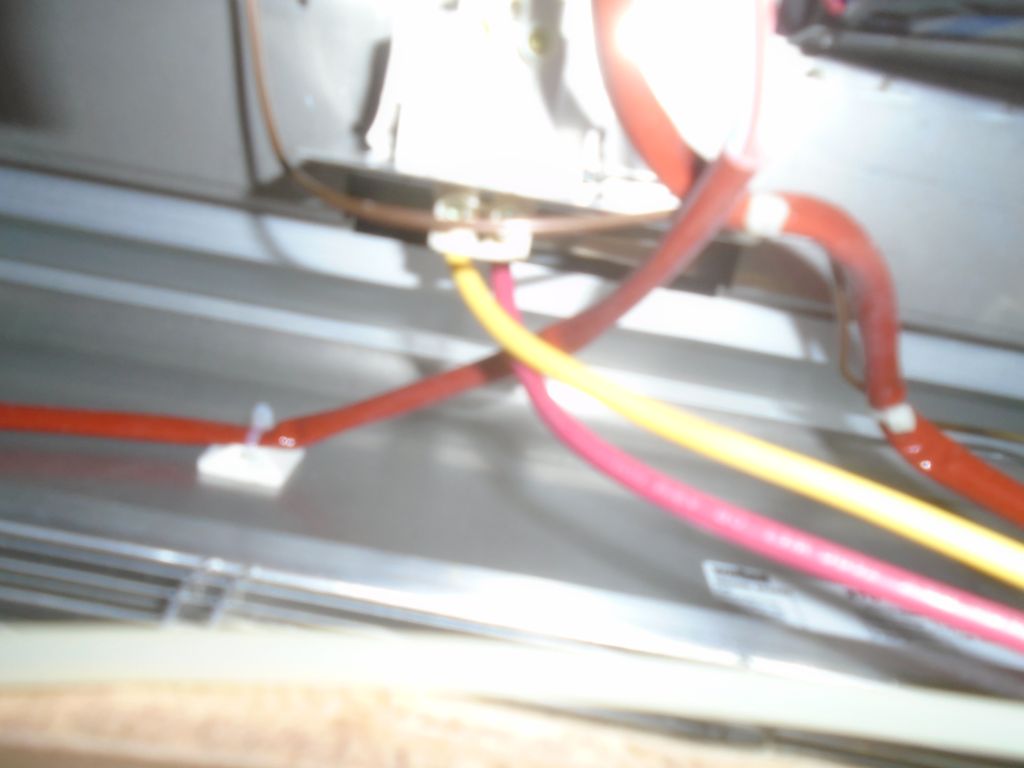
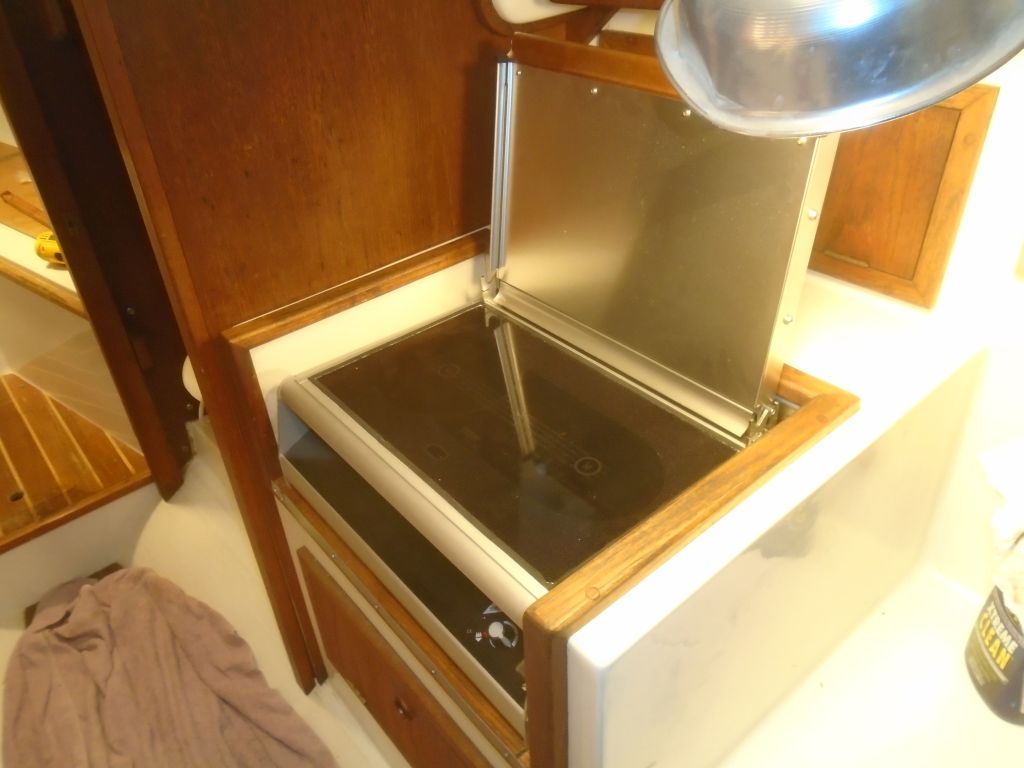
The galley stove required power for ignition and fan operation, and I led the new wire in from beneath to connect to the stove itself. The connection point beneath the stove was a simple plug that could be removed easily enough from beneath should the stove require removal someday. Meanwhile, I reconnected the stove’s fuel supply and exhaust vent.


This completed all the wire runs forward on this side, so I could straighten out and secure the wires along the wire chase at the far edge of the deck liner, leaving the wire ends at the panel location for eventual termination. I’d continue with the port side wiring next time.

Total time billed on this job today: 7.5 hours
0600 Weather Observation:
Cloudy, 32°. Forecast for the day: Rain in the afternoon, high in the 40s.