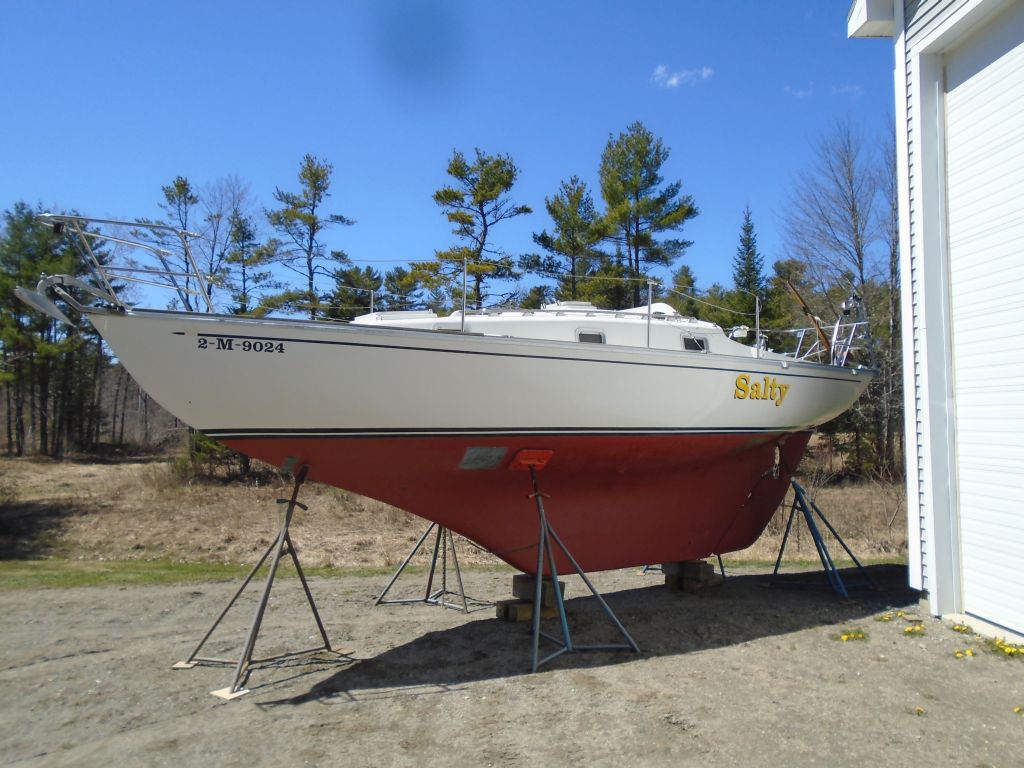
April 20, 2016
Salty 44
Wednesday
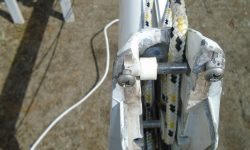
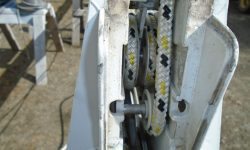
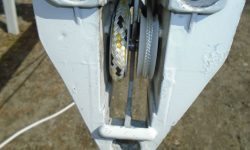
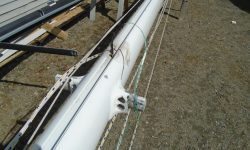
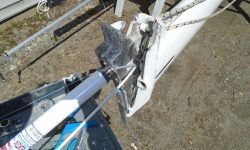
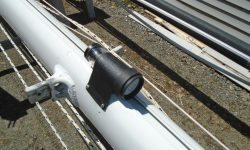
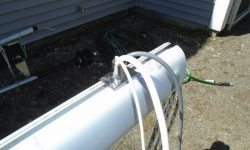
After some morning errands away from the shop, I turned to the mast wiring. While I had the masthead casting off, I checked over the masthead sheaves, which all looked in good condition as far as I could tell, but it looked like there might be one damaged or partially missing, as evidenced by the plastic hub on the aftermost pin (first photo). That pin just slipped into cast slots from above, and was contained by the masthead casting when it was normally in place.
To extend the RTE wiring harness, a 5-conductor cable, I ended up using the same 14/5 cable that I’d run through the boat for this purpose earlier, which meant that wiring connection at the terminal block in the boat would be straightforward same color to same color. This cable was heavier and larger than I wanted, but options were few and far between, at least with any products I’d trust and that were available in less than 1000′ parcels. As least I knew it was quality wire. Somewhere there must be a source for tinned 5-conductor cable in smaller gauge sizes and nominal overall diameters, but I couldn’t find it and after a time further looking was only wasteful.
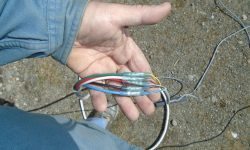
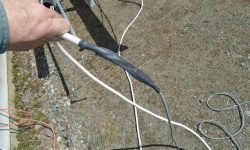
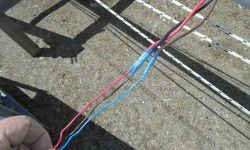
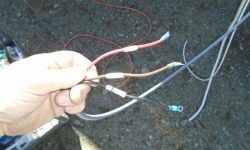
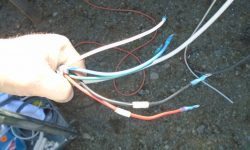
In the event, I connected the new wire to the existing harness, noting again the color conversions between the two, and for added longevity and strength within the mast, I added a sheath of heat shrink over the entire splice.
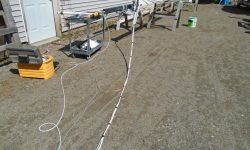
I chose to use the existing wires (which had powered a tricolor masthead unit) to pull the new cable down from the top. So I heavily taped the new harness to the old to help it on its way through whatever course it took down the top part of the mast. In addition to the 14/5 cable, I also secured a new VHF cable to pull through the mast and replace the existing.
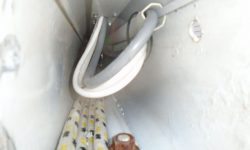
The wires from the masthead ended up in a length of plastic conduit within the mast when they reached the steaming light location at the spreaders, along with the three-wire harness from this light. The conduit slipped over an extruded lip on the inside of the mast, and therefore was removable as a whole. At the steaming light, I secured a length of messenger line to the existing wires before starting to pull out the entire harness.
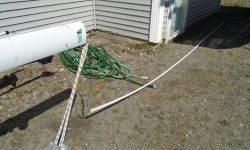
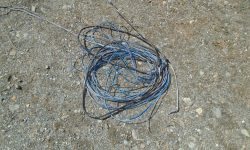
From there, it was relatively simple to pull out the conduit and old wires from the bottom. The new harness fed in fairly easily from the top once I got it going, which suggested it had an unimpeded path through the spar.
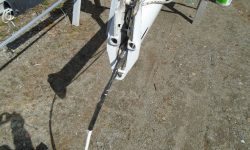
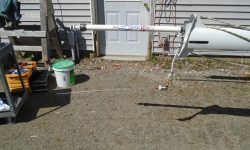
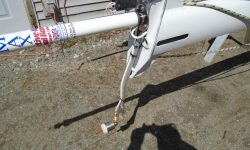
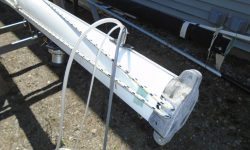
I left some slack in the masthead wires just below the top of the mast to allow the masthead casting to be removed for sheave access in the future, then resecured the masthead–with RTE and VHF extension attached–back in place before making up the end of the VHF cable as required. After photos, I removed the VHF antenna for safekeeping, but the RTE was now a permanent fixture by virtue of its hardwired and sealed construction.
Since it was straightforward to slip on the wire conduit afterwards, I went ahead and ran in the 14/3 wire for the steaming/deck light combo at the spreaders, and made up the wiring at the new LED fixture before installing the fixture with machine screws. I left some wire slack bundled behind the fixture.
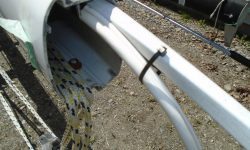
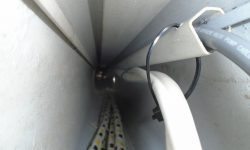
The masthead cable was too large to fit within the internal mast conduit along with the steaming light harness, so to secure it as much as possible I came up with a plan to secure it to the outside of the conduit with cable ties. With the conduit out of the mast, at intervals I drilled holes at the outer edge to accept wire ties, and as I fed the conduit back into the mast and over the steaming light cable, I secured the thick masthead cable loosely in the wire ties–loose because they had to allow the conduit to slide up, while still securing the exterior cable tightly enough. This actually worked better than I’d hoped.
I chose a location on the forward side of the mast for the wire outlet, which would eventually connect (via flexible conduit aka hose) with the deck fitting on the boat. I drilled a hole for the wires to pass through and installed a rail mount base on the outside, which diameter matched that of the deck fitting (and hose). Then I led through the wires.
After reinstalling the mast base casting, I measured generously for the final wire lengths, which had to pass through a length of hose/conduit, then through a path in the boat to the terminal blocks for final connection. Since the terminal blocks were hidden from normal view, and because I wouldn’t be there to make up the wire lengths when the boat was rigged, I left what I thought (and hoped) was more than ample wire length to make up the connections without being ridiculously long. The wires could always be shortened later if necessary, but at least they were ready to be connected as is. I labeled the wires as necessary to match up with their respective connections in the boat.
Total time billed on this job today: 5.25 hours
0600 Weather Observation:
35°, clear. Forecast for the day: sunny, 50s


