March 9, 2016
Salty 12
Wednesday
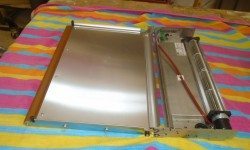
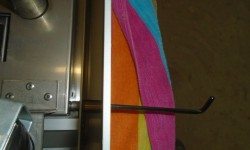
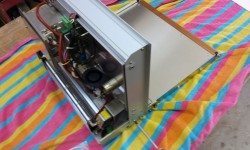
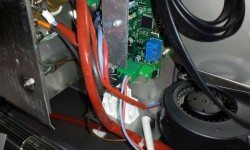
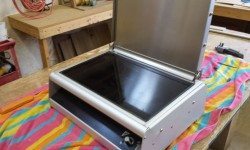
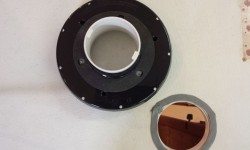
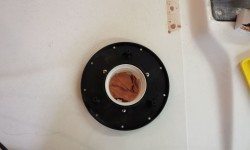
I got started with what could seem like an odd tangent, but earlier, I’d spread various parts for the Wallas cook stove out on my bench, so I could inspect the original stove and a new blower lid that the owner had ordered, and now these parts were still there and in the way. Rather than pack them up as is, I decided to install the blower lid and have that job completed–it all had to be done at one time or another, after all. It didn’t look like a major job, but it was something I’d never seen nor done before.
The idea of the blower lid is that when the stove is operated with the lid lowered, it activates a blower that forces air across the stove top (no open flames) and then into the cabin, like a mini forced-air heater. For such a small boat, this seemed an ideal option for basic cabin heating of the type one would normal experience on those chill days during the sailing season in temperate climates. When the lid is raised, one operates the stove top normally.
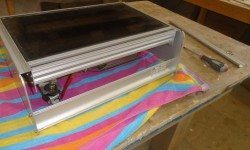
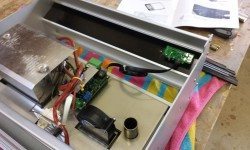
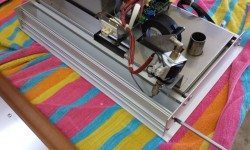
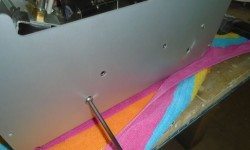
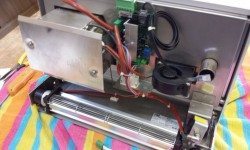
To install the lid on this cooktop, I first had to remove a few parts from the old, and initially this caused a little confusion since the illustrations were just slightly different (or so it seemed) from the stove in front of me. But shortly I realized that the stove itself was actually installed in a stand-alone base, and that in order to install the blower lid I’d have to temporarily remove the base to return the actual cooktop to its essence. This was easy enough with four fasteners and little spacers to remove, plus one wire connector to the control knob.
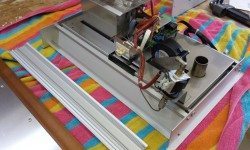
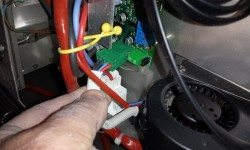
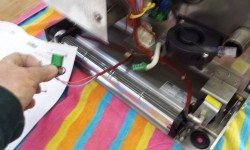
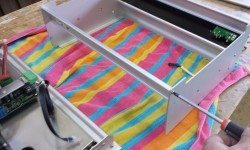
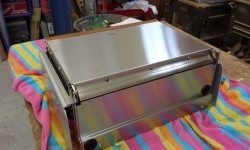
Now, with the cooktop stripped down as required by the instructions (essentially removing a couple aluminum cross bars from the back edge, where the blower would be fitted), I figured out how the blower lid fit into the stove housing, and secured it with the four machine screws provided. Then I removed an existing wiring harness from the works of the stove, and plugged in its stead the harness from the blower lid, all as directed.
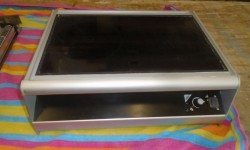
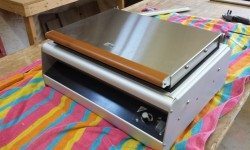
Finally, I reinstalled the external stand-alone base (which required removing one more trim piece, as it happened), and this completed the installation. The blower lid was frankly a handsome addition to this little stove, and I hoped it operated well and did the job.
Now I could set the stove aside for safekeeping till I wanted to put it back in the boat, and with my bench cleared I could move on with other projects at hand.
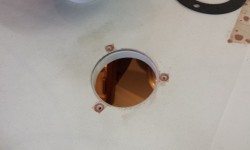
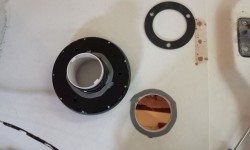
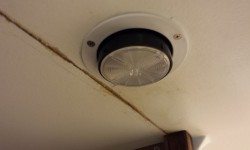
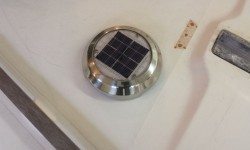
Before starting in a new direction, I finished up the solar vent installation, now that the epoxy filling was cured and ready for the final steps. From below, I installed the plastic trim ring, then, back on deck I dry-fit the vent housing so I could mark and drill the three fastener holes. Afterwards, I applied sealant (butyl tape in this case) to the deck around the large hole, and on the housing itself, and pressed into plate the foam gasket provided with the vent before securing the base to the deck.
The vent came with an on/off switch, which was nice, but I tested it for operation before shutting it down once more. The vent came with (I think) an exhaust fan blade installed, but there was also a second (intake) blade included to reverse the direction of flow if desired.
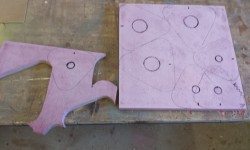
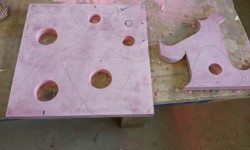
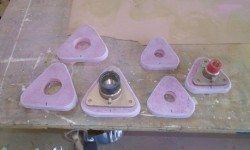
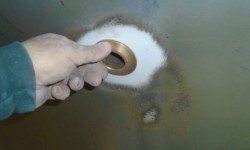
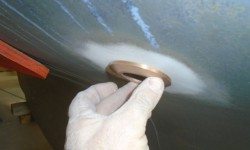
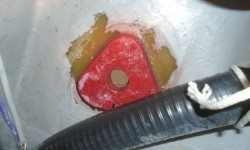
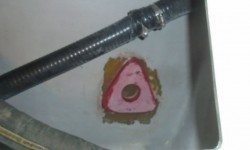
Back at the bench, I got ready to prepare six fiberglass backing blocks for the new seacocks. On a sheet (plus a little scrap) of 3/4″ thick prefab fiberglass, I laid out blocks for three large (1-1/2″) bases and three smaller (3/4″) bases, then drilled holes for the through hulls before cutting out the bases and, finally, sanding the edges clean and slightly easing the top edges for looks and tactile feel.
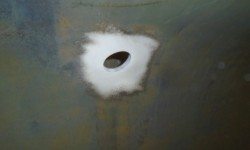
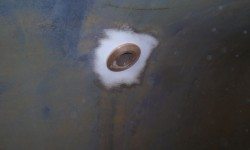
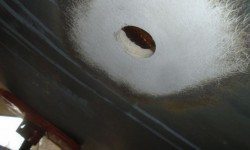
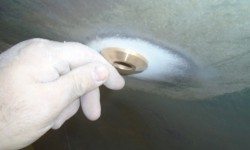
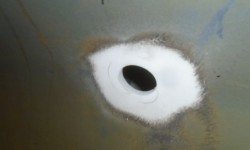
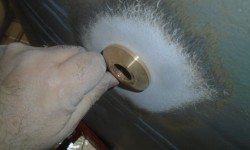
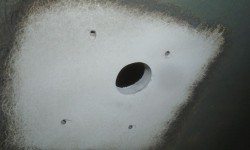
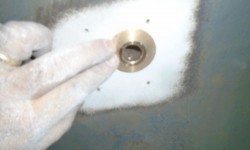
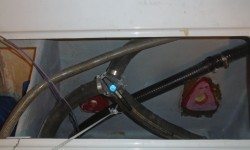
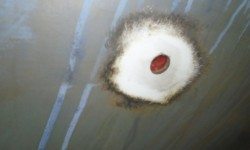
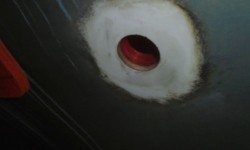
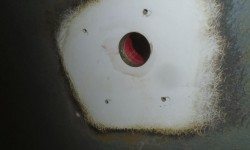
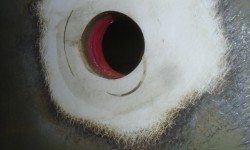
Now I cleaned out any old sealant from within the original hull holes, using a knife and then a drum sander. I found that the original holes leftover from the larger fittings (scuppers and head discharge) were just slightly smaller than the diameter of the new through hulls, so I used a drum sander to open up the holes enough for the new fittings to slip in properly. The old engine intake had been something like a 1/2″ fitting, but I found that the hole in the hull was actually larger, and only required a little enlarging to fit the new 3/4″ fitting.
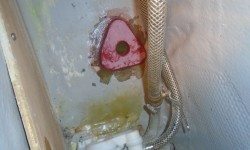
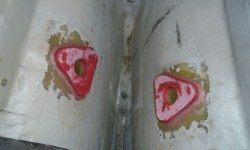
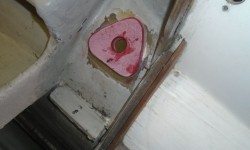
After cleaning inside and out around all the locations with acetone, I installed the new fiberglass backing blocks in beds of very thick epoxy, which held the blocks in place even in the near-vertical orientation back at the cockpit scuppers. I smoothed the new epoxy to form fillets around the bases, and cleaned out the insides of the holes. Then, not wanting to unnecessarily shake the boat and possibly make these blocks move before they were cured, I spent the rest of the day, as it were, on a couple smaller tasks that didn’t require me clambering around on board, all punctuated by some unrelated goings-on at the shop that required my at-least sporadic attention.
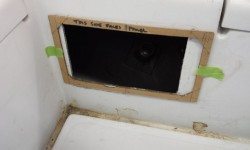
One of these tasks was to check the fit of the actual engine panel. Years earlier, I’d made a template of these panels, and I taped it in place over the old panel hole to ensure that the new panel would indeed fit. It did. Meanwhile I prepared the large panel enclosure for return shipment.
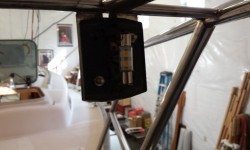
It also seemed a good time to replace the bulb in the bicolor bow light, mounted on the pulpit. Originally fitted with a standard incandescent festoon bulb, I sourced a replacement LED bulb for the fixture, and installed it now. The original stern light, also mounted on the pulpit, would be superseded in this case by a stern light mounted on the new Monitor windvane, and I’d remove the old light later.
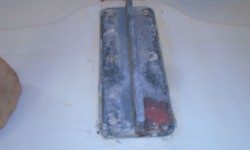
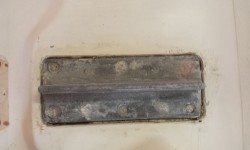
While working on the solar vent installation the past couple days, I took the opportunity to prepare and epoxy-fill the cracked area of the aluminum mast step, which, after curing and sanding, cleaned up the damage and made it look good as new. Later, after I resealed around the edges, I’d paint the step to protect the epoxy and, come to that, the step itself.
Total time billed on this job today: 5.5 hours
0600 Weather Report:
38°, mostly cloudy. Forecast for the day: Partly sunny, high 60°


