March 18, 2016
Salty 20
Friday
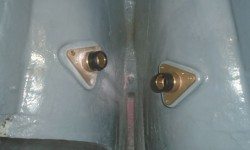
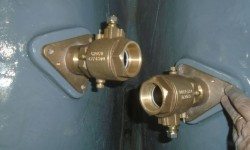
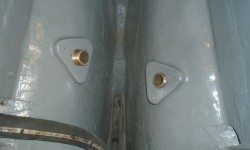
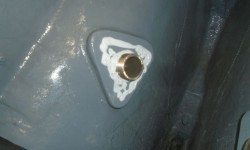
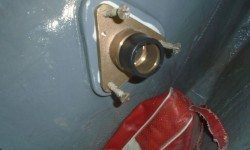
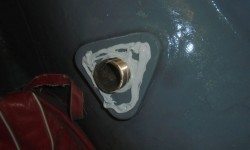
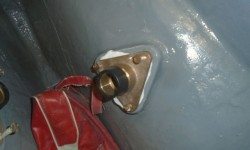
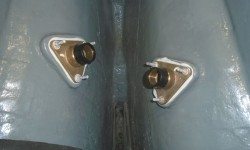
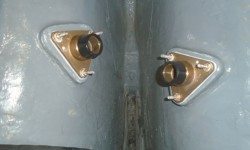
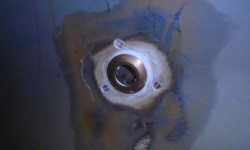
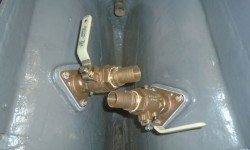
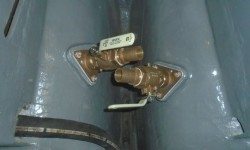
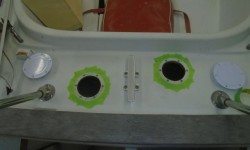
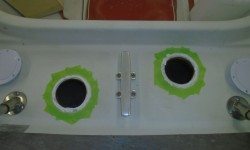
I got right back into things with the final two through hulls–the cockpit scuppers. I’d previously cut the through hull necks to length, so I started with a dry fit to drill the bolt holes through the flange and hull. While I had the flanges in place, I test-fit the valves to check for clearances and to see if I could spin on the valves after the flanges were installed, or if I needed to pre-assemble them. There was room to install both valves after the fact, and other clearances were OK (something I’d just assumed till now since the old valves were similarly arranged, but…), so I could move on with the installation. I removed the hardware and prepared the area for final installation.
Following the usual steps that I detailed with the other fittings, I installed the final two through hulls and flange bases.
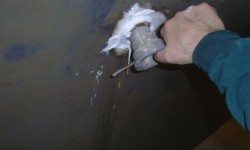
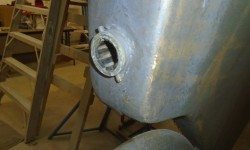
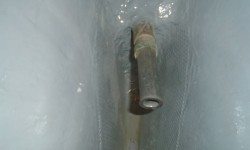
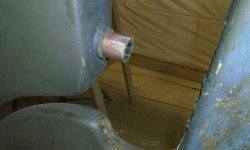
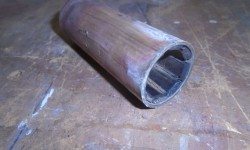
Before continuing, I wanted to address the Cutless bearing while I still had clear access to the inside of the stern tube. The existing bearing was in fair condition, but I wanted to replace it while all other engine-related components were being refreshed. Of course the bearing was set flush to the end of the bronze stern tube where it protruded from the deadwood, so there was no way to grab it there and twist it out. I removed the set screws.
During some preliminary inspection earlier, I’d determined that I could (hopefully) push the bearing out from inside, and I happened to have a length of steel pipe on hand that fit the stern tube perfectly, something apparently left over from a similar situation in the past. So now, while I had the most open access possible. I tried this method. At first nothing happened; I didn’t wail on the pipe because I didn’t want to cause a bigger problem, so my first blows were tentative, and after a time I went beneath to check, but the bearing hadn’t moved a bit. This was worrisome, but back inside I marked the pipe when it was all the way in against the bearing, for reference to see if I moved the bearing at all,
After some time, and additional blows with a heavy mallet, I thought I felt something give, and I went down to confirm it before I continued (to make sure it was the “right” something that gave). Success! The bearing was coming out.
This was a relief since I didn’t relish the alternative ways I might have to get the bearing out. While the bearing had some life left, leaving it as is didn’t seem like a prudent approach, so I was glad that it hadn’t been that tough to remove in the end. Back inside, I hammered the bearing out the rest of the way, and noted its size so I could order the replacement.
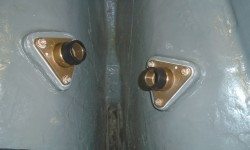
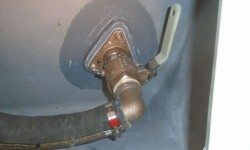
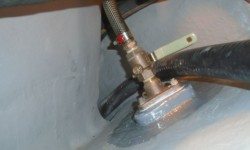
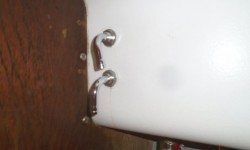
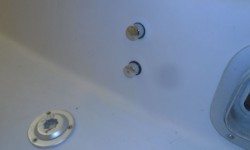
Back to the through hulls, I installed the valves and tailpieces to complete the installation. I aligned the valves so the handles on each side could operate fully without interfering with the other valve and also remaining clear of the scupper hoses and their eventual path.
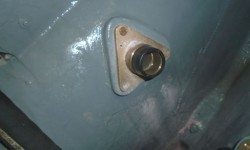
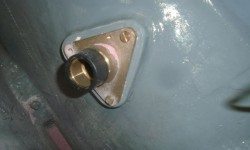
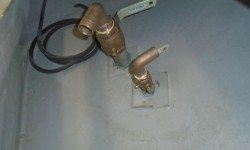
In the port cockpit locker, I installed the valves and tailpieces for the two bilge pump outlets, facing the 90° tailpiece for the cabin-mounted bilge pump (the larger fitting) towards from whence its hose would run. Imagining how the discharge hose from the new cockpit pump might need to lead, I set up the 90° tailpiece for that pump (the smaller valve) facing towards the outside of the hull, so the hose could run easily from the pump around in a semi-circle to the valve. Because these valves were above the waterline, after a discussion the owner and I had determined it was OK to reinstall new valves on the existing stems despite its being “wrong”.
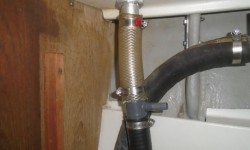
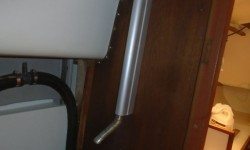
I took this opportunity to reinstall hoses up forward, connecting the existing head intake and discharge lines to their new fittings. While I was at it, I also reconnected the water tank fill, and reinstalled the galley stove vent pipe.
Because I’d soon be at the point to start reinstalling many of these systems, I checked existing stock of hose in various required sizes, and ordered whatever I needed for the bilge pumps and engine exhaust.
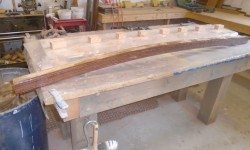
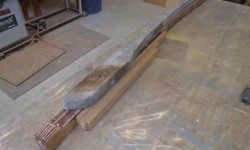
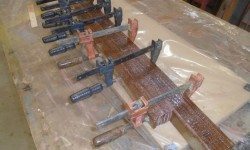
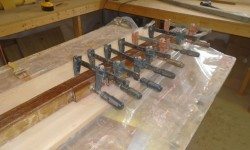
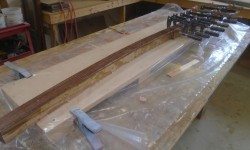
The laminated tiller was cured, and I unclamped it from the jig so I could finish up the additional laminations required at the butt end. Had the bend been more severe, I might have left it in the clamps longer, but for this easy curve I’d no concerns after 24 hours.
Ignoring for now most of the mess on the tiller, I cleaned up (sanded) the bonding surface at the butt end where I ‘d be adding new laminations, and, after checking the position and layout with the old tiller and making reference marks, completed final preparations and cleanup before glued the additional six strips in place.
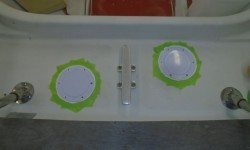
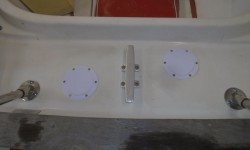
With some new hardware arrivals on hand, I turned to the deck once more, and installed new tank vent fittings in the head, as well as new deck plates aft to accommodate cowl vents. I left the vents off in safekeeping for now. I went through all the usual steps for installing the plates; you must know them by now.
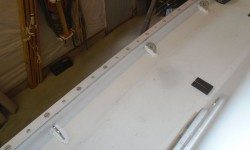
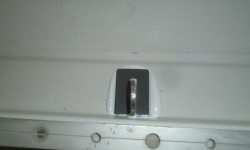
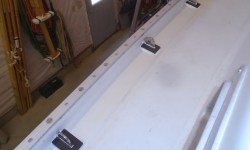
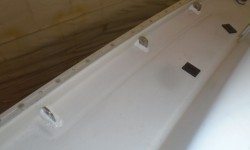
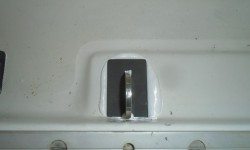
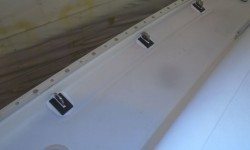
It seemed a good time also to install the chainplate deck covers, At each location, I applied sealant fairly heavily, then pressed the appropriate cover in place. Because I relied on the sealant itself to secure the plates in place, I left the squeezeout for now, and would clean it up once it cured. As I pressed down, I could hear the good sound of air pockets popping as the sealant got pressed into the gaps around the chainplate in its slot, just what I wanted. Once cleaned up, I thought these would look pretty nice.
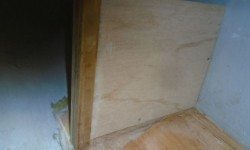
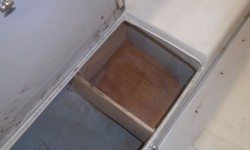
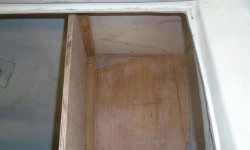
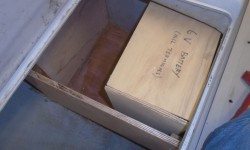
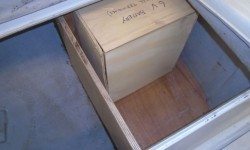
The next step on the battery box was to actually build the box, or the sides, whatever seems appropriate. Now, I didn’t really want the box to be any taller than it had to be, since headroom was at a premium, but neither did I want to cut it at all close with the batteries, terminals, terminal fuses, and so forth. This is when one starts to distrust templates. Despite having the actual battery measurements on hand, and a template built to those dimensions plus some, I had to look at some past projects to see just how oversized the battery template actually was, mainly to see if I could build the box basically just as high as the template, or if I needed some extra room to be safe. Eventually I determined that the template was generously sized and allowed plenty of adjustment room as it stood, so I chose to make the sides of the box 11-1/2″ tall, or just barely taller than the template.
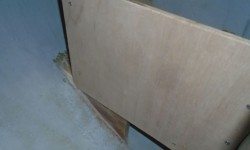
With this determined, making the two sides was mainly a matter of cutting rough blanks–first for the outboard side, then for the second side–and fitting them to whatever contours the sides of the locker had to offer–a straightforward, if time-consuming, process of scribing and cutting. These sides would be for basic protection and shelter only, and would not provide the actual restraint for the batteries within, so I planned to install them with screws and no glue, to keep the whole box removable should better access be required, and to ease installation of the batteries.
At length, I had both pieces in place and screwed together with various hardwood cleats as required. The cleat on the battery platform along the edge of the after panel would be permanent, and later I planned to epoxy it in place, since this cleat, in addition to holding the aft panel, would also form part of the battery restraint. All I needed now was a top, and a means of securing the batteries.
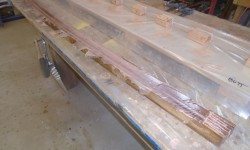
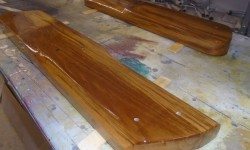
Finally, I sanded, cleaned, and revarnished (3rd coat) the new rudder cheeks. I continued to apply varnish to all sides, including the “down” side, as the additional protection even on these hidden areas would help prolong varnish life on the external parts. I didn’t worry about mussing the varnish on these back sides where they rested on the sticks because the coating here was just for protection and not appearance.
Total time billed on this job today: 8.25 hours
0600 Weather Observation:
32°, mostly clear. Forecast for the day: chance of showers or thundershowers, high 45° but dropping with a cold front later


