April 8, 2022
Holby 8
Friday
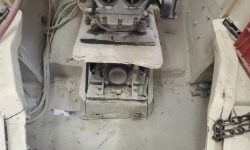
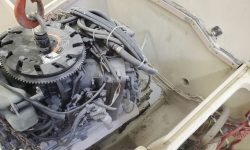
The owner and I discussed the problem of the engine and decided that the main thing for the moment was that the engine had to come out of the boat and wasn’t worth endless hours of so-far futile attempts at separating the engine from the jet drive. The backup option I’d been holding close was the idea of cutting the fiberglass drive housing to free the engine and drive in one piece, for whatever disposition the combined units might have; they’d be intact, at least, and out of the boat.
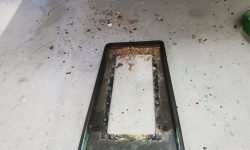
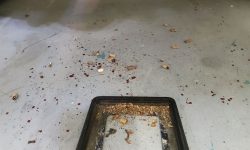
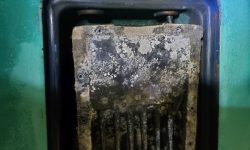
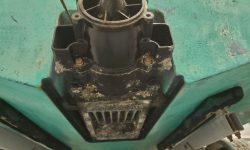
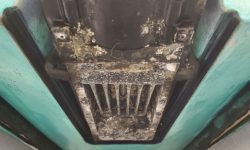
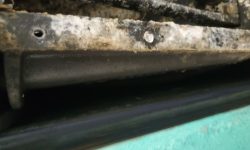
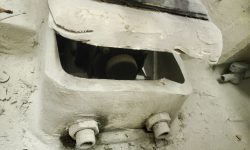
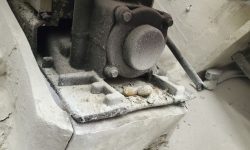
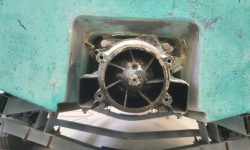
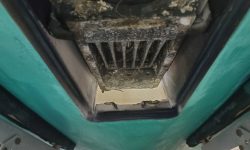
So with this in mind after a day away from the project, I got to work to remove the entire assembly. To begin, I removed the final screw holding the ride plate to the bottom: I had to drill out the head since I couldn’t get the screw to back out normally, and the jet drive wouldn’t come out of the boat from the top without removing the plate. I found all kinds of peanut shells and other rodent-related detritus hiding beneath the plate when I pulled it out.
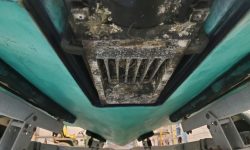
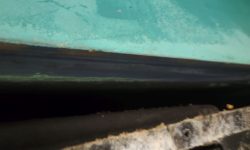
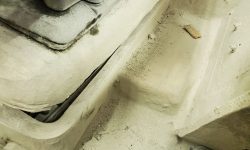
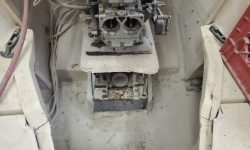
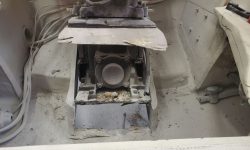
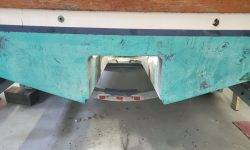
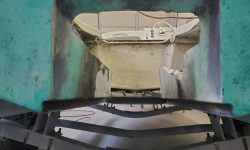
Removing the plate gave me good insight around the edges of the drive, confirming what I had hoped: That there was air space around it, and that cutting the fiberglass housing above was possible without also damaging the drive.
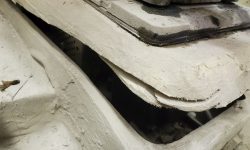
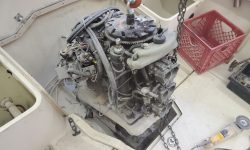
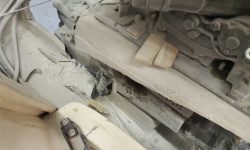
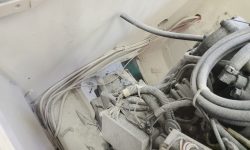
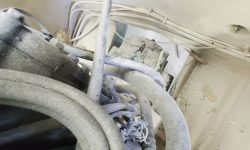
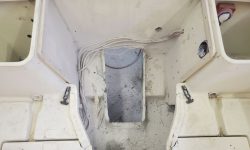
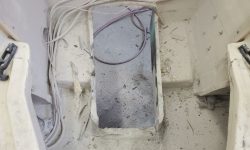
Next, from inside the boat I started by cutting off the remaining heavy control cable that ran through the fitting at the front of the housing, as the excess cable would just be in the way and would make removal of the engine and drive assembly unnecessarily difficult (since it’d been so simple so far…). Then, I cut the fiberglass housing a couple inches below the engine and adapter plate. The fiberglass tunnel laminate was extremely thick, about 1″ on the sides and thicker at the forward corners. I mostly used an angle grinder with a cutoff wheel installed. I confirmed that I’d cut all the way through the three main sides (other than the tight spot behind the engine) by lifting slightly on the hoist.
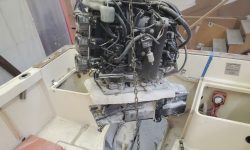
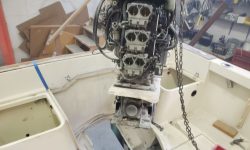
There was little room behind the engine, where it faced the solid transom, but I was able to start the cuts from each side with the angle grinder, which then gave me a slot into which to fit a reciprocating saw with a long blade, and then, finally, to finish up the cut in the tightest midships portion with an oscillating multitool. Now I could begin to lift the engine and hopefully slide it forward to free the drive and then pull the whole thing out. But it quickly became clear that the front side of the drive housing was in the way–I couldn’t pull the assembly far enough forward and up to clear it without binding the after part of the drive housing on the transom. So, working carefully with my nearly-exhausted supply of blades and my precious last semi-usable remnants of a grinder cutoff wheel, I cut the front of the housing out with a saw cut on each side (vertically) and then along the bottom edge. This opened up the front section to allow the drive assembly to move forward without lifting so much.
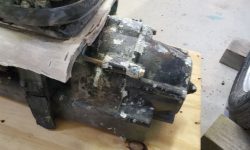
It should have been pretty easy from there, but the thing fought me every step of the way. It took a little while and a bit of frustration and effort before I finally figured out why the assembly refused to move forward enough to clear the drive forward of the transom: A combination of factors, including the fact that tunnel narrowed towards the forward end, and the drive had a tight-tolerance flange with gasket near the aft end that was binding hard on the narrowing tunnel. I’d seen the gasket, but thought it was just that: A gasket. But there were cast flanges on each side to secure it, and these were tight on the fiberglass and couldn’t move forward any further. With some difficulty, I eventually cut more of the fiberglass on one side, in way of the gasketed flange, to provide enough extra clearance to finally rid the boat of the unwanted resident.
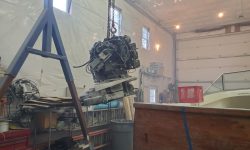
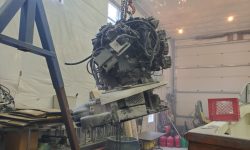
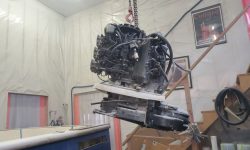
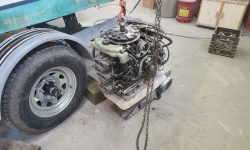
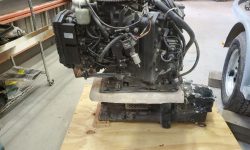
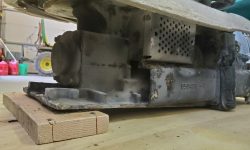
I wasted no time, after a quick pause for victory photos, in getting the thing over the side and down to the floor. Perhaps this was once a nifty setup, but I never wanted to see its kind again. I’d soon address the remnants of the tunnel and related structures in the boat, once I resupplied myself with the necessary cutting tools that I’d exhausted during the removal; all of this was always going to be cut out, and the resulting hole reshaped and patched, as part of this project.
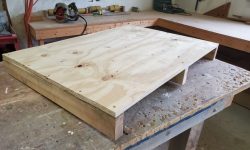
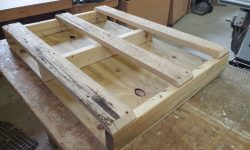
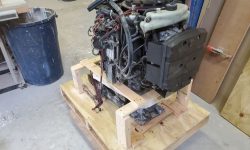
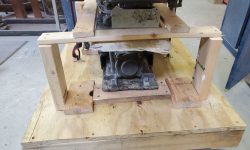
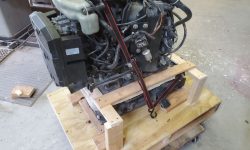
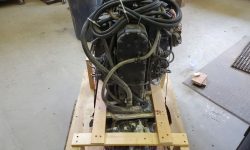
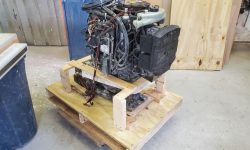
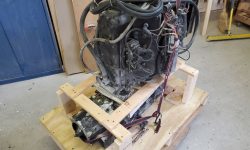
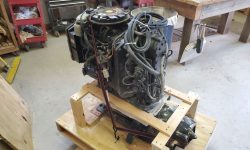
I spent the remainder of the day building a storage/shipping crate for the assembly, after quickly reattaching a couple of the accessory pieces I’d removed from the engine during the dismounting. There was no way to bolt the assembly directly to whatever structure, so instead I devised a system to secure it tightly using a strap over the top and some wooden framework around and over portions of the assembly to prevent movement or tipping.
From here, the next step would be to build a simple framework to enclose the engine and cover it with cardboard or plastic or something. The crate also left ample room for all the various pieces of the drive and related components I’d removed earlier, so that whatever future recipient should have everything required on hand.
Total time billed on this job today: 6 hours
0600 Weather Observation: 40°, rain. Forecast for the day: Rain, 51°.


