

October 5, 2022
Holby 28
Wednesday
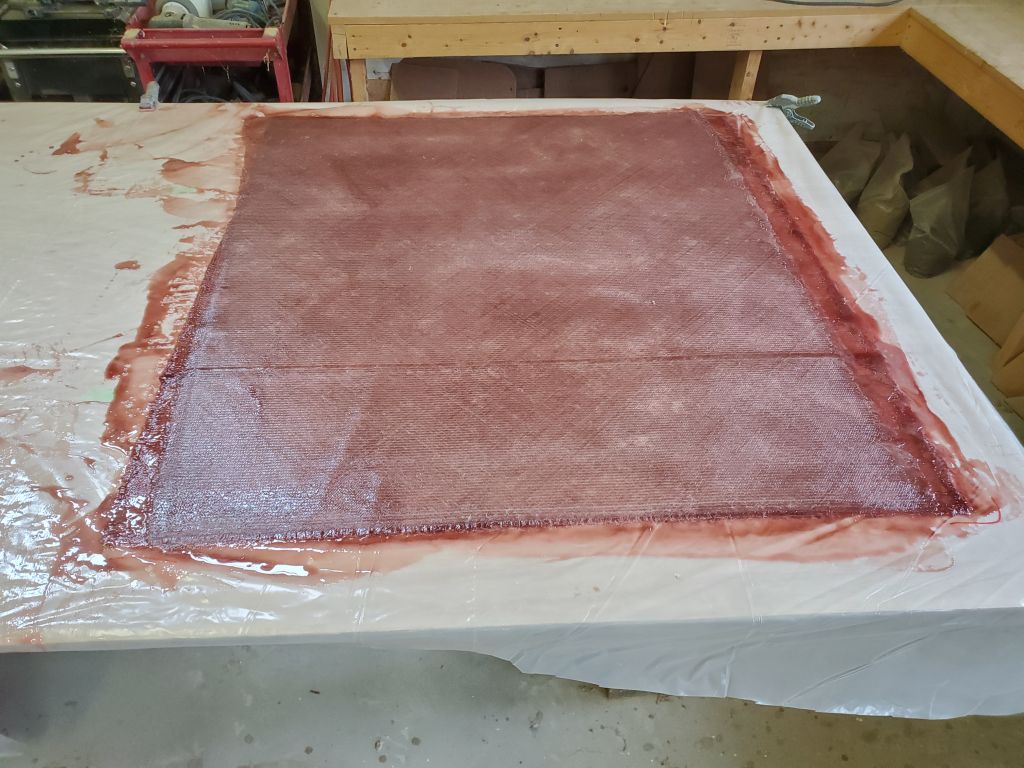
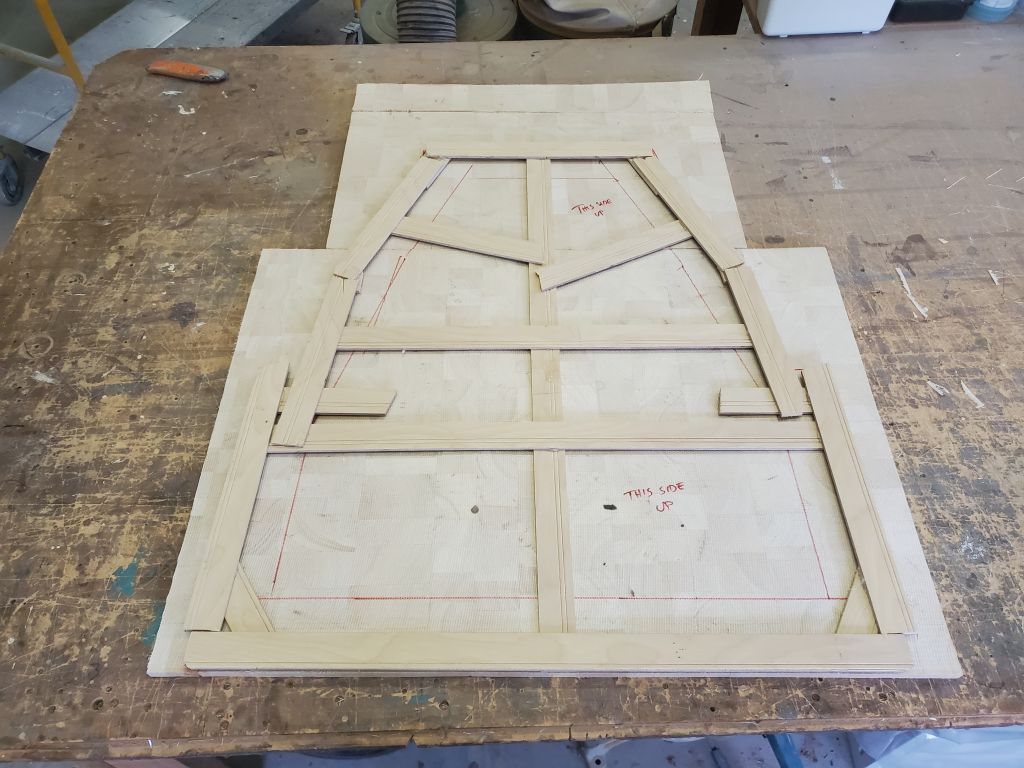
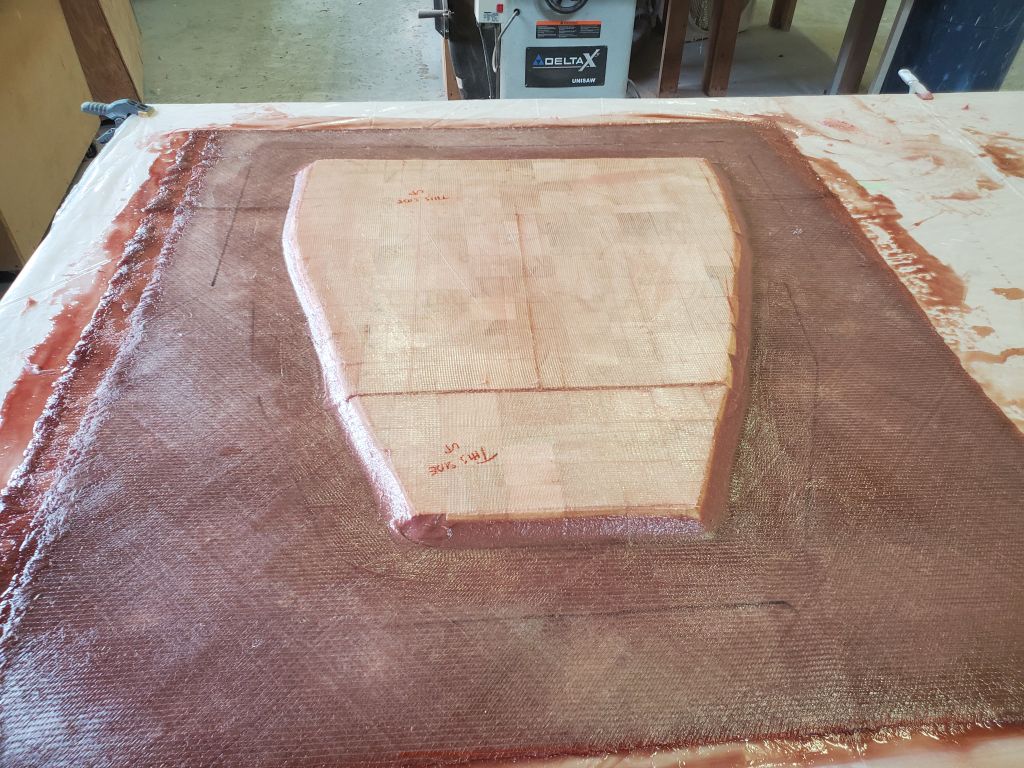
To begin, I laminated the three layers of fiberglass I’d previously cut with epoxy resin, creating a top-skin panel for the new outboard well deck. While the initial layers were gelling, I prepared a section of 1/2″ balsa core to fit, using the overall template as a guide, then cutting the core 3″ short on all sides to leave room for a solid flange where the deck would rest on various cleats and supports along the edges during installation. I cut a bevel on the outer sides of the core to allow fiberglass to lay over it during installation.
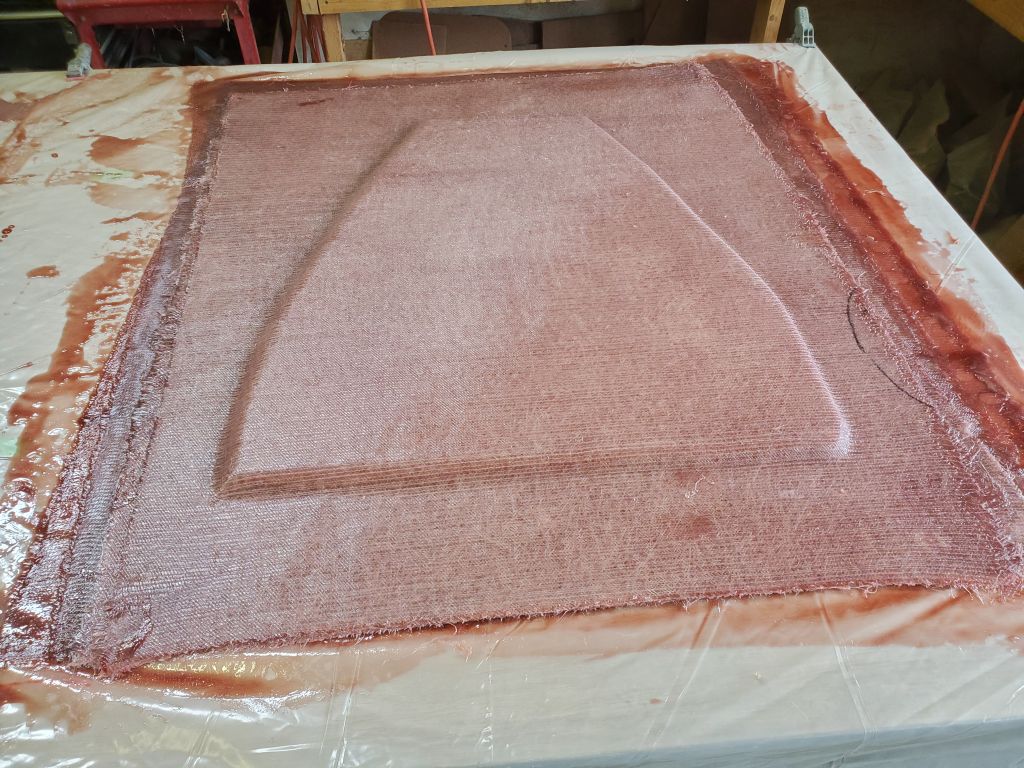
Once the three top layers had sufficiently cured, I made a light outline of the template on the surface and positioned the new core within; the rectangular base panel was sufficiently oversize that I had ample room on all edges for adjustment. I pre-wet both sides of the core with resin, then installed it in a bed of epoxy adhesive before installing two additional layers of 1708 over the top of the core to complete the laminate structure for the sandwich.


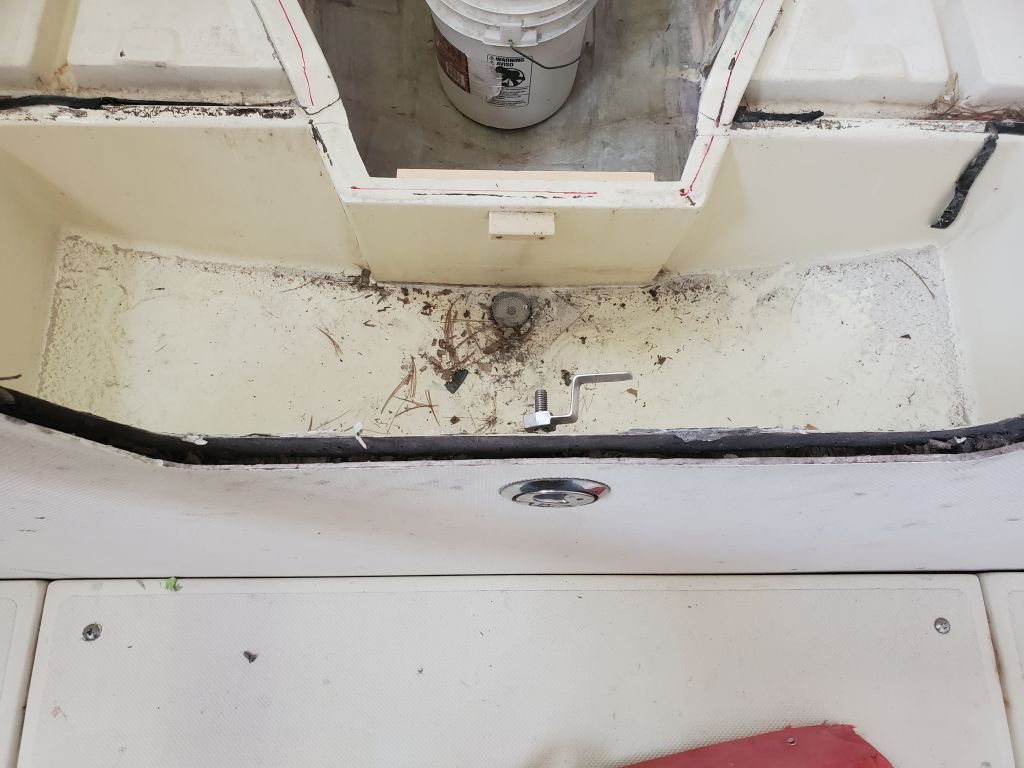
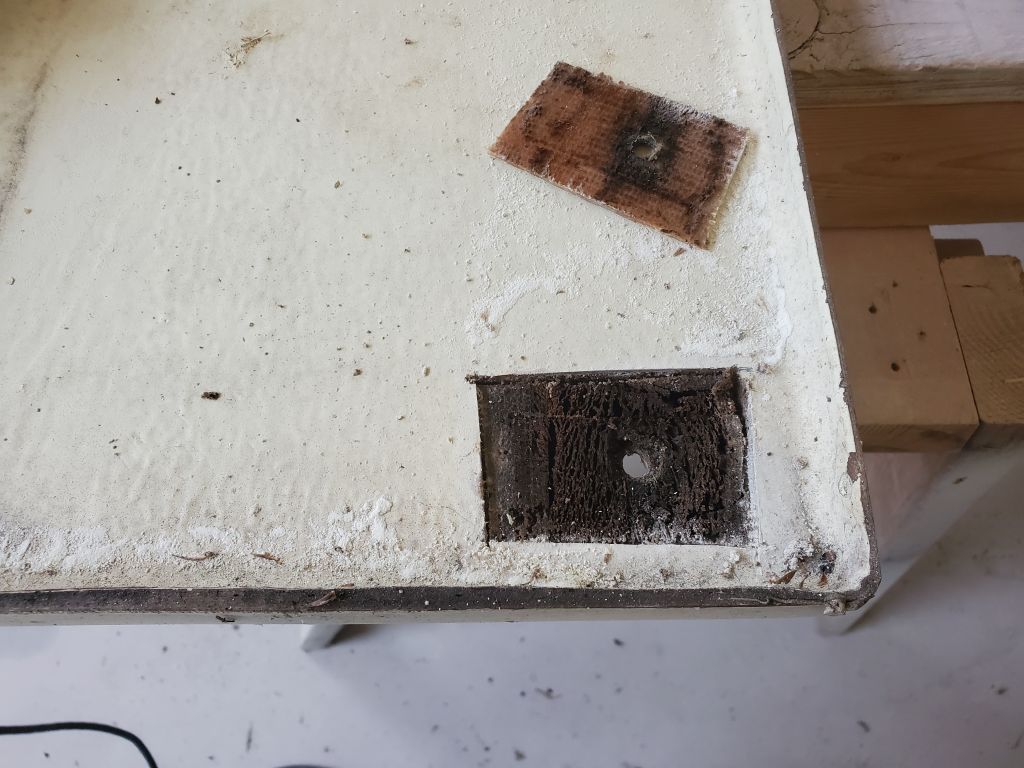
The owner reported that the hinged hatch for the livewell, and the semi-permanent hatch over the fuel tank, showed signs of core damage or water intrusion. The livewell hatch was obvious at casual observation, as the aft edge, where it had been cut to accommodate the original jet drive installation, had obviously been poorly sealed–or perhaps not sealed at all–and the core there, such as remained, was exposed to the elements and in poor condition. The condition of the larger hatch over the fuel tank was less obvious immediately, but now I removed both pieces so I could address the necessary repairs. Removal was quick and straightforward.
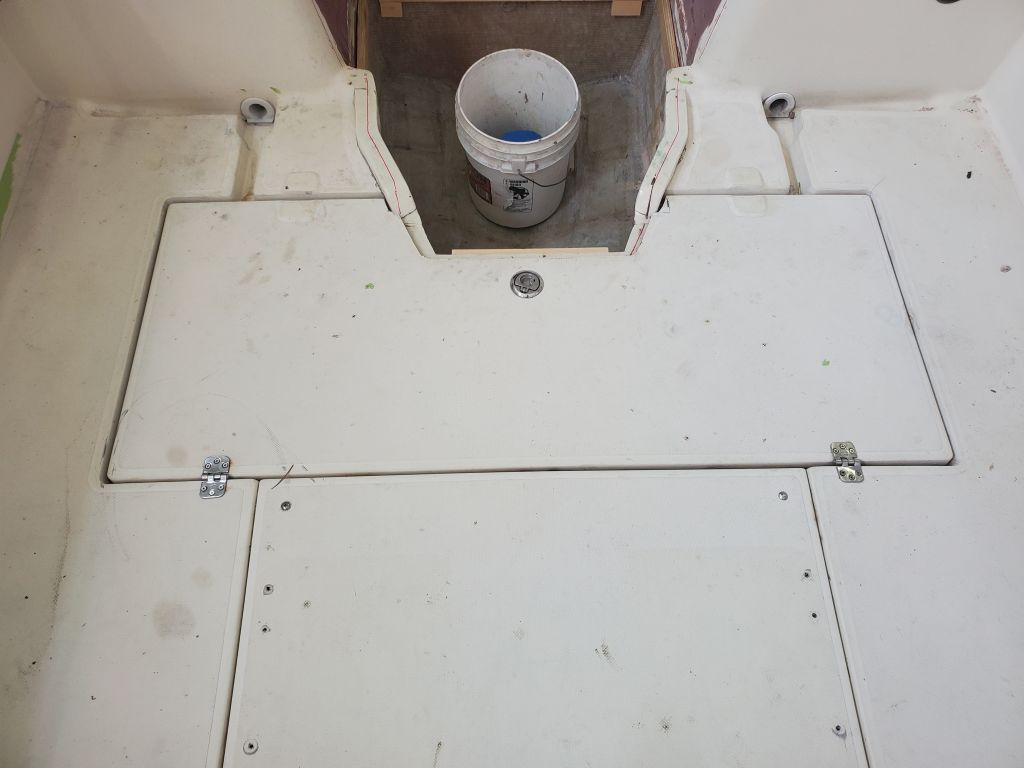
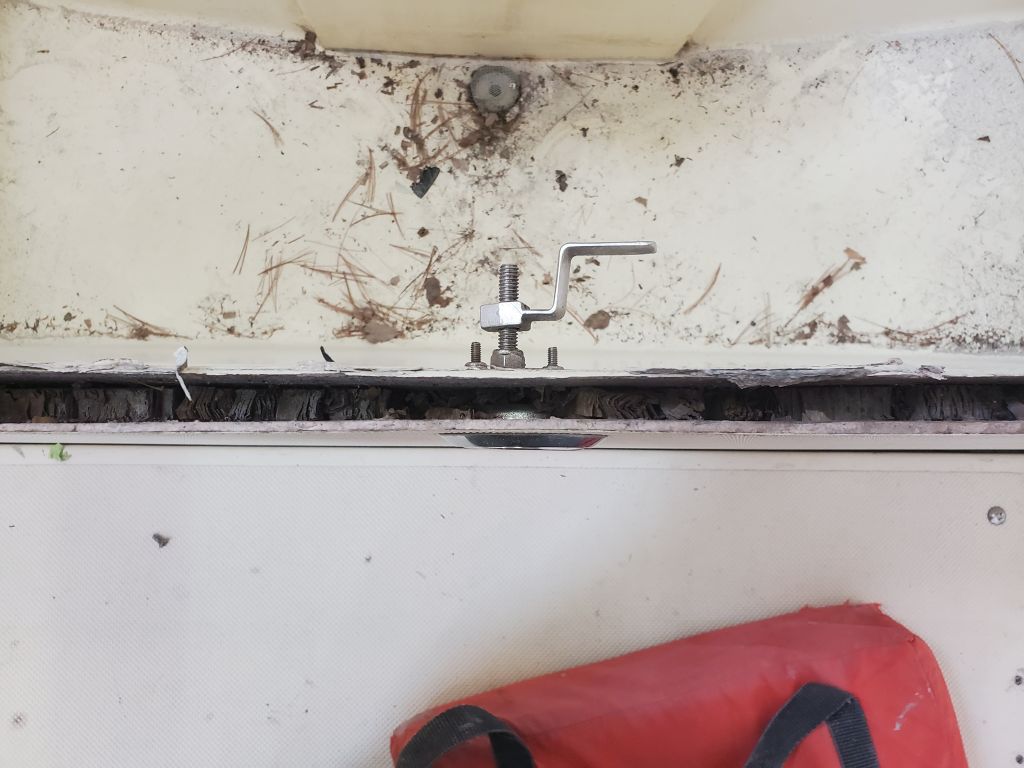
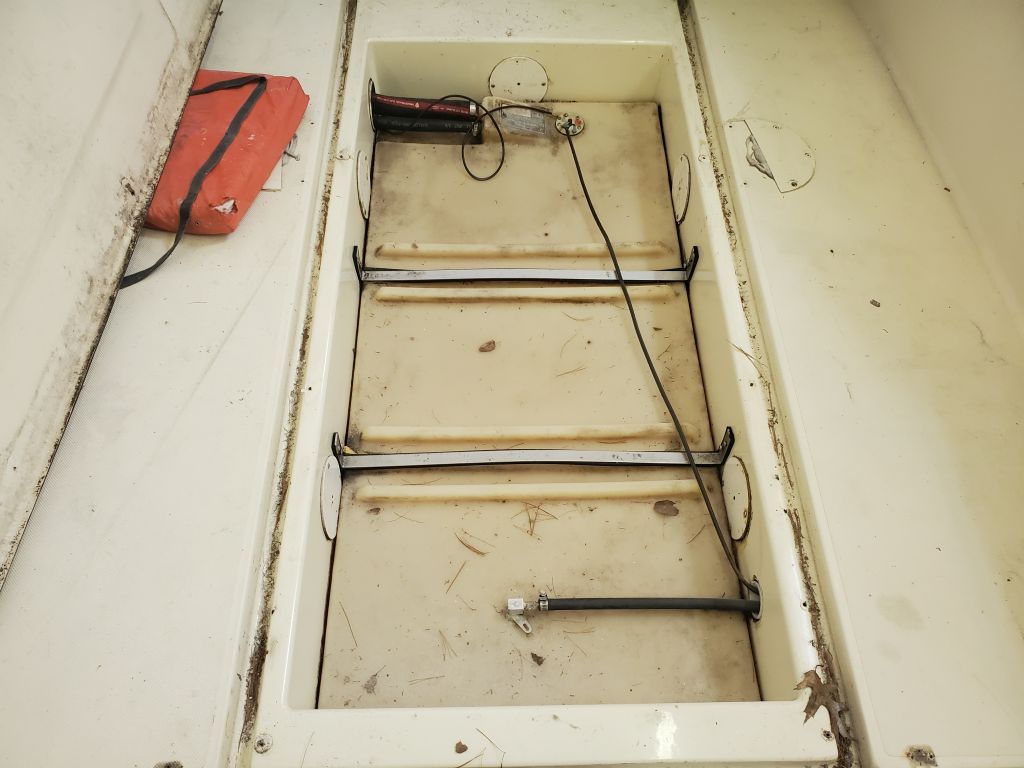

It was clear the livewell hatch would require new core and bottom skin, retaining the original top with its molded pattern for cosmetic reasons. I removed the latching mechanism, devoid of sealant, to expose more of the core, and set this piece aside to deal with later.

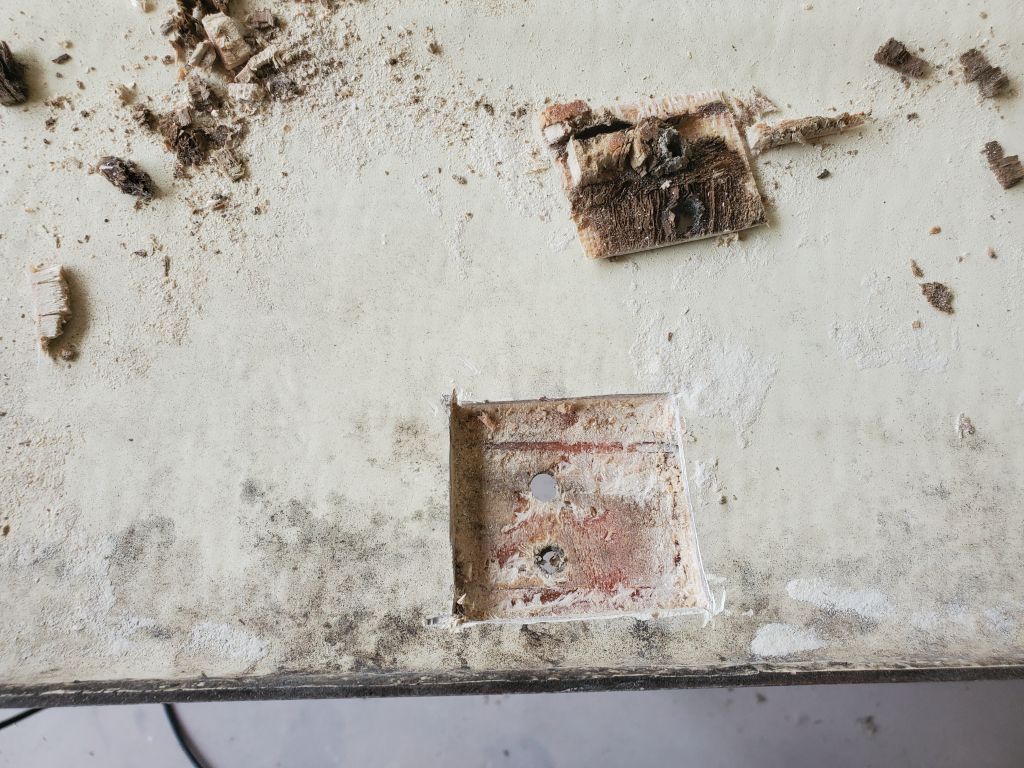
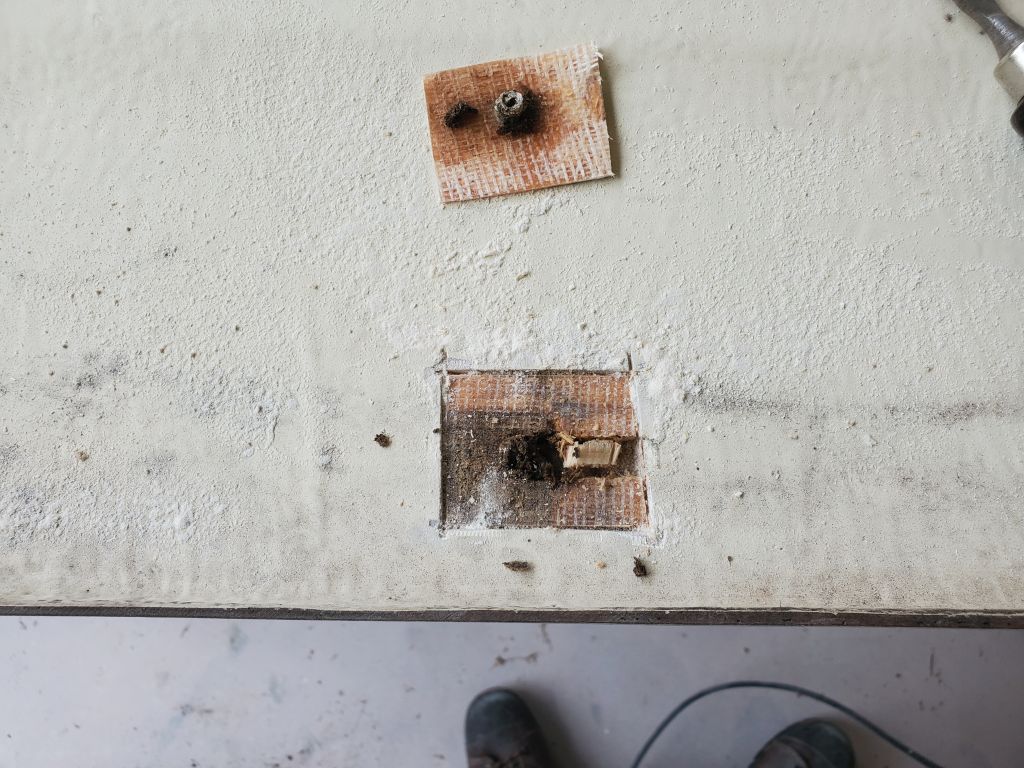
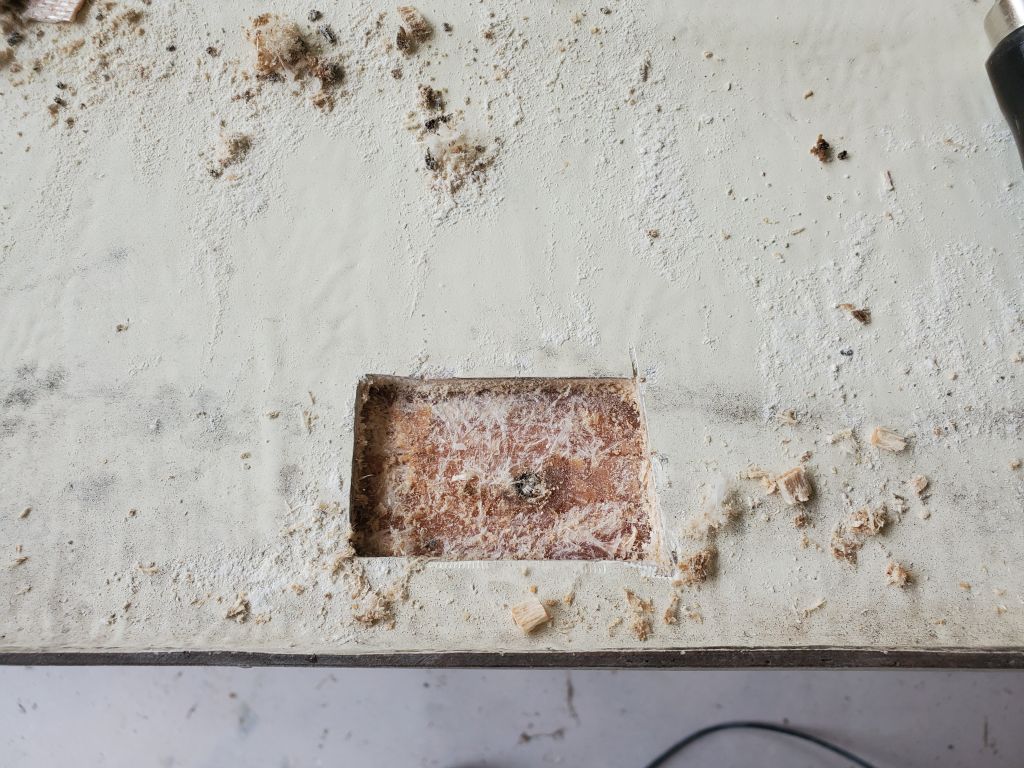
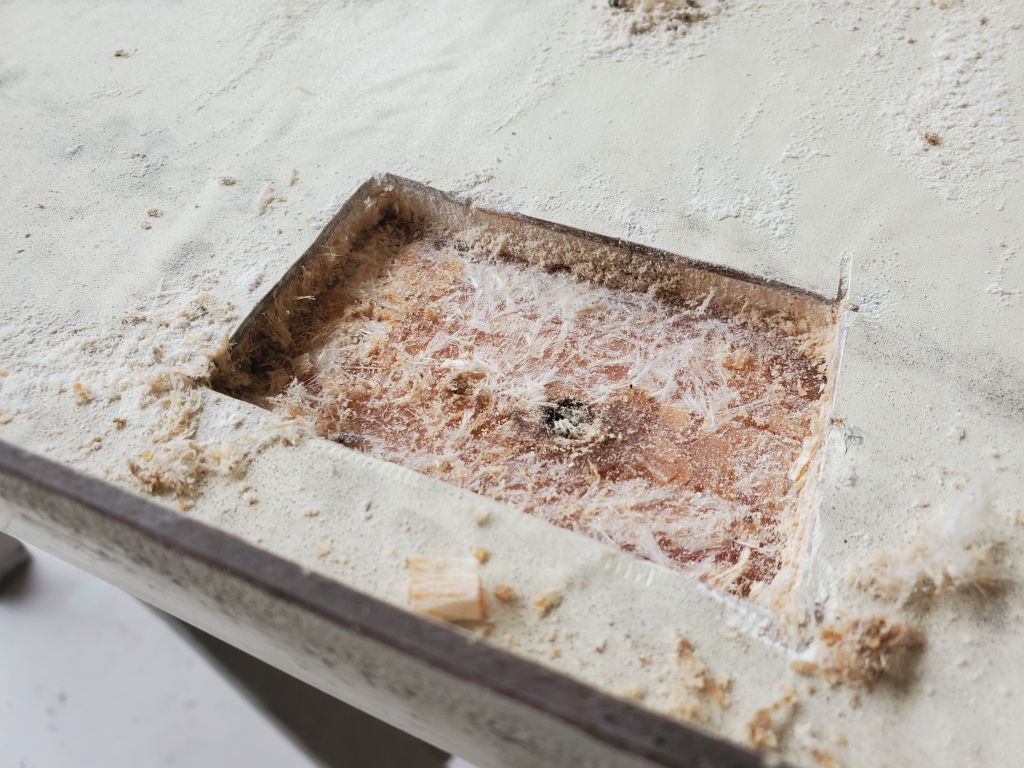
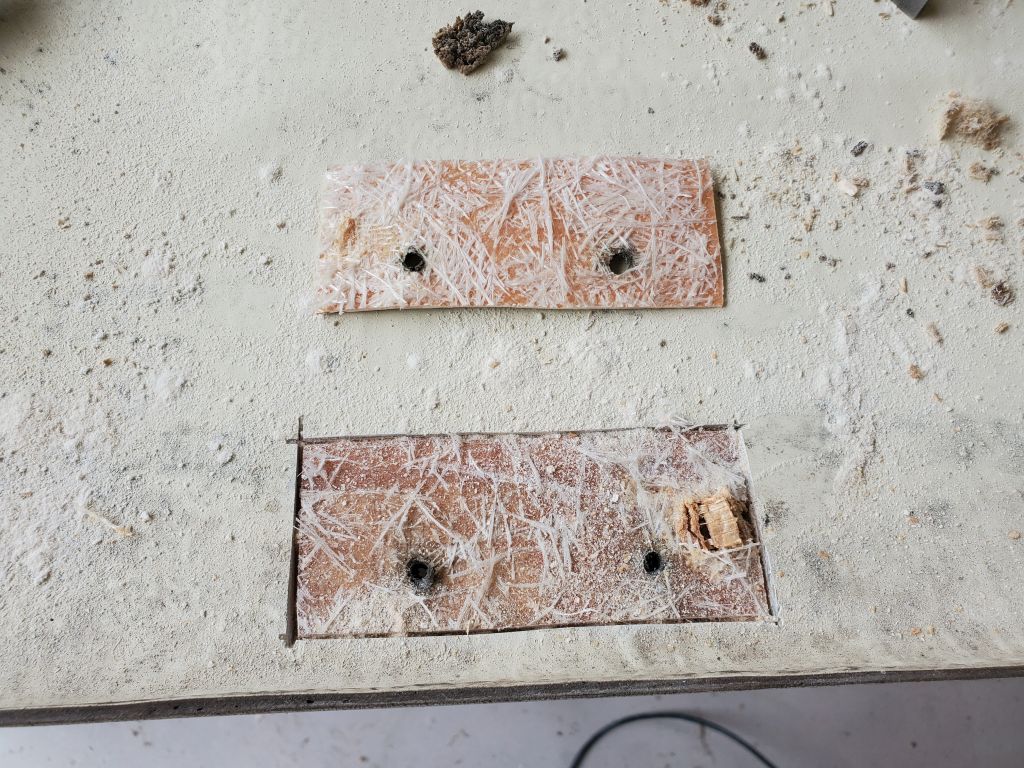
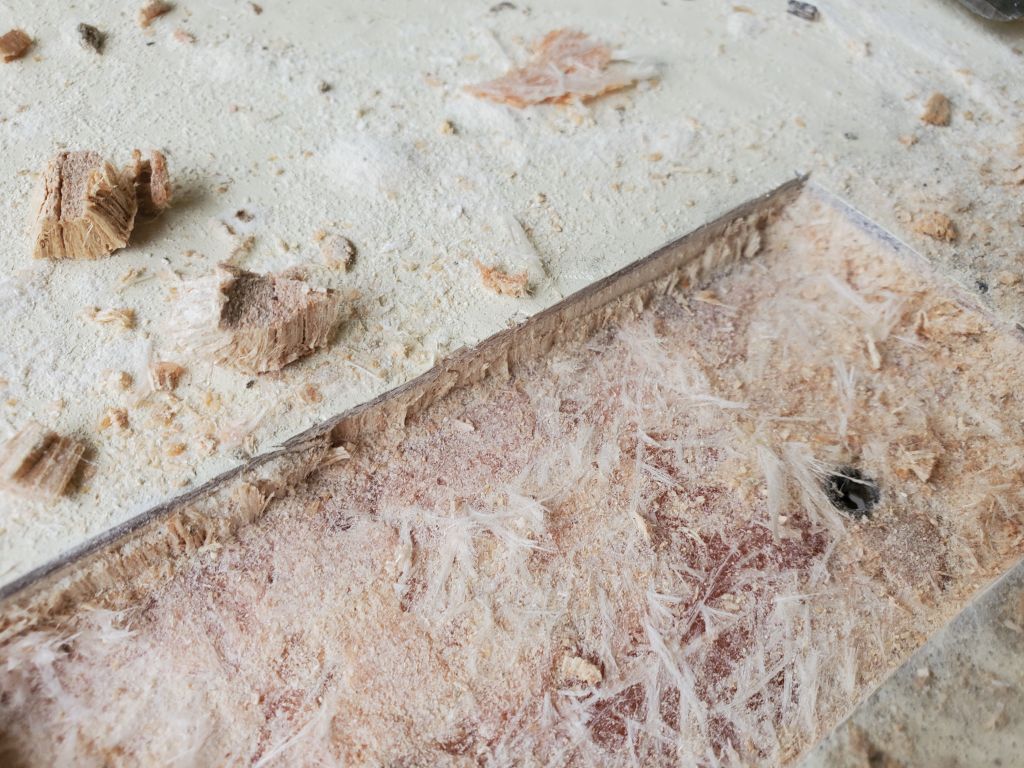
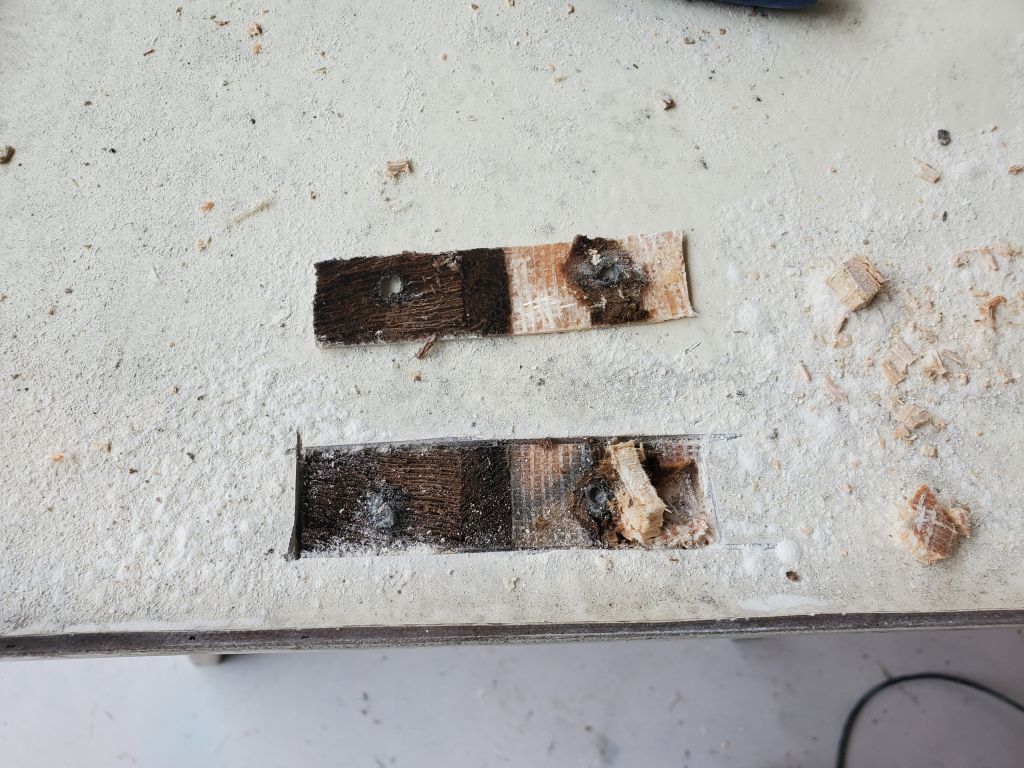
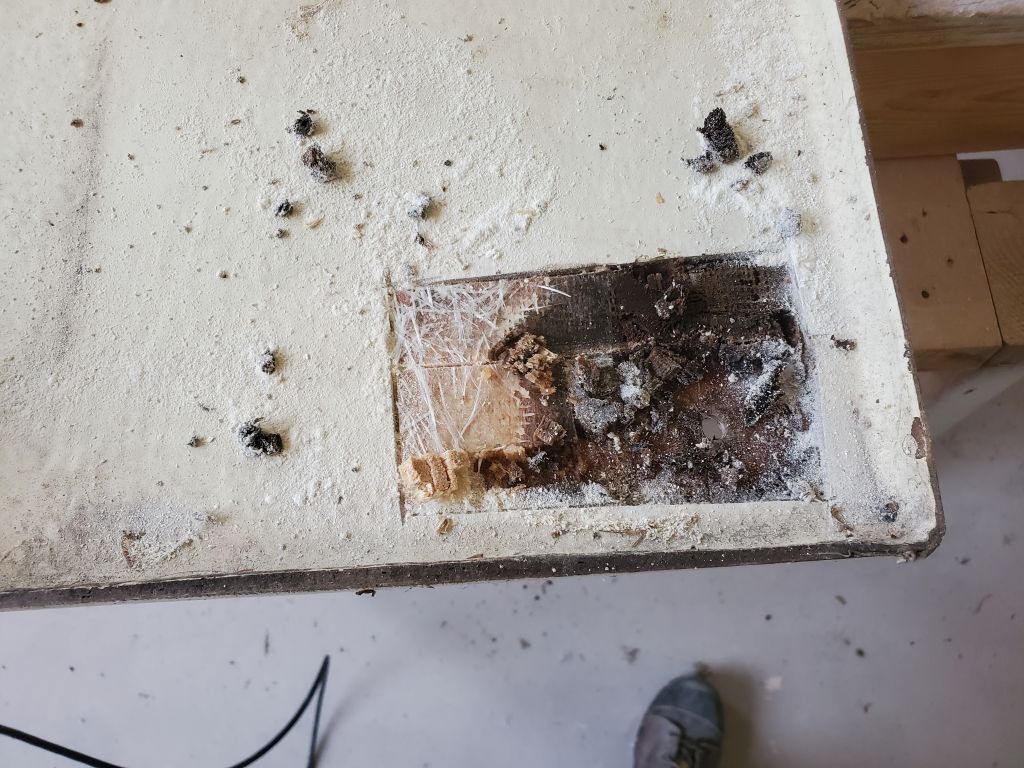
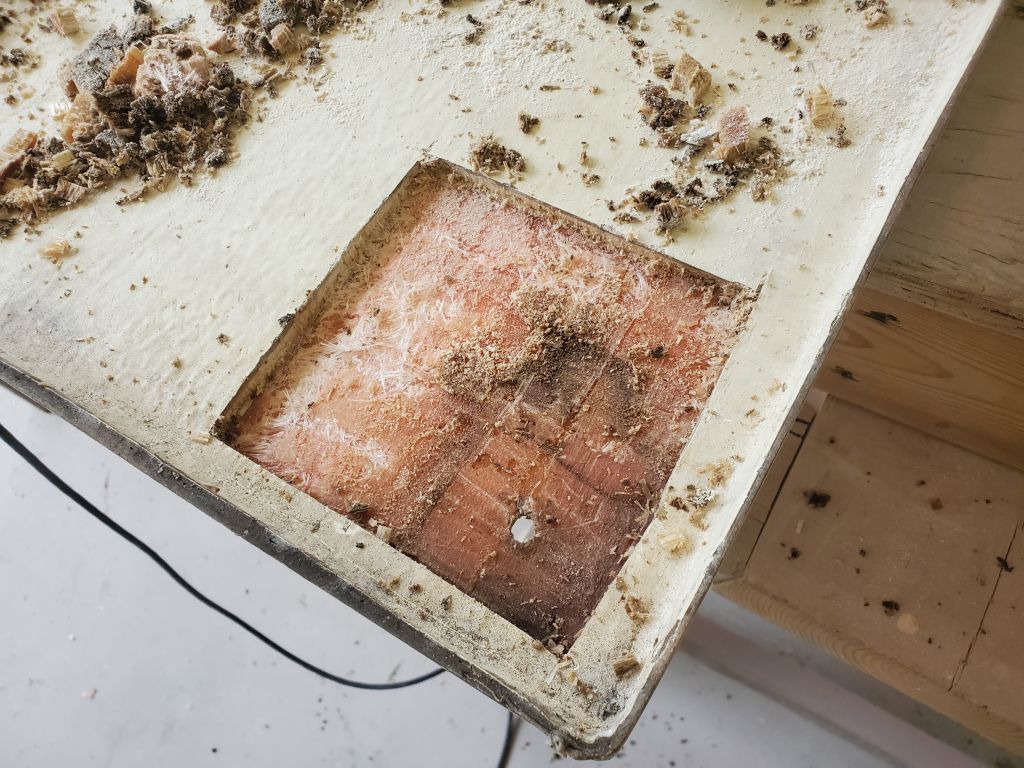
At initial inspection the fuel tank hatch seemed generally in good condition, but some careful exploratory inspection revealed evidence of water intrusion through the screw holes along the edges–both the fixing holes, as well as screw holes from the deck seating (previously removed). But my sense was the overall structure was sound, so after setting up some benches I began by opening the bottom skin around a randomly-chosen screw hole, using an oscillating cutting tool. I found an isolated pocket of damaged balsa core around the fastener hole, but it quickly became dry and sound, so it seemed wholesale core rebuilding would be unnecessary. Continuing in this way, I opened all the screw locations on one side of the hatch, finding varying levels of core damage immediately at the holes and expanding the openings as needed in each case to expose only clean, dry, well-bonded core at the edges.

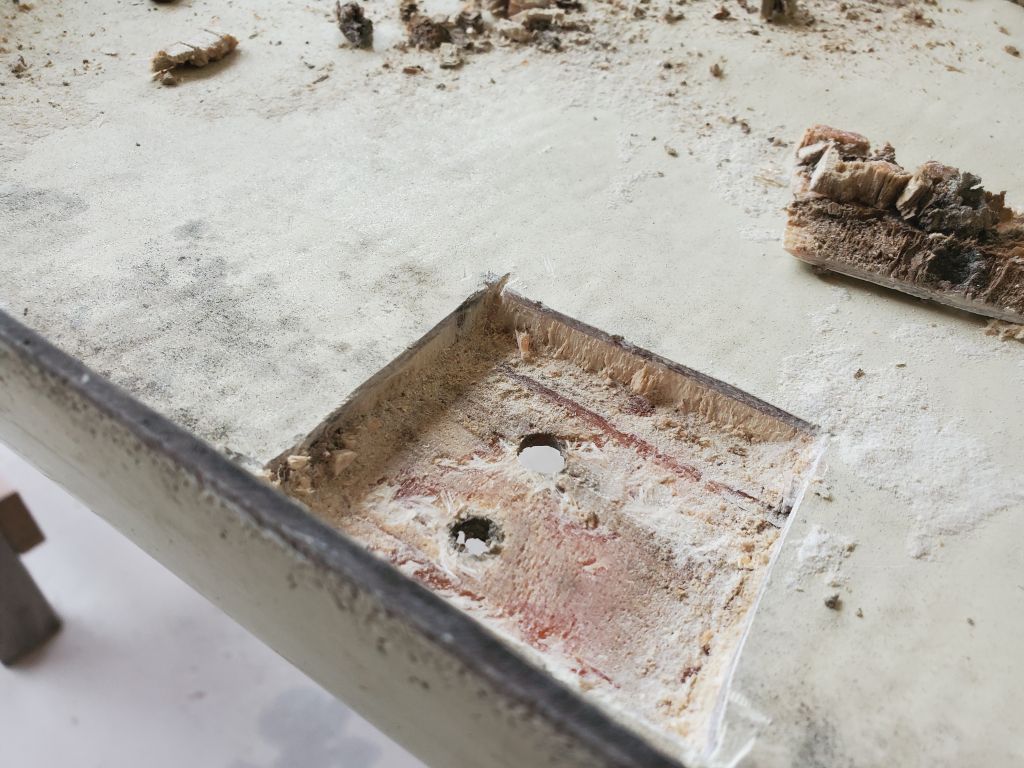
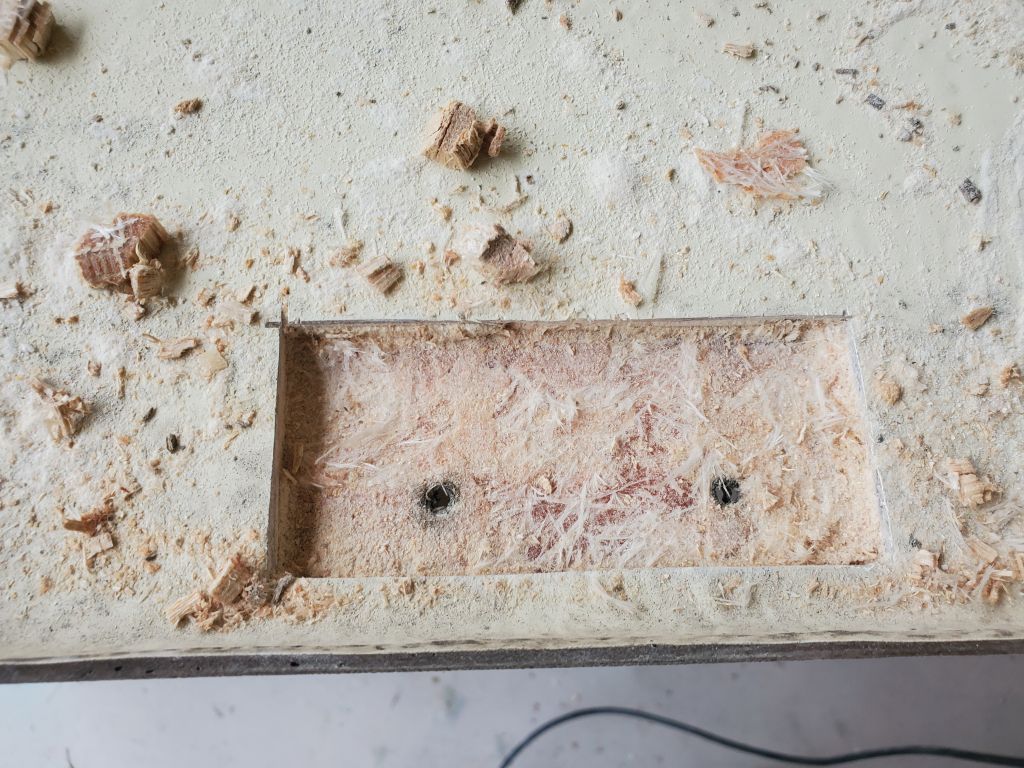
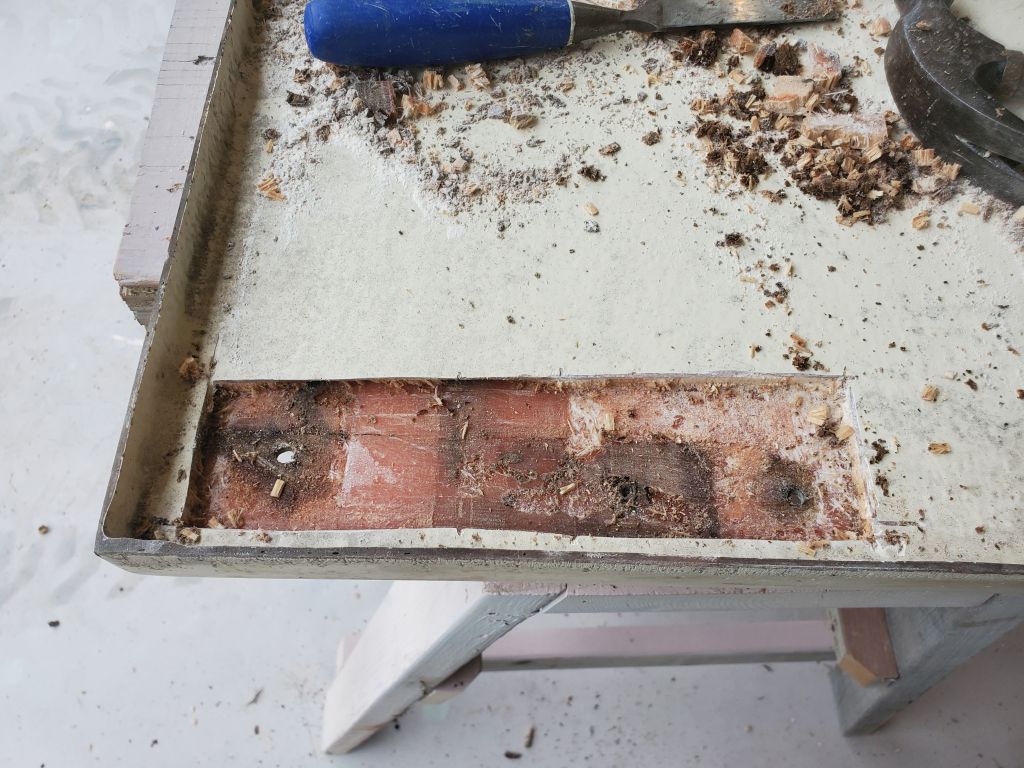
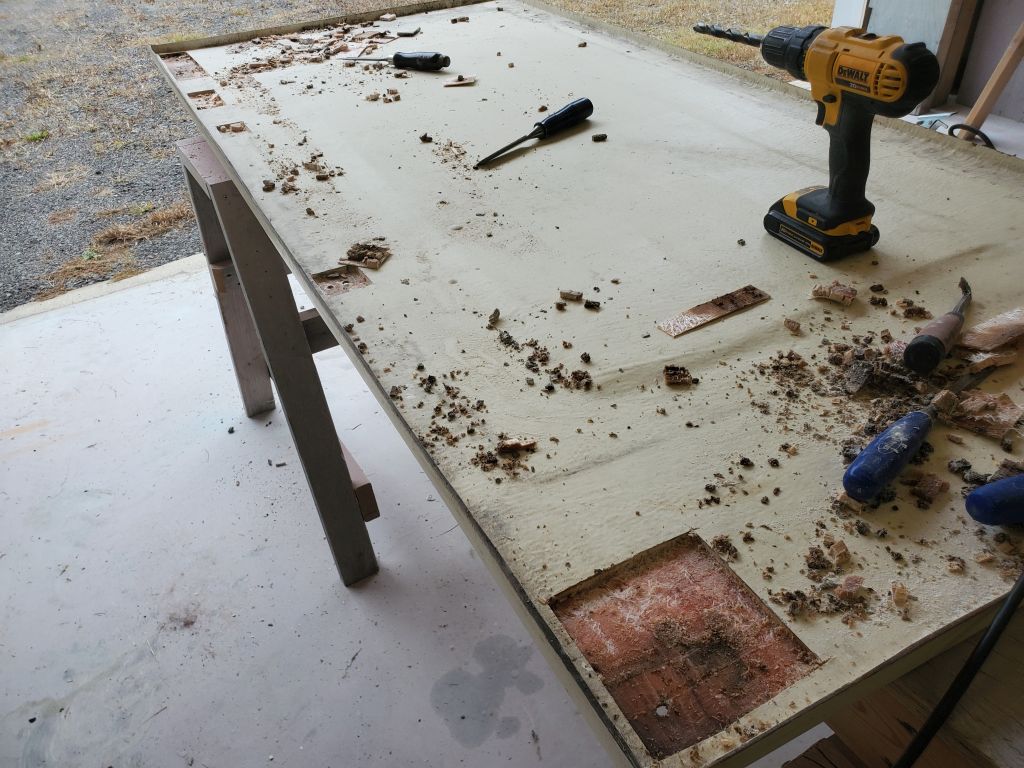
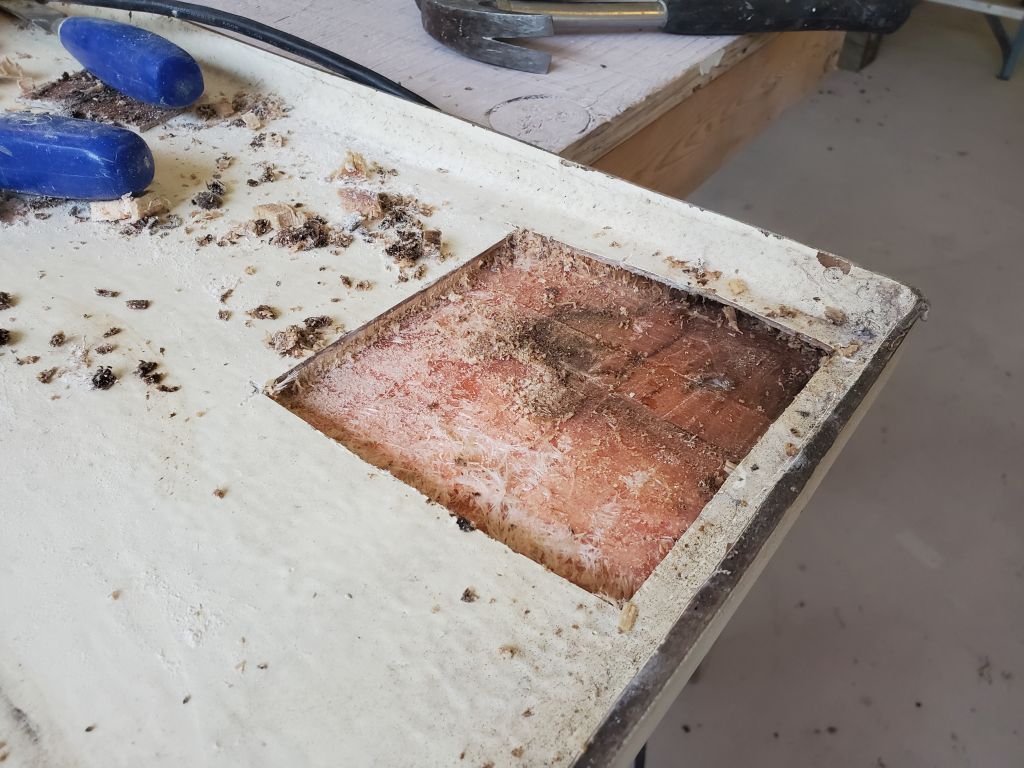
This brought me to the end of the day. Next time, I’d continue on the other side of the hatch, then begin repairs, for which I planned to install solid fiberglass at each of the openings, filling them to the level of the existing skin. This would not only replace the damaged core, but also prevent further water issues once the piece was reinstalled.
Total time billed on this job today: 6 hours
0600 Weather Observation: 47°, overcast. Forecast for the day: Mainly cloudy, 65°