

October 6, 2022
Holby 29
Thursday
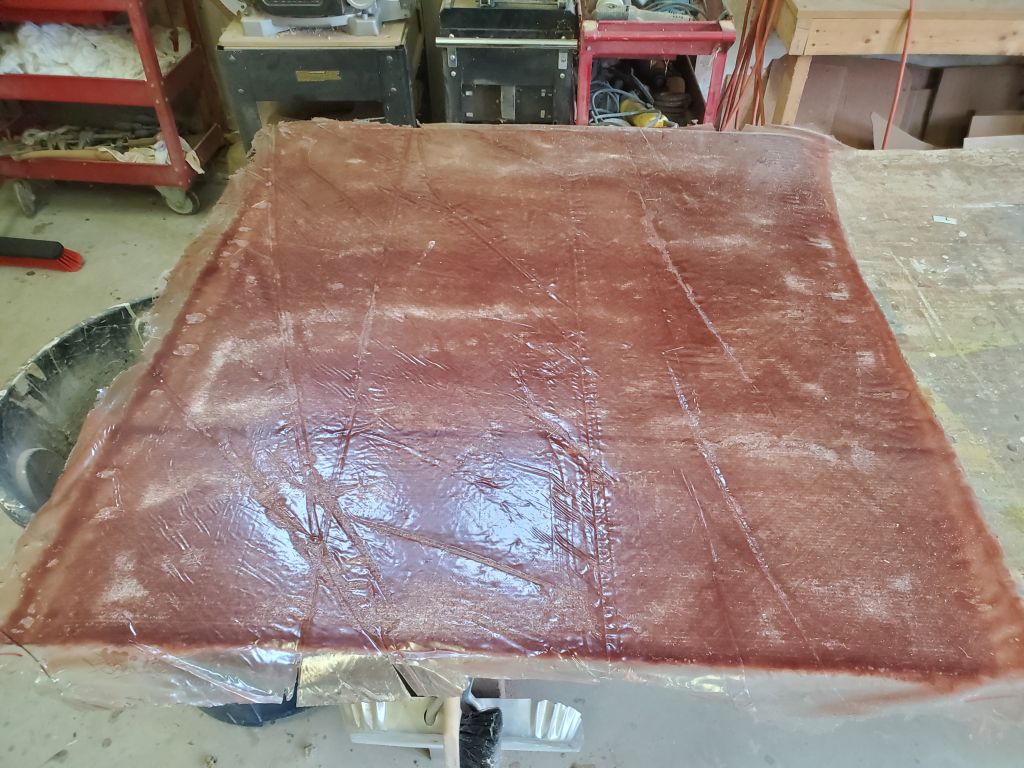
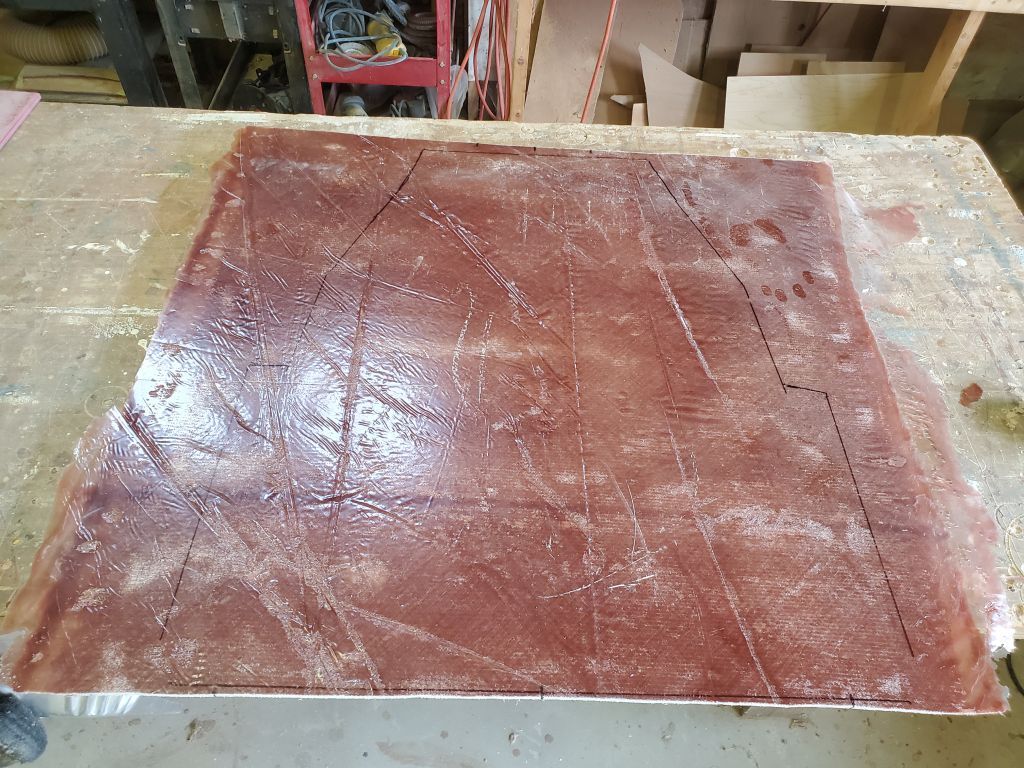
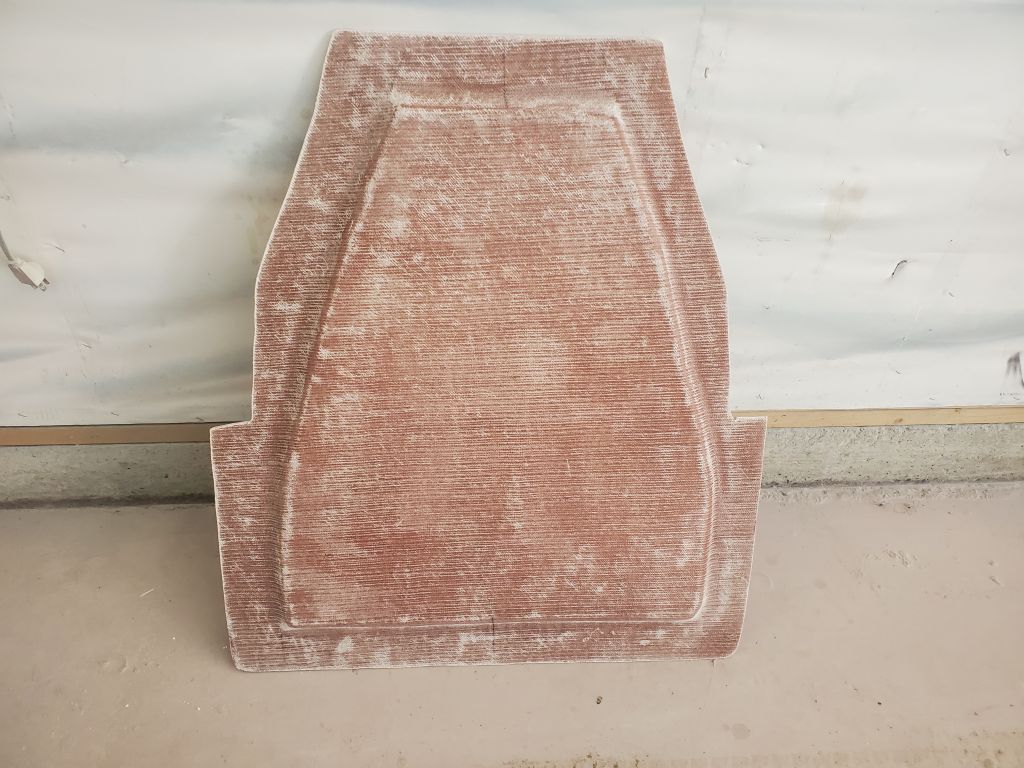
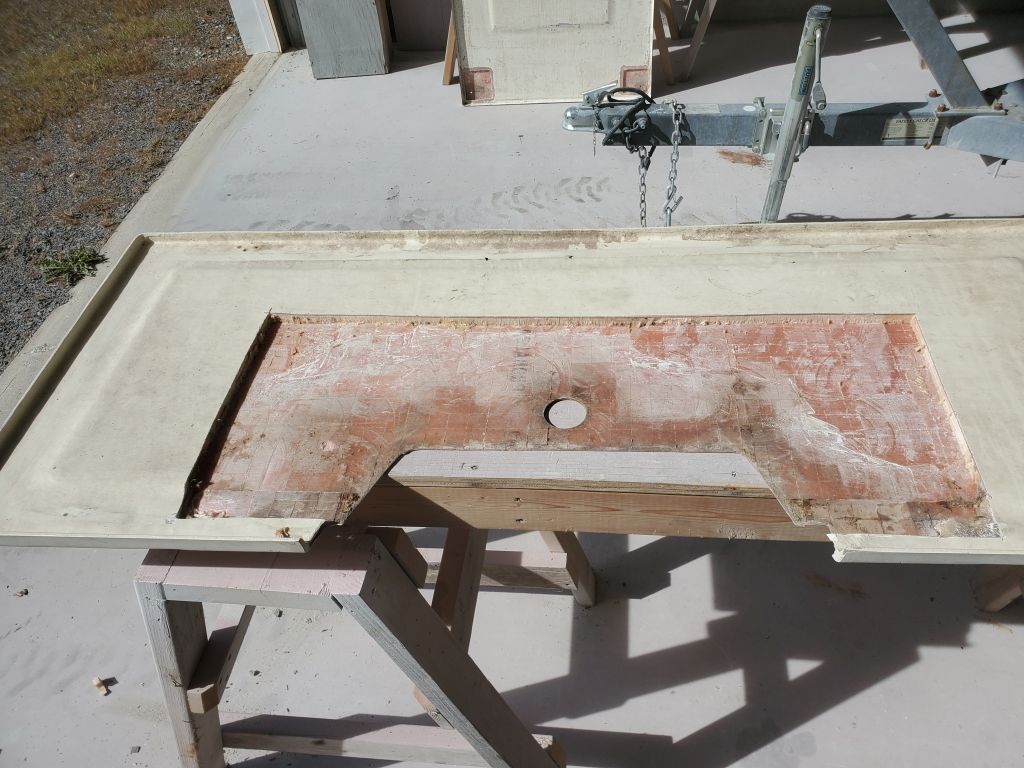
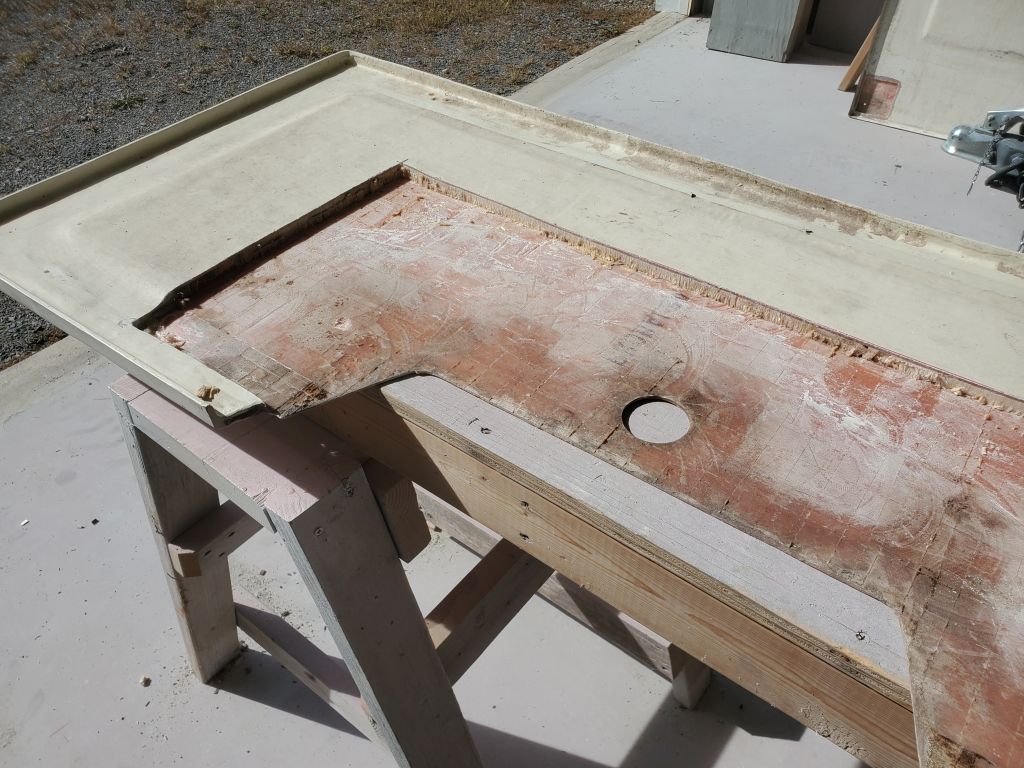
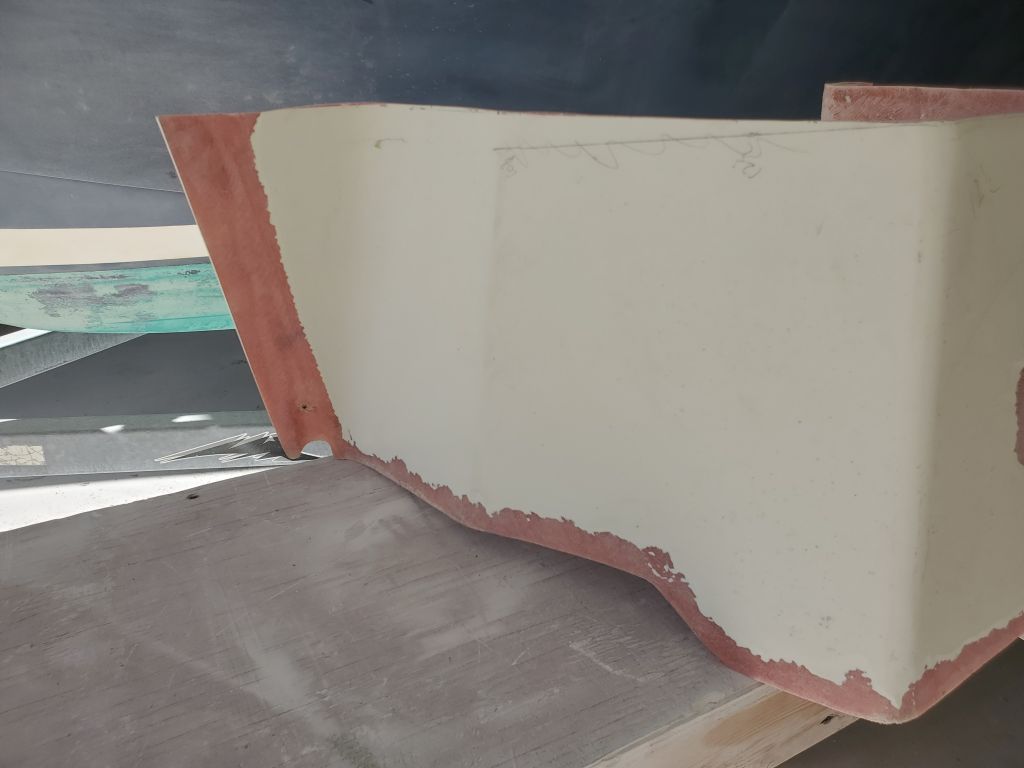
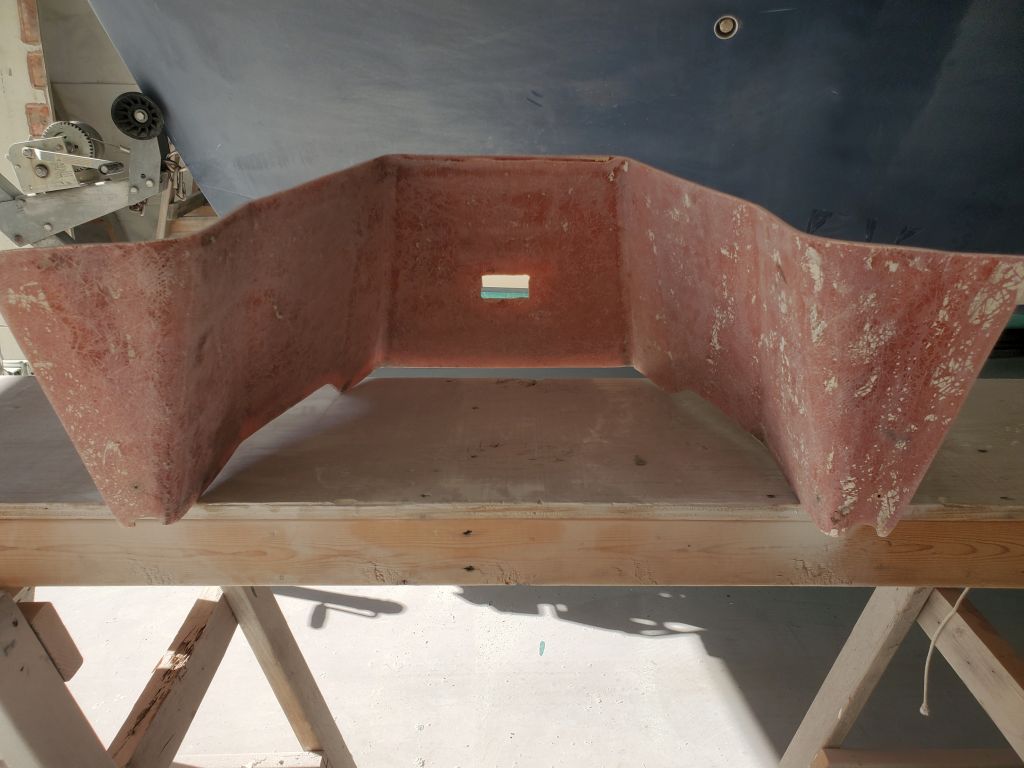
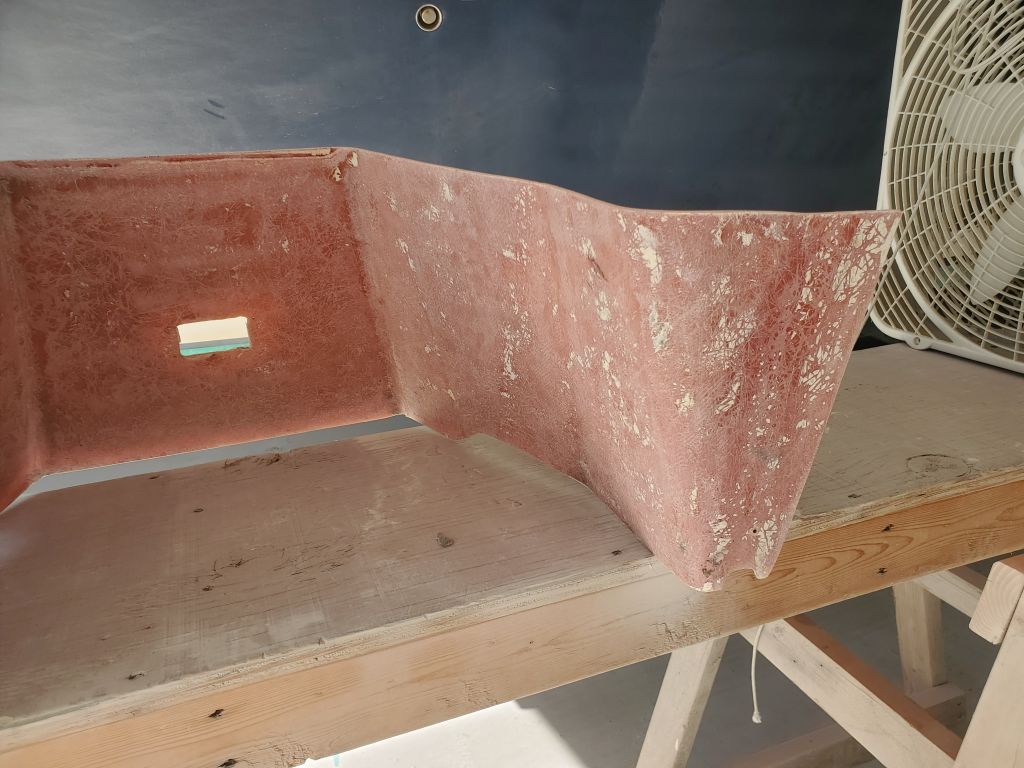
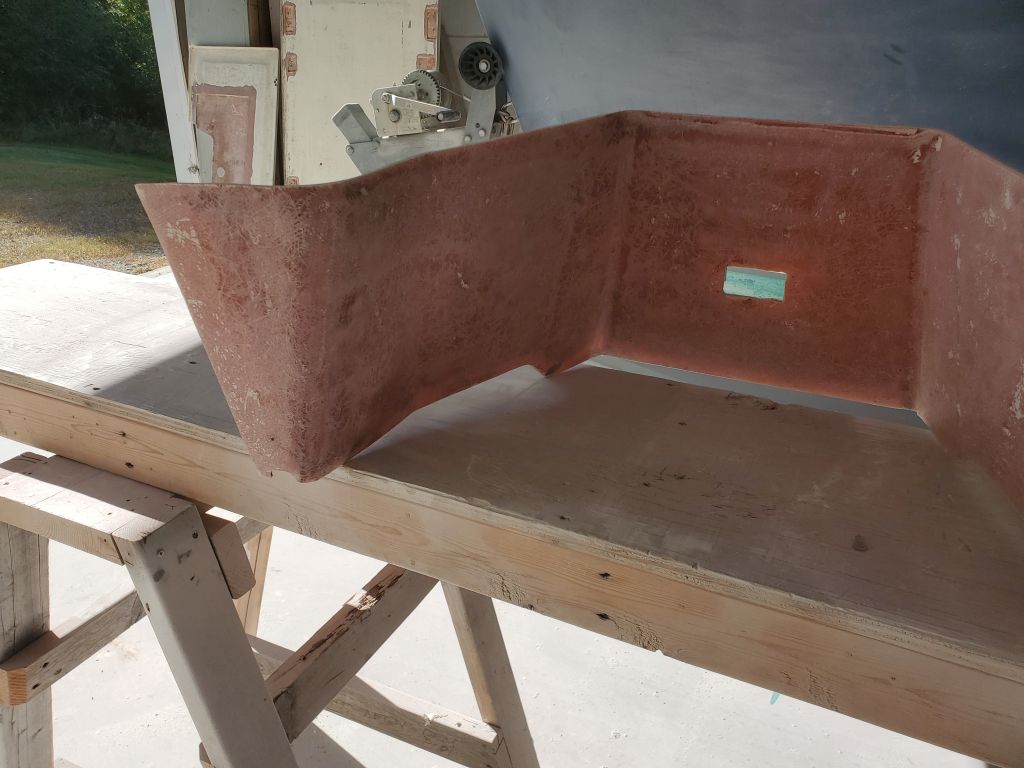
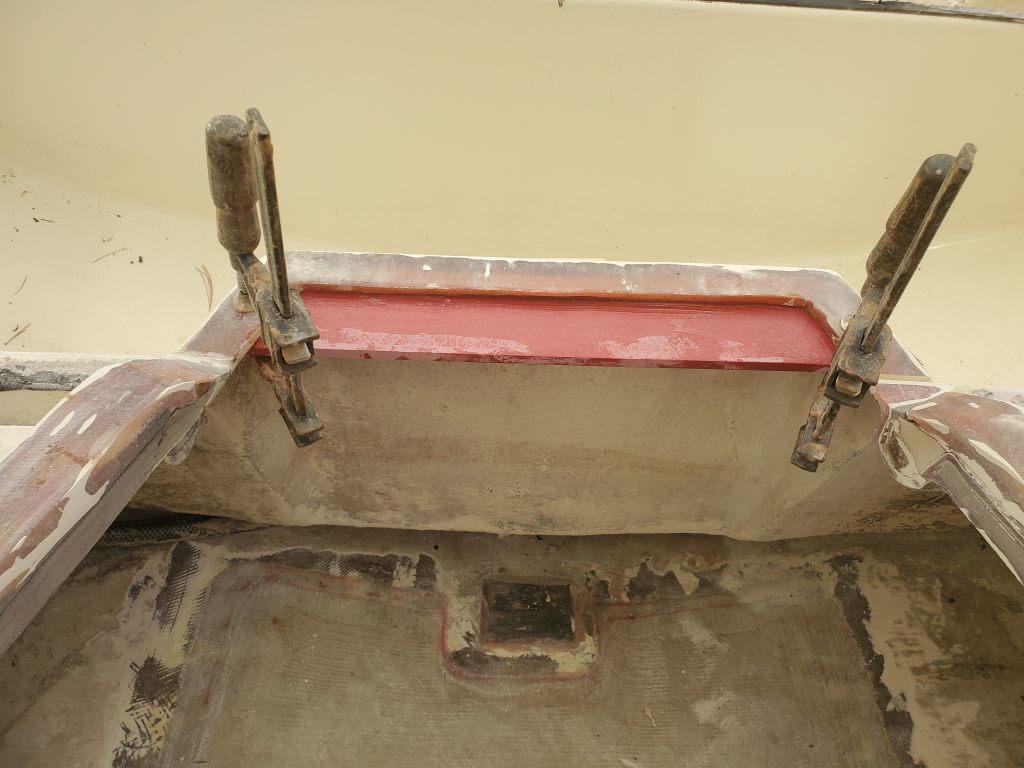
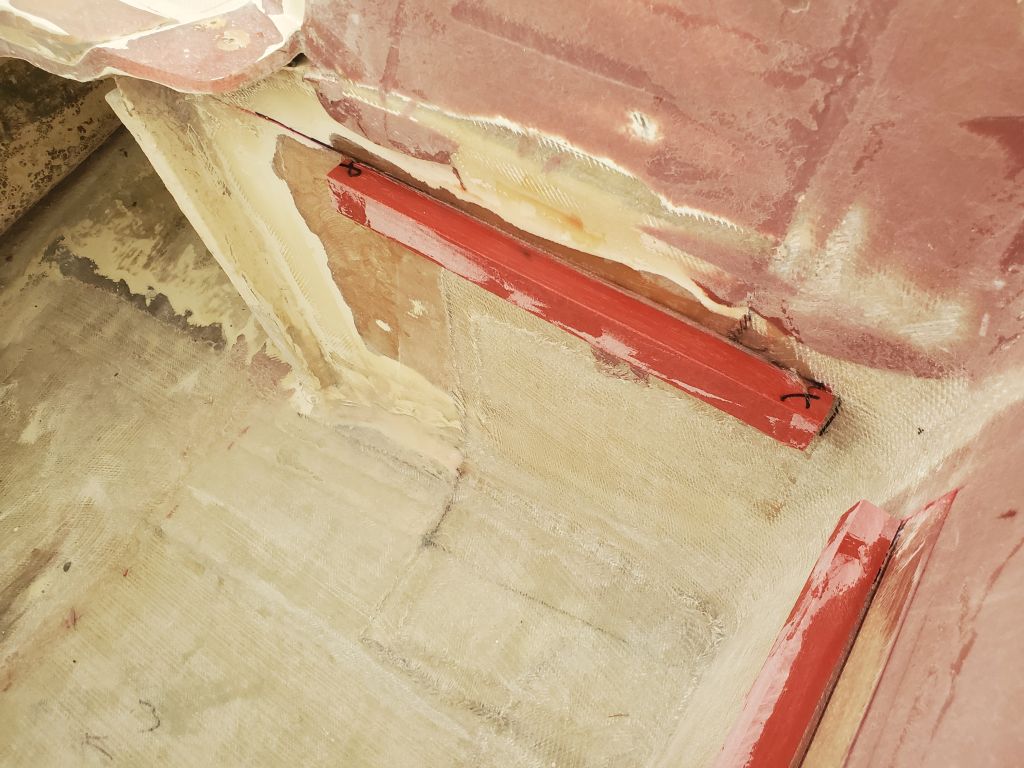
The new sandwich assembly for the outboard well deck was ready for final shaping. After “unmolding” the part and exposing the flat, if slightly textured from the molding medium (i.e. plastic sheeting), I roughed out the position of the template on the bottom side of the piece, making some reference marks, then used those marks to position the template properly on the top face of the part so I could cut out the shape as required. I fine-tuned the piece as needed till it fit appropriately in the opening on the boat, resting on the temporary wooden cleats. The large gaps at the corners of the bowed forward sections would be filled and tabbed over later as part of the final installation; I didn’t extend the flat panel into these areas as doing so would have prohibited installation of the panel in the space.

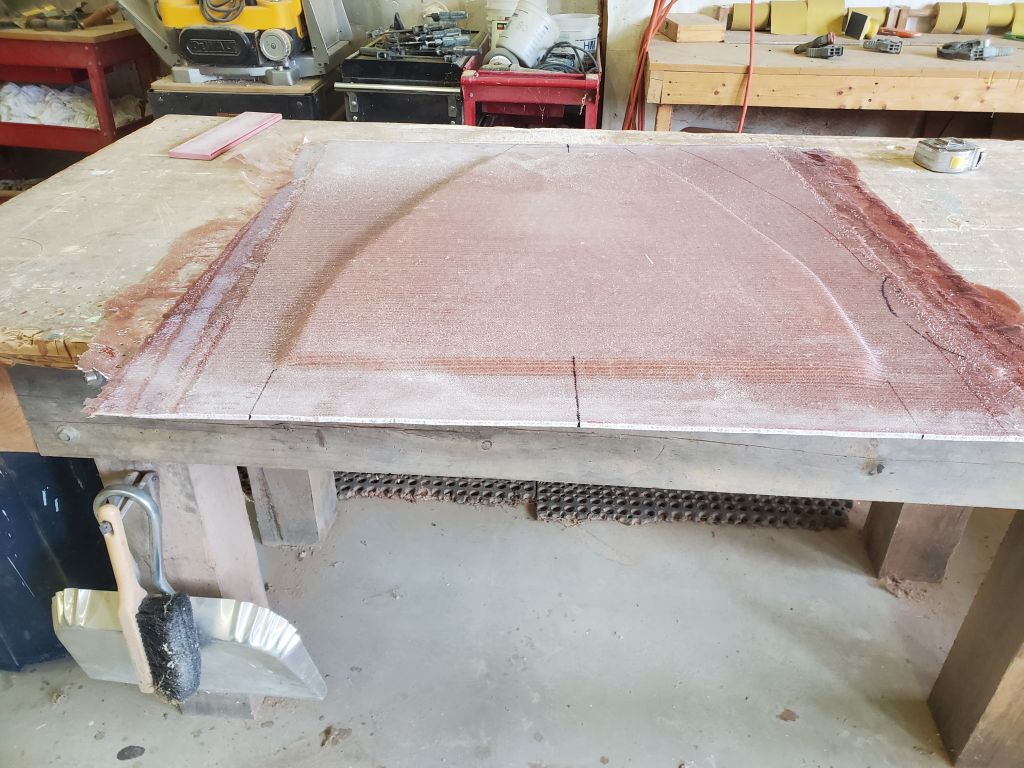


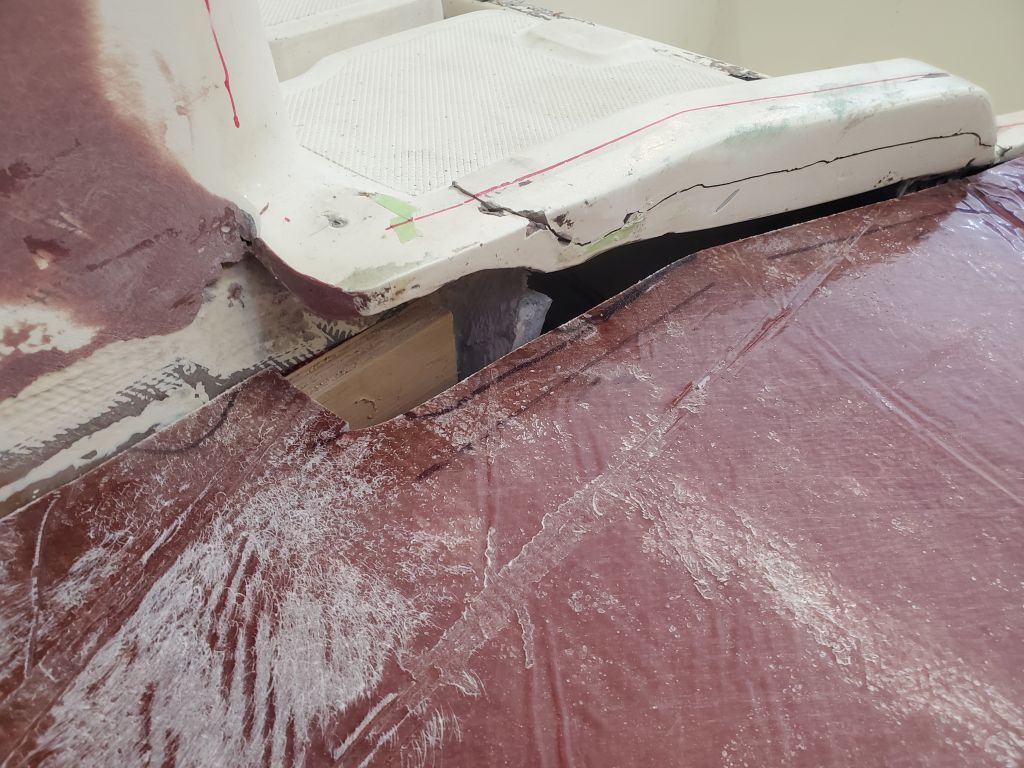
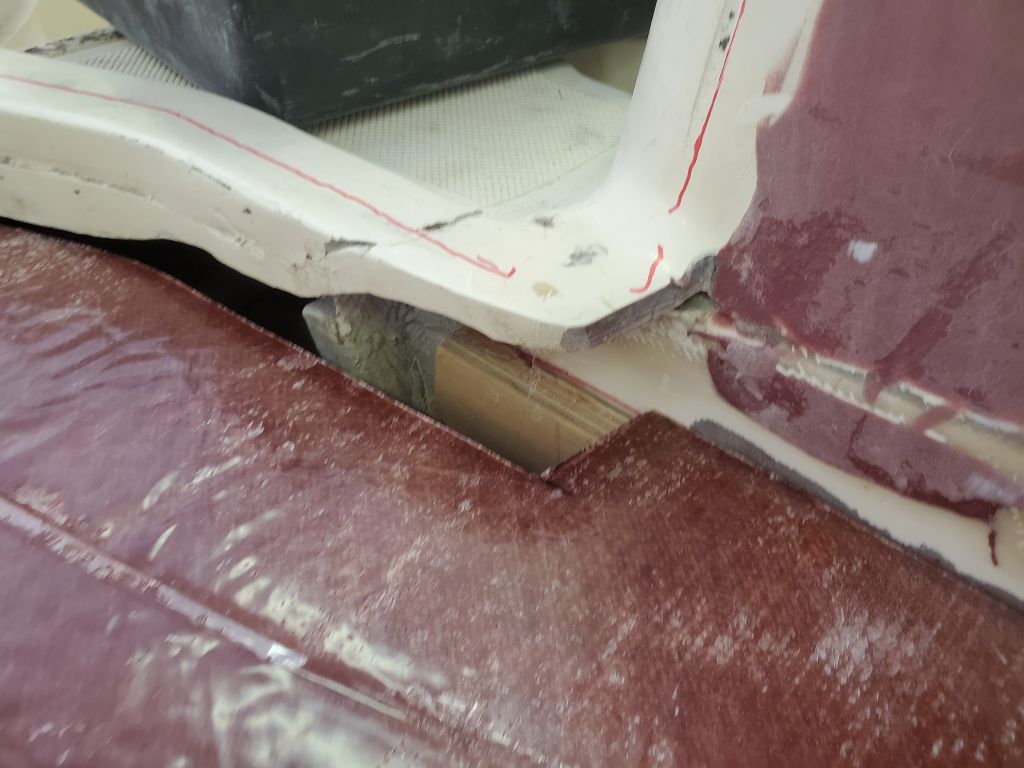
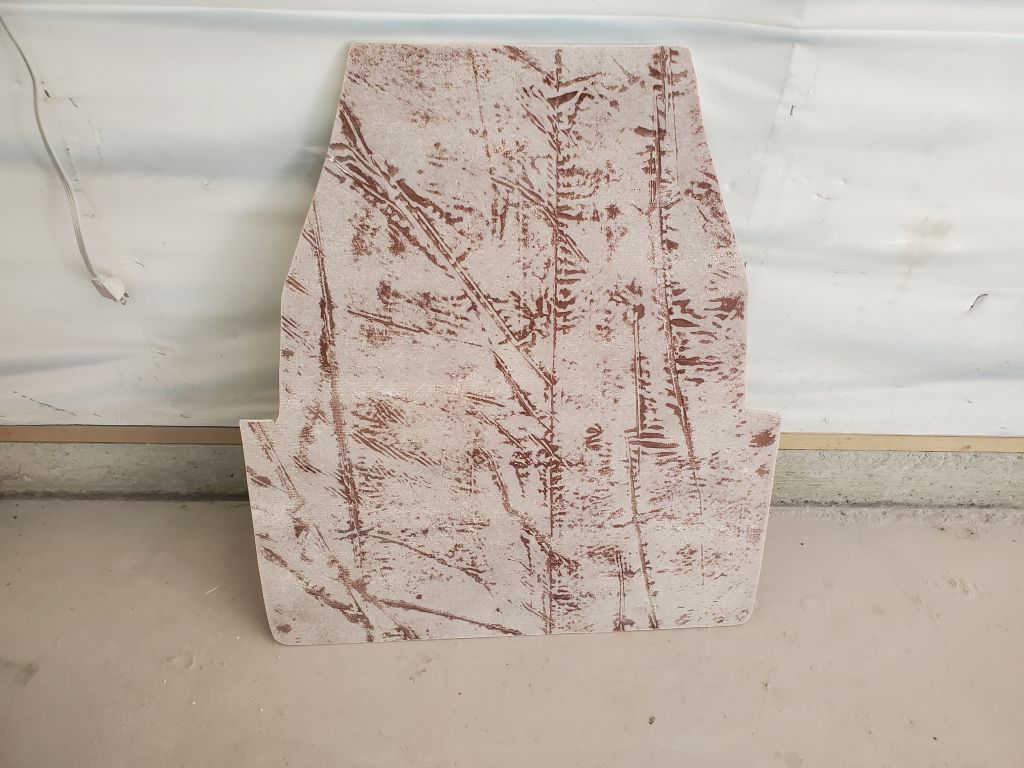
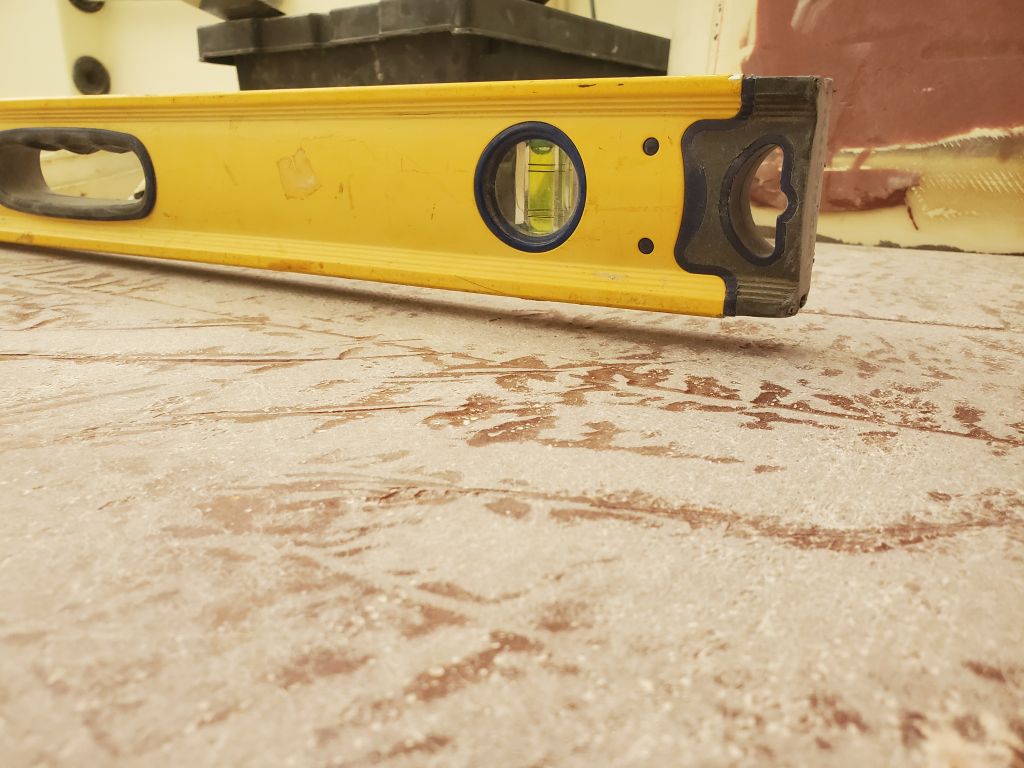
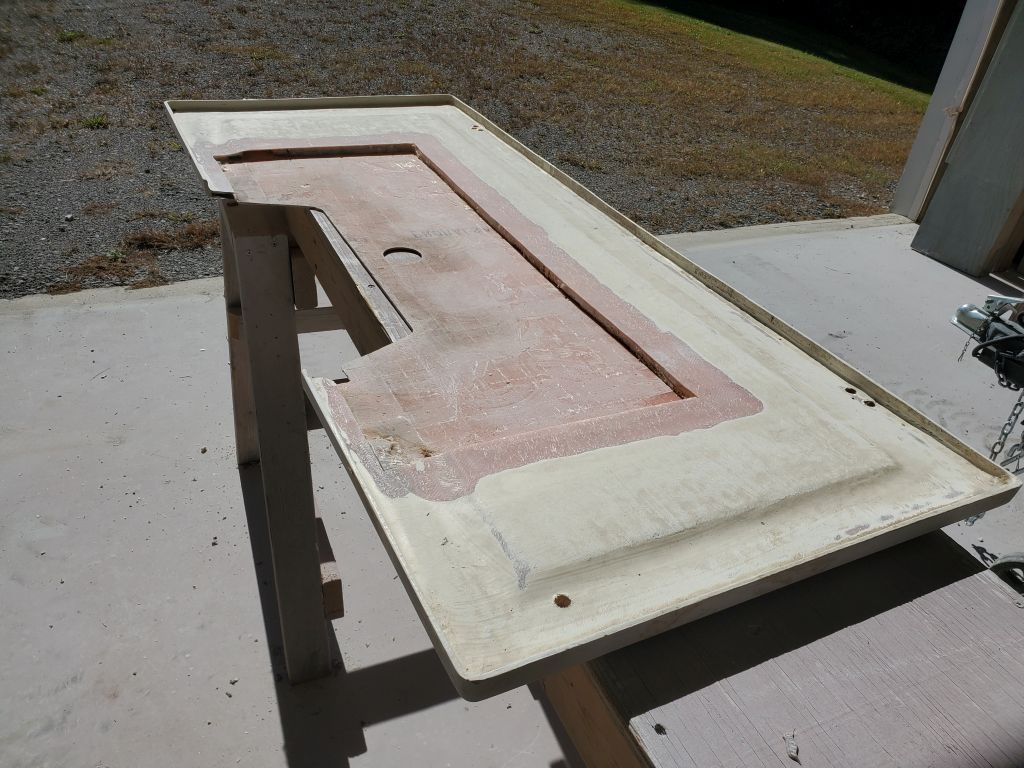
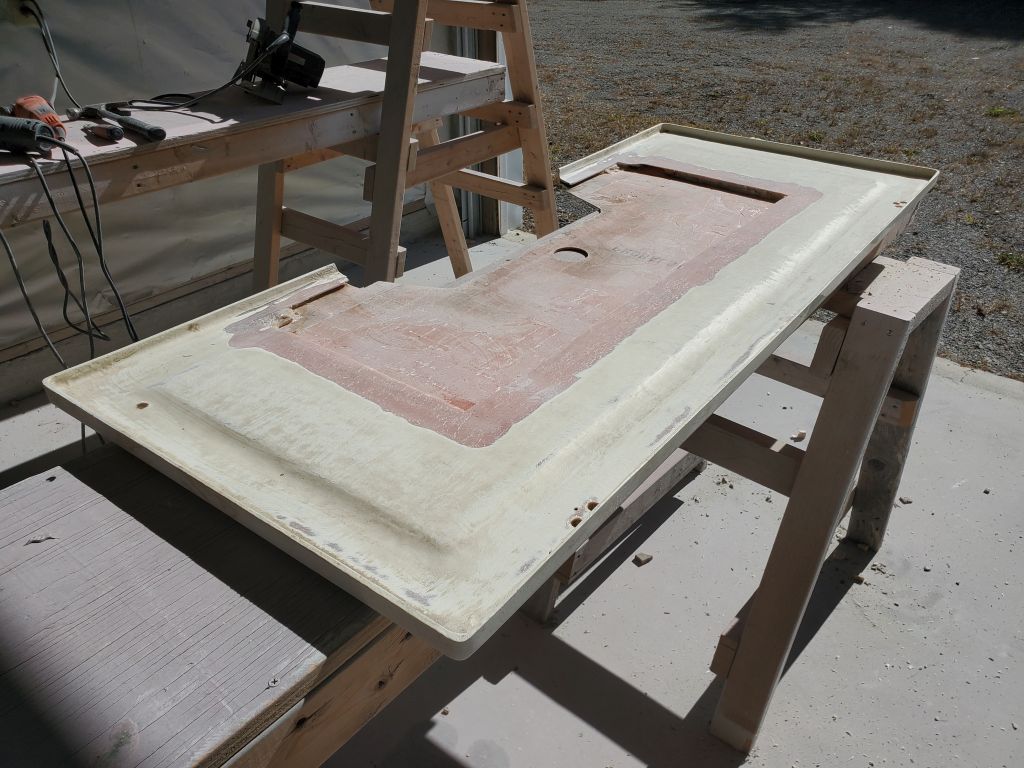
Later, I lightly sanded both sides of the new panel, focusing on the top surface to remove the smooth, shiny texture and prepare it for additional work before and during installation. The level, placed flat on the underpinnings of the main deck forward of the cutout, shows roughly the angled pitch of the new panel towards the transom, with approximately 3/4″ – 1″ of pitch over the three-foot length of the panel. Final installation of the panel would happen soon, but not before I wrapped up some work in and around the area soon to be covered over.

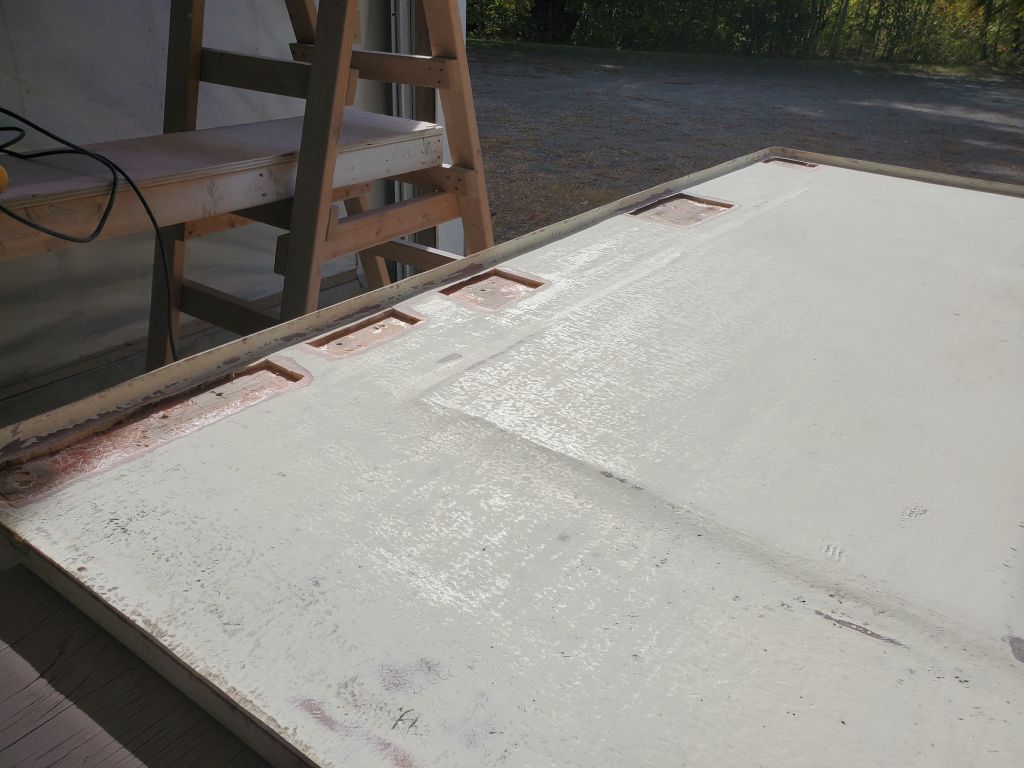
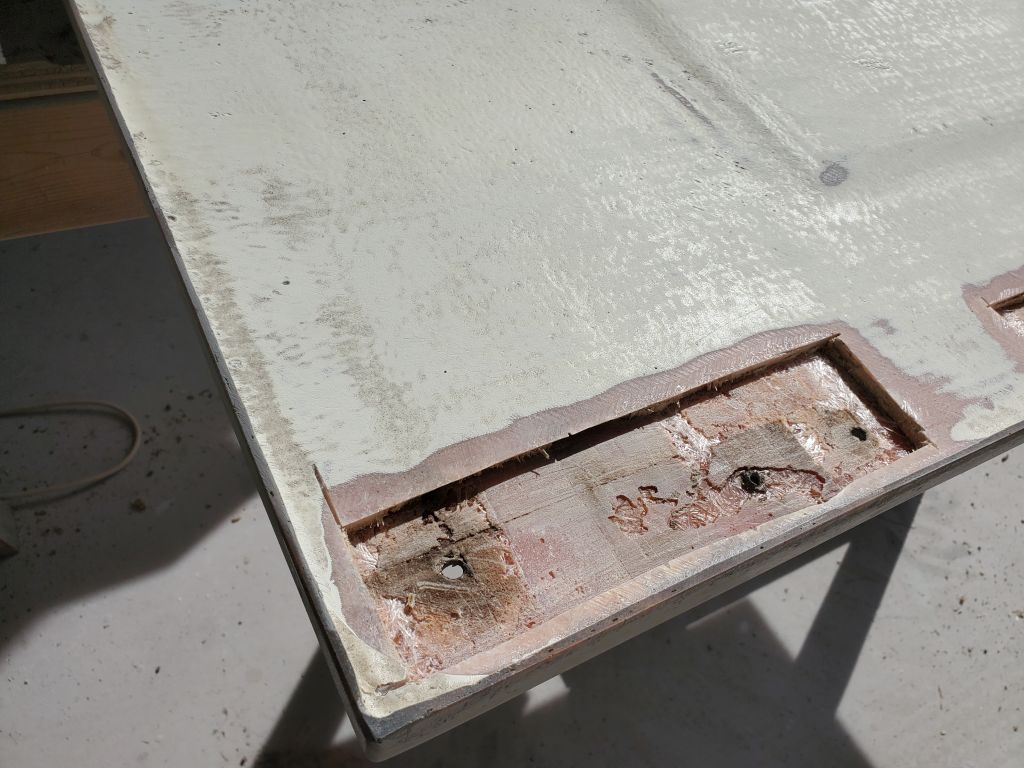
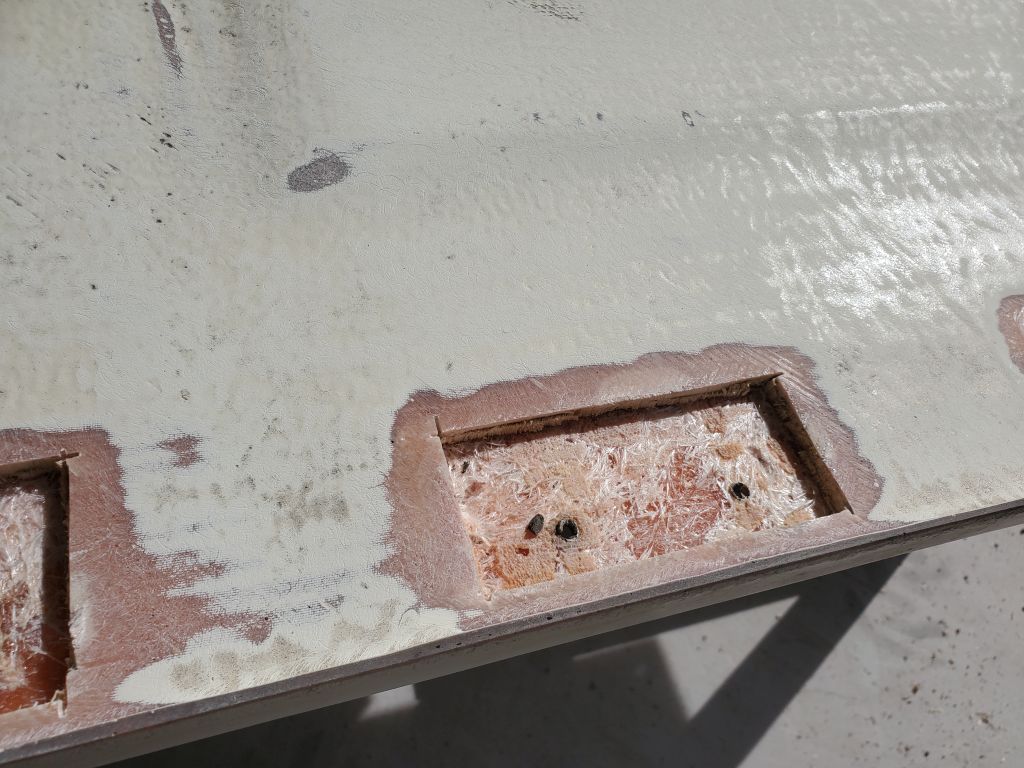
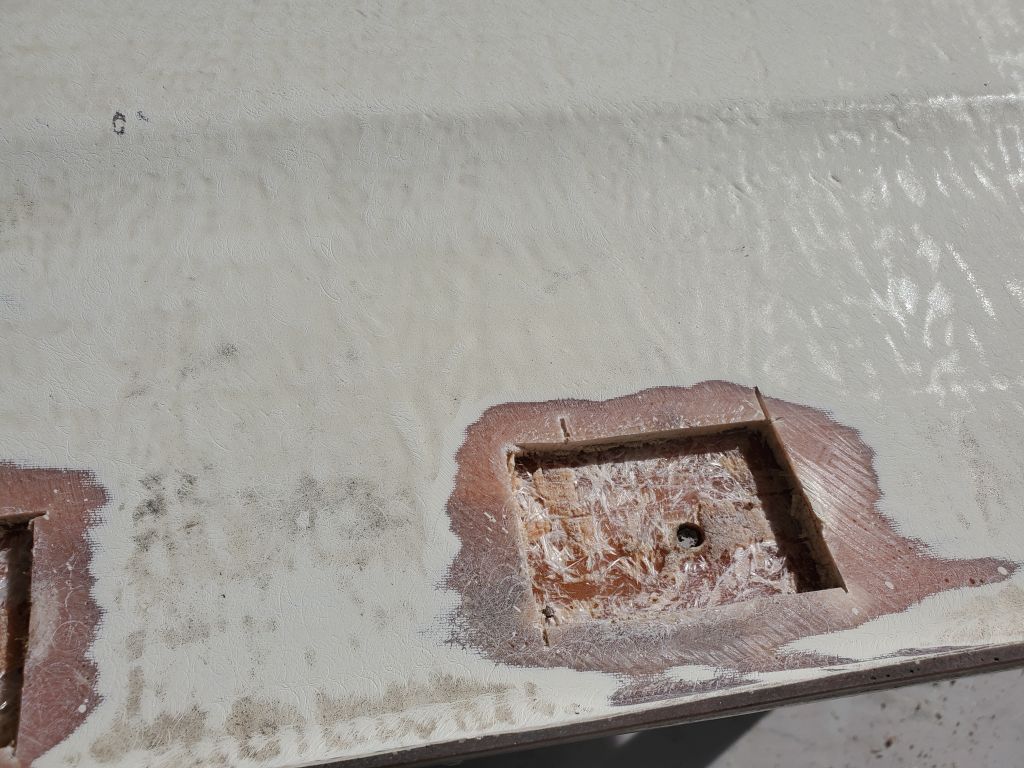
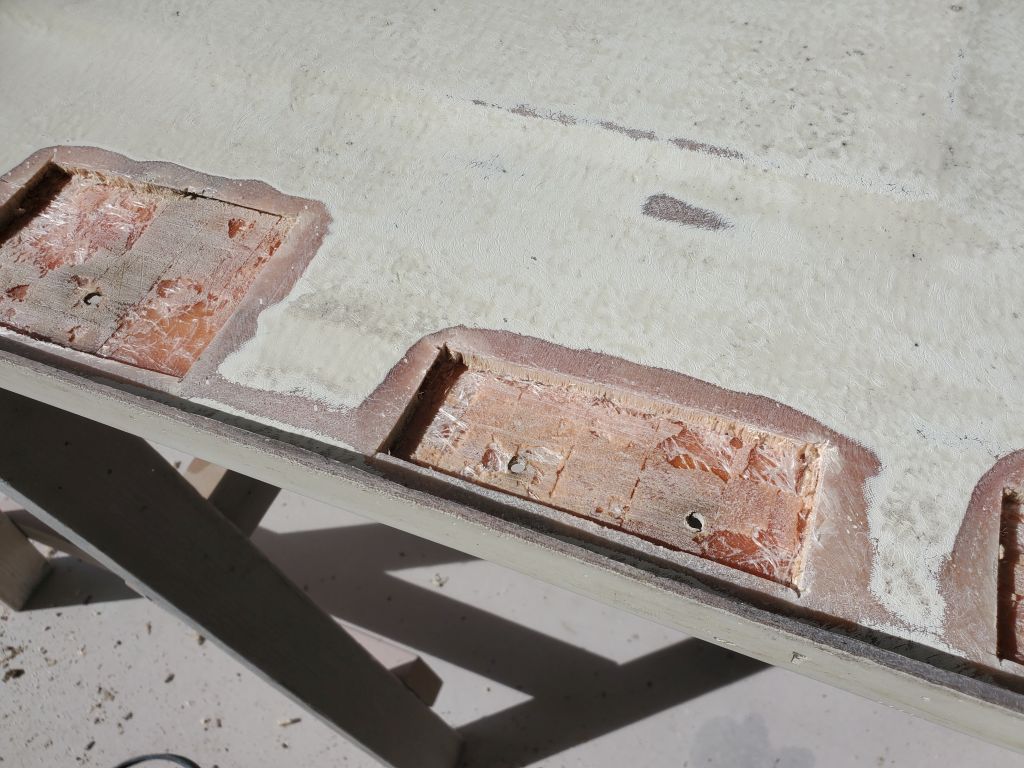
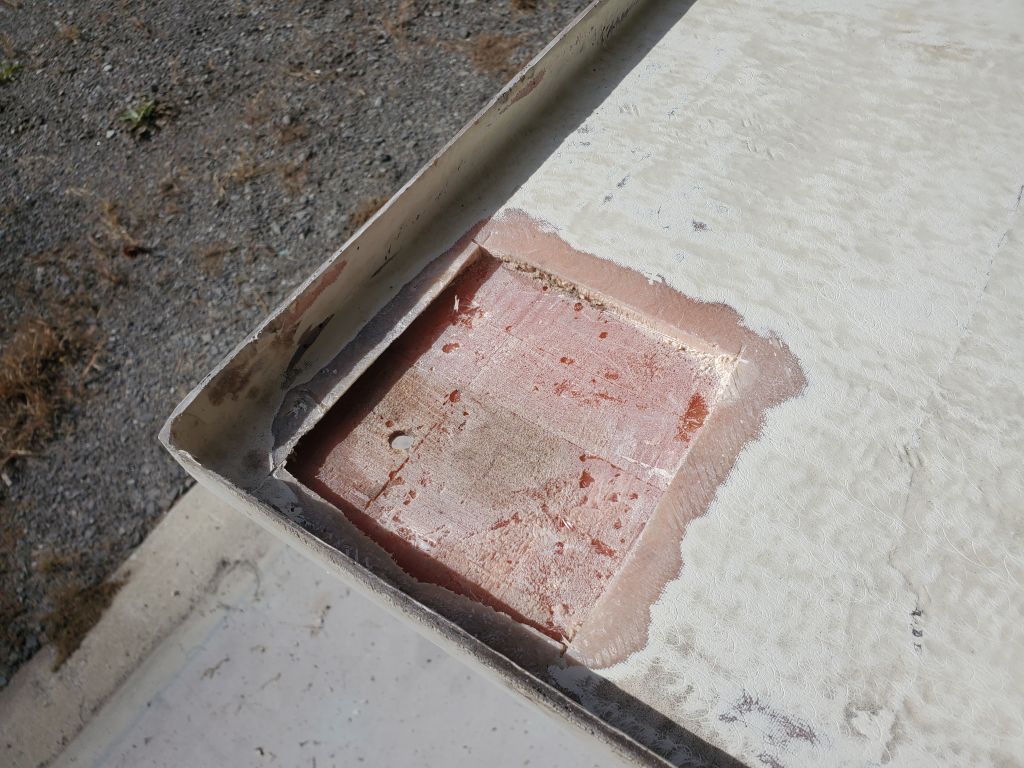
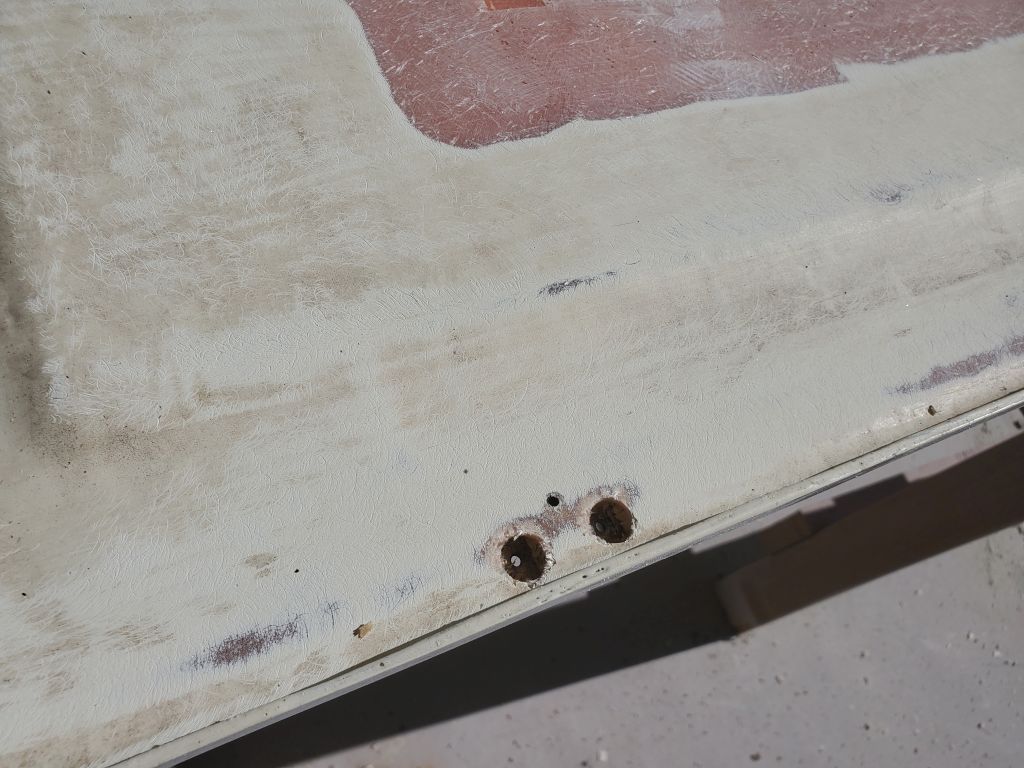
Meanwhile, I picked up again on the fuel tank hatch, turning to the second side, where I opened up the bottom skin as needed around the fastener locations to expose and remove wet or damaged core back to sound material at each spot.
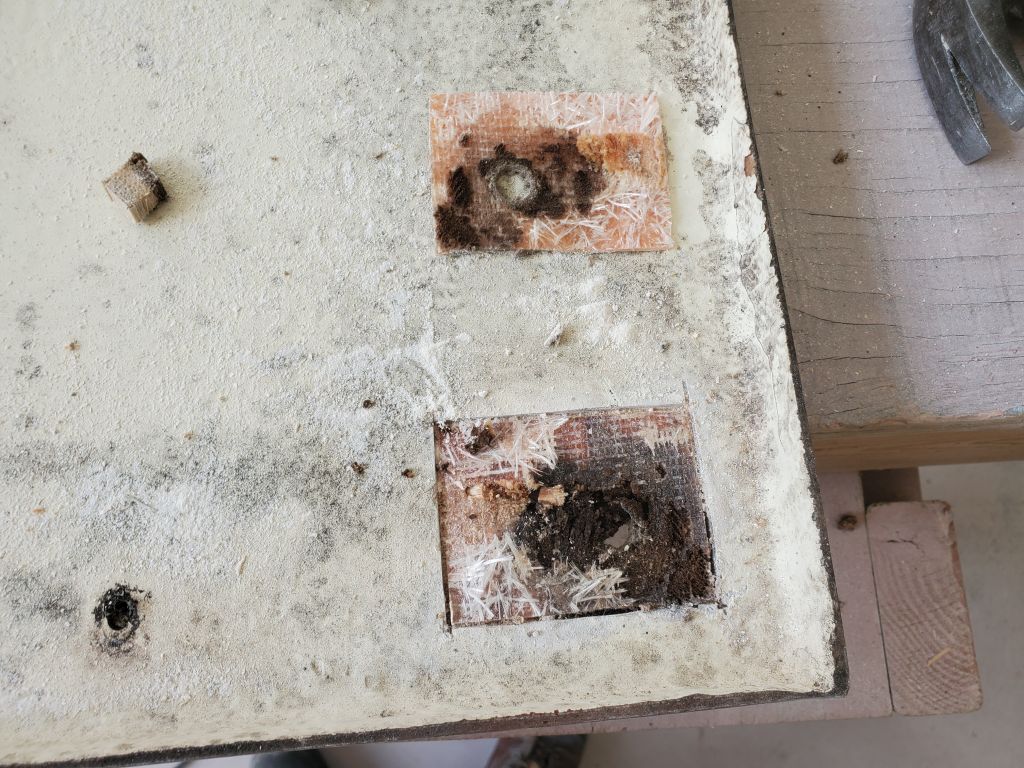

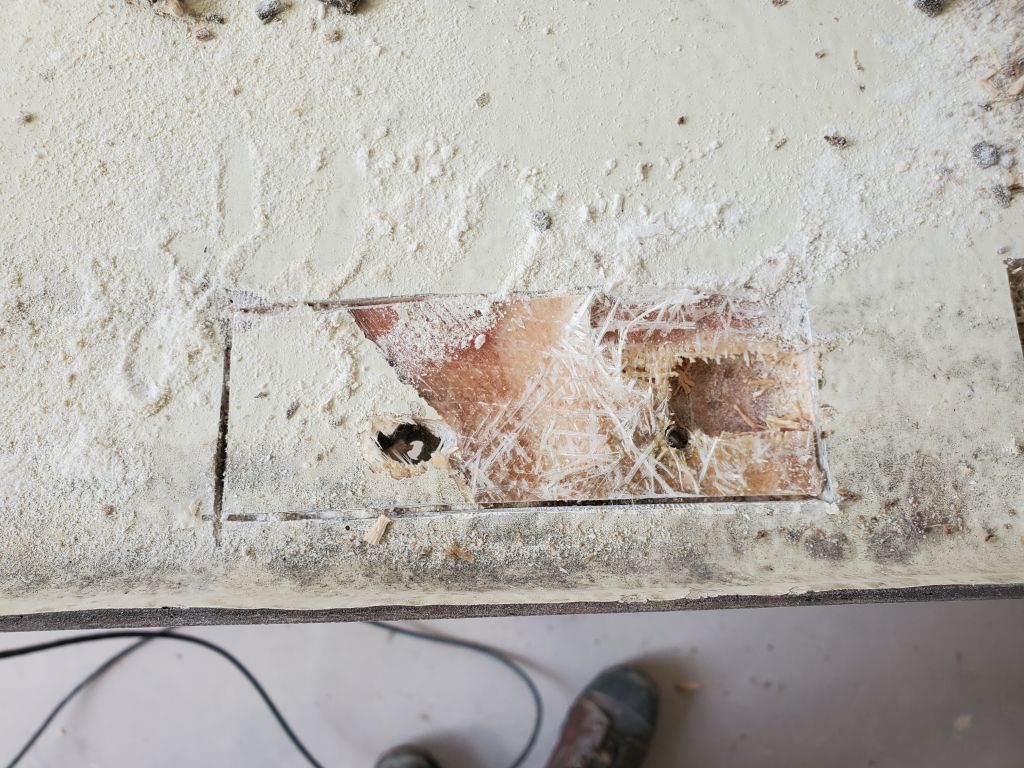
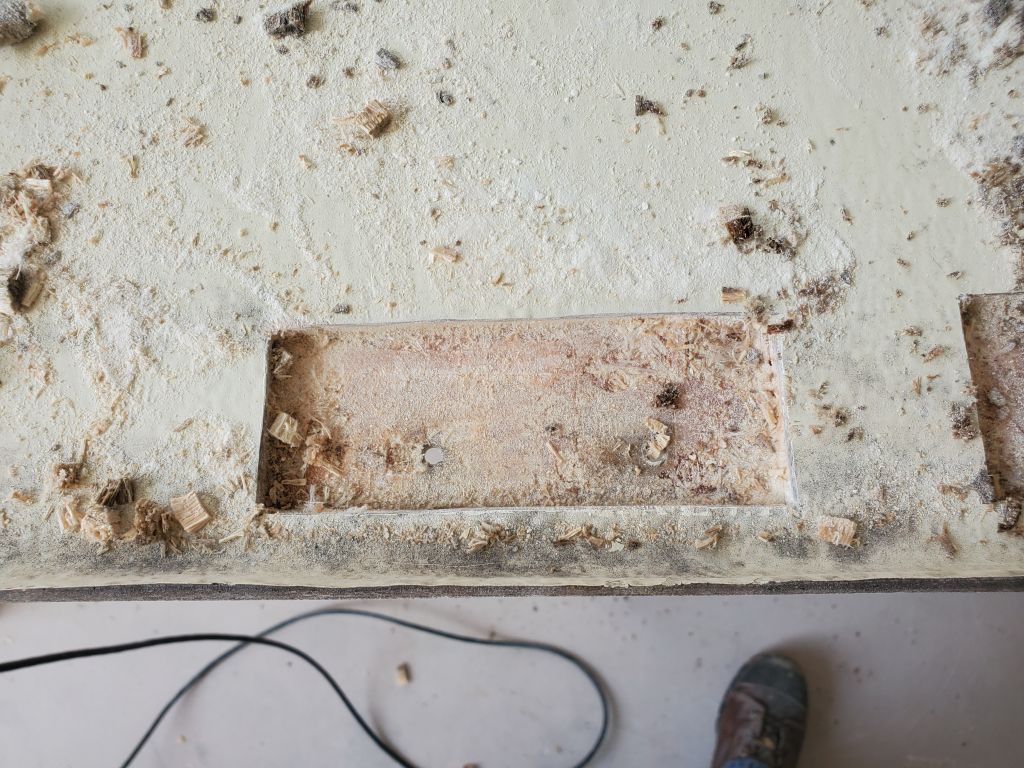
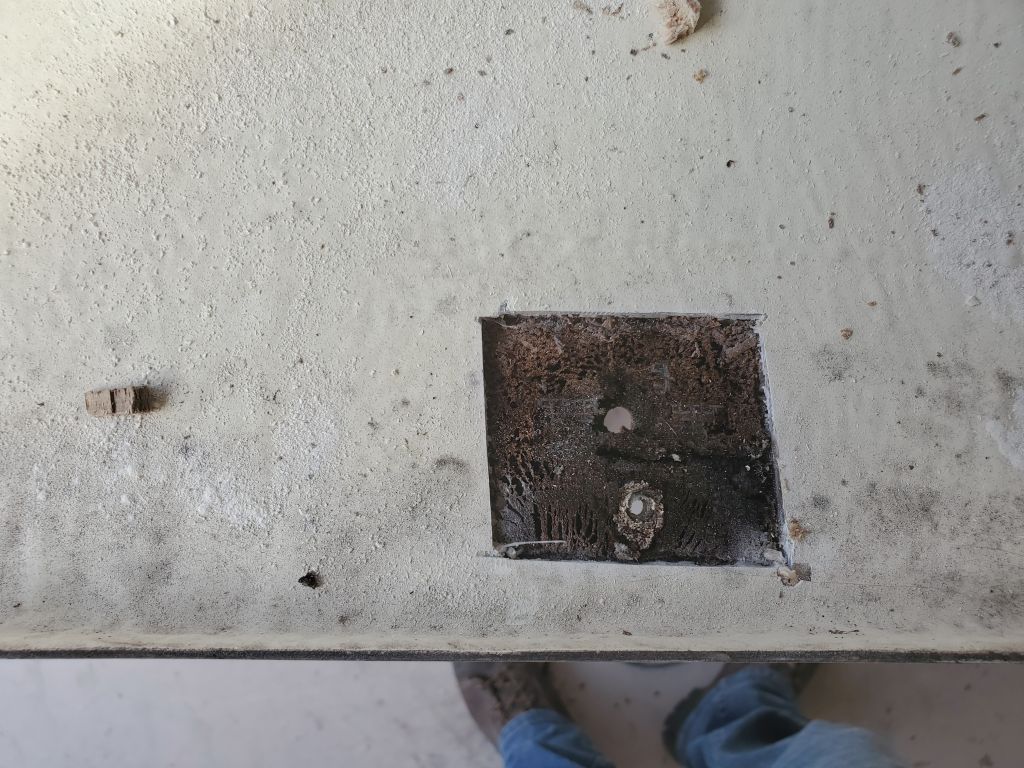
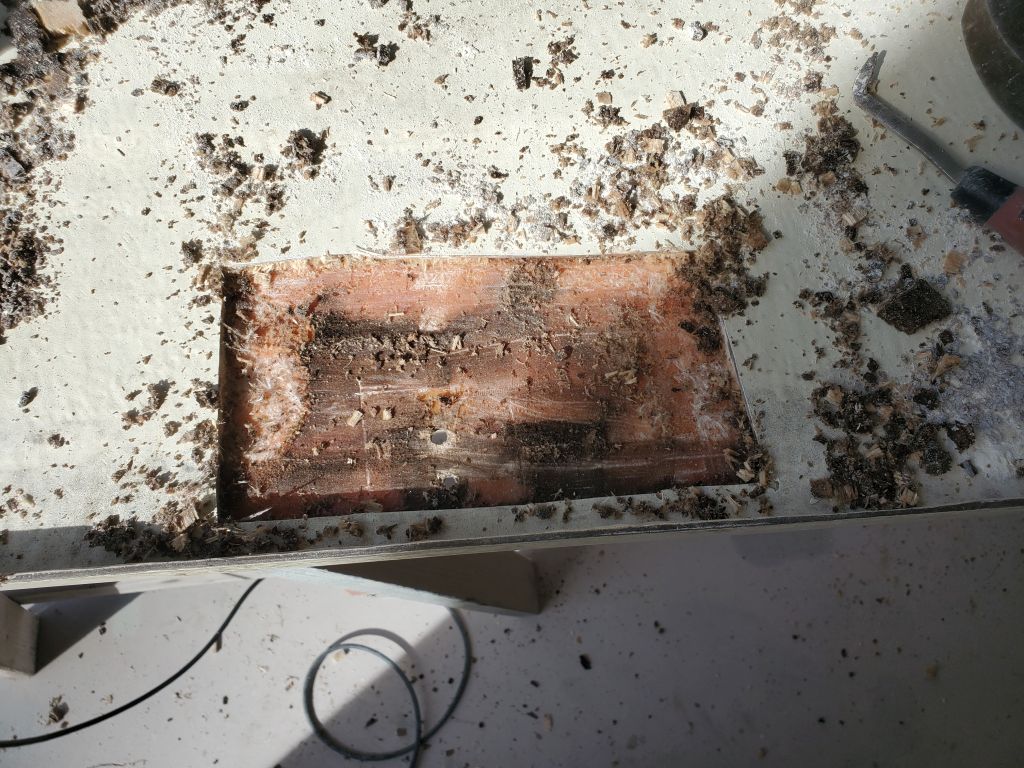
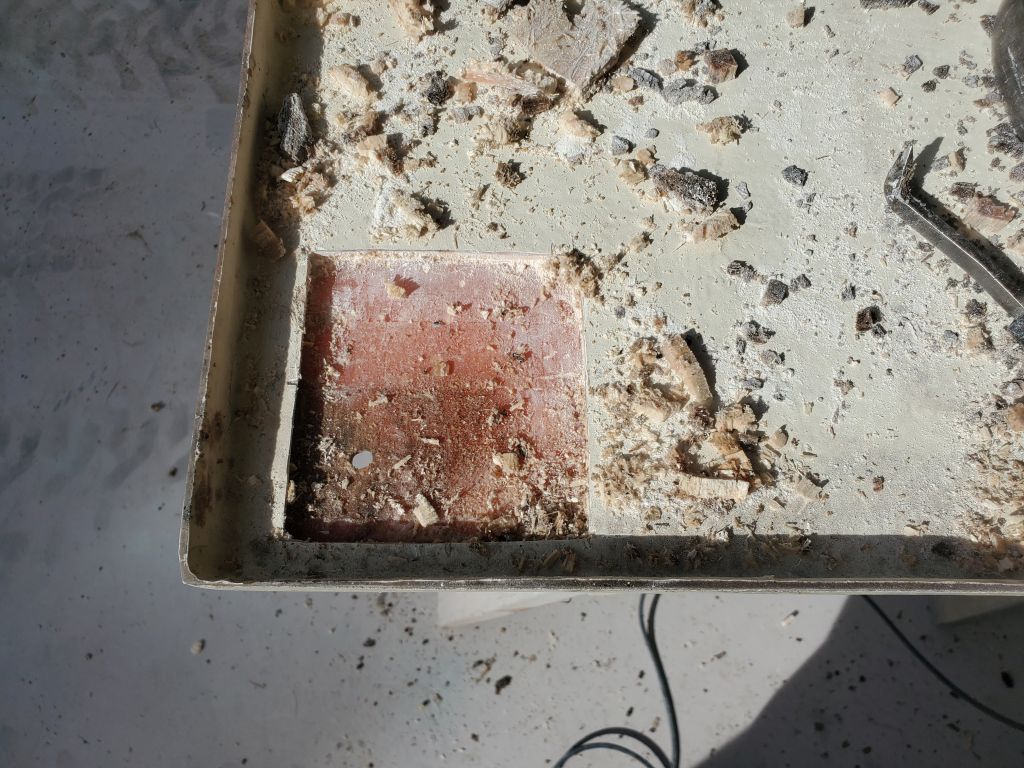
Afterwards, I ground small tapered areas around each repair, cleaned up the exposed laminate, and lightly sanded the gelcoated underside of the hatch to prepare for rebuilding and refinishing.


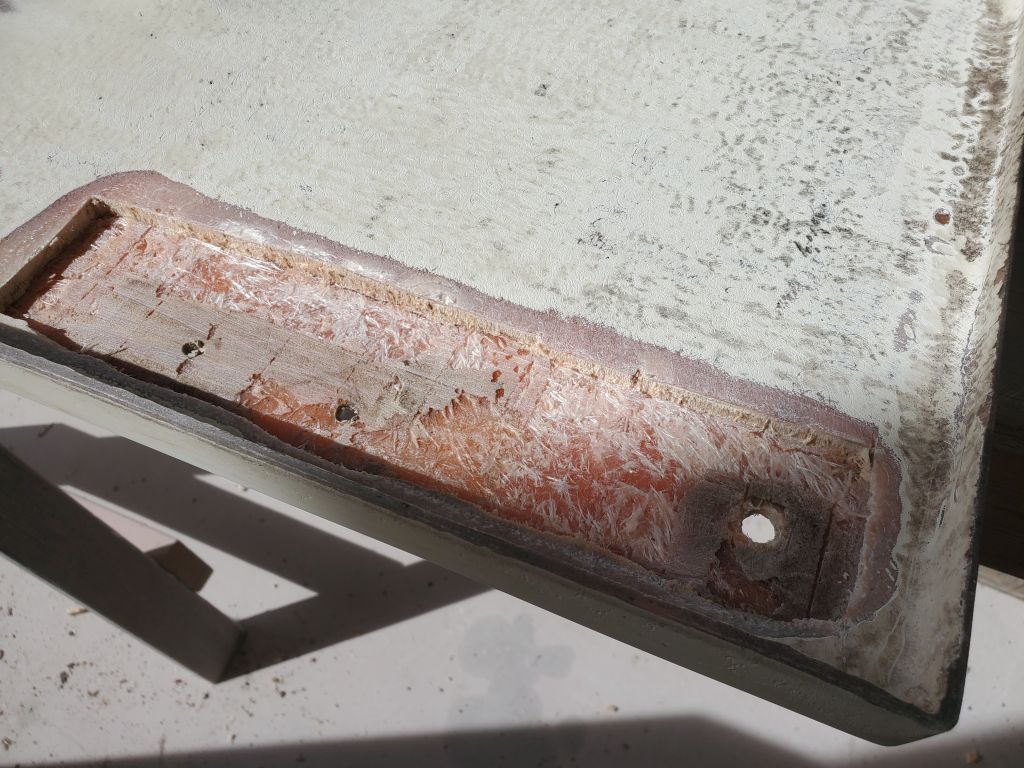

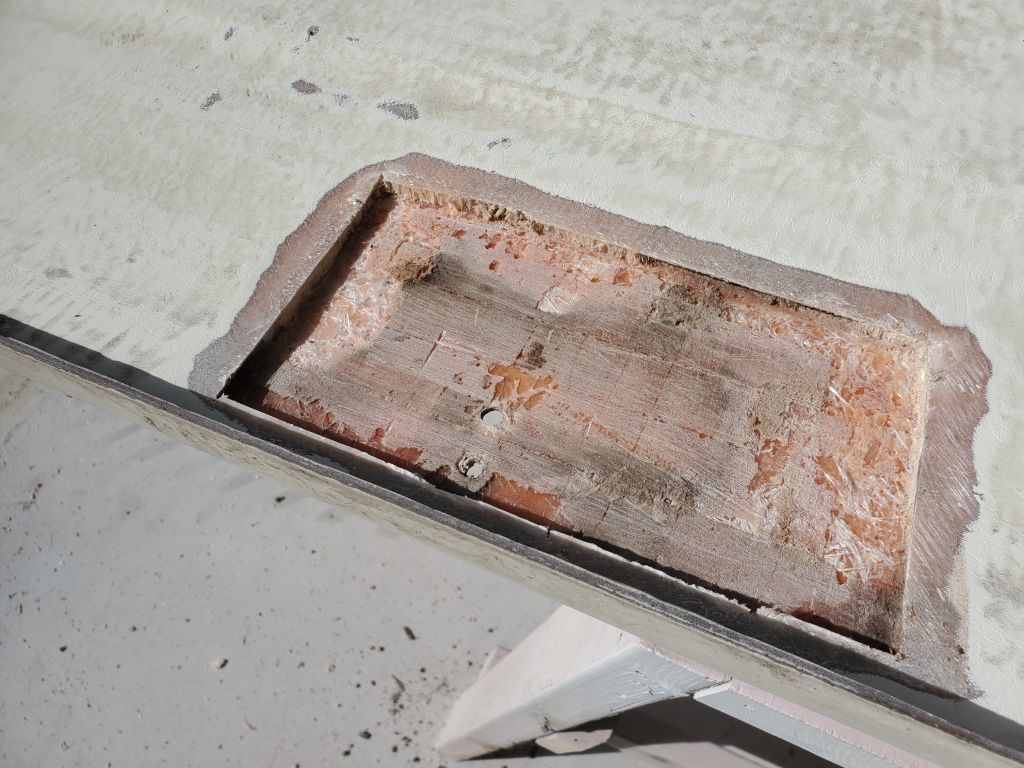
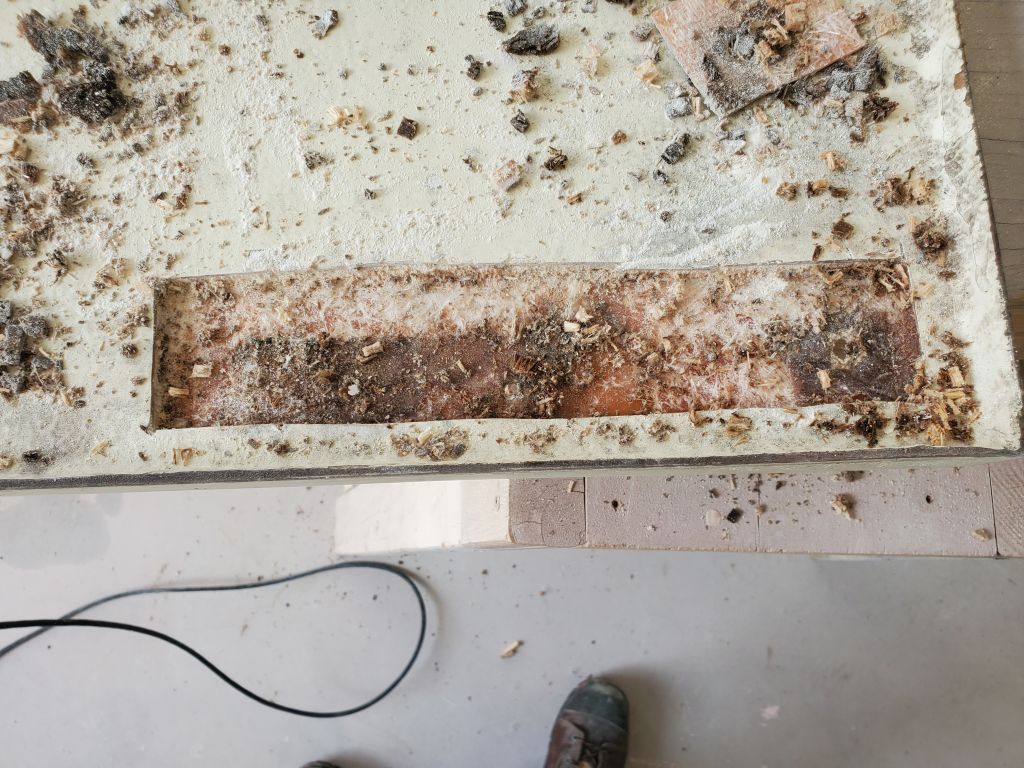
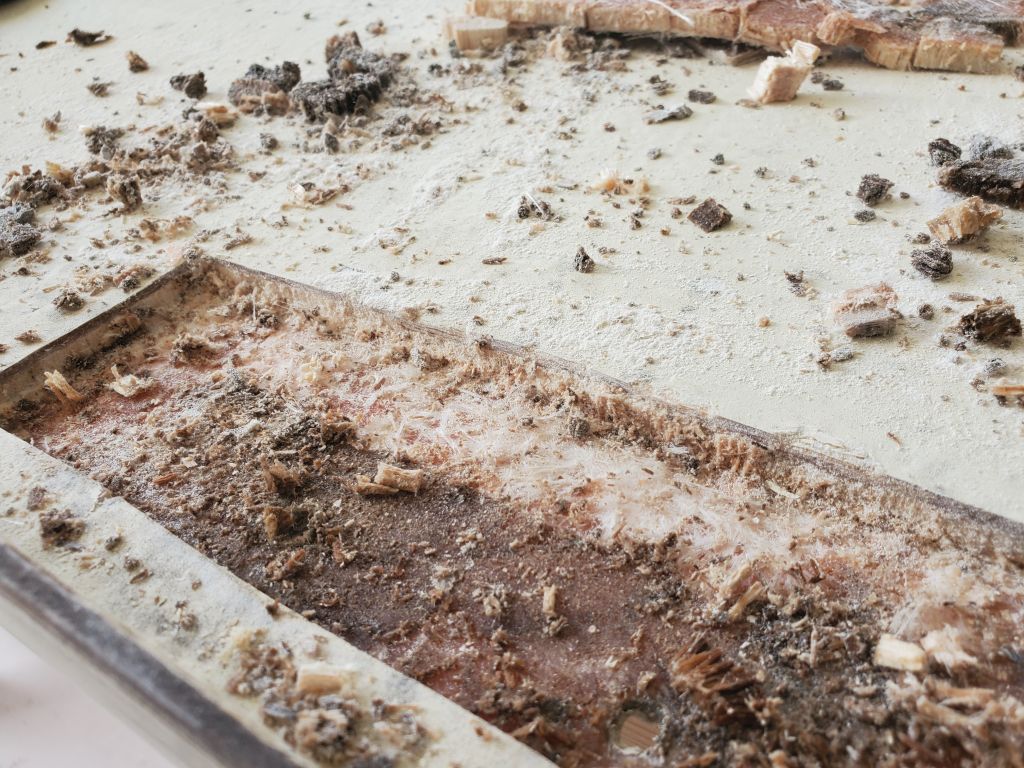
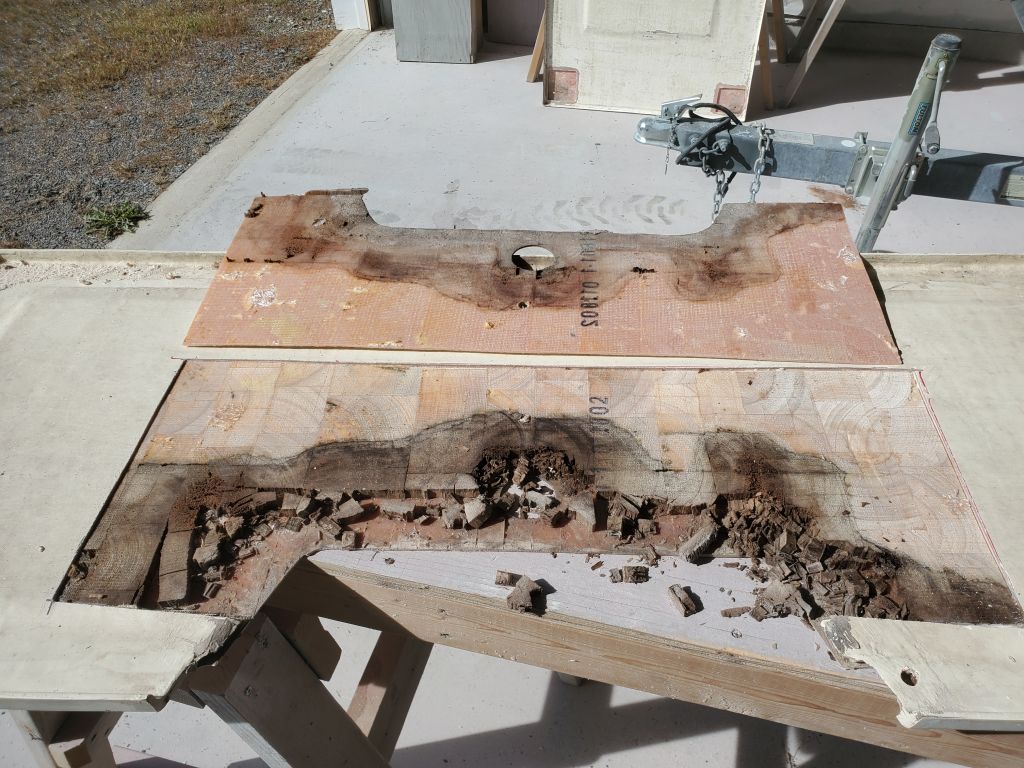
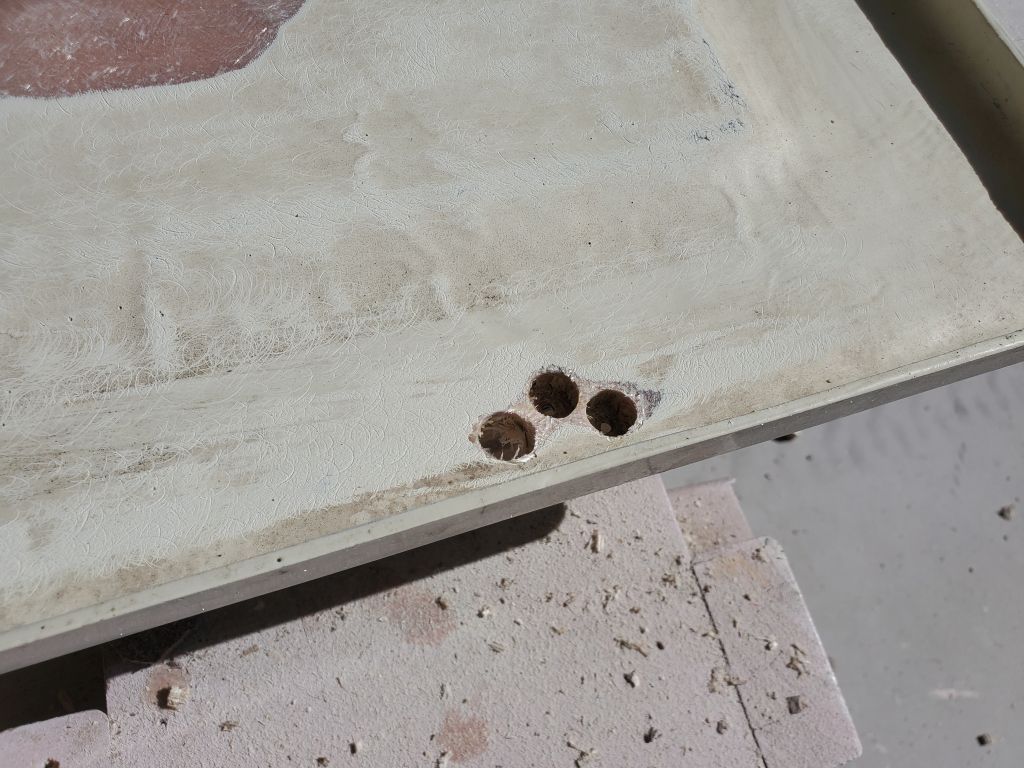
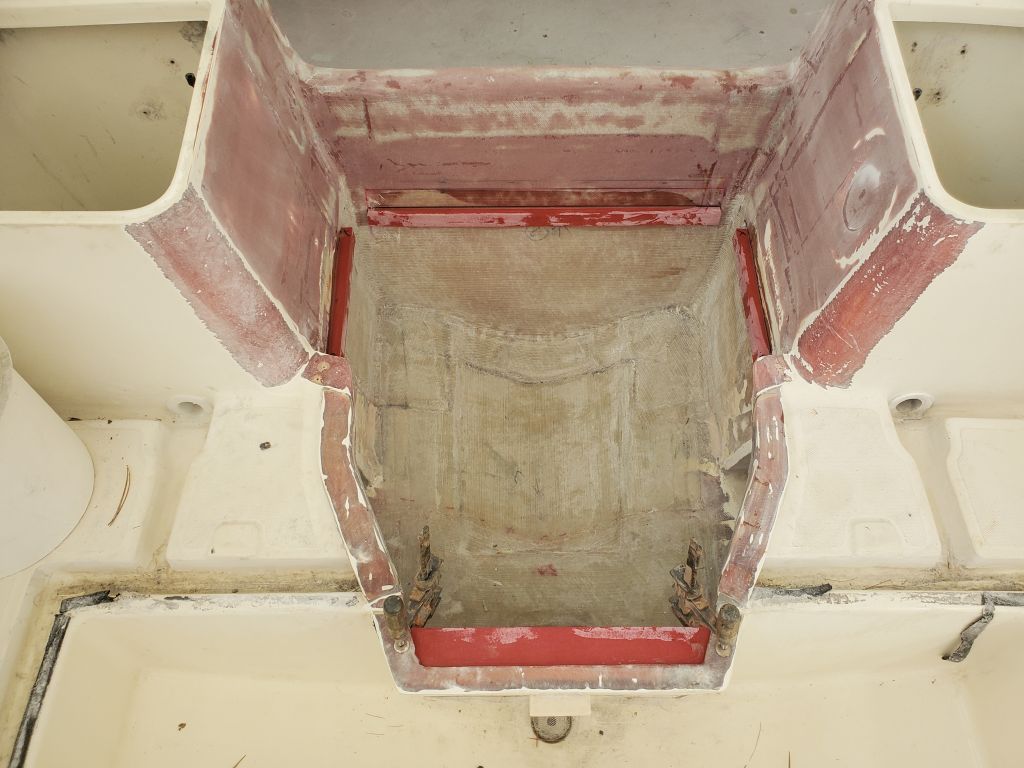
I cut open the underside of the livewell hatch, choosing an initial cut area that I thought seemed large enough to encompass all the damage. Later, I slightly expanded the cut on the ends to access all of the wet and blackened core at the perimeter. After removing all the core in the exposed area, I prepared the surface for new core and fiberglass in the usual way, including boring out the underside of the hinge screw holes to eliminate future core worries there once the hatch was reinstalled.


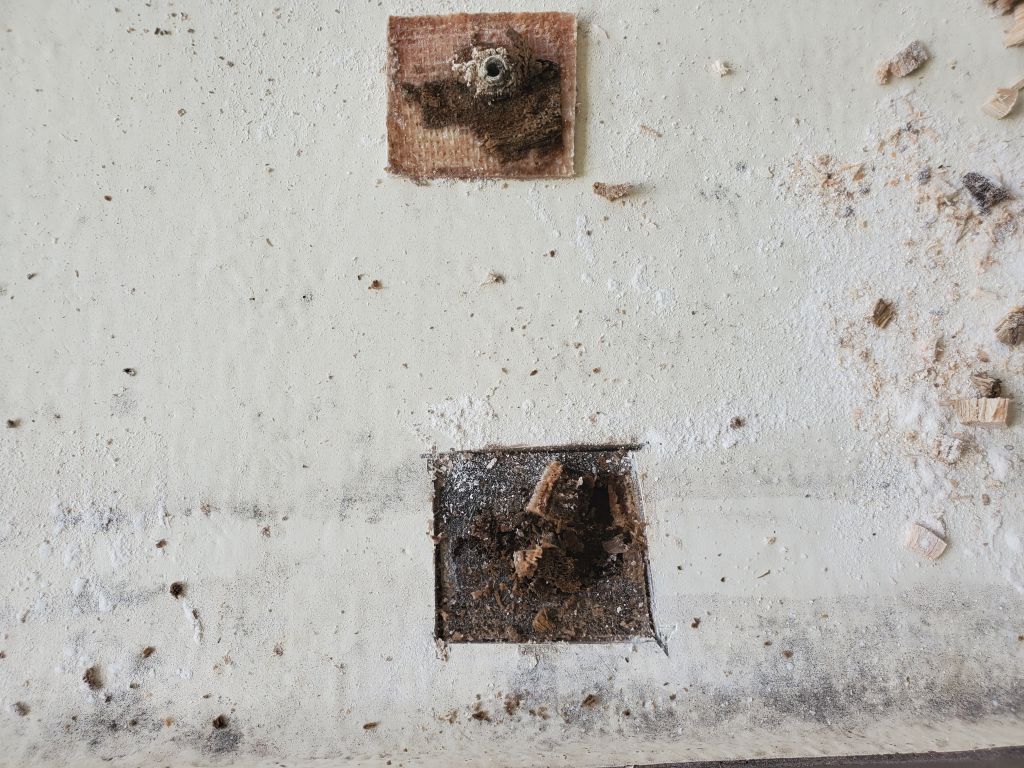
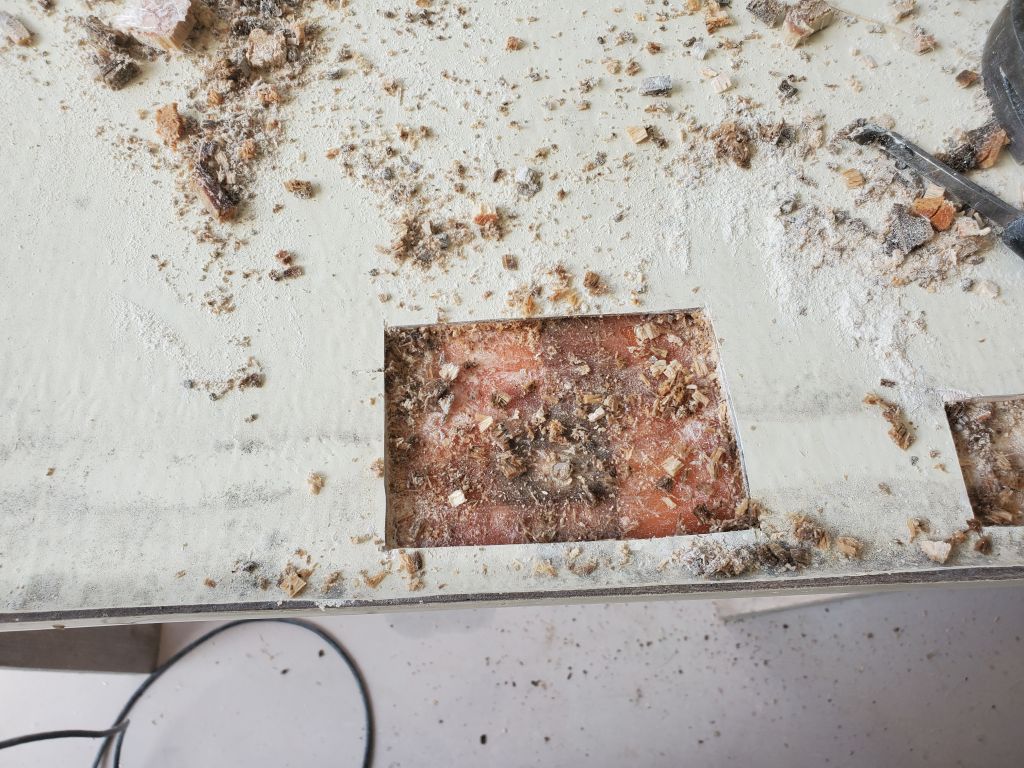
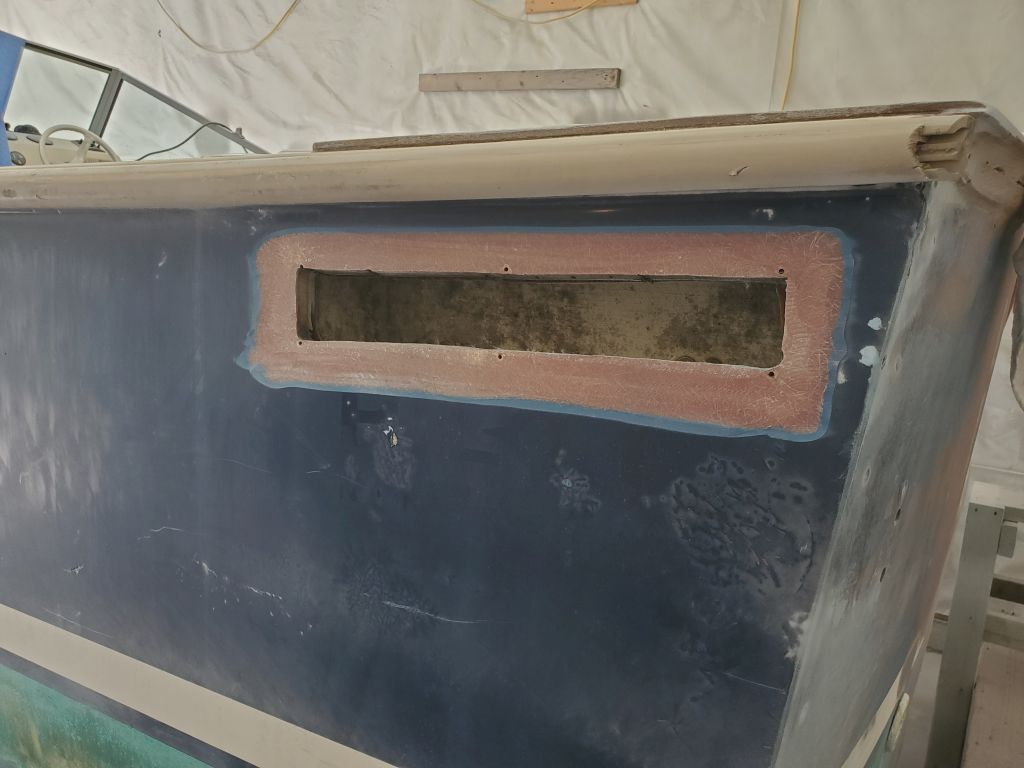
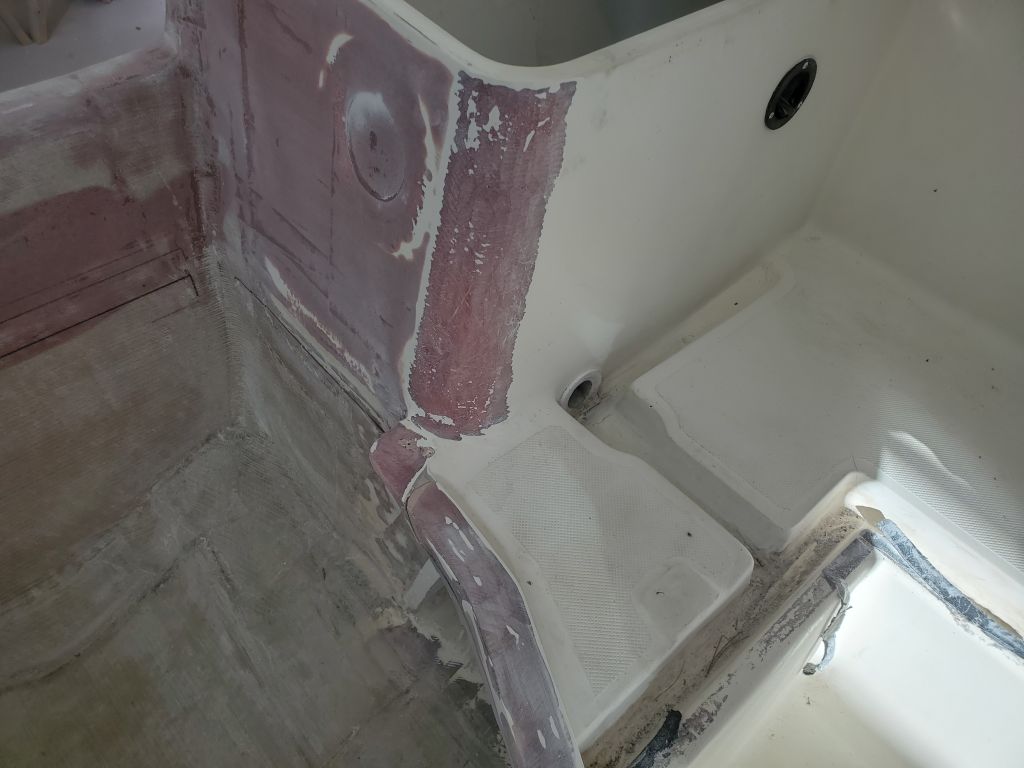
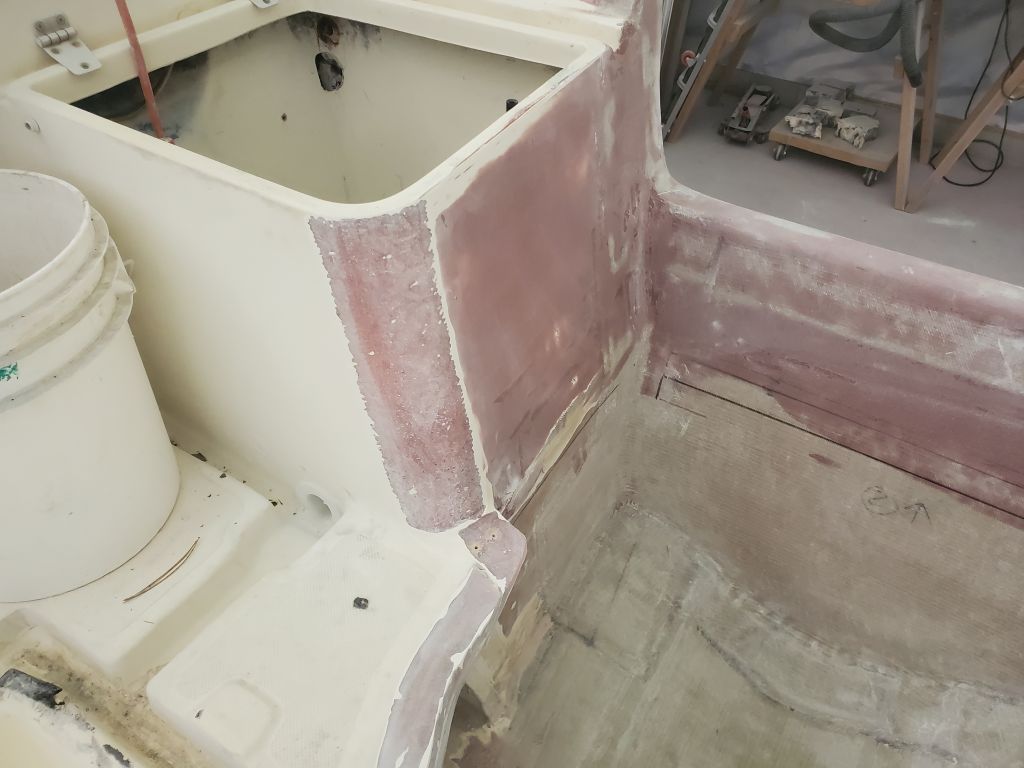
While I had the sanding tools going, I prepared for patching the now-obsolete engine vent openings on each side of the hull near the transom, and prepared as needed the forward end of the engine room opening for the eventual installation of the new splashwell bulkhead and deck, removing the temporary wooden cleats after marking their top edges for reference. I also scraped out the remaining sound insulation and adhesive from the fiberglass engine room cover/splashwell, and sanded the inside and other surfaces to prepare for installation.

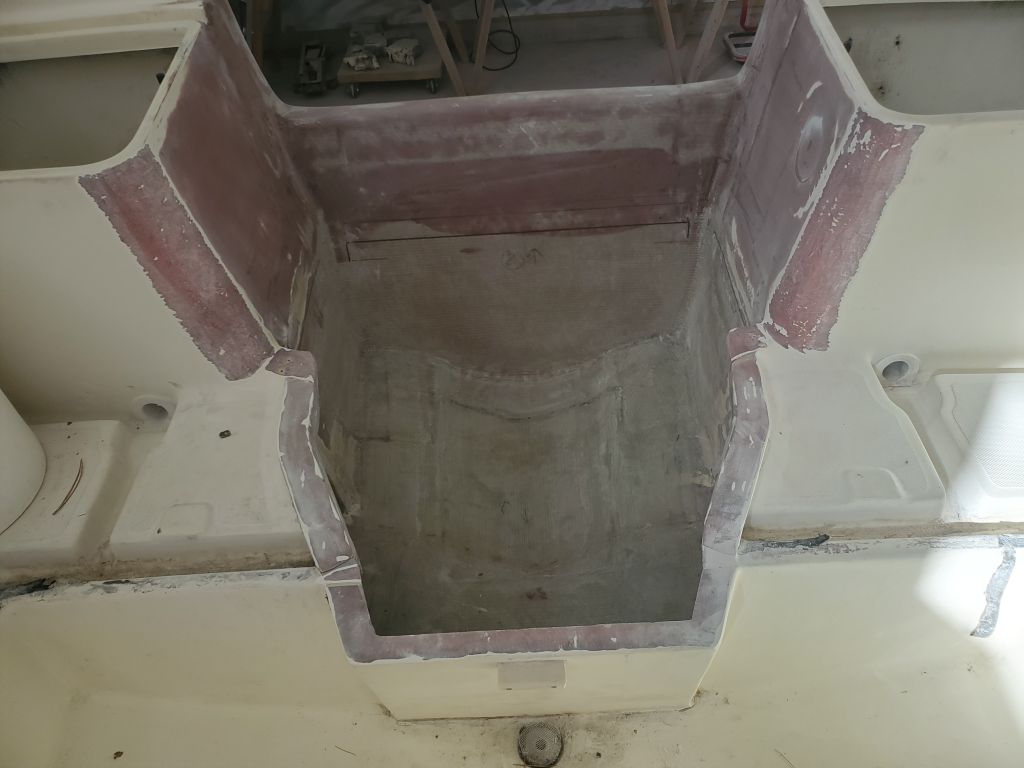


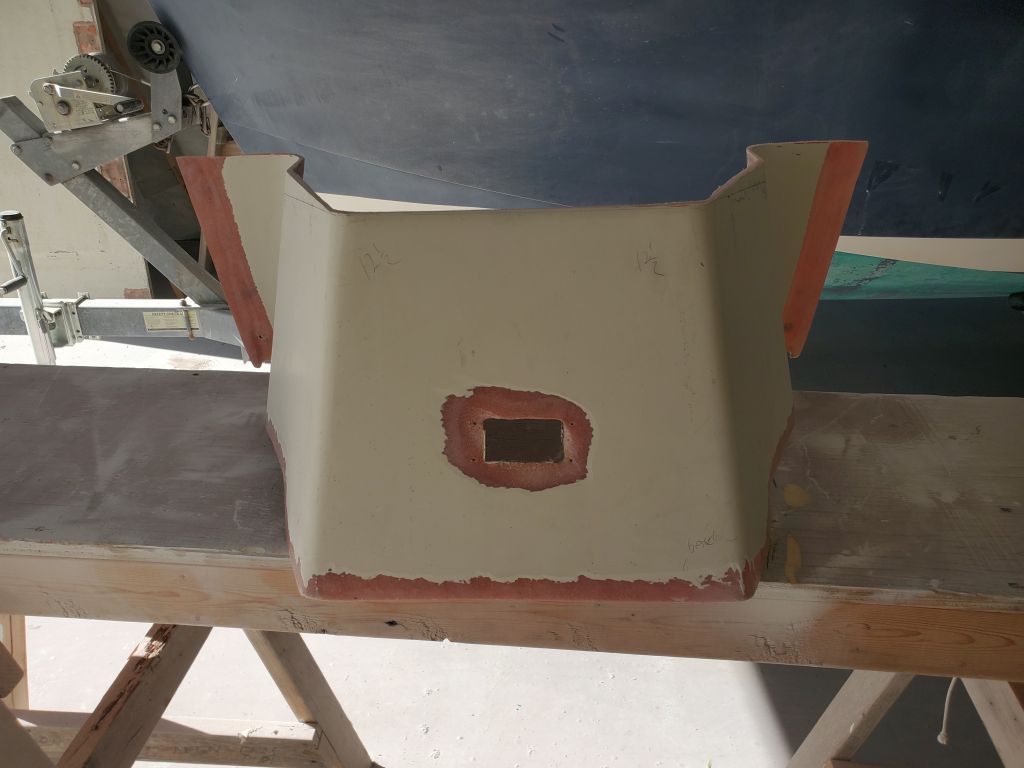
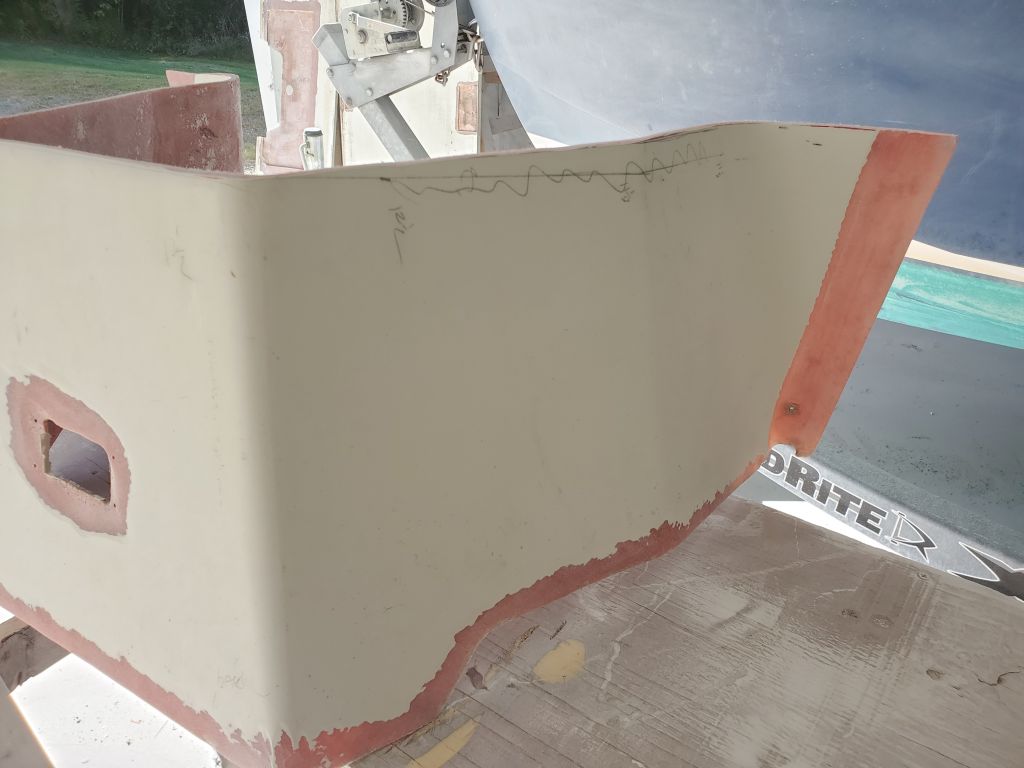
After cleaning up, I made new fiberglass cleats from prefabricated fiberglass panels and installed them with epoxy adhesive in the engine room along the sides, transom, and at the forward end, replacing the wooden versions I’d used for the mockup and templating.


Total time billed on this job today: 6 hours
0600 Weather Observation: 55°, overcast. Forecast for the day: Becoming partly sunny, 72°