

October 11, 2022
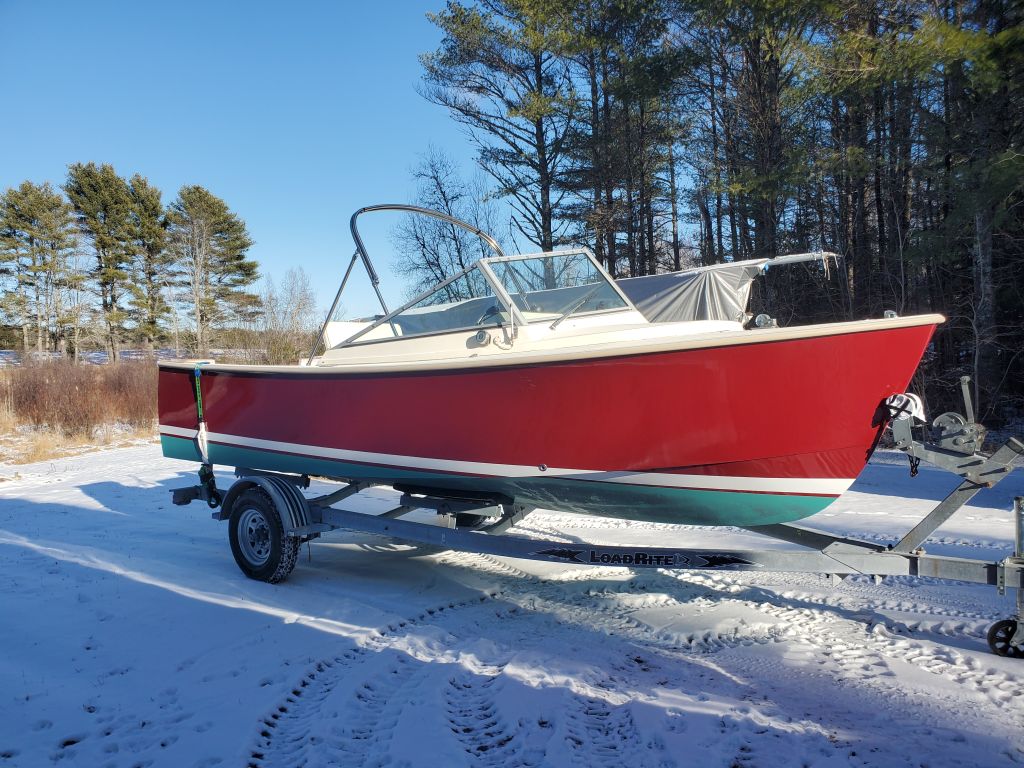
Holby 32
Tuesday
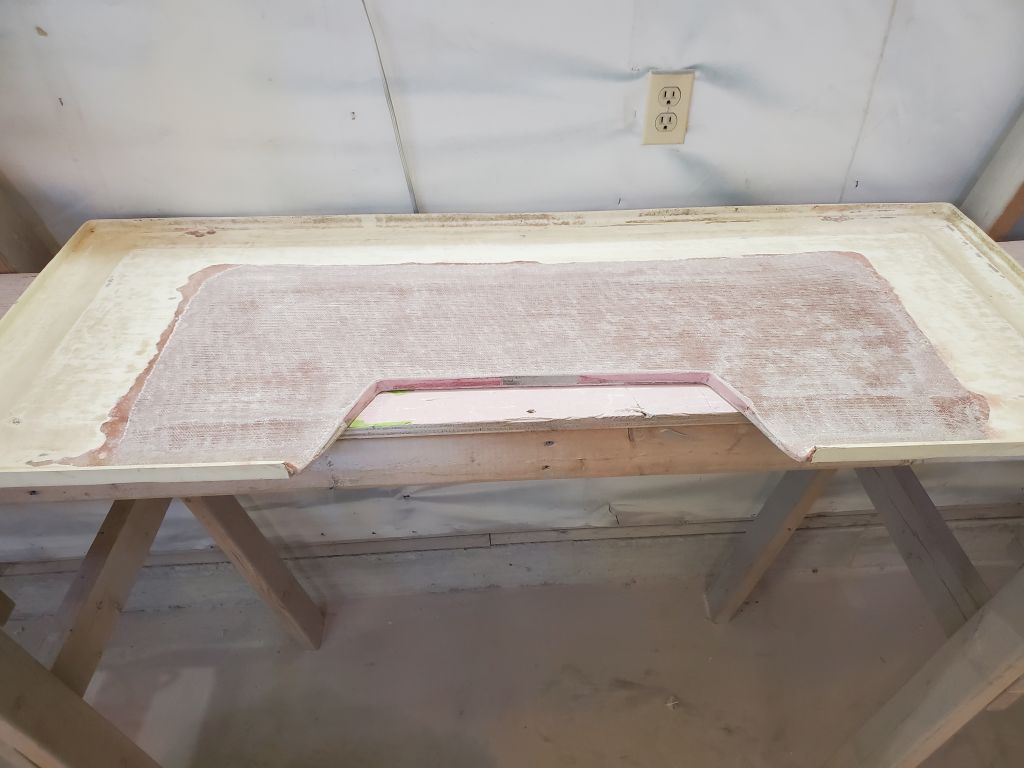
I began with my usual rounds of sanding the previous day’s work, starting with the livewell and fuel tank hatches.
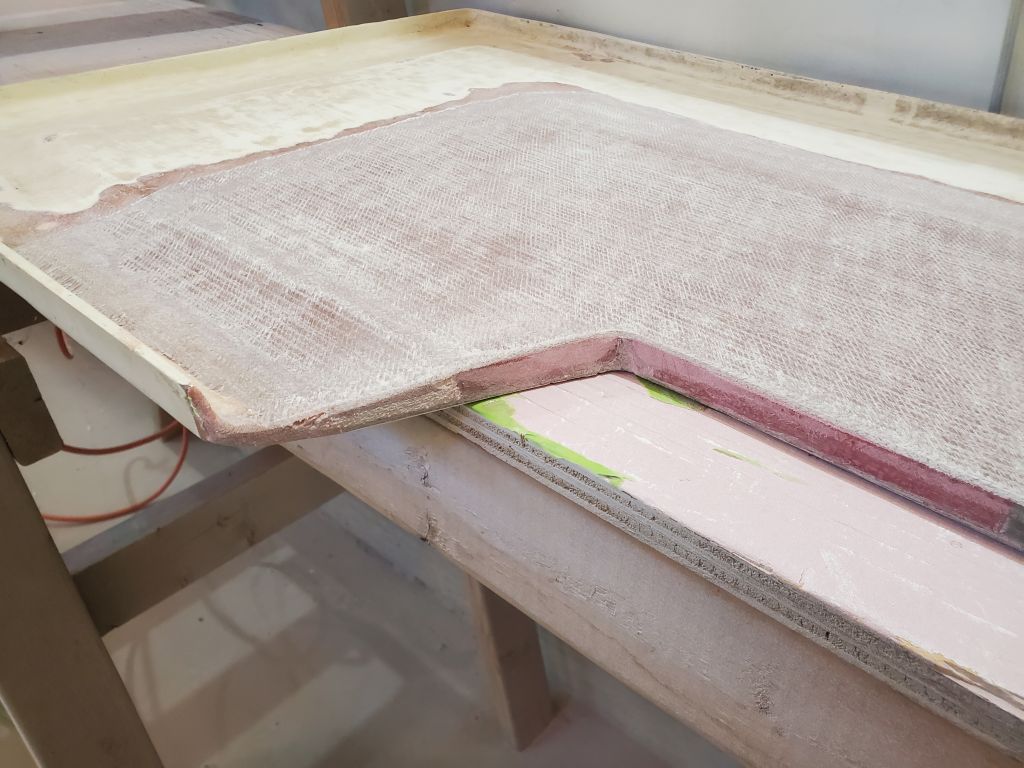


I continued at the transom and engine room vent opening patches.
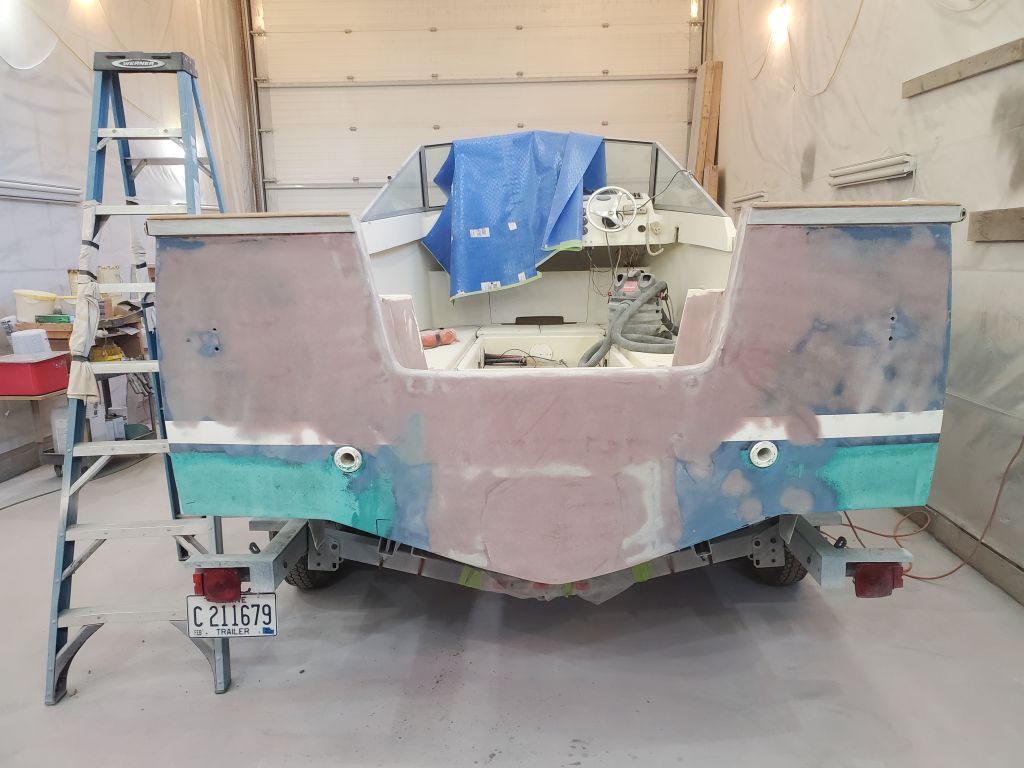
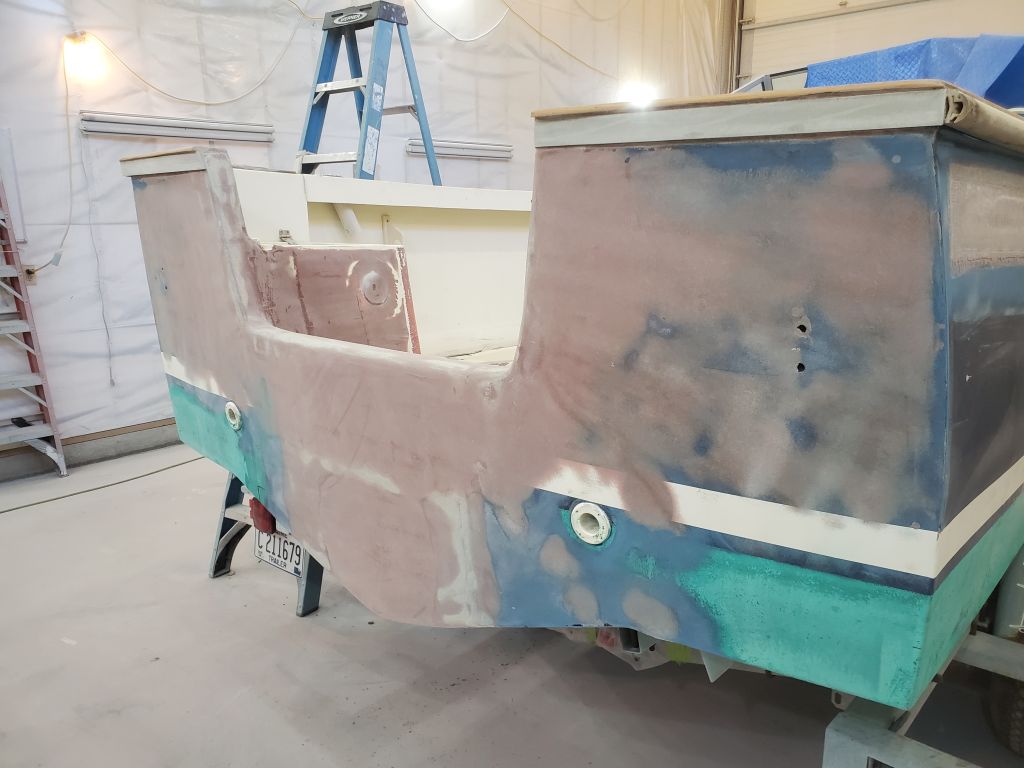
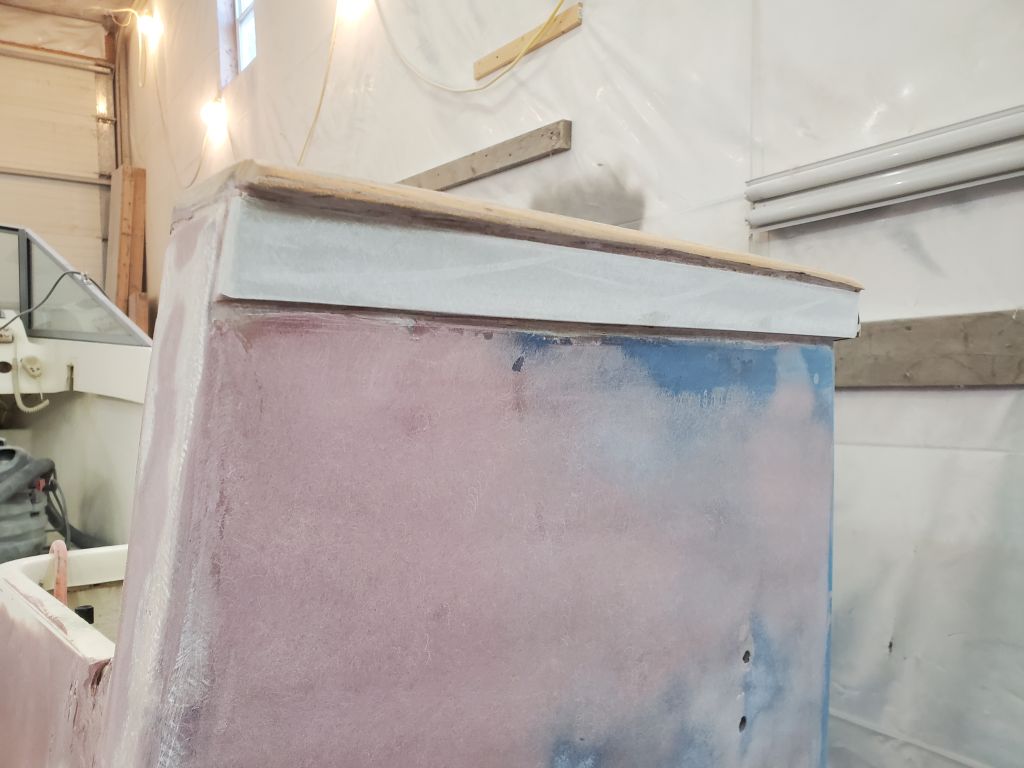

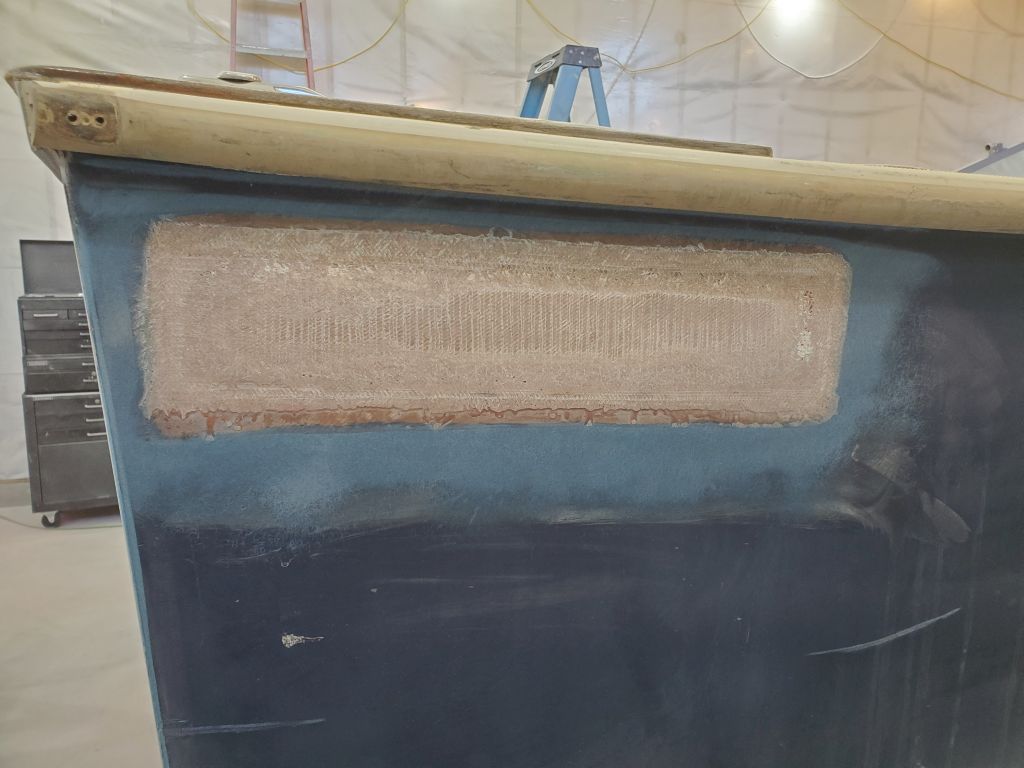
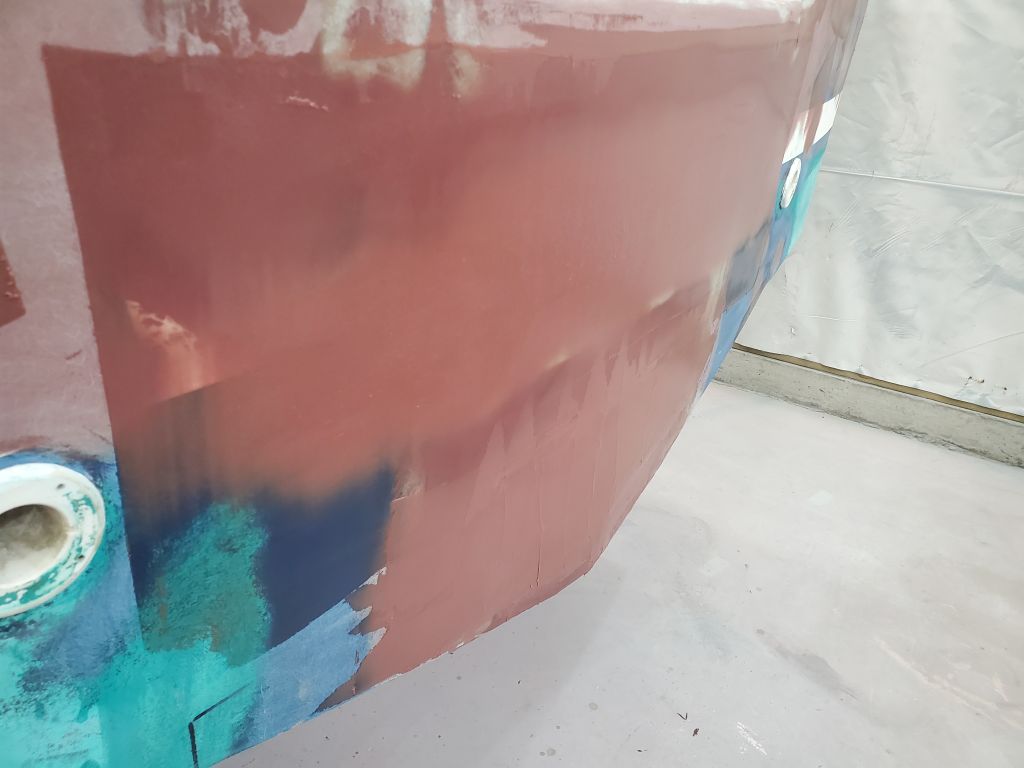
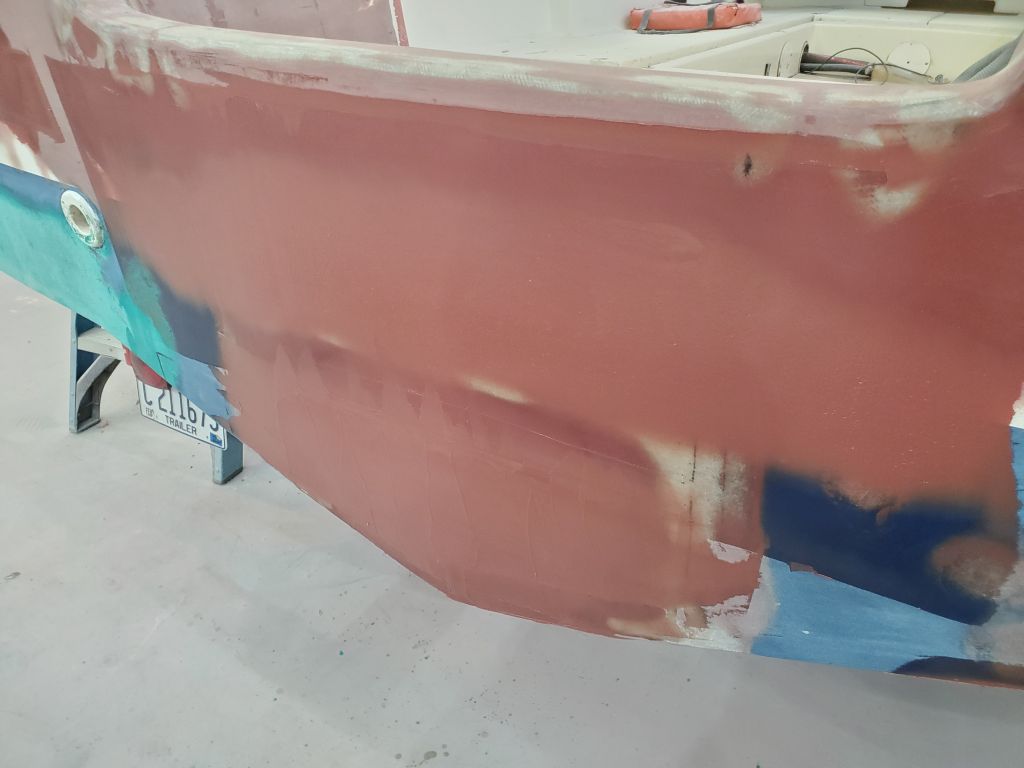
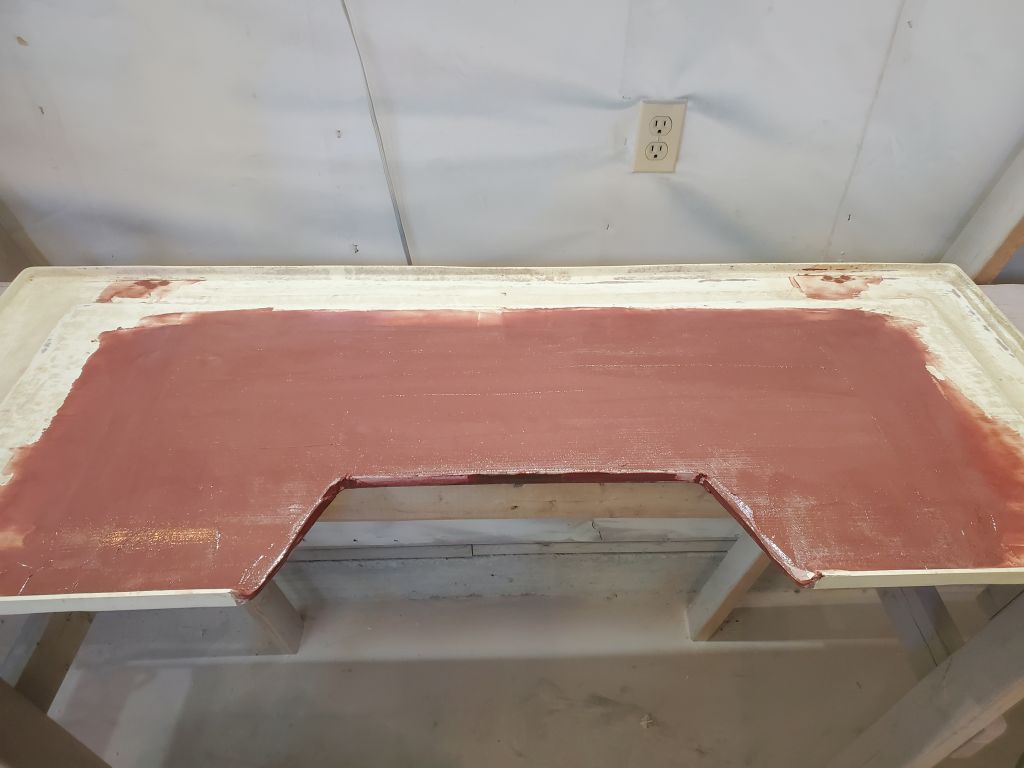
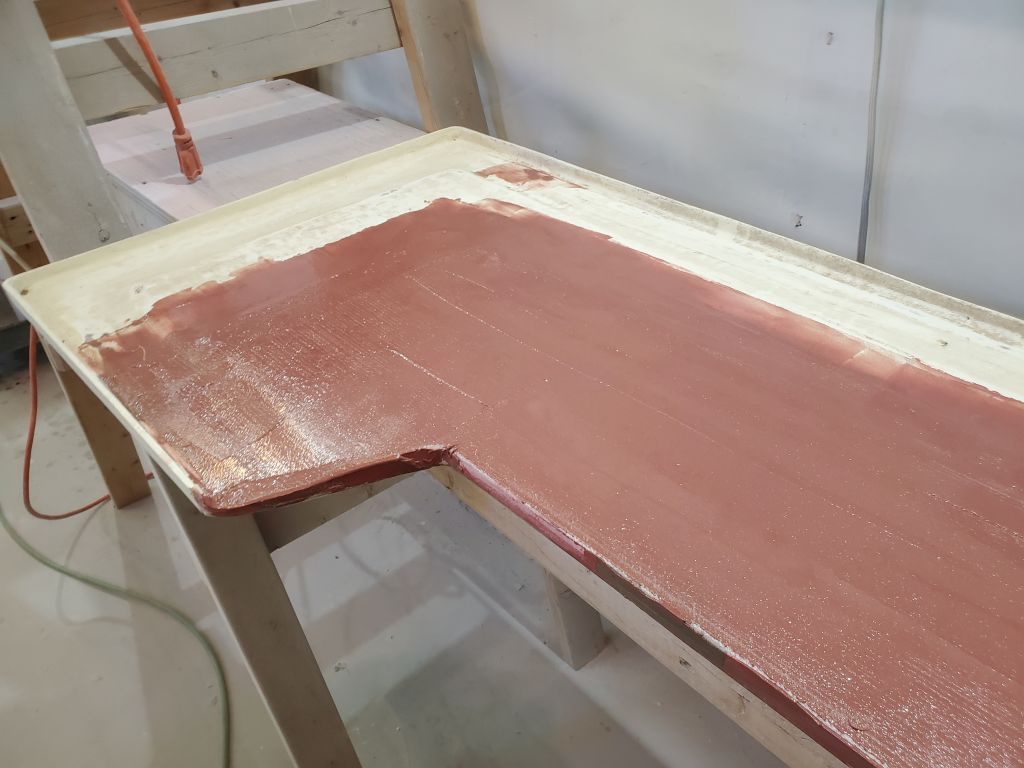
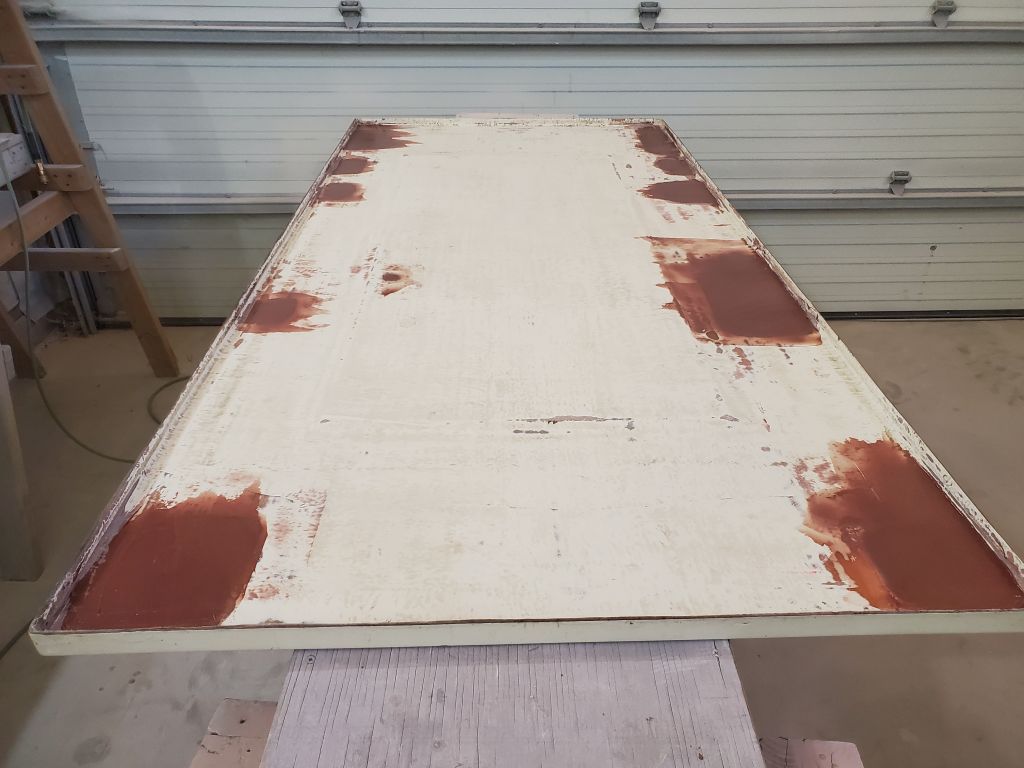
After cleaning up from the sanding work, I applied additional fairing compound to the transom, focusing on those areas where I’d identified low spots, as well as some minor touch-up to the new laminate on the bottom of the hull in way of the jet drive opening. Then I applied a layer of fairing compound to the new vent patches.

To smooth the new laminate on the bottom of the livewell hatch for consistent appearance, I troweled on a skim coat of fairing compound, and used up some leftovers on the base of the fuel tank hatch to further smooth the patches there.

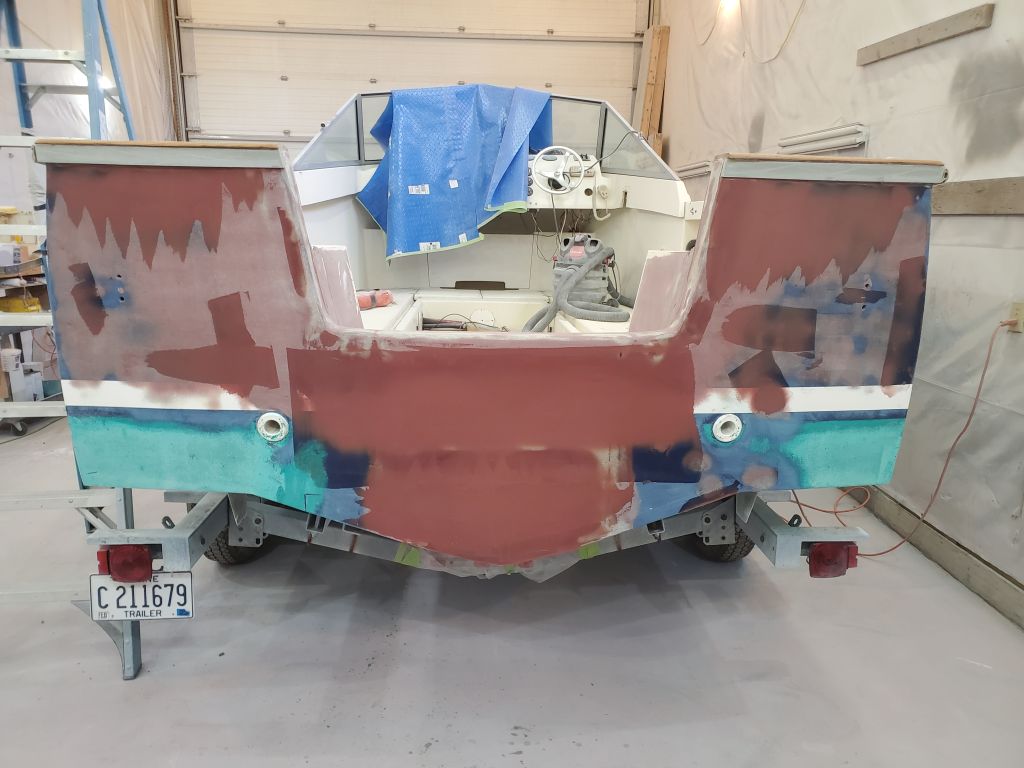
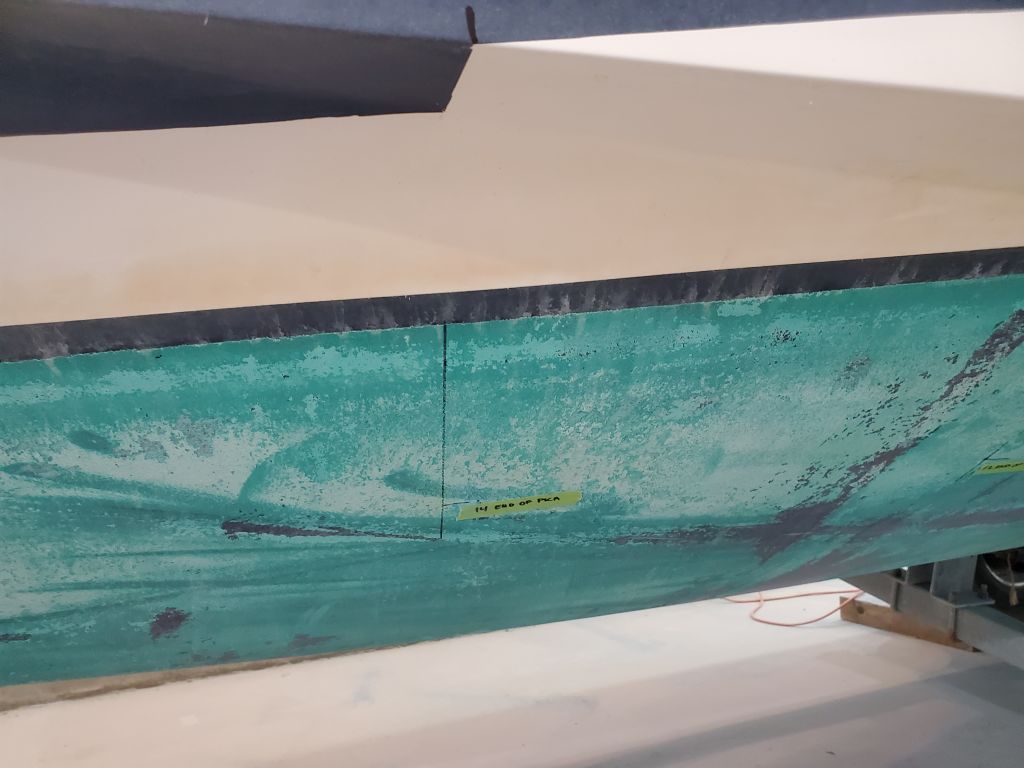
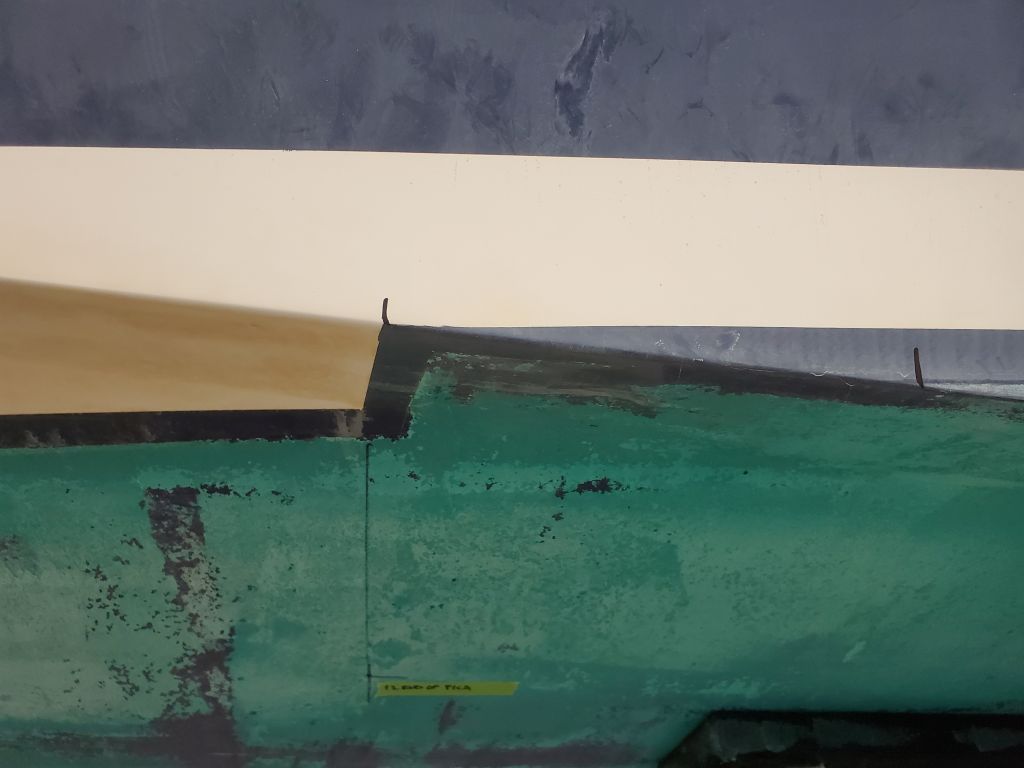
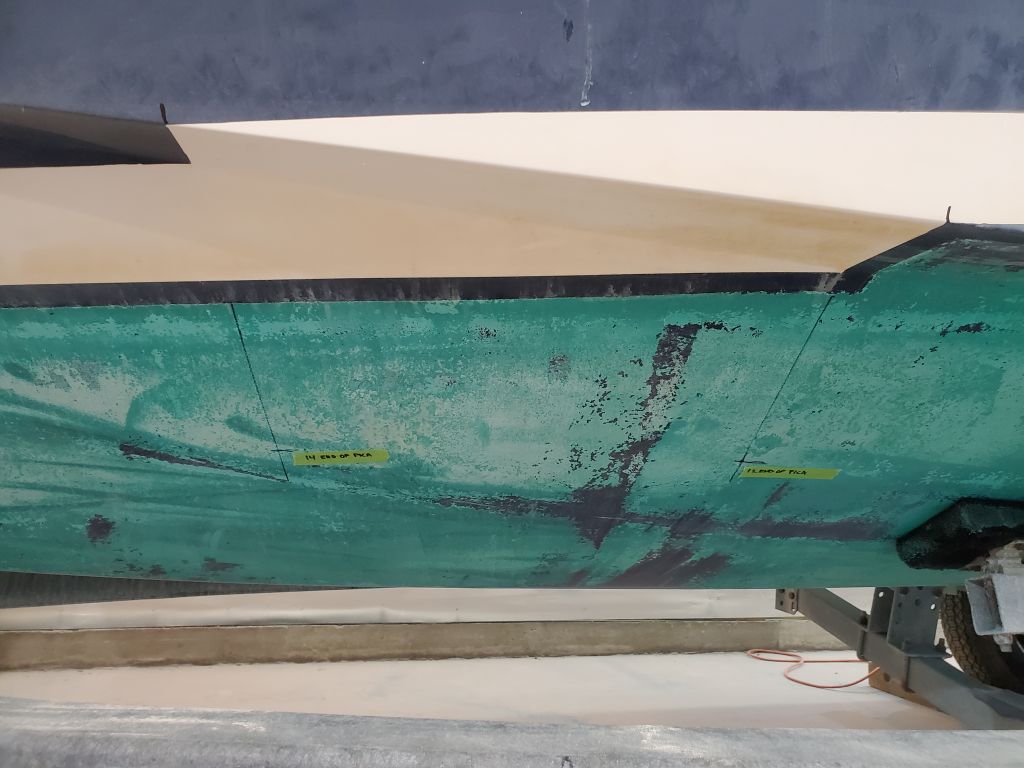
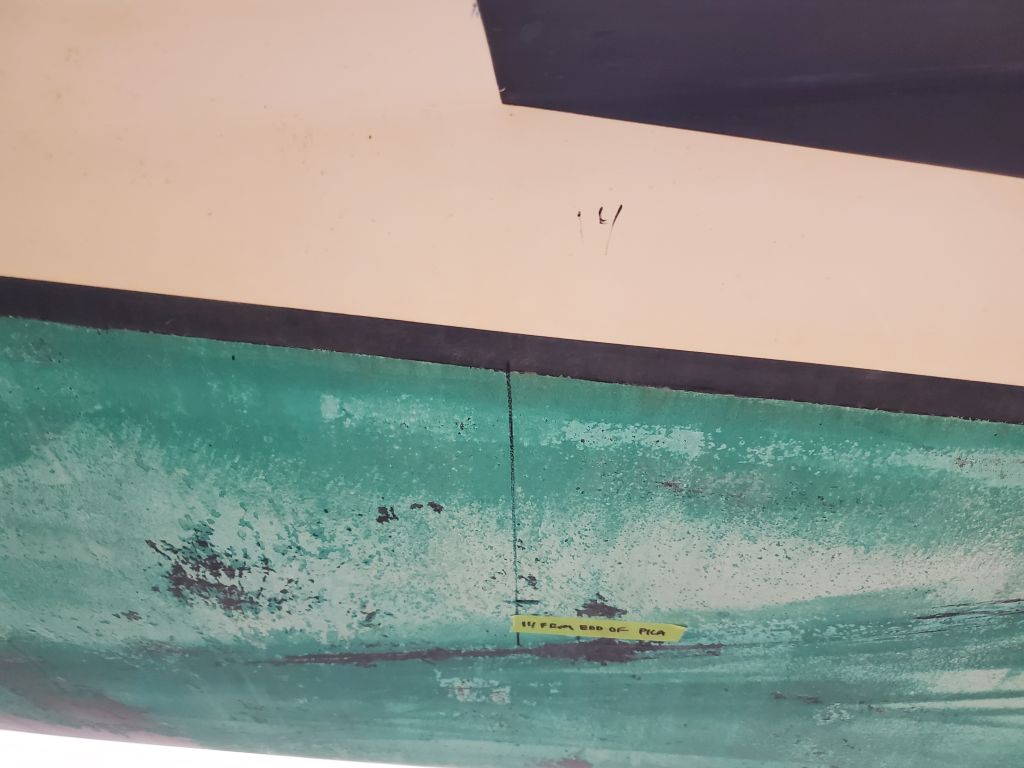
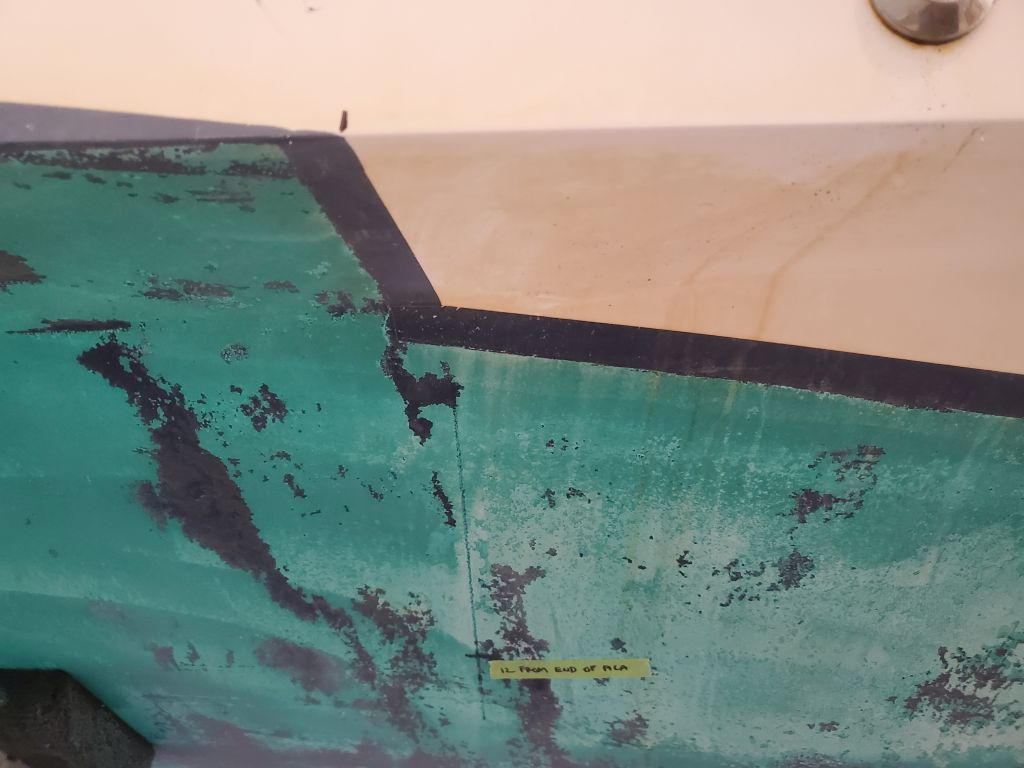
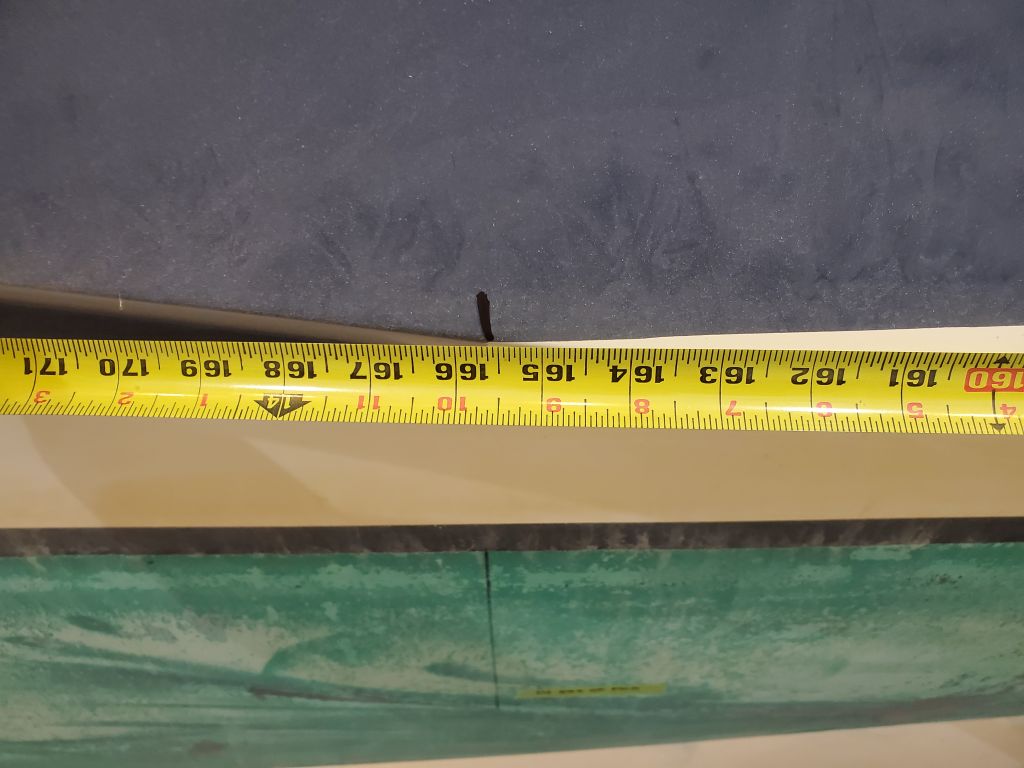
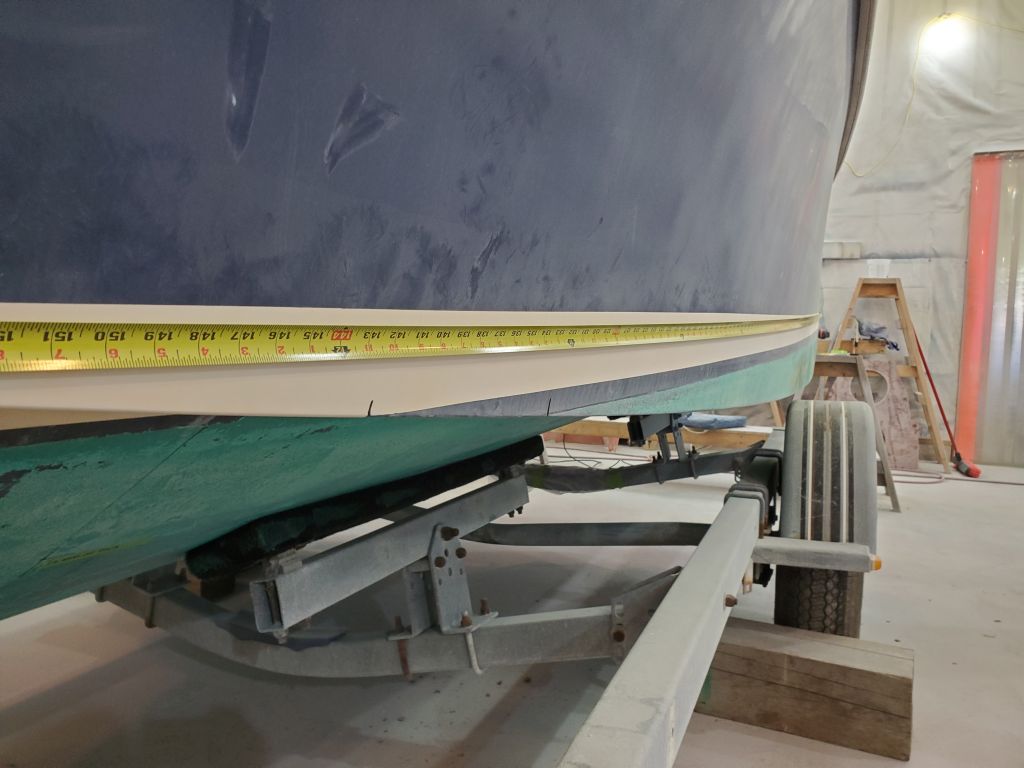
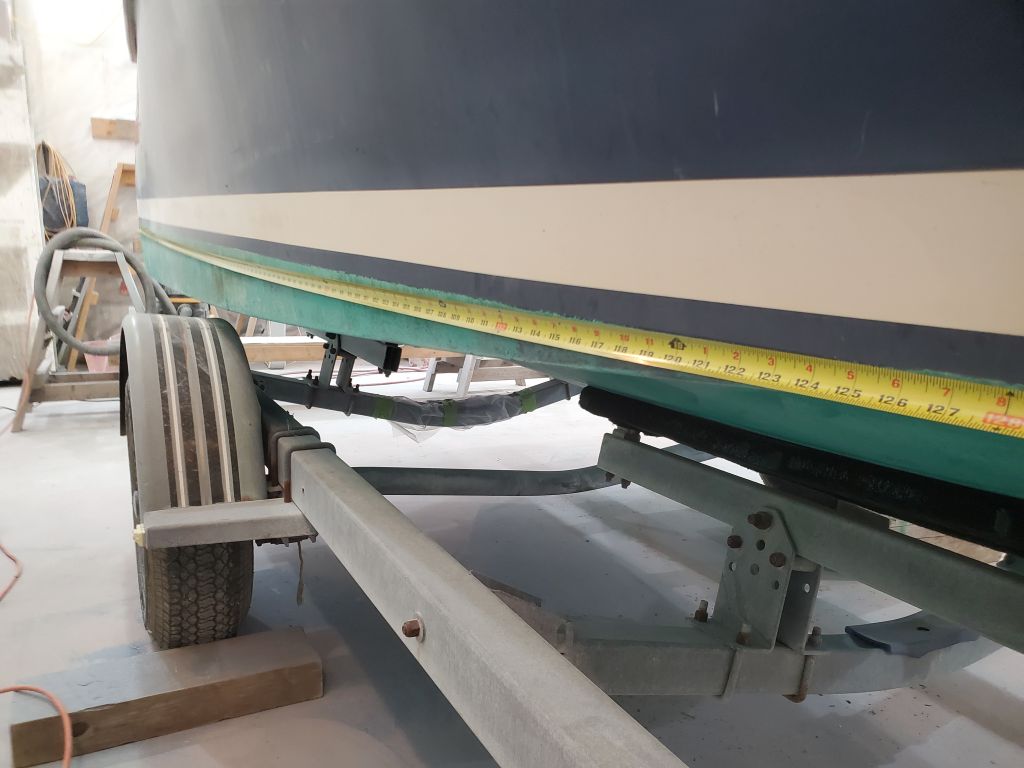
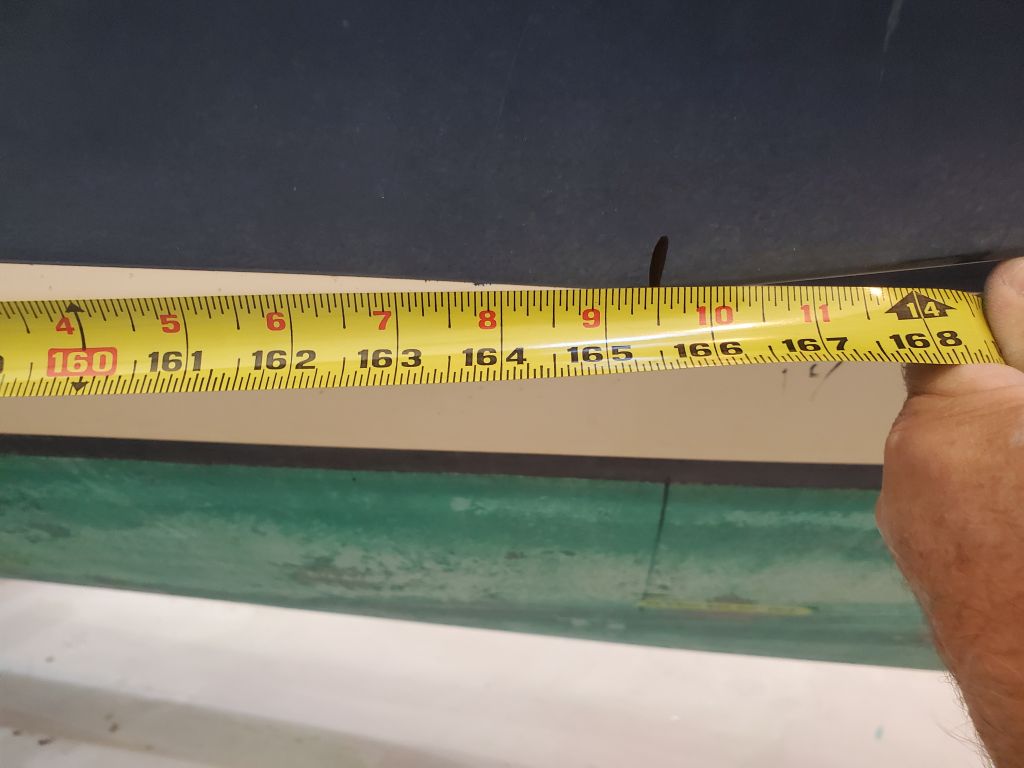
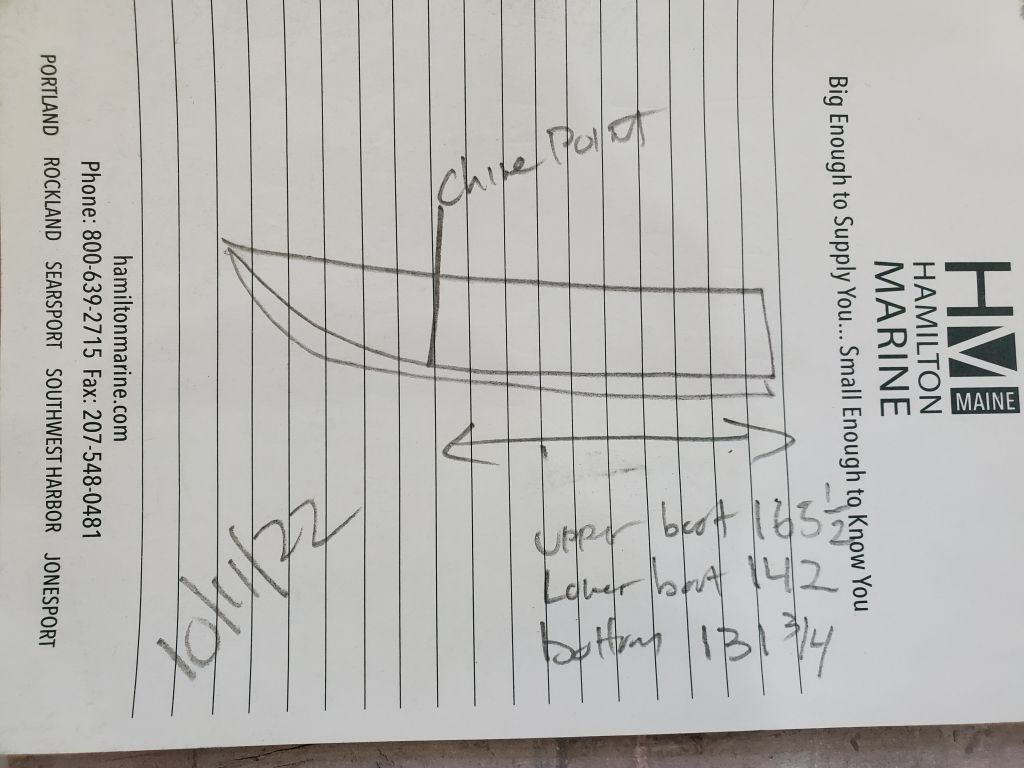
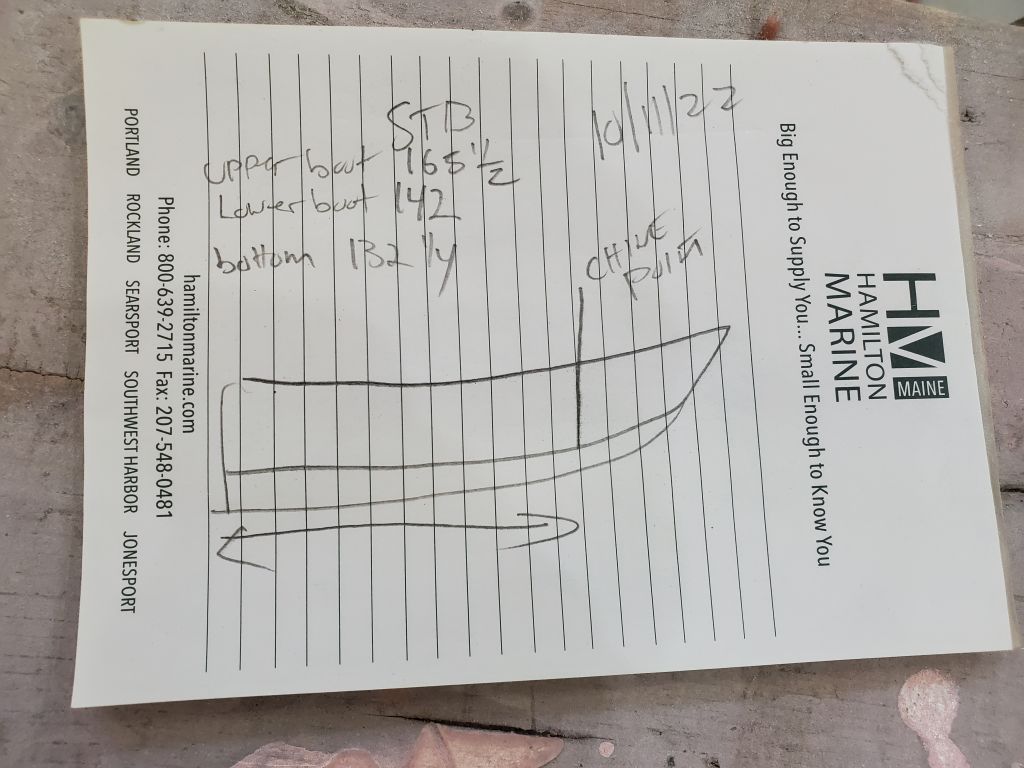
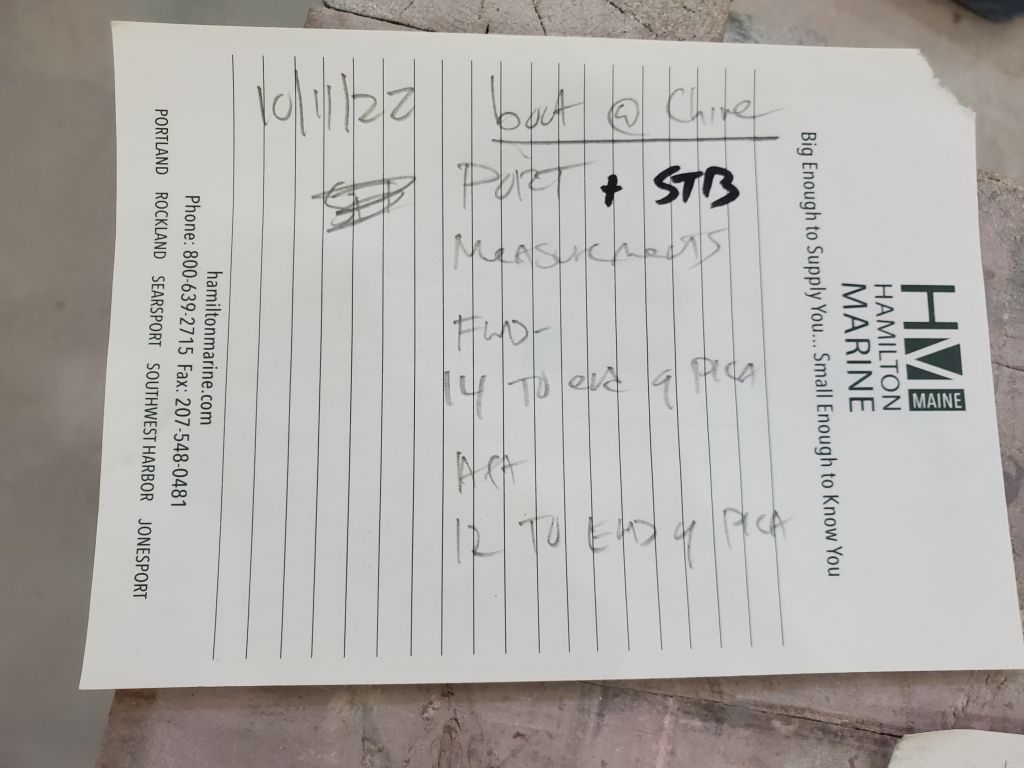
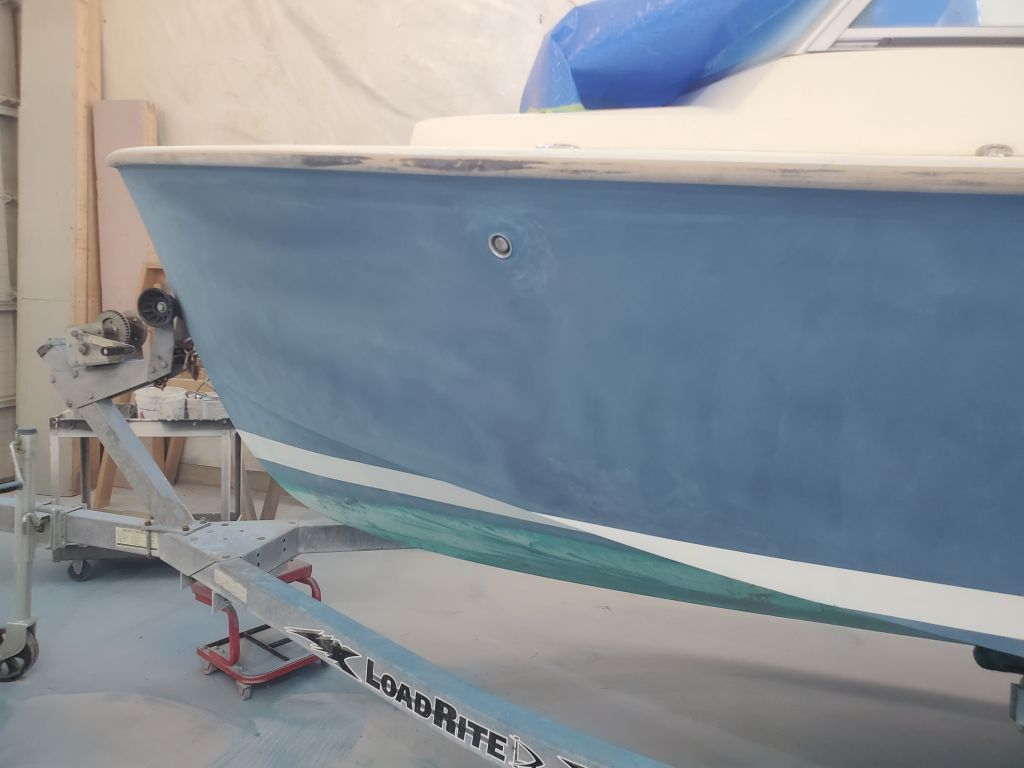
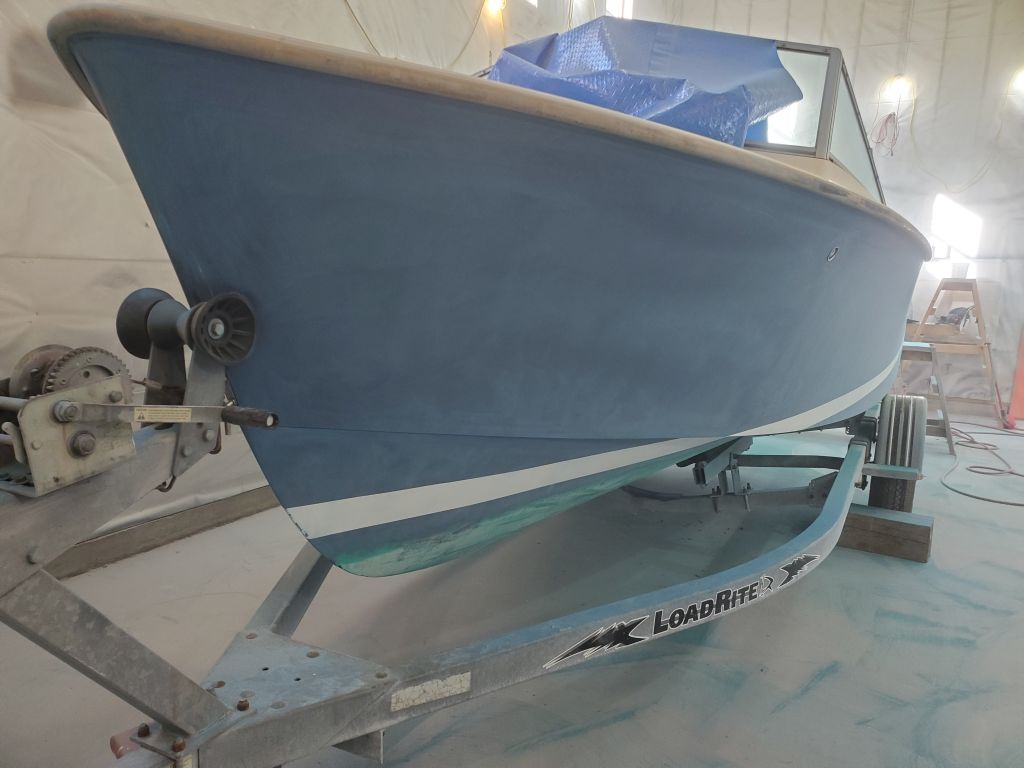
During the spring work session, I’d already measured and noted the waterline and boottop positions at stem and stern, but now, before I got into preparing the hull for primer and paint, I decided to take some additional measurements to help position these lines at the transition between canoe hull and hard chine near the bow. I used a flexible straightedge held roughly vertically from the points where the two edges of the boottop met the hard chine, and marked a line and a measurement on the bottom well below the waterline where I could count on the marks remaining for now. These marks would help me locate the striping at this major transitional point later. Because the ruler I used is an old typesetter’s rule, where the markings begin about 1/4″ in from the end of the rule, I noted that the marks were from the “end of Pica” to ensure I recreated them properly later (Pica being the typeset marked on the ruler).

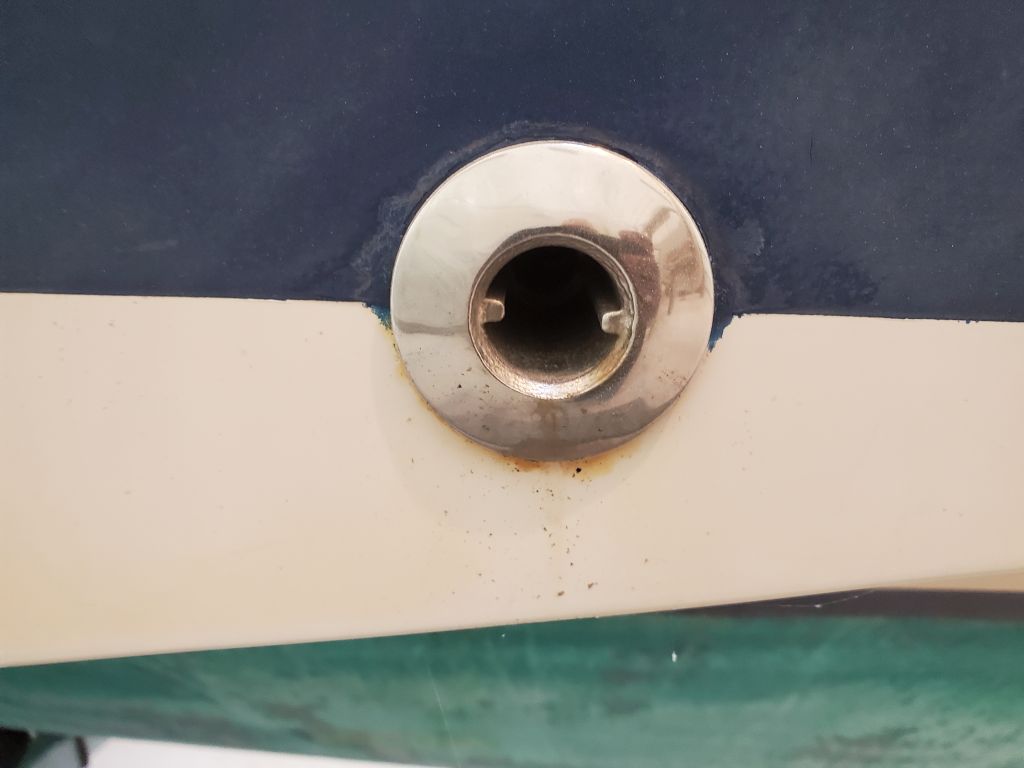
I also measured from the transom corner forward to the edge of the bottom paint and both sides of the boottop on each side, another critical measurement that would help easily recreate these lines later. I noted that the top of the boottop ran right through the centerline of a through hull on the starboard side, and recorded my marks with great care and legibility on some notepaper. (As long as I know what the notes mean they’ll do the job.)


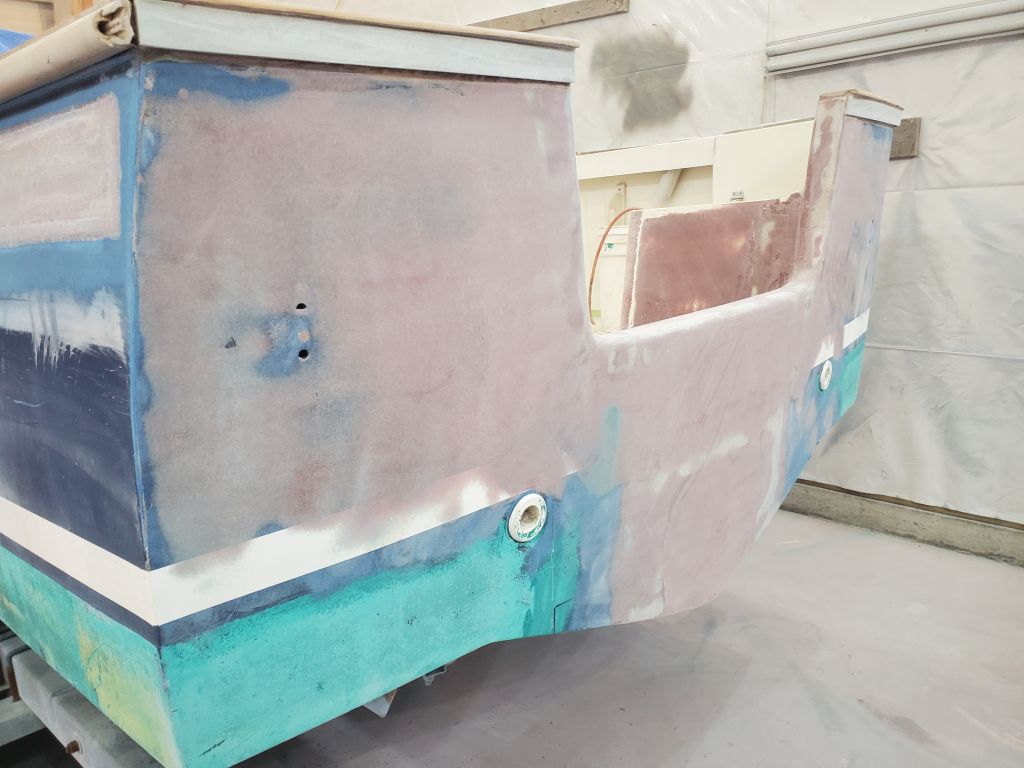
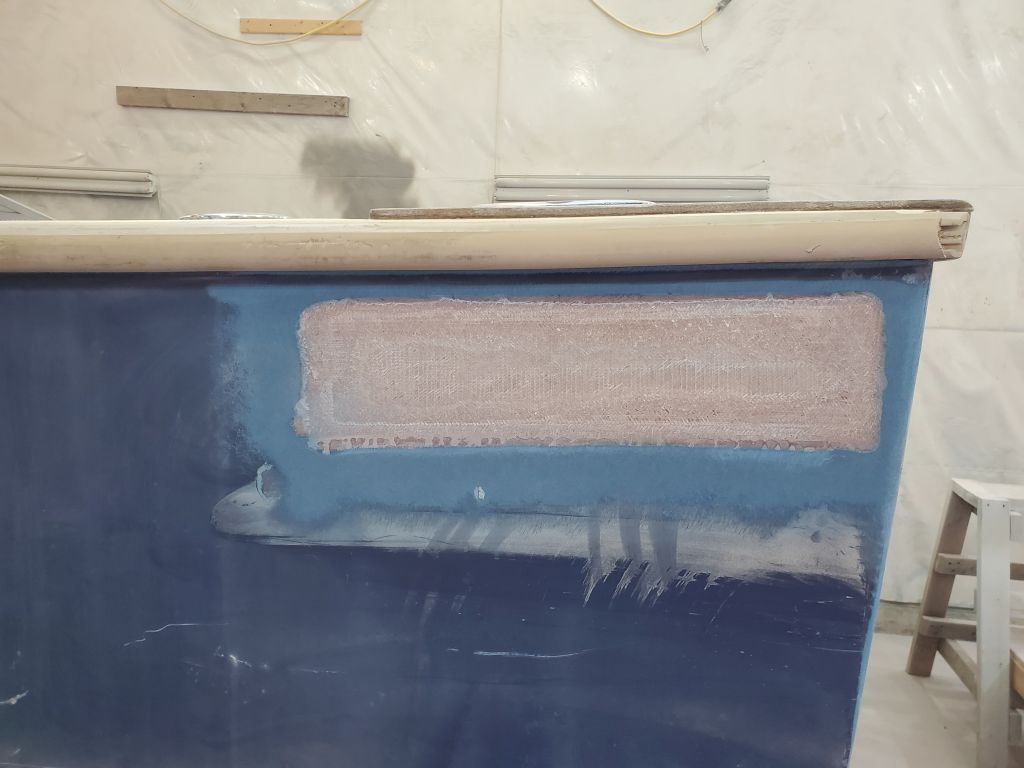
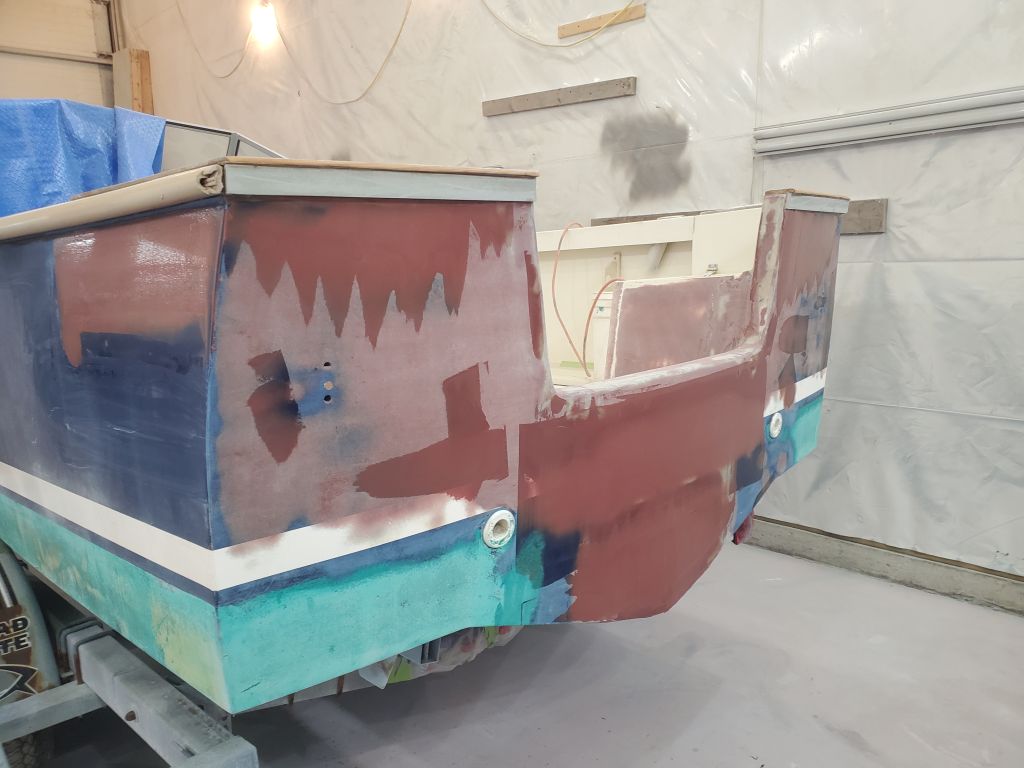
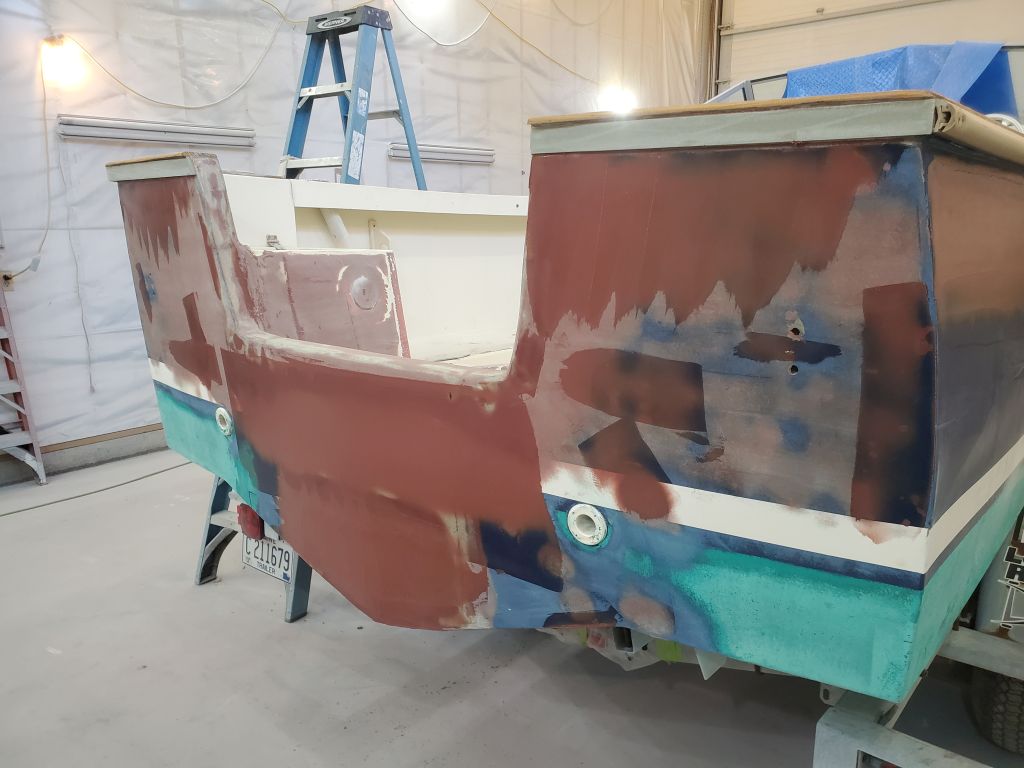
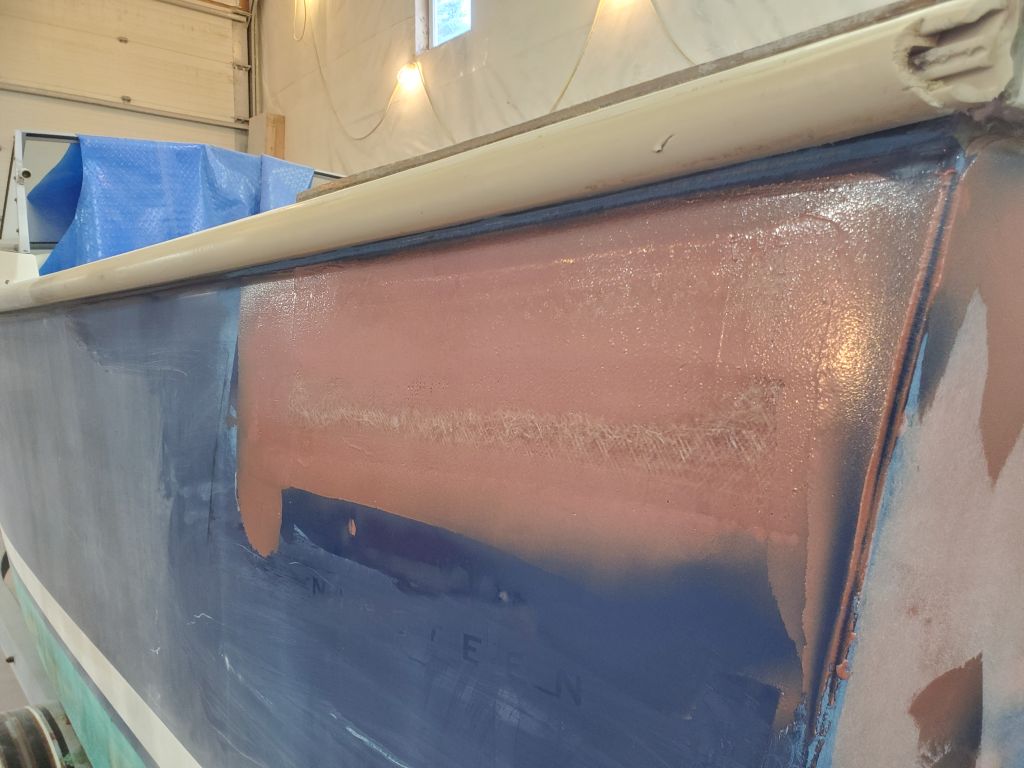
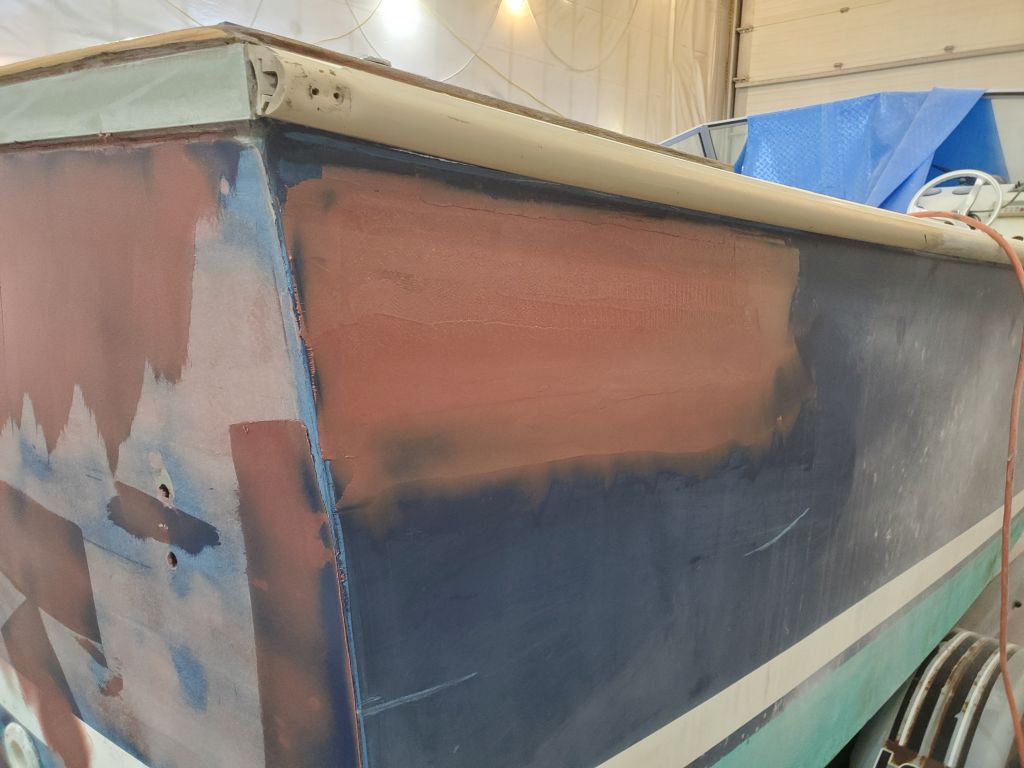
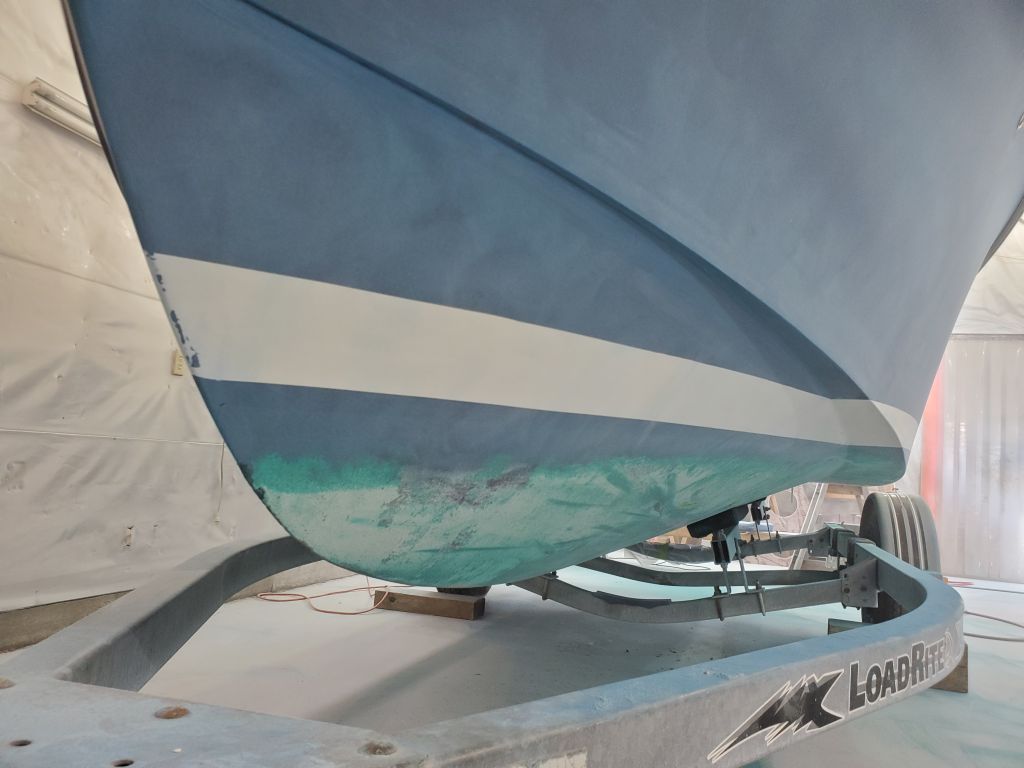
The hull was original factory gelcoat and, other than significant oxidation and fading, was generally in good condition, with only a few minor scrape marks that might require some filling later. So for the relatively minor surface preparation I chose my 6″ orbital sander and worked through 60-80 grits on the port side of the hull, scuffing the gelcoat consistently and smoothing the surface. Later, after any filling work, I’d go over the whole thing again with 120 grit, the final grit before primer. I sanded a bit down into the antifouling paint to ensure a clean tape line when I restruck the waterline, and, on the chines, went ahead and removed all the old, dry paint as it came off with ease and the area was small. I stayed a bit away from the vent patch on the port quarter for now so as not to oversand that area while working on the additional rounds of fairing required.


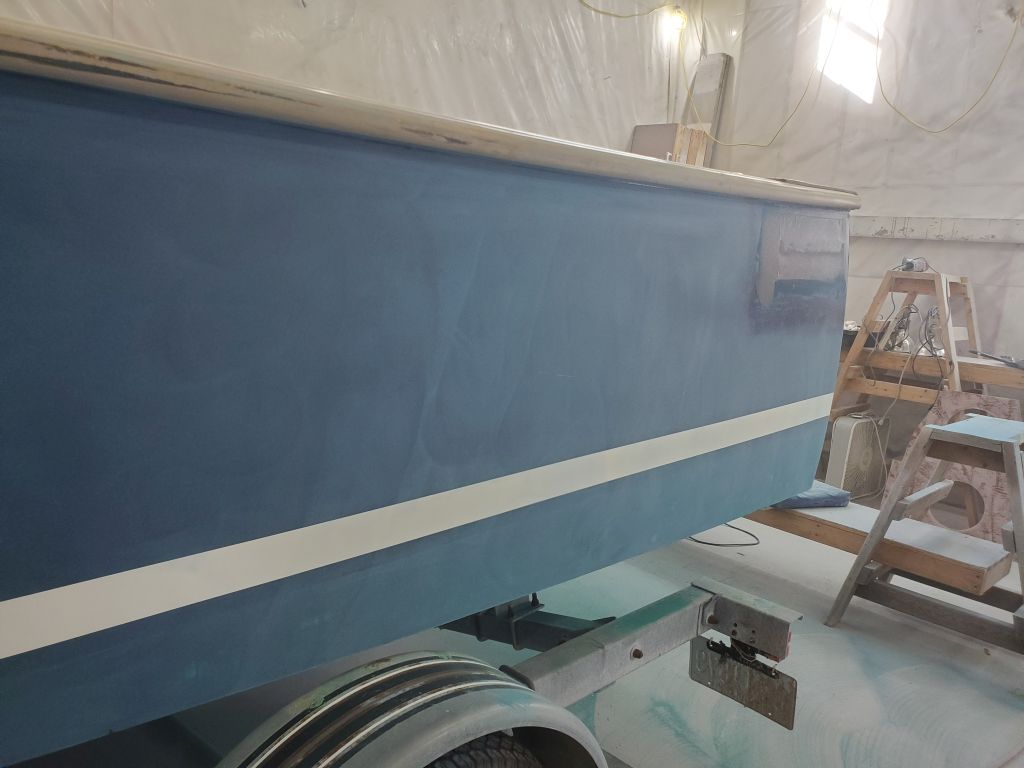

At the stem, I’d have to remove the bow support and roller later in order to complete the sanding, and for clear access during painting. This brought me to the end of the day, and I’d continue with the starboard side next time.
Total time billed on this job today: 6.25 hours
0600 Weather Observation: 33°, foggy. Forecast for the day: Fog, then sunny, 60°