

April 14, 2022
Holby 12
Thursday
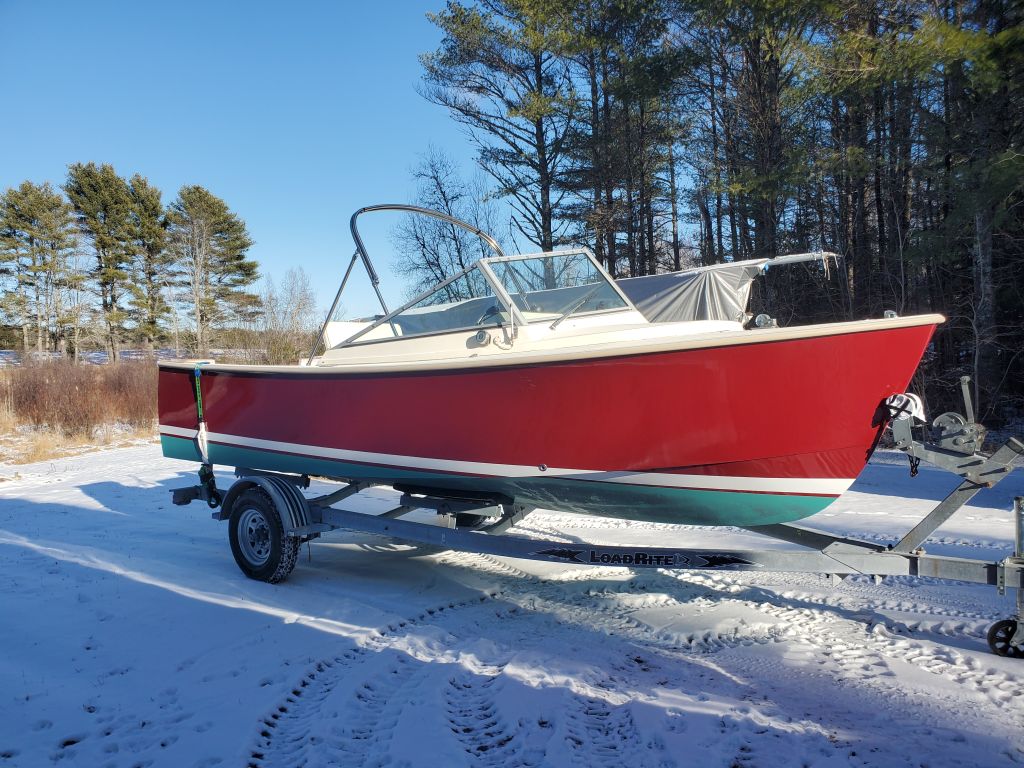
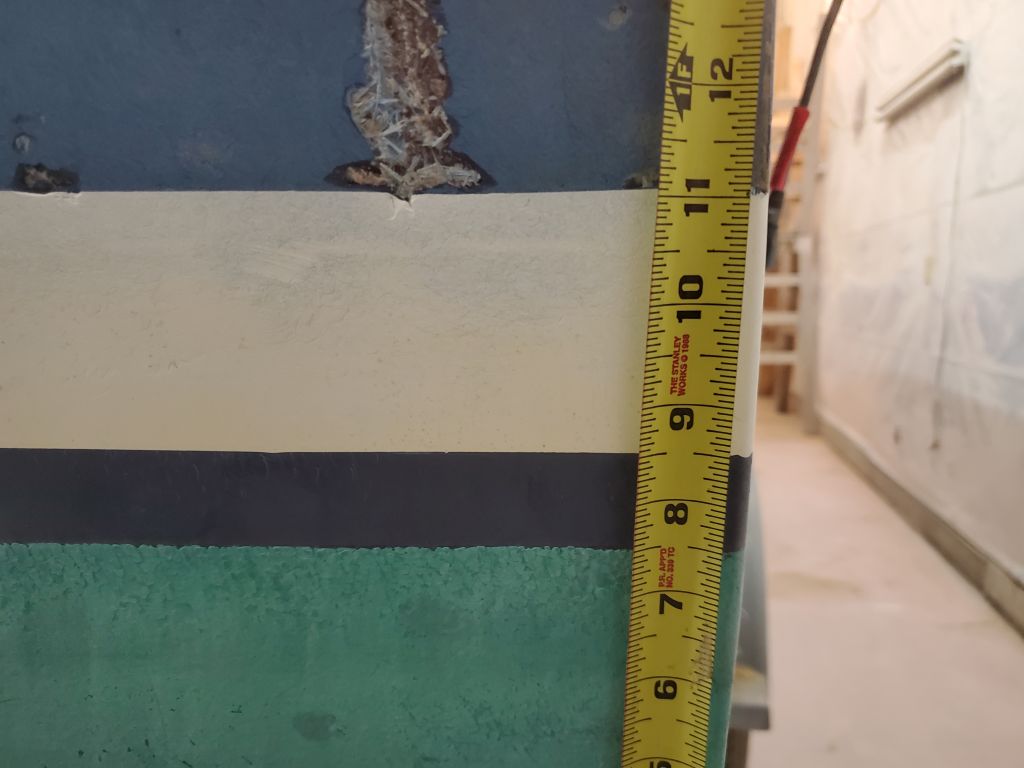
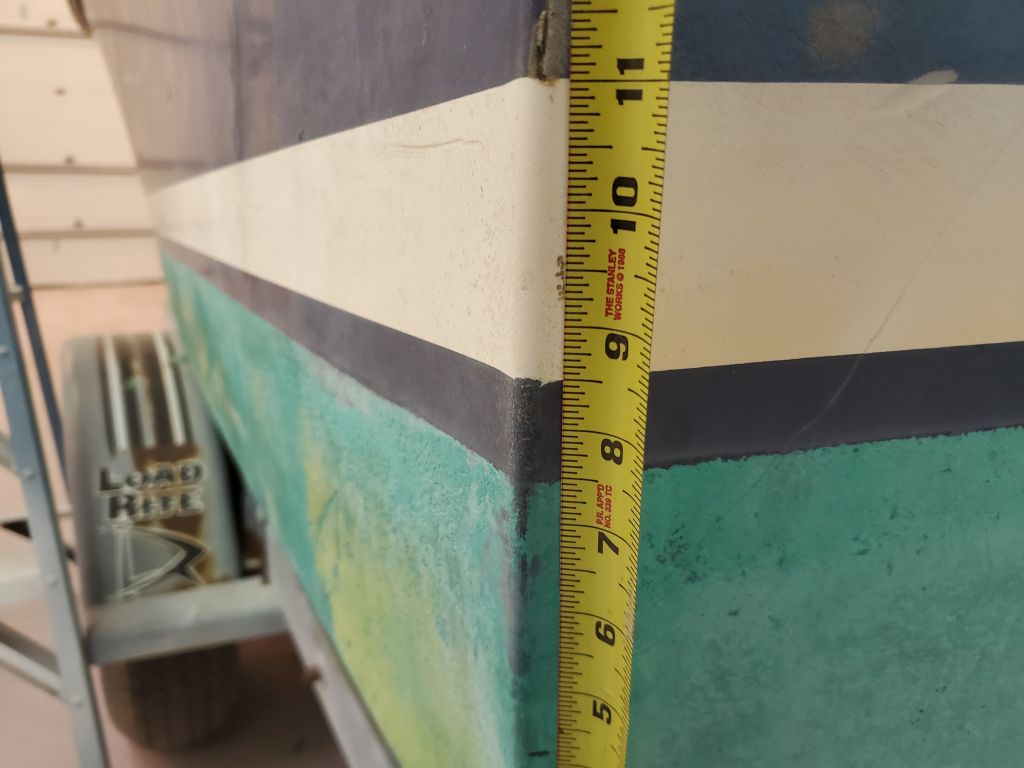
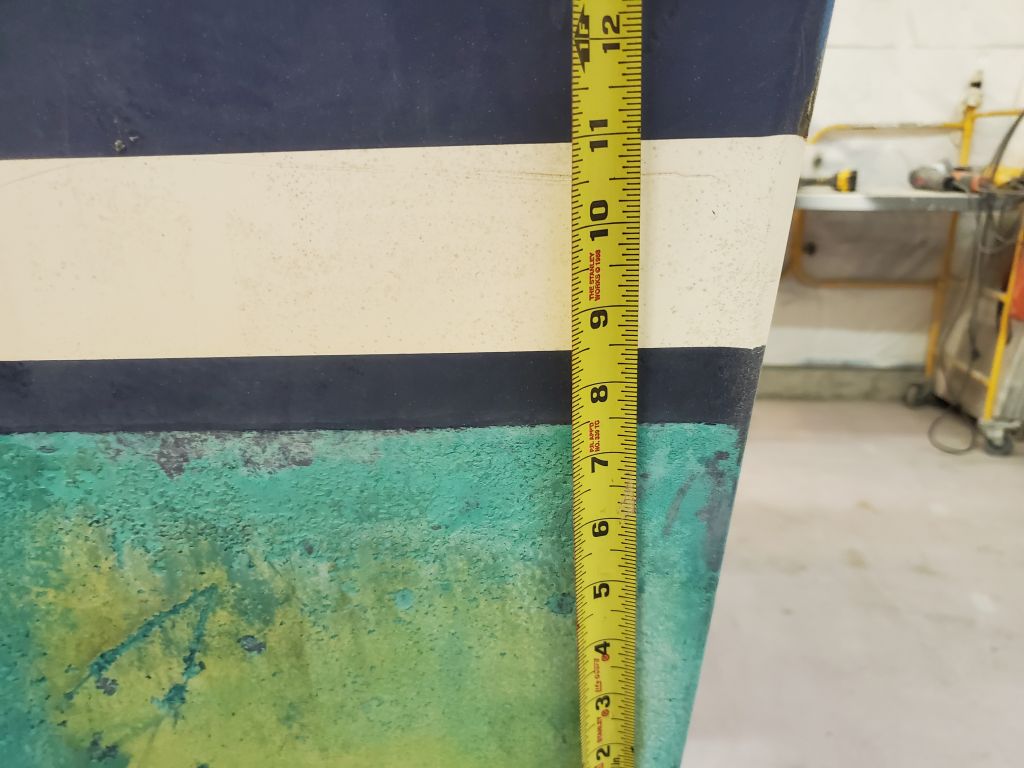
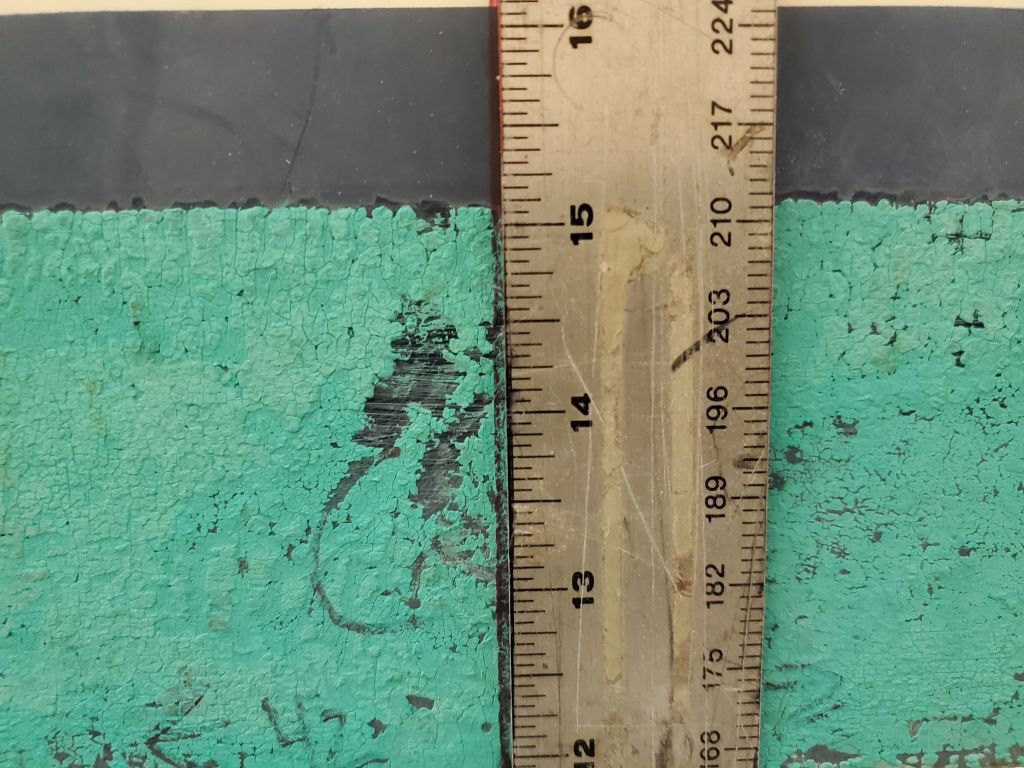
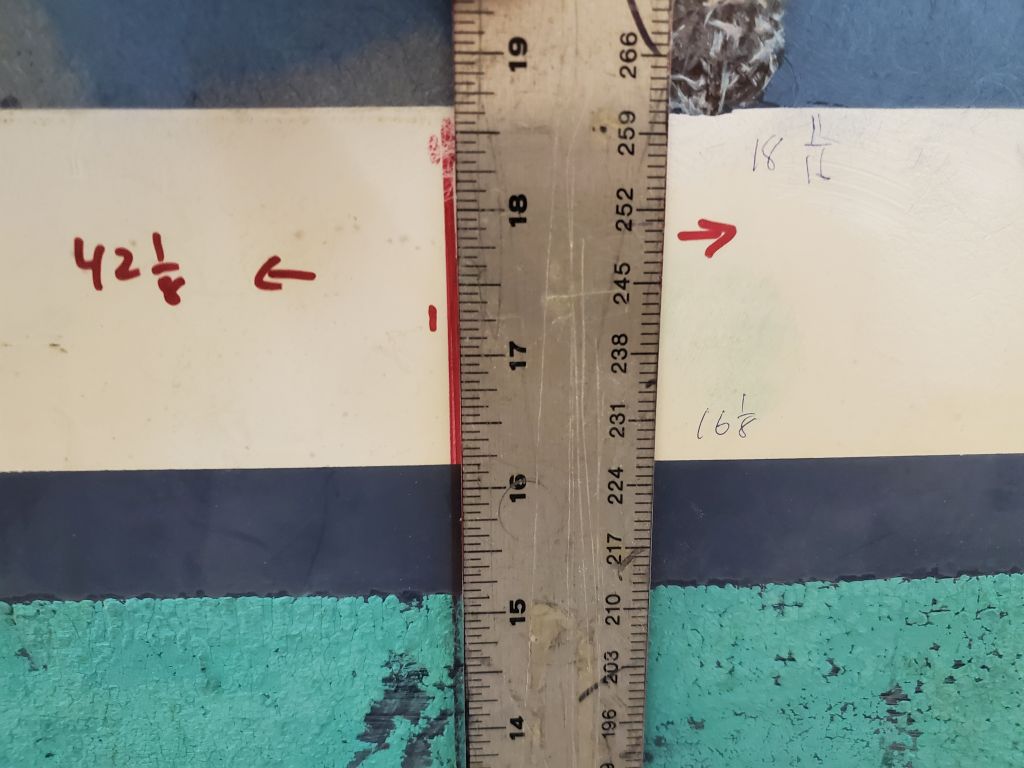
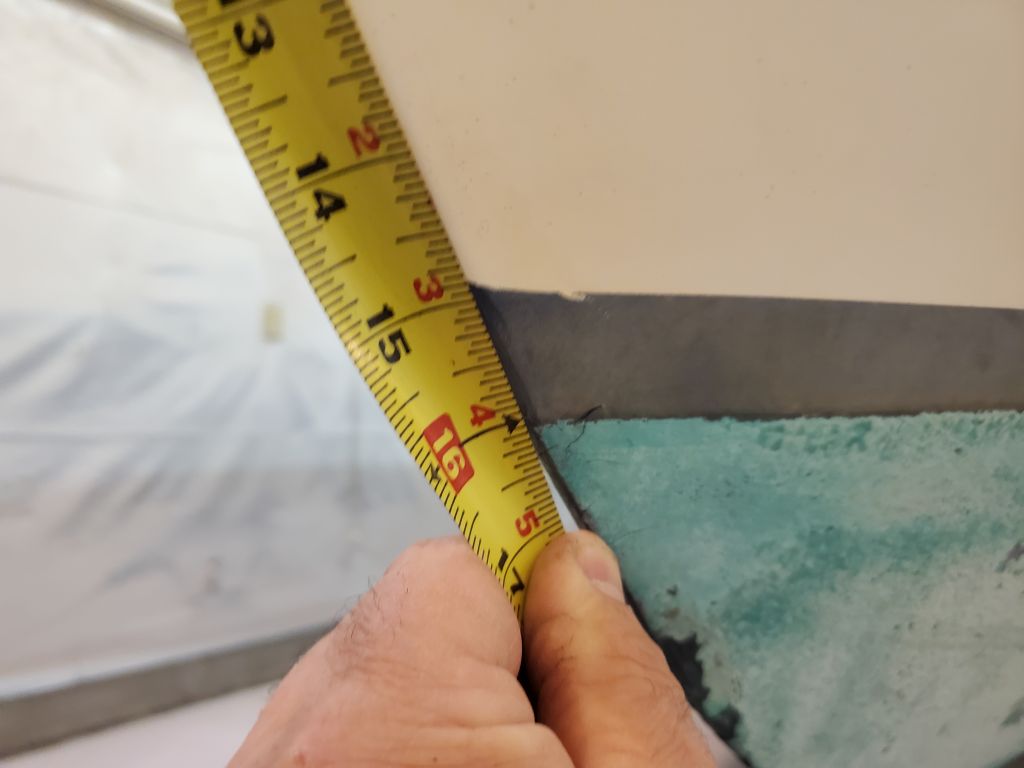
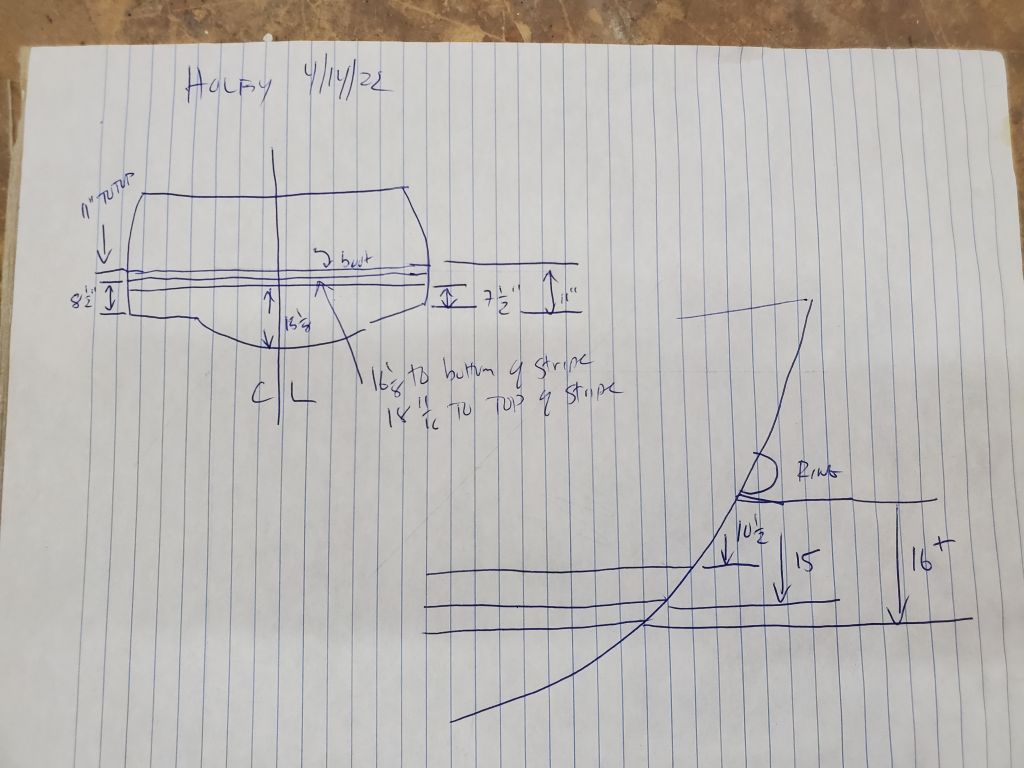
To begin, before it got lost in the shuffle I made various measurements to record the existing position of the waterline (i.e. top of the bottom paint) and boottop at the transom corners, midships transom, and at the bow. These measurements would be useful much later in the project during the painting phase.


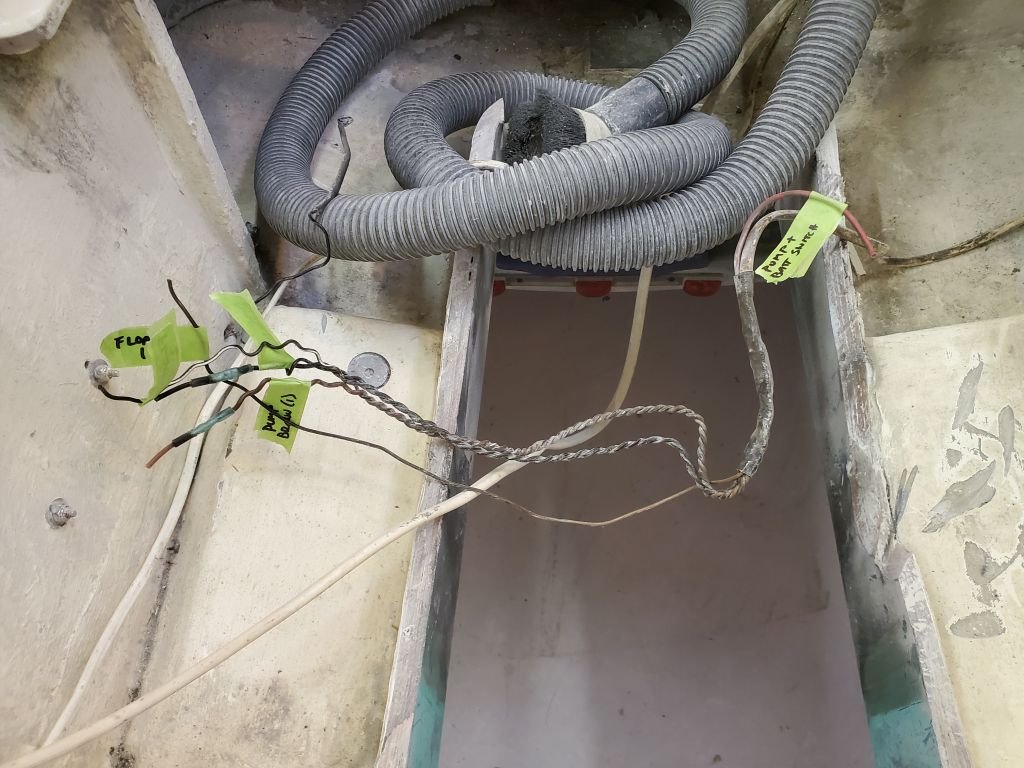
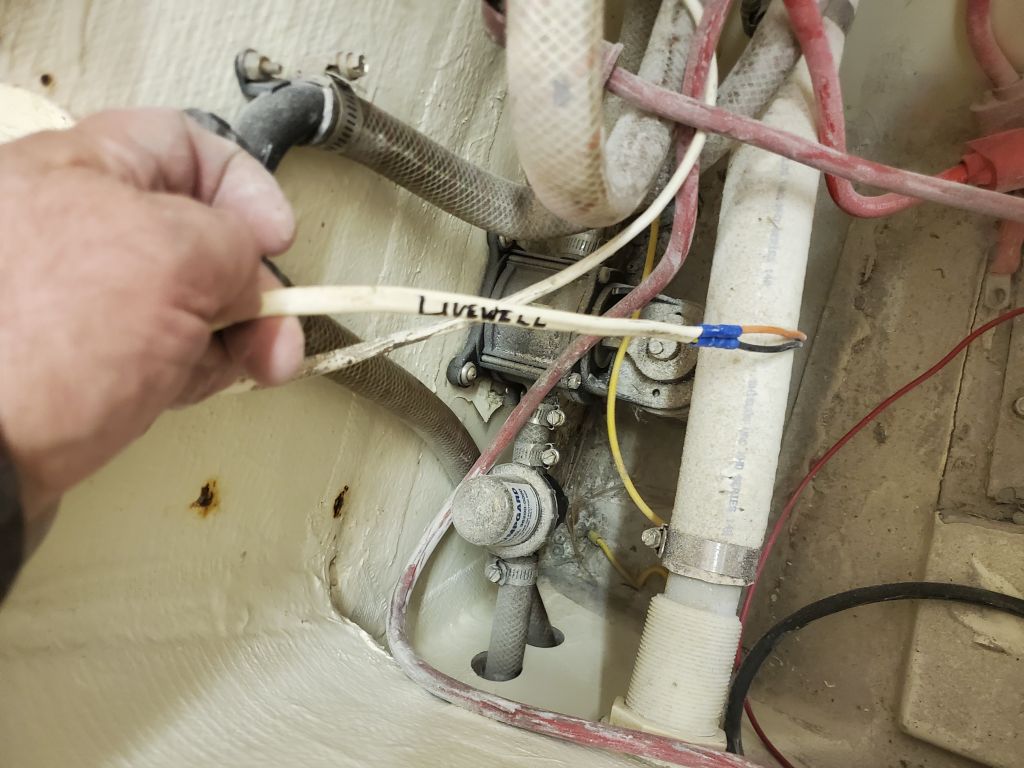
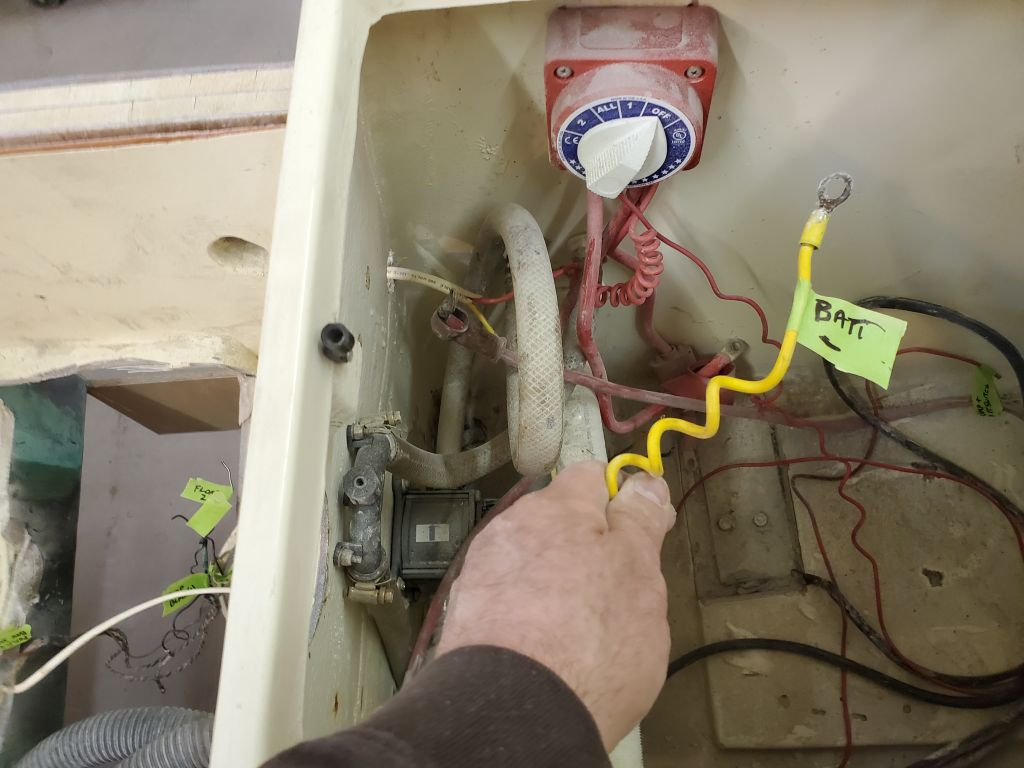
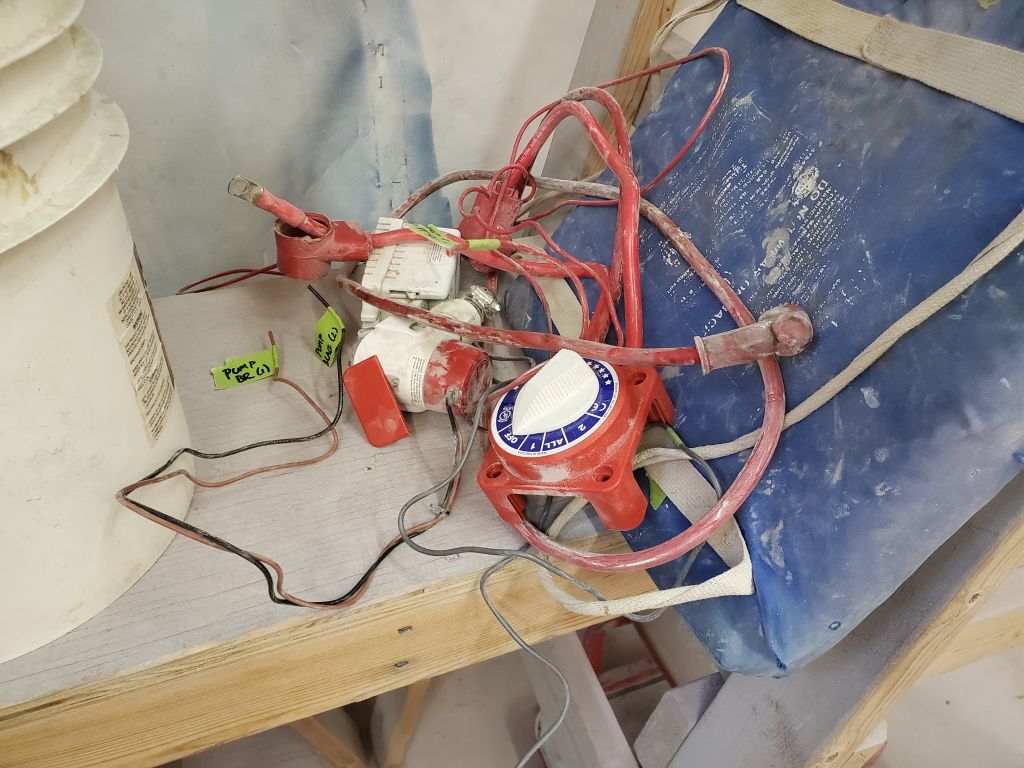
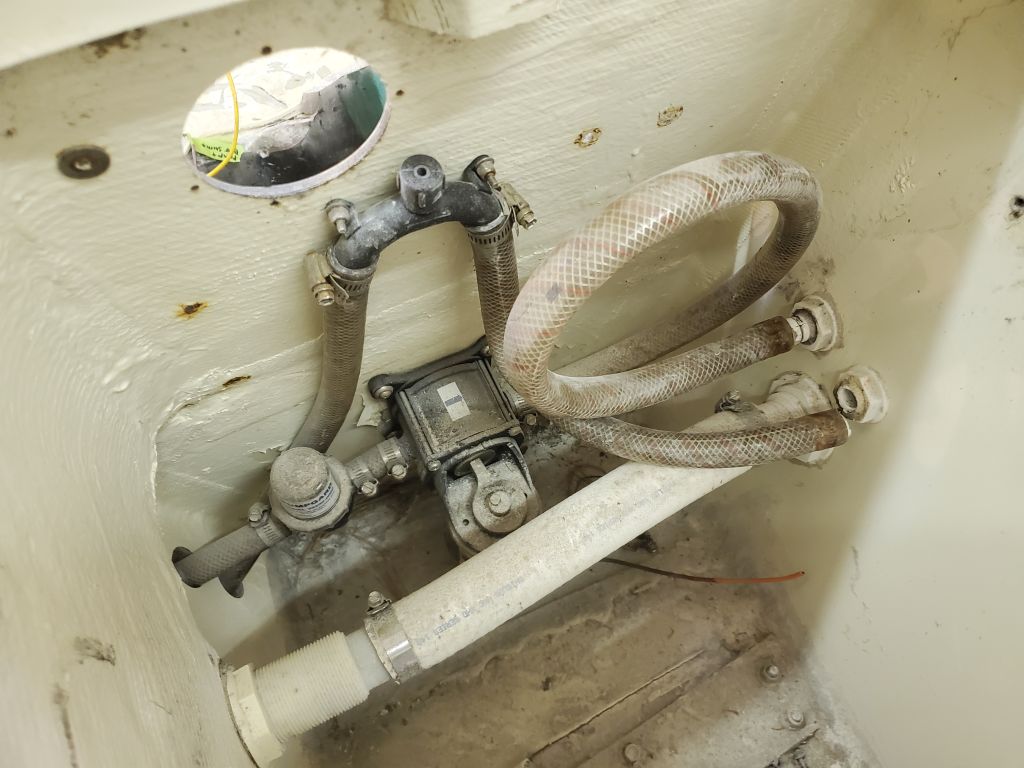
Before getting back to work in the engine room, I wanted to clear the way of old wiring and a few bolts securing some plumbing on the port side. As needed, I labeled existing wires and cut as needed to remove and pull through the wiring temporarily into the starboard aft locker, out of the way for now. On the port side, I found it easier simply to remove the battery switch and its cabling entirely.

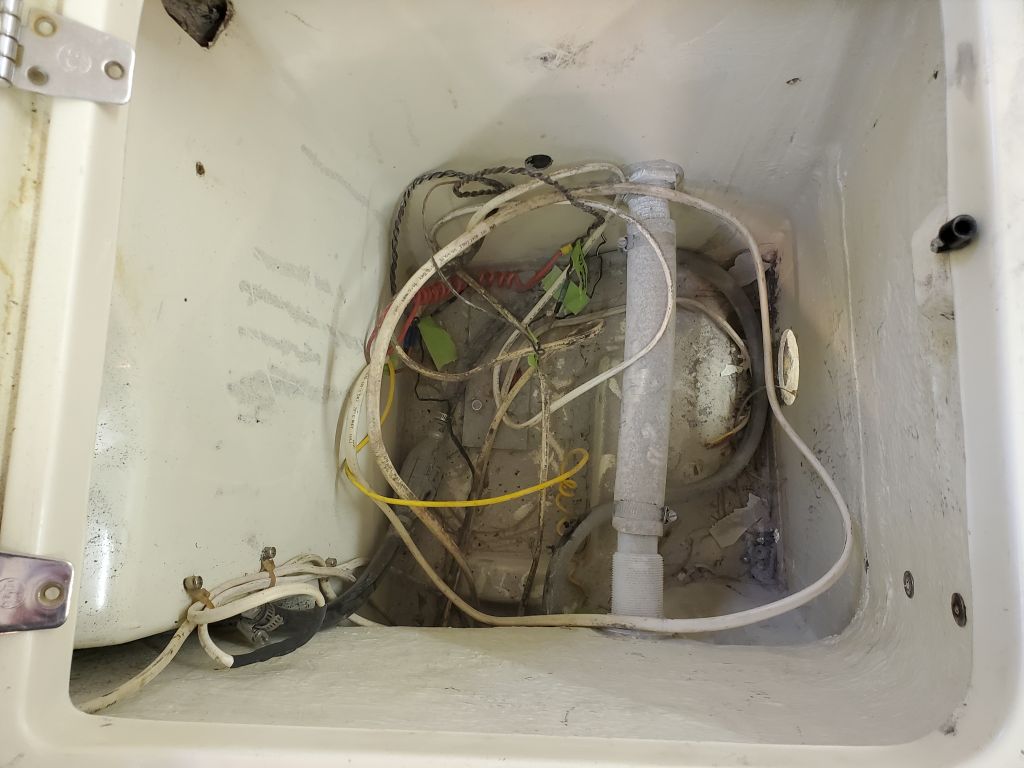
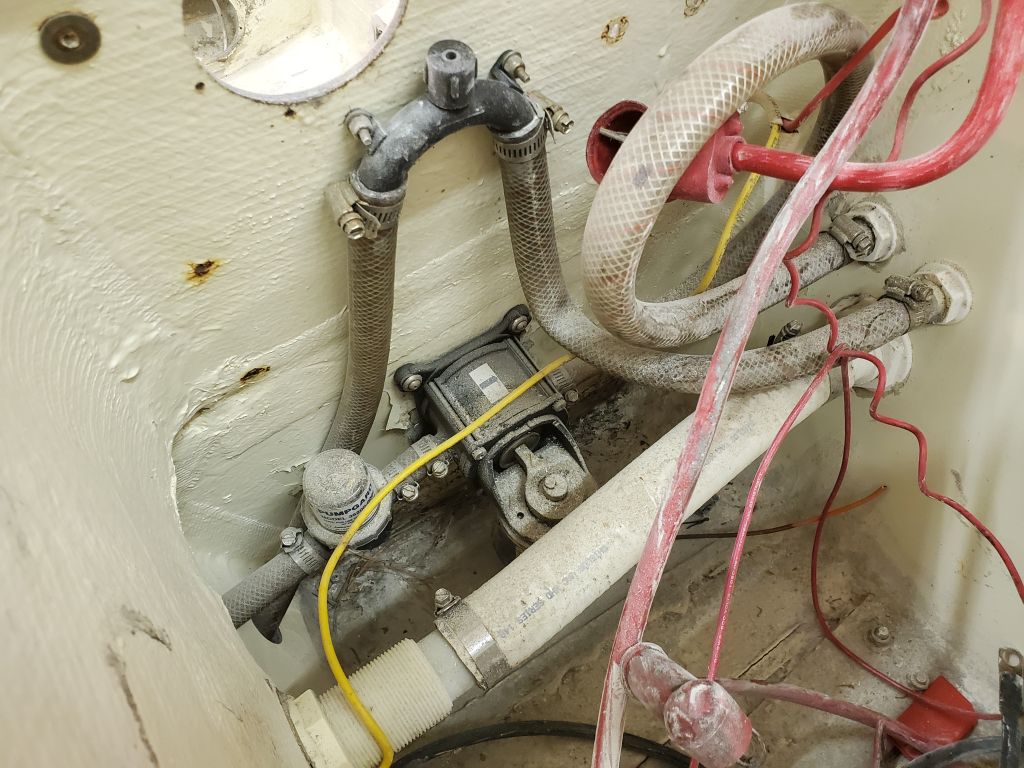
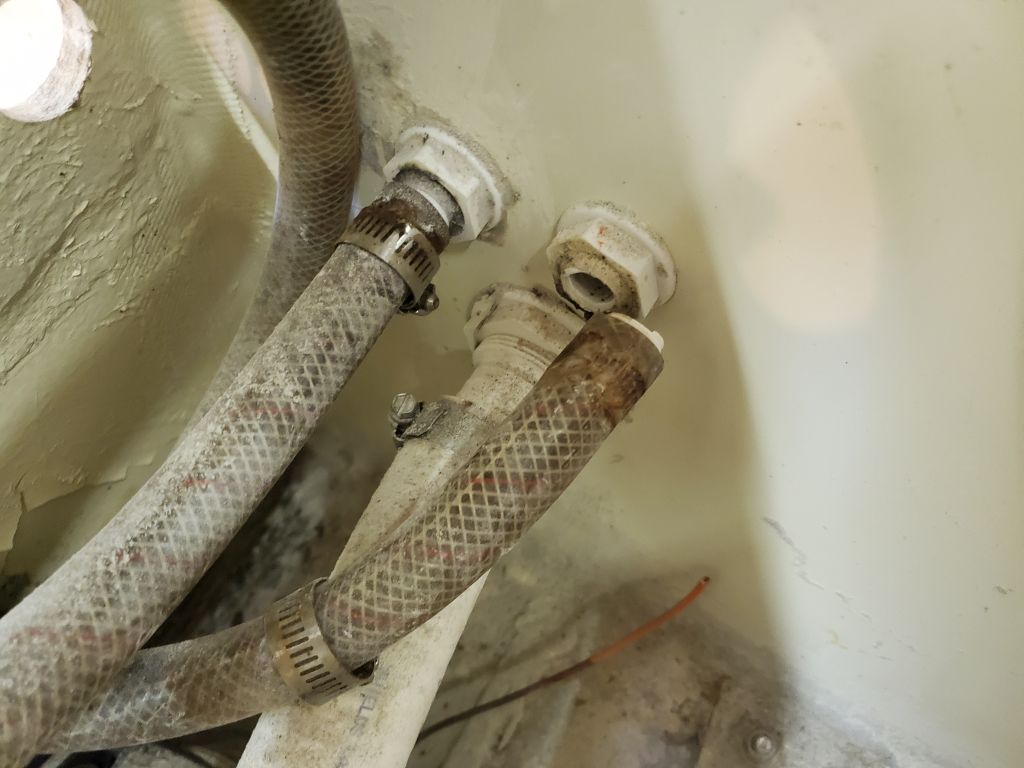
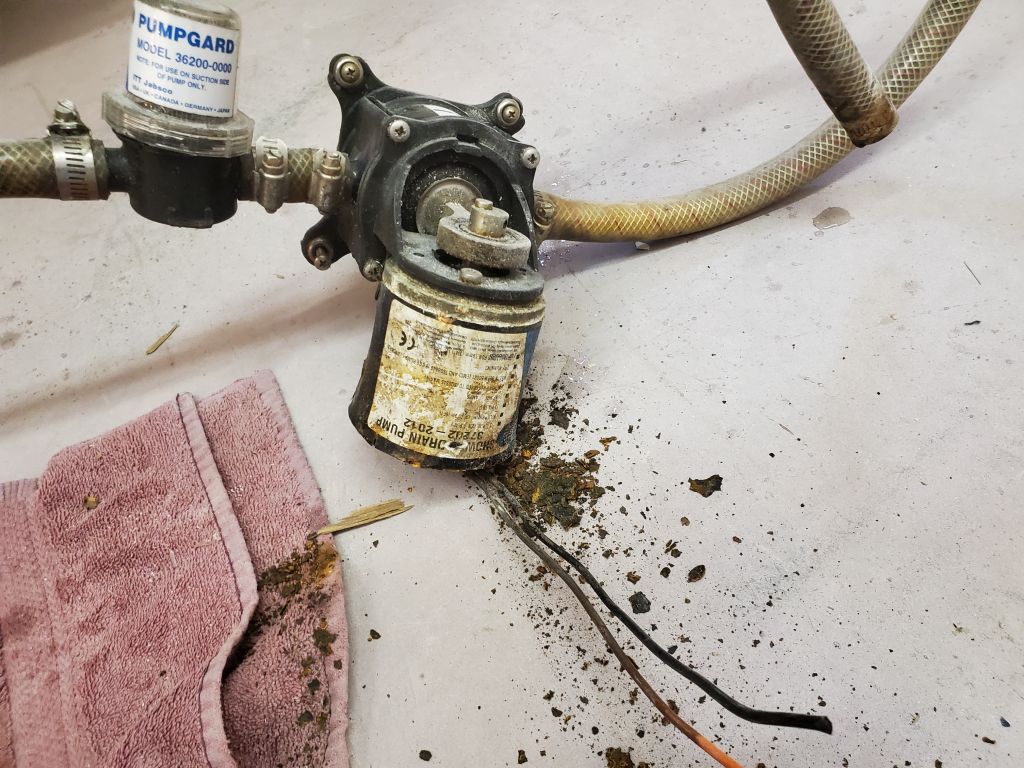
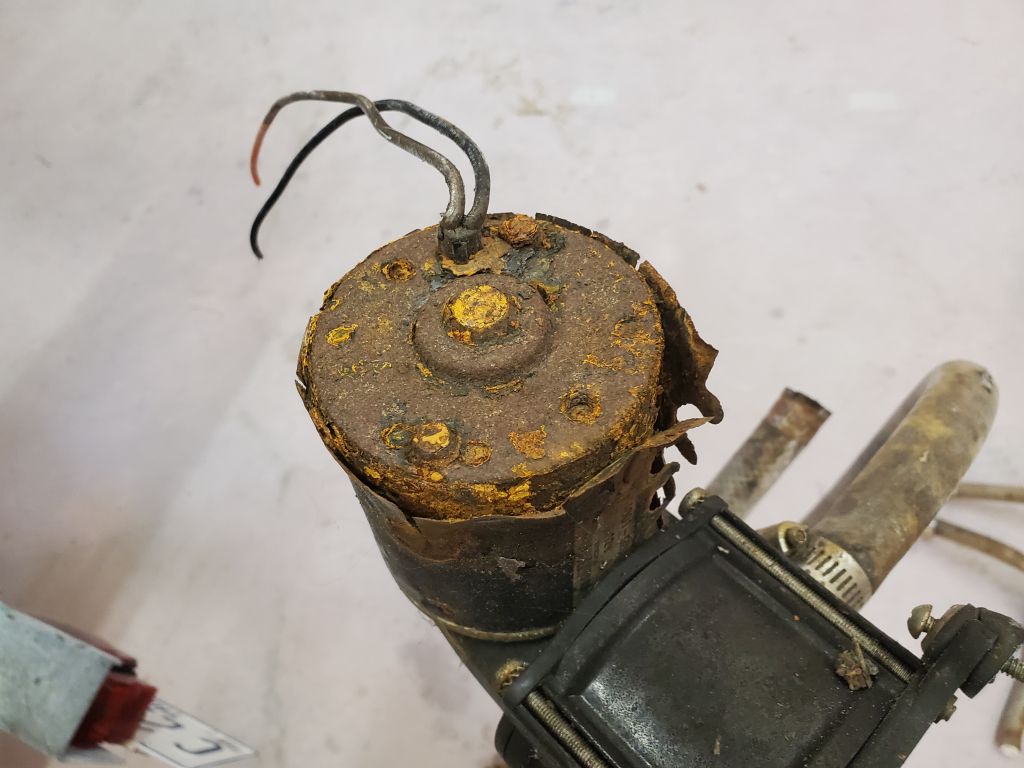
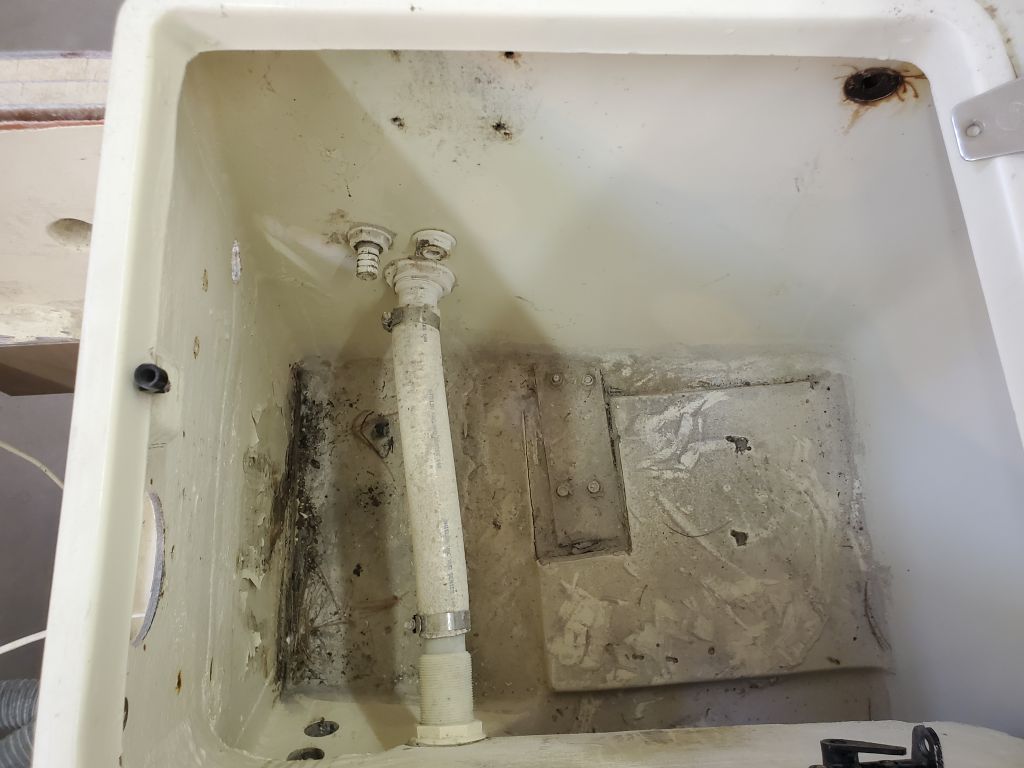
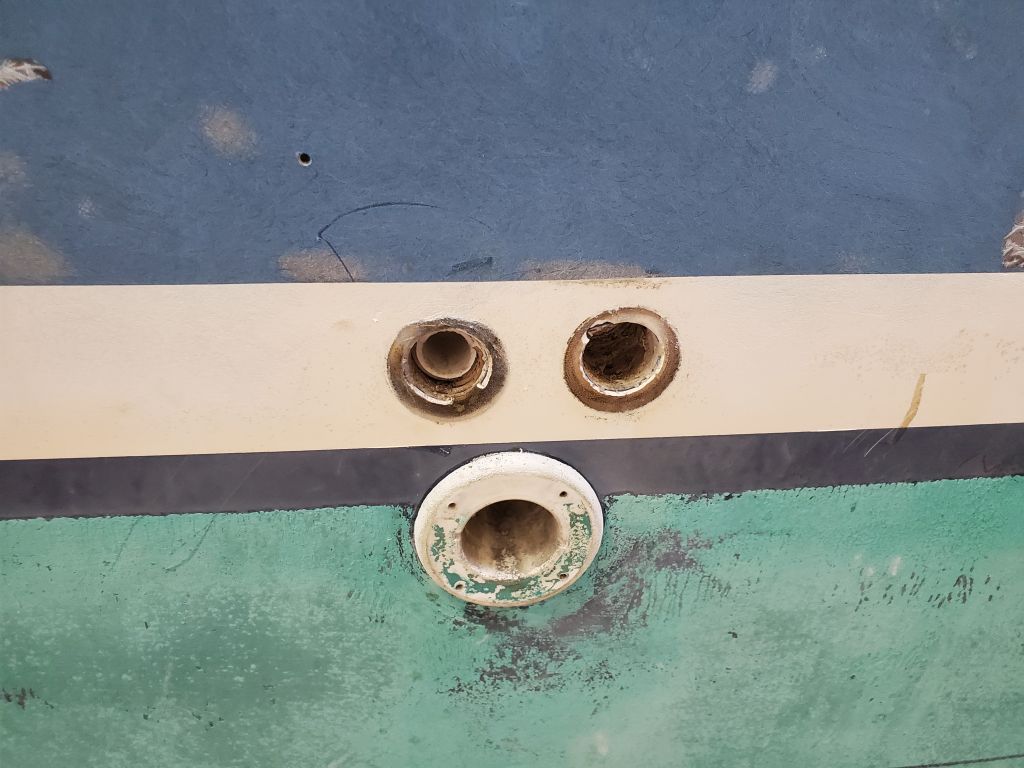
Next I removed a vented loop for the bilge pump and the old livewell pump beneath, both of which were secured through the longitudinal bulkhead with bolts that would be in the way of engine room work. The owner didn’t want the livewell pump anyway, which was just as well since it was thoroughly rusted on the bottom side (which didn’t necessarily mean it didn’t work, but it would no longer be needed anyway). I’d not originally planned to remove the two plastic through hull outlets for these pumps, but in removing the hose from the bilge pump outlet the fitting immediately broke (and, in fact, broke off from the mushroom head as well), so I decided to remove both fittings, which were just old UV-damaged plastic junk anyway.
In the end, this cleared the engine room of annoying wiring in the way.

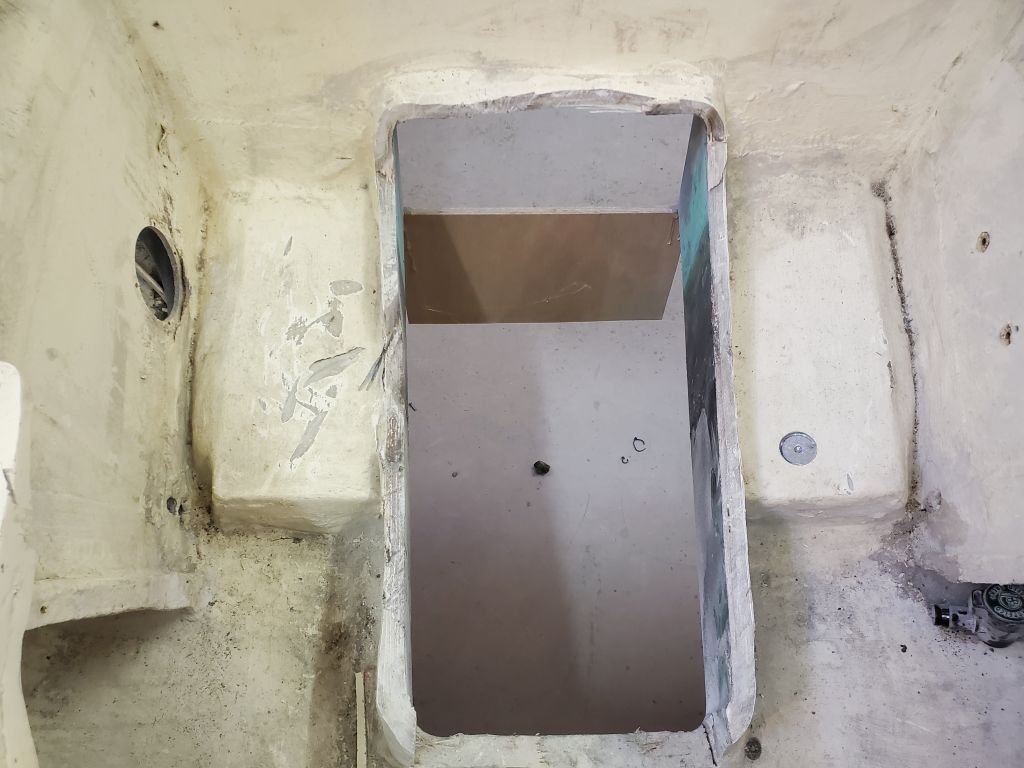
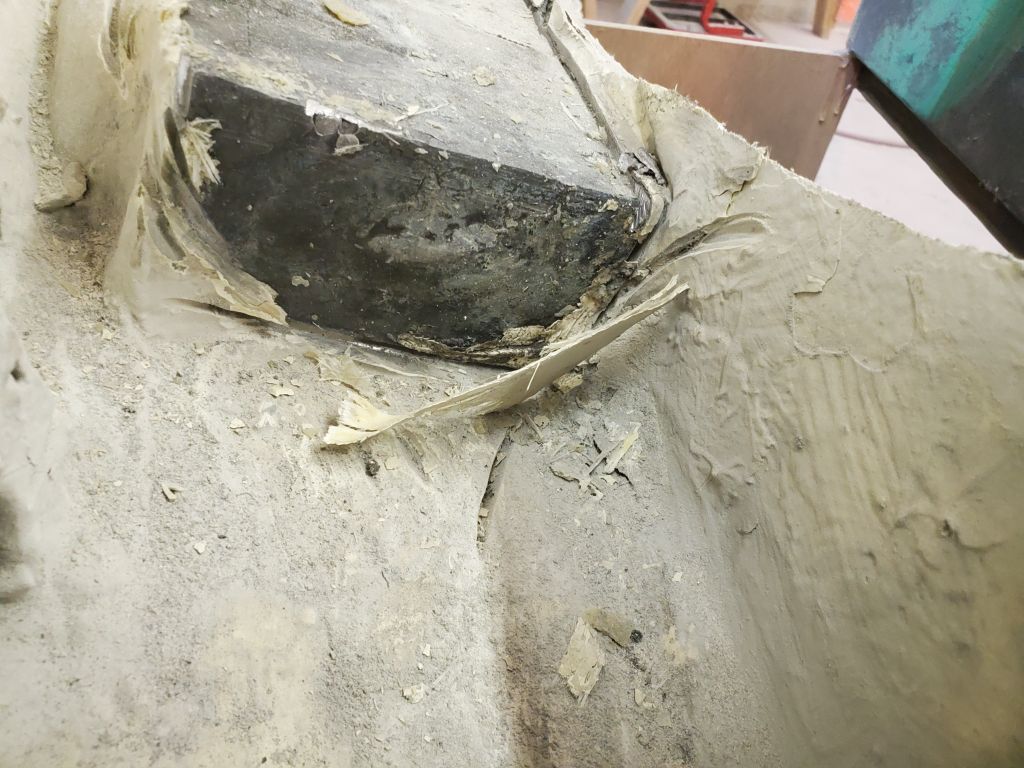
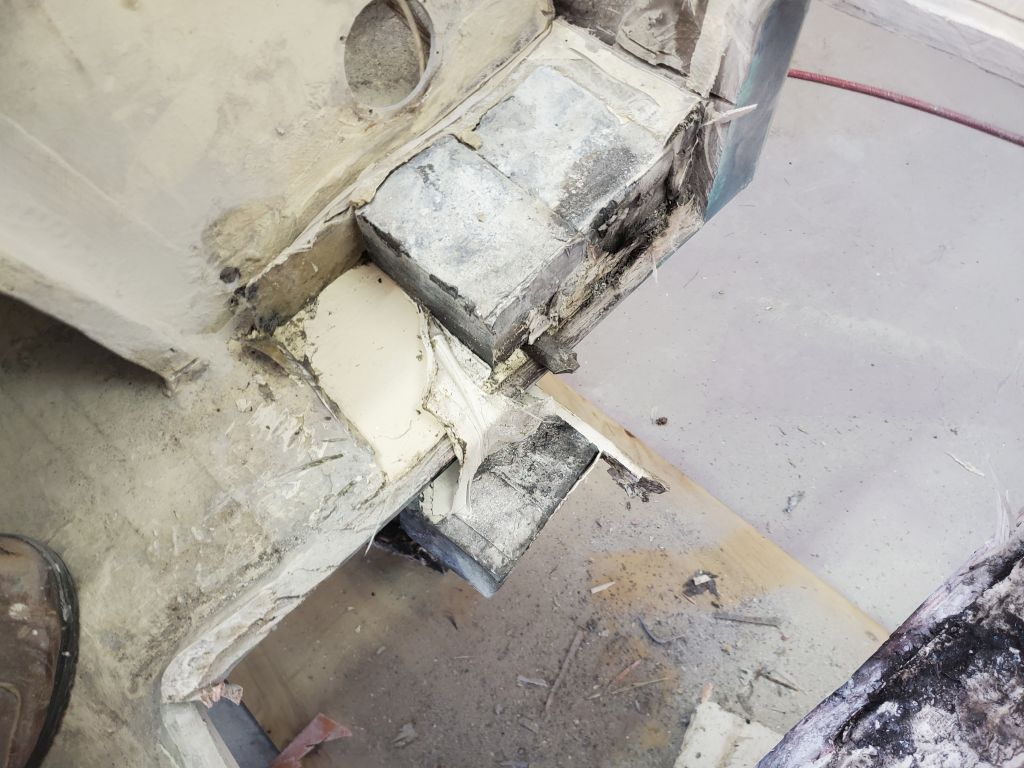
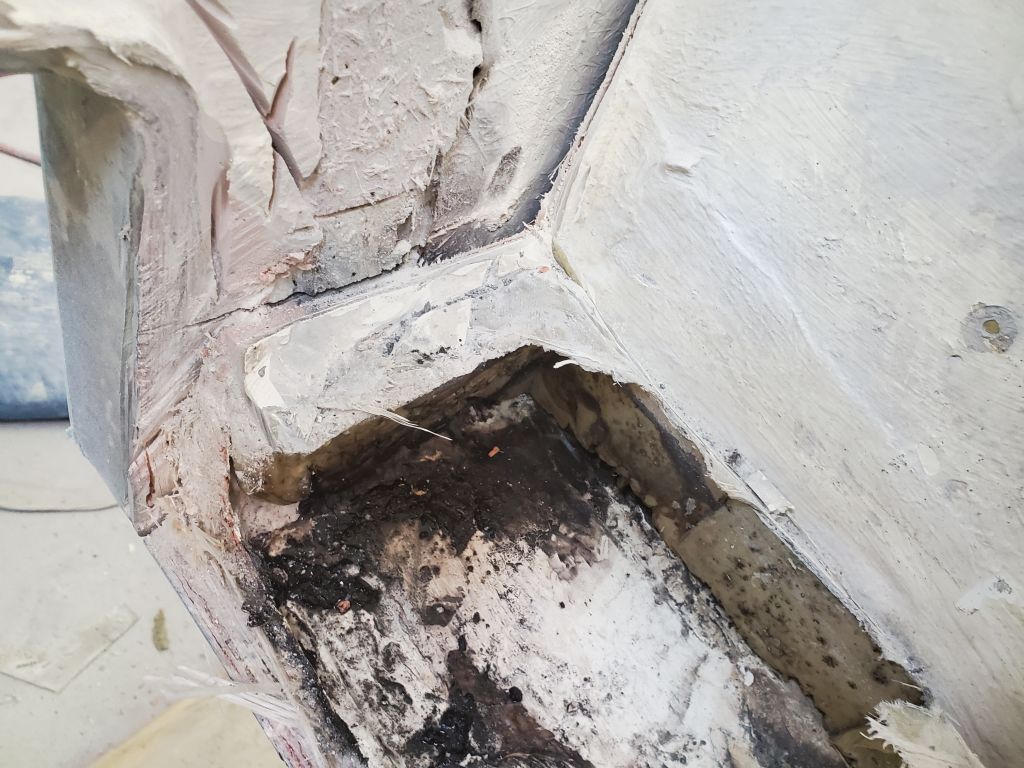
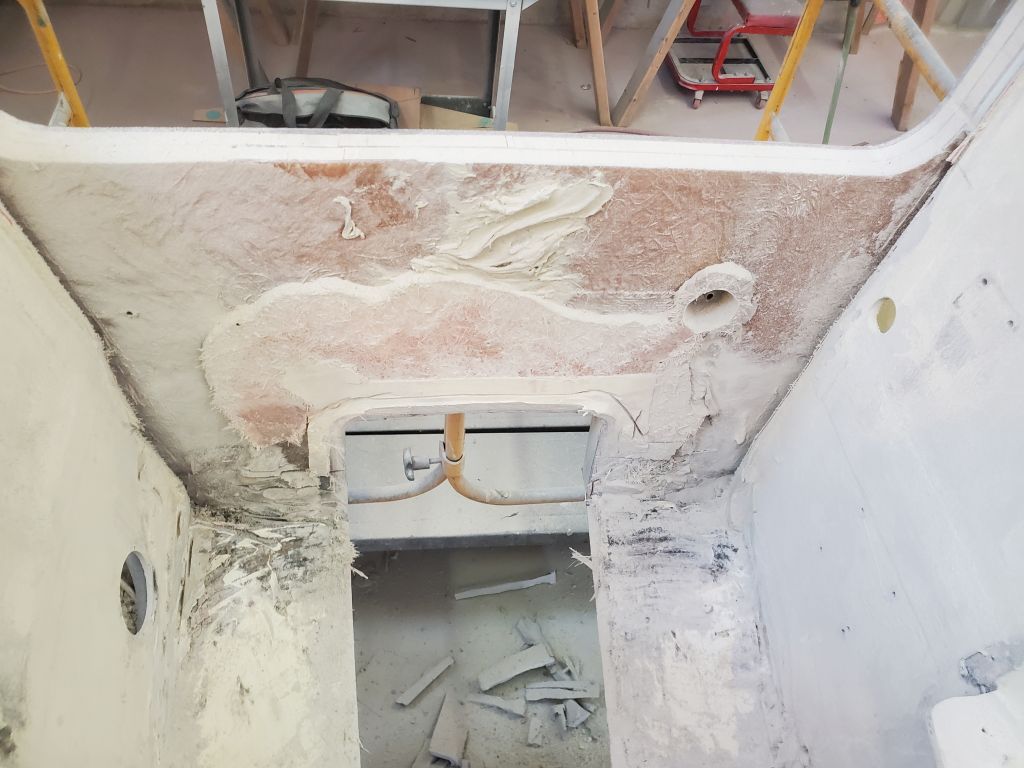
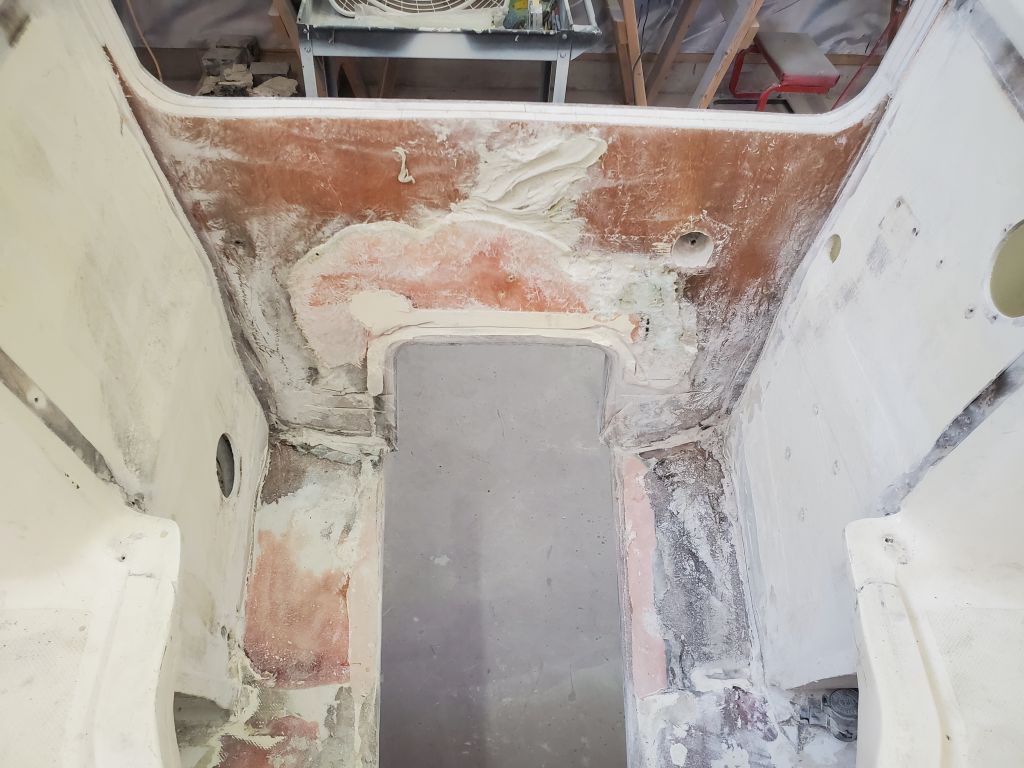
Now I wanted to get the lead out–literally. I was not looking forward to this, but the lead trim ballast had to go, whether or not it would be needed again in the future. To begin, I used a grinder cutoff wheel to score through the laminate encapsulating the lead, allowing me to remove the top and front pieces. I’d hoped this might allow me to pry out the lead, but they seemed still too firmly affixed and I couldn’t move it just yet. I feared the lead might be adhered to the hull with epoxy, which would make removal extra unfun.
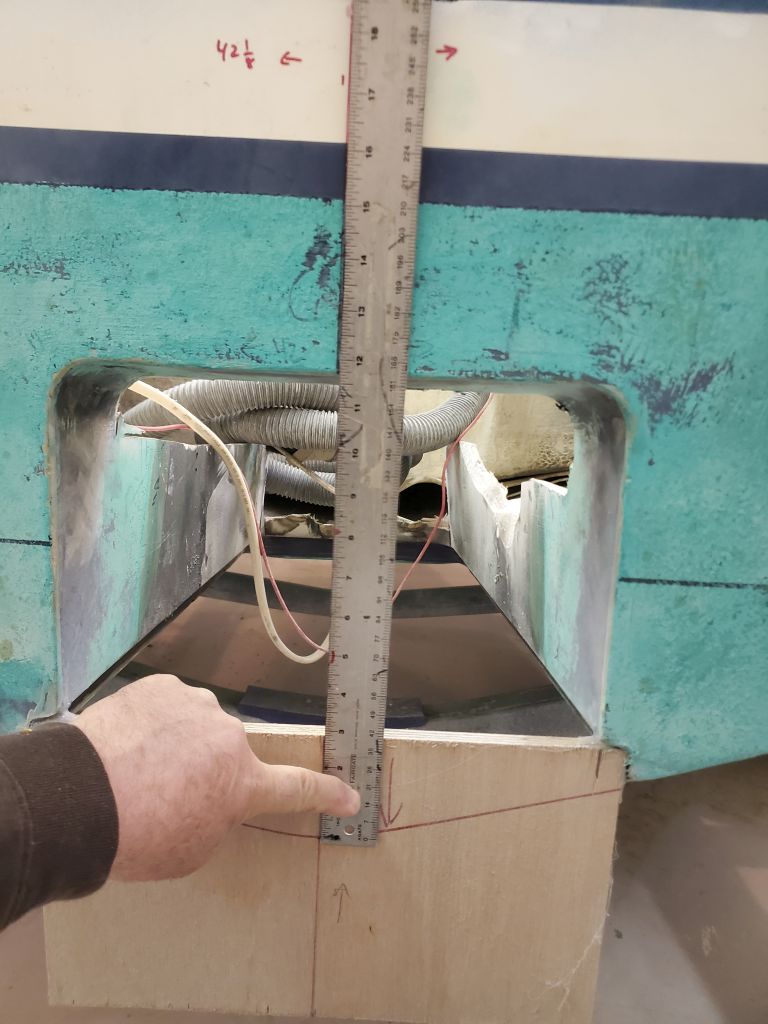
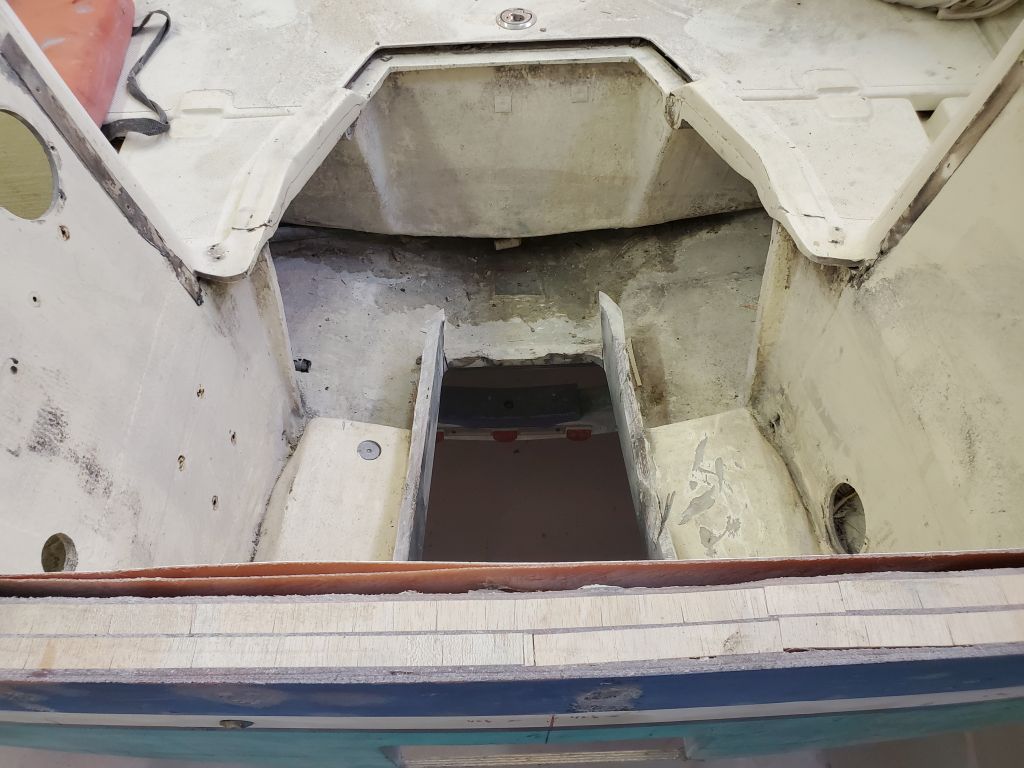
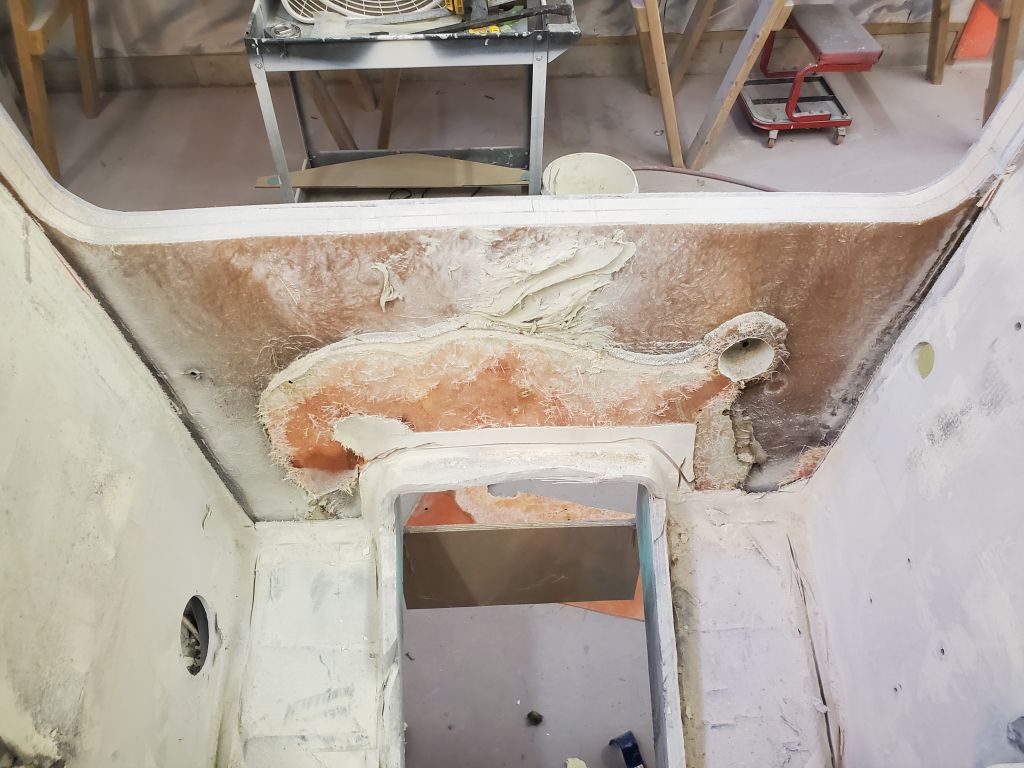
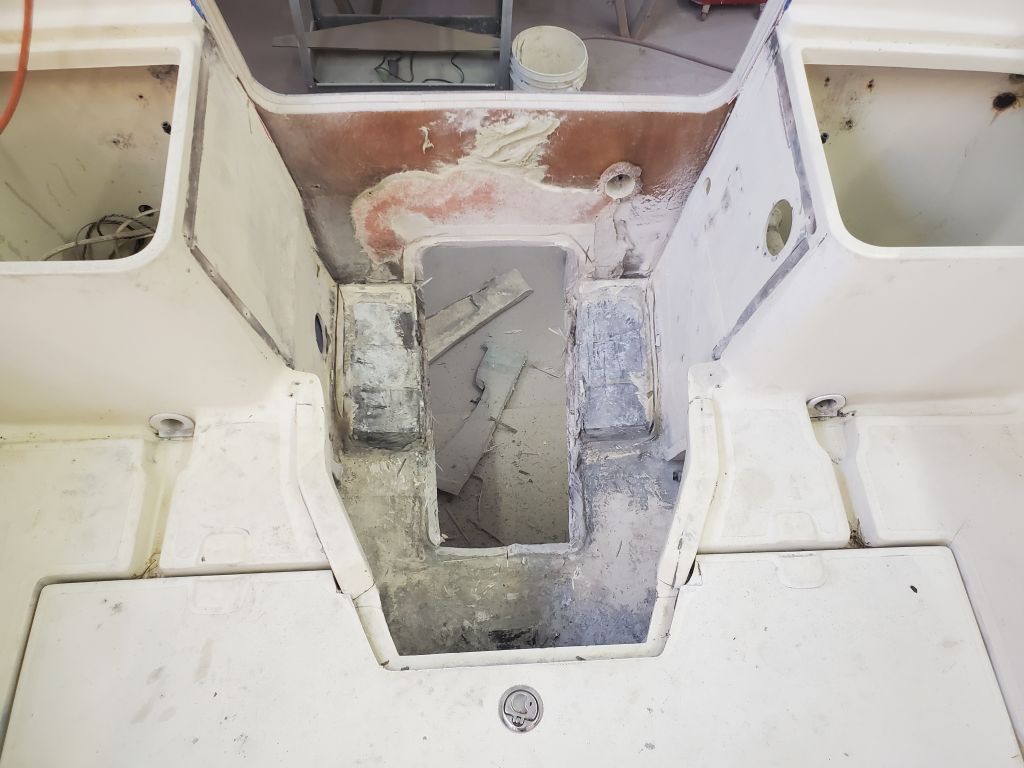
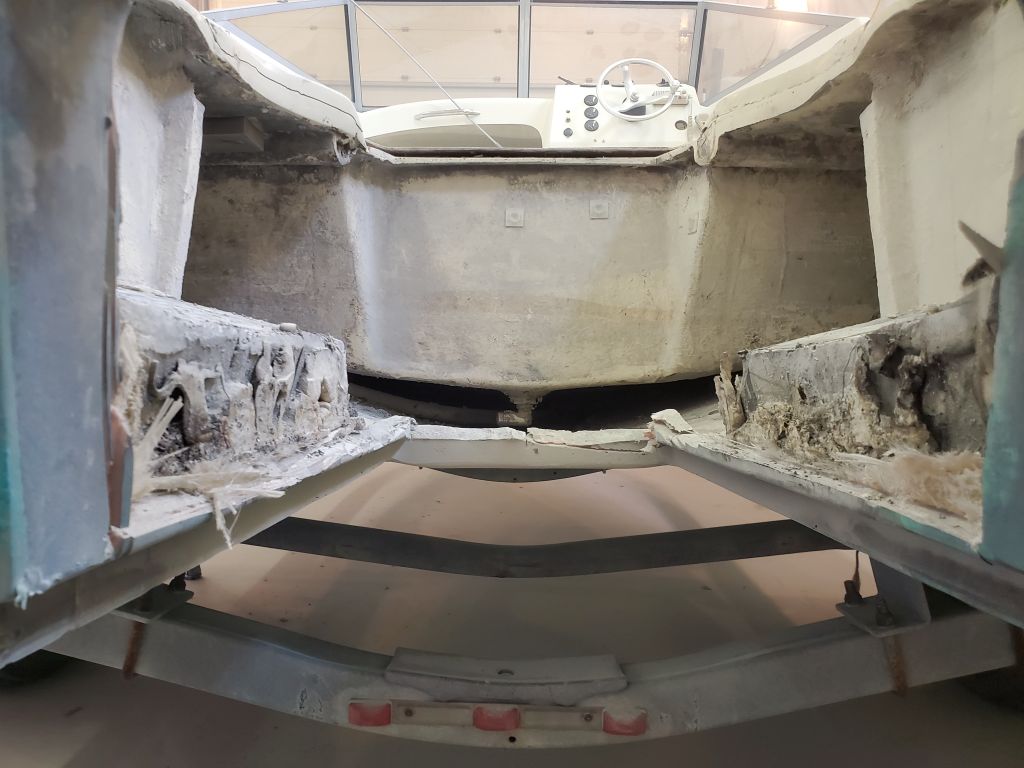
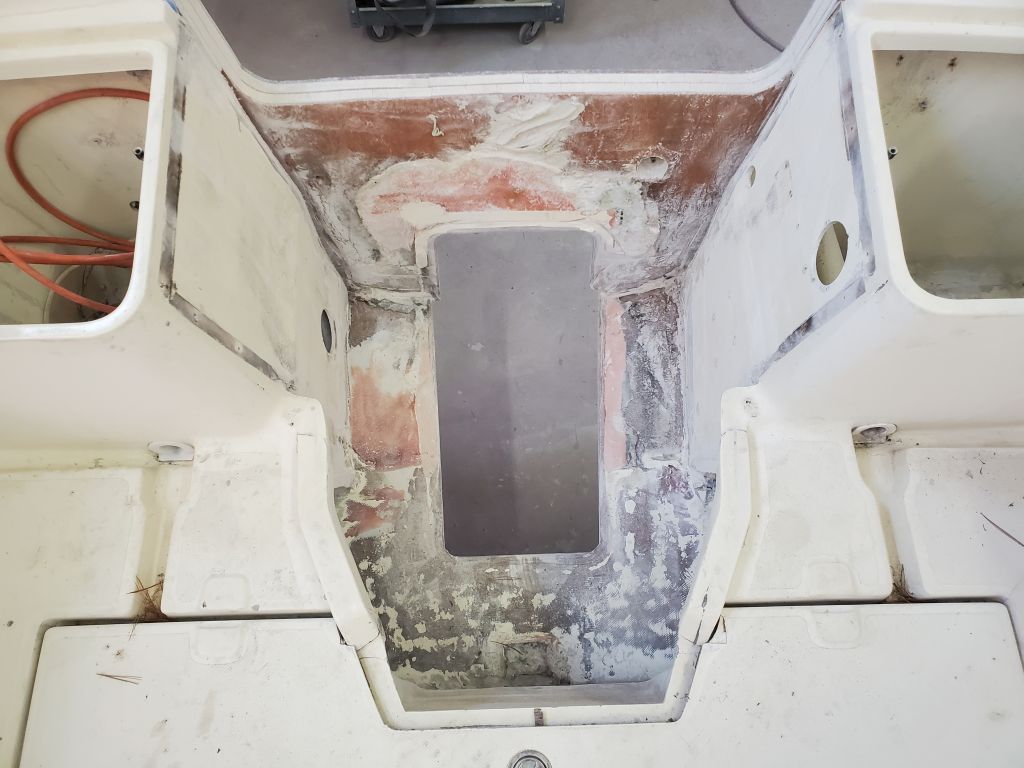
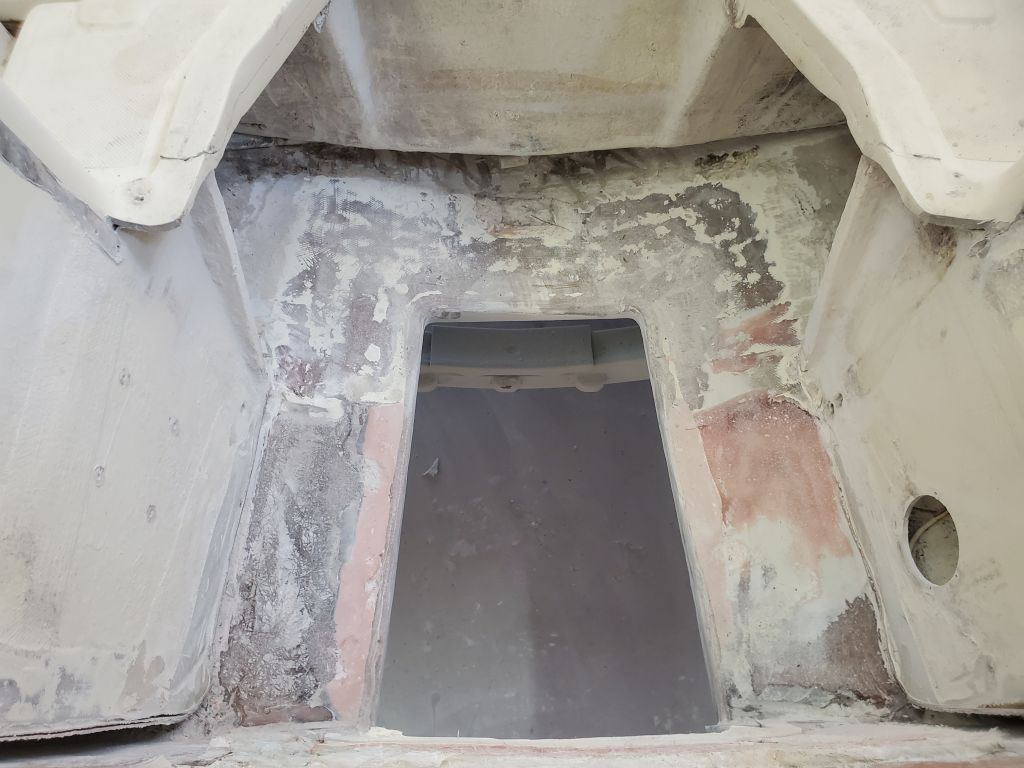
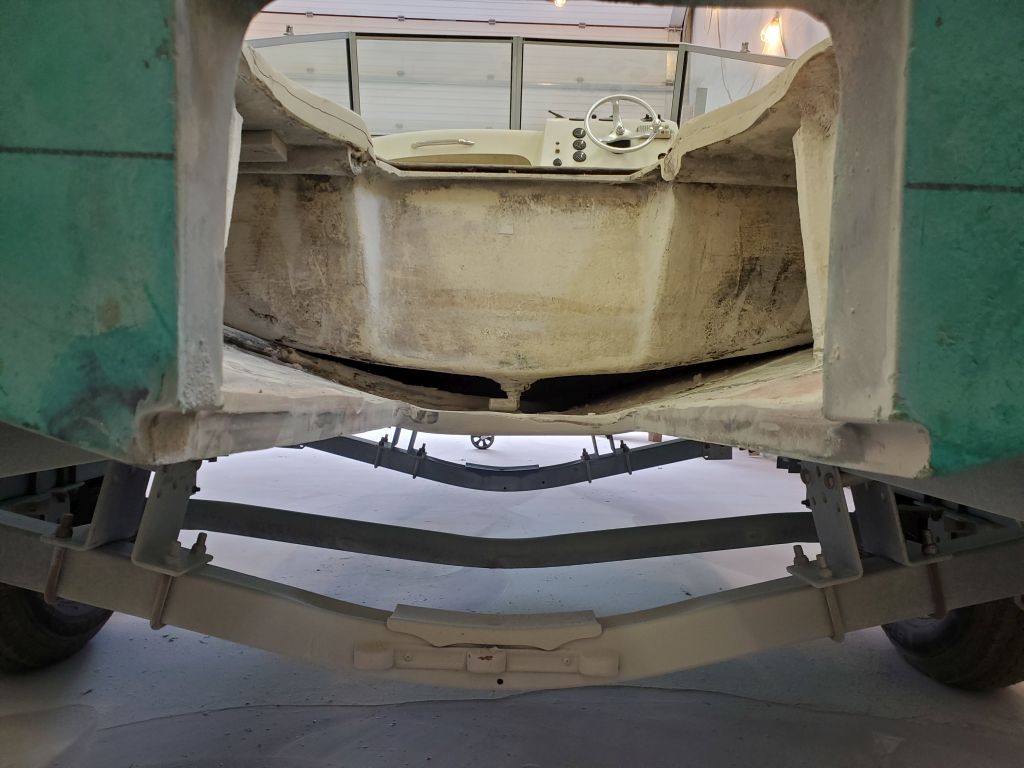
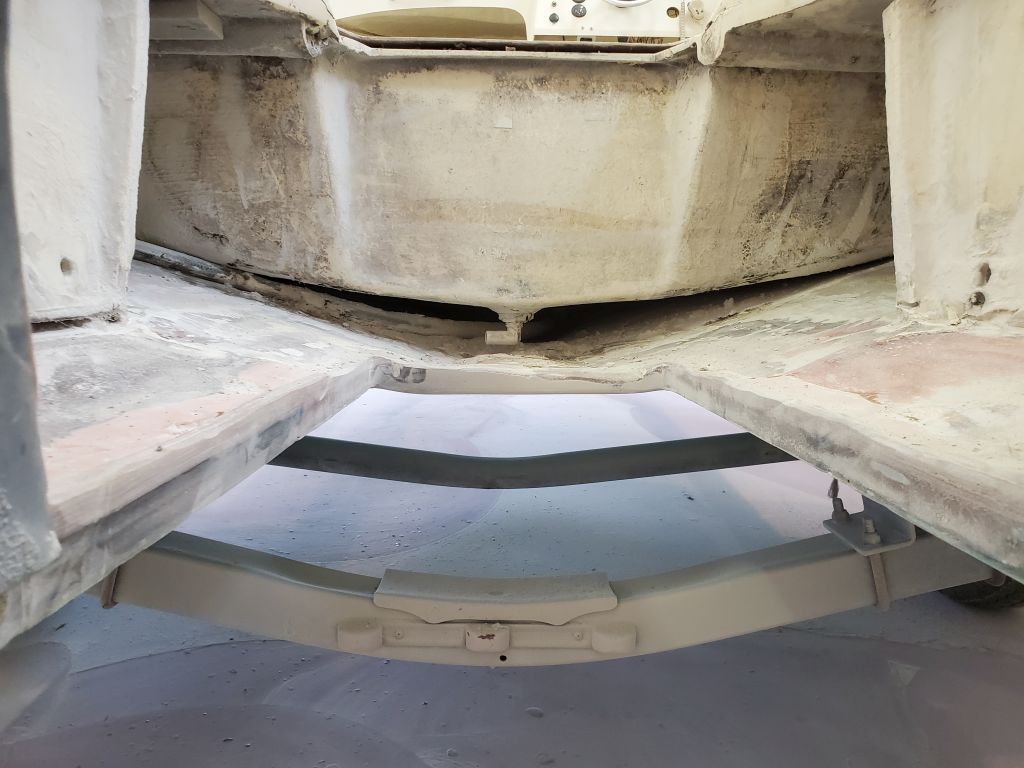
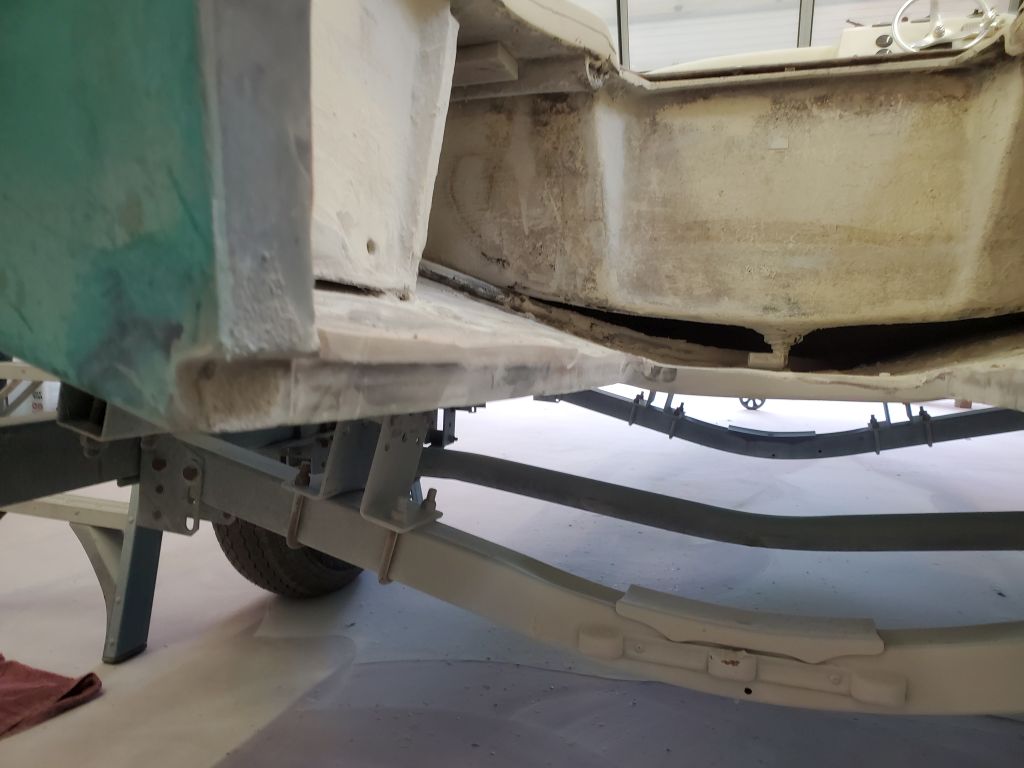
The remnants of the jet drive tunnel were certainly not helping, and this structure had to be removed as well, so now, working both from outside the boat and in, I cut the heavy fiberglass as much as I could, a rather more difficult prospect than I’d expected even with past experience cutting this very structure during the engine removal. But at some length, and after several cutting discs and saw blades and prybars and a dash of blue language to apply the necessary afterburners to get the job done, I eventually managed to pry out the miserable pieces. This boat definitely did not want to be disassembled–a good thing, of course, unless one’s goal is to actually disassemble it in part.
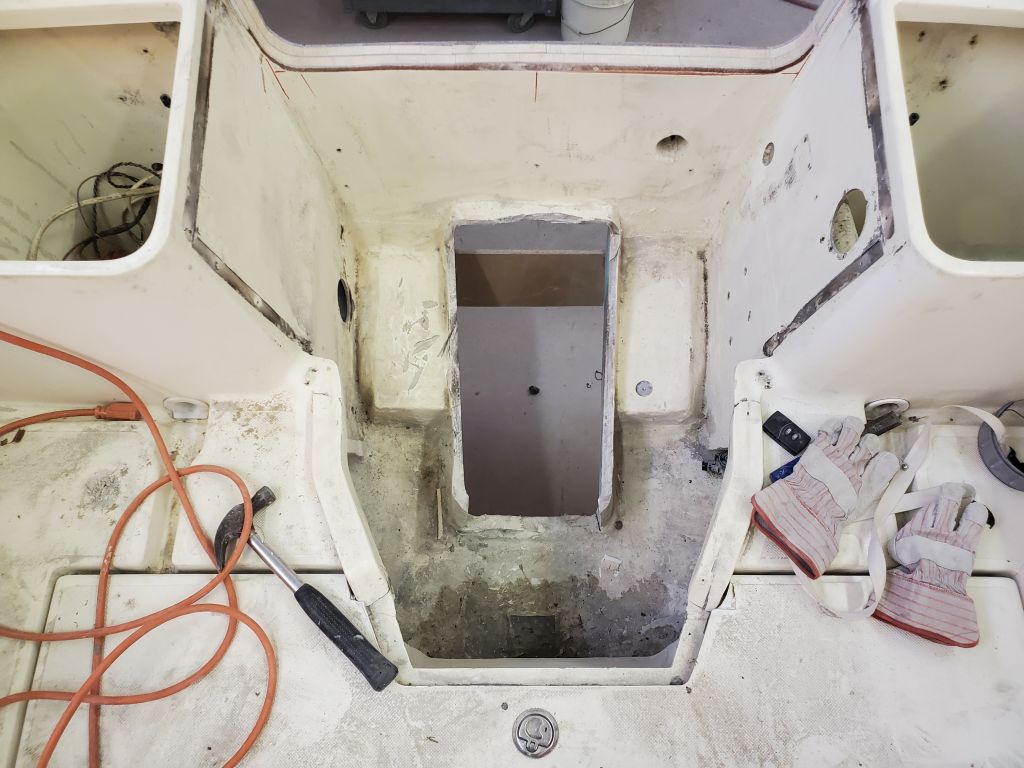
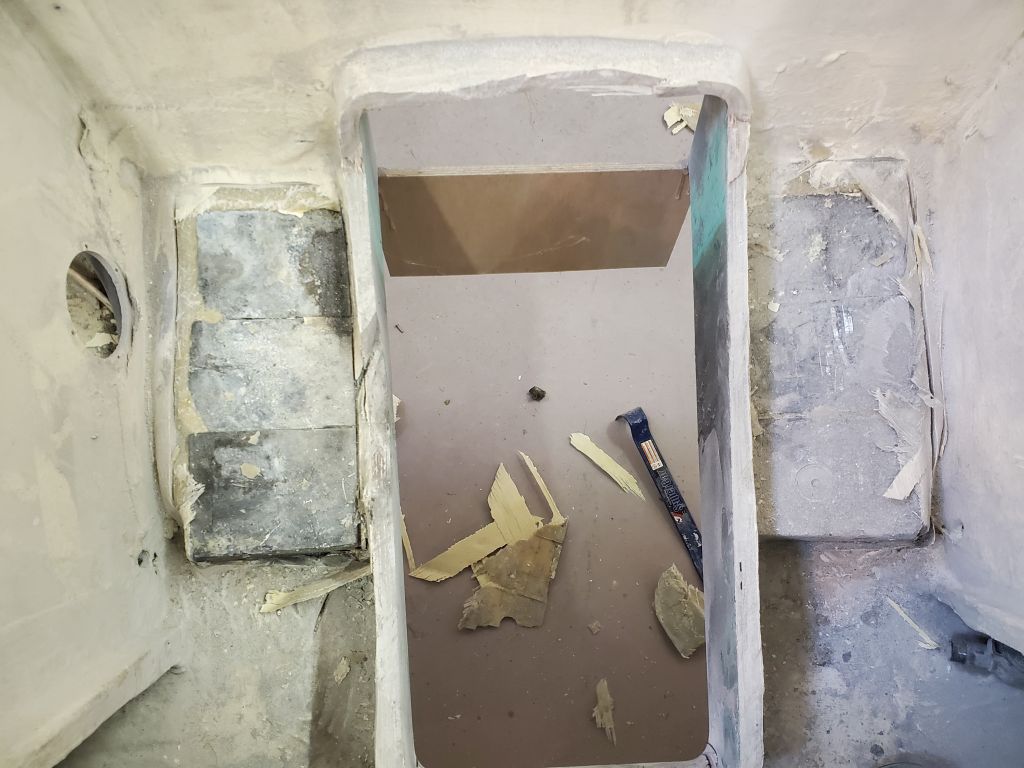
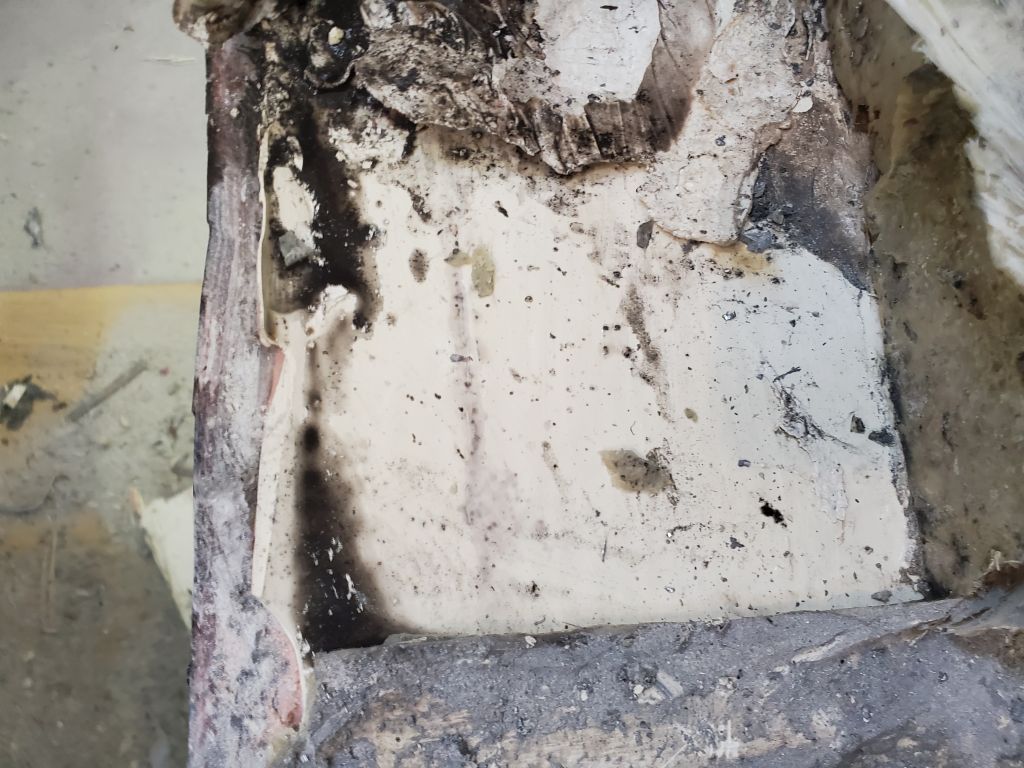
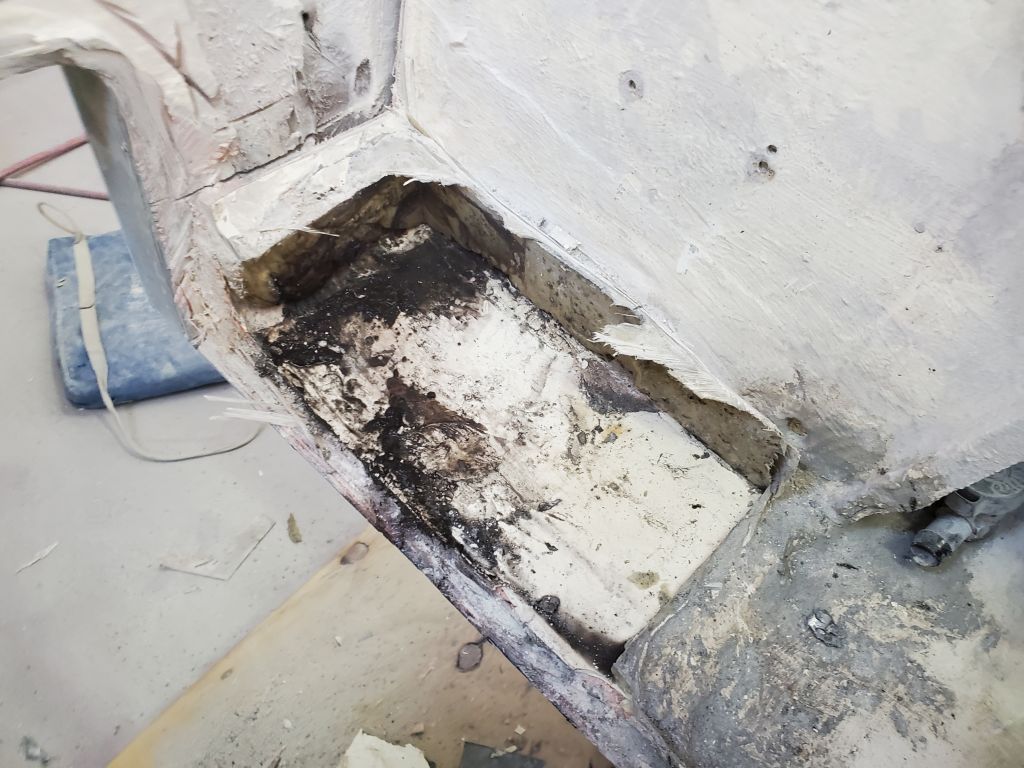
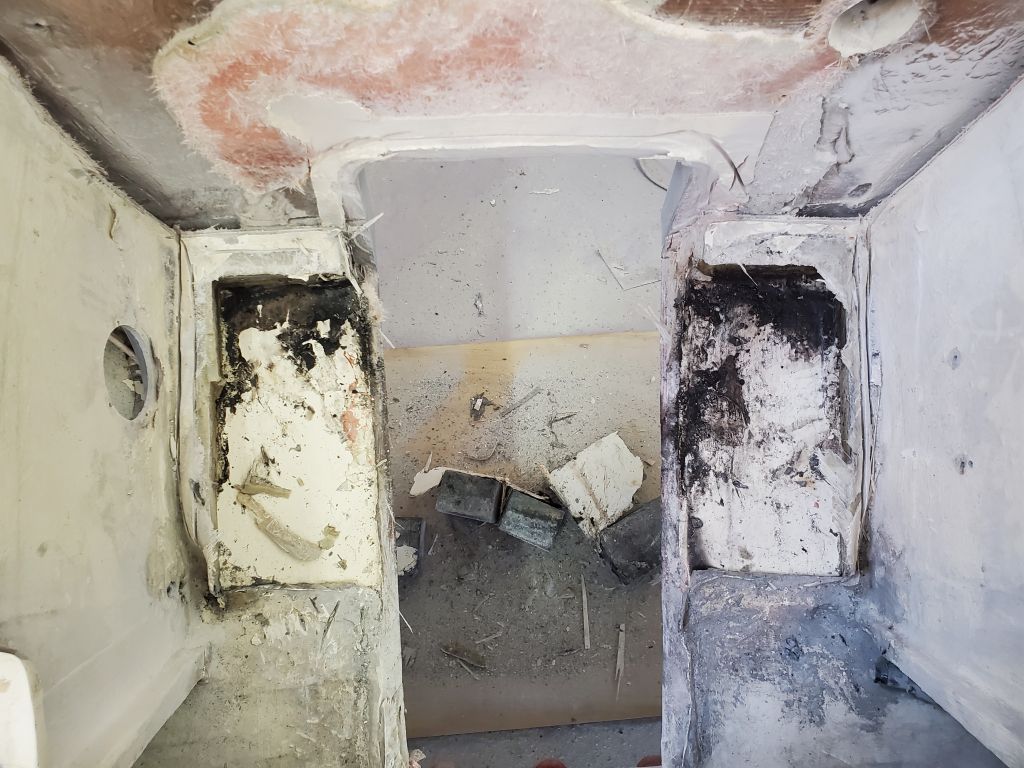
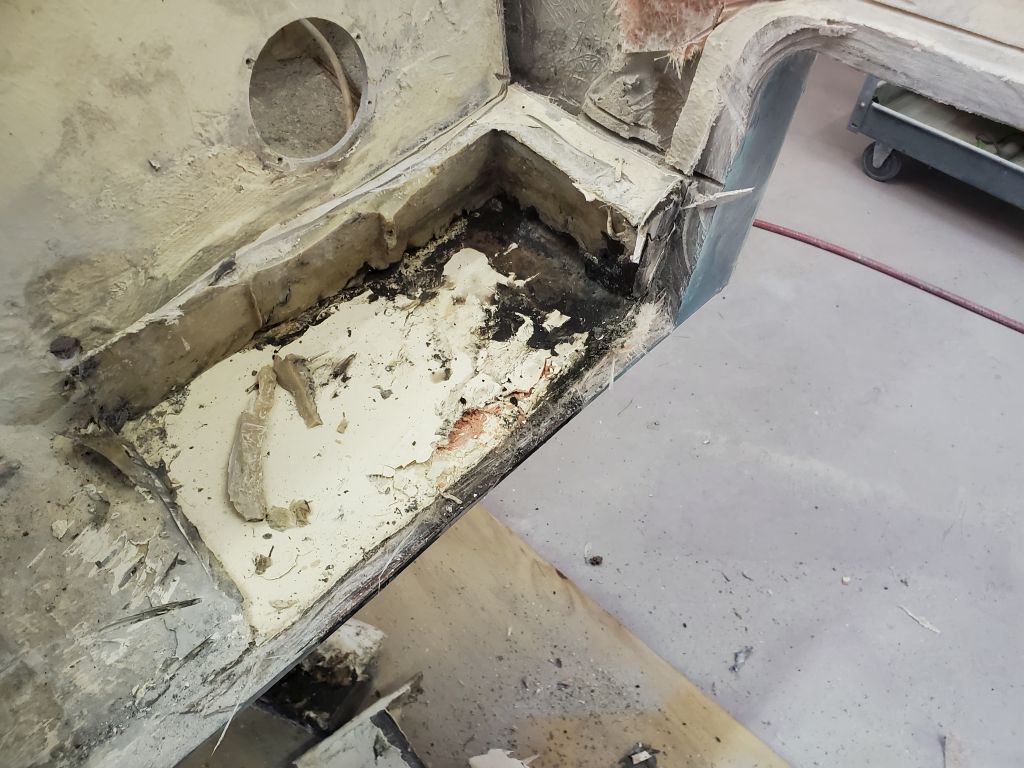
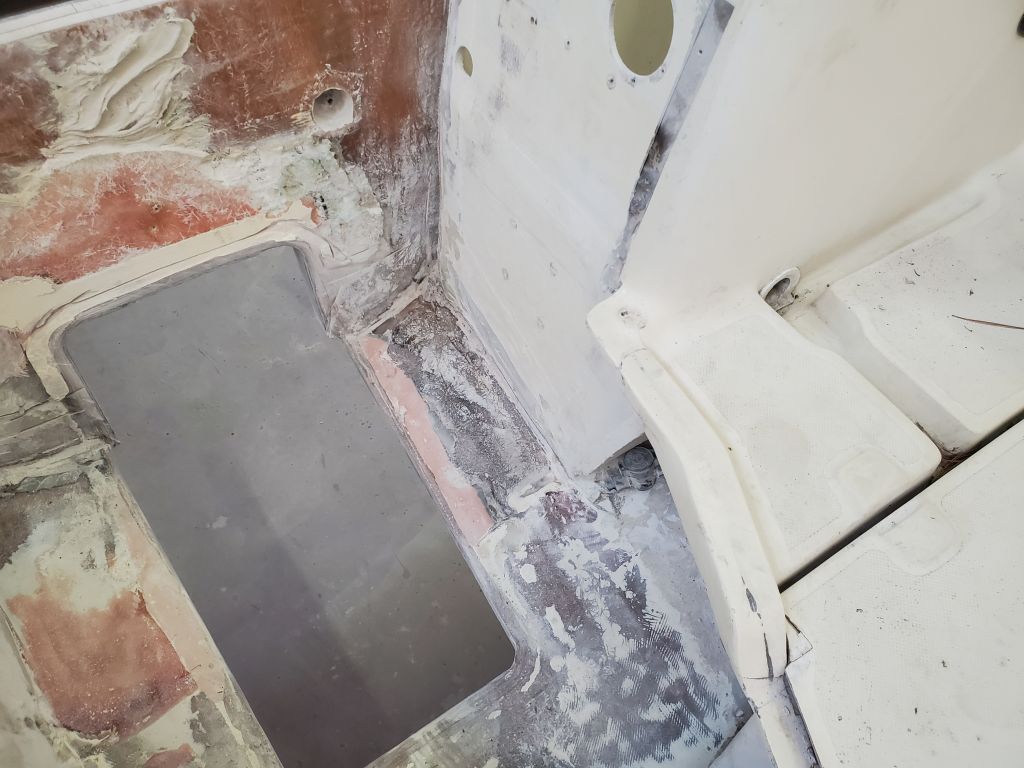
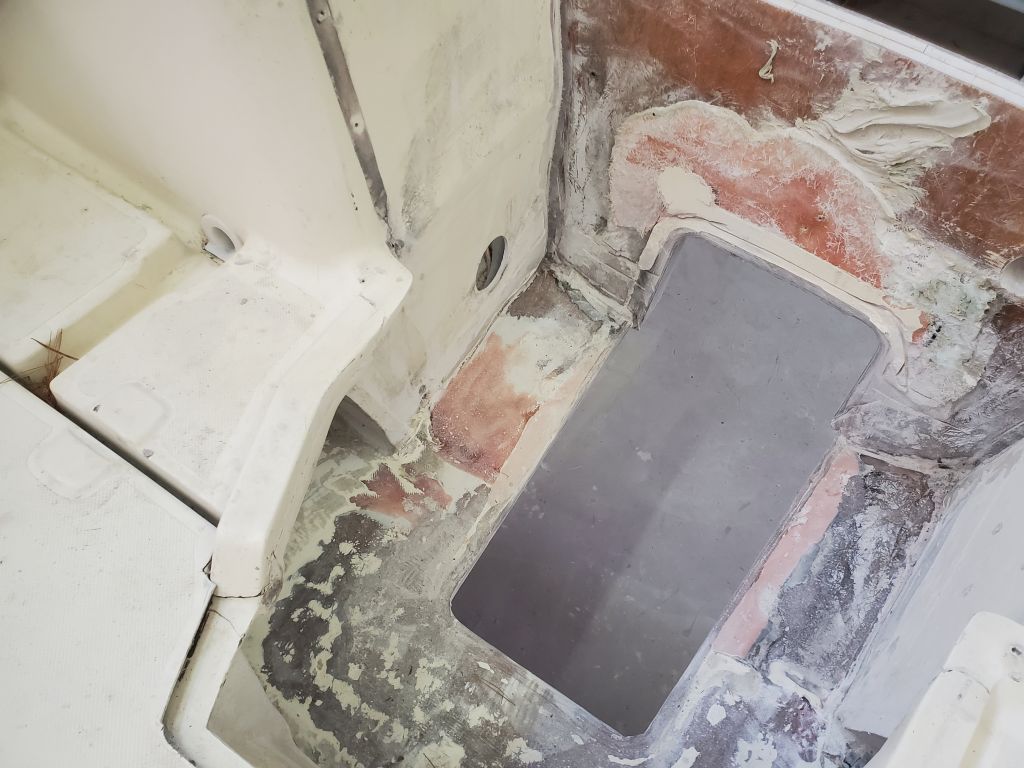
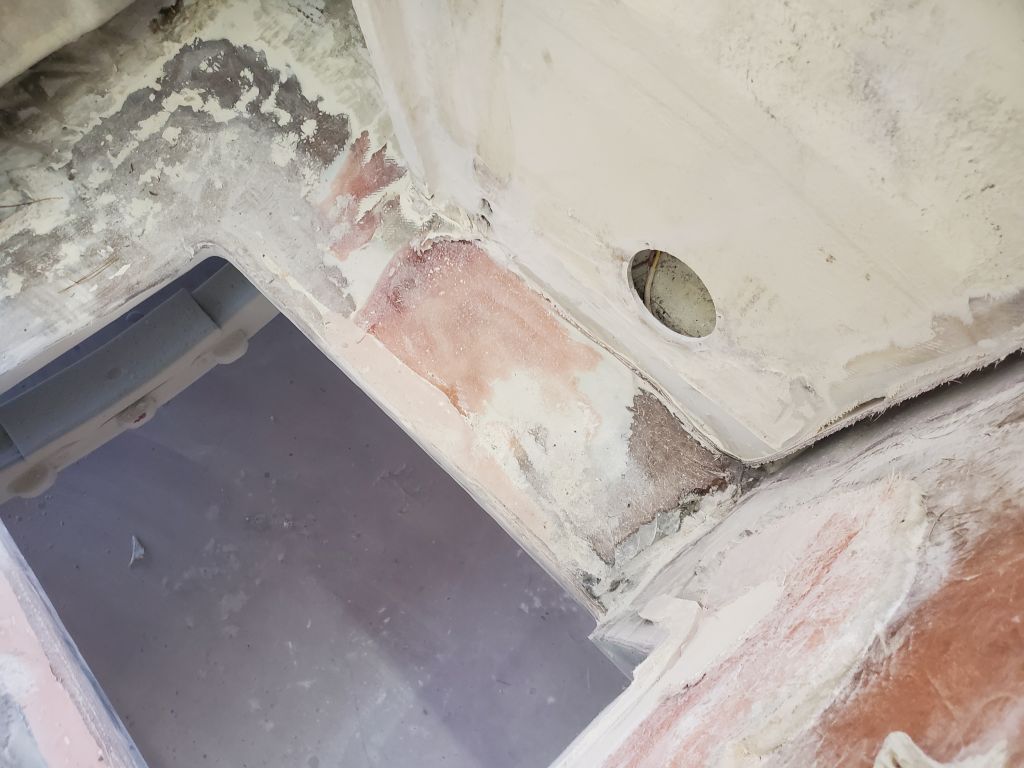
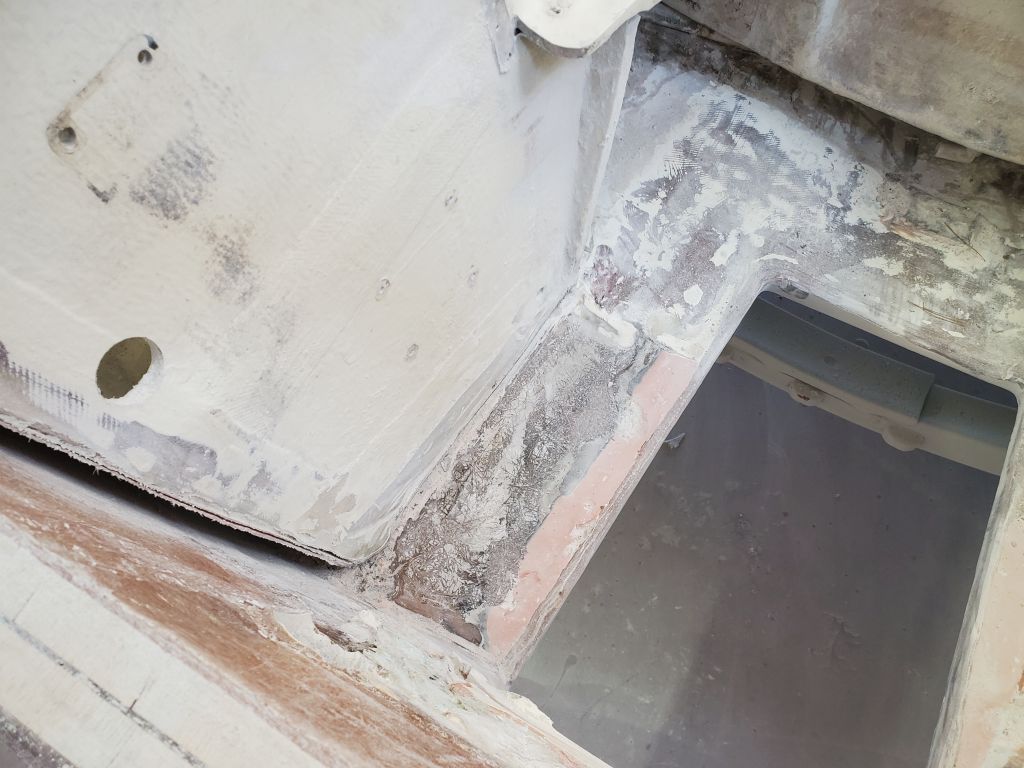
I also cut out the liner in front of the transom, which was actually straightforward, though there was a thick pile of mash that I’d have to remove later. Before starting on this venture, not knowing if the lead was going to just drop out (haha), I’d protected the floor with a piece of plywood beneath the opening.


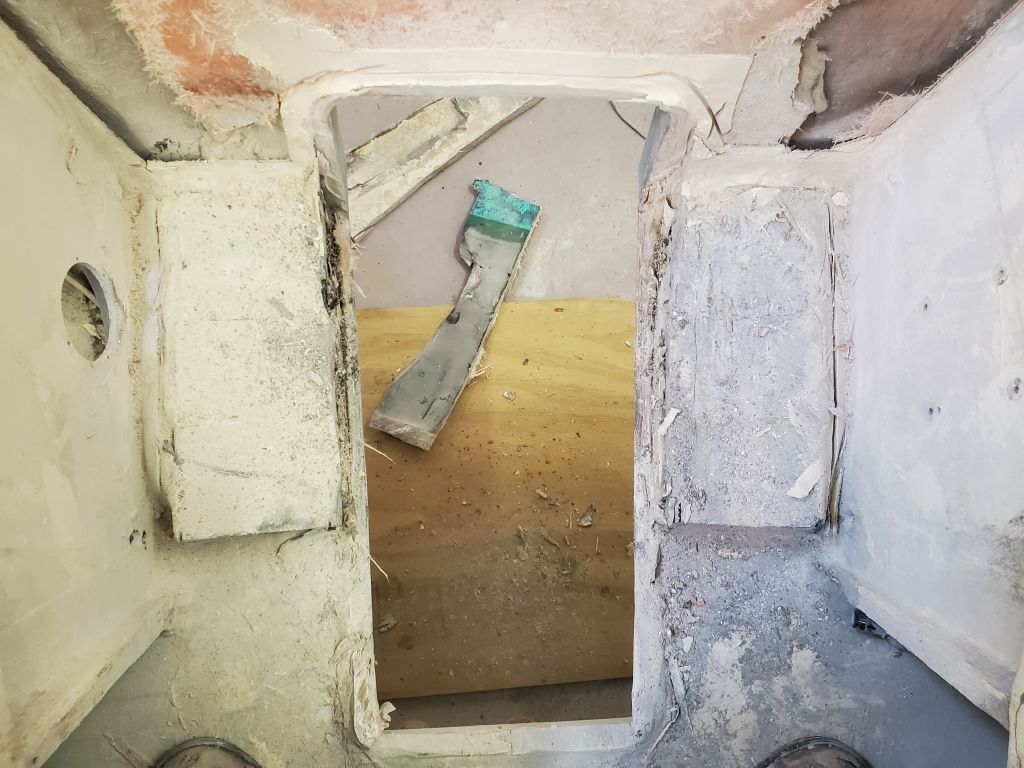
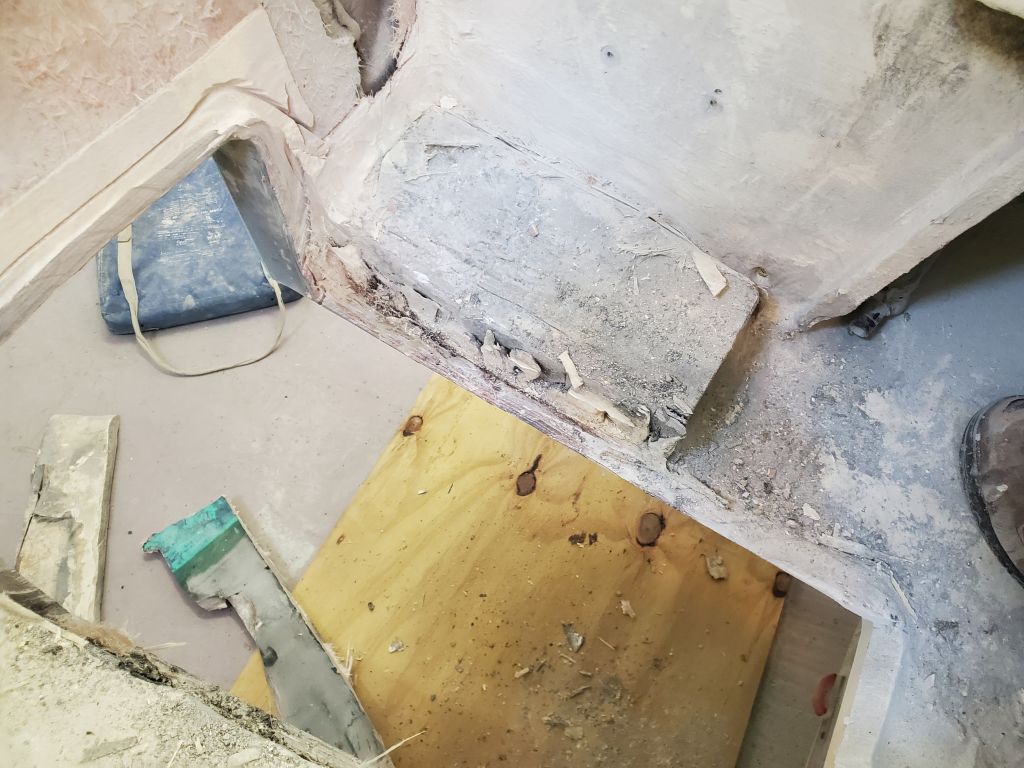
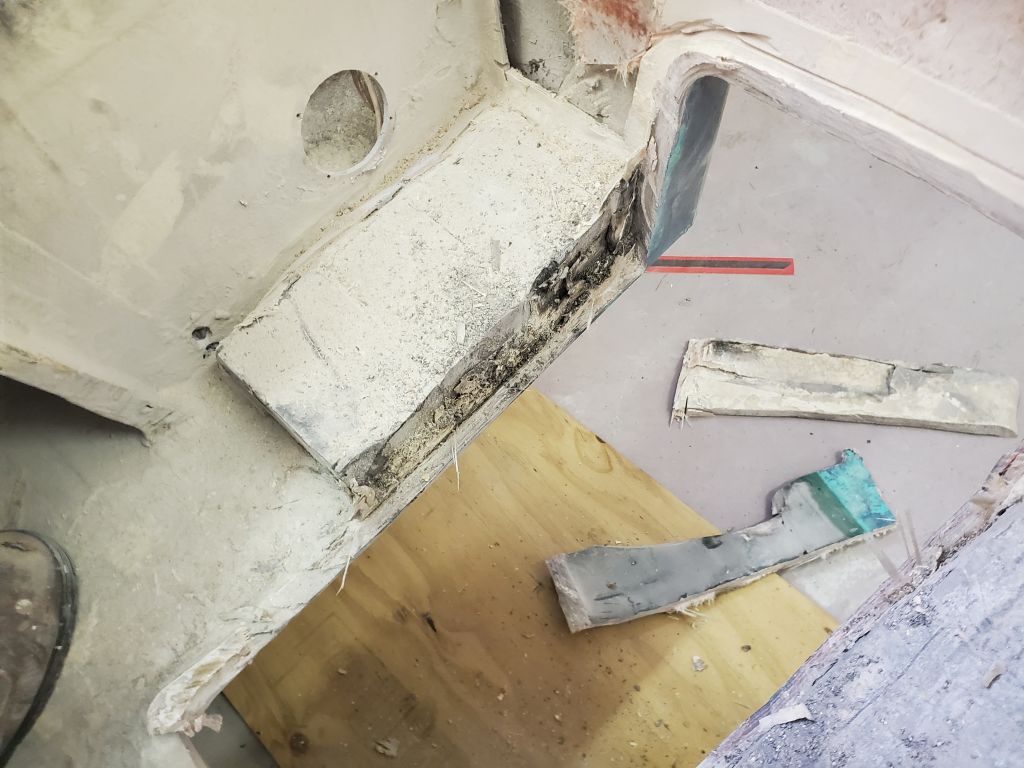
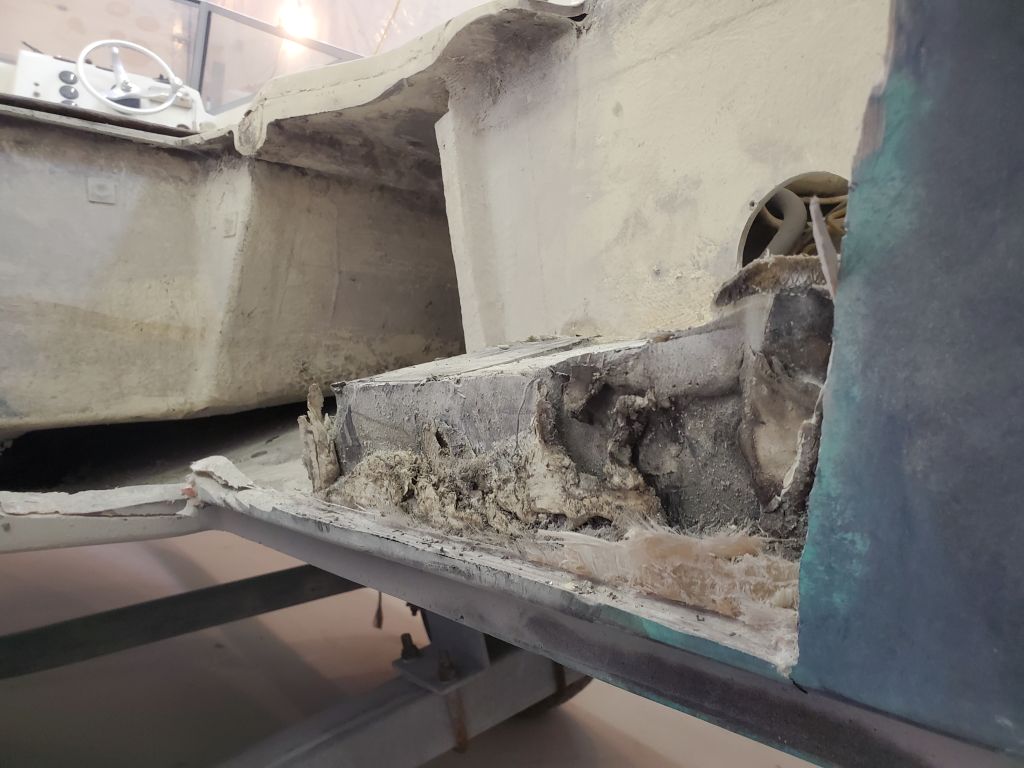

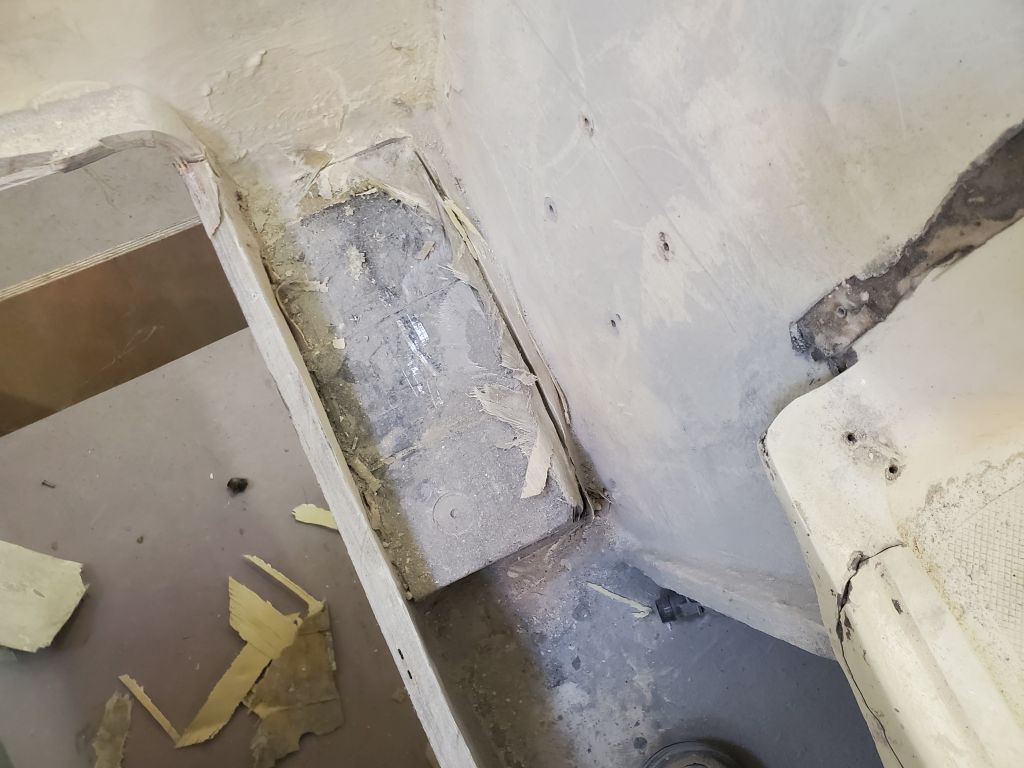
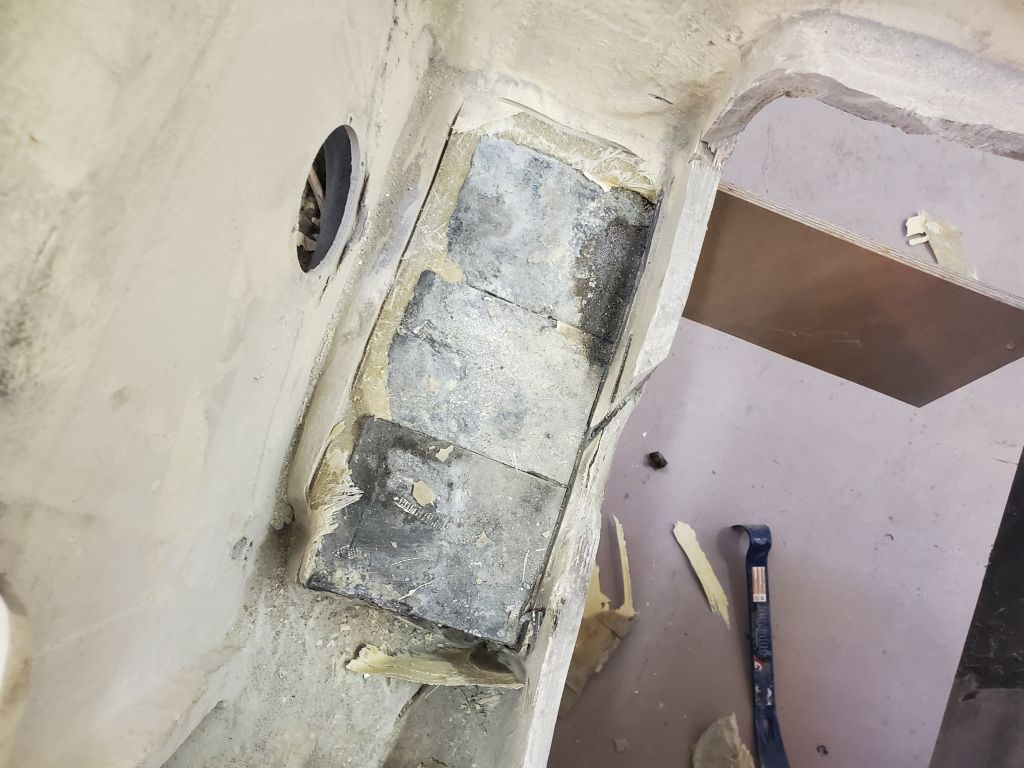
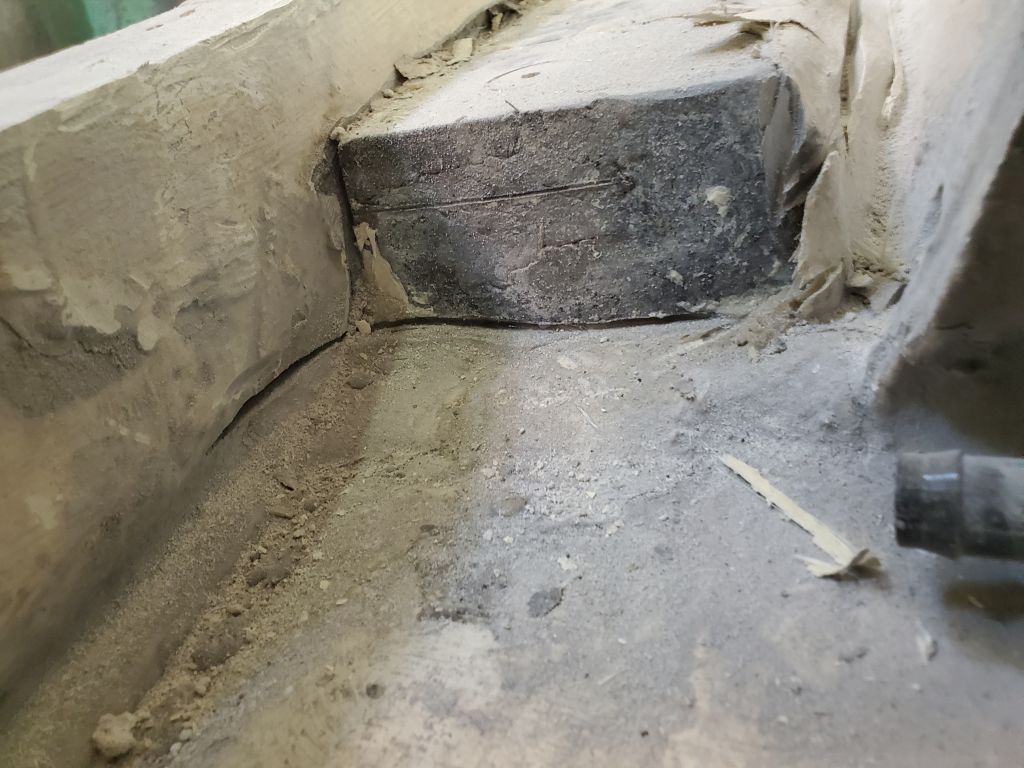
Fortunately, now I discovered the lead was actually in three pieces per side, which made removal much easier from all perspectives. I also found now that the lead was stuck in place with an elastomeric sealant, and from here was generally fairly easy to remove despite the heavy applications of the sealant beneath, between, and behind the lead blocks, as well as the thick gobs of resin-based adhesive and filler in the gaps between the lead and the transom and side bulkheads. I found water under the lead on both sides.
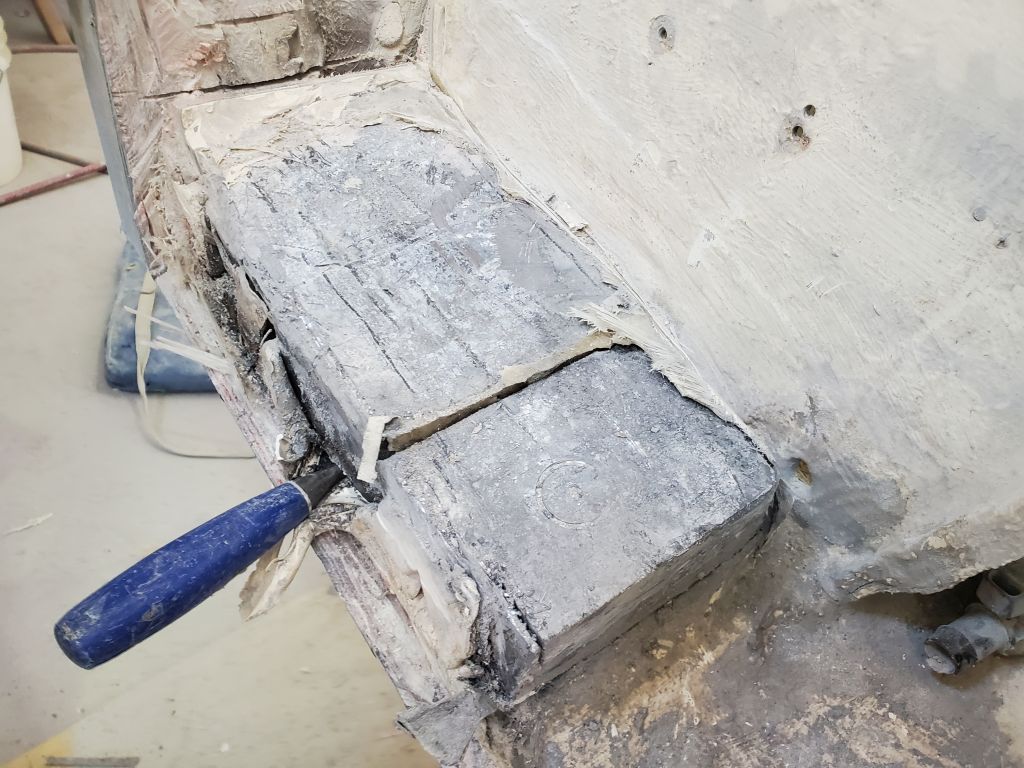

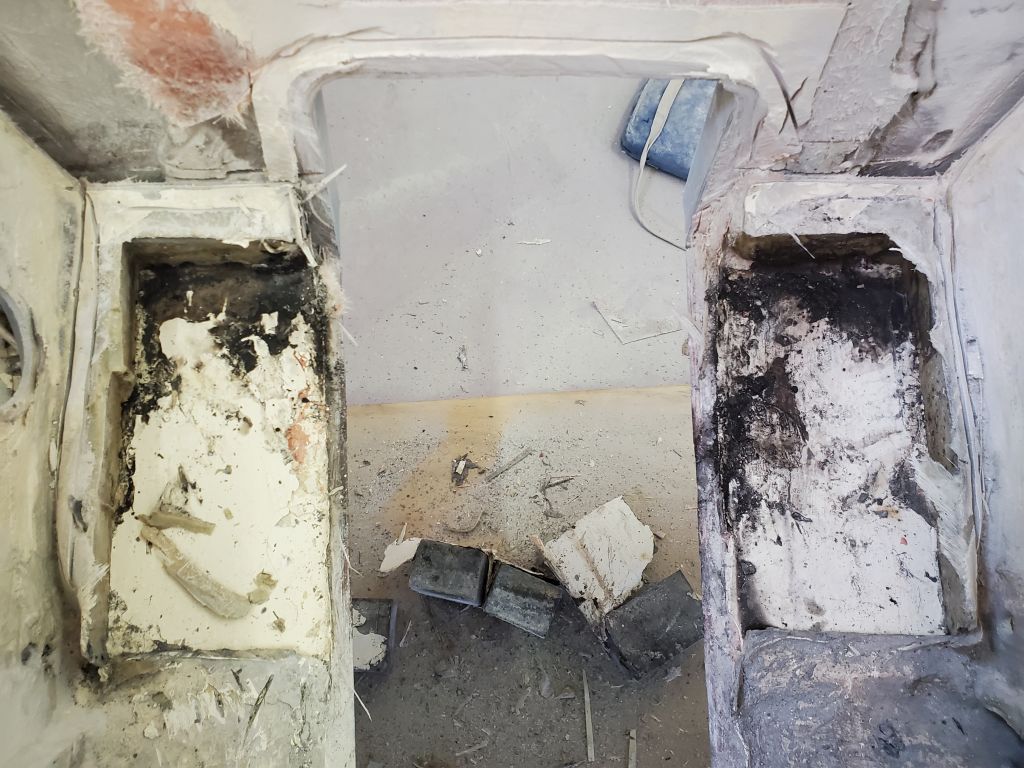
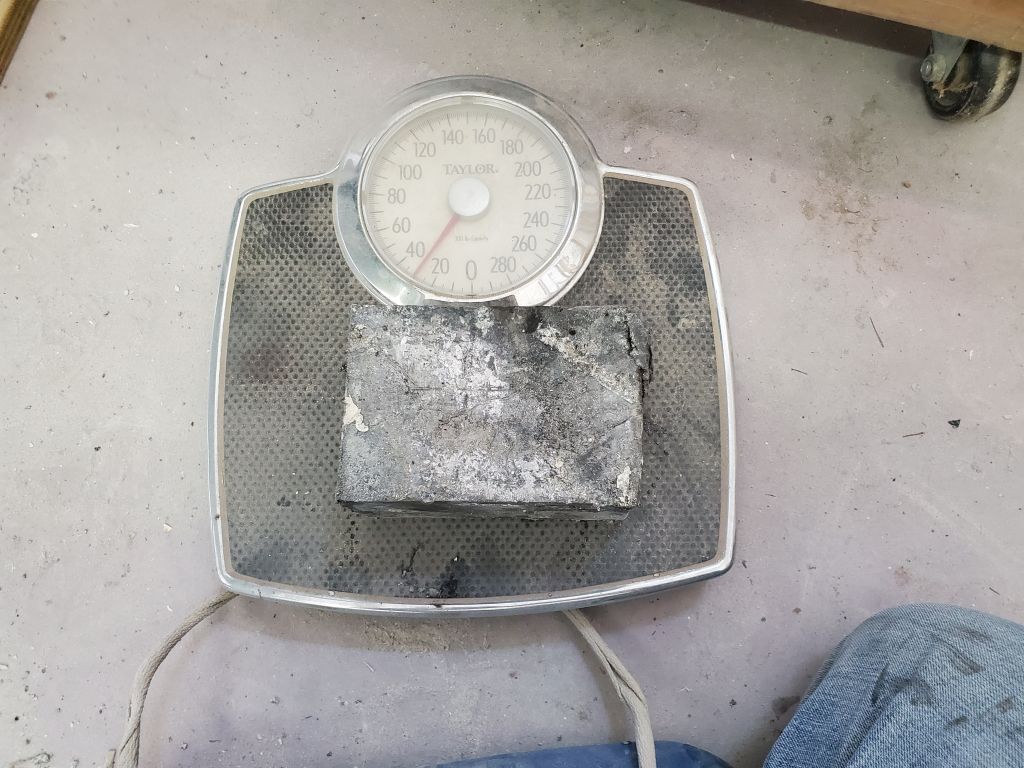
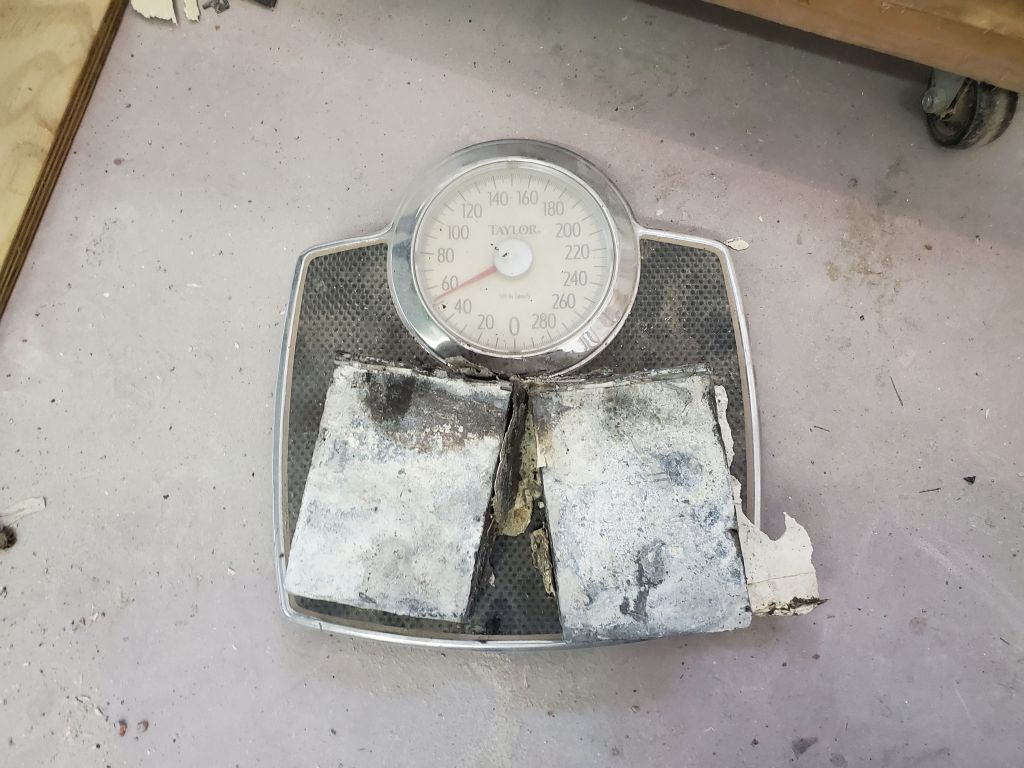
I weighed all the lead: each piece weighed about 30 pounds, though one of the last two pieces (which I weighed together since they were still conjoined by rubbery sealant) must have been lighter since those two pieces weighed only about 52 lb. But that was 172 lb. total trim weight, more than I’d anticipated or guessed (I’d guessed 100 lb.) I set the lead aside.


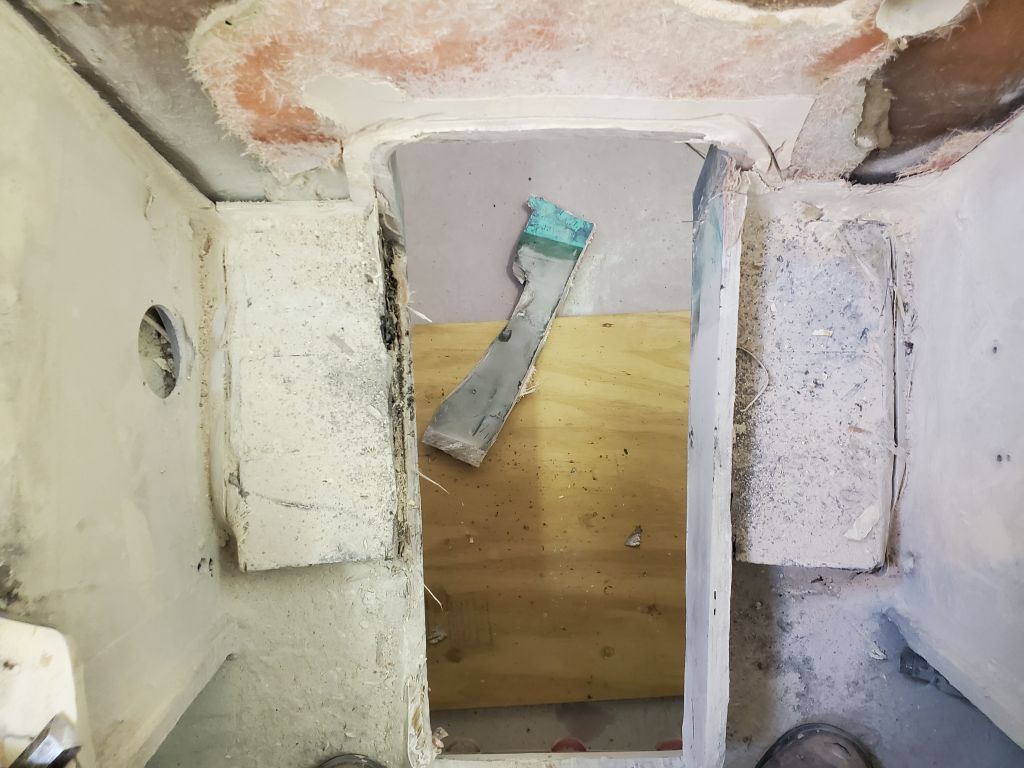
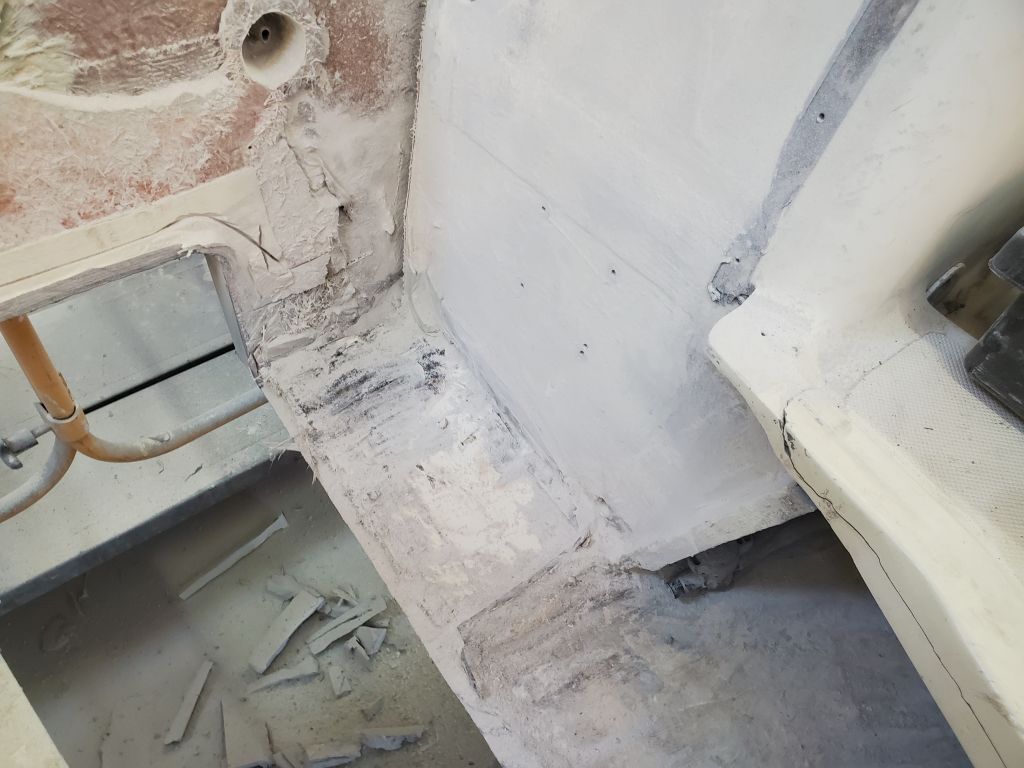
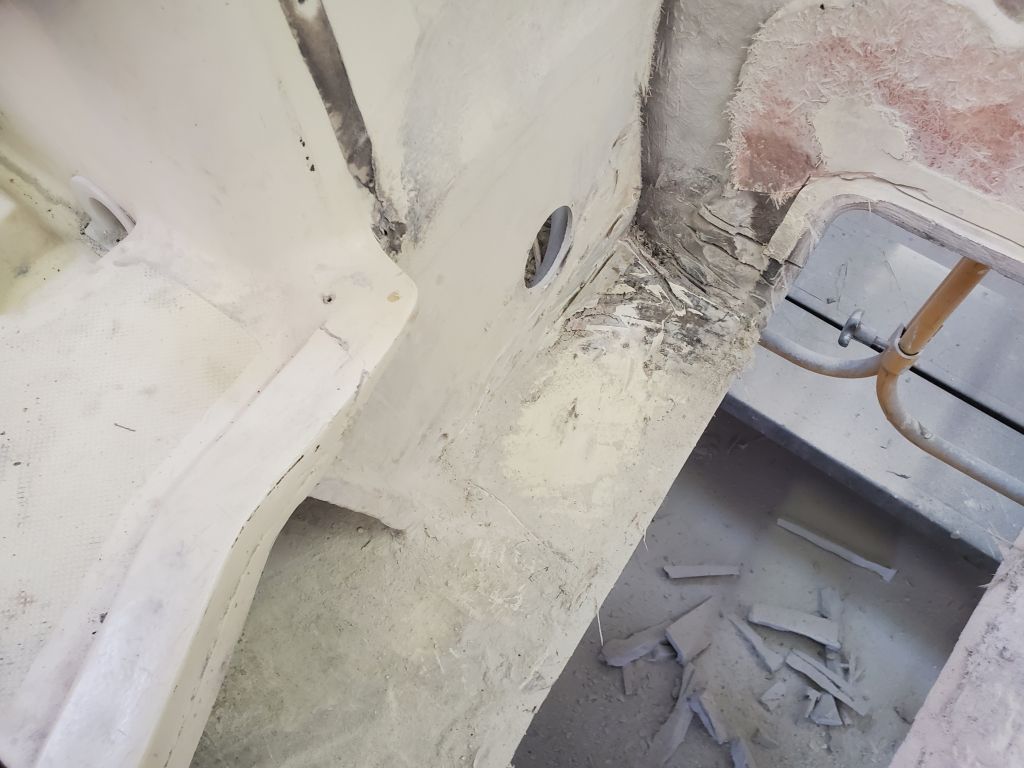
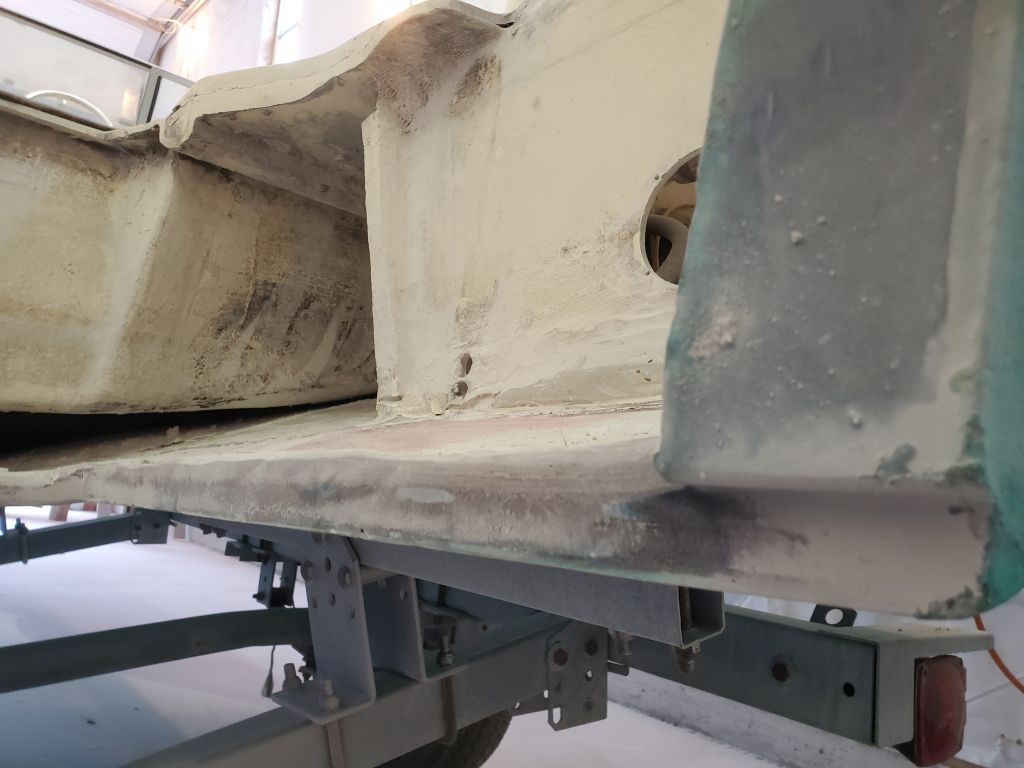
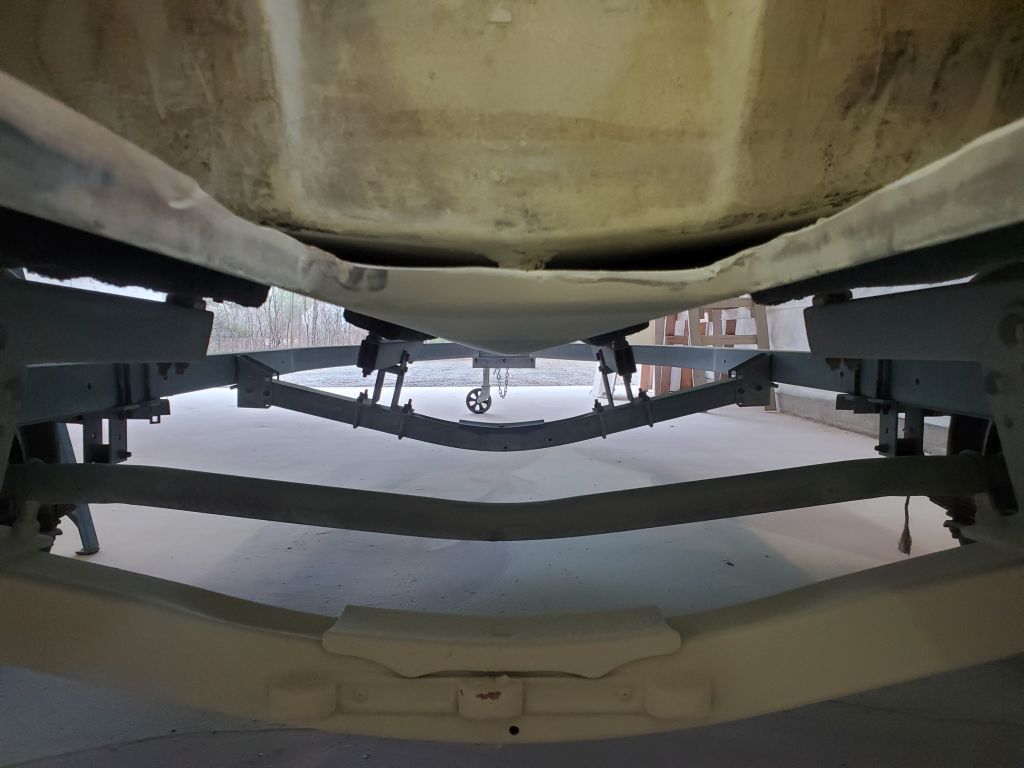
With that all out of the way, I spent the rest of the day cleaning up the engine room, laboriously cutting out the last bits of resin adhesive and tabbing, then grinding the cut areas smooth and flush and otherwise generally preparing the surface. There’d be more sanding and cleanup ahead, but this was a start, and by the end I was working with the last of a series of dull and used-up grinding discs, having unexpectedly used all of a brand-new supply of cutting wheels and discs that I’d ordered just for this process. More on the way.
The last photo in this series does a pretty good job showing the smallish flat area in the hull forward of the jet cutout that would also need to be reshaped in accordance with the fixed deadrise shape of the designed bottom of the hull.
Total time billed on this job today: 7 hours
0600 Weather Observation: 45°, light rain. Forecast for the day: Periods of rain, 47°.