

April 18, 2022
Holby 13
Monday
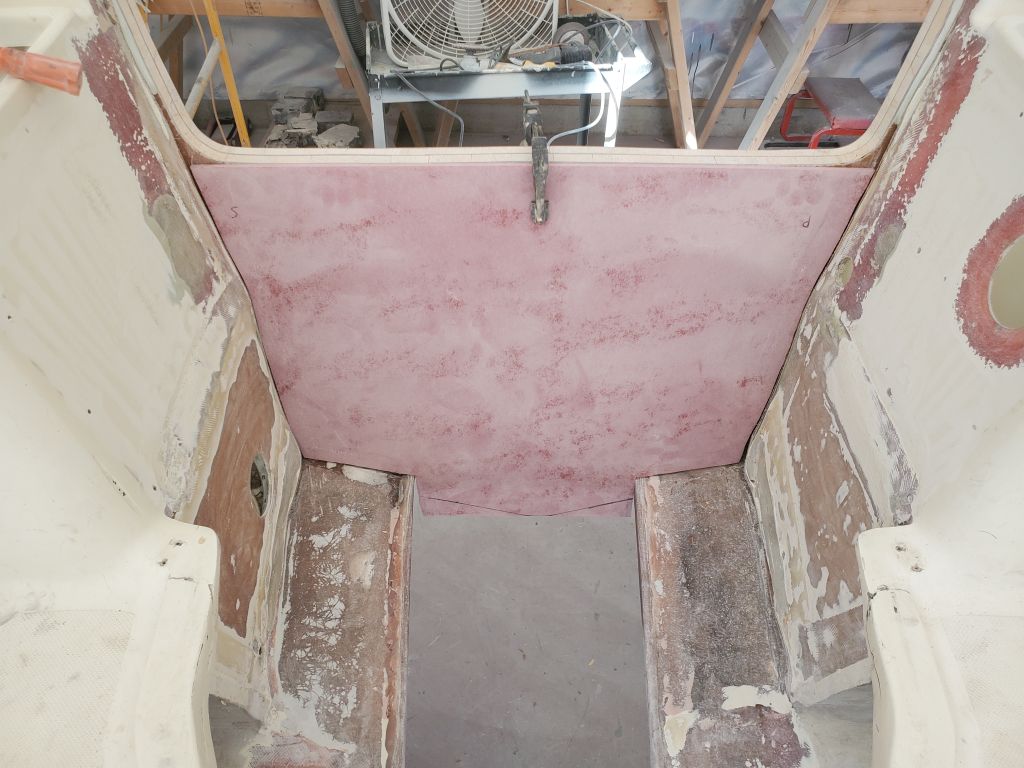
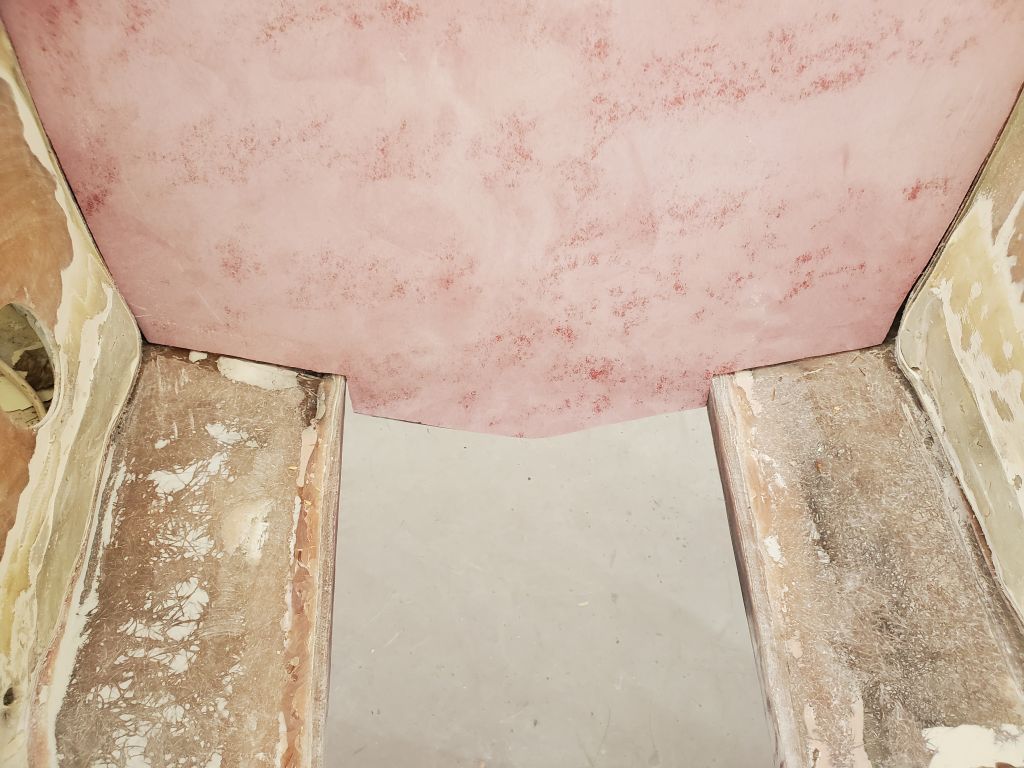
With a new supply of abrasives and cutting tools on hand once more, I finished up the major prep work in the old engine compartment, starting by chiseling away the bulk of the chalky putty/sort-of-adhesive on the inside of the transom that had been used in the original construction to secure the cockpit liner. This material was friable and relatively easy to remove.
Afterwards, I sanded the inside of the transom to remove the final residue and otherwise clean up and prepare the surface, and finished up the sanding in the remainder of the engine room, removing the remainder of the factory gelcoat from the bilge areas and the lower portion of the structures on each side (below future deck level), as well as bonding areas for future tabbing along the aft edges of the cutout.
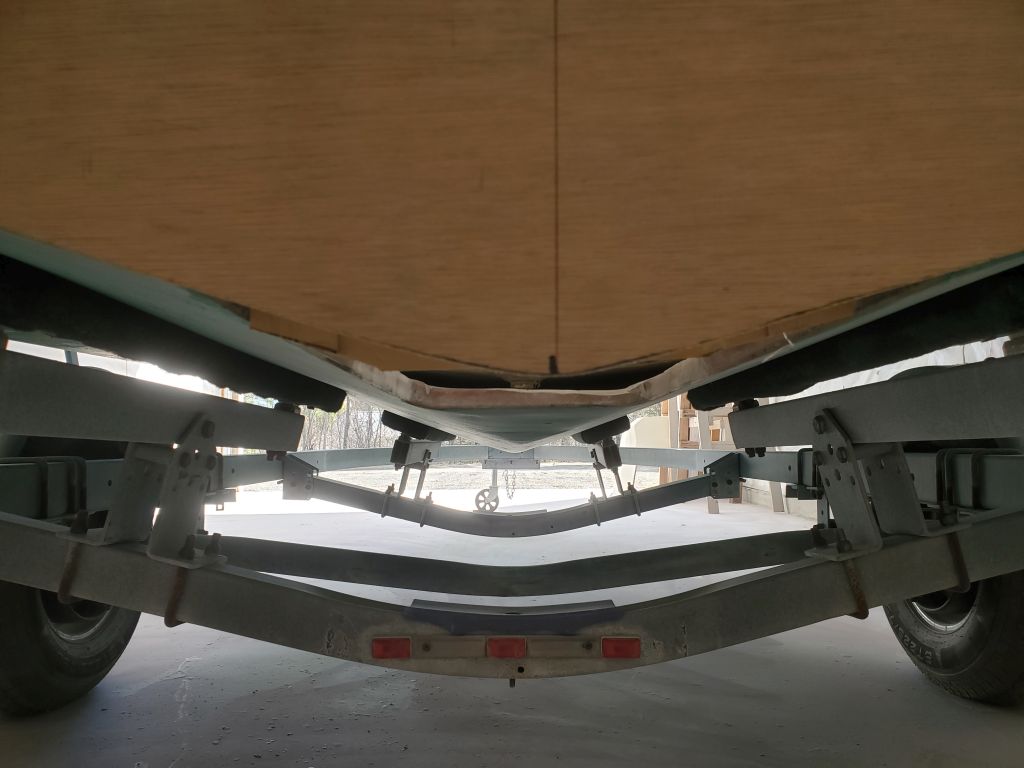
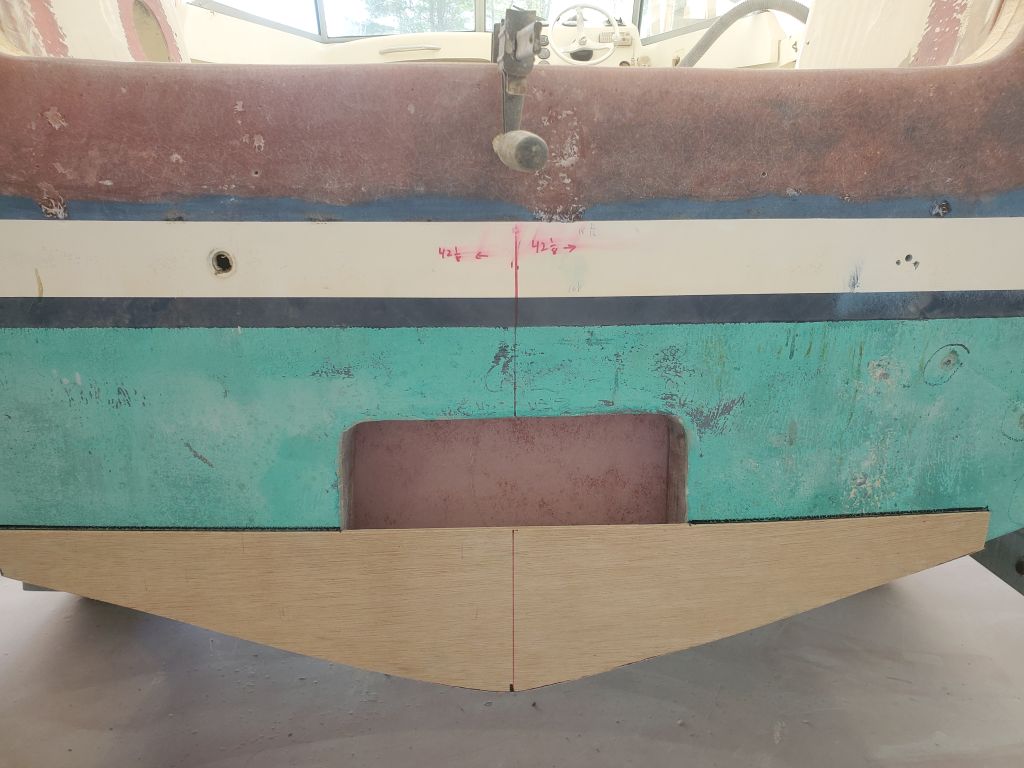
When I laid out the transom cutout earlier, I’d measured its height at 24″ above the centerline at the lowest point of the hull, matching the finished height of the sistership I measured for comparison. But this didn’t take into account the thickness of the fiberglass I wanted to wrap over the opening to finish it off (and also tie it in with new structures to come), and the cutout wasn’t quite level from side to side. Now, once more setting the boat up level, I made a new mark below the existing cutout, starting 1/4″ below to accommodate the fiberglass and making sure it was level, which I confirmed with spirit levels and also by measuring from various other points on the hull as needed. I laid out the corner radii again.
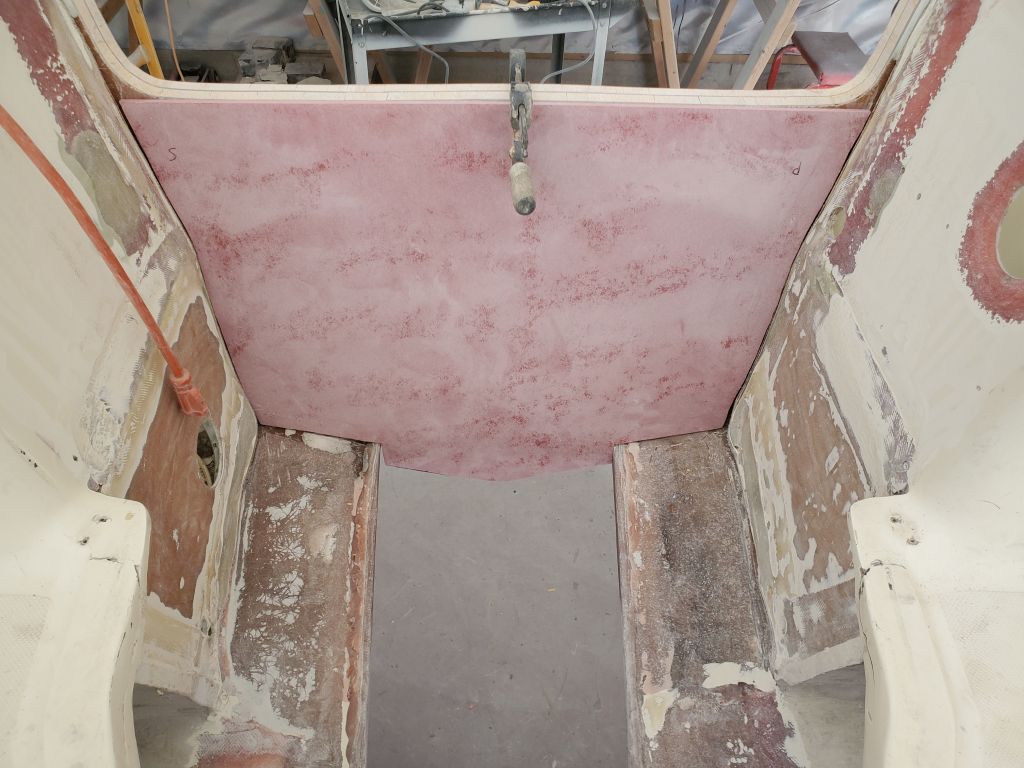
After sawing to the new line, I cleaned up and fine-tuned the cutout once more with various sanding tools as needed till I was happy with the opening, now level with the rest of the boat. Then, I prepared the adjacent hull for the eventual tabbing by removing the gelcoat and sanding a gradually-tapered area from the inside of the opening to a point about 4″ out all around. Mainly because of the correction in the level from side to side, which increased towards the high side, the new cutout actually ended up closer to 1/2″ lower than the original (I was going for 1/4″, but I’d rather add more fiberglass to build it up properly than have it end up too high in the final analysis.
Along the two sides of the jet drive opening in the hull was some fairing putty from the original construction around the raised box for the drive. I’d sanded this smooth and flush, but now I wasn’t happy with its existence: it was chalky like old terra cotta, so I decided to chip it out and sand anew to ensure the most solid bonding surface for the patch ahead. I also sanded the inside of the jet opening on the vertical transom, and cleaned up anywhere else that needed it, before vacuuming and solvent-washing the area to clean it enough for my next steps. I took a moment to remove the small bronze through hull leftover from the old engine’s visual water pump stream, and prepared the piece of prefab fiberglass I planned to use inside the transom by sanding off the factory surface.
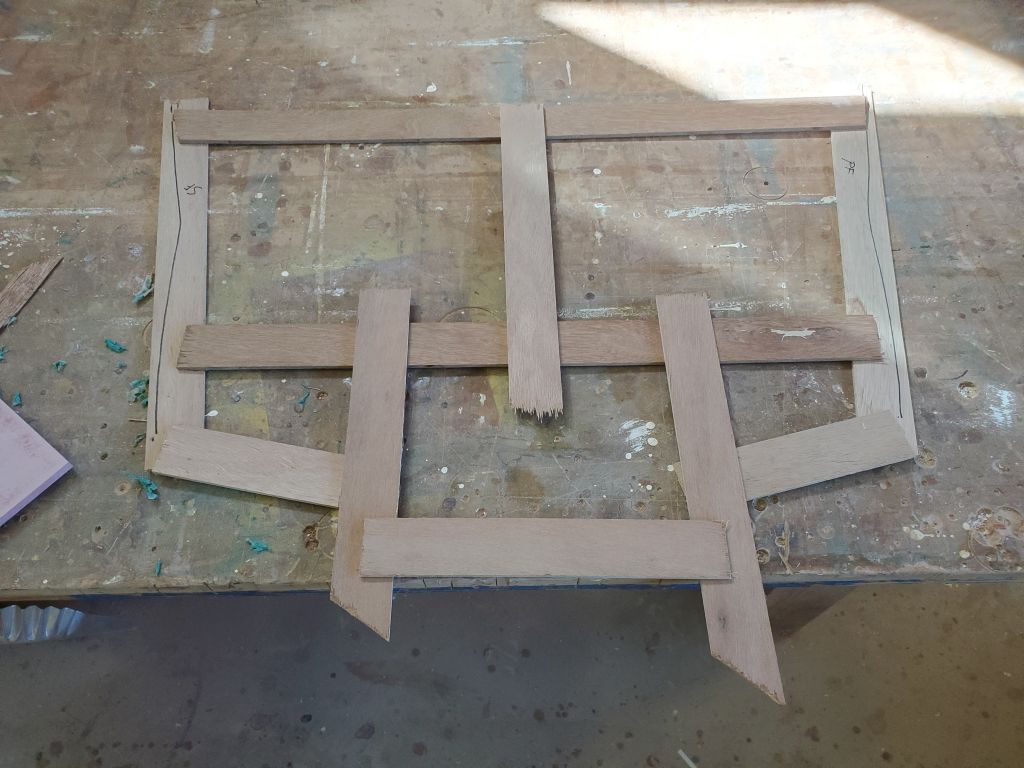
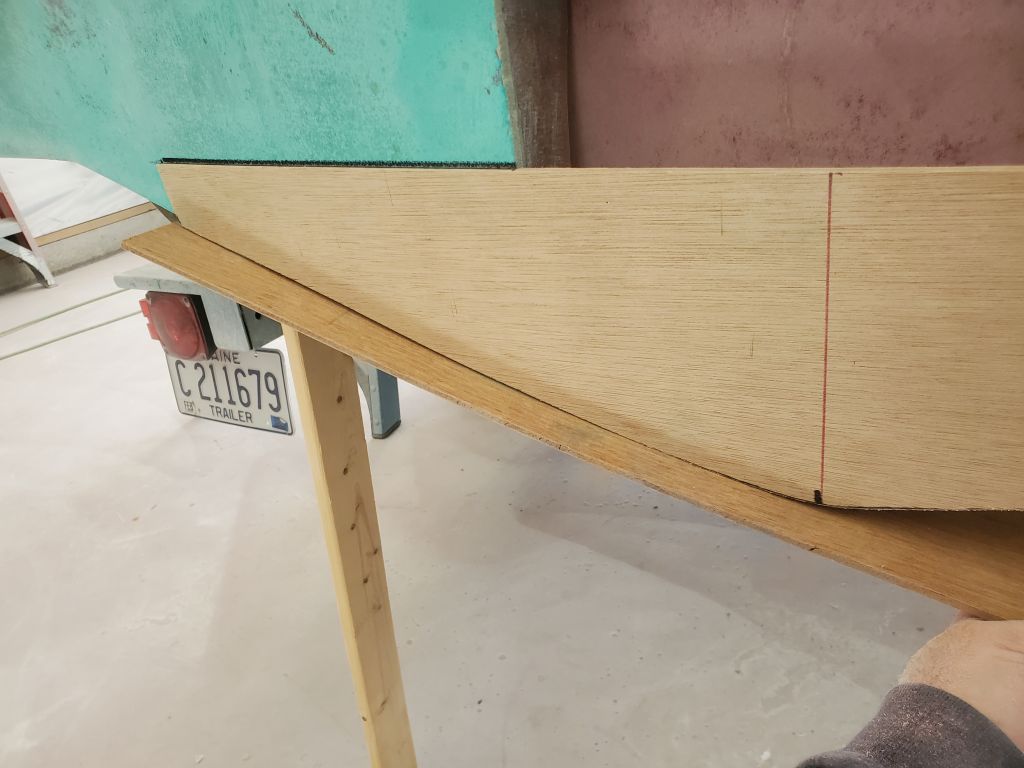
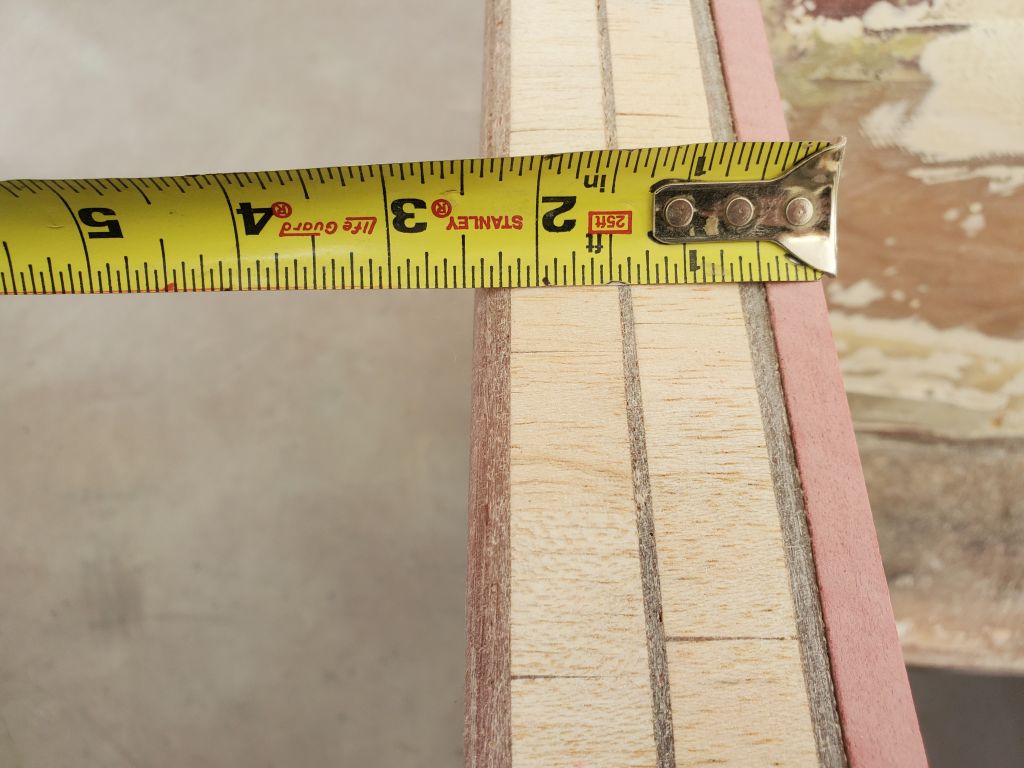
To prepare for the next step, I hot-glued my plywood transom-shape template to the aft side of the boat once more. Working with narrow strips of cheap plywood and glue, I made a template of the inside of the transom, then transferred it to my fiberglass sheeting and cut it to fit the opening, allowing the bottom section to run down through the opening for final trimming. The purpose of this panel was to add thickness, strength, and compression resistance to the overall transom structure, and it would be heavily bonded and fiberglassed into place to integrate it from all possible directions.
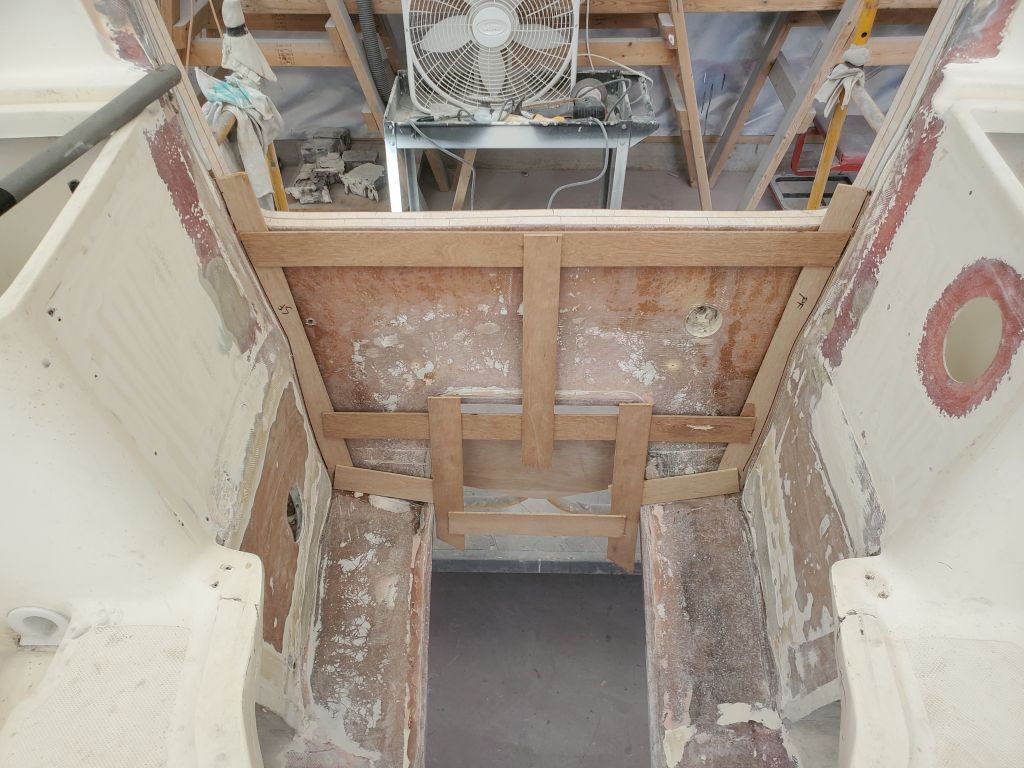
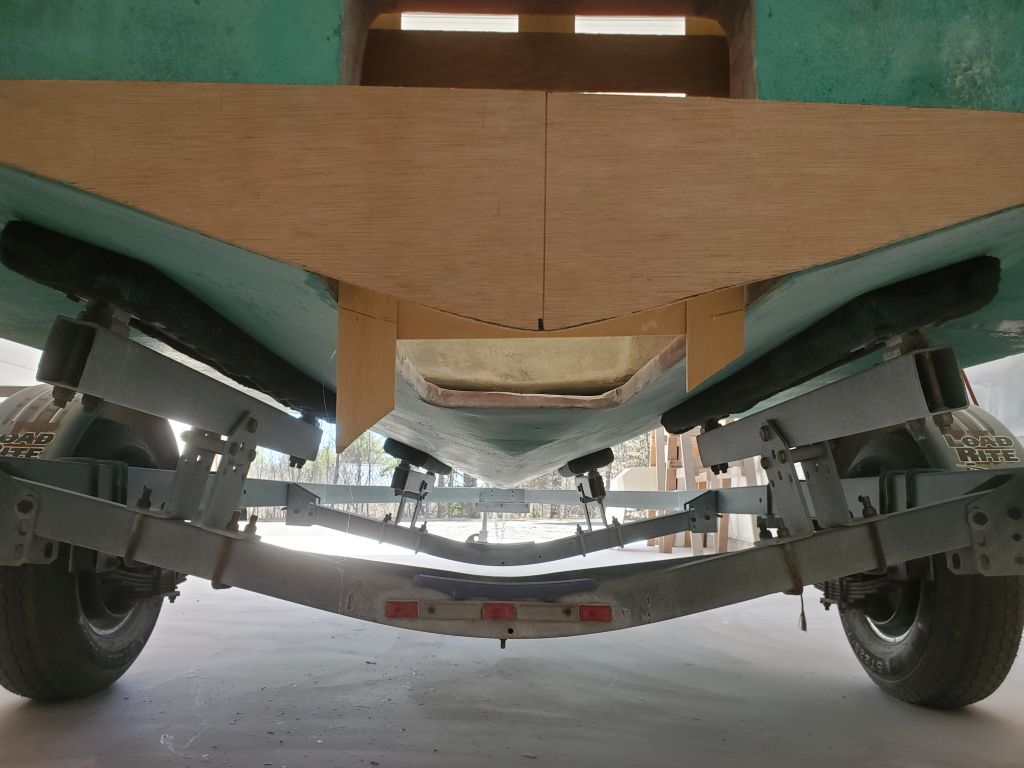
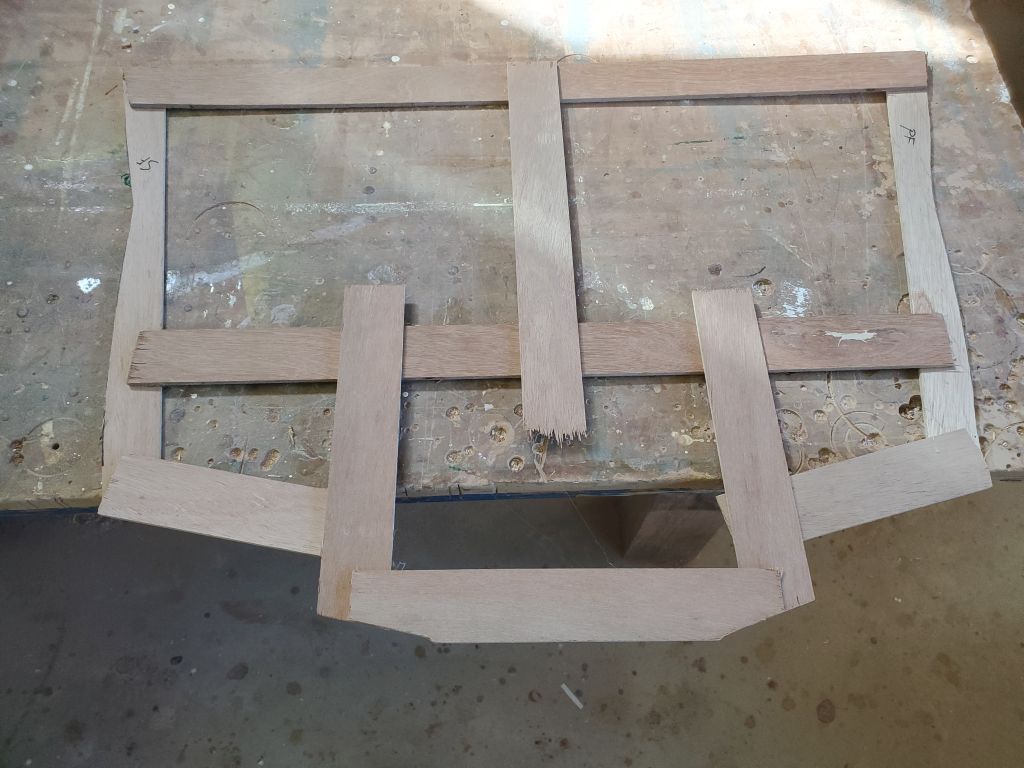
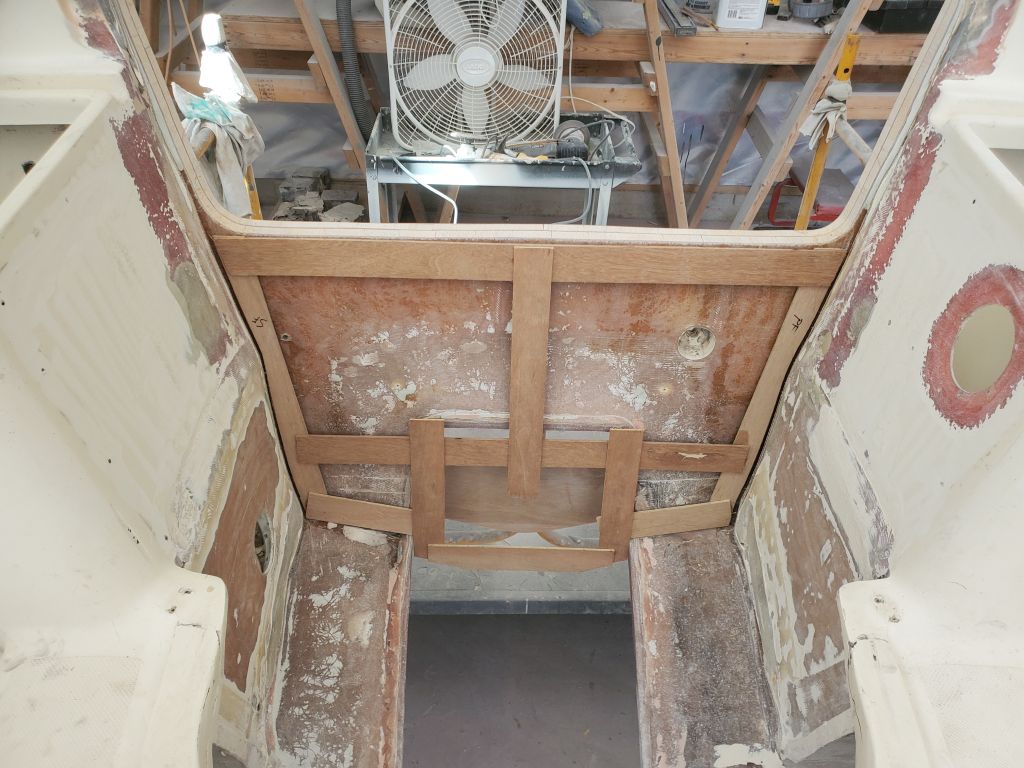
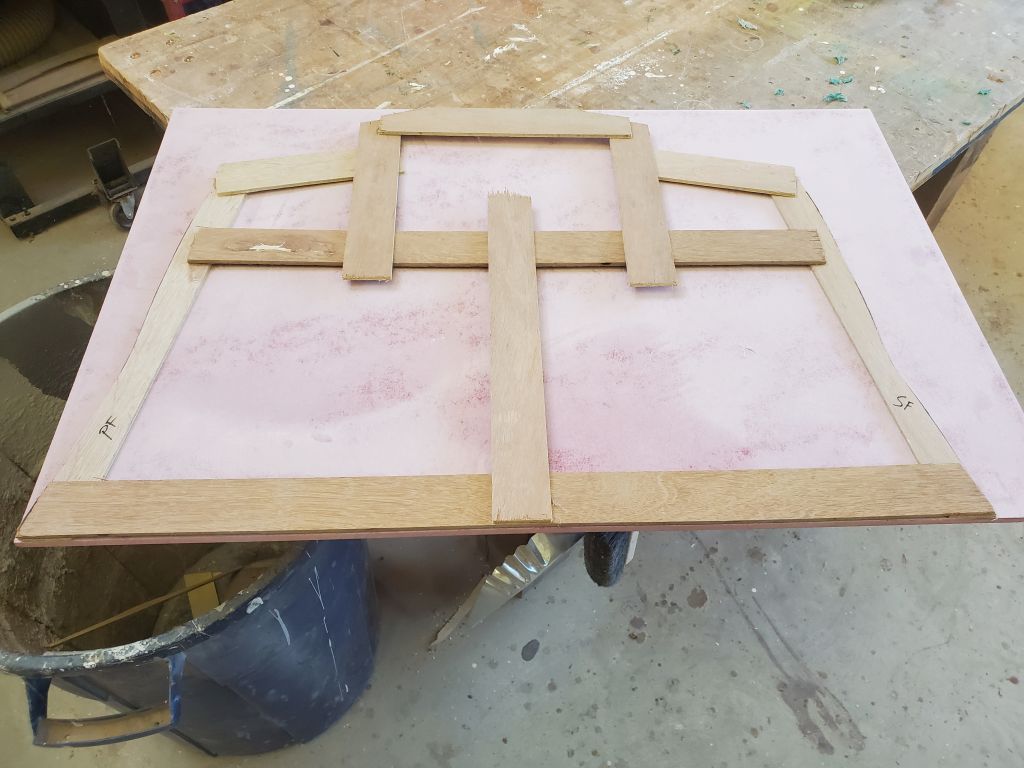
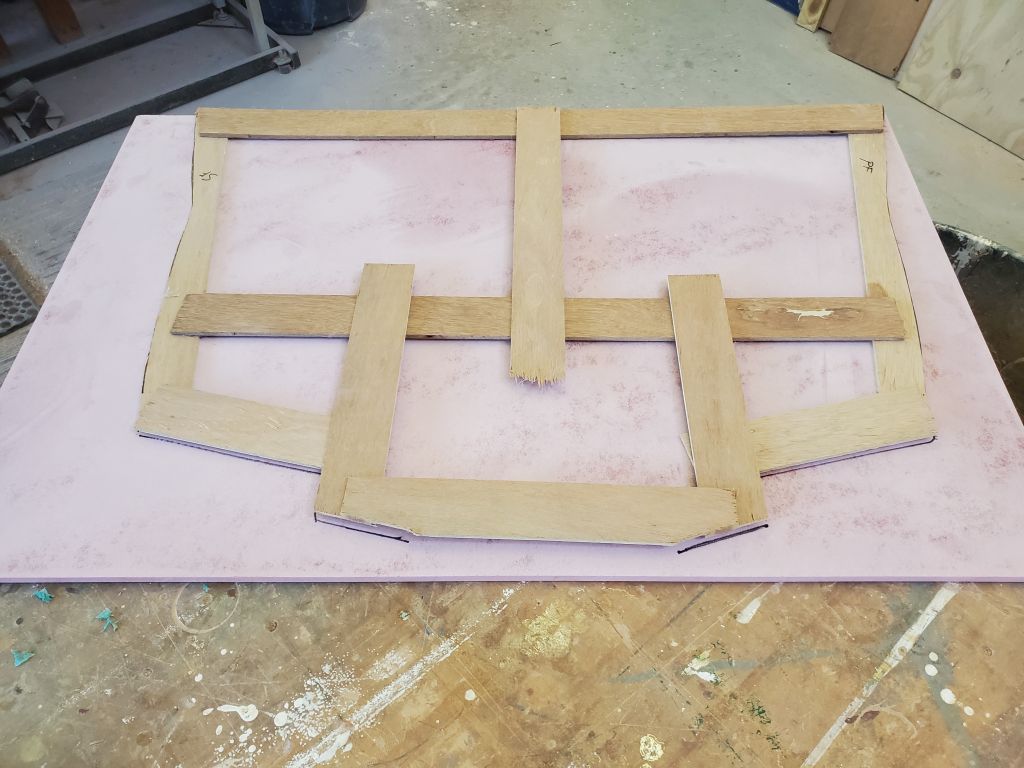
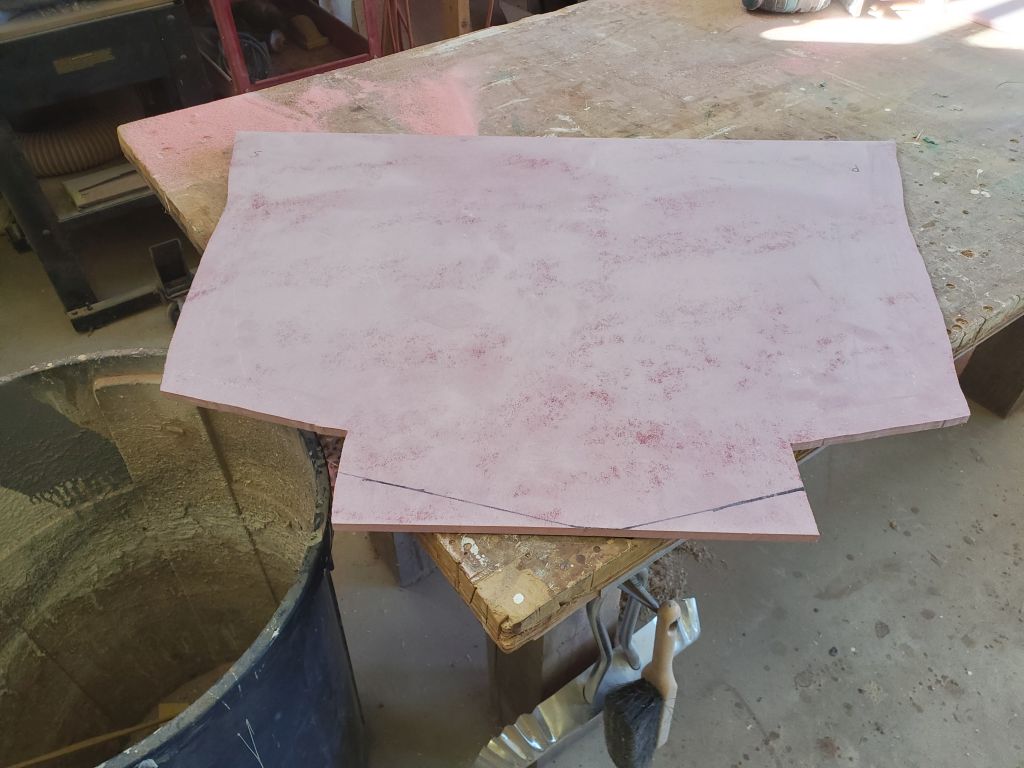
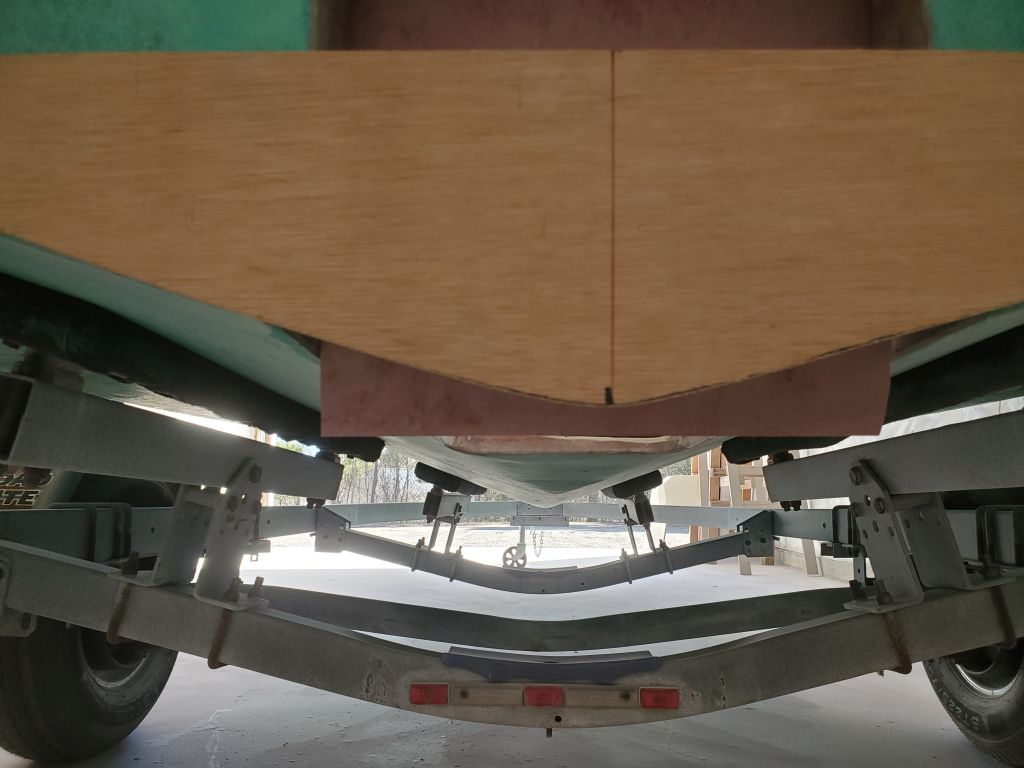
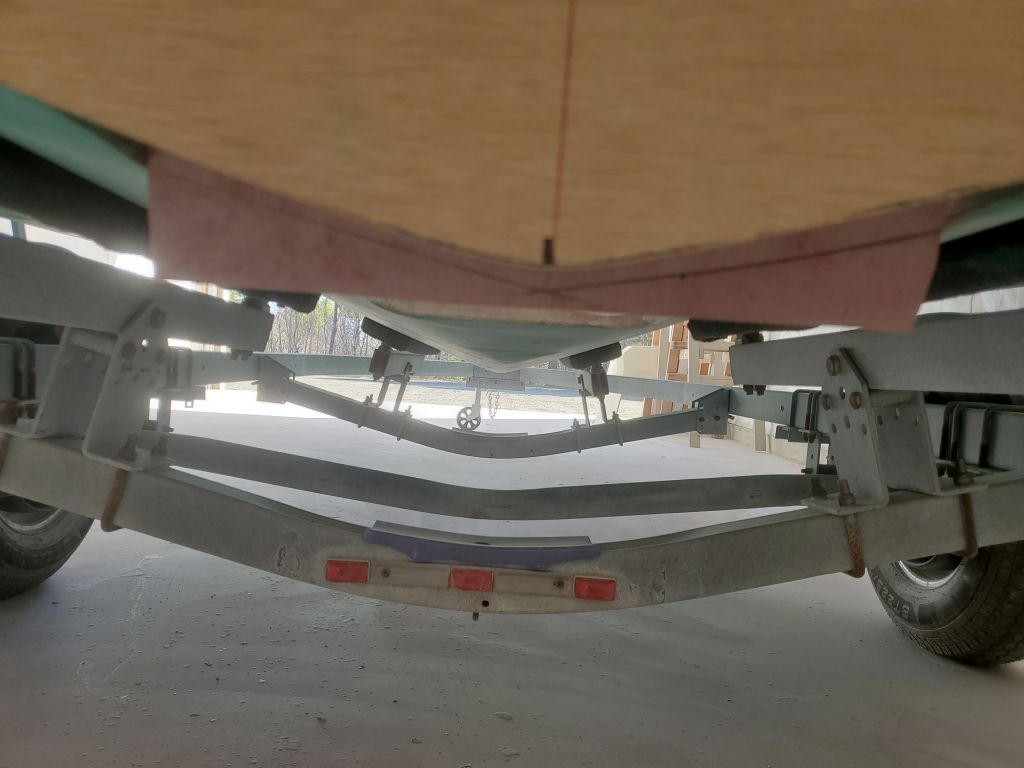
I scribed the shape for the bottom of the new panel by using a strip of plywood wide enough to span between the existing hull and the aft edge of my transom template and bending it manually into shape, making a pencil mark in the inside of the transom cutout opening on each side. This shape didn’t have to be perfect at the moment, but it made sense to extend the panel down to the ultimate bottom of the boat; I was still working out the logistics of how exactly to mold the final repair, but the plan was coming more into focus with each passing moment spent on the boat. I cut the panel to the scribed shape, which looked pretty good visually when sighted along the bottom along with the aft template and to a point just forward of the molded flat at the head of the jet box opening (difficult to photograph with the same point of view as through a squinted eye). With the new panel in place, the transom thickness approached 2-1/2″, which would increase accordingly once I installed the tabbing over the inside of the opening later in the process.
For now, this brought me to the end of the day.


Total time billed on this job today: 6.75 hours
0600 Weather Observation: 30°, clear. Forecast for the day: Sunny, 55°.