

April 20, 2022
Holby 15
Wednesday
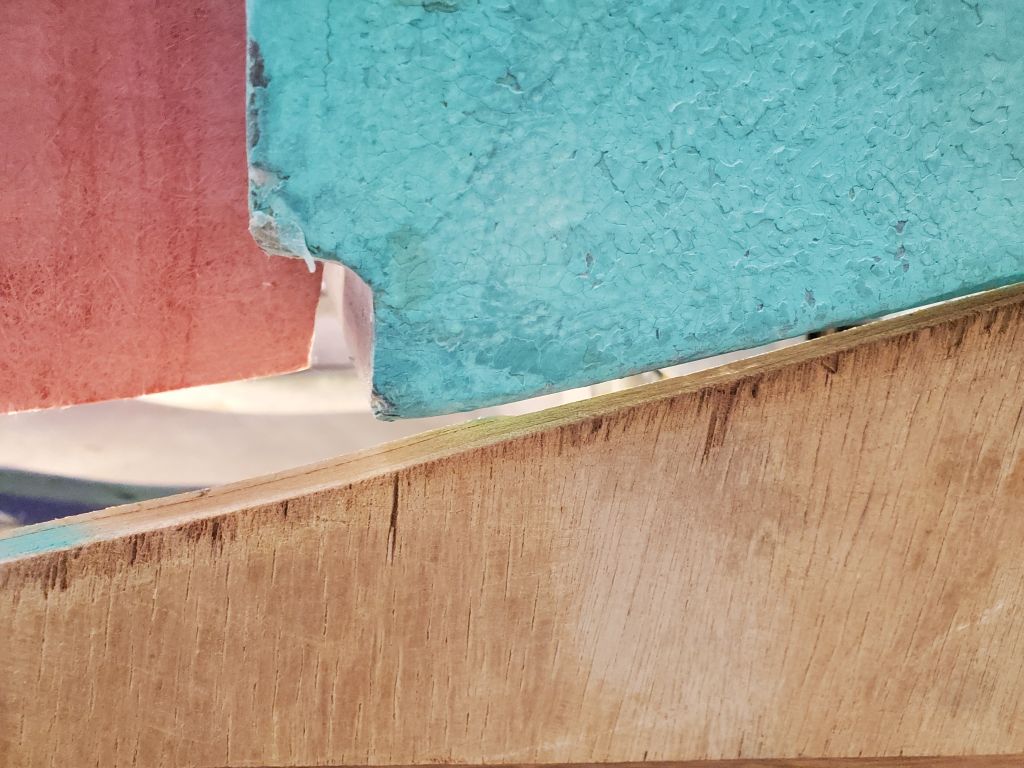
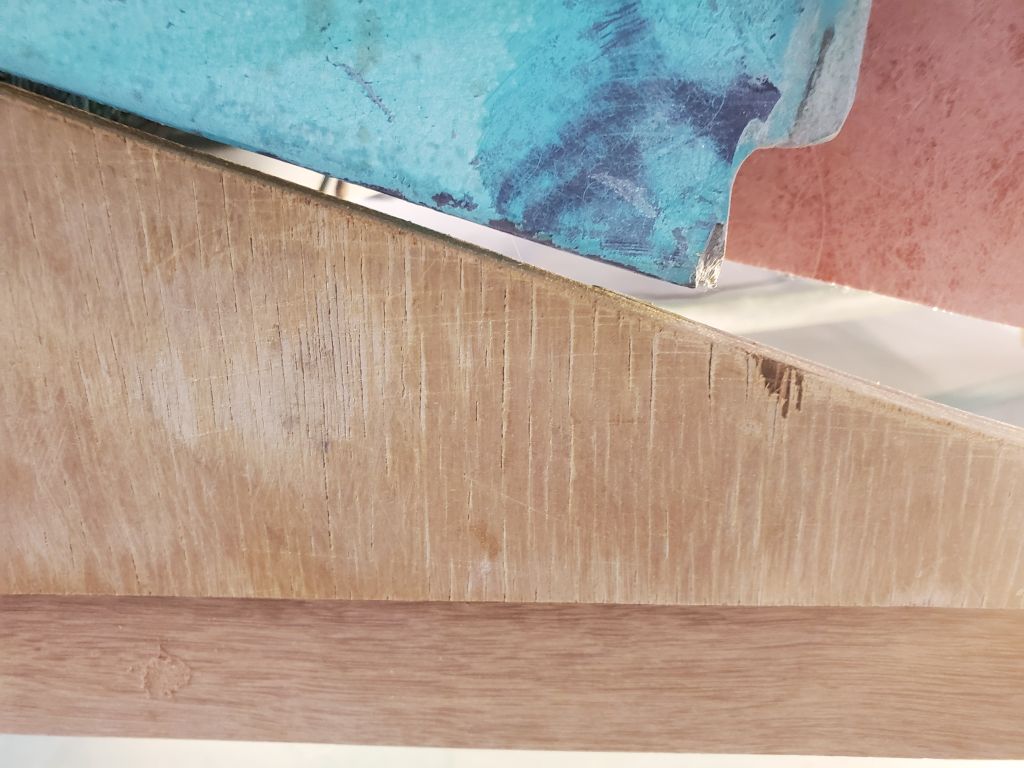
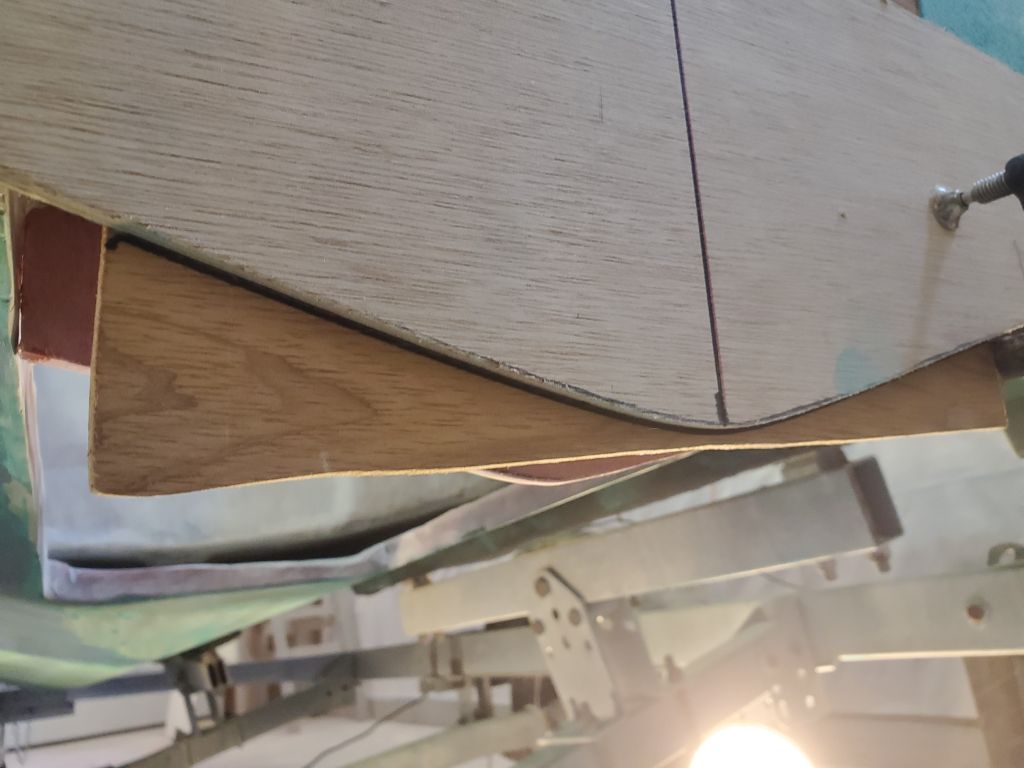
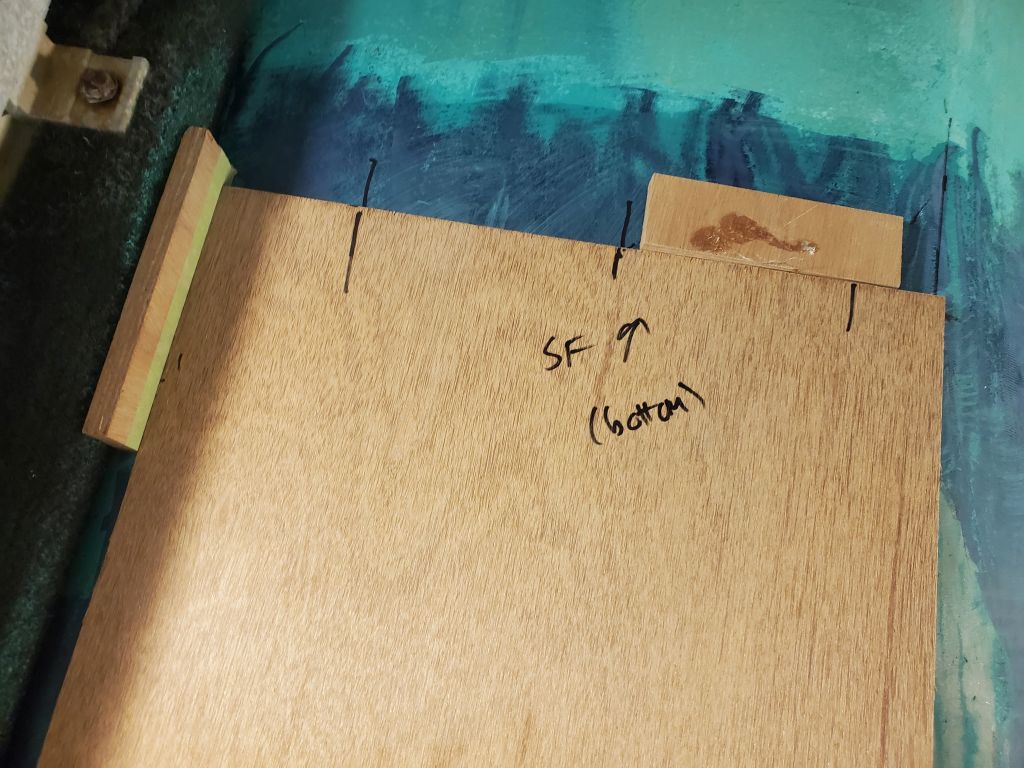
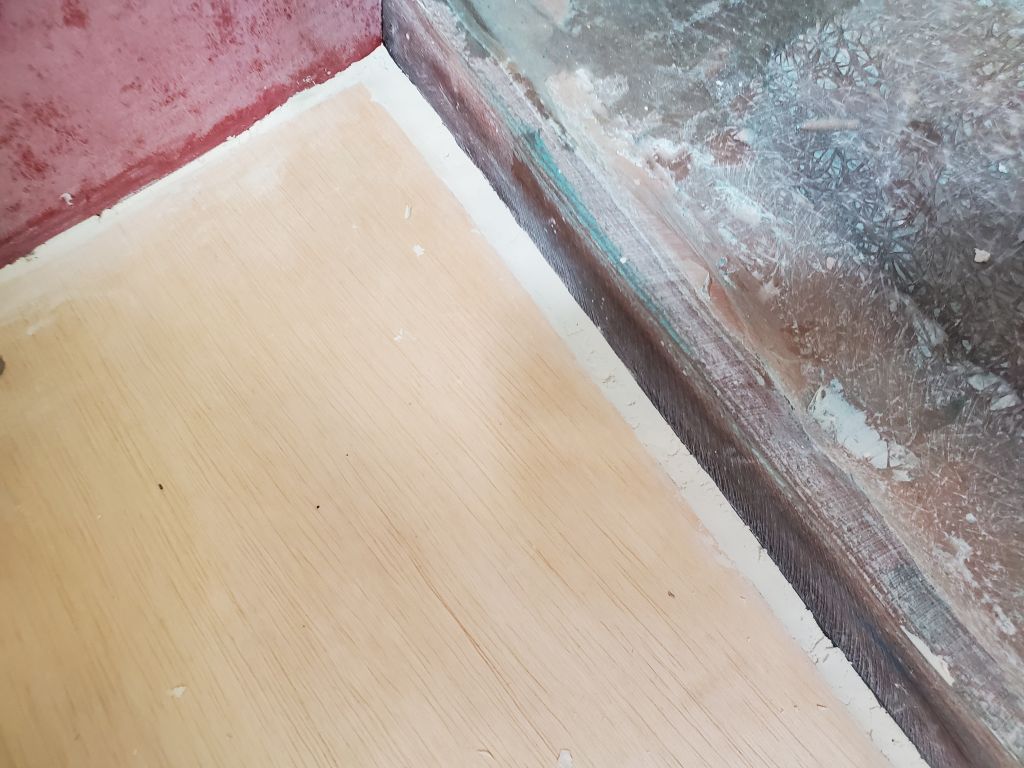
I test-fit the new plywood hull-shape pattern I’d made, which fit closely at the forward end of the repair area, which it should have since this is where I scribed it to fit. However, the shape of the hull at the aft end/transom was slightly different, something I’d already surmised after making the new pattern, with a minor flattening of the deadrise and a slight longitudinal upturn in the shape of the centerline. This meant that the new pattern would not be suitable for use at the aft end after all, so I planned to revert to using the original plywood template I’d made.
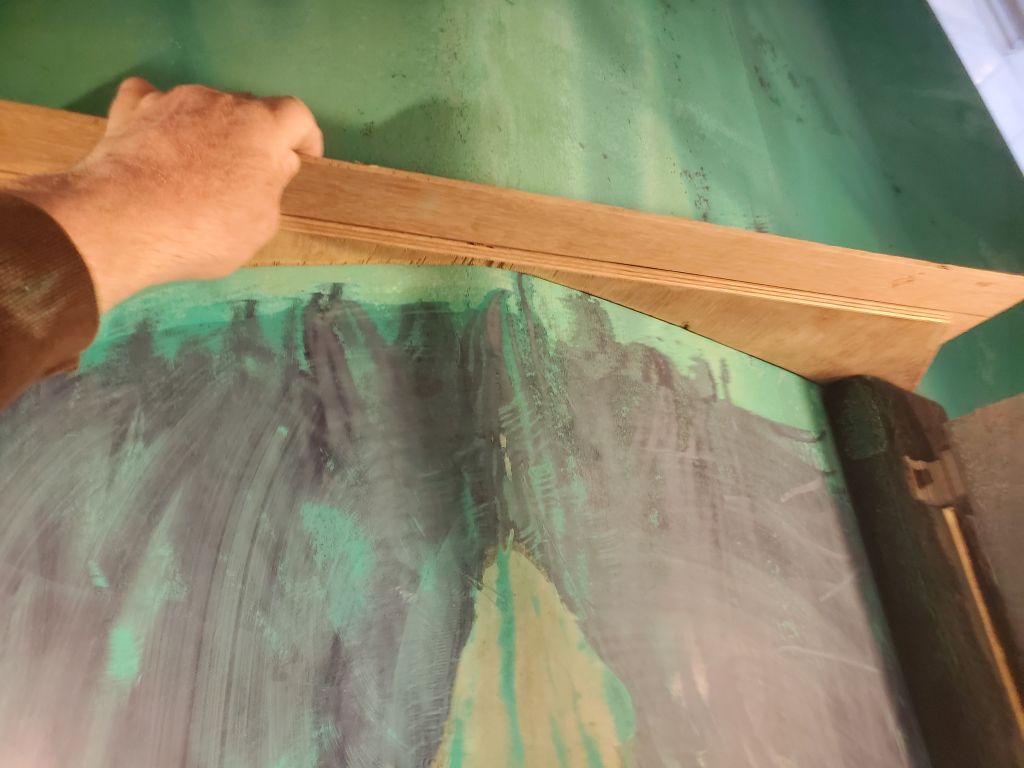
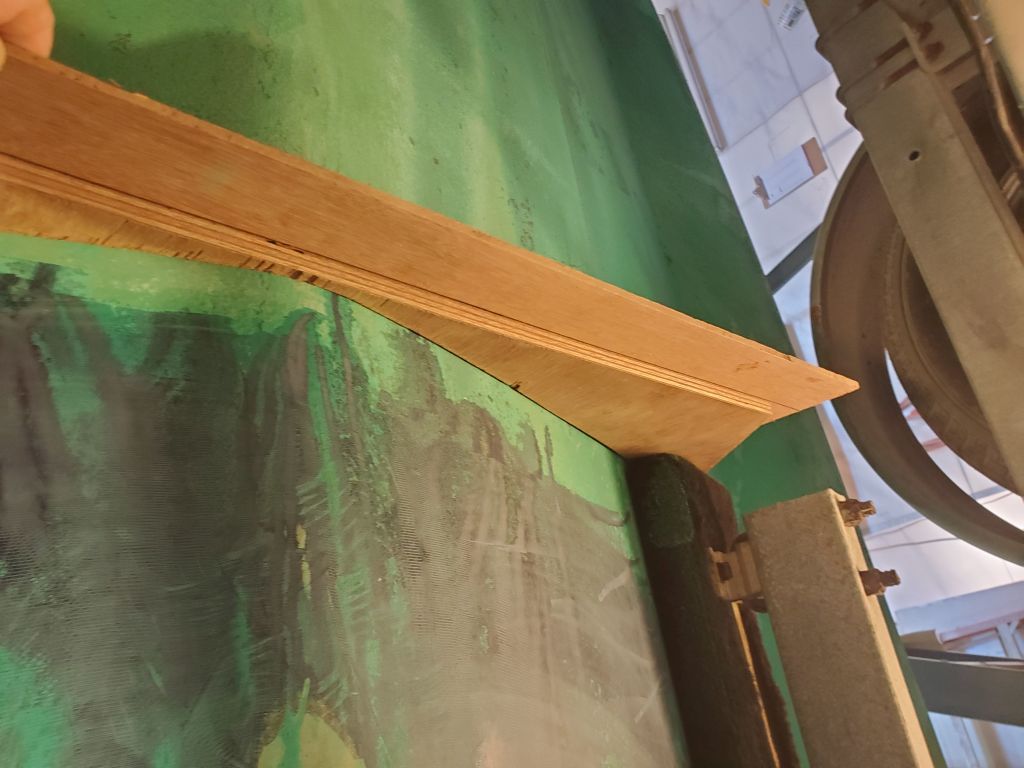
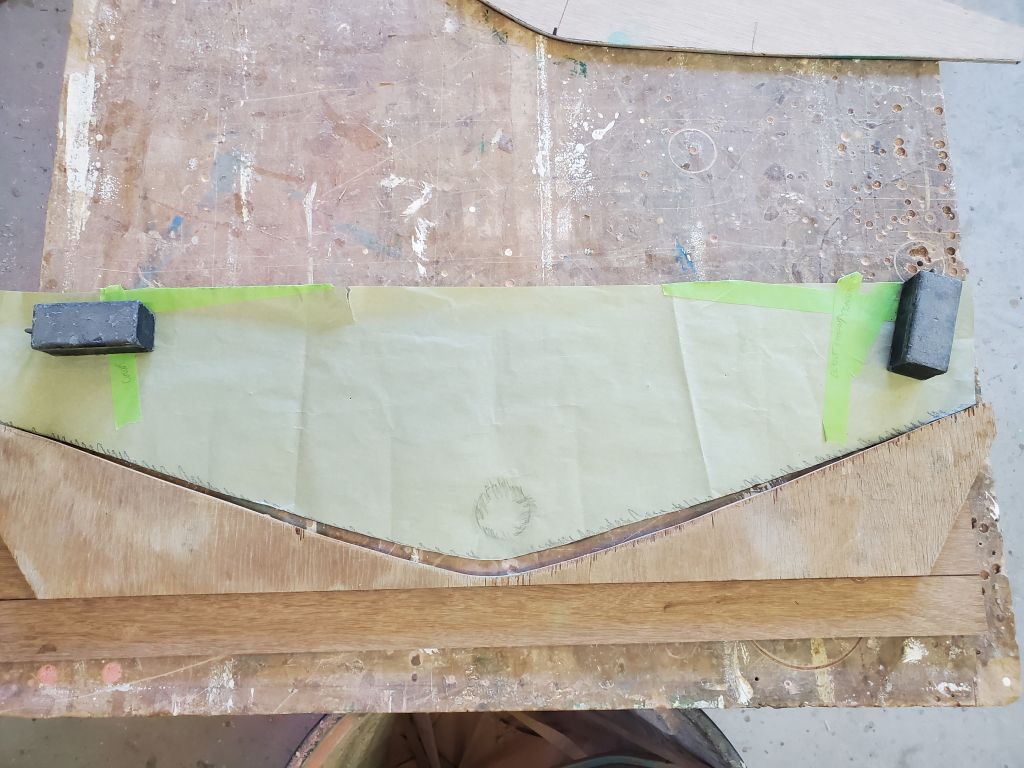
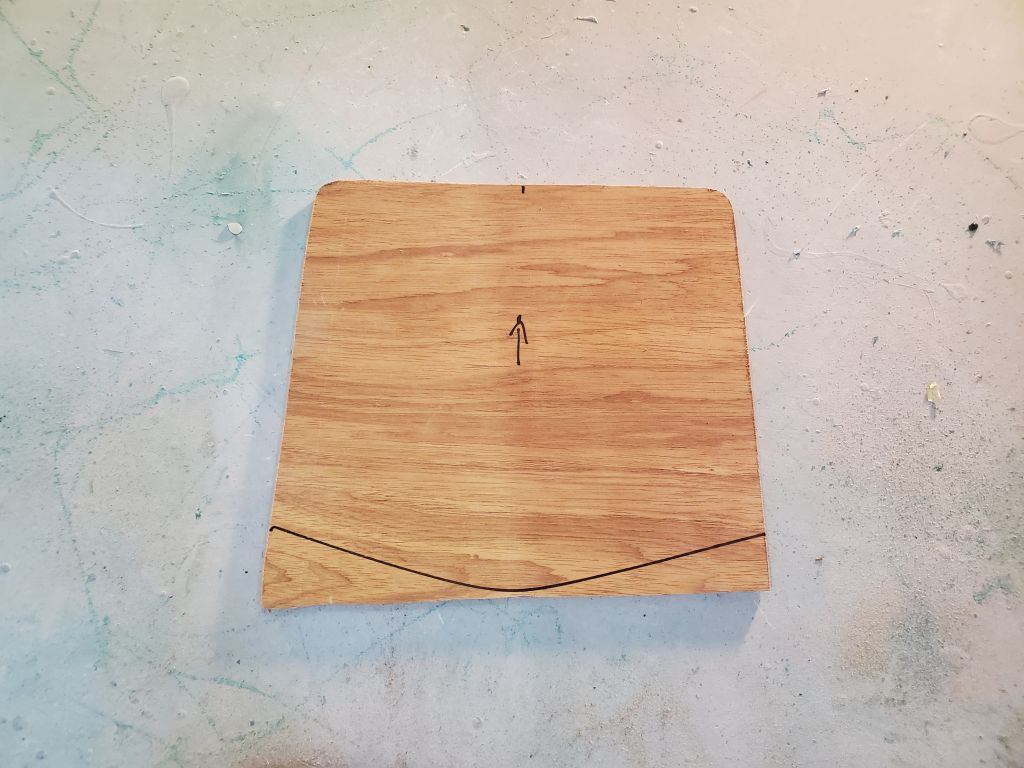
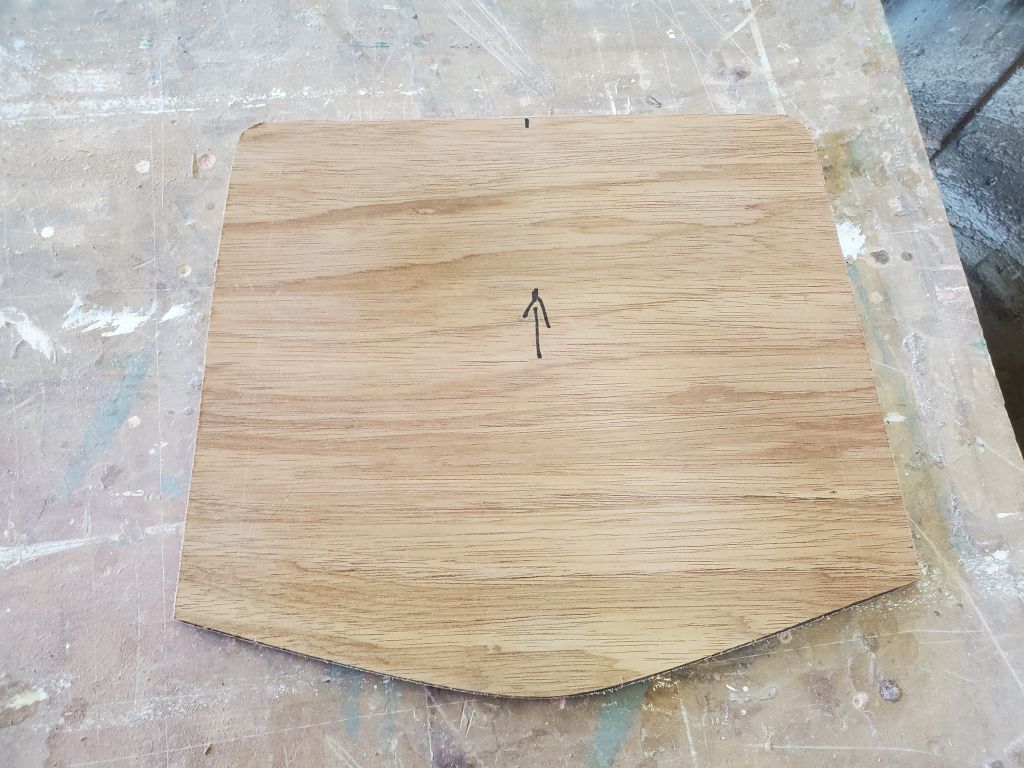
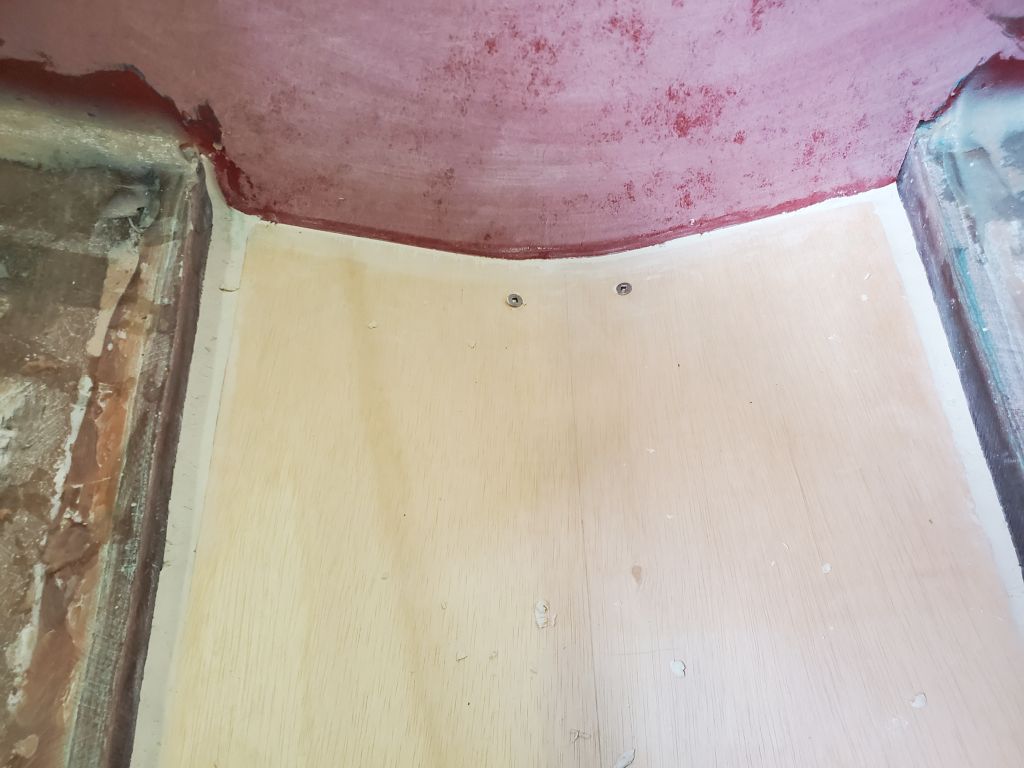
Meanwhile, while I still had access, I made a plywood template of the now semi-enclosed transom portion of the jet tunnel, shaping it to fit closely at both the forward and after ends of the roughly 3″ deep space. I’d use this pattern later to cut core and fiberglass to fill the void.
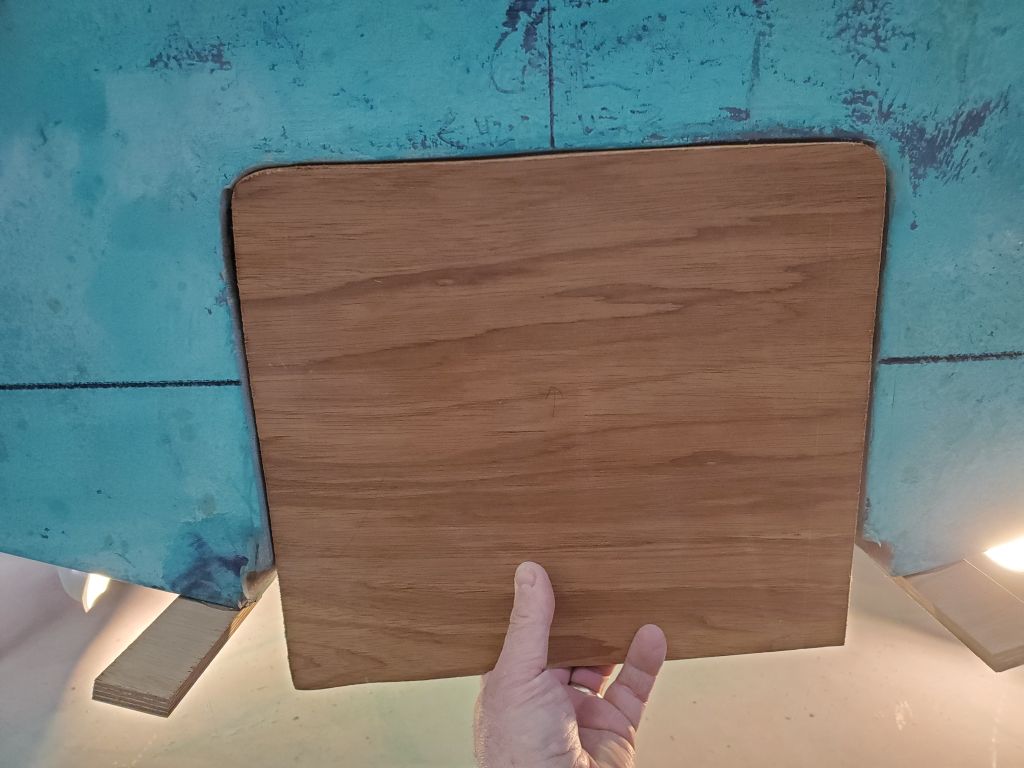
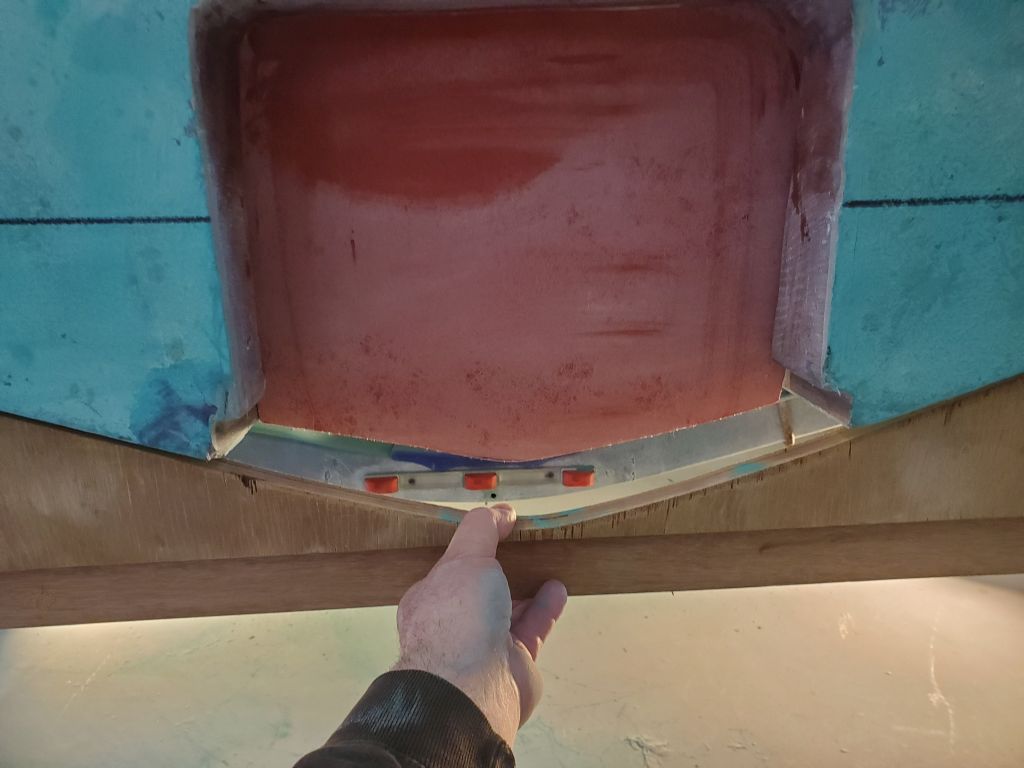
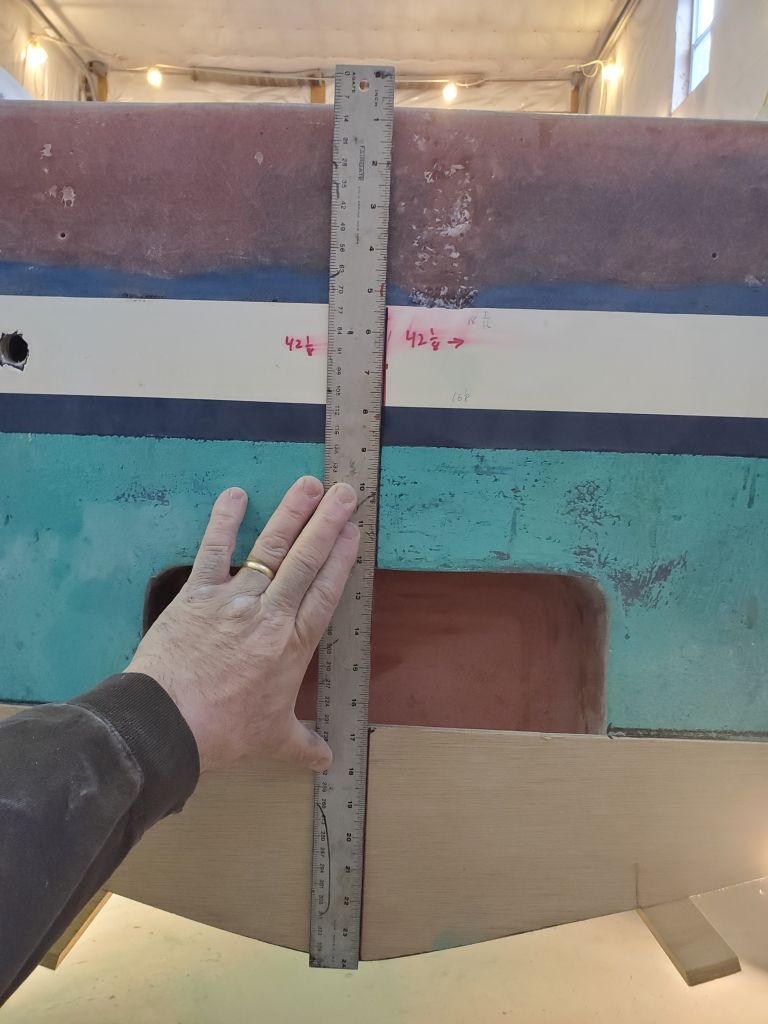
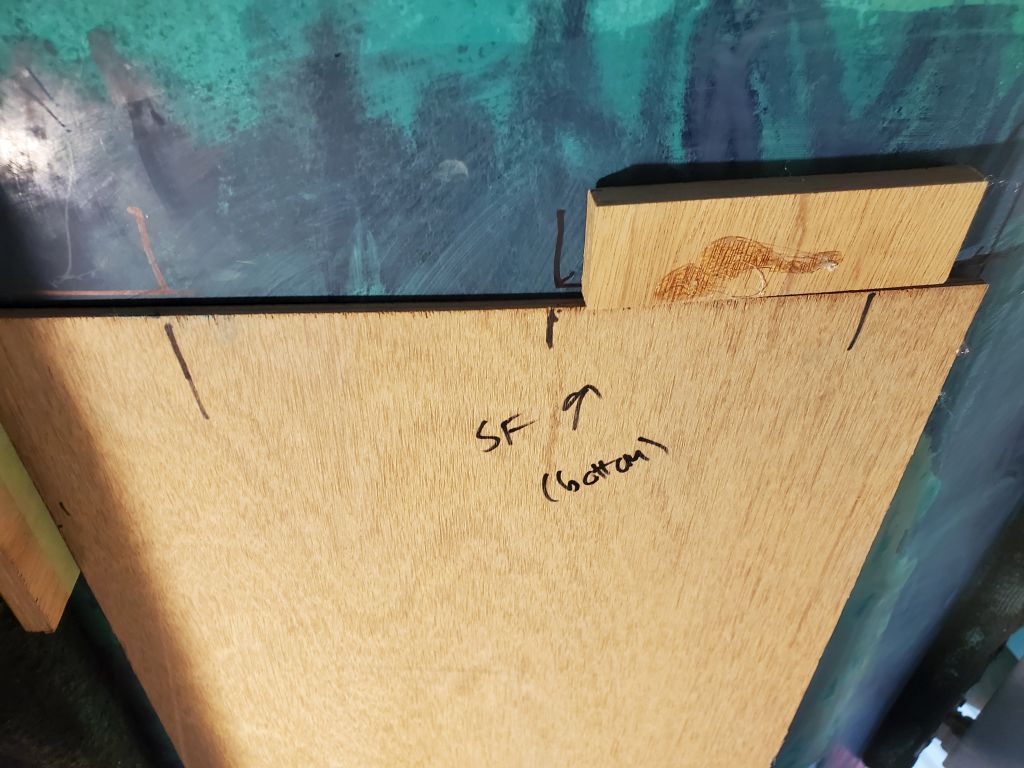
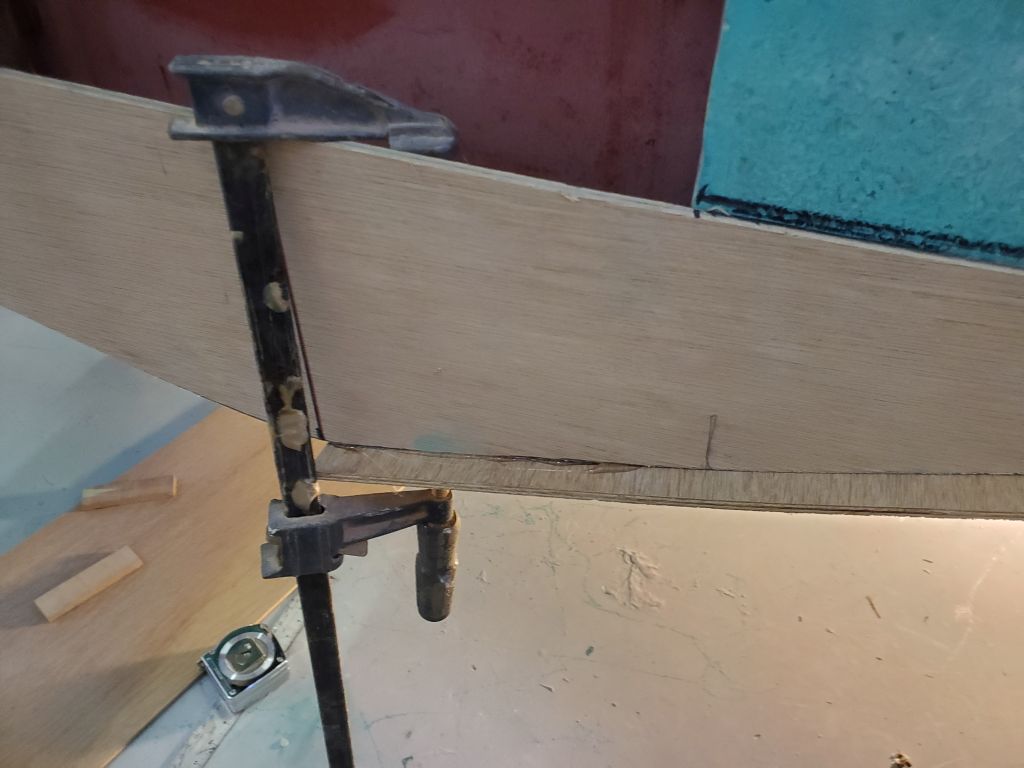
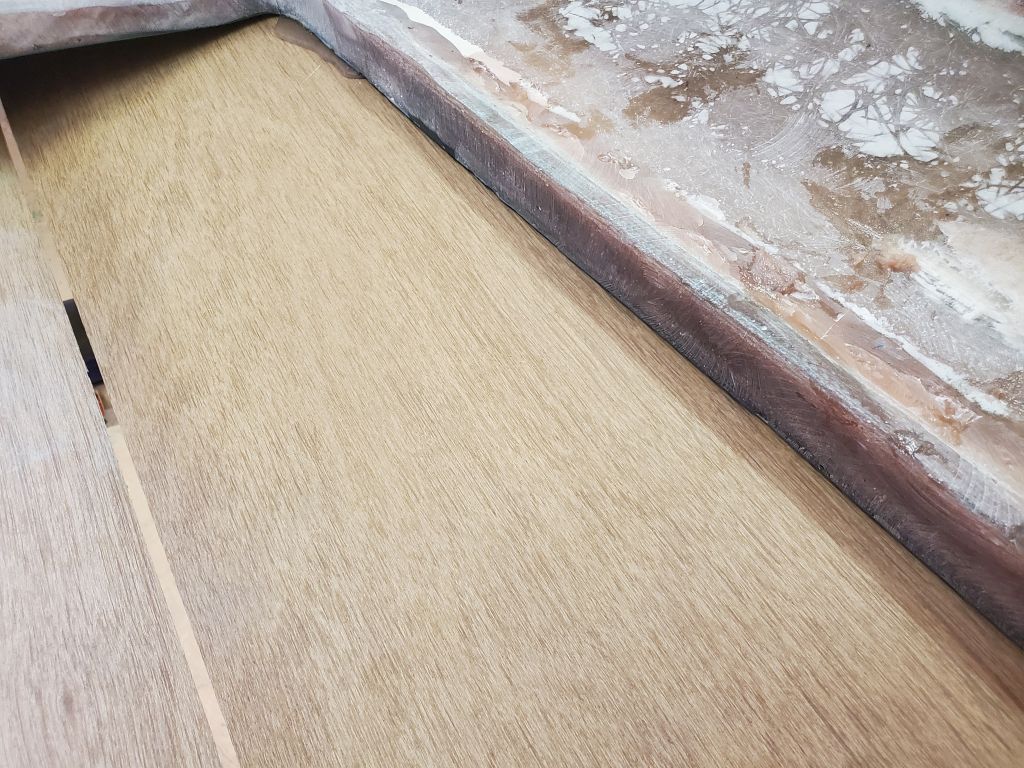
To ensure the plywood transom pattern was properly aligned with the bottom of the hull on the sides, I temporarily glued a couple blocks to the hull, upon which I rested the template while gluing it in place. Double-checking the existing transom height from the template once more, I confirmed that it was now 23-1/2″ high, with the final height to be 24″ from the centerline of the hull vee. I’d build up the surface slightly and make up the rest of the height as intended with the tabbing over the new cutout.
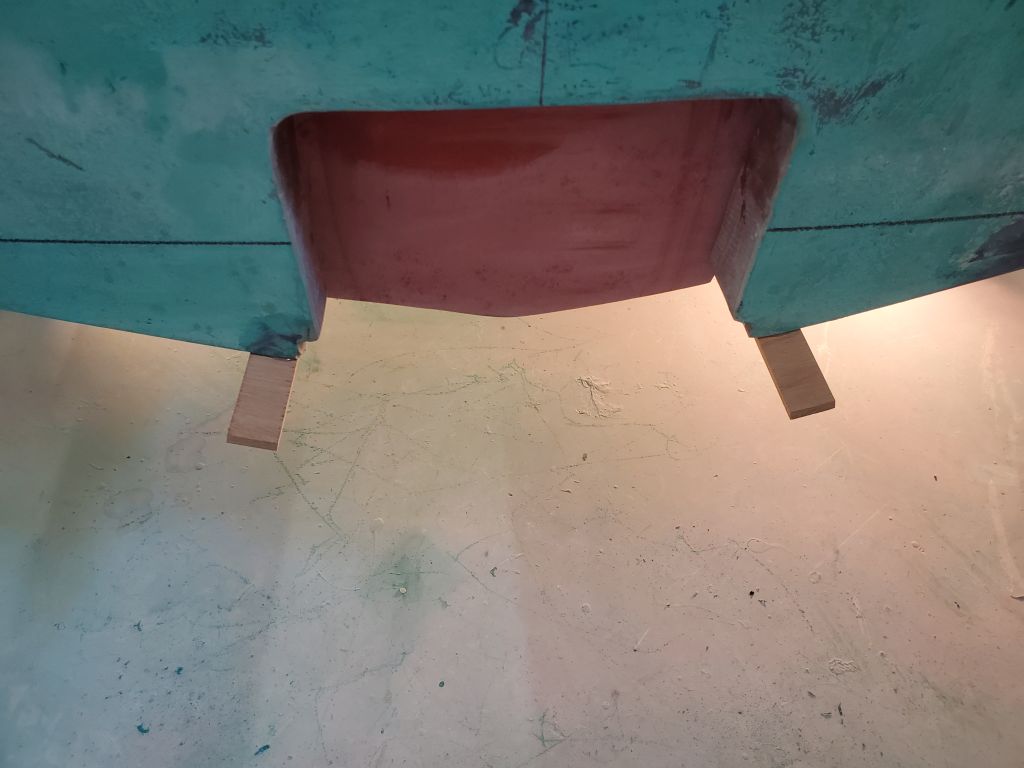


With the transom in place, I marked and cut the hull shape on the bottom edge of the jet tunnel pattern to complete it.
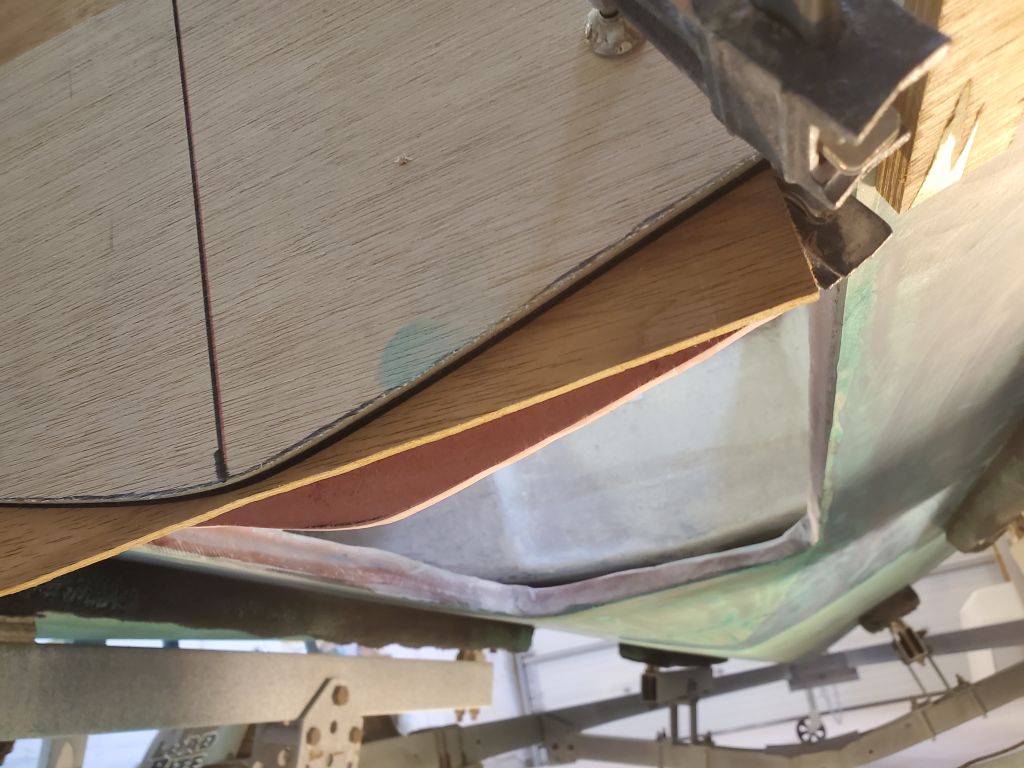
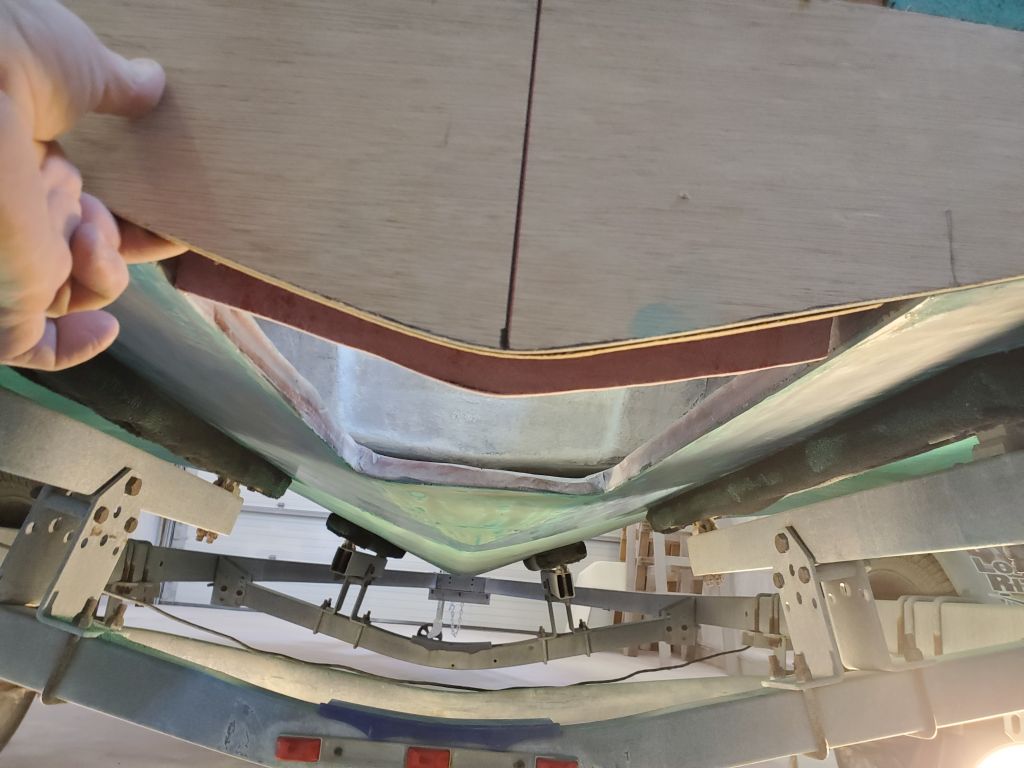
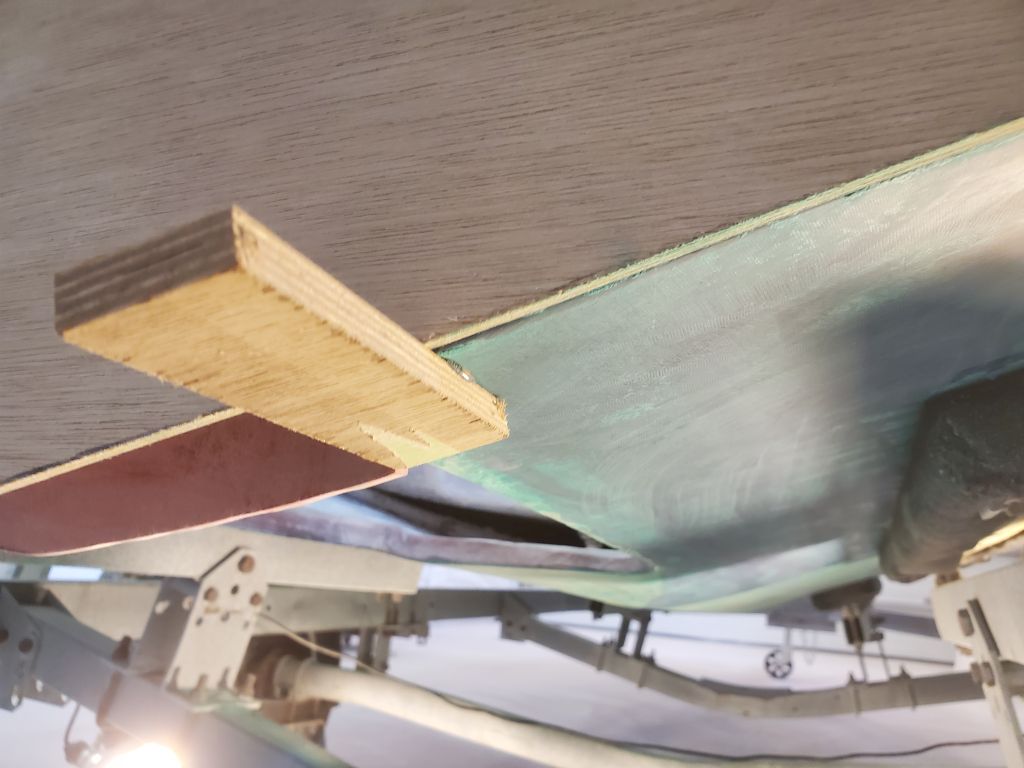
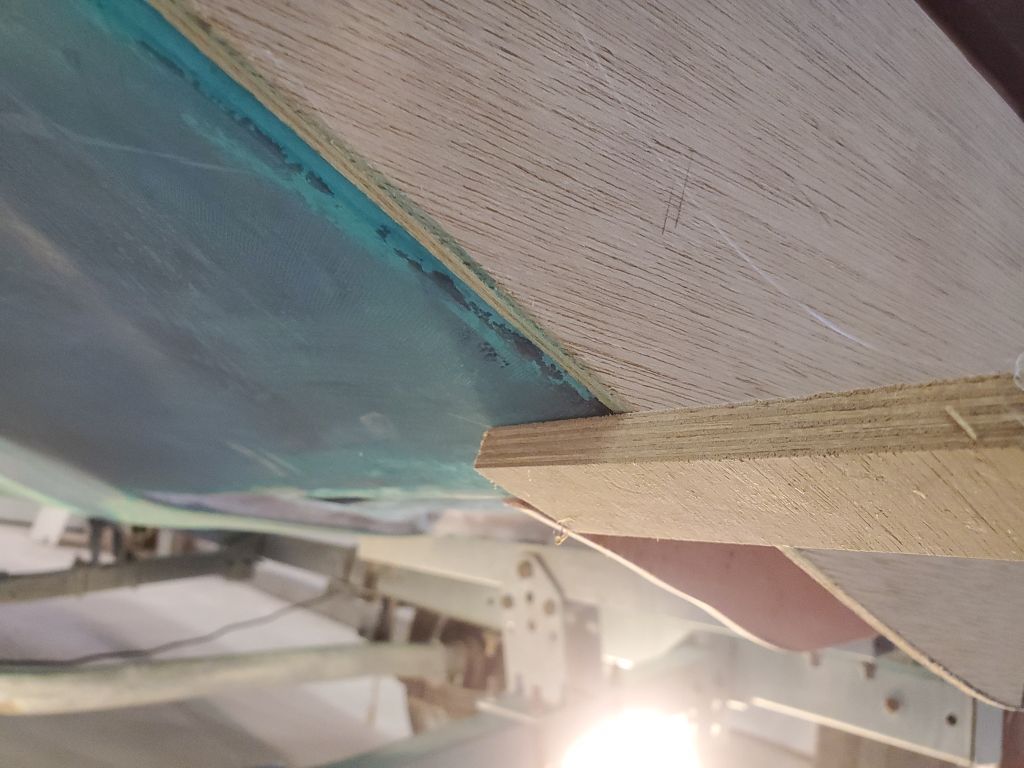
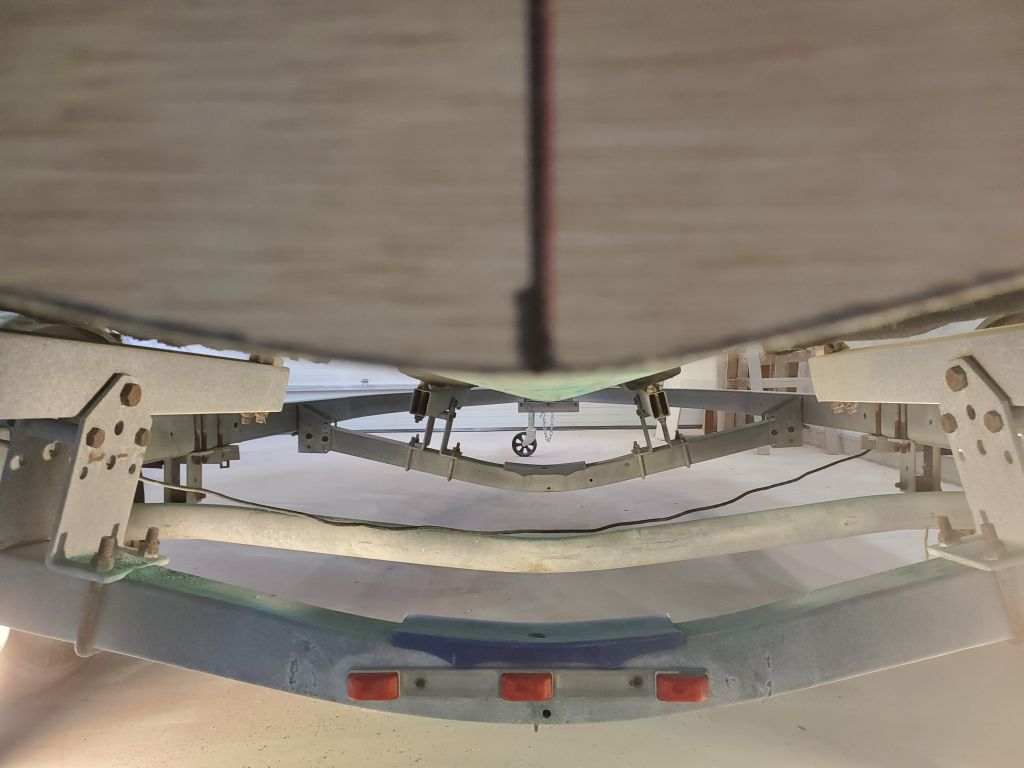
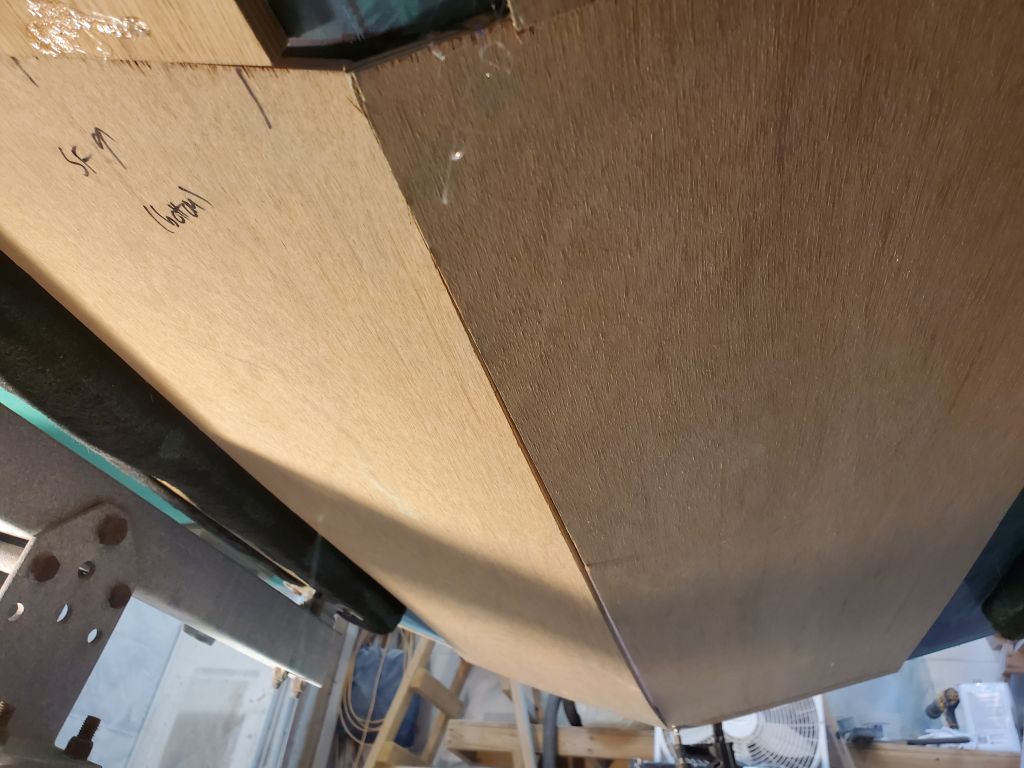
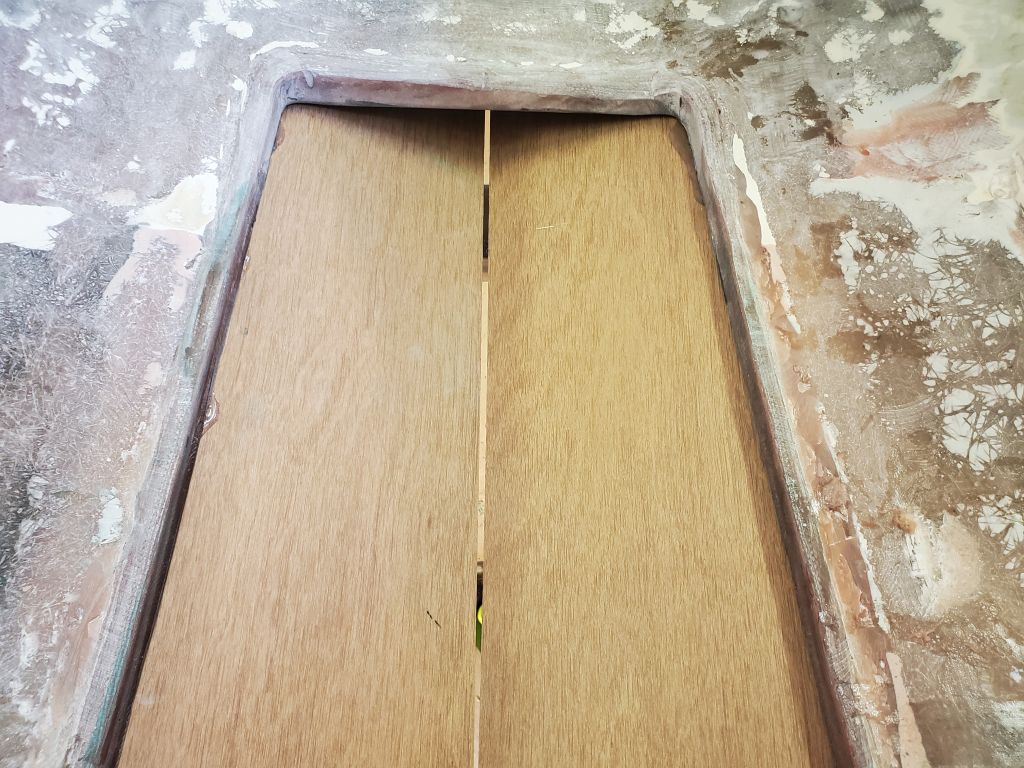
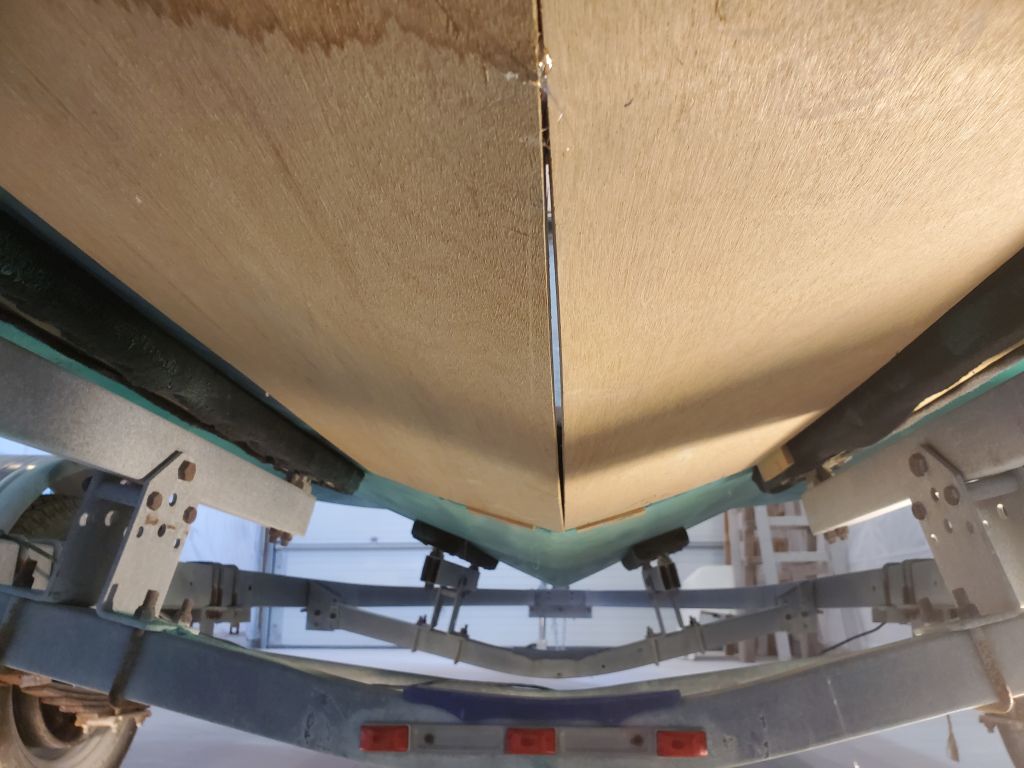
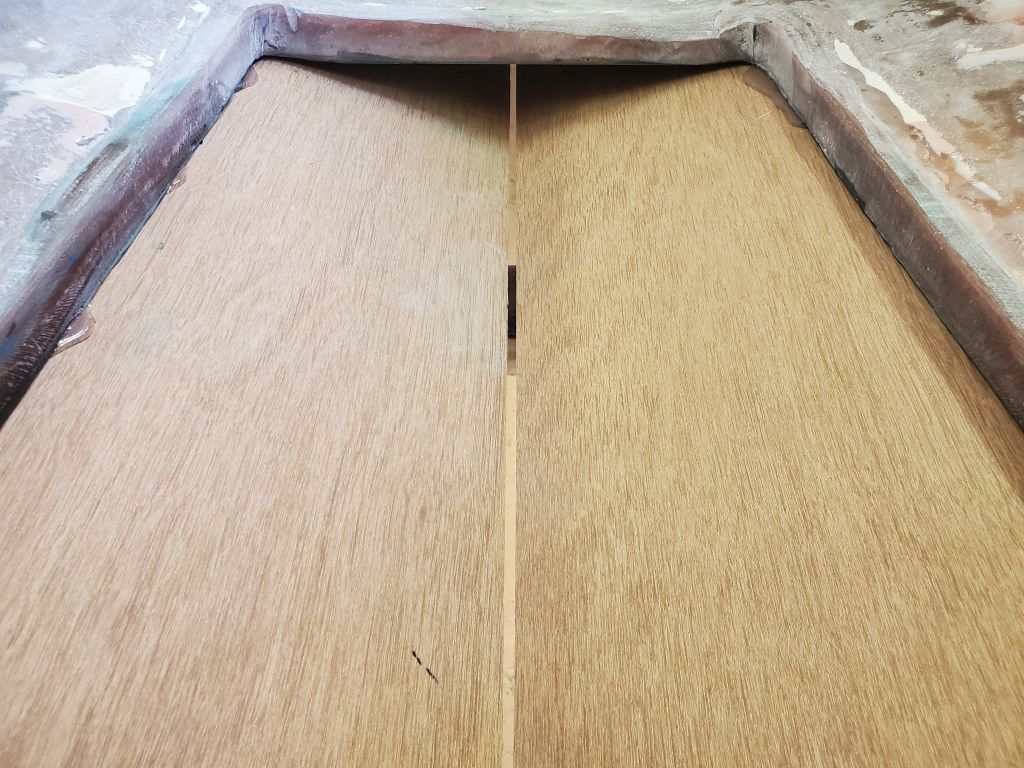
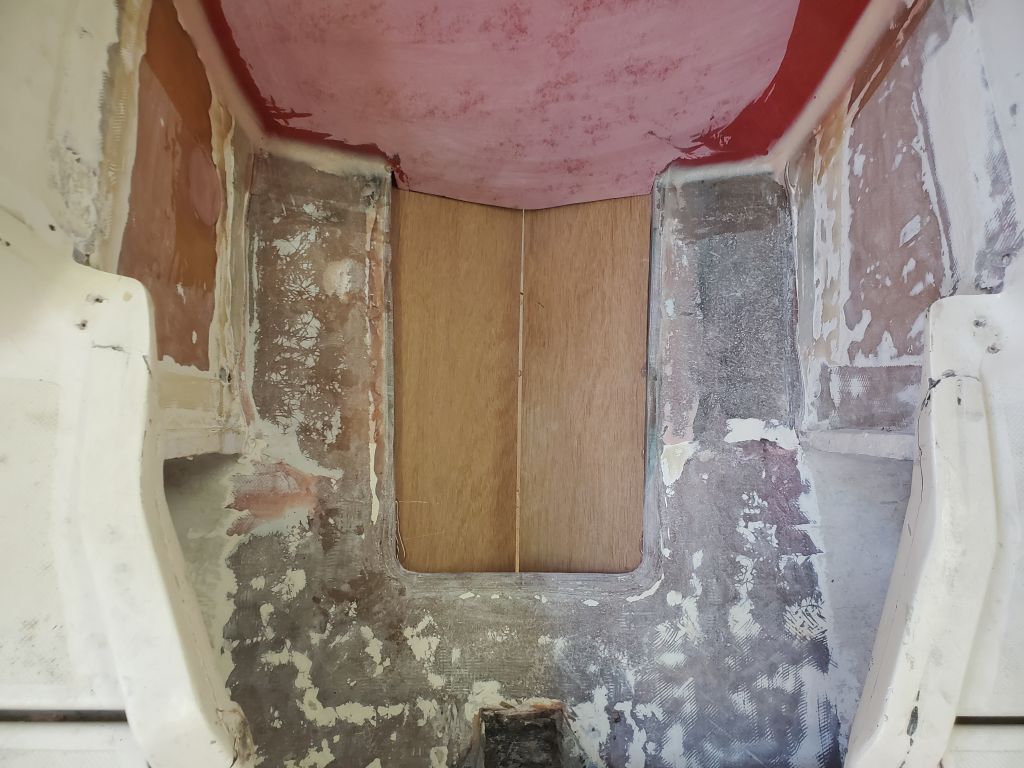
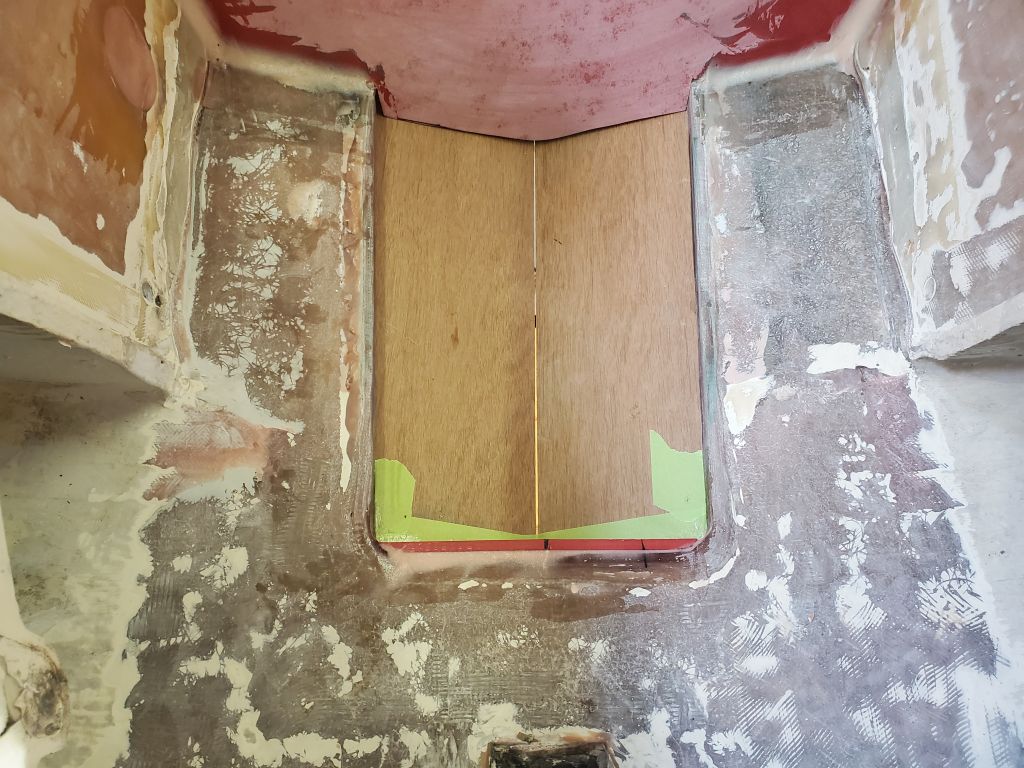
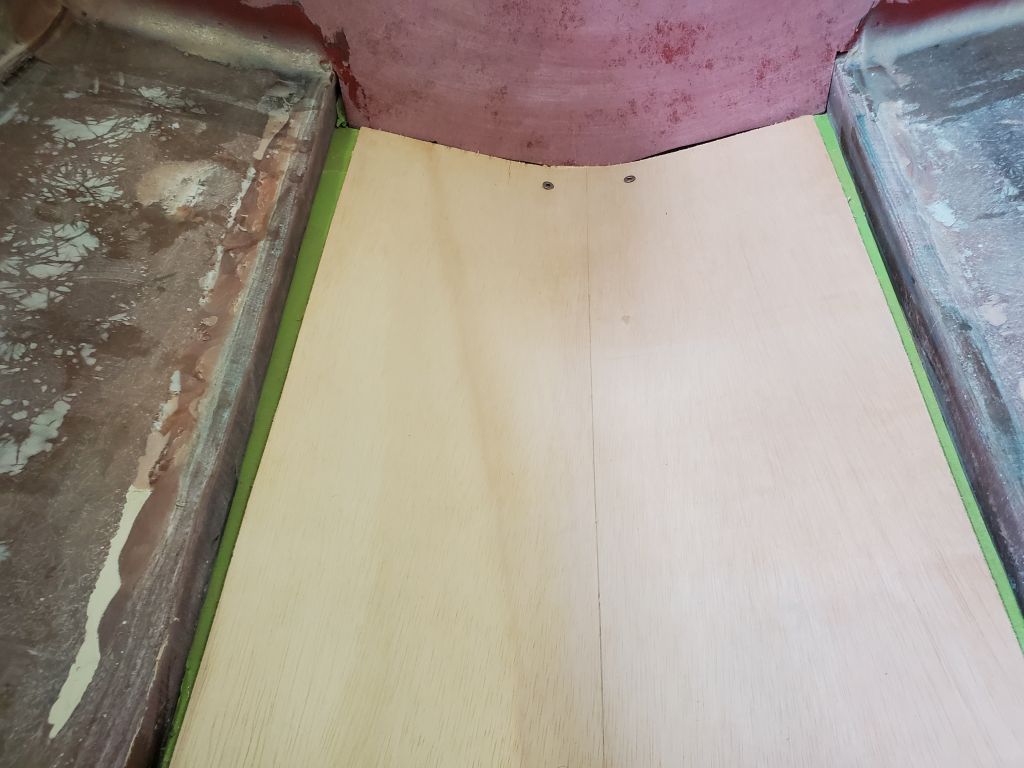
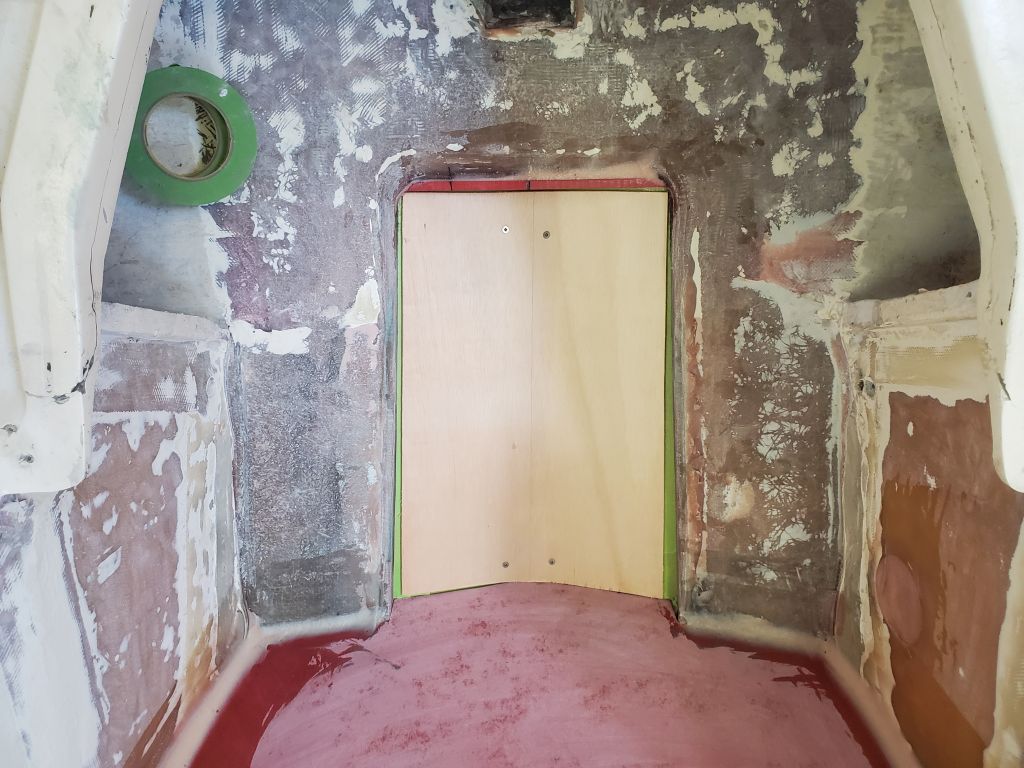
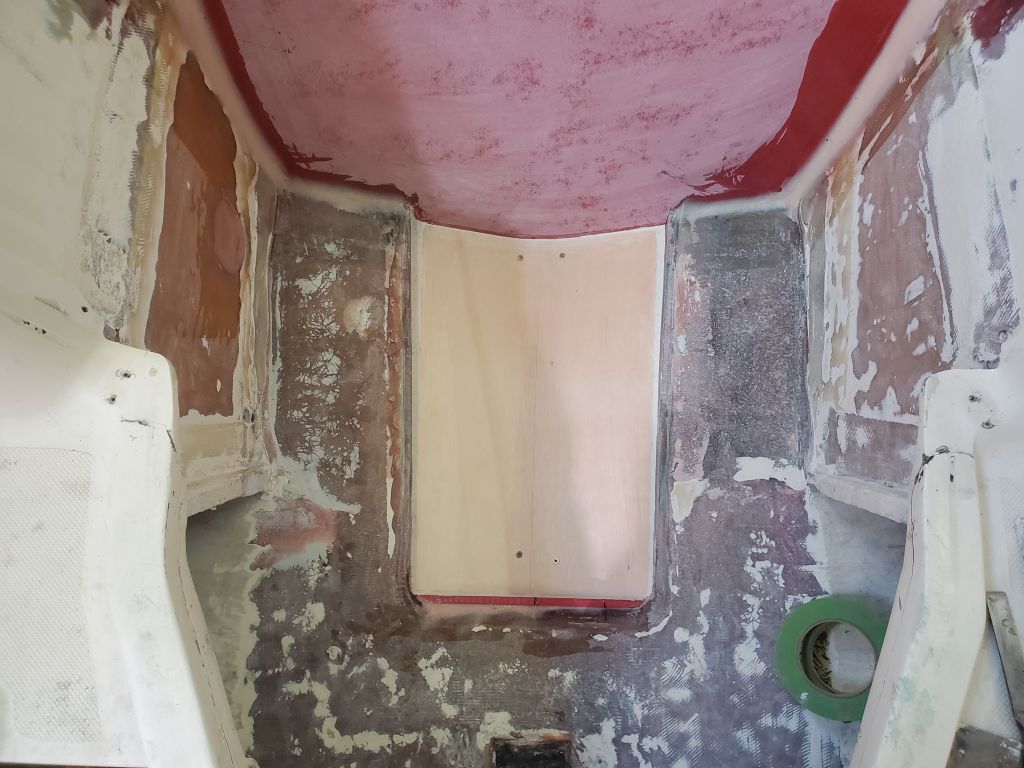
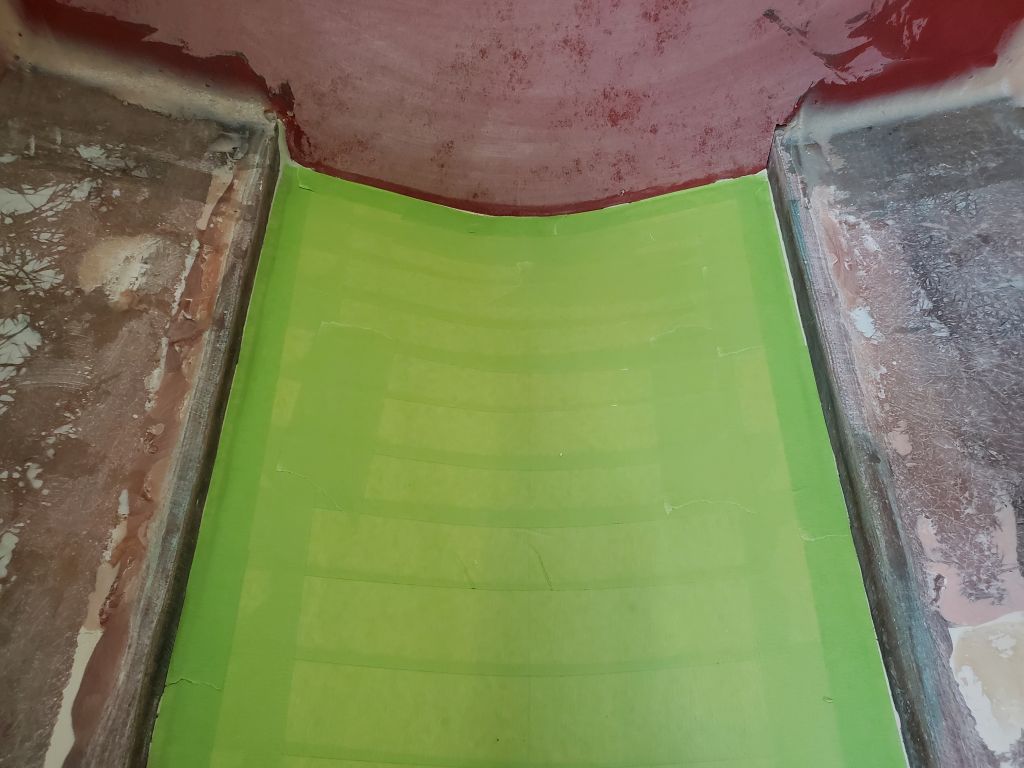
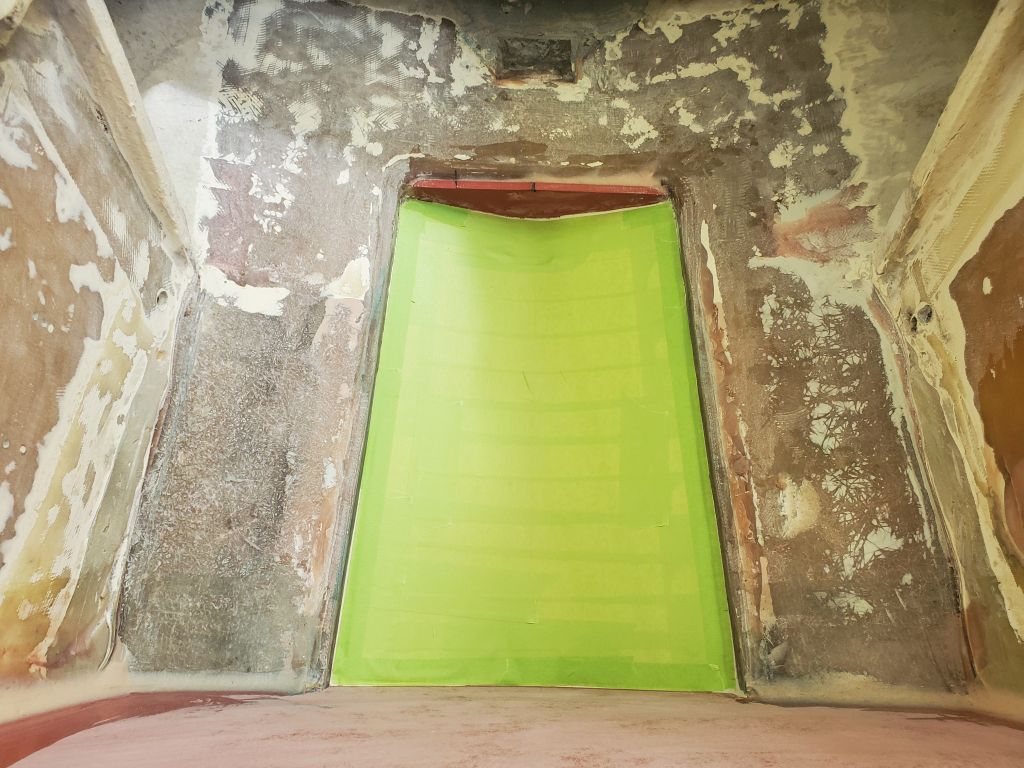
Now I could get on with making the hull mold that would allow me to start rebuilding the hull from the inside first. After marking the centerline on the hull forward of the repair area, I started with two pieces of 6mm plywood cut to 48″ long and 14″ wide, which spanned the repair on each side of centerline, extending far enough onto the known and adjacent hull to dictate the shape of the new hull in the void. After some test-fitting and basic alignment, along with the assistance of some glued-on alignment blocks, I hot-glued the plywood to the hull as needed to secure it and define the shape of half the repair. The plywood rested flat on the adjacent, intact hull along the sides of the opening, at the forward end forward of the slight flattened area in the hull, and, after more glue and clamps, along the bottom edge of the plywood transom template.

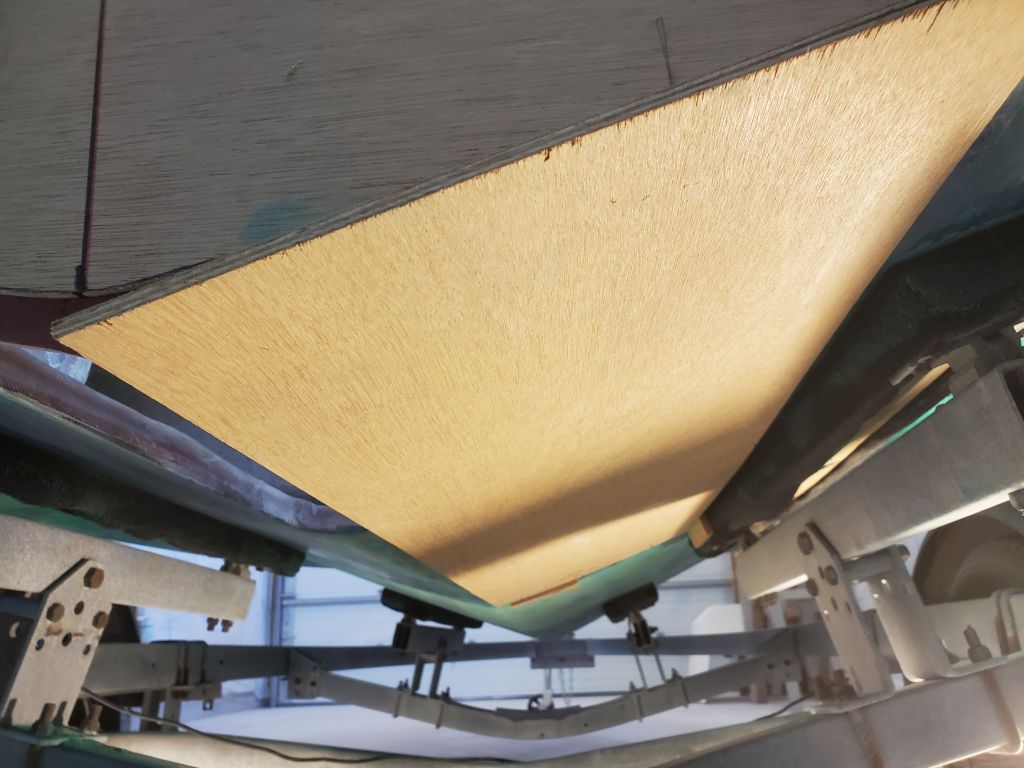
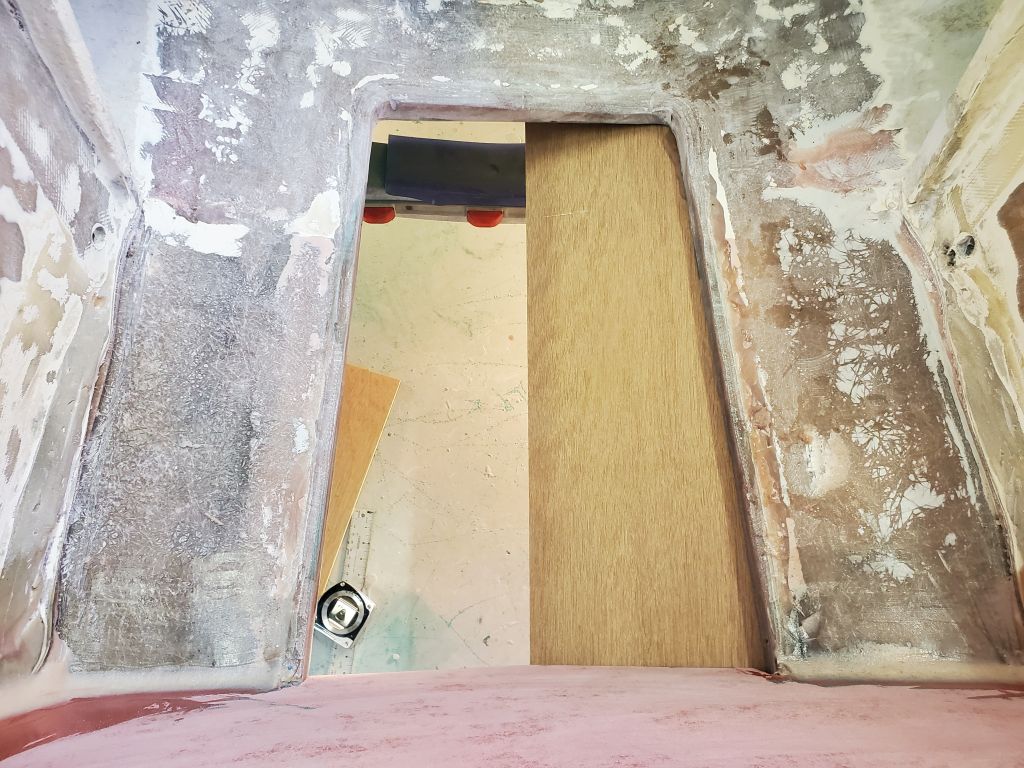
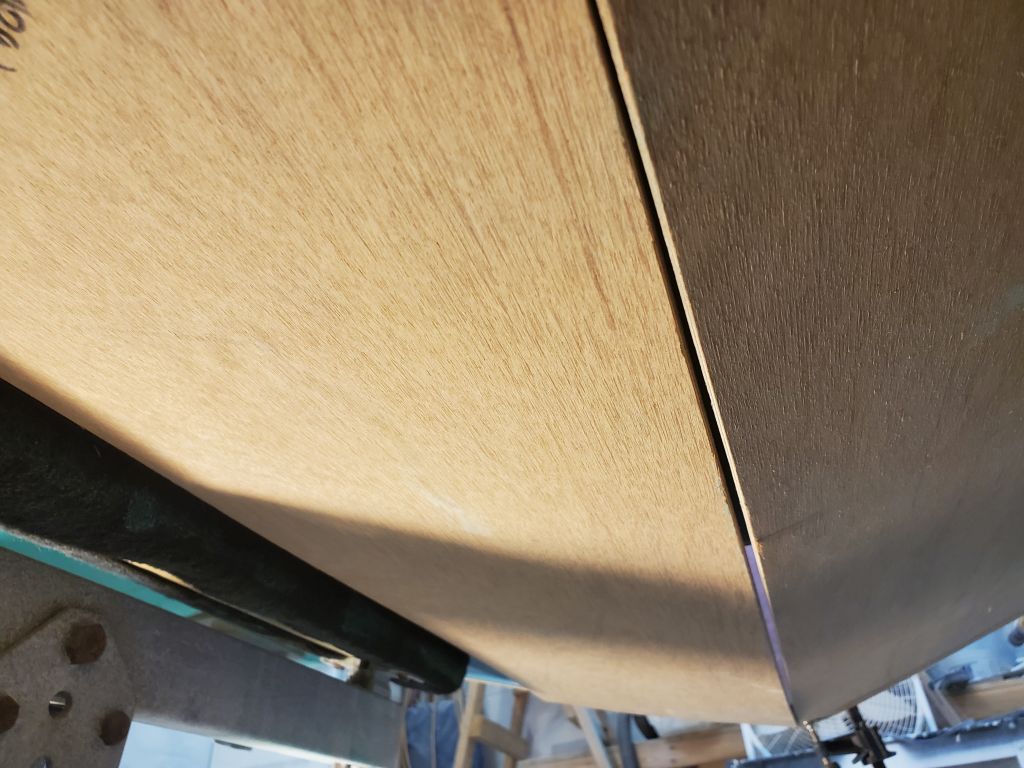
I repeated the process on the port side, leaving me with a generally v-shaped surface inside the opening in the hull. To help align the two plywood halves in the center, I added a couple braces from beneath, just to even up the two edges.
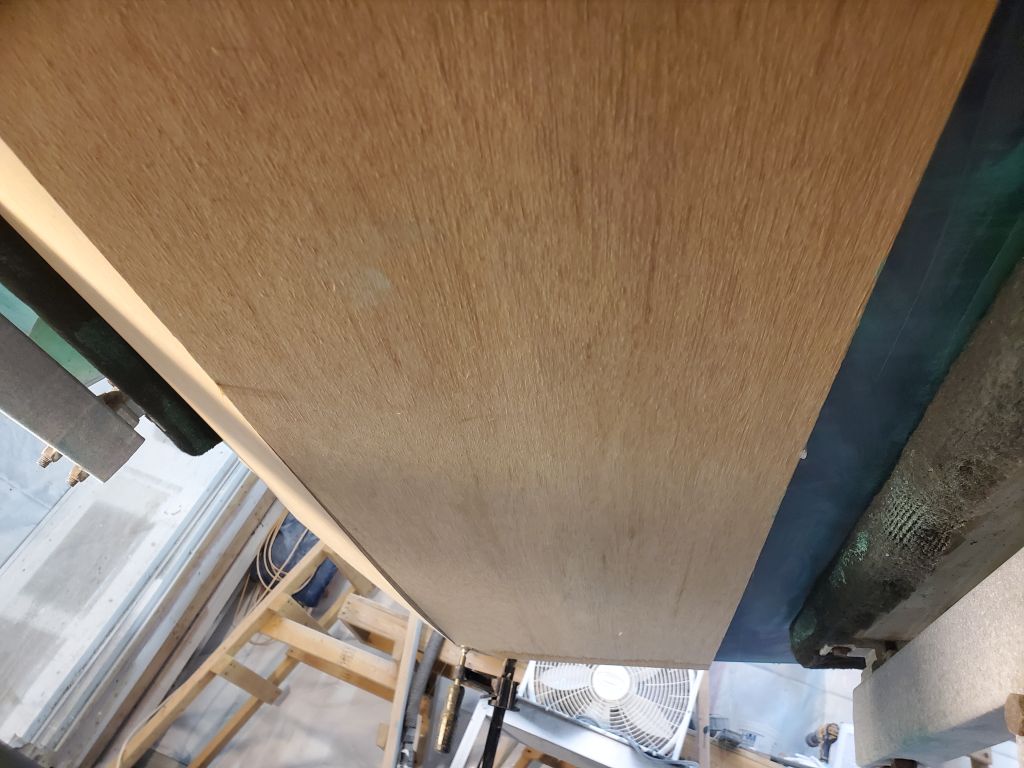
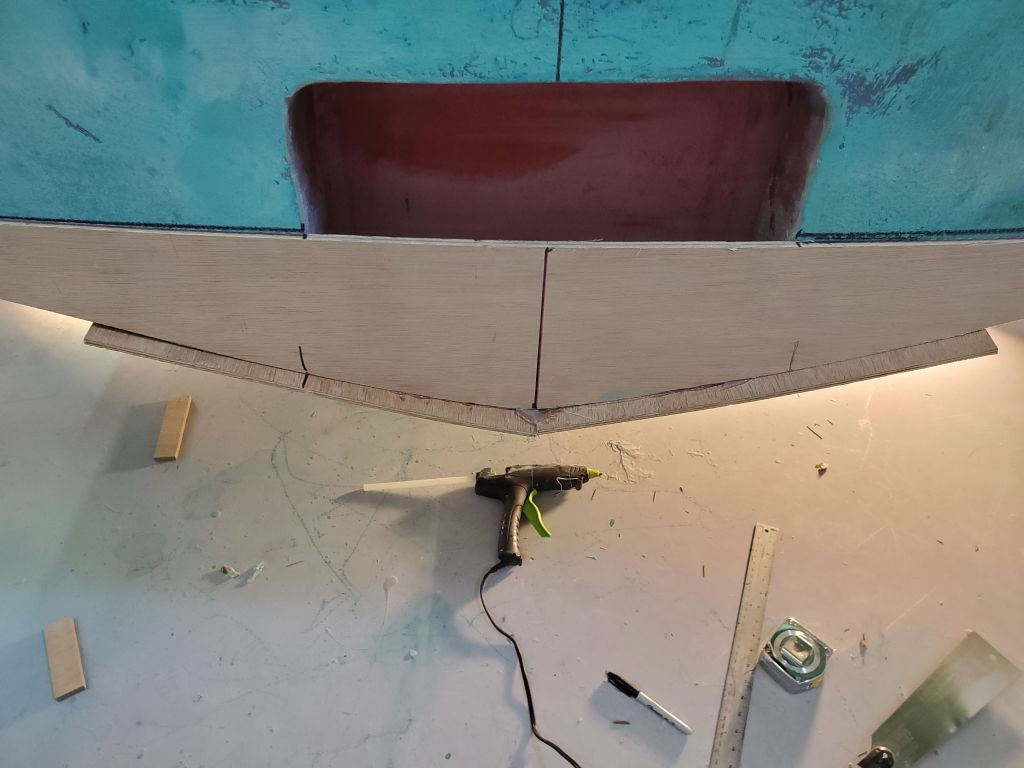


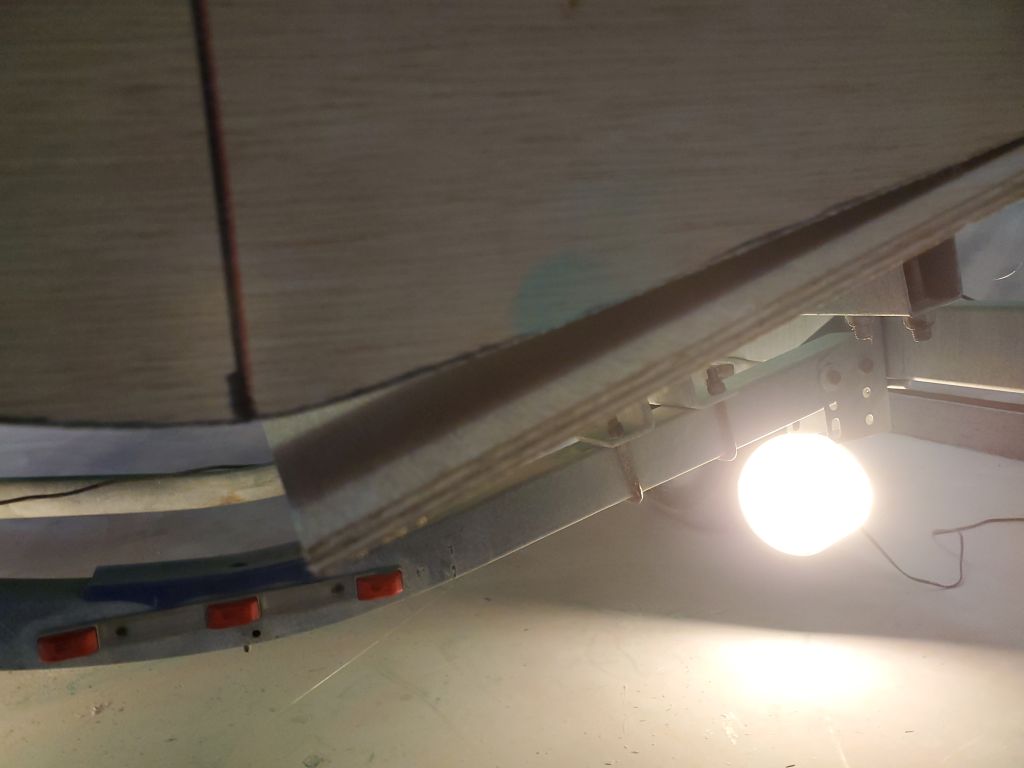
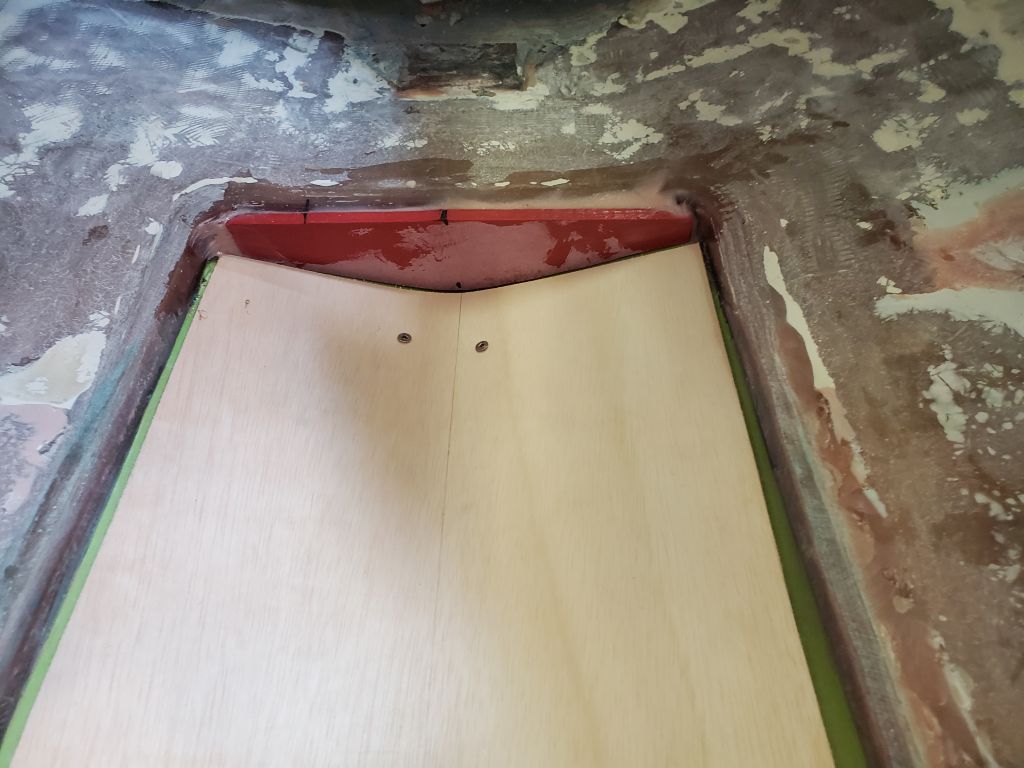
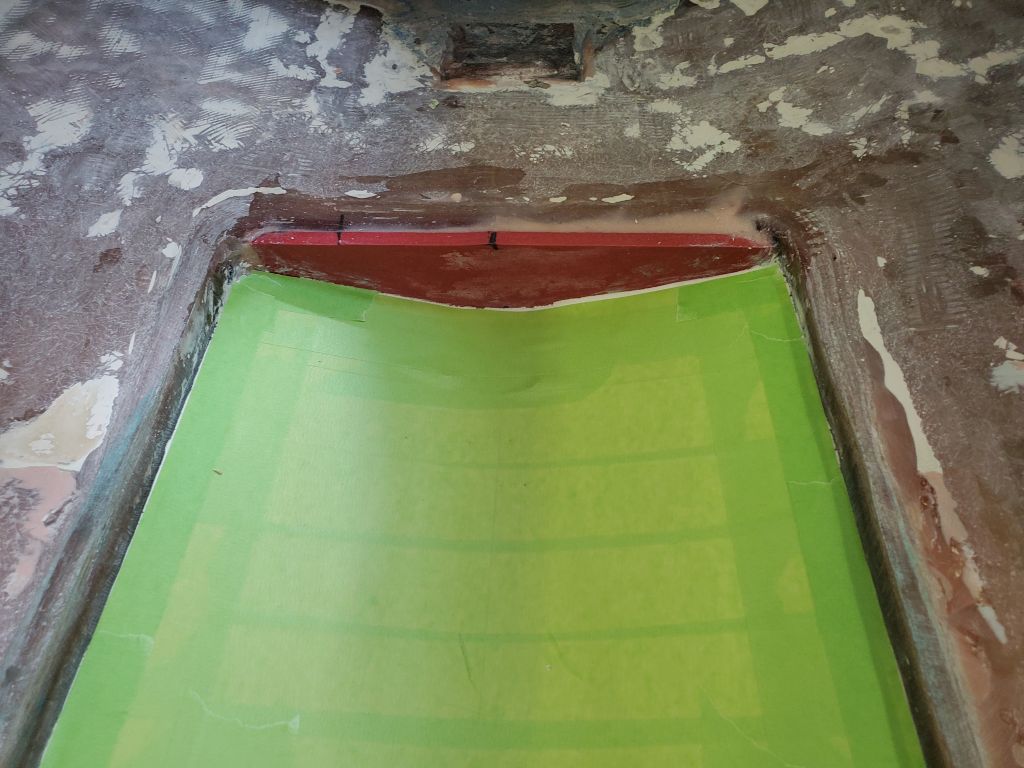
To define the shape of the forward end of the space, since there was that void between the existing hull and the mold in the flattened area leading up to the drive tunnel, I patterned and built a fiberglass “bulkhead”, using the forward plywood hull template as a guide for the shape. Then, after installing some tape over the plywood as a mold release directly beneath, I installed the new piece with epoxy adhesive against the forward end of the tunnel opening. Filling in the void forward of this would be part of the repair that would be completed from outside, once the inner repair was complete.
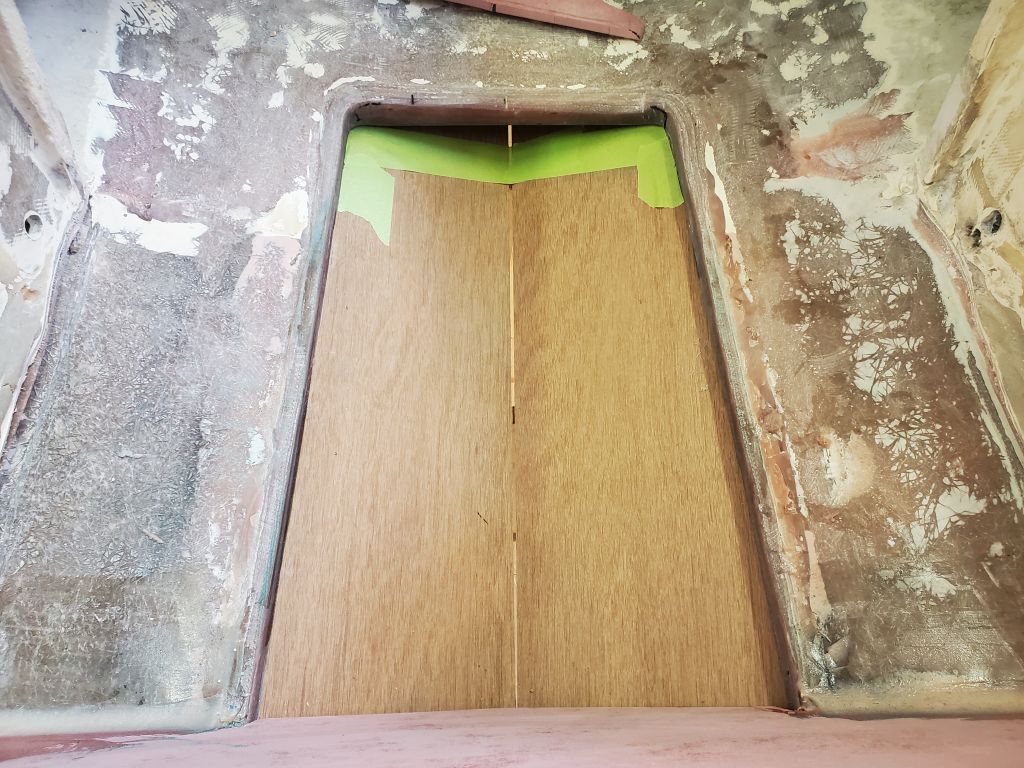
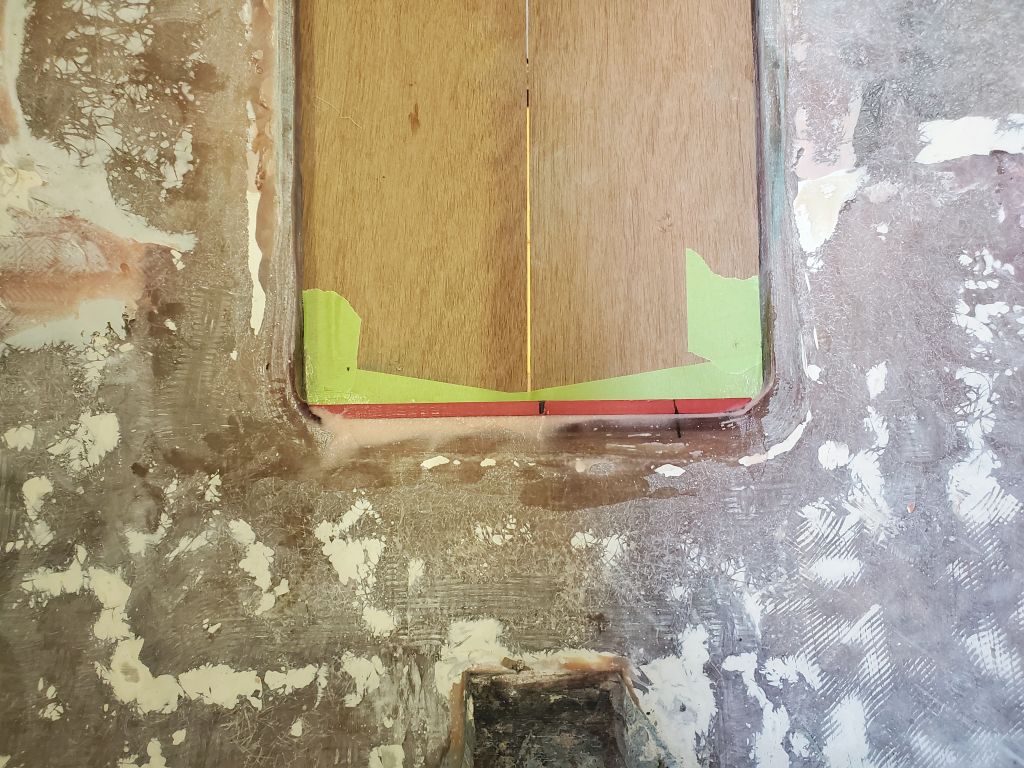
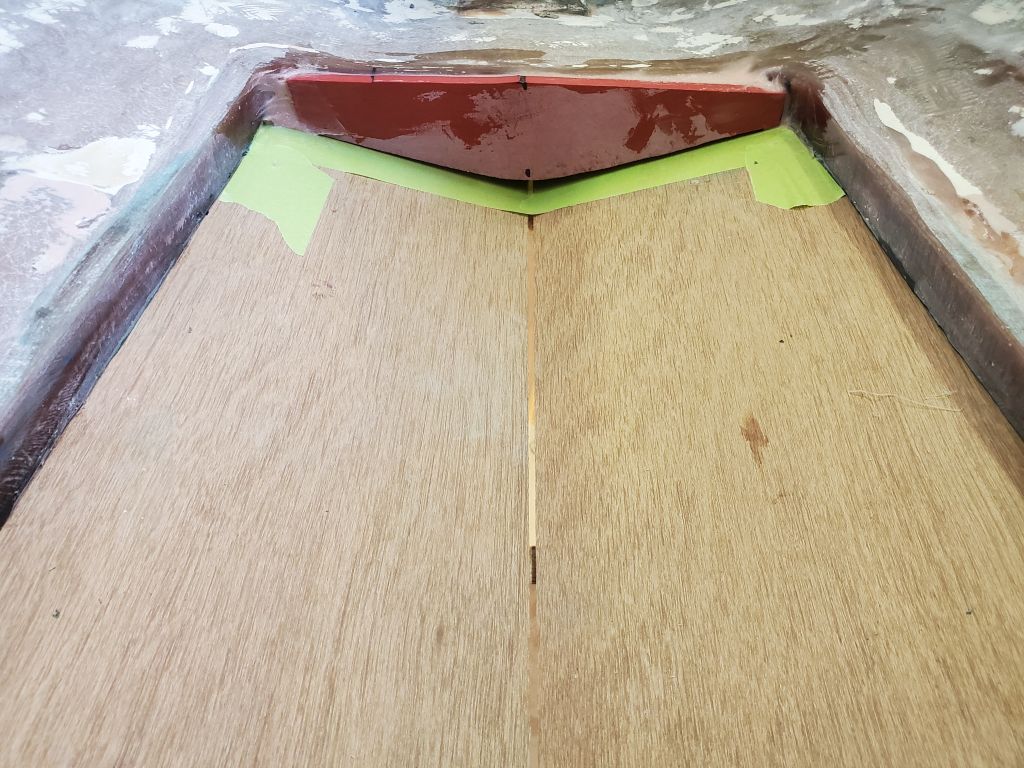
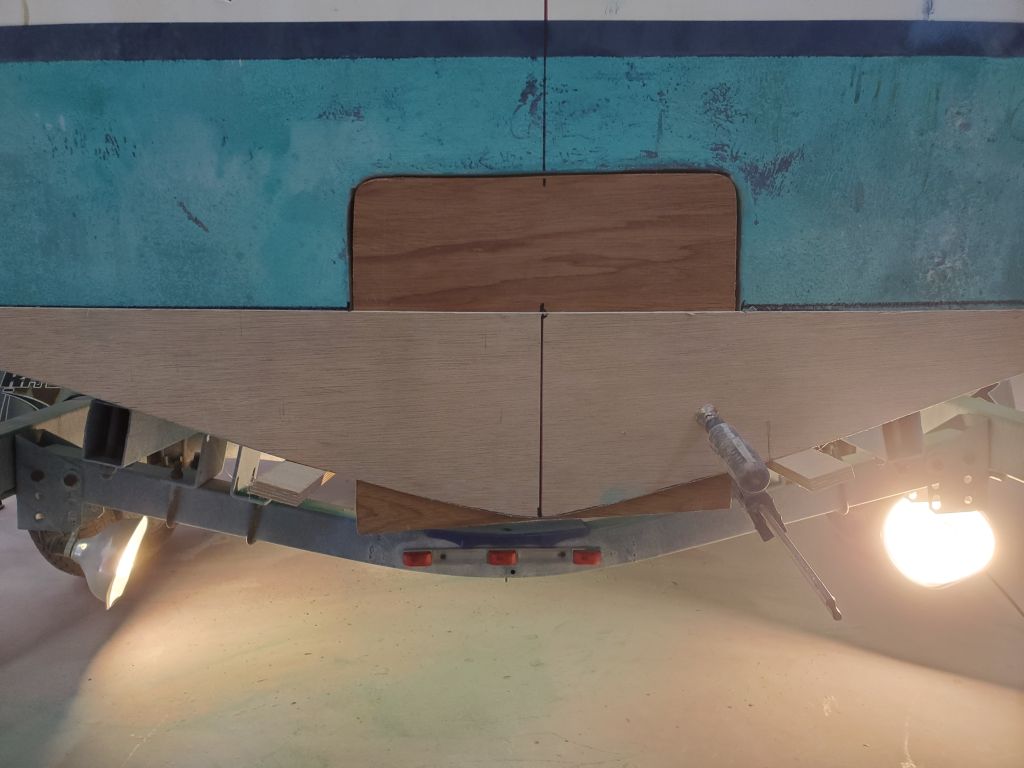
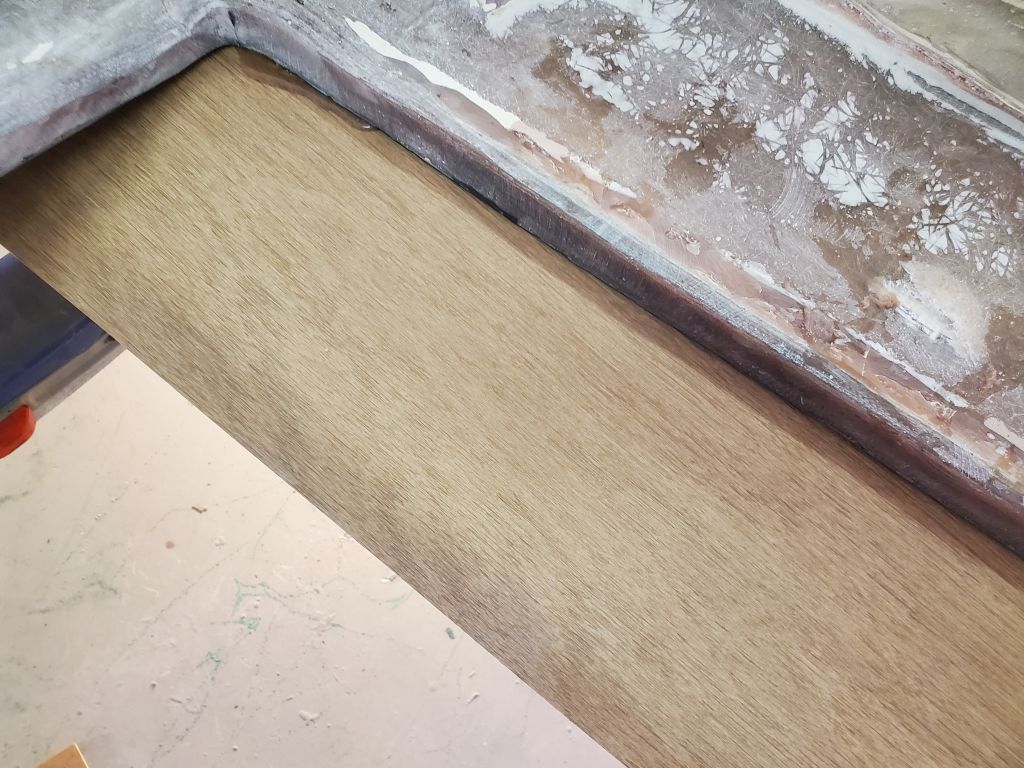
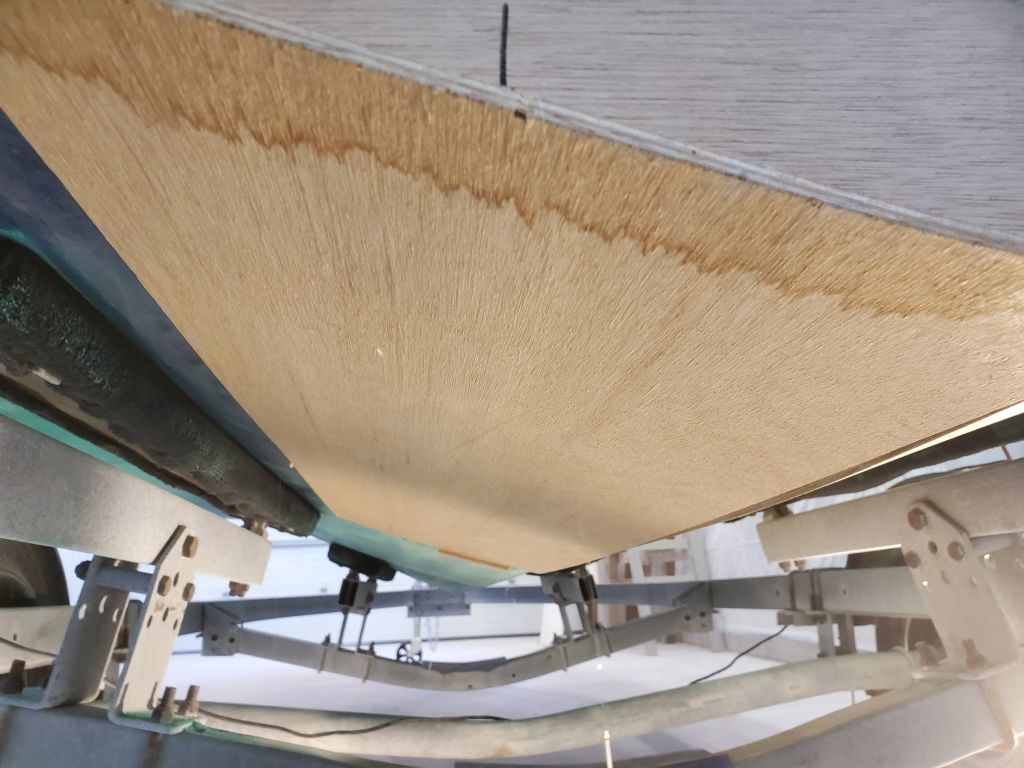
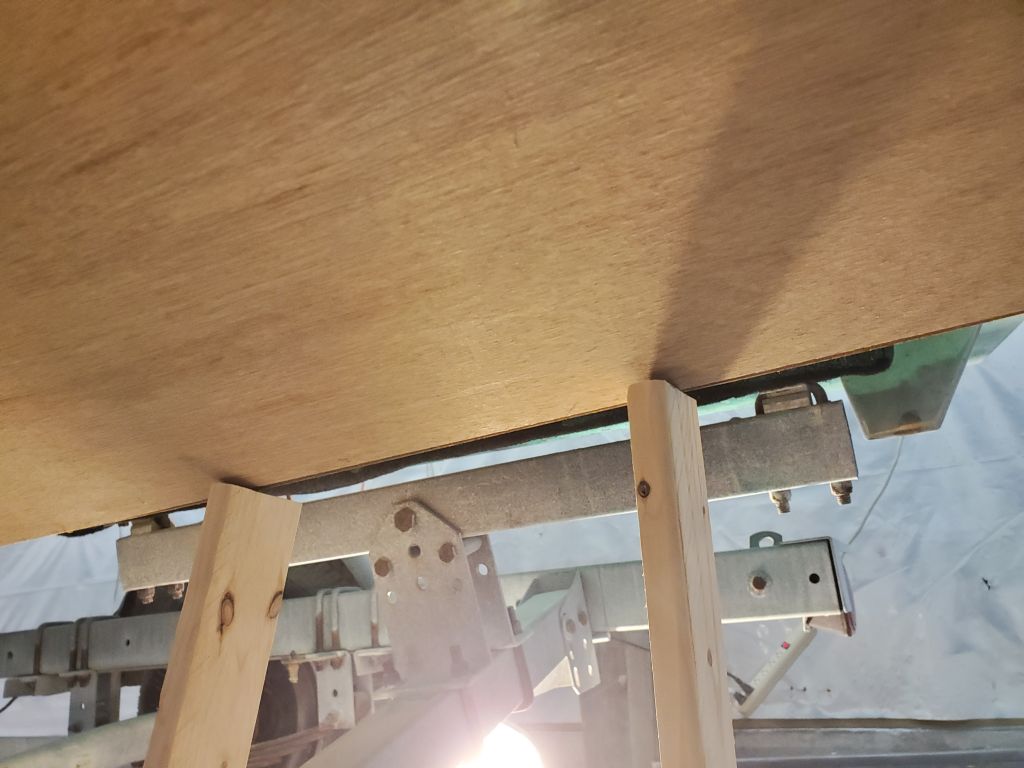
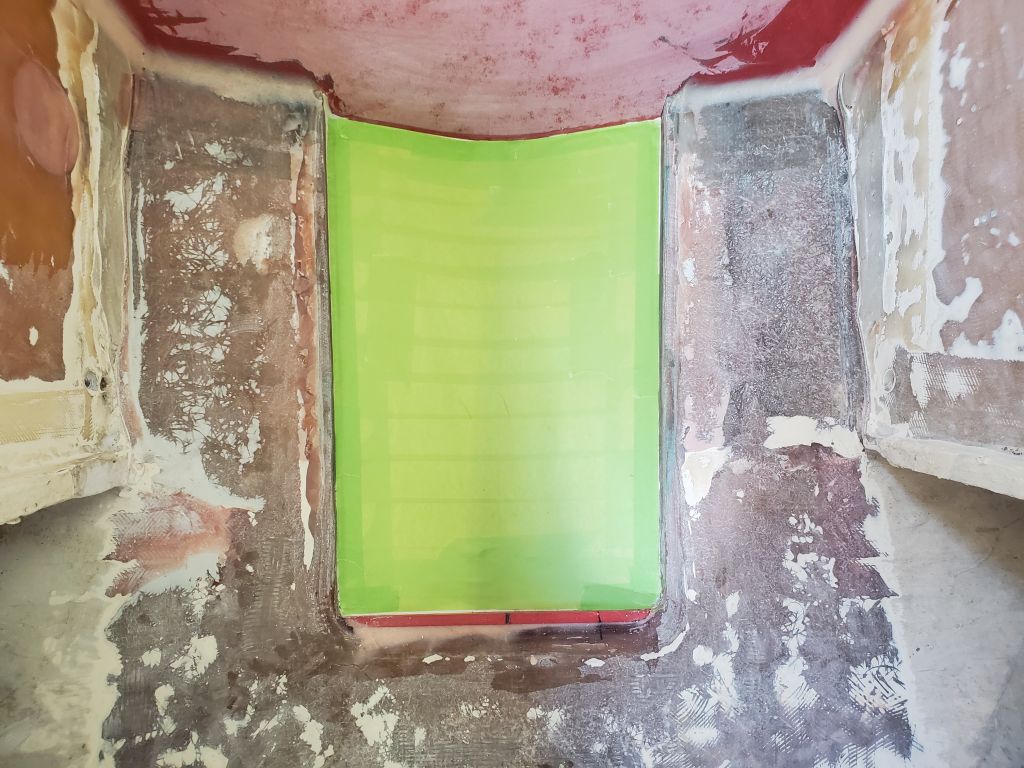
To create the curved profile of the bottom of the vee, as well as to keep the interior repair laminate slightly elevated from the actual level of the “real” hull to provide space for the new exterior laminate to come, I prepared a thin plywood panel cut to fit within the void space, which I pushed down in the center to create the curved shape; I used a few screws to secure the bend in place. This bend aligned with the curvature of the forward and after bulkheads, and the 3/16″ or so thickness would give more than adequate space outside for the final laminates once the interior repair was in place and I removed the mold.

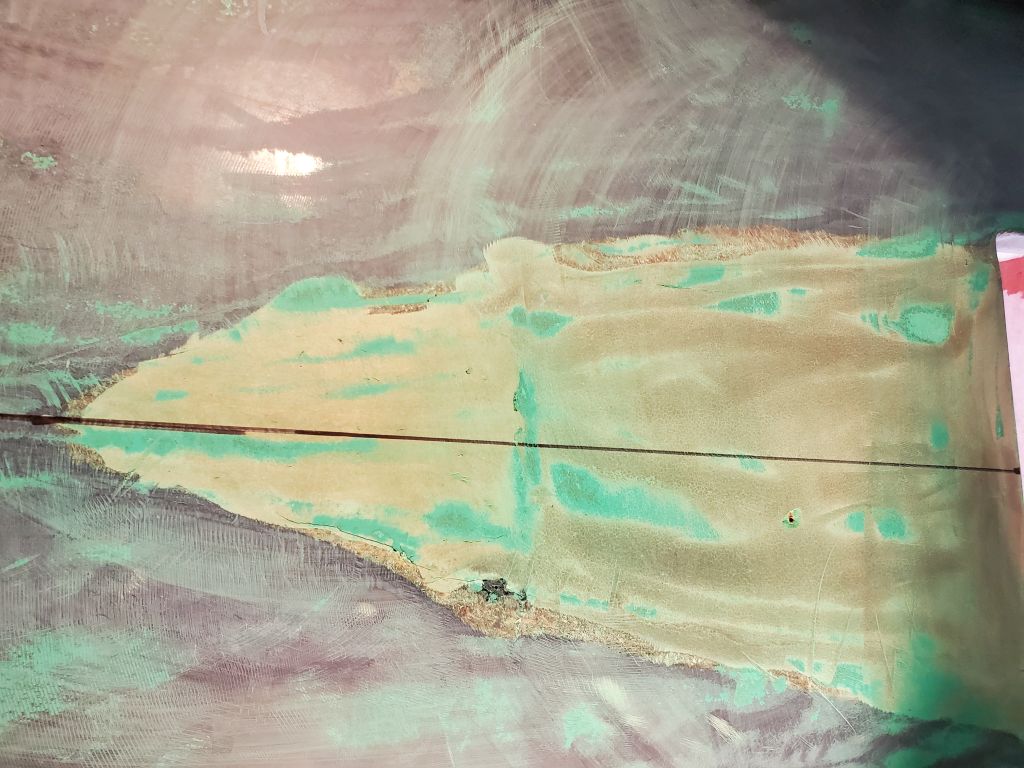
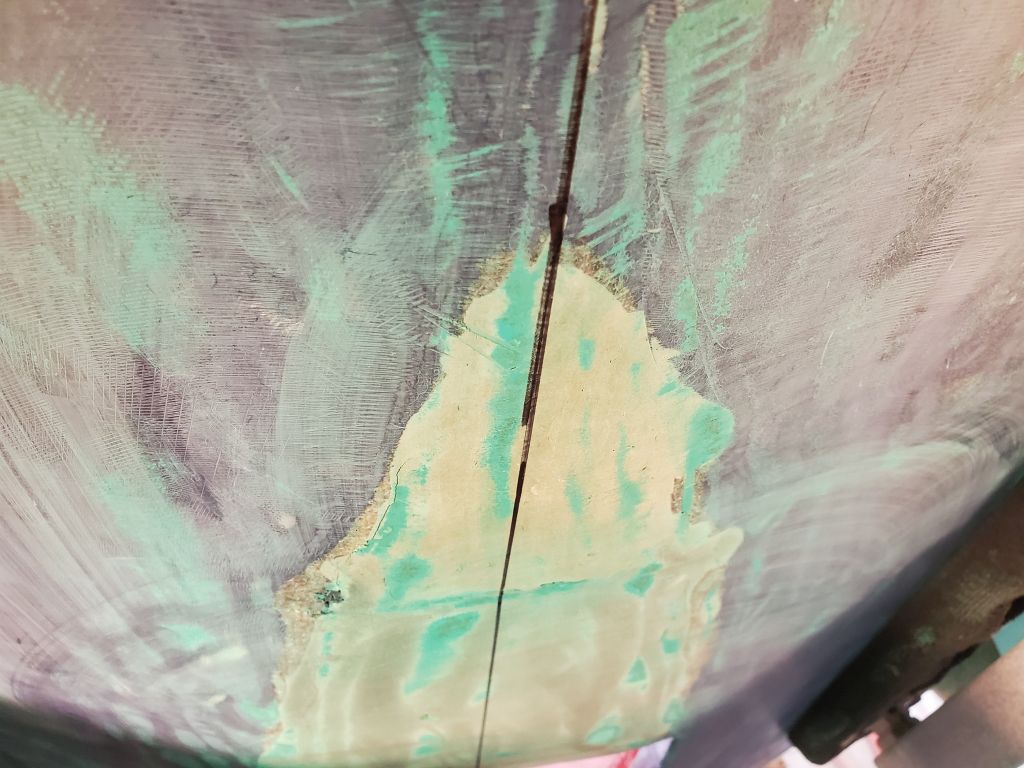
Along the edges of the plywood, since I had to undercut the panel a bit in order to get it into place, I filled the voids with some spackling putty, just to bring the edges even and prevent future epoxy or laminate from bonding to the plywood. (Clay would have been nice for this, but I had none.) This material would all be removed from beneath once I took apart the mold.

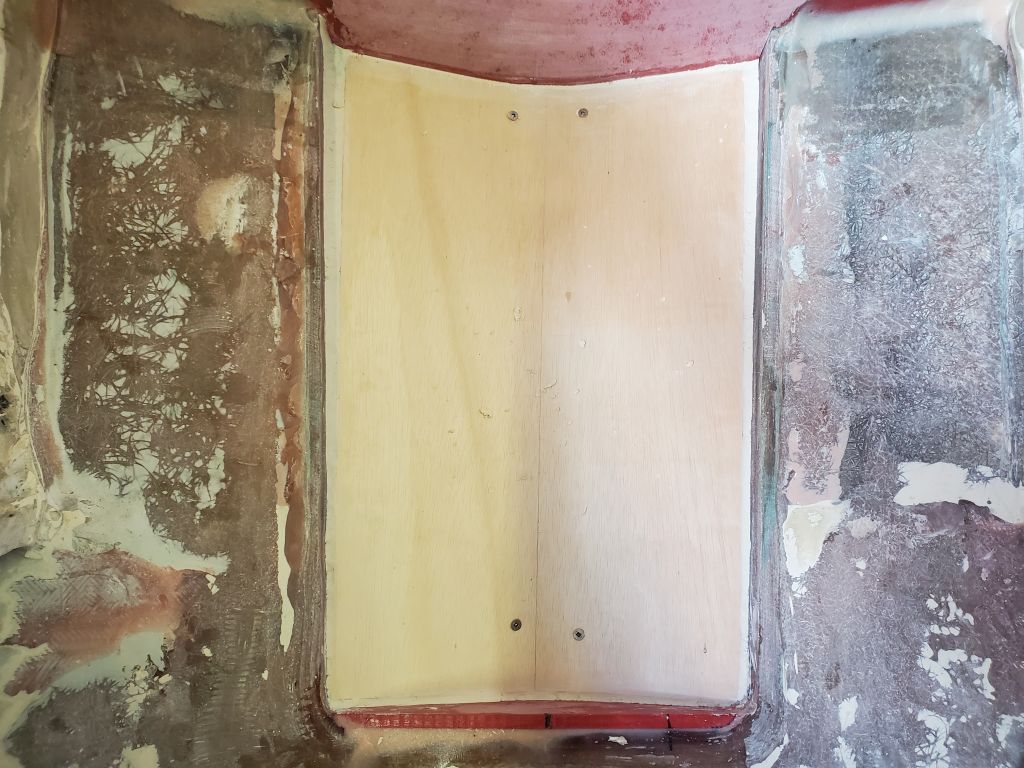


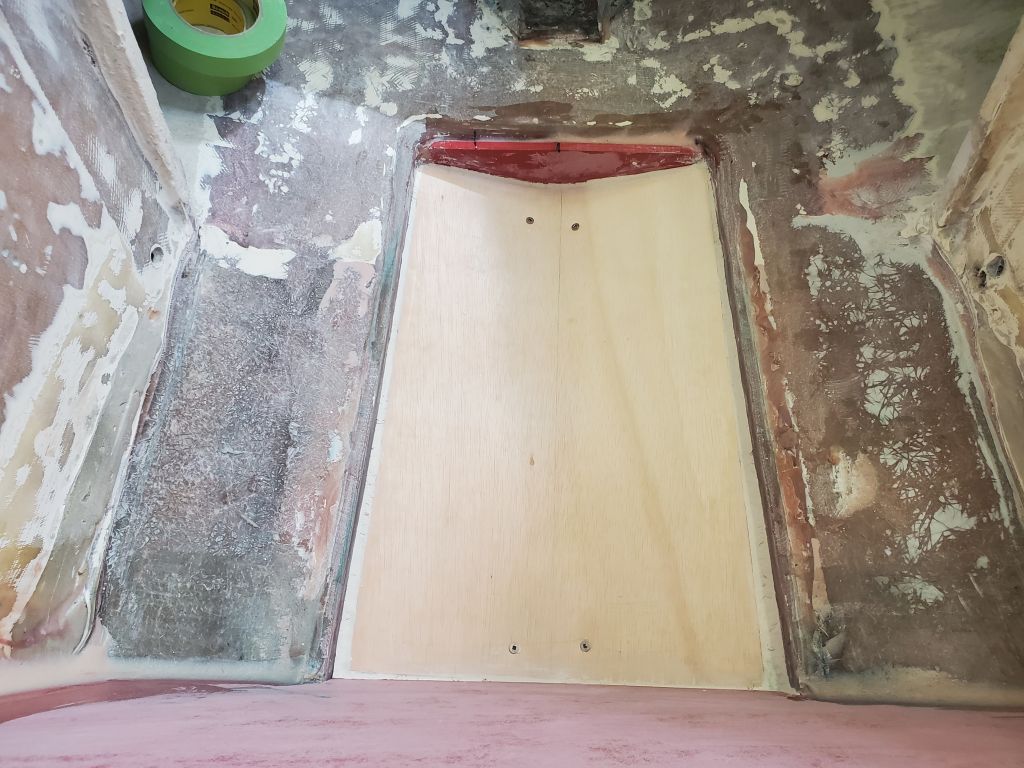
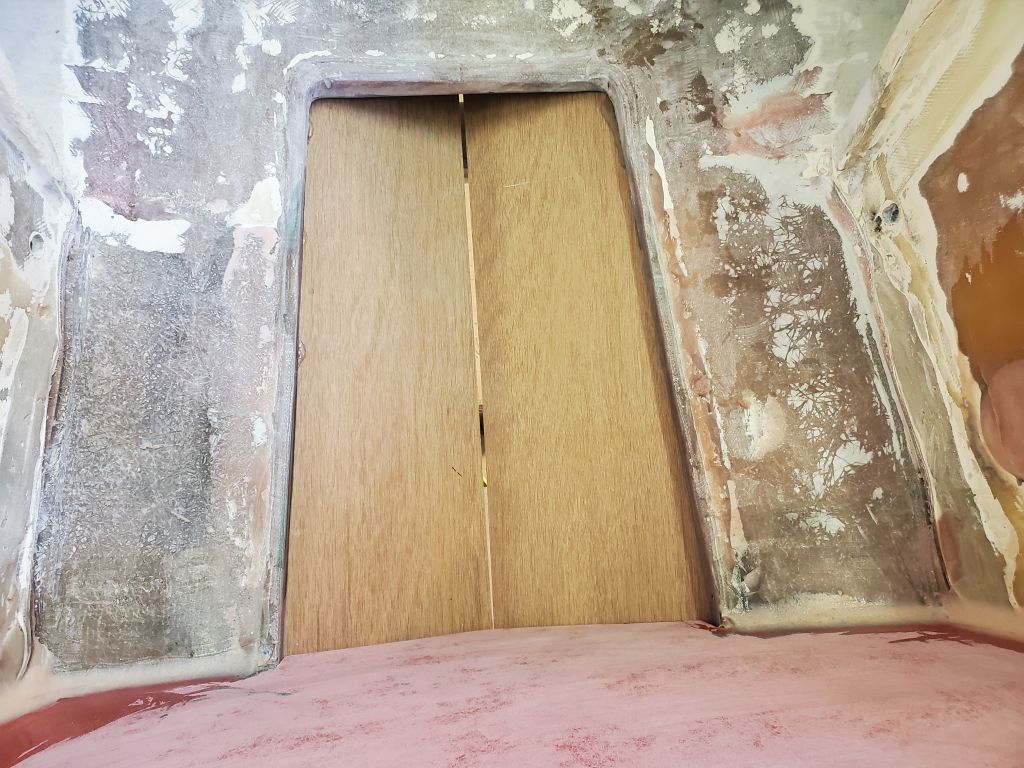
To finish off the mold, I covered the whole area with masking tape as a mold release. This would be adequate since it would prevent bonding to the wood, but since I’d have access from beneath once the mold was removed I could easily remove and sand away any tape residue that did semi-adhere. Now the mold was ready for new laminate next time.
Total time billed on this job today: 7 hours
0600 Weather Observation: 0600 Weather Observation: 46°, clear. Forecast for the day: Sunny, 51°