

October 10, 2022
Holby 31
Monday
I began by lightly sanding as needed the newly-cored livewell hatch, and the patched fuel tank hatch. After cleaning up, I applied a light coating of fairing compound to the repairs on the fuel tank hatch, mainly to ensure the repairs were smooth and flush and that the hatch would rest properly on the stringers when reinstalled.


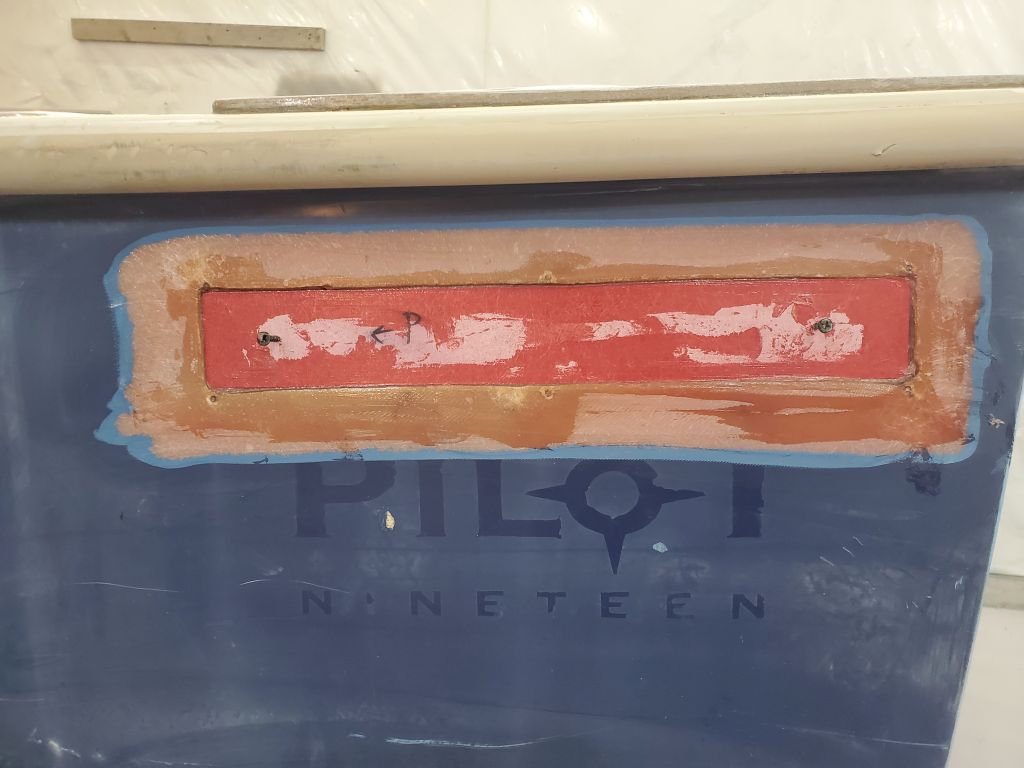
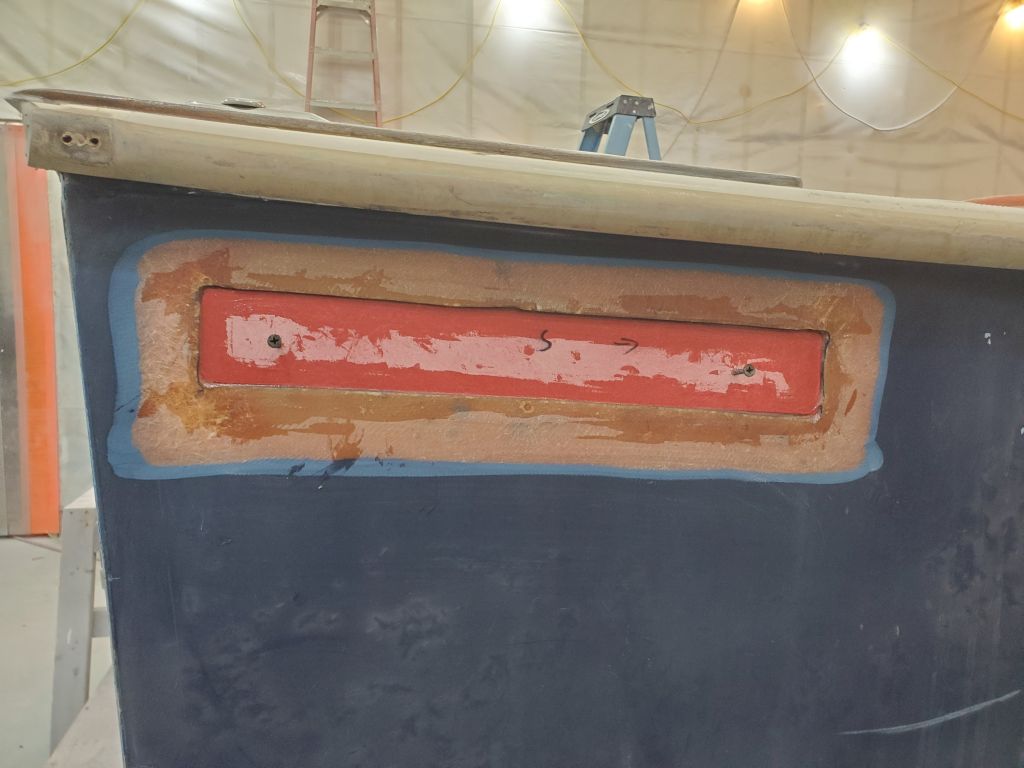
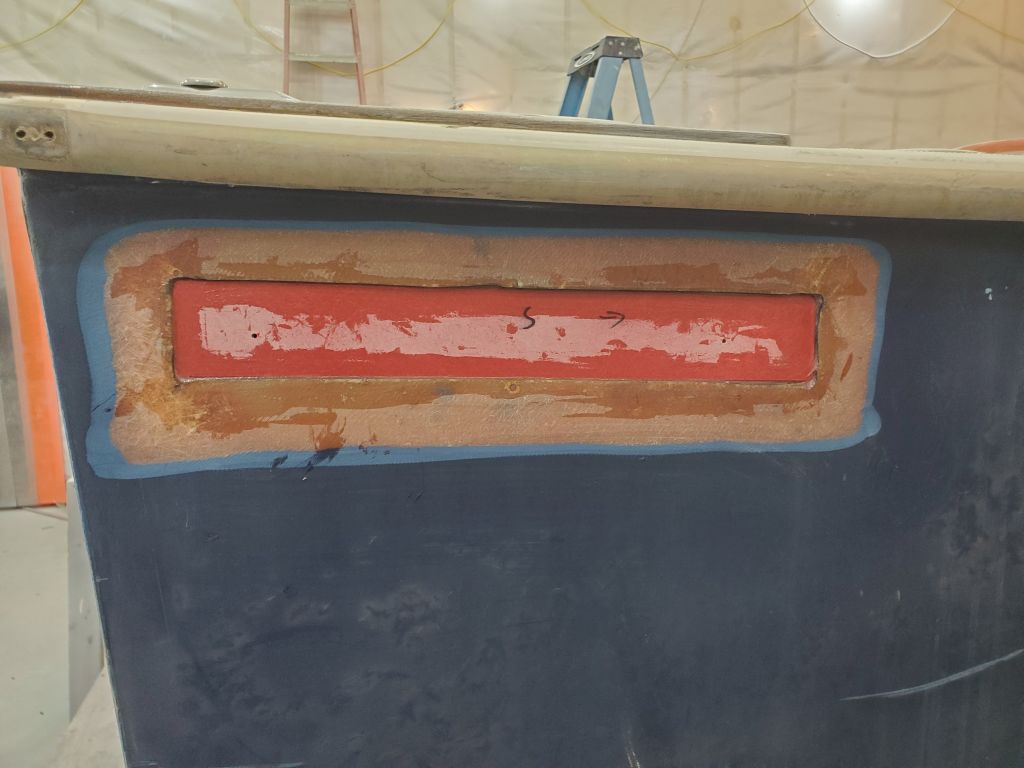
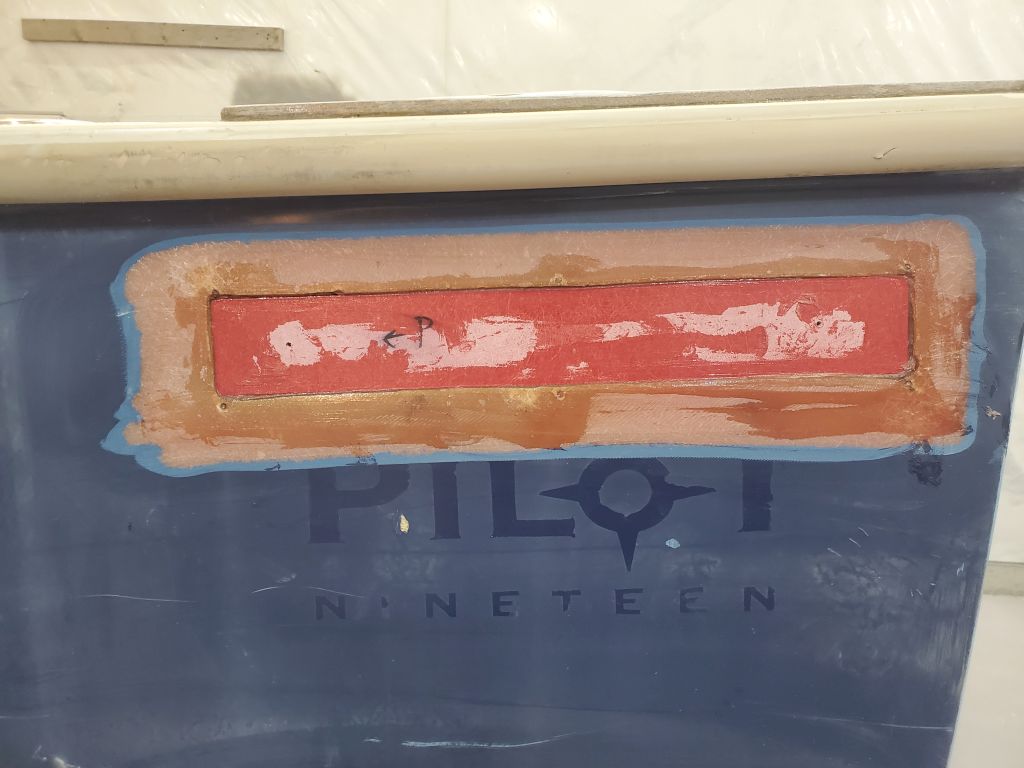
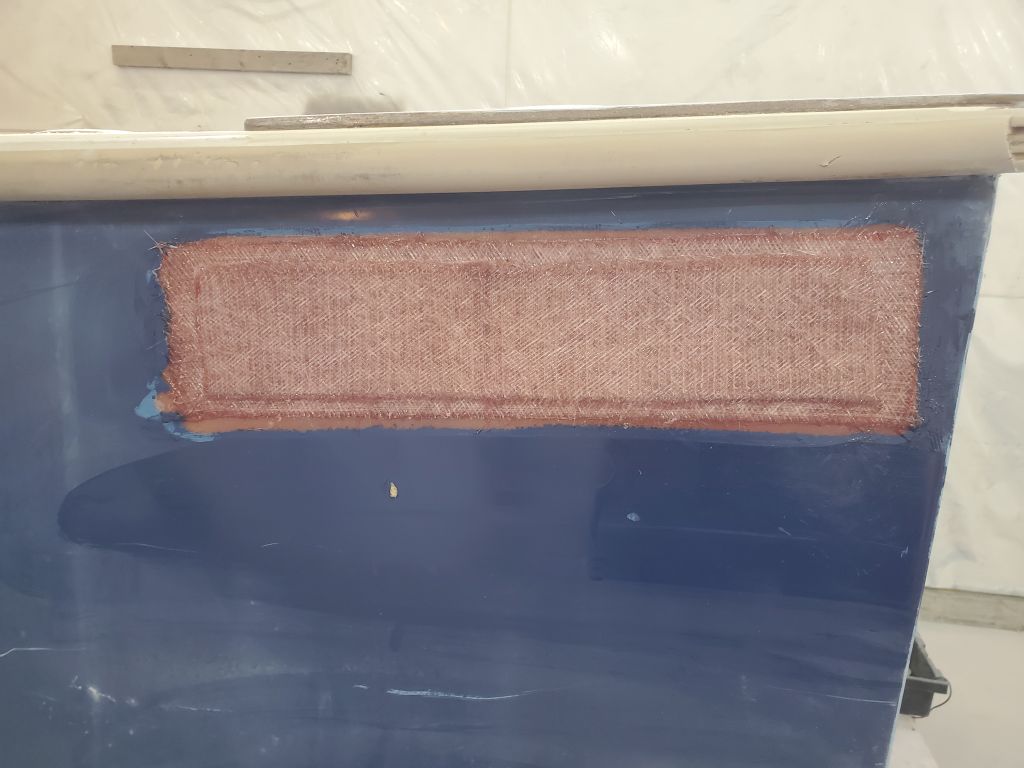
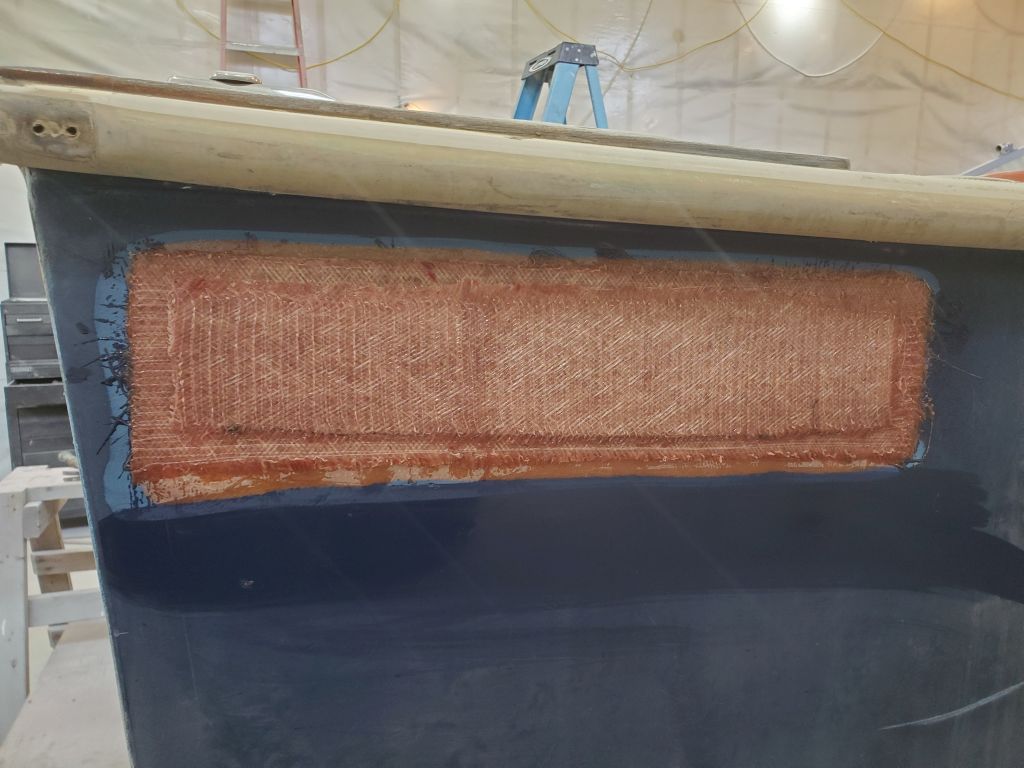
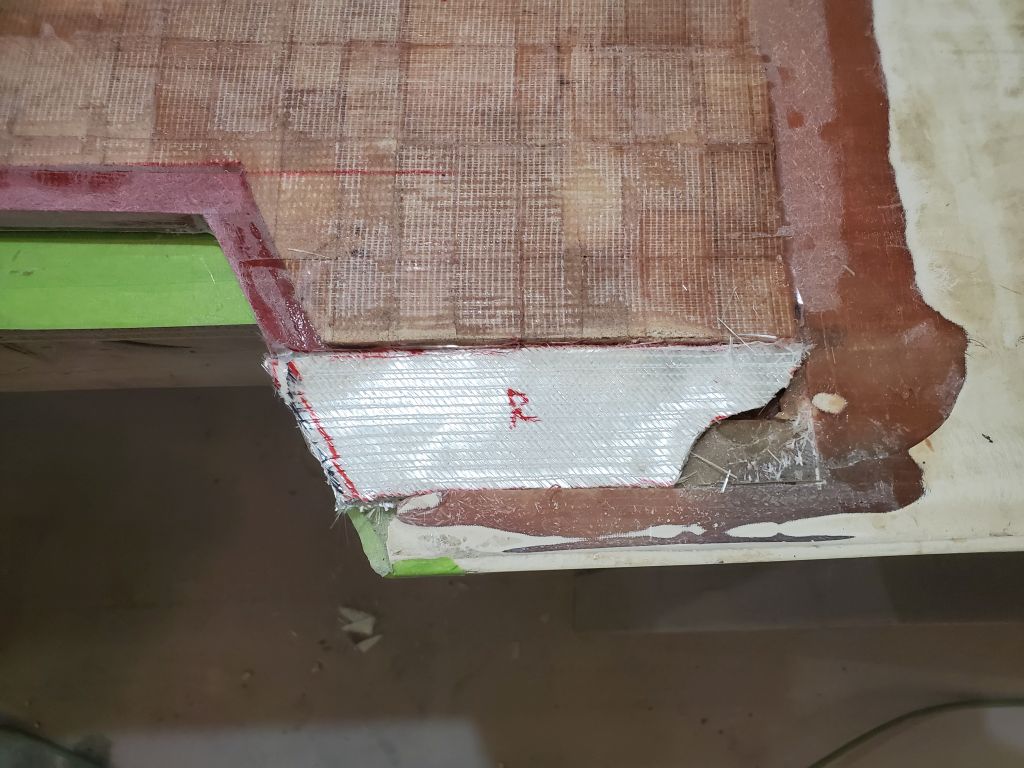
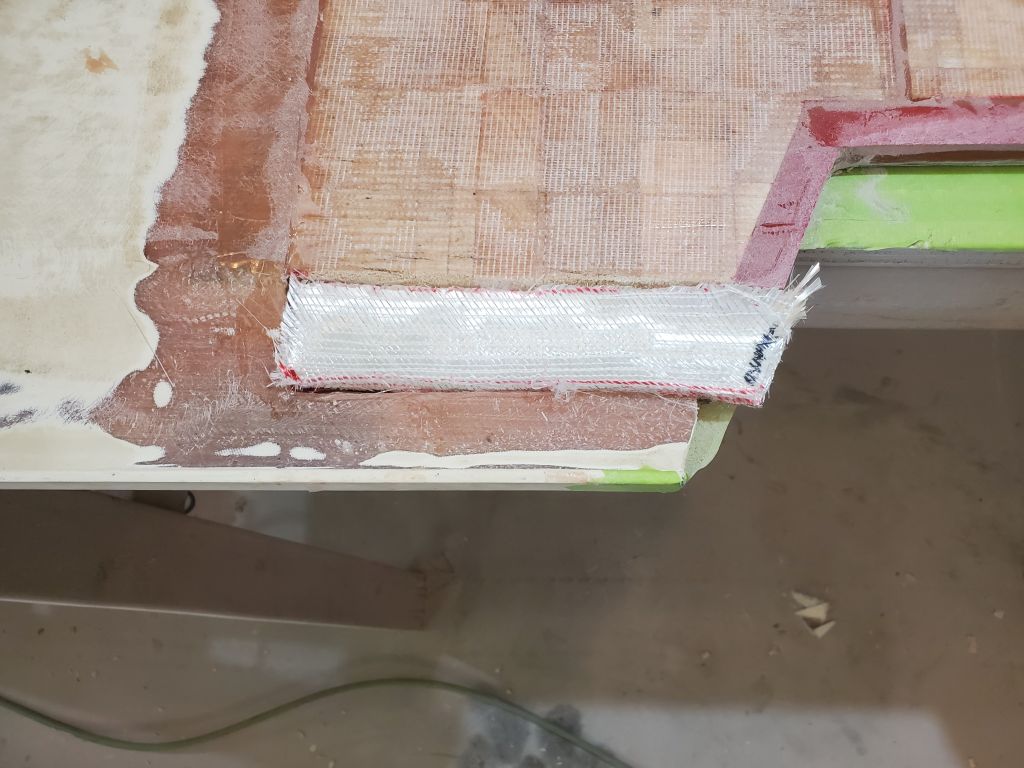
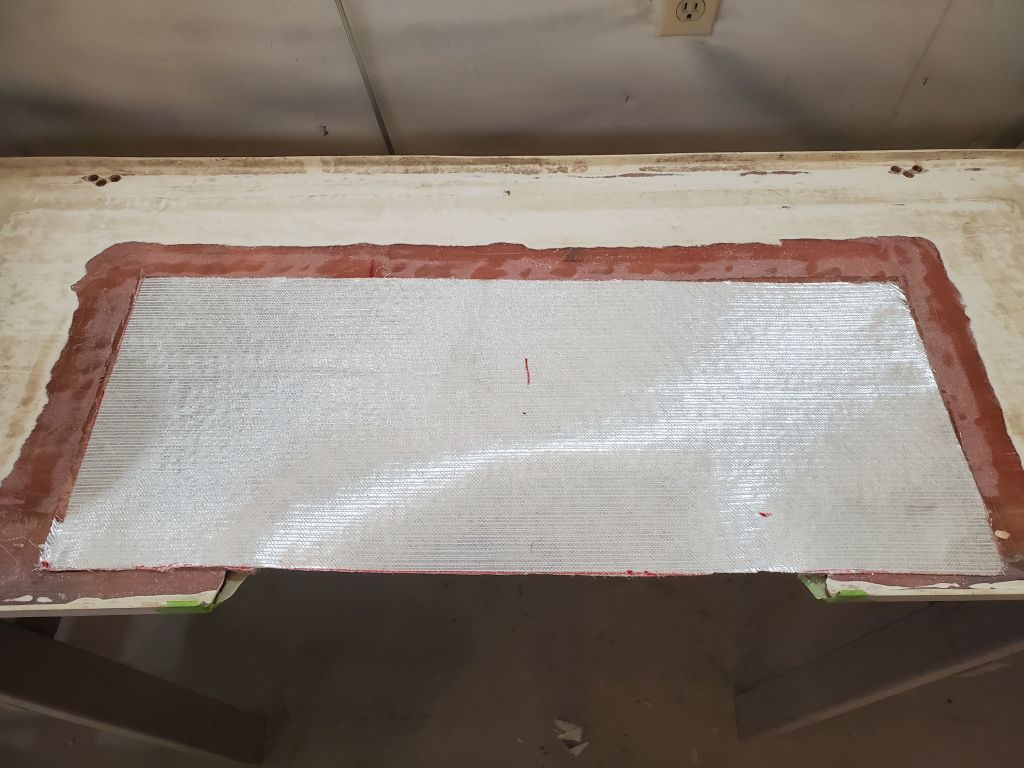
At the obsolete engine room vent openings on the stern quarters, I cut and fitted 3/8″ thick fiberglass panels to fill the void, and installed these in thickened epoxy adhesive, leaving then just 1/8″ in from the surface to allow for additional laminate over the top later. To help position the panels, I installed temporary screws that gave me handholds to pull or push the fiberglass in the opening, where I used a scrap of 1/8″ thick fiberglass as a spacer for final positioning. Later, I removed the screws, and much later in the day, once the adhesive had cured sufficiently, I cut and installed four layers of 179 material to finish the patch: Two inside the opening to bring it flush with the adjacent areas, then two more extending over the prepared area of the hull to tie it all together.
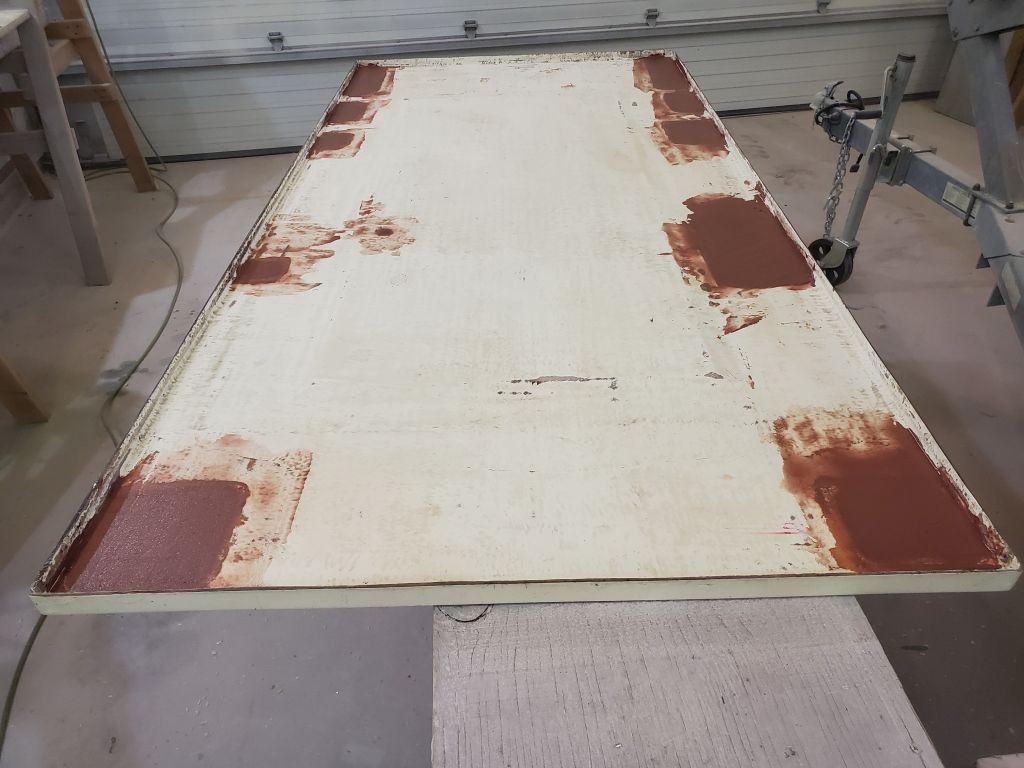
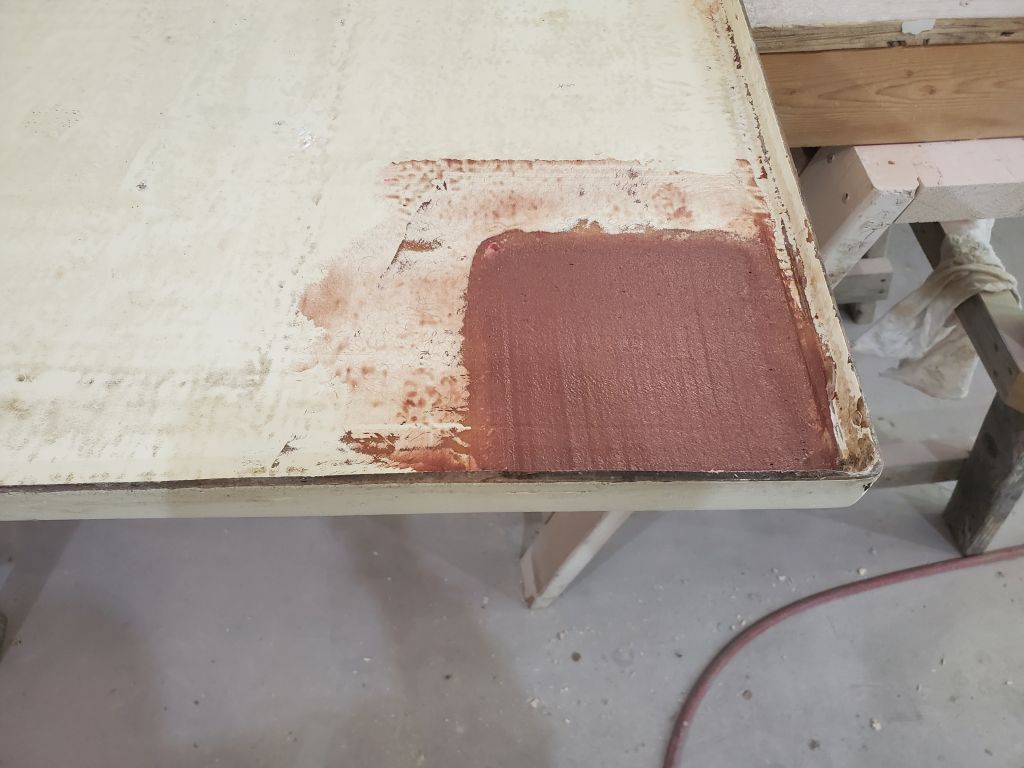
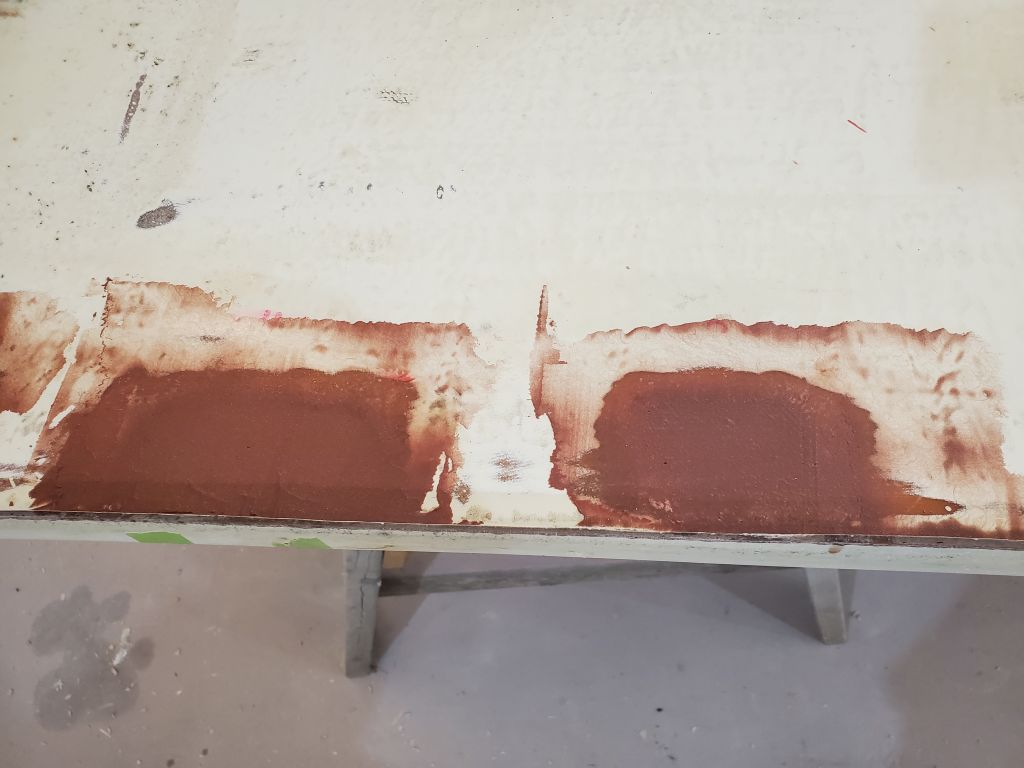
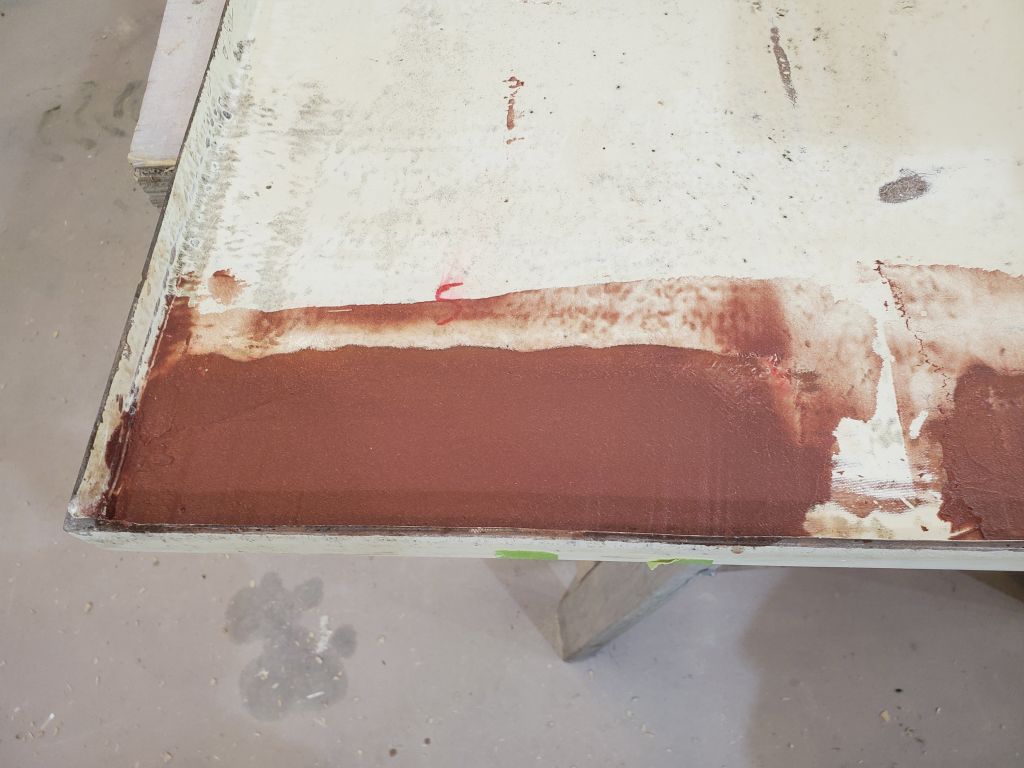
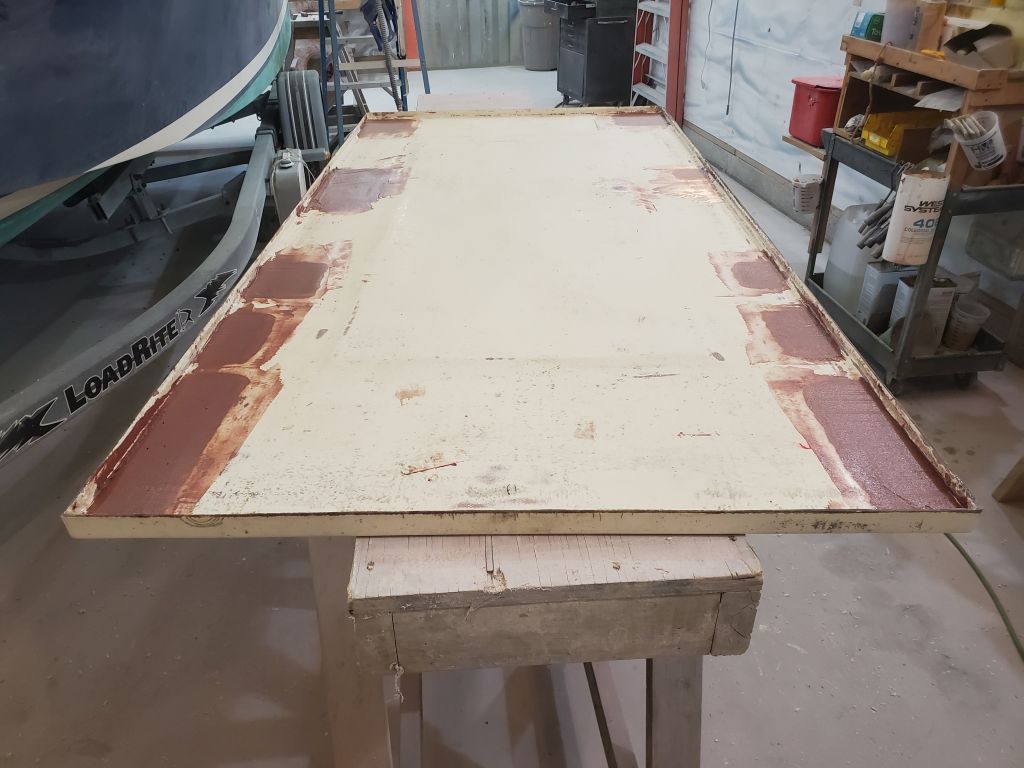
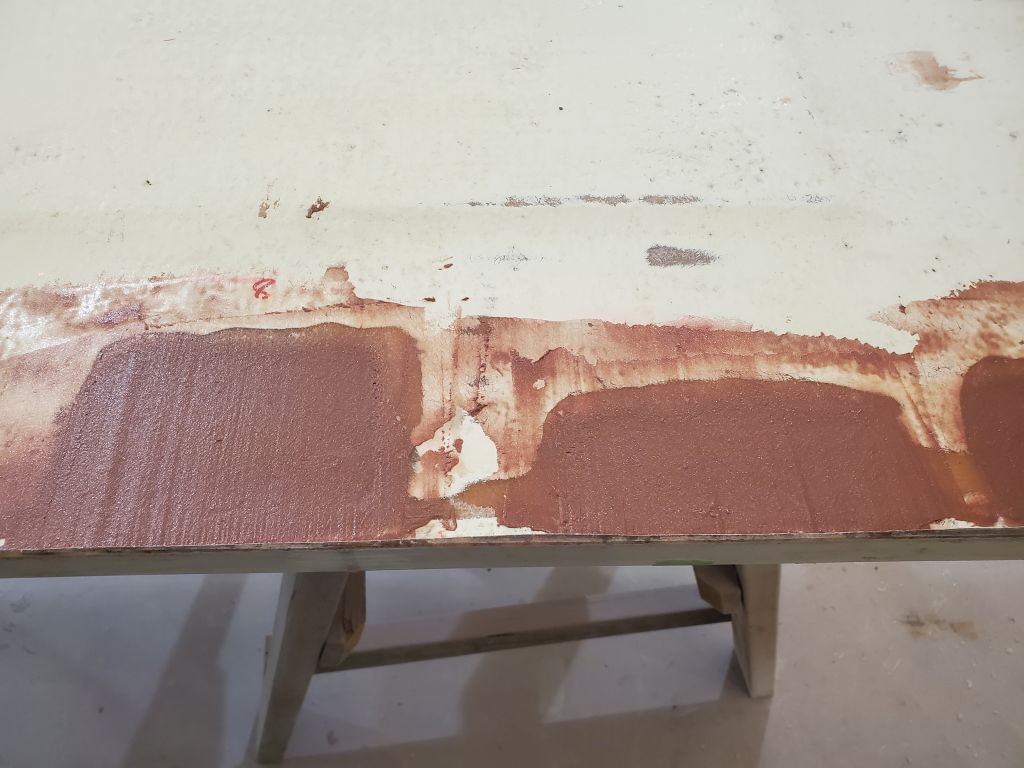
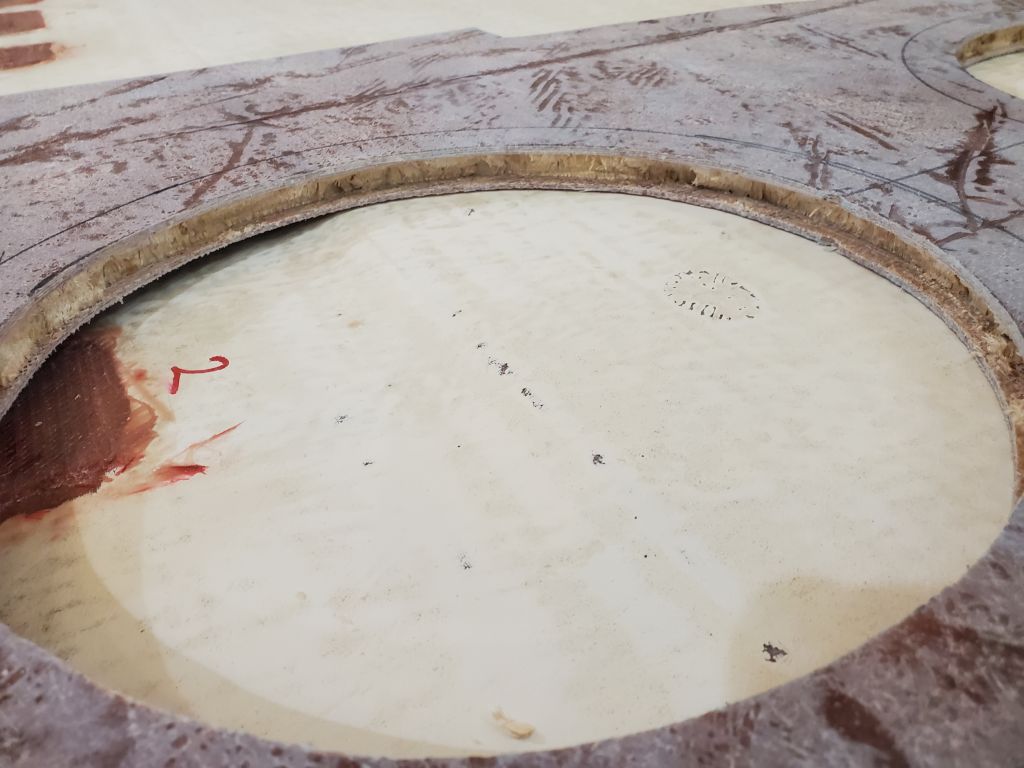
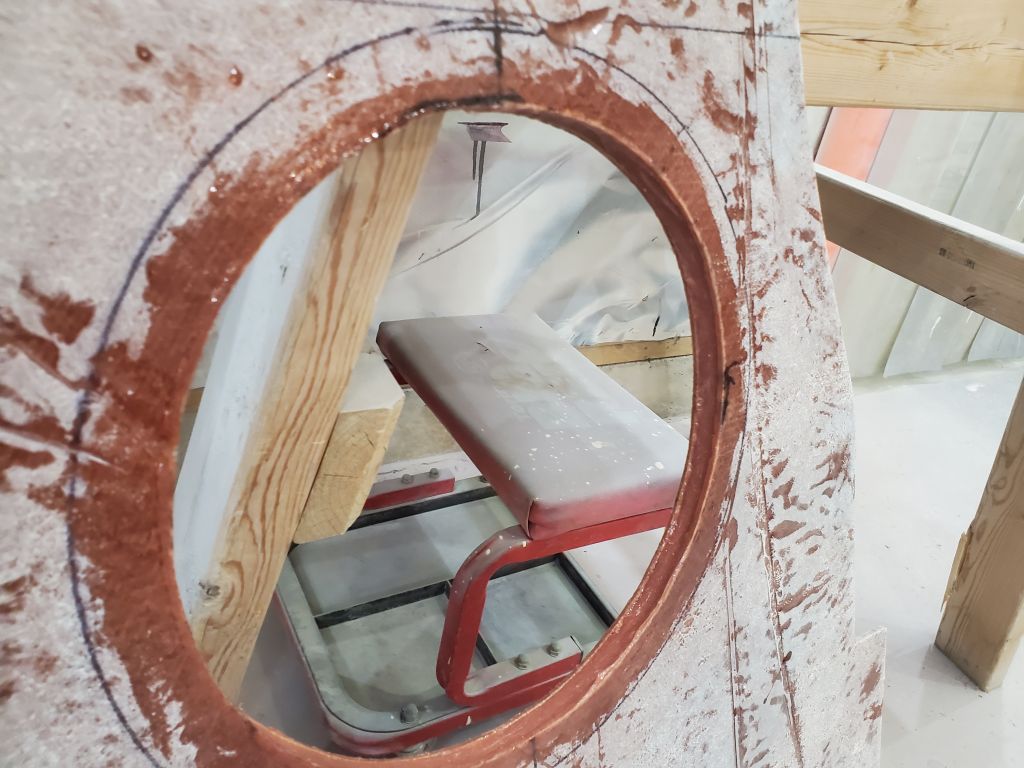
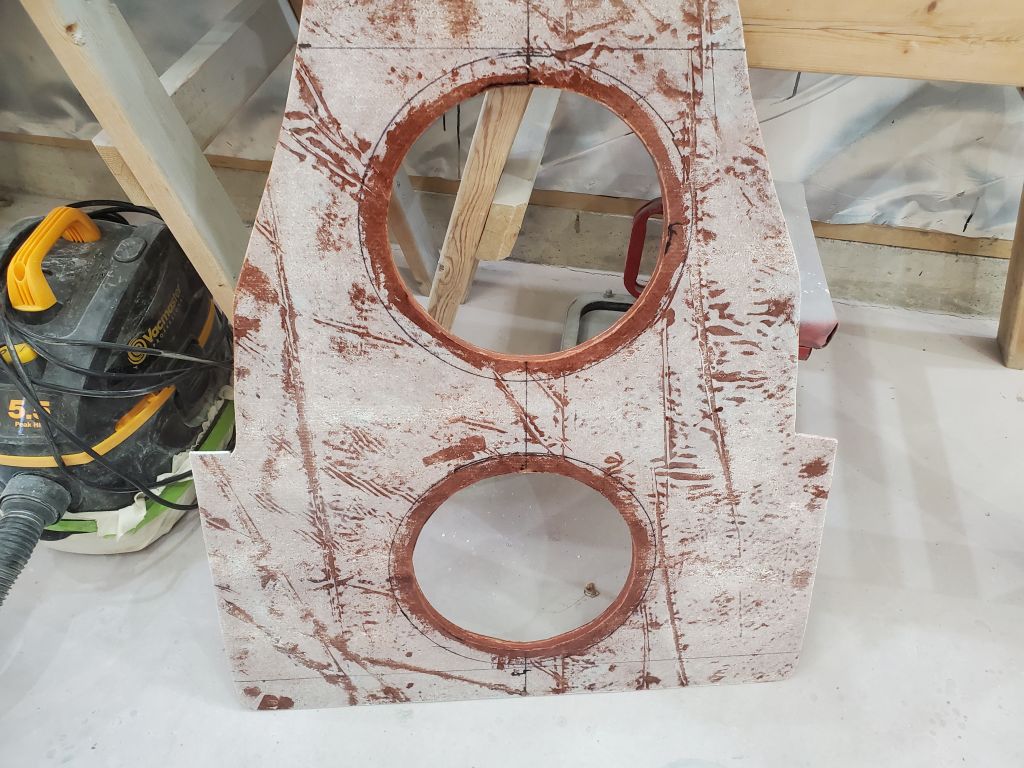
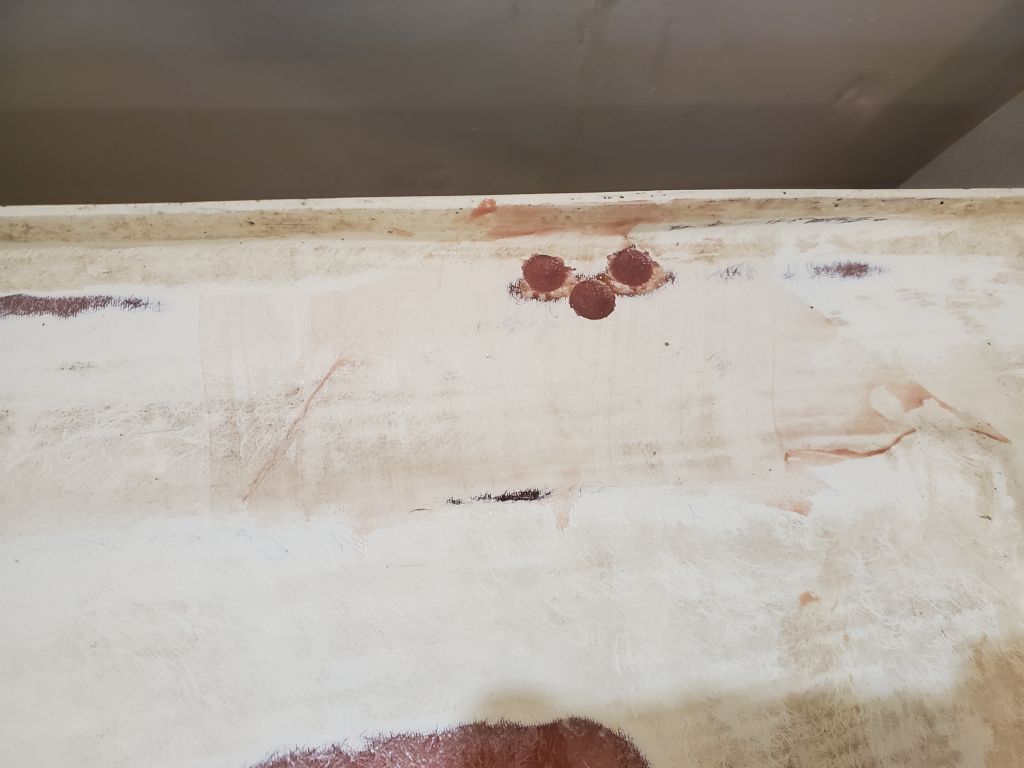
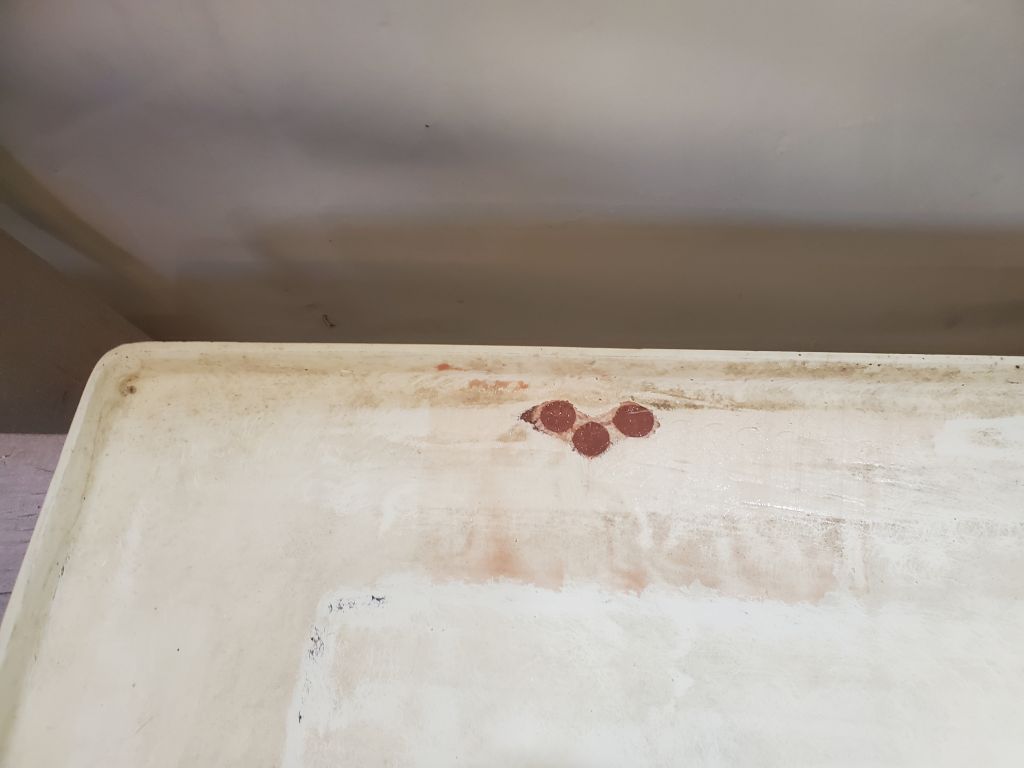
While I had a pot of thickened epoxy underway, I filled the edges of the round cutouts in the cored outboard well deck panel, which I’d previously reamed out to provide space and help isolate the core from the opening.

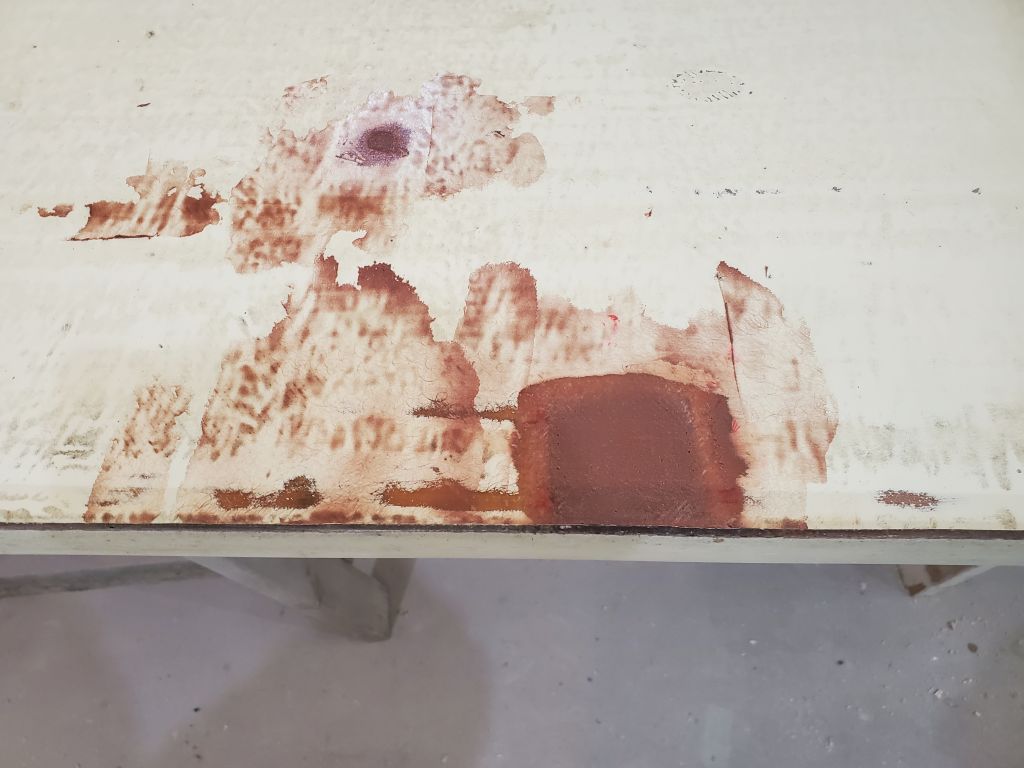
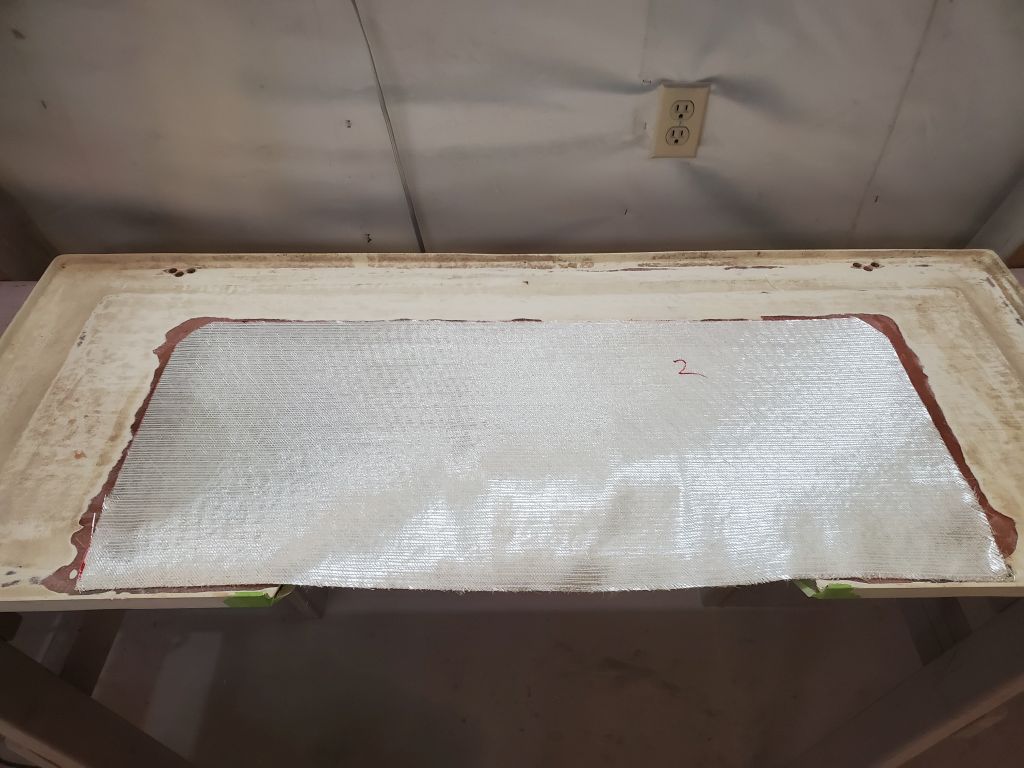
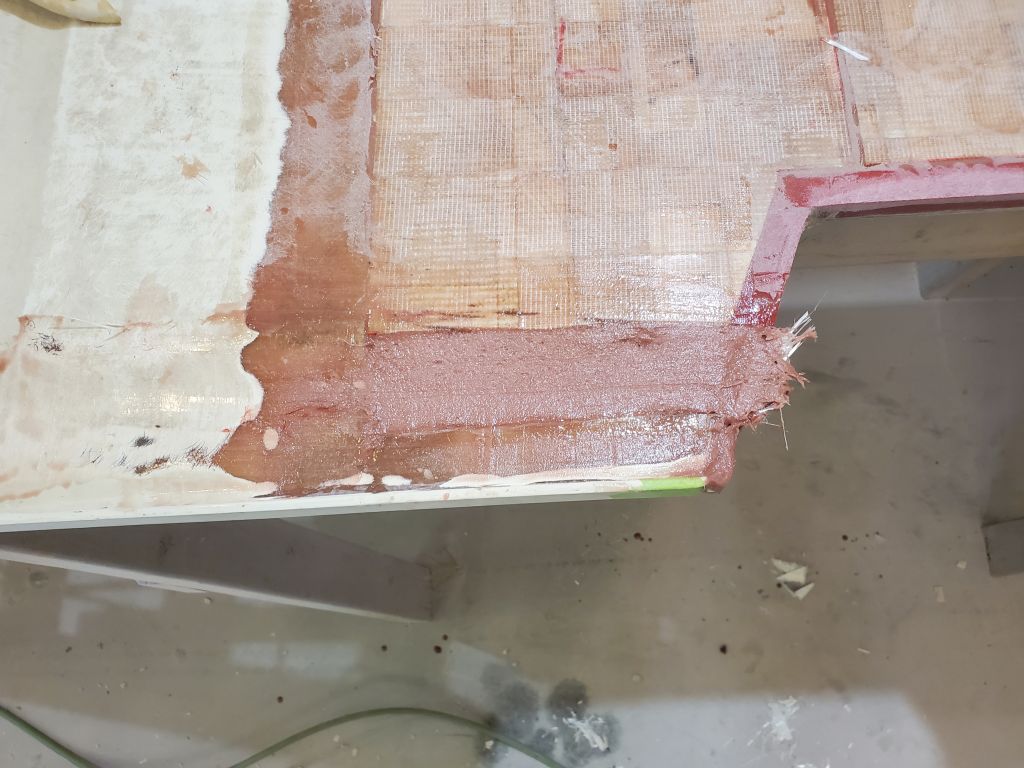
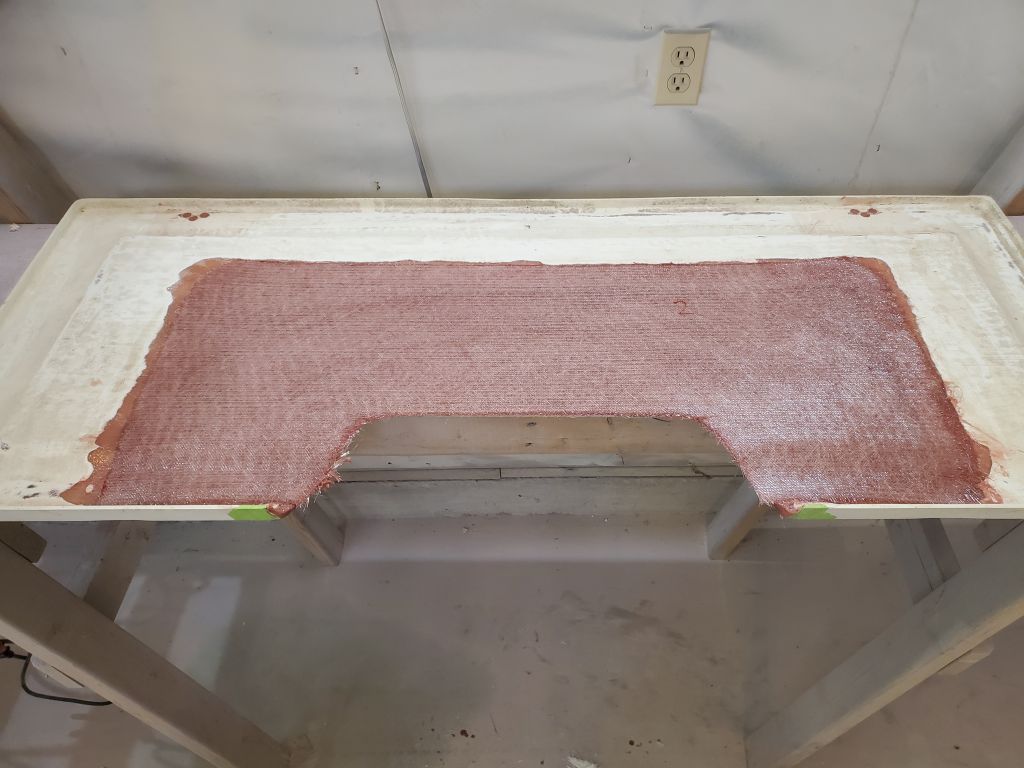
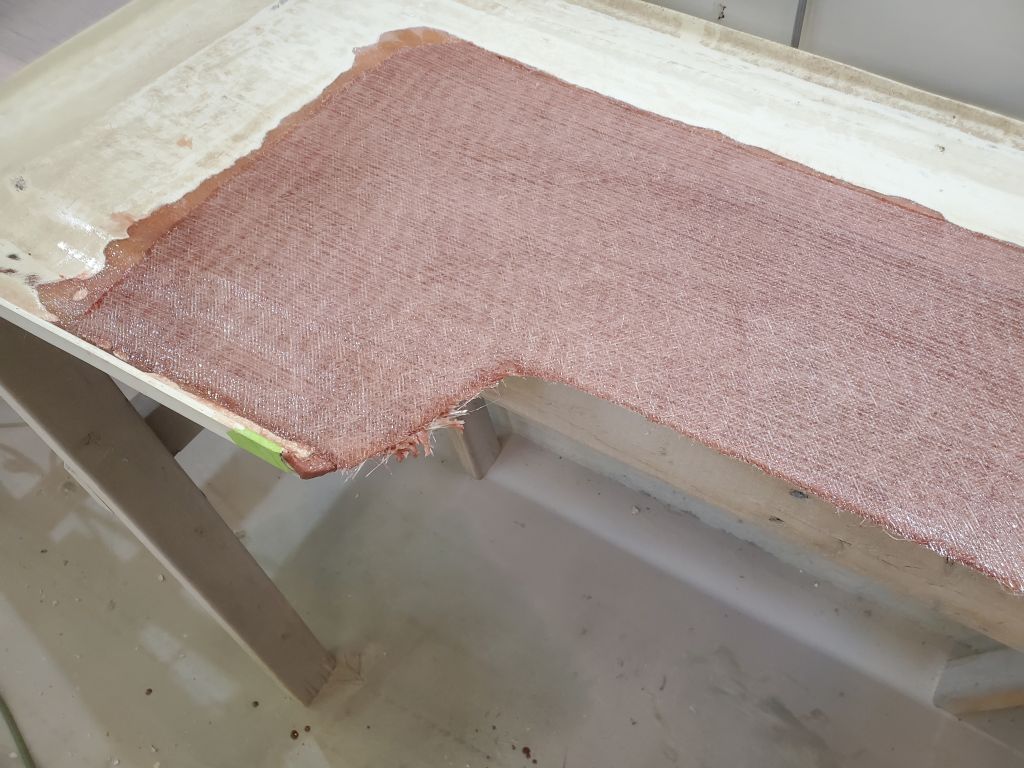
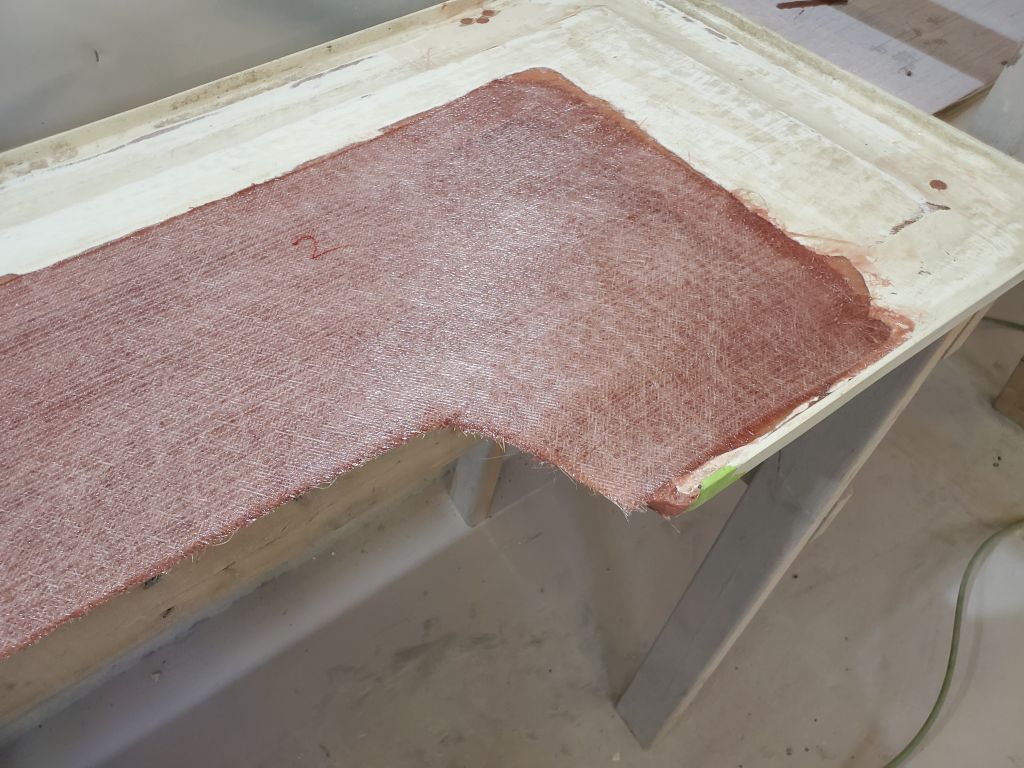
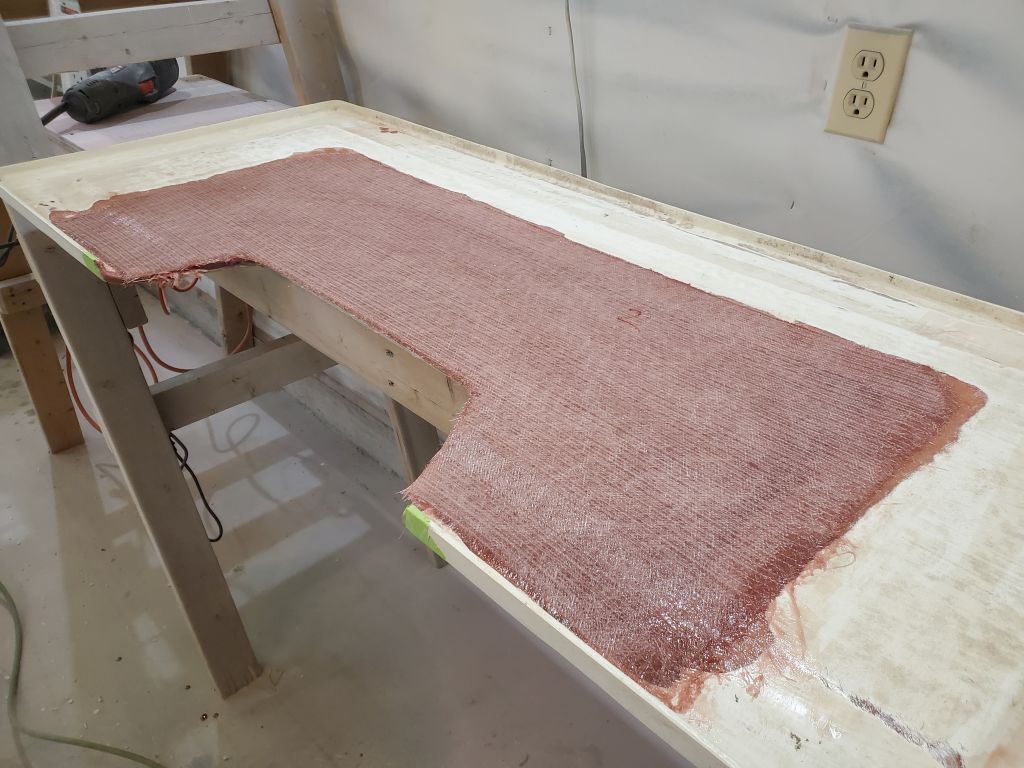
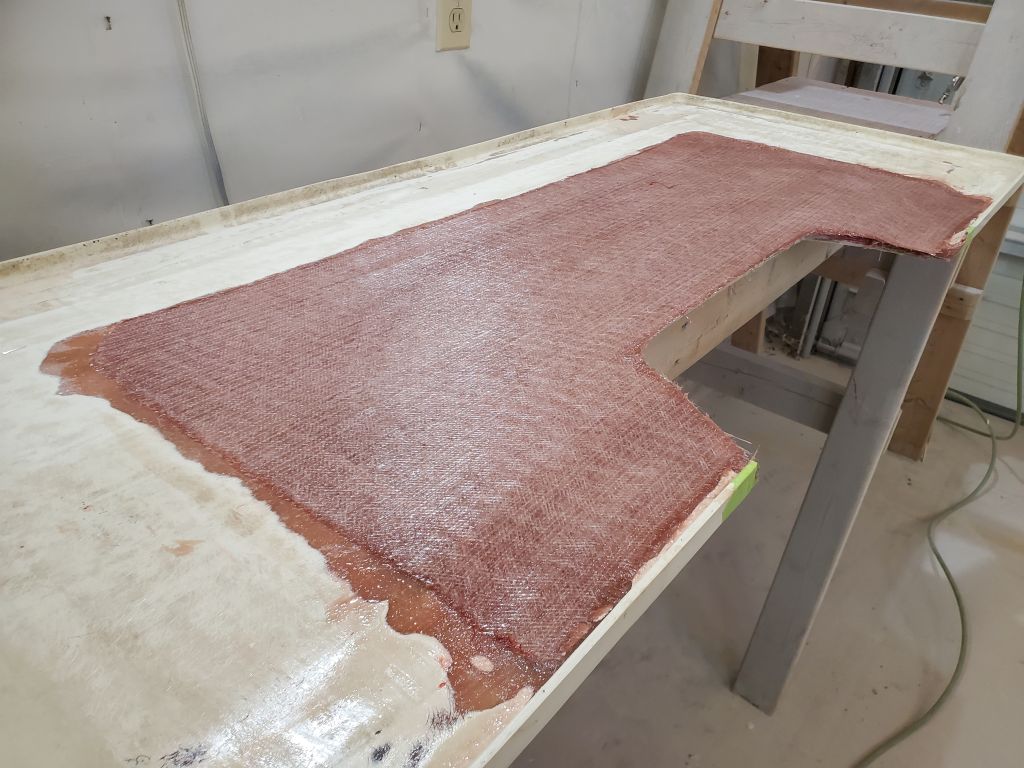
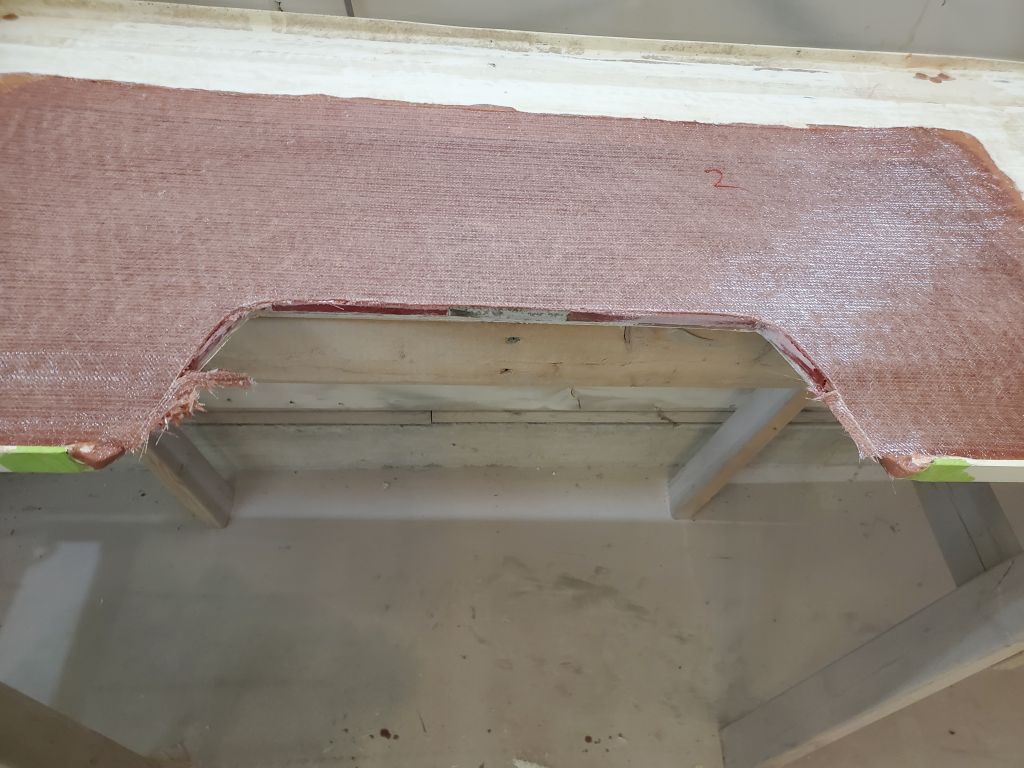
Turning to the livewell hatch repair, I cut five layers of fiberglass to fill the voids remaining outside of the cored area, as well as two larger layers to cover the core and finish the repair: One that fit over the cored area only, and a second, larger piece to extend over the adjacent panel and tie the repair together. Afterwards, I wet out and installed the five layers in the voids and finished off with some thickened epoxy to smoothly transition between the adjacent core and the fiberglass, mimicking the shape of the original panel, before installing the final two layers over the top. I filled the small bored-out holes at the hinge fastener locations, and later in the day cut off the overhanging green fiberglass from the opening (I’d let the fiberglass run a bit wild over the edge) to limit future sanding.


Back at the transom, I worked to finish off the top edges beneath the overhanging teak caprail. The original wood-clad transom had featured additional teak trim here, glued to the wood above, and I’d removed the bulk of this during the original rounds of work, but now I needed to clean up the rest and determine a plan for finishing it off. I used a chisel to clean away the remaining wood and provide a flat surface on the hull and the underside of the teak above. This left a slight protruding edge where the deck molding met the hull.
I milled 1/4″ thick by 1-1/2″ wide fiberglass strips to fit the area, running them from the edge of the vinyl rubrails on the side out into the transom opening. I secured these in a bed of thickened epoxy, holding them tightly with clamps, and filled the small voids at the top edge and beneath with the epoxy squeezeout, eventually working towards a seamless molded appearance. I let the new trim run wild at the inboard edges, into the transom cutout, for later trimming.
Finally, I applied another round of epoxy fairing compound over the transom as needed, focusing on the new work at the cutout and at the jet drive opening but also skimming over the rest of the transom to continue smoothing in the old fastener holes and minor repairs leftover from the original wooden transom.
Total time billed on this job today: 6.75 hours
0600 Weather Observation: 34°, mainly cloudy. Forecast for the day: Chance of showers, patchy fog, mostly cloudy, 55°