

April 22, 2022
Holby 17
Friday
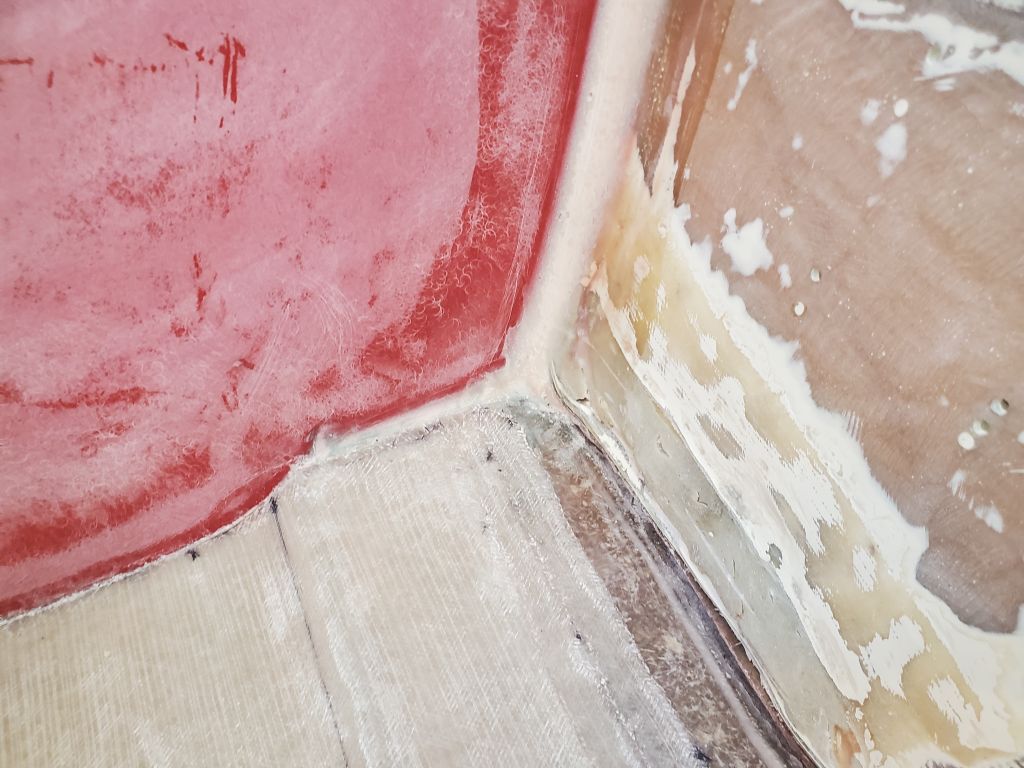
After a quick water wash, I lightly sanded the new fiberglass in the aft bilge, previously known as the engine room. This was only a light scuff to ease any sharp edges and prepare the fiberglass for the next steps; I also took the time to prepare and round over the top edge of the forward micro-bulkhead, as well as a light sanding at the new fiberglass transom to finish off the top edge from its installation a few days earlier, and to round this over for future tabbing work as well. Additional laminate on the inside of the transom, as well as over the edge of the new cutout, would be coming up sometime a little later.
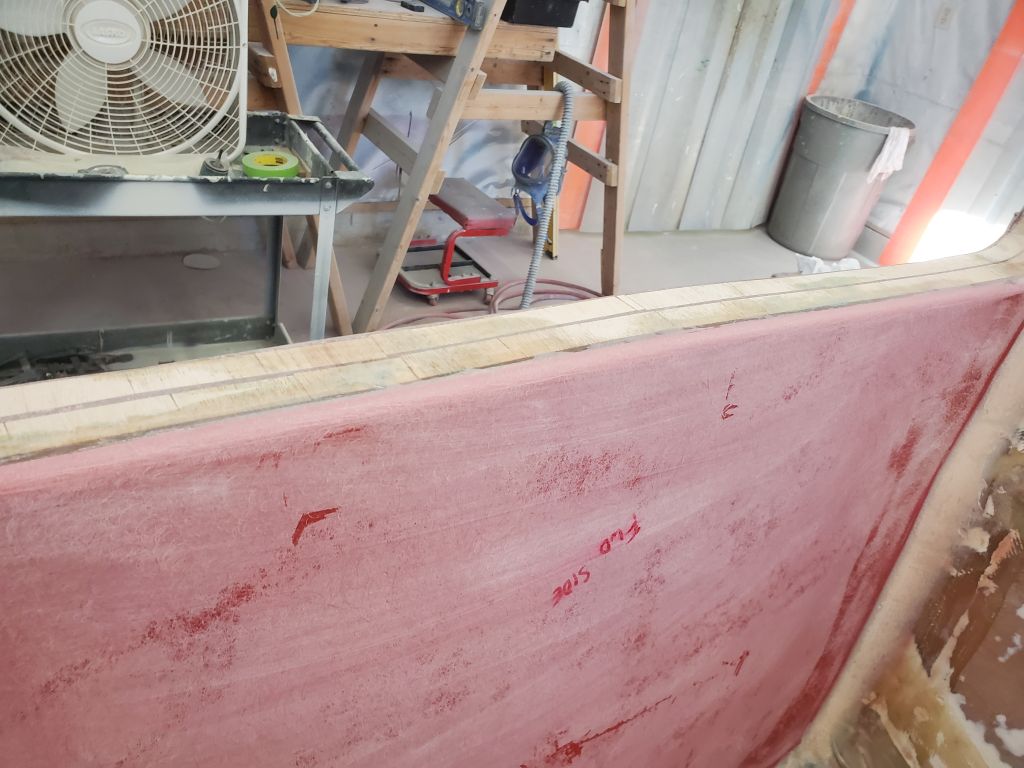

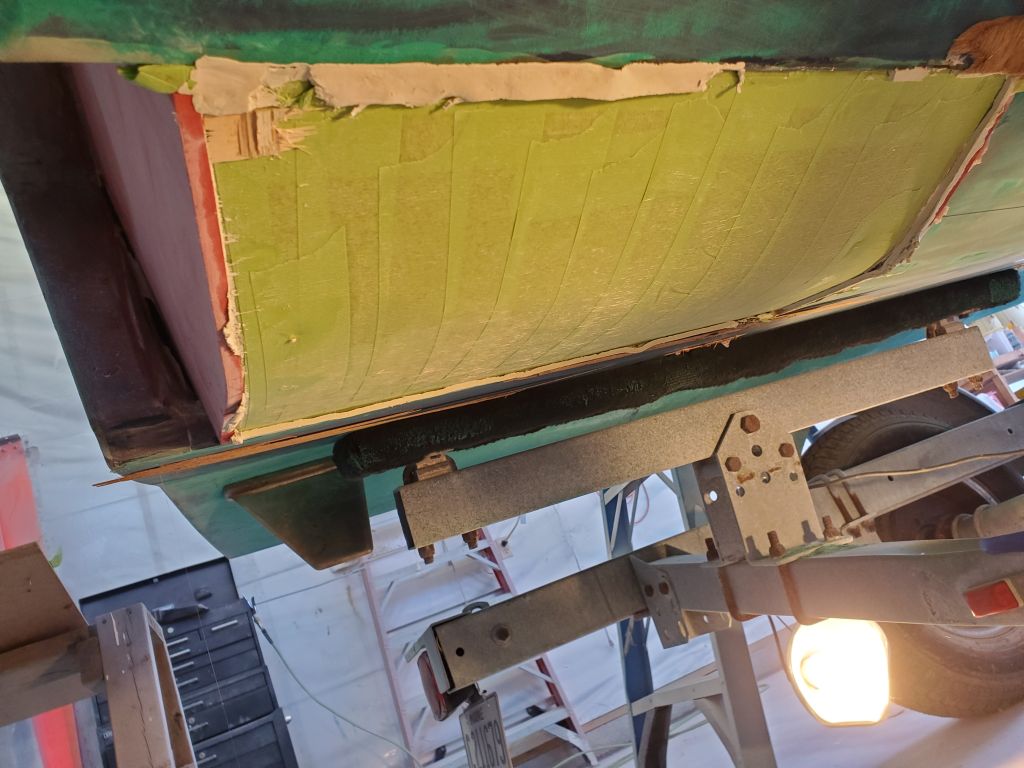
Next, I removed the mold from the bottom of the hull, starting carefully with the plywood transom template, which I removed separately for further use. The plywood panels came off with ease, as they were held only with blotches of hot glue wherever. The bent piece of plywood from the inside of the mold stayed in place; the screw heads pulled clean through as I removed the main part of the mold.


The inner section of bent plywood came off easily from there, leaving behind the masking tape, which was well-stuck to the laminate, as anticipated, but had done its job of preventing the wood from sticking.
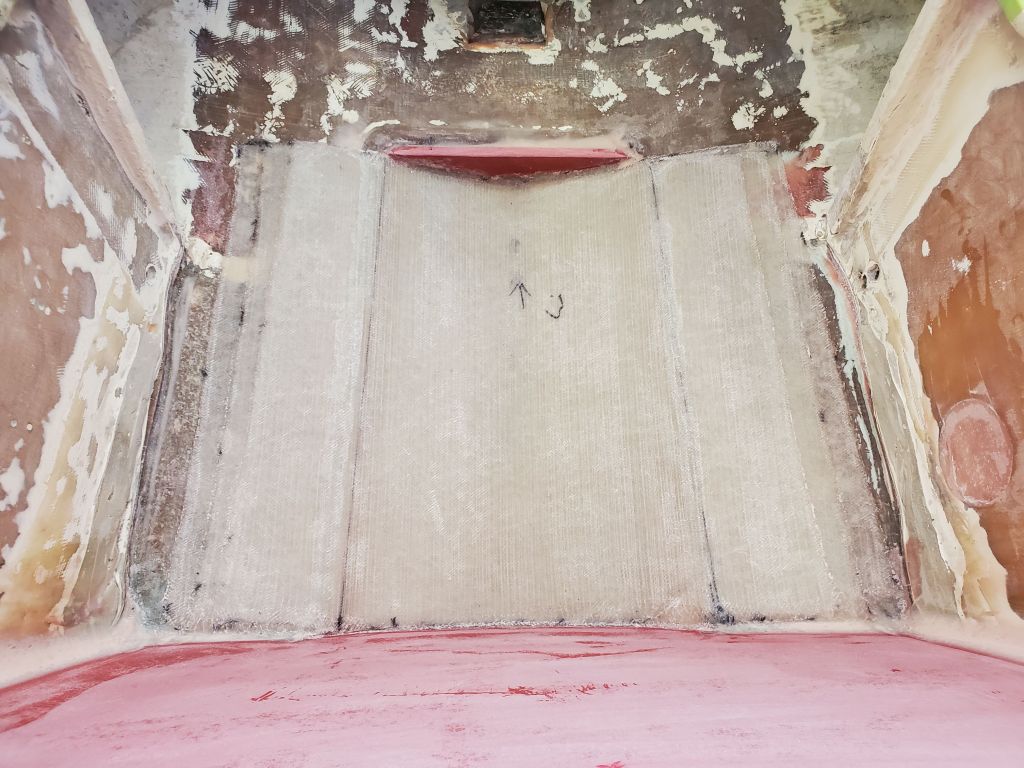
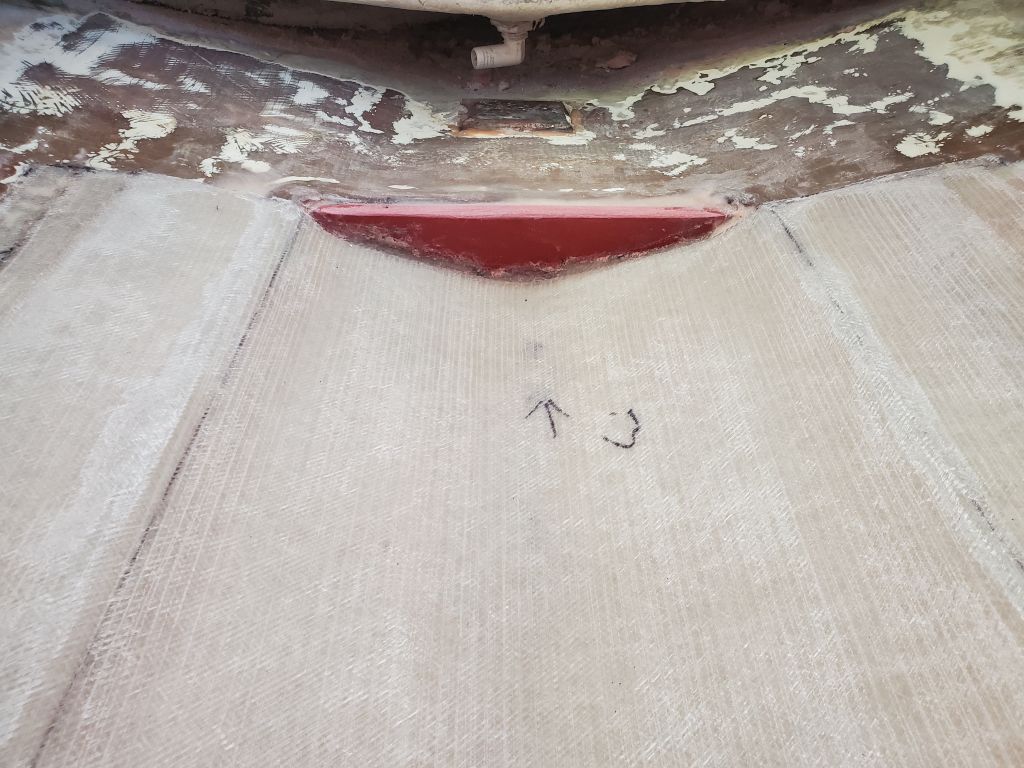
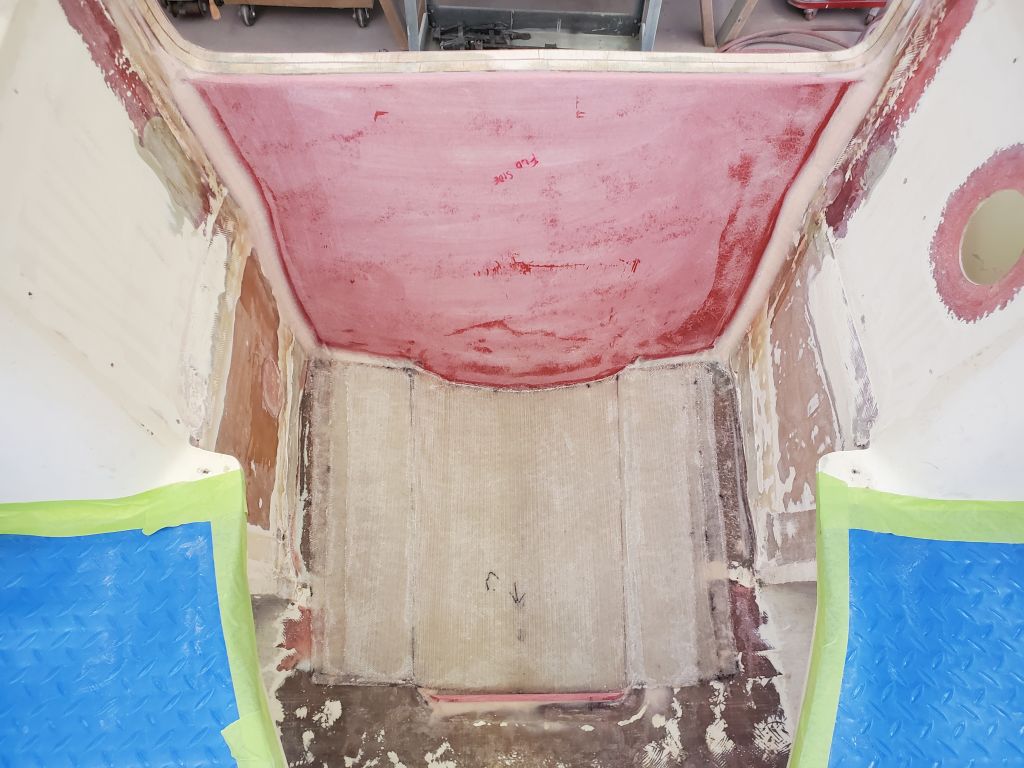
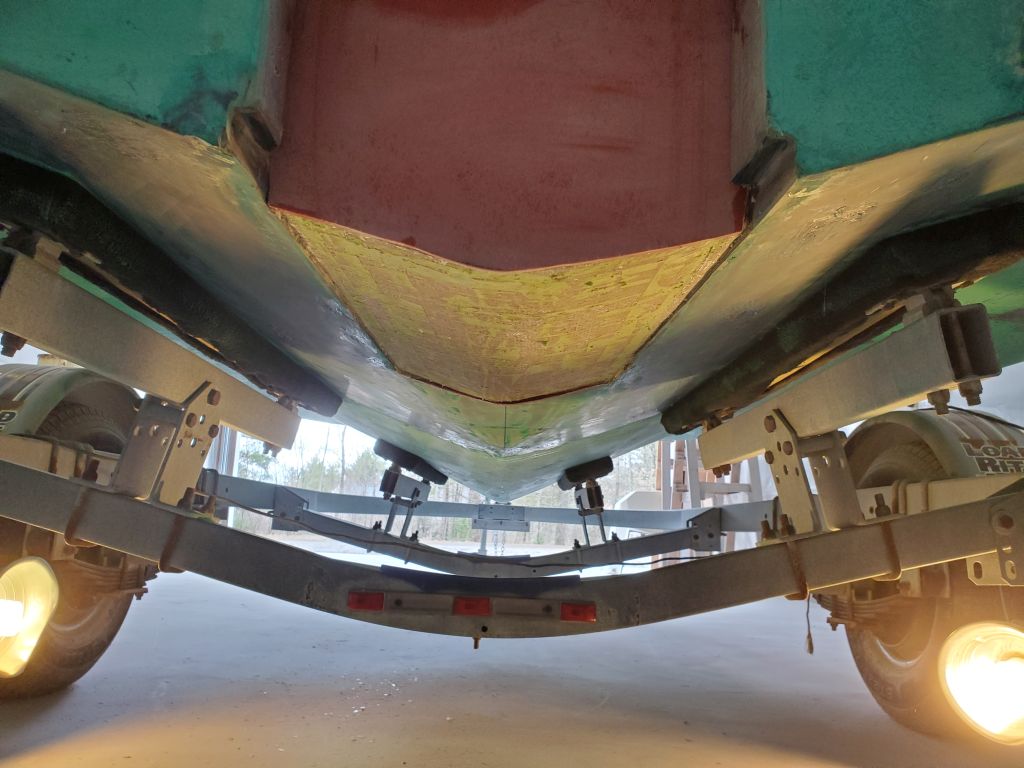
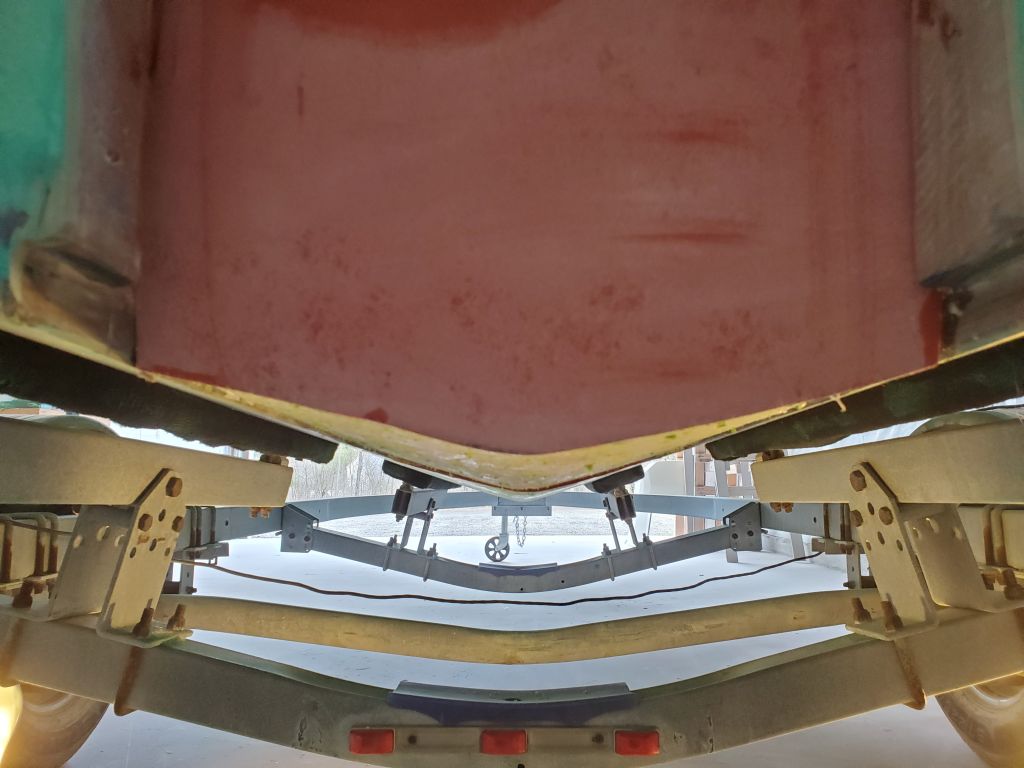
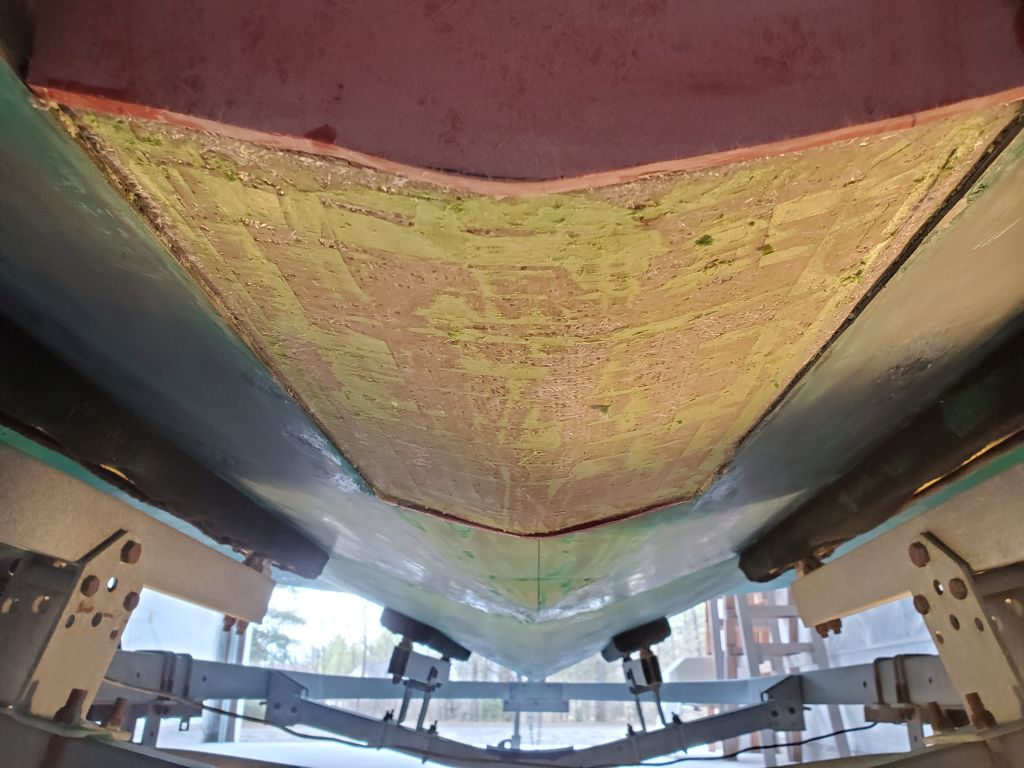
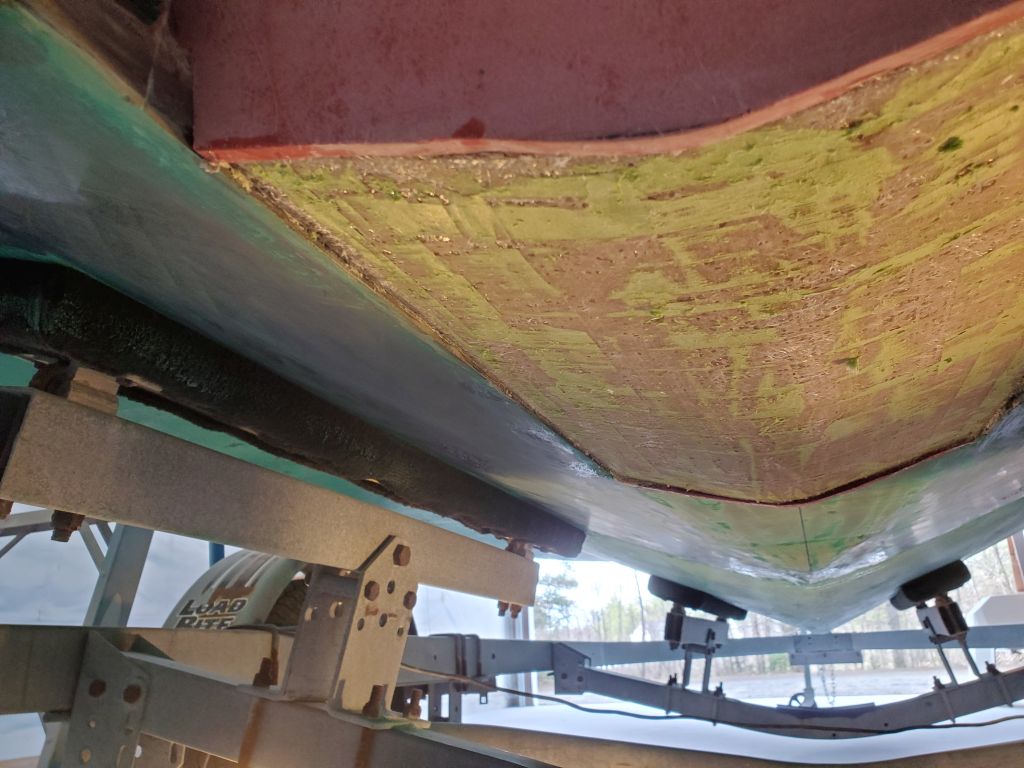
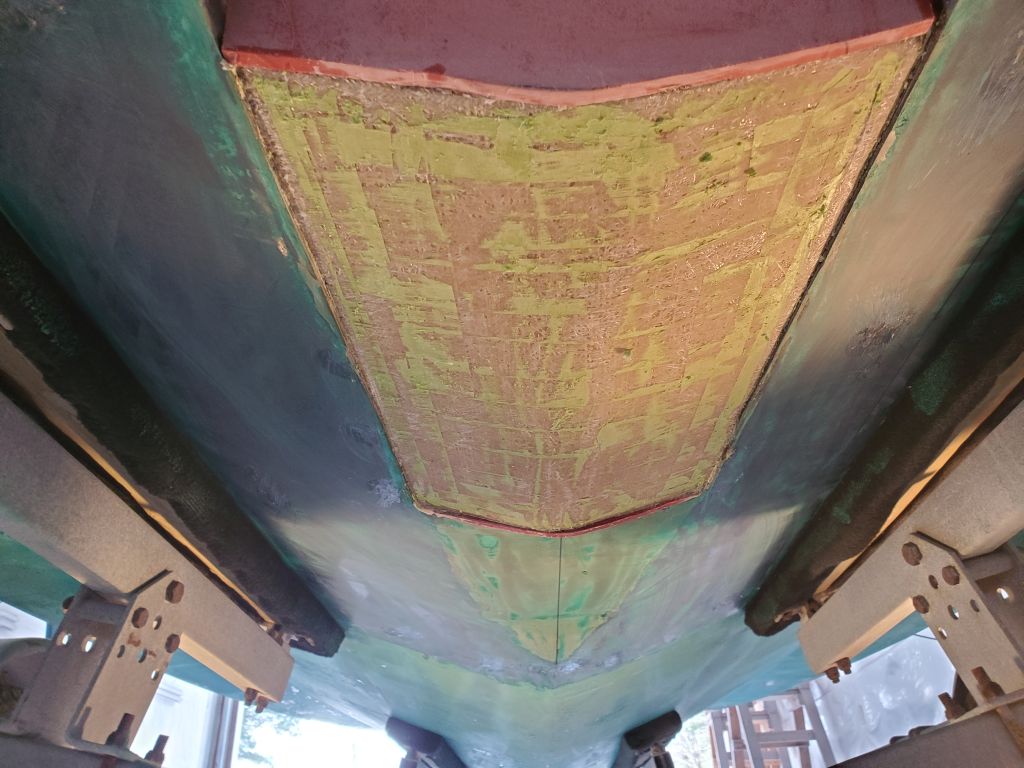
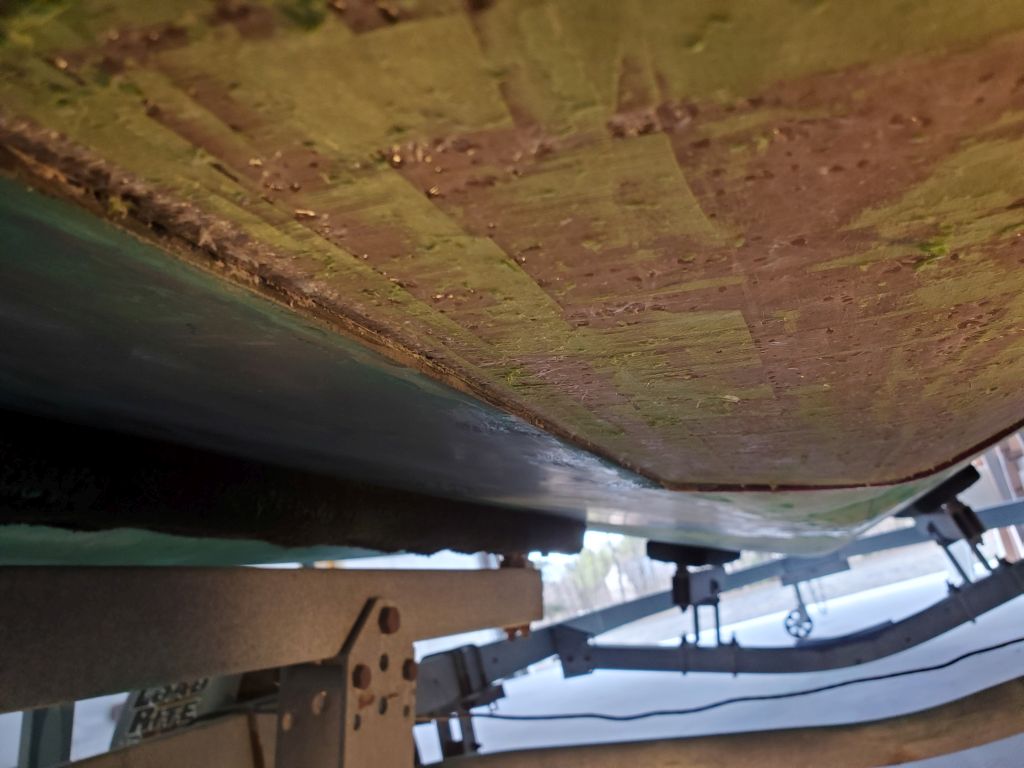
The end result was just what I’d been going for: Shaped in accordance with what the hull needed to be, but inset a fraction of an inch to allow room for the final laminates from beneath, which would further tie in and reinforce the whole repair when all was said and done. Eyeballing the shape of the vee down the centerline, the new work lined up well with the unmodified shape forward of the repair area.


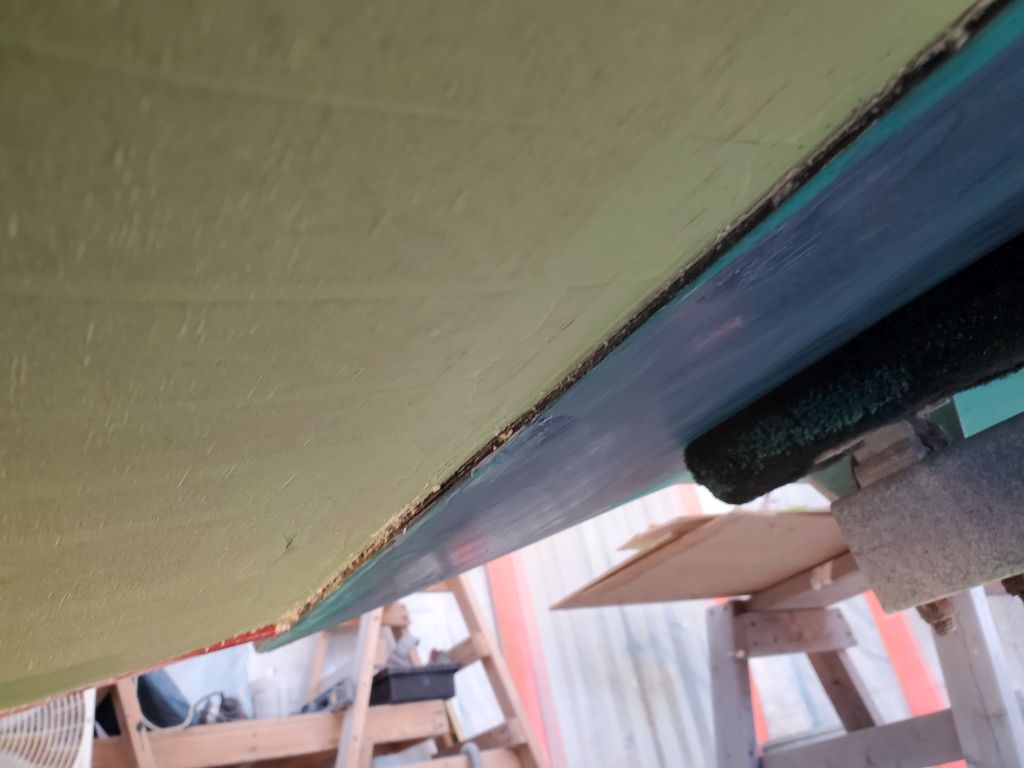
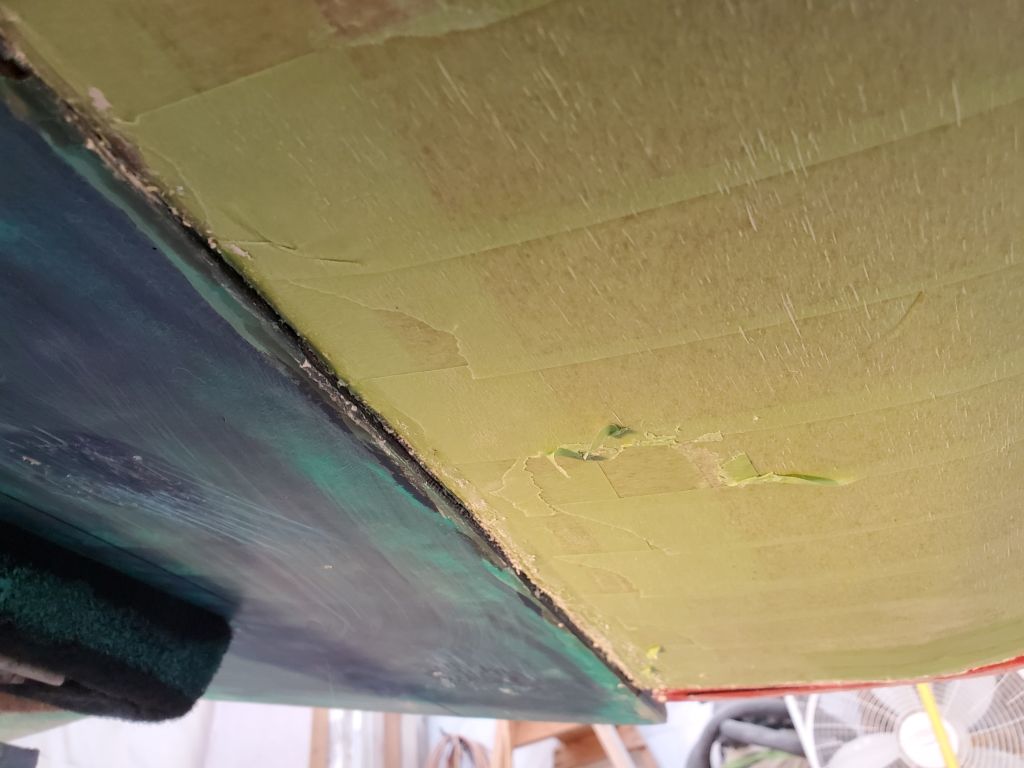
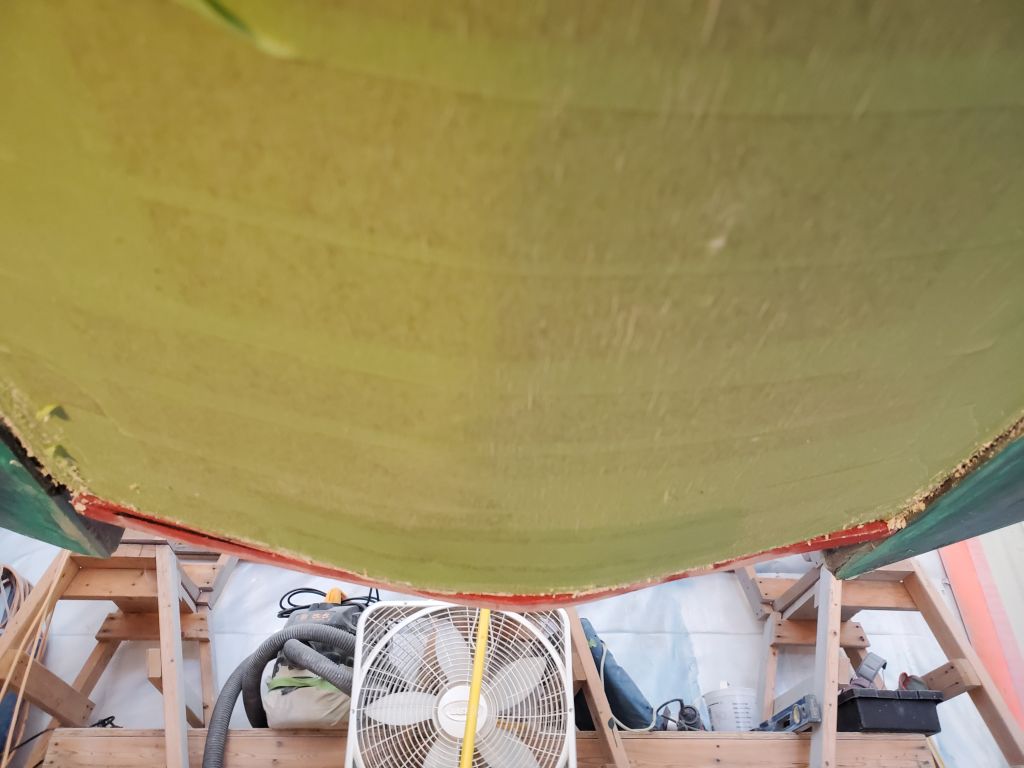
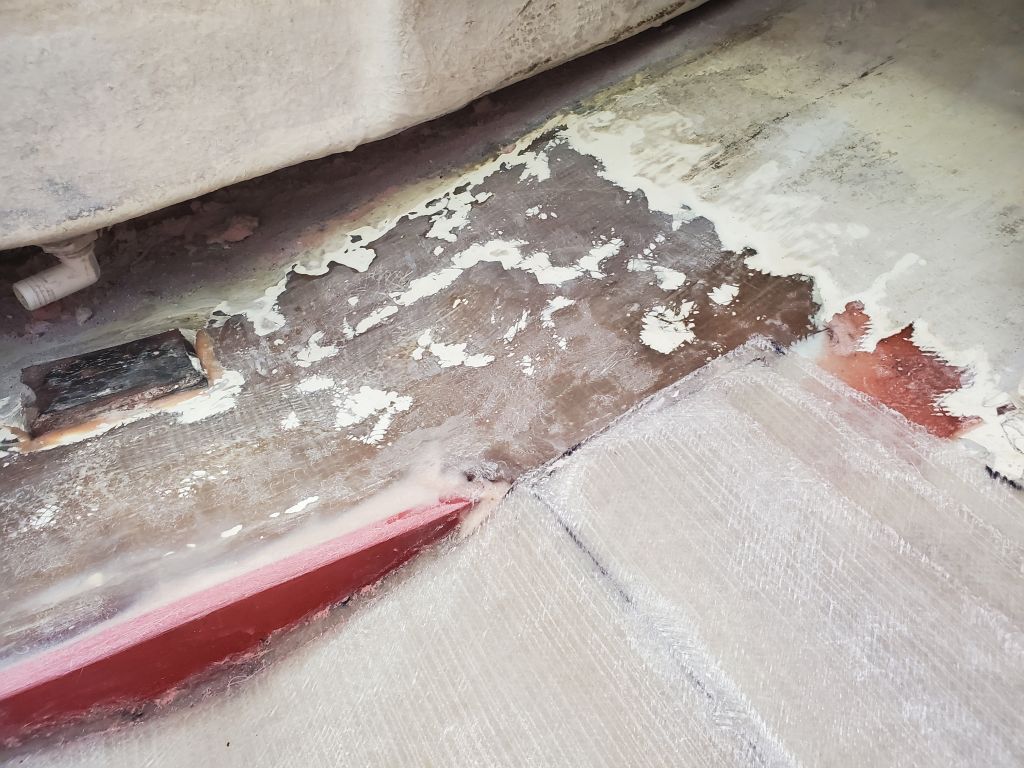
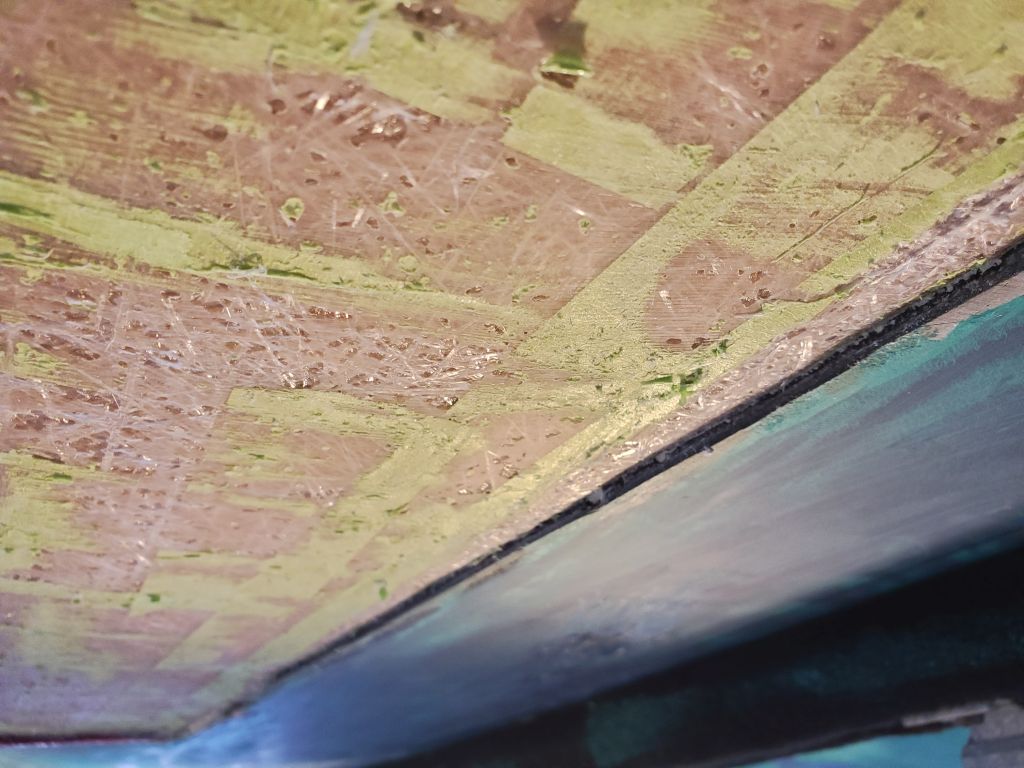
Now I removed the bits of hot glue from the hull, along with the mold putty and, as much as possible for now, the masking tape from the bottom of the fresh laminate. The residue would eventually get sanded away, but that was for some other time.

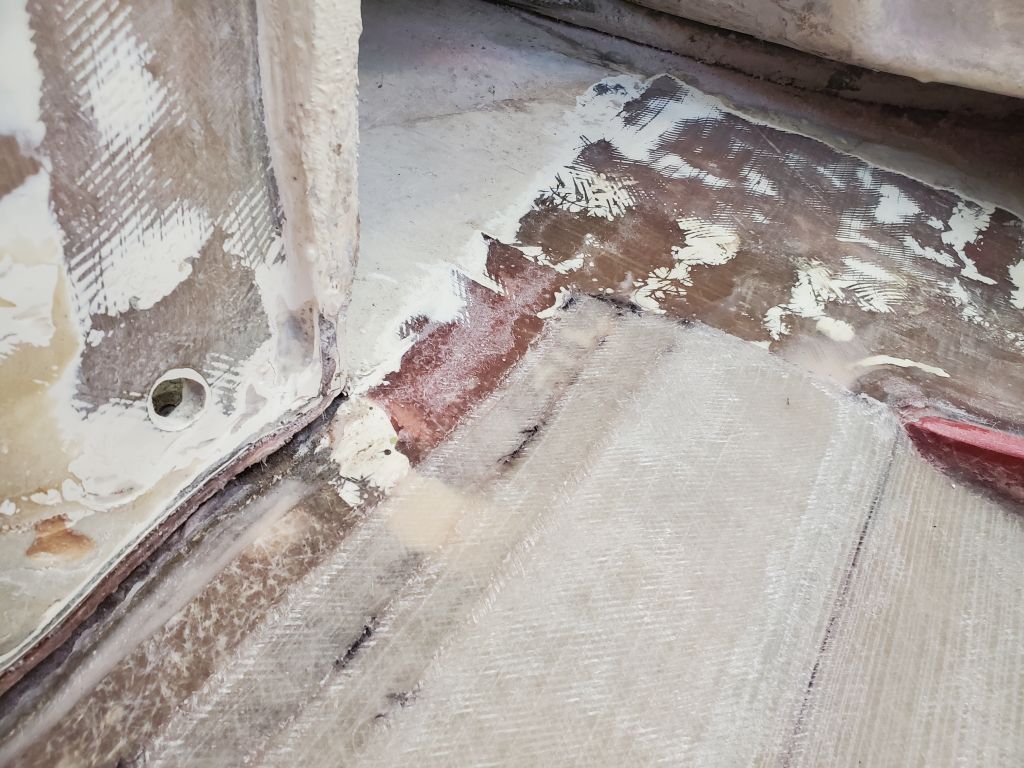
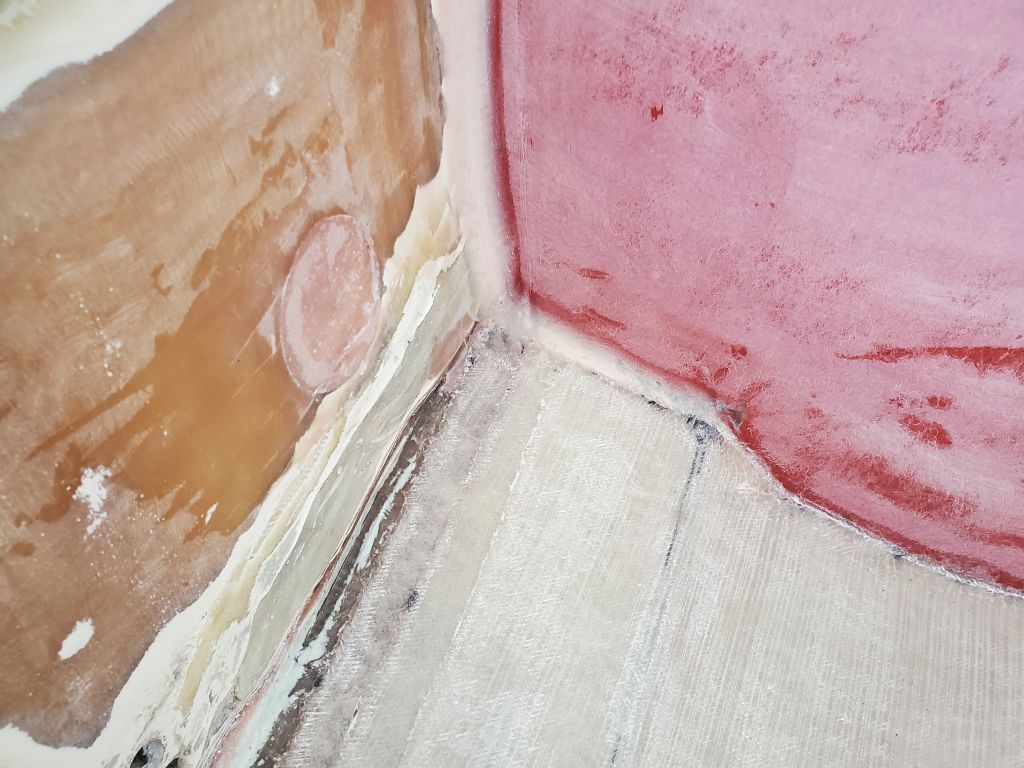
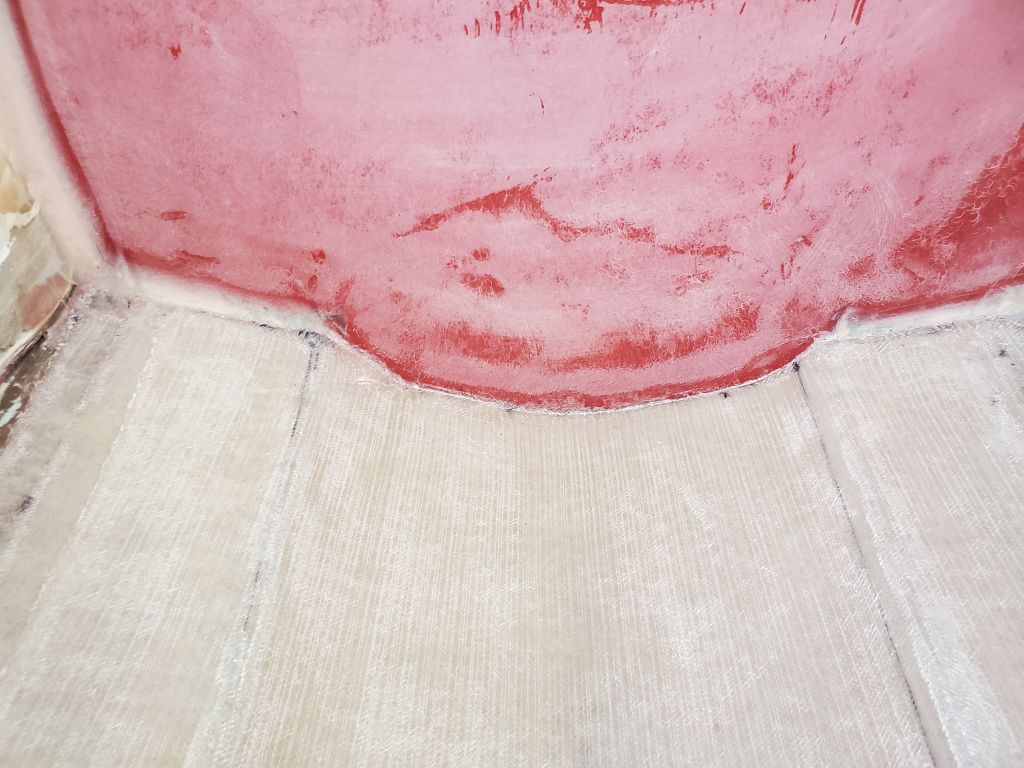
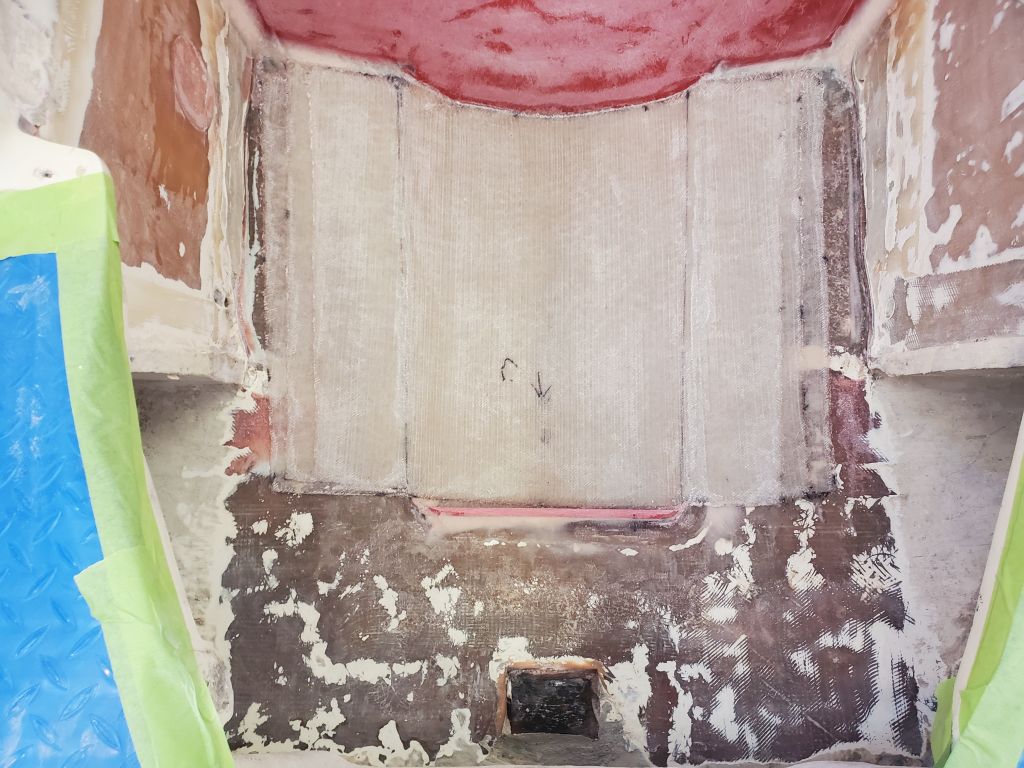
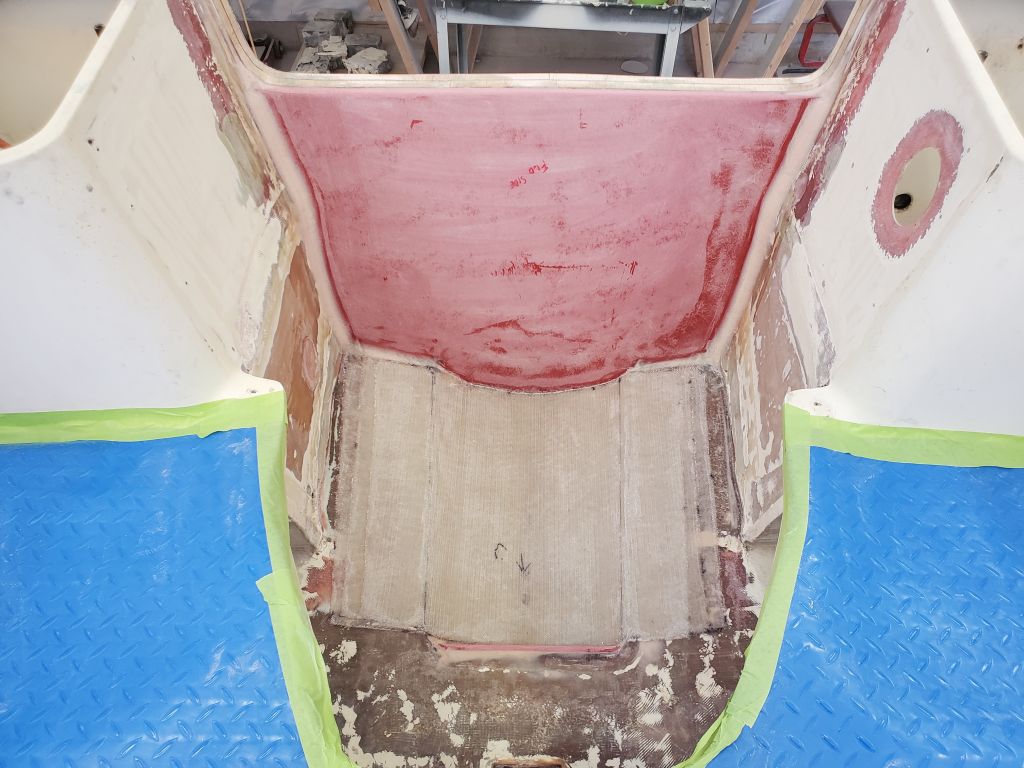
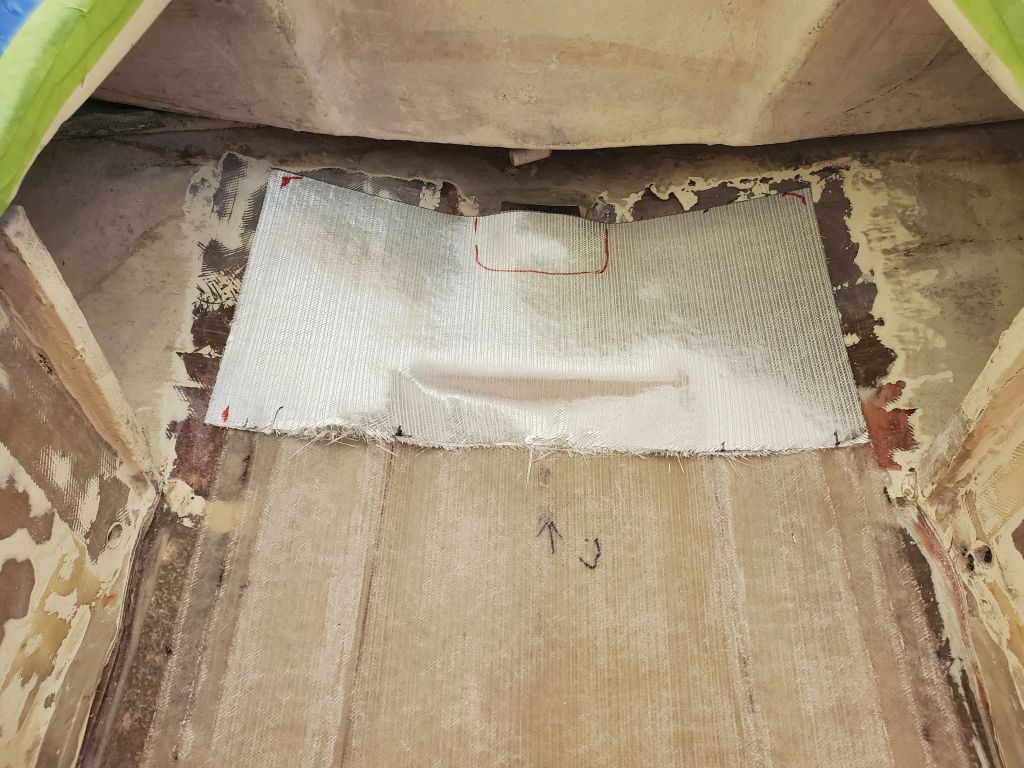
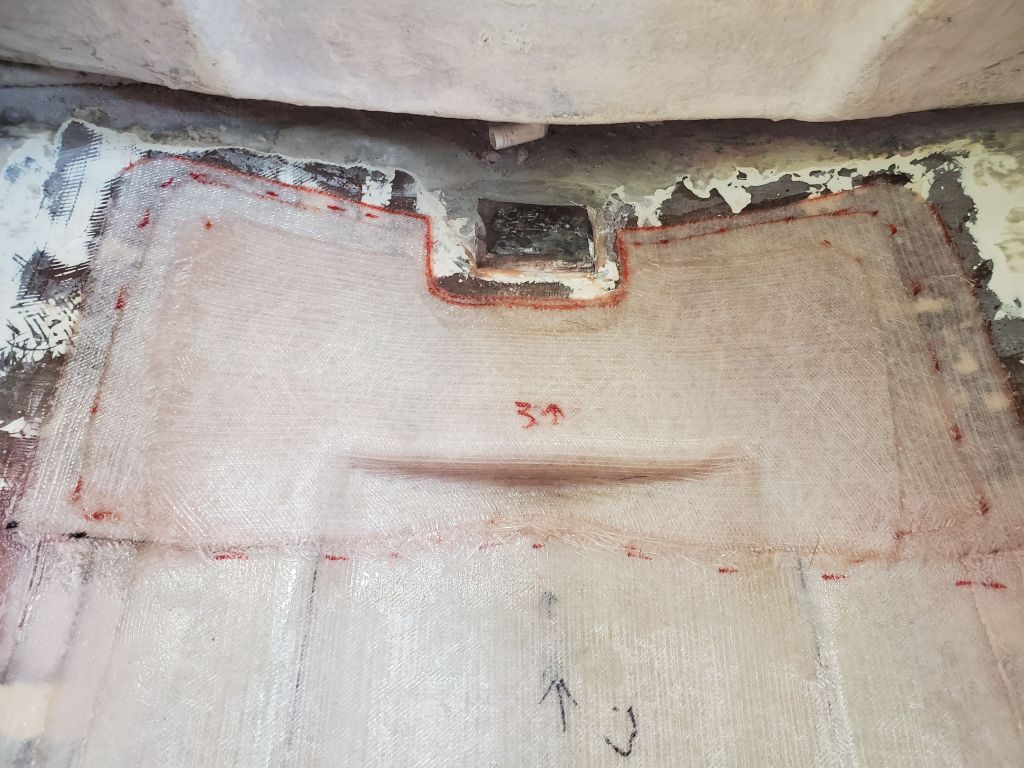
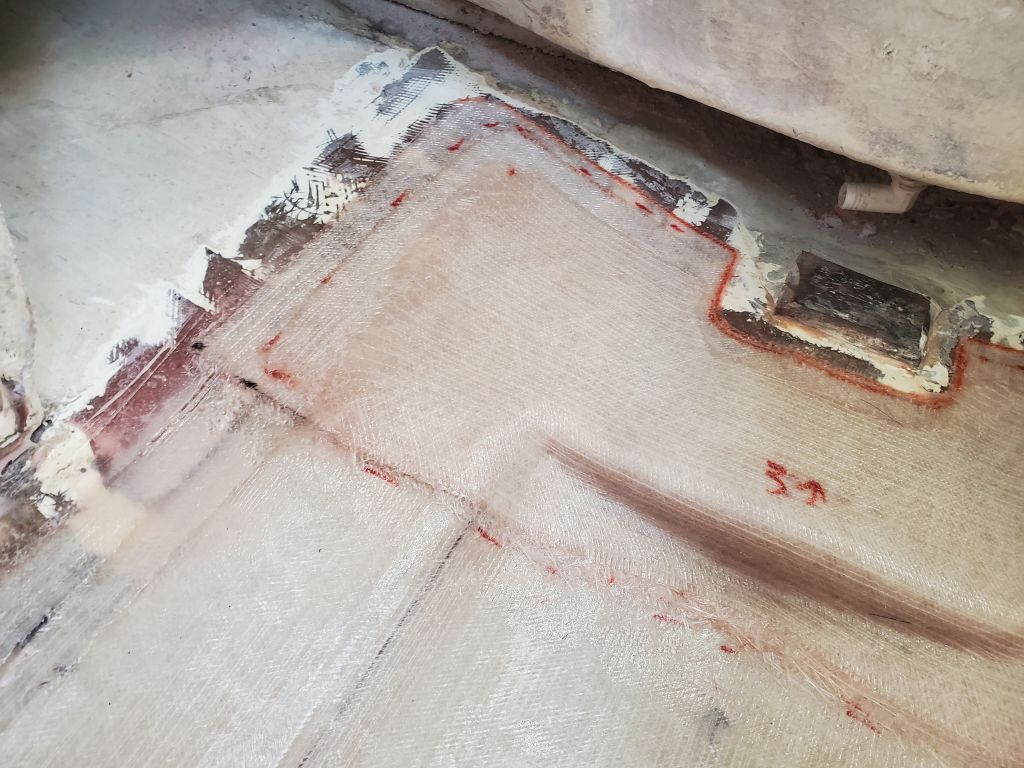
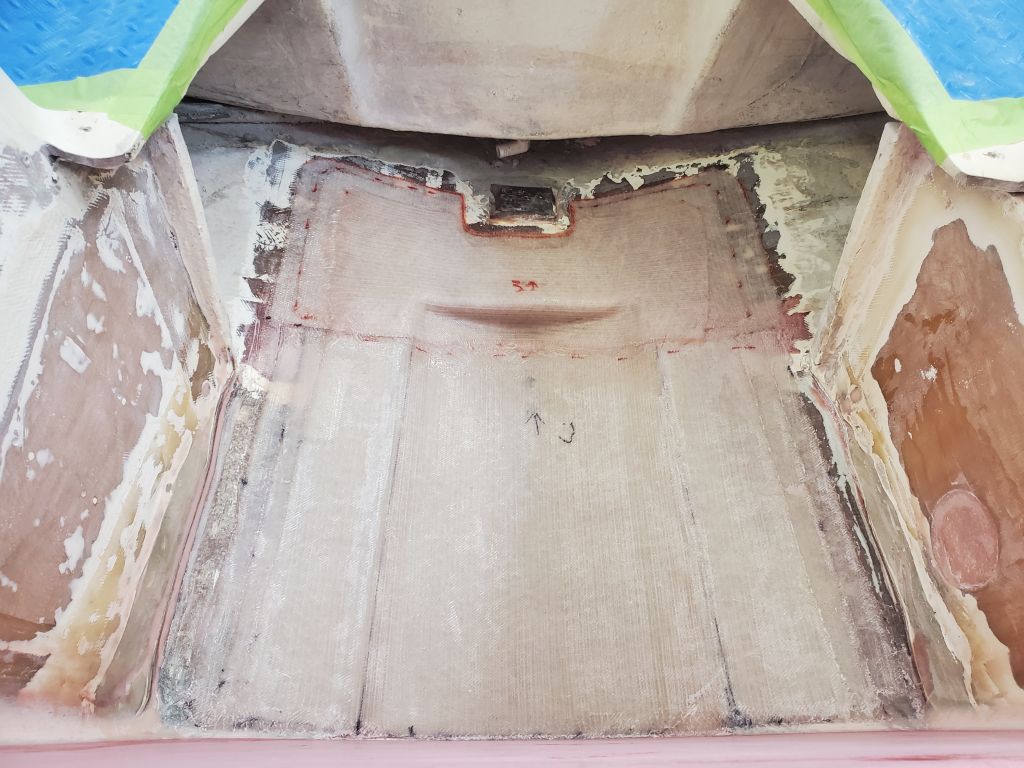
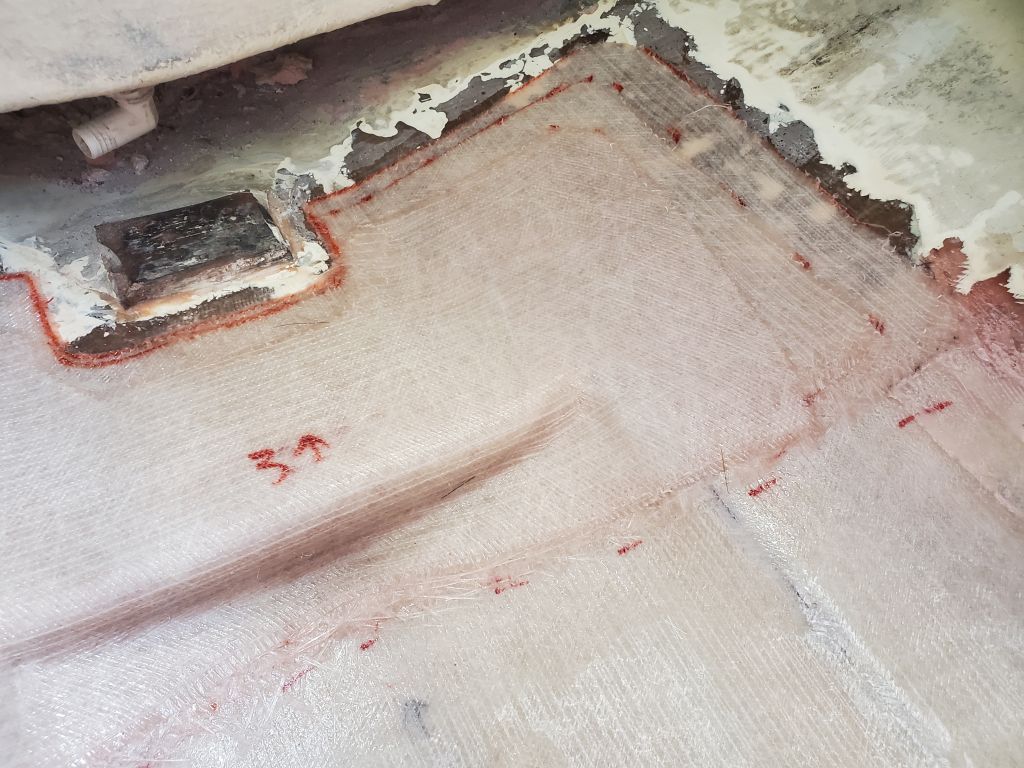
Turning back to the interior for now, I laid out a trial piece of fiberglass to complete the forward section of the repair. The glass confirmed well to the shape, so no darts or cuts would be needed. Satisfied with the pattern, I cut two additional layers, each just a touch smaller on the sides and forward end. After installing a thickened epoxy fillet along the bottom edge of the micro bulkhead, I installed the three new layers in epoxy resin. This overlapped the adjacent new work by a few inches, and extended well forward to tie the whole thing together as much as possible.

With a bit of time left before I had to depart on other tasks, I decided to begin work on the transom section of the jet tunnel. Using my plywood pattern, I cut two layers of 3/4″ Corecell, a good material I happened to have on hand, and, after some minor adjacent prep work, including filling the edges of the opening against the fiberglass laminate sheet I’d installed on the inside of the transom, I set the two layers of core in place in epoxy adhesive, filling all edge gaps and the kerfs in the scored core. I held the bottom edge of the core up flush with the notched part of the jet tunnel so I could fill in the bottom with solid laminate before tying the new hull bottom laminate into that. Eventually. I’d fill the remaining depth of the transom opening with either solid glass (to be extended out onto the hull around the opening once I prepared said hull).
And so we edge closer to the final stages of this rather extensive hull repair.
Total time billed on this job today: 3.75 hours
0600 Weather Observation: 0600 Weather Observation: 39°, clear, but quickly clouding over. Forecast for the day: Mostly sunny, 59°