

October 7, 2022
Holby 30
Friday
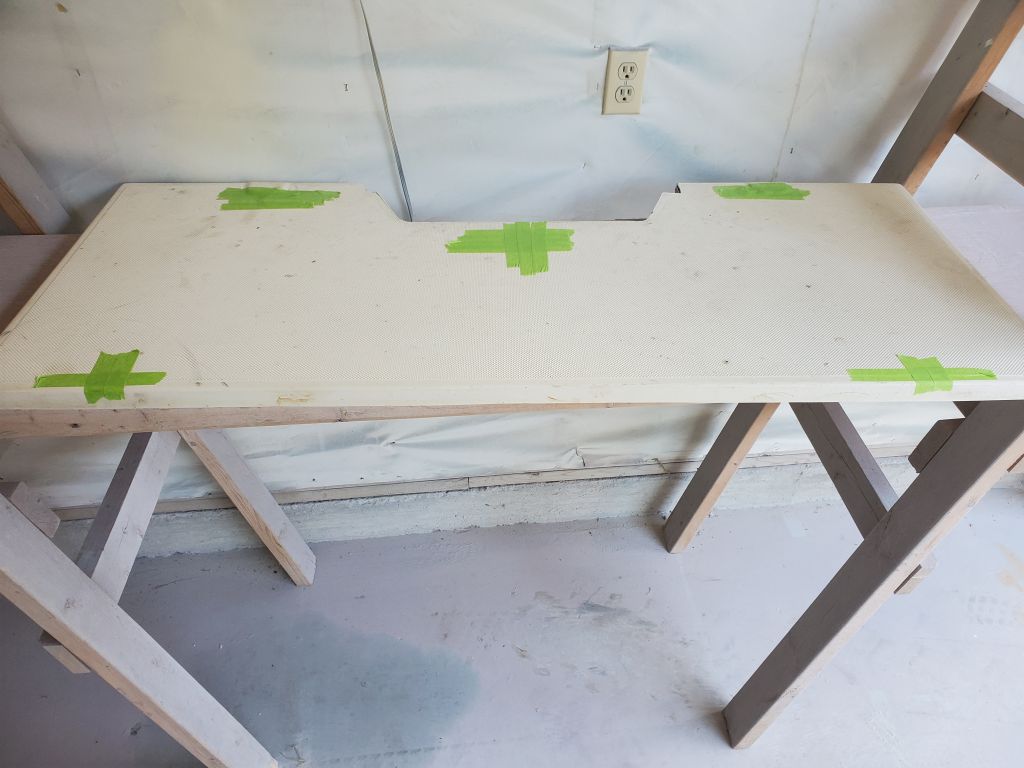
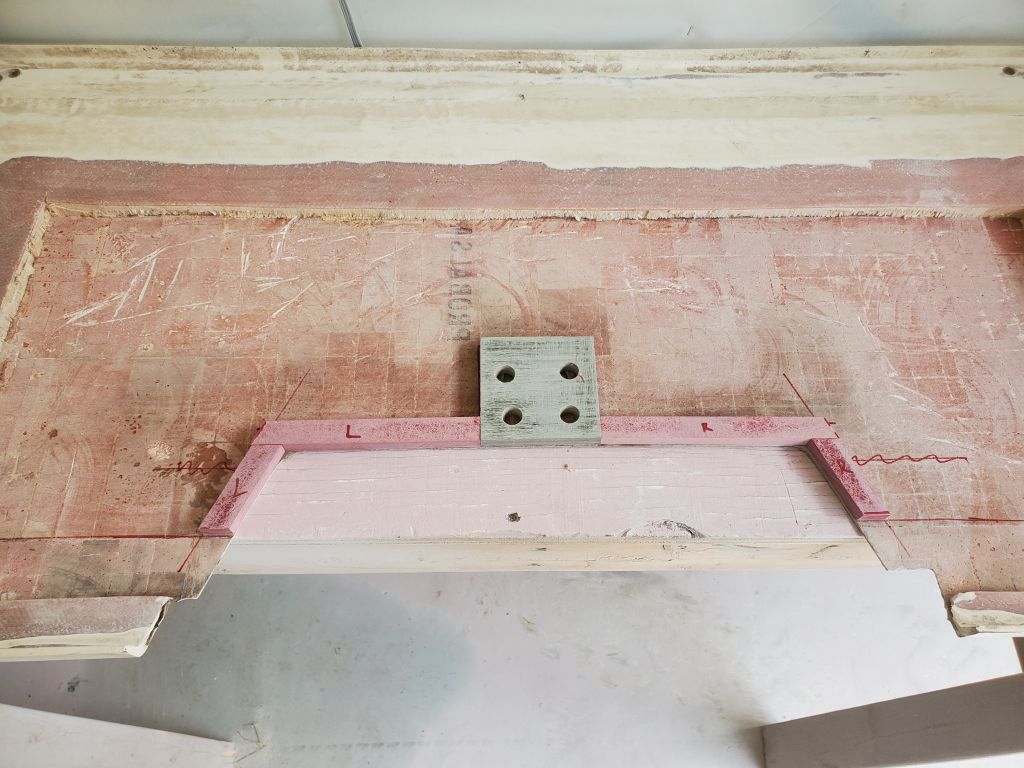
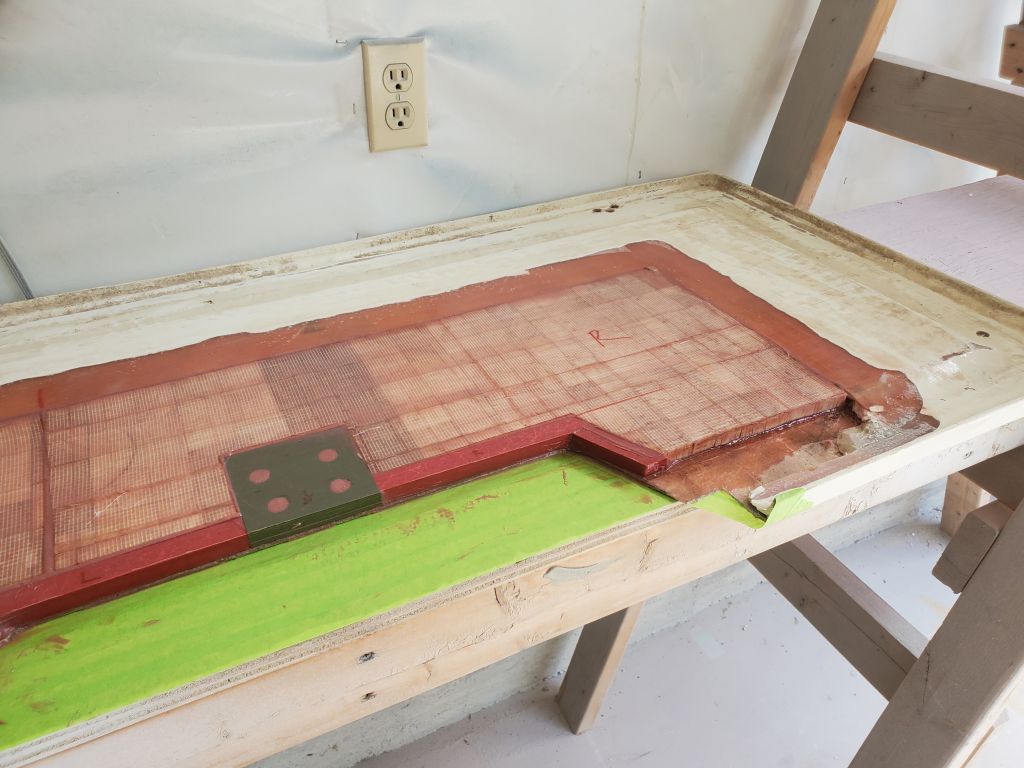
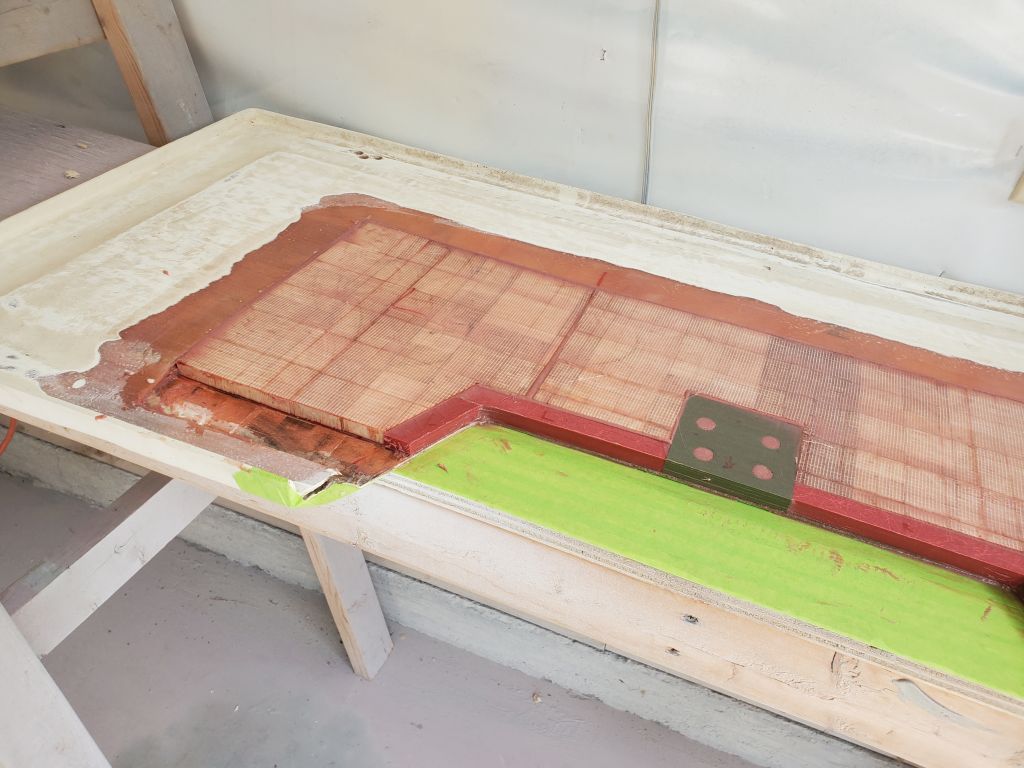
I prepared the livewell hatch for new coring by first masking over any screw holes on the top, visible side of the panel. Afterwards, I cut pieces of 1/2″ solid fiberglass sheeting as needed to provide a solid glass edge to the cutout in the hatch, as well as around the latching mechanism. I didn’t have a lot of 1/2″ material on hand so I repurposed a piece that was just the right size, but had four holes drilled from some past attempt as a backing plate; most of this section would later be drilled out for the 2″ hole required for the latch, and in any event I’d just fill the existing holes with epoxy during installation.
With the borders and solid areas determined, I cut 1/2″ balsa core to fit the remainder. The open areas near the aft end of the hatch (bottom edge of the last phot0) would eventually be filled with solid fiberglass to create the proper thickness and taper into the cored area as elsewhere on the part.

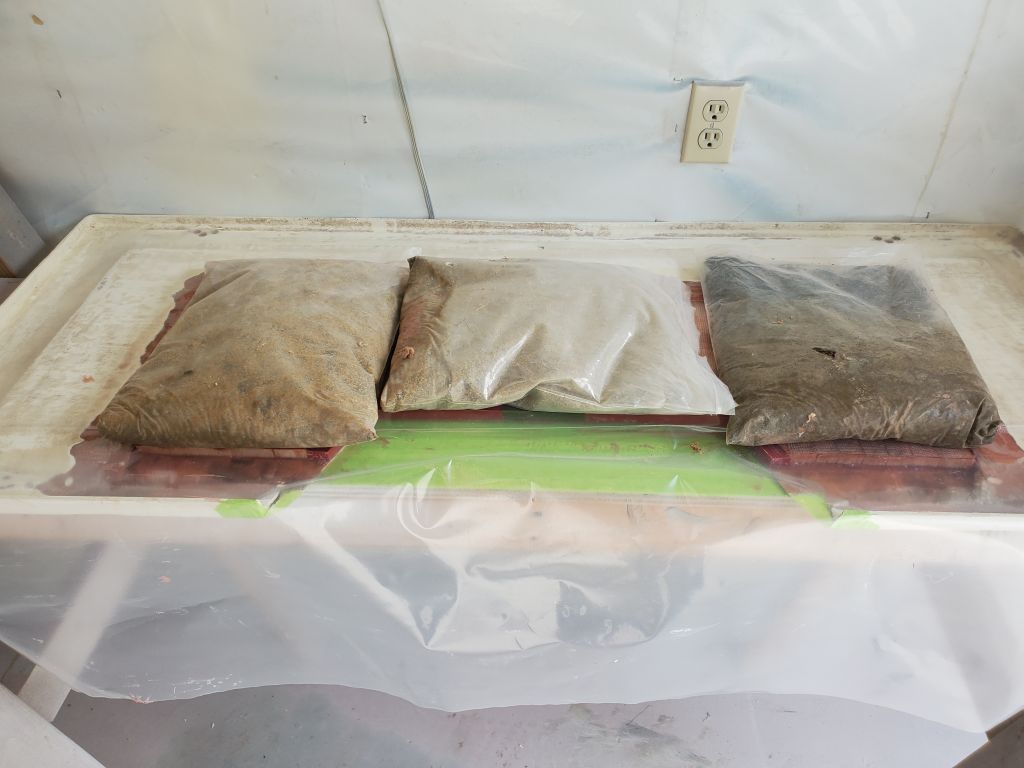
After final preparations and cleanup, I installed the new core and fiberglass edges in thickened epoxy adhesive, then added weights to hold the core tightly into the adhesive while it cured.
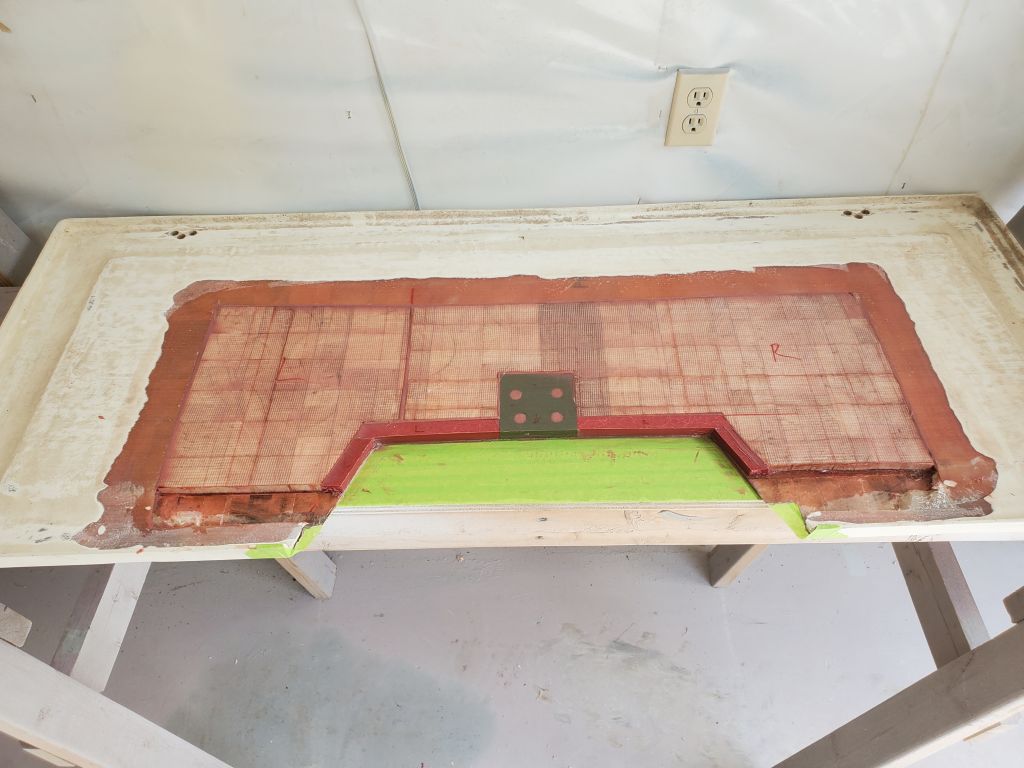
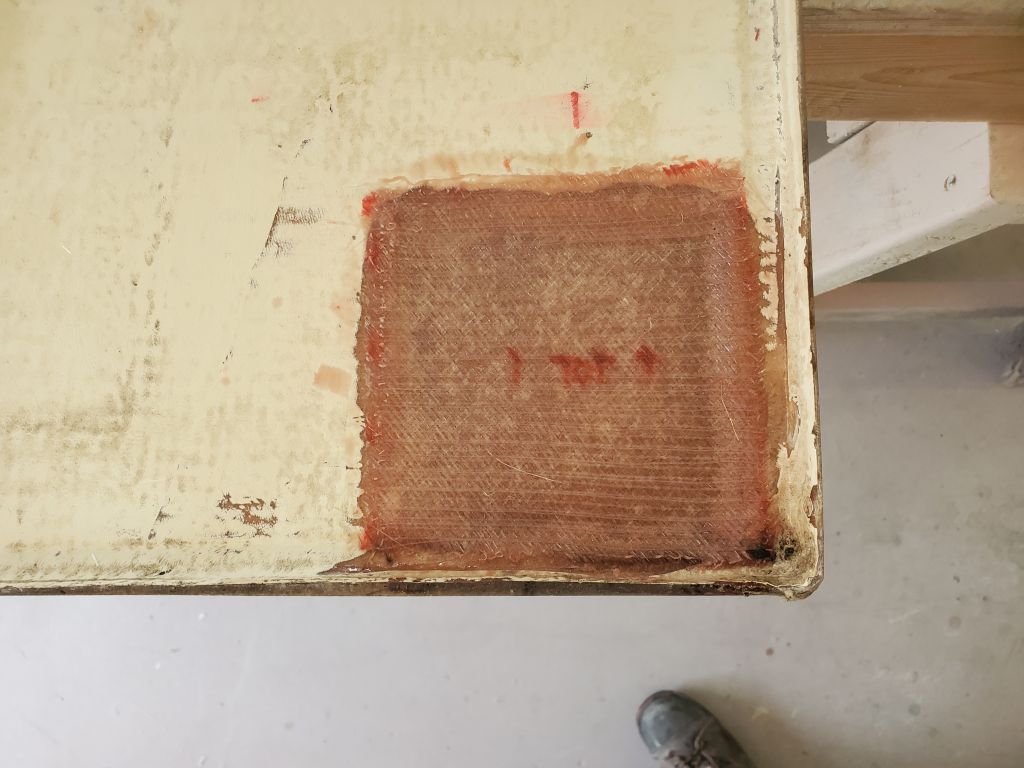
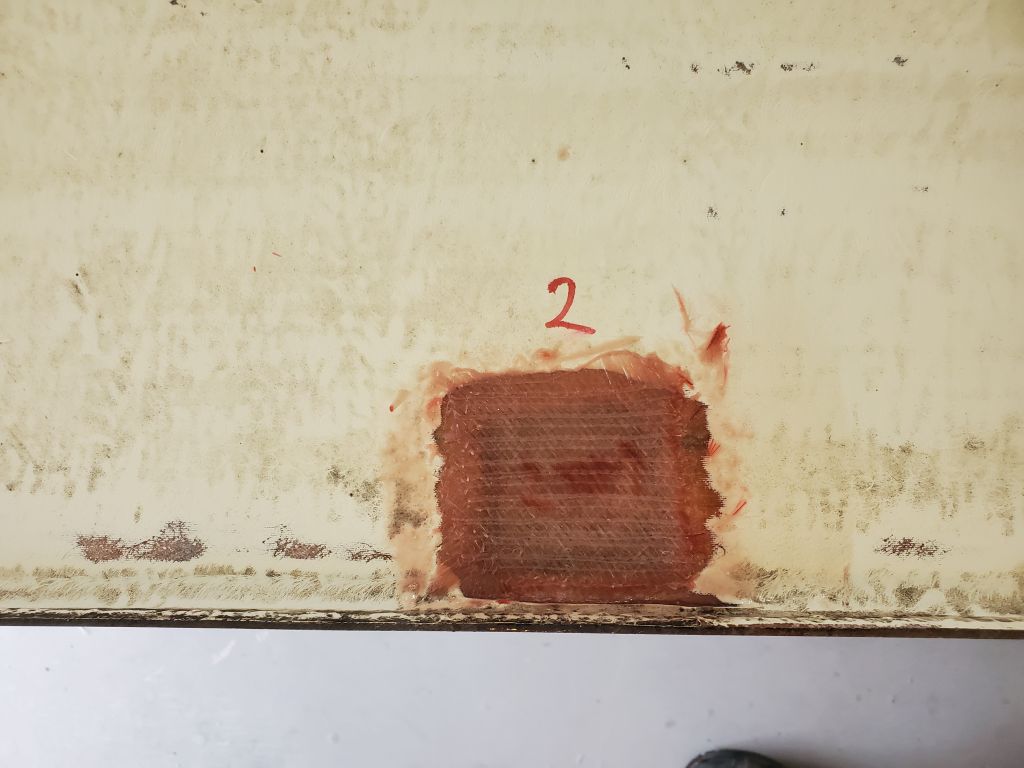
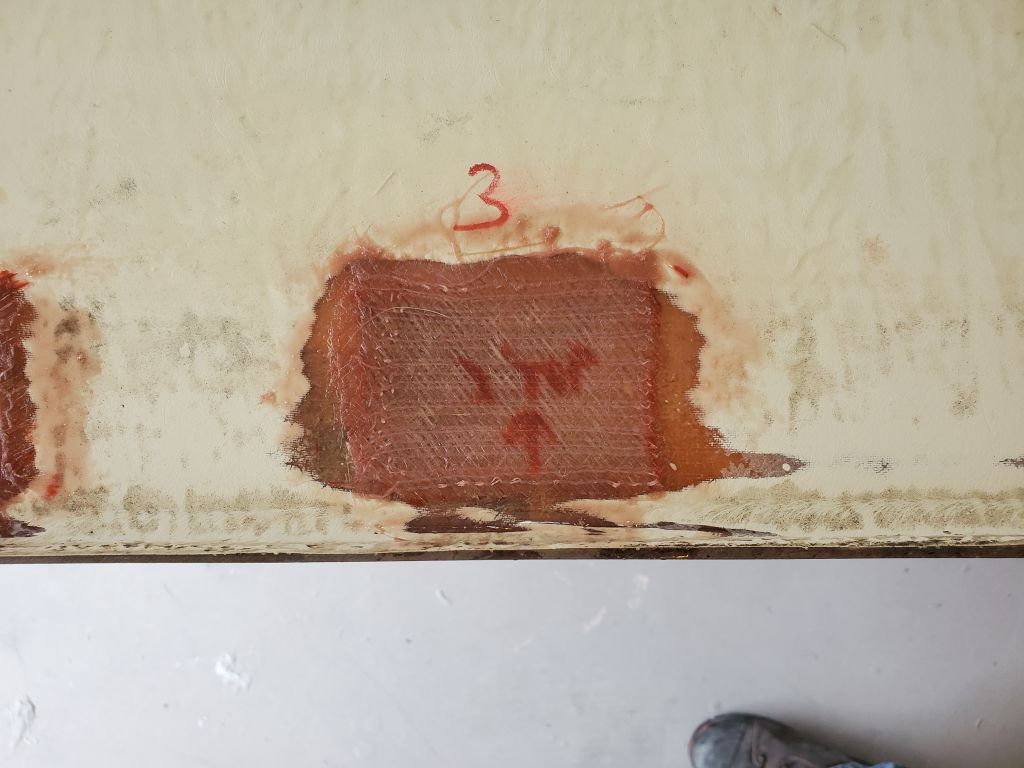
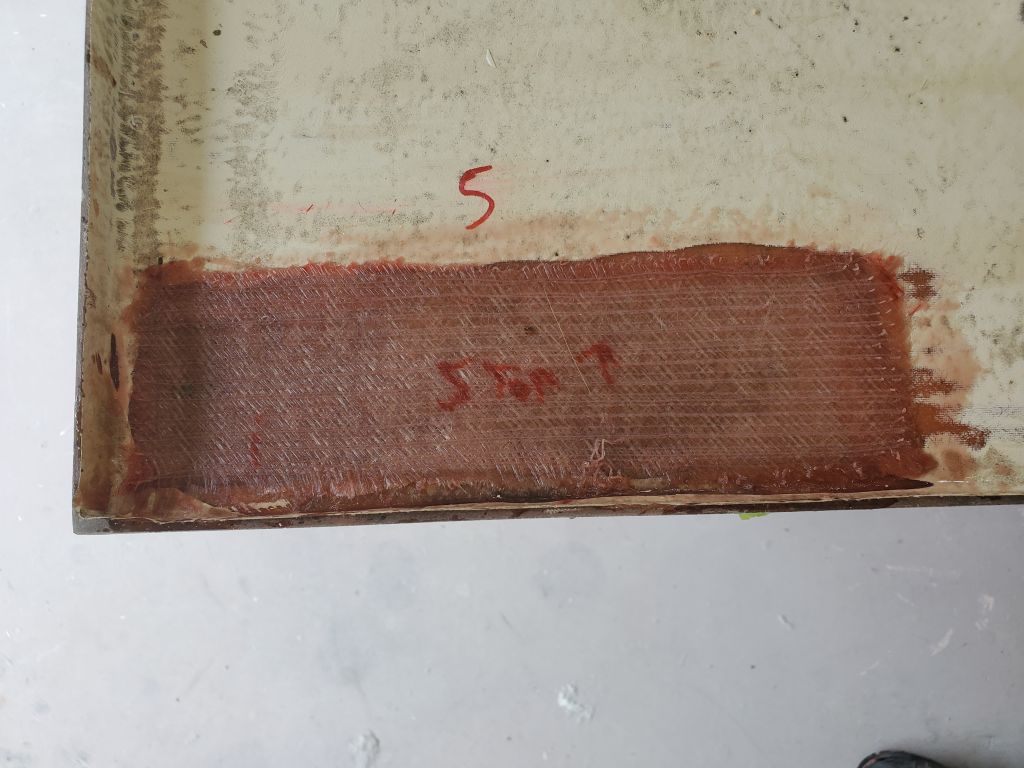
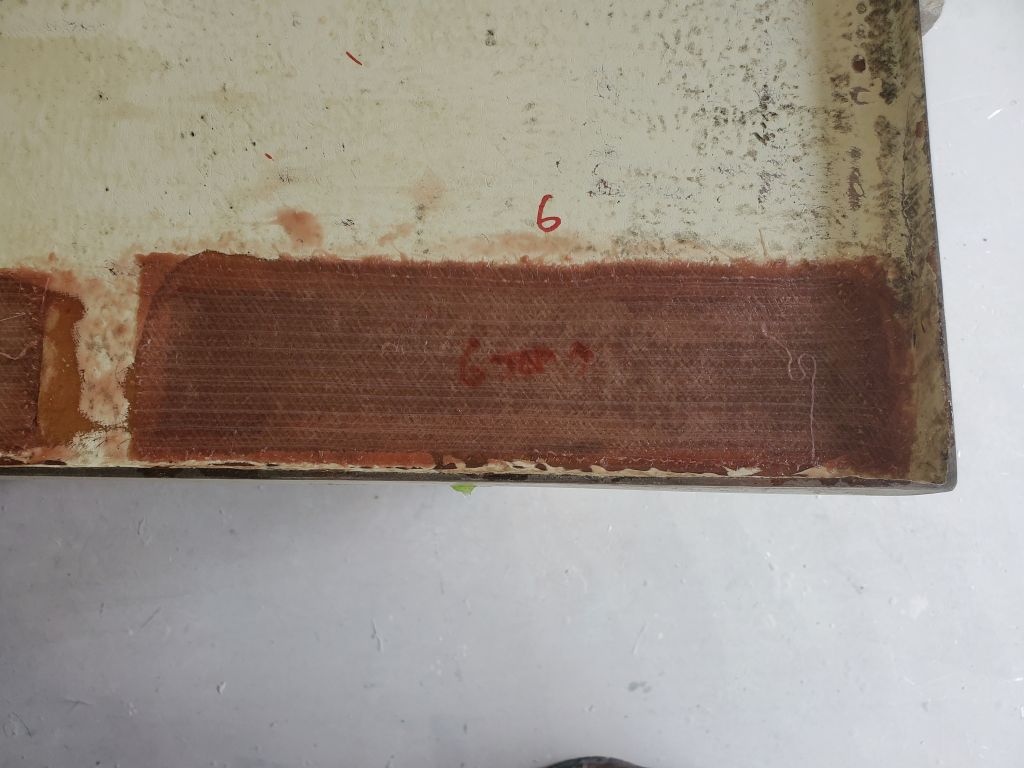
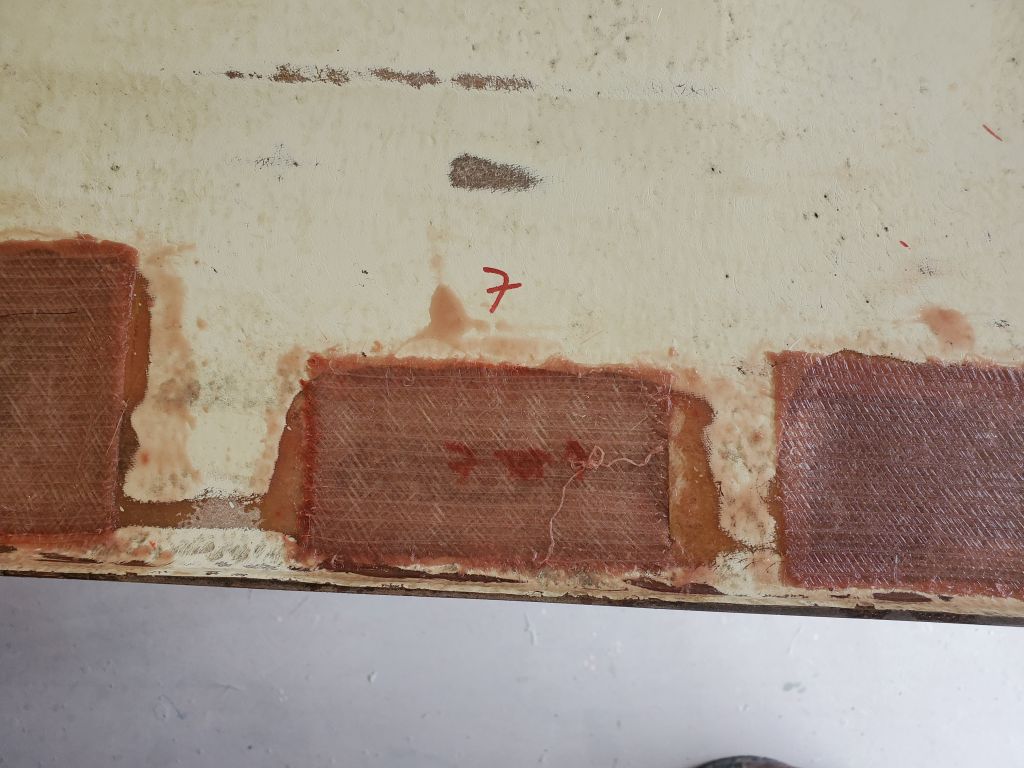
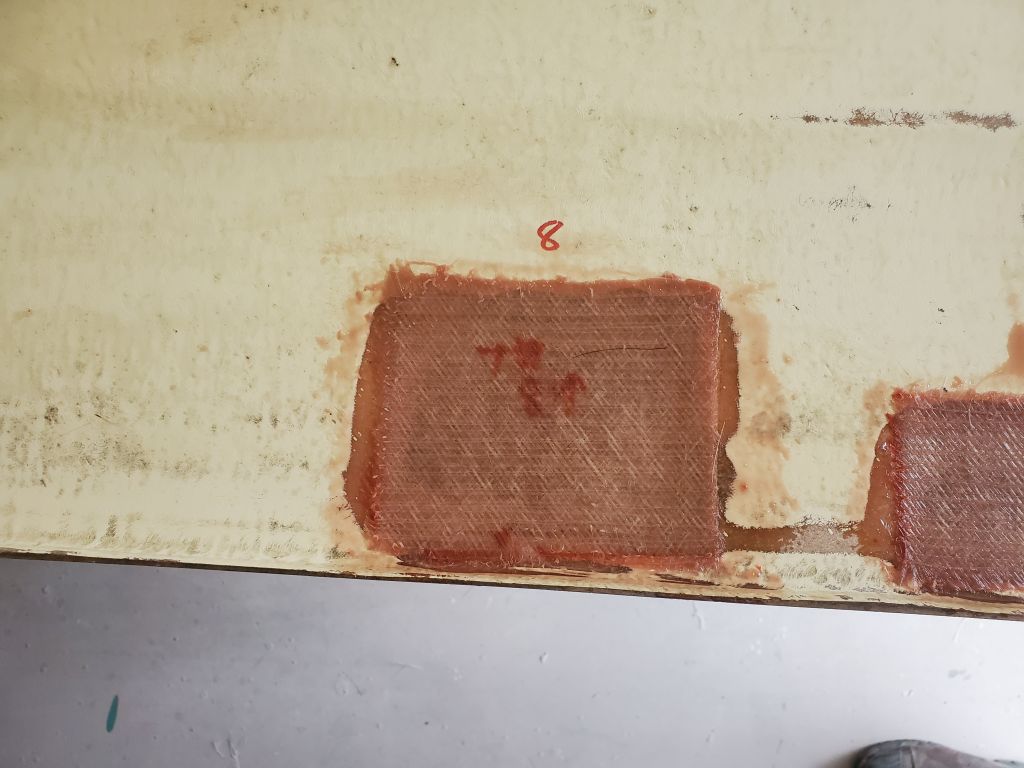
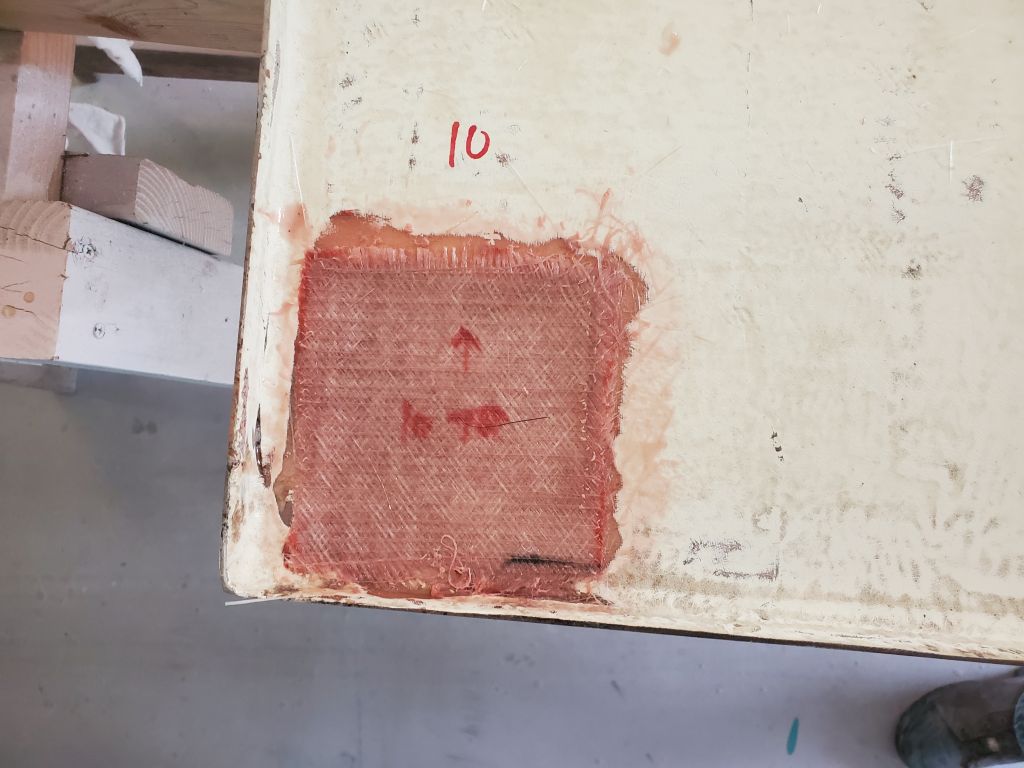
After masking over the screw holes from the top side of the large fuel tank hatch, I cut fiberglass to fit all 10 of the generally-rectangular voids I’d opened on the underside: five layers of 1708 to fill the voids flush, then a slightly larger layer to overlap the previously-prepared areas of the adjacent panel.
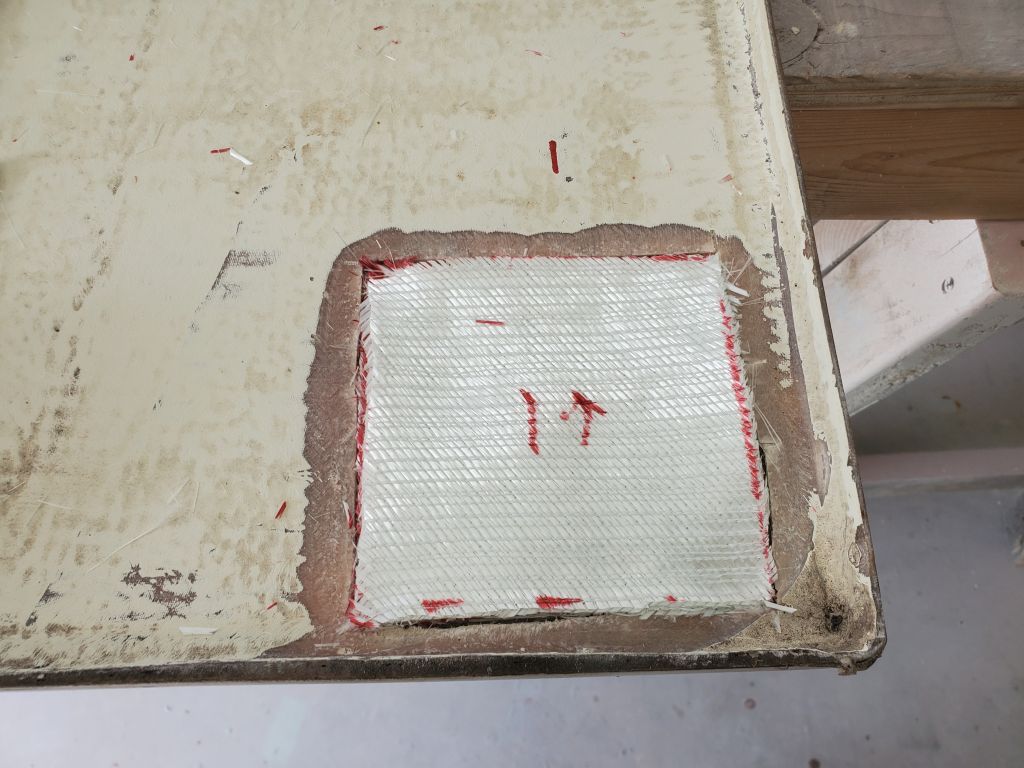
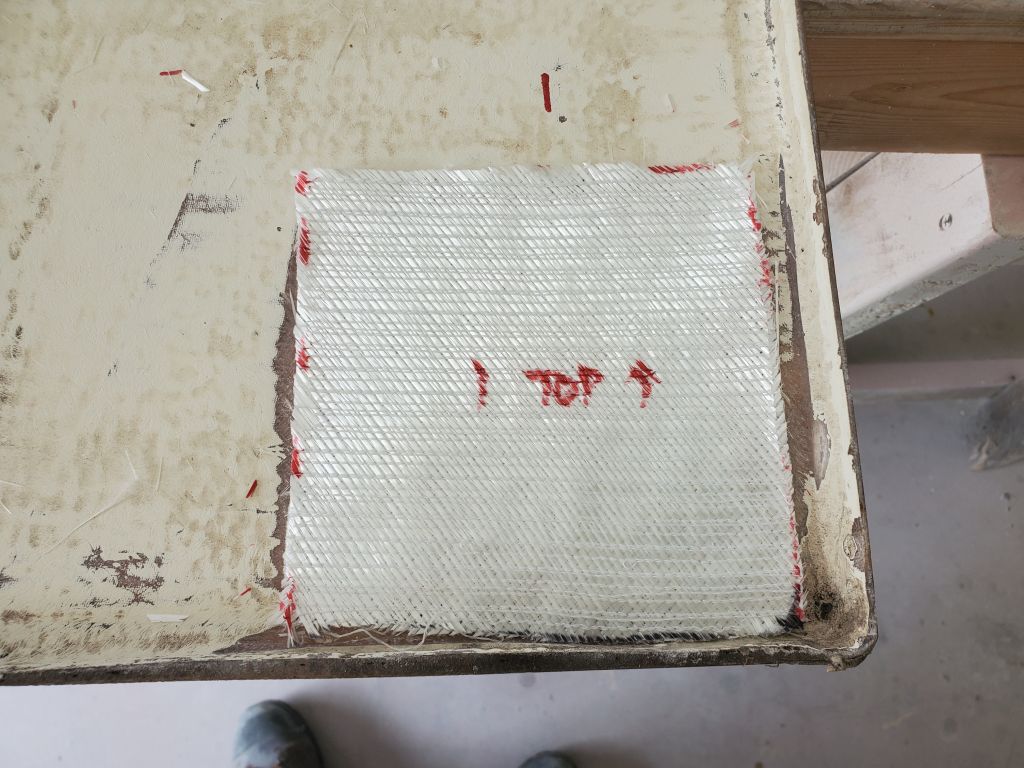
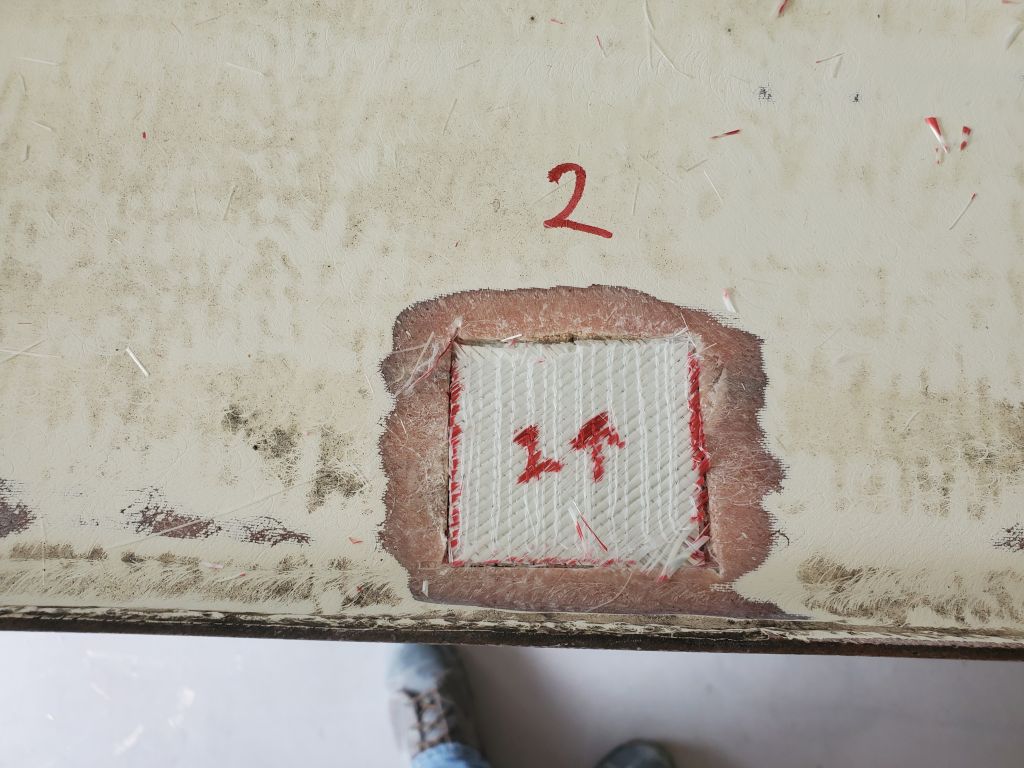
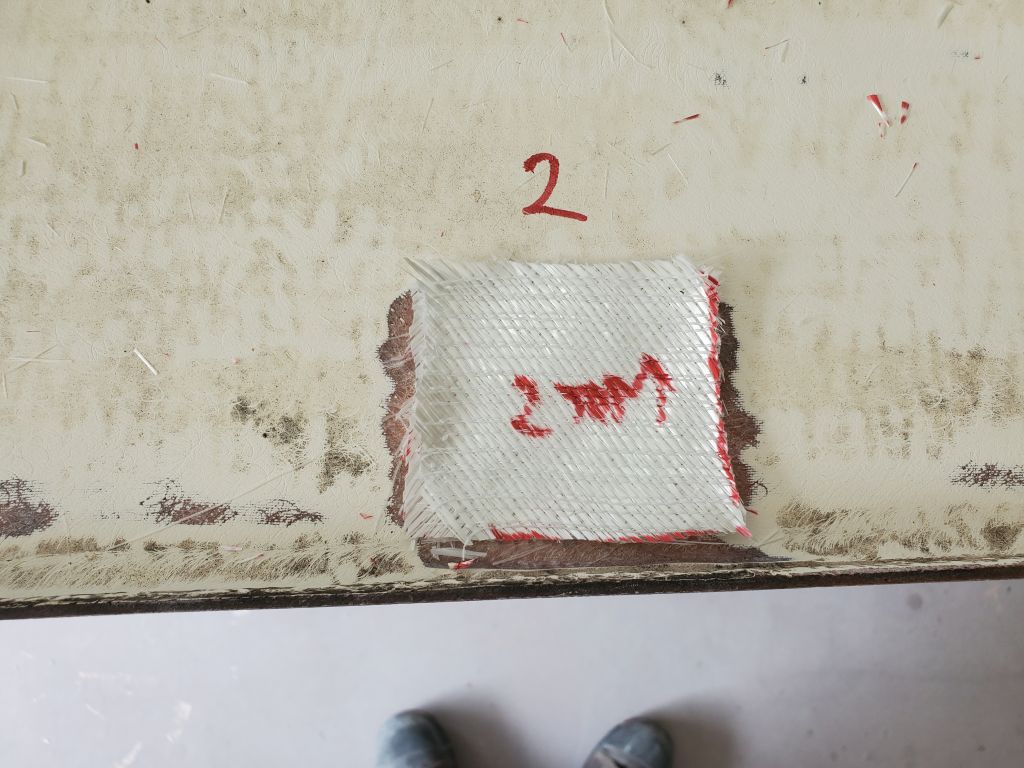
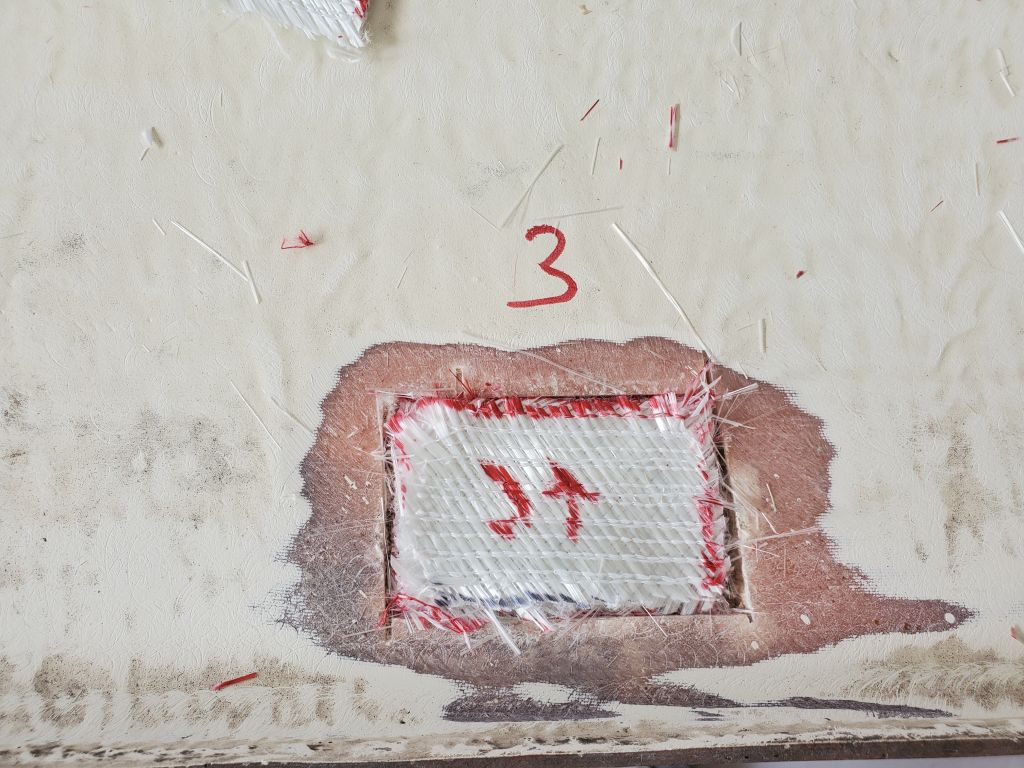
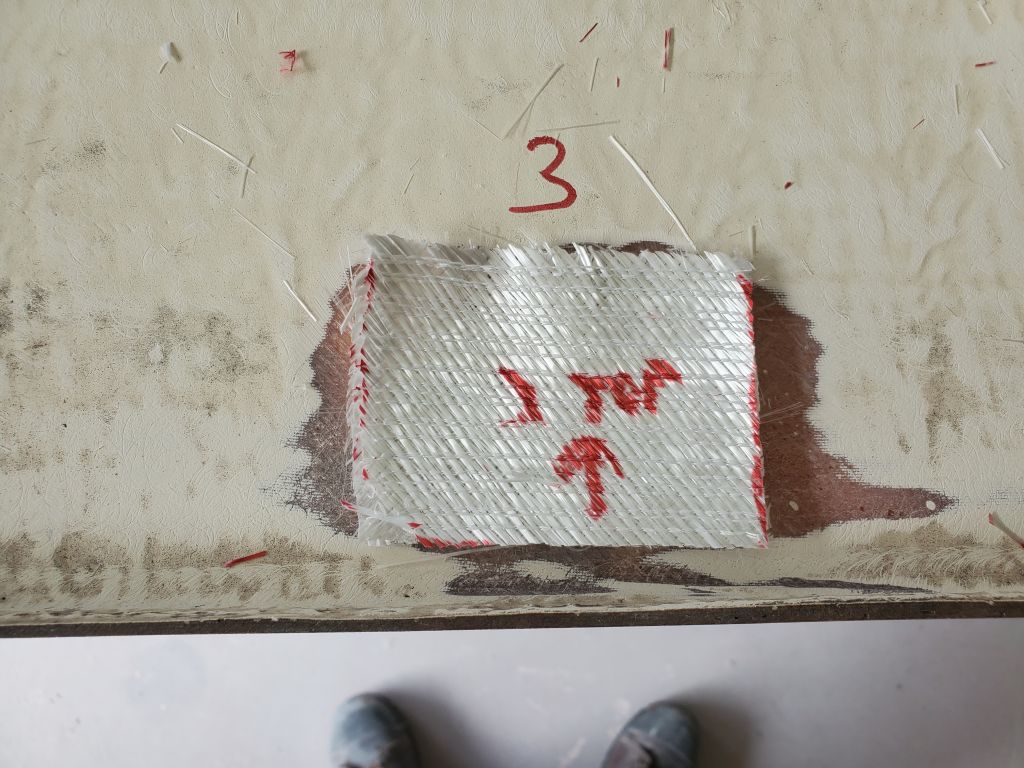

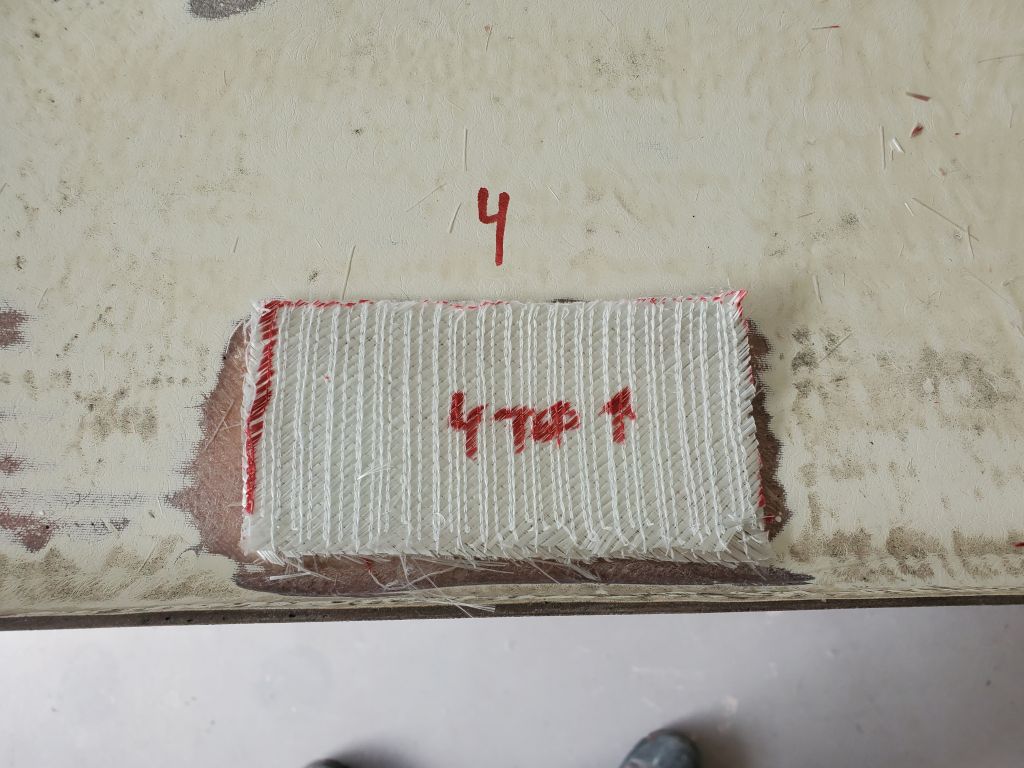
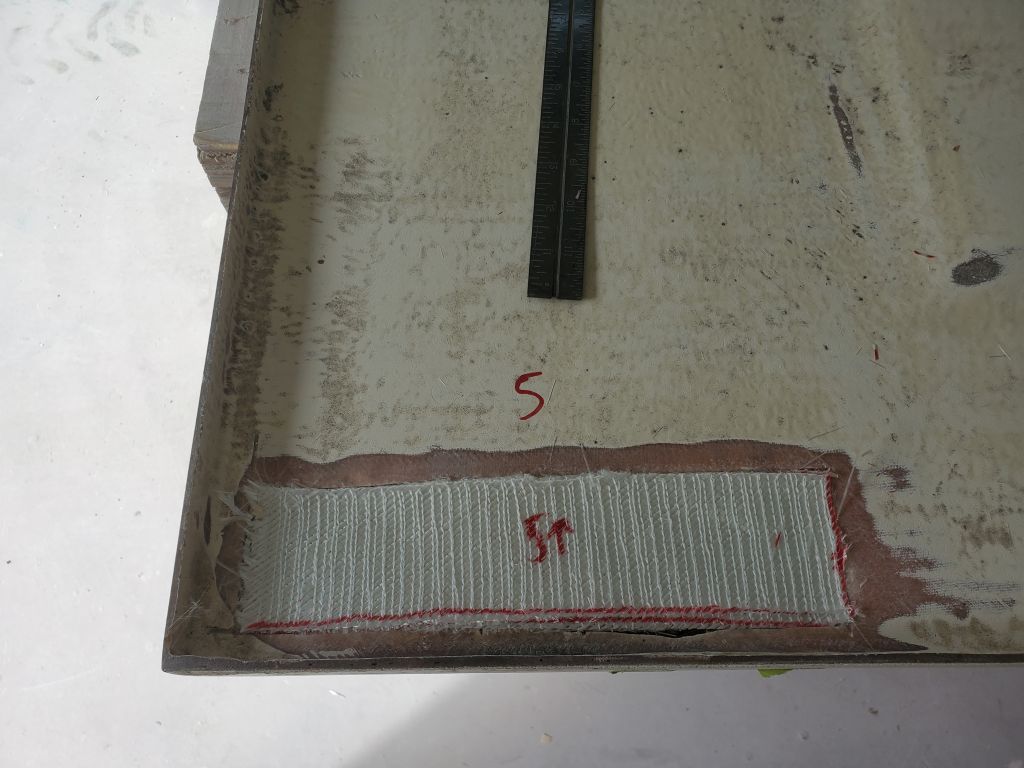
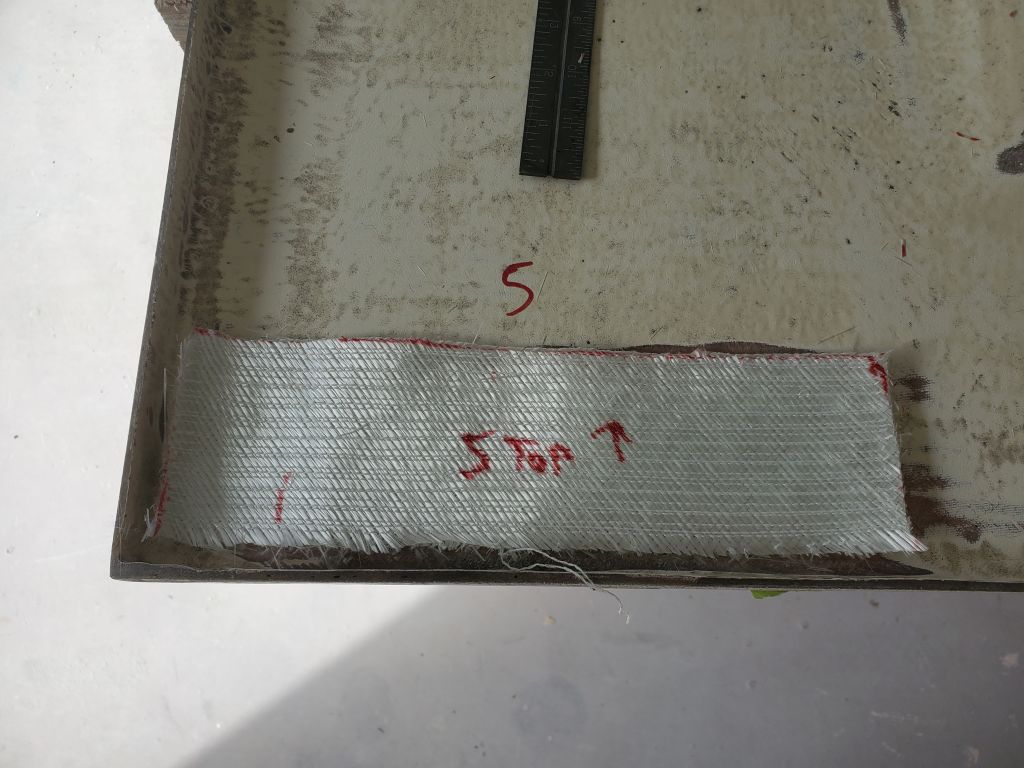

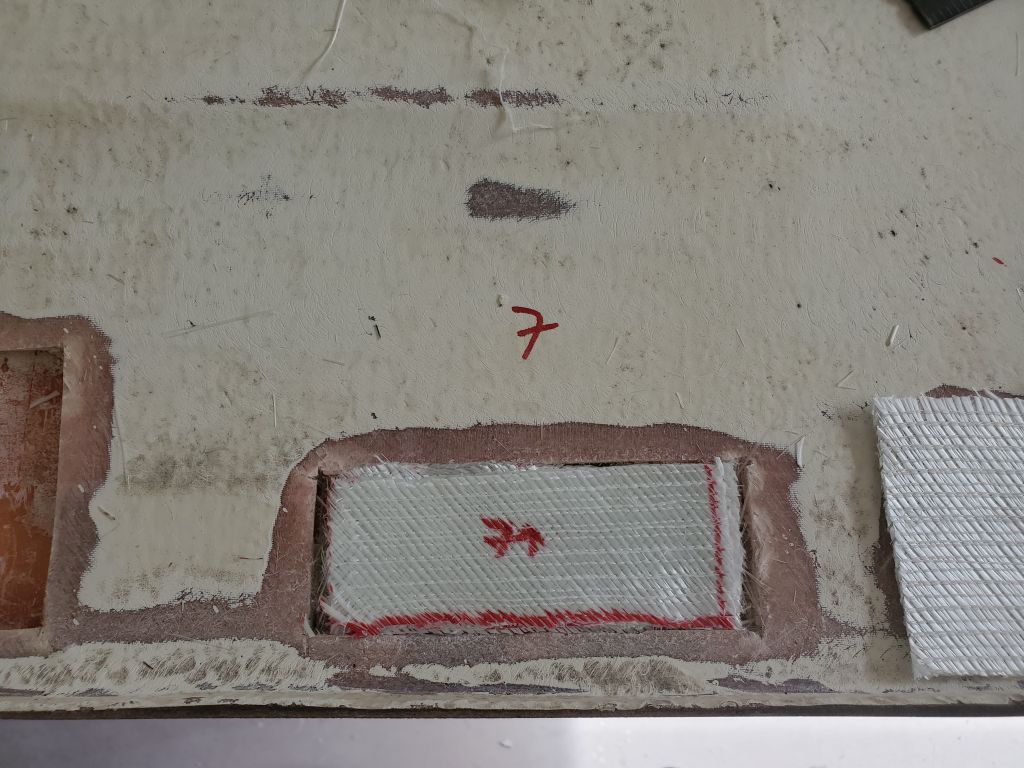
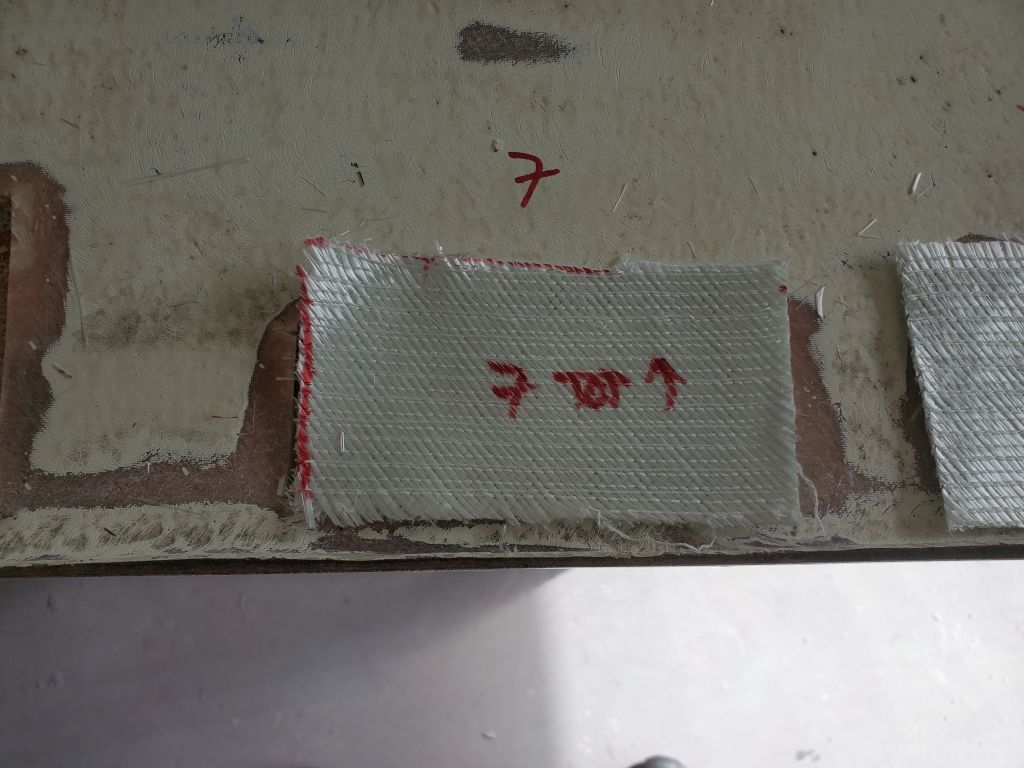

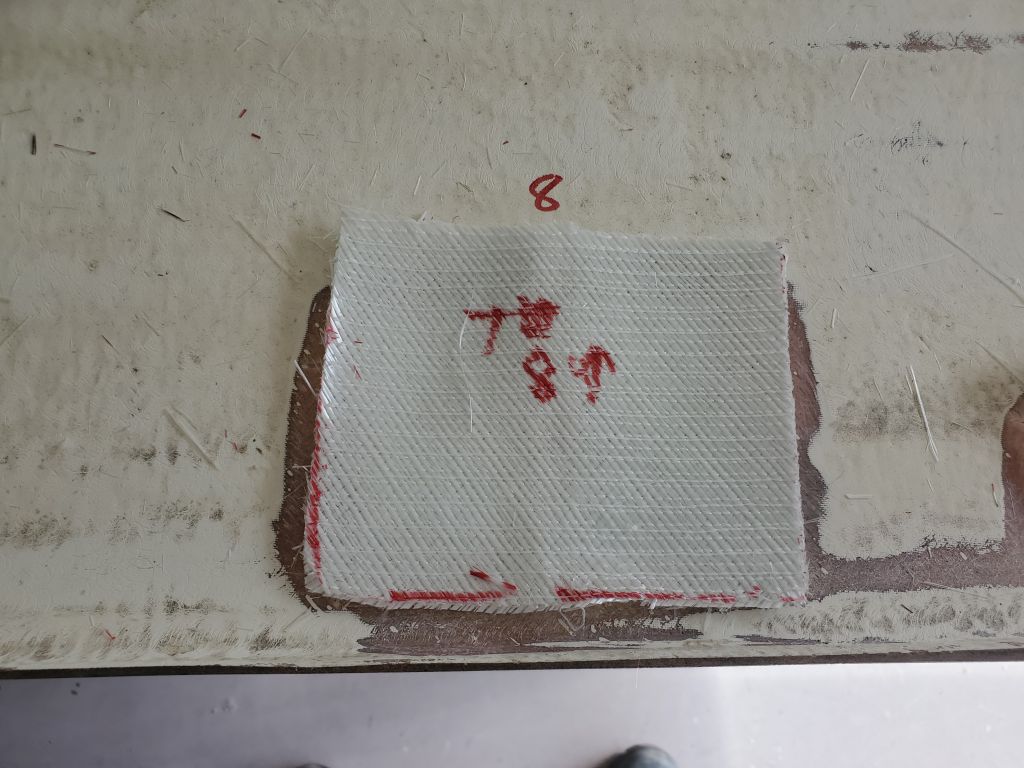
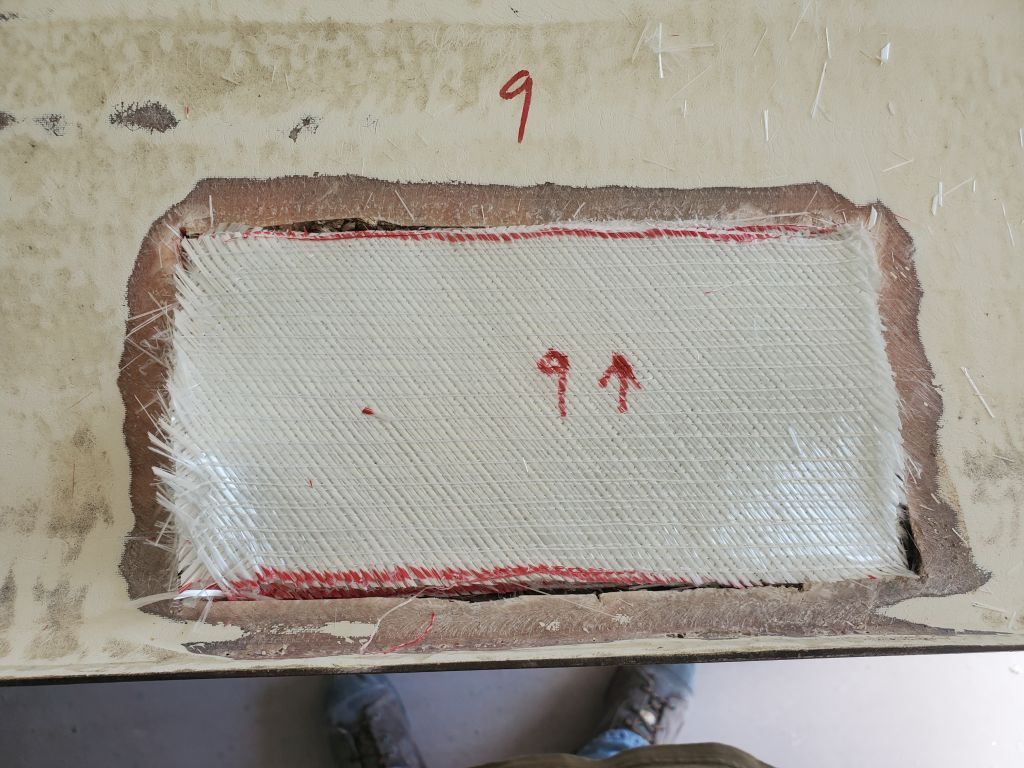
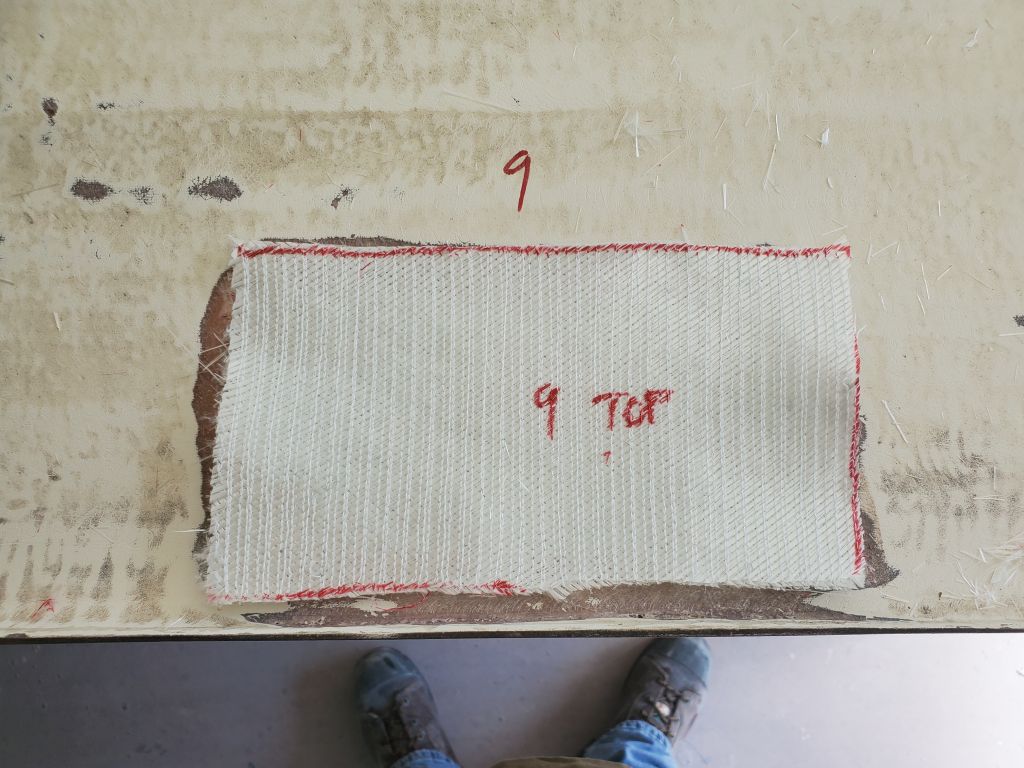
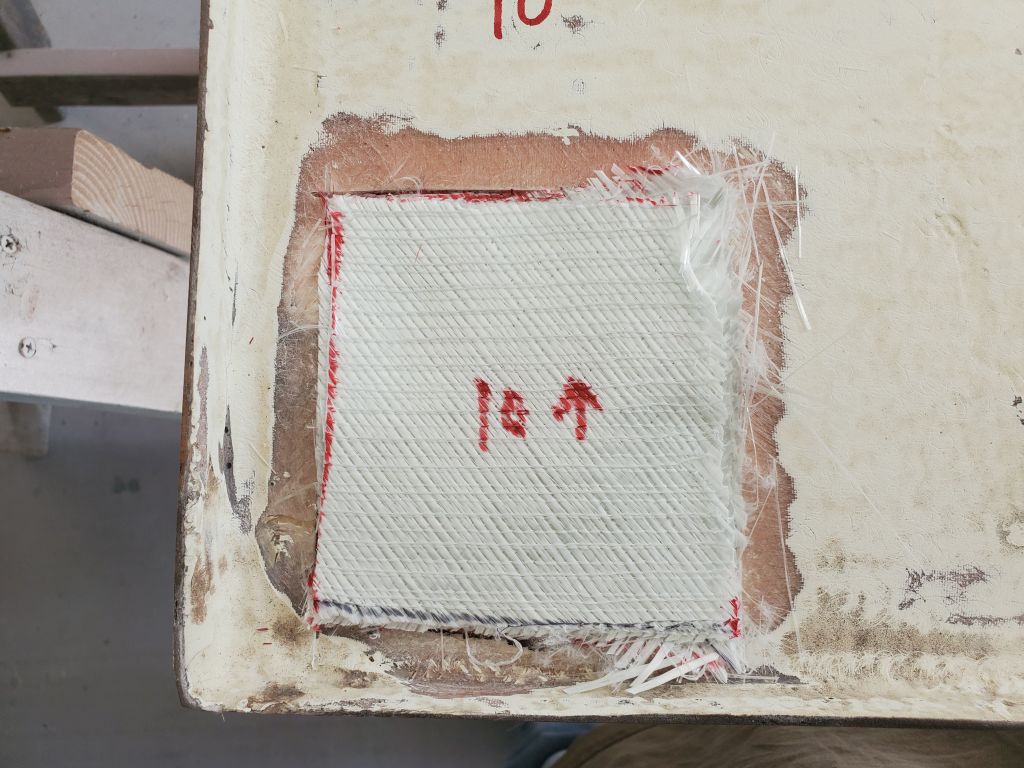
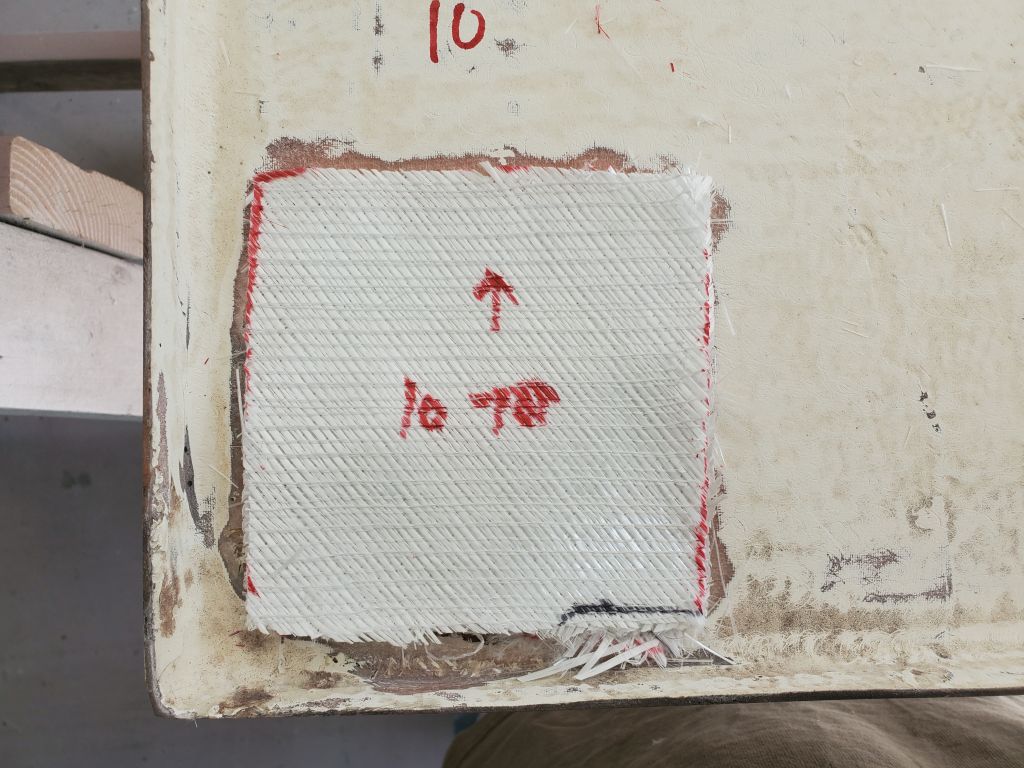
After cleaning and preparing all areas, I started with some thickened epoxy and filled the existing screwholes and any small voids around the edges (particularly the outer edge) where I’d reamed out the old core. Then I wet out and installed all 60 pieces of cloth to fill and repair all 10 voids.


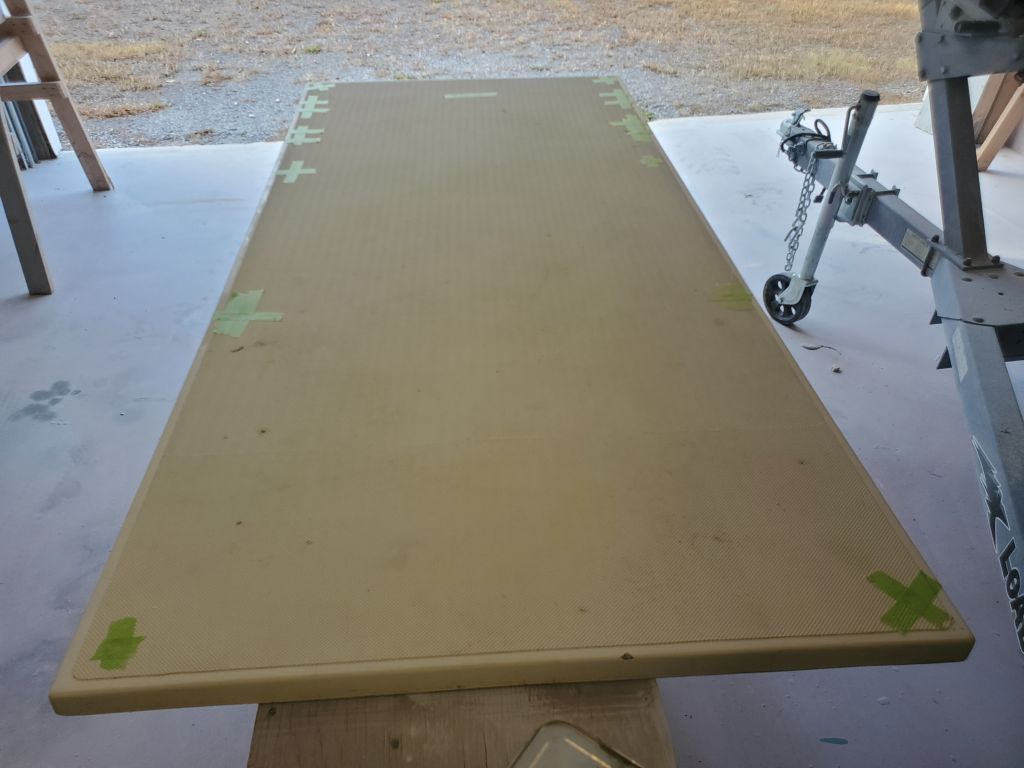
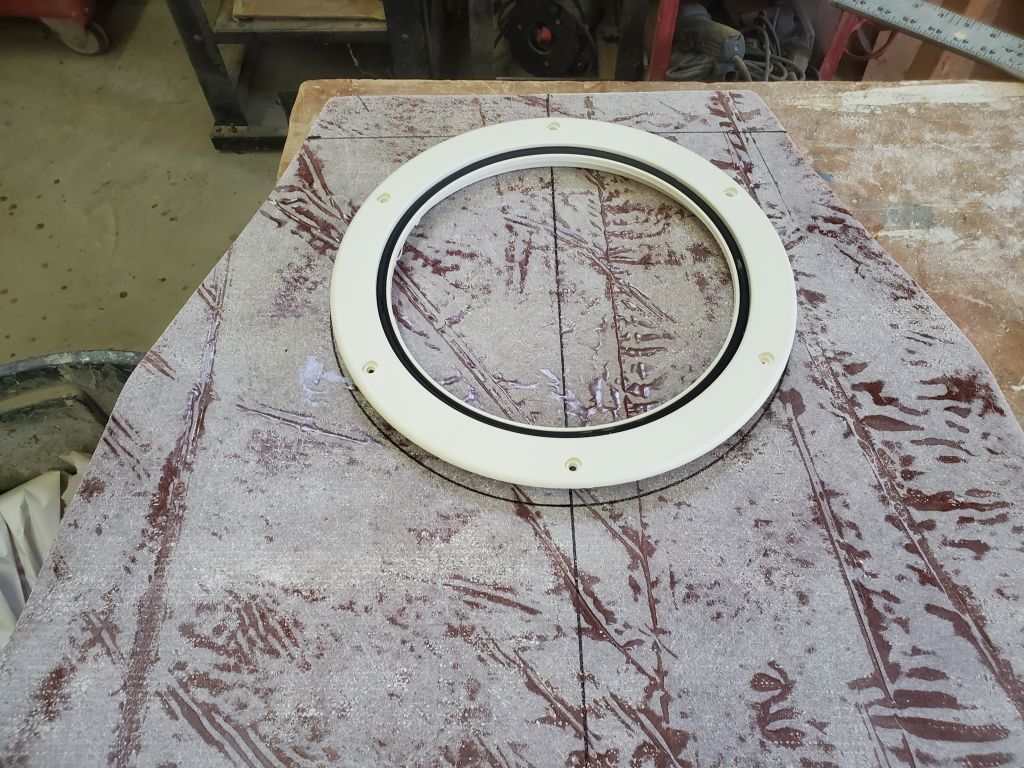
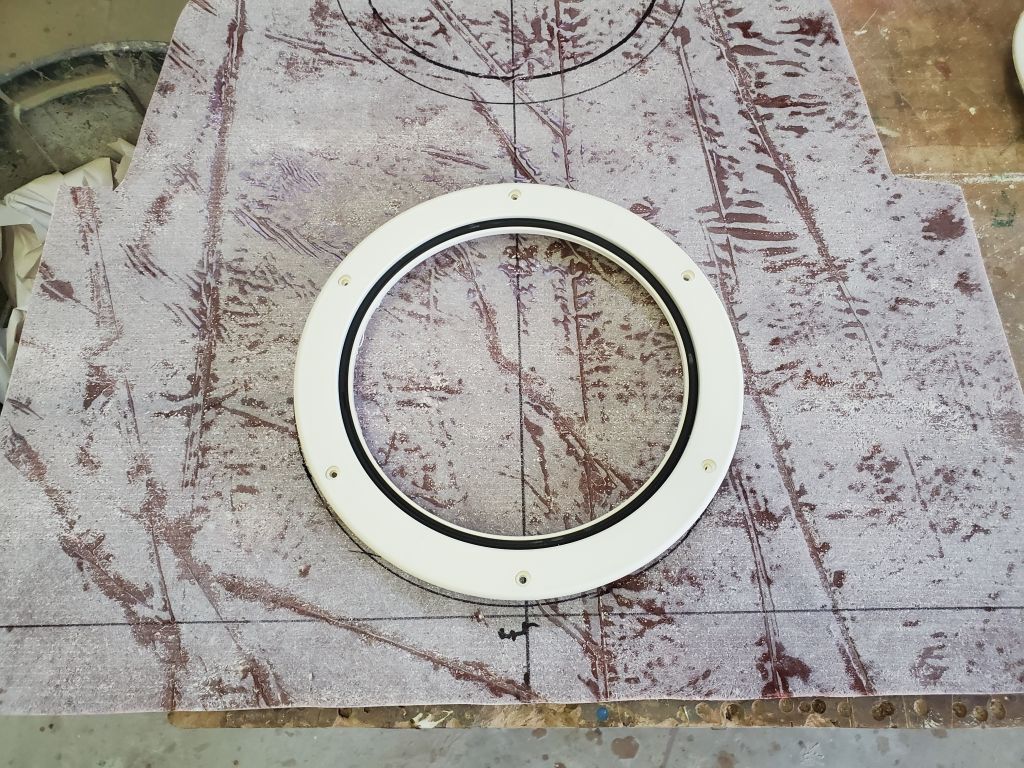
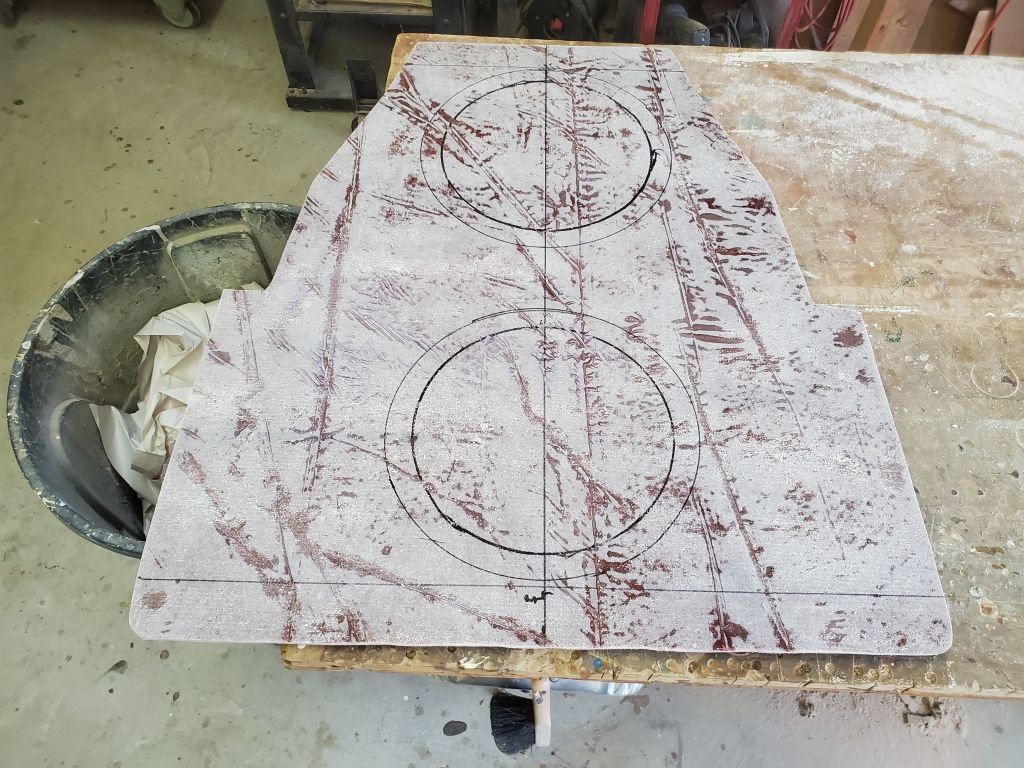
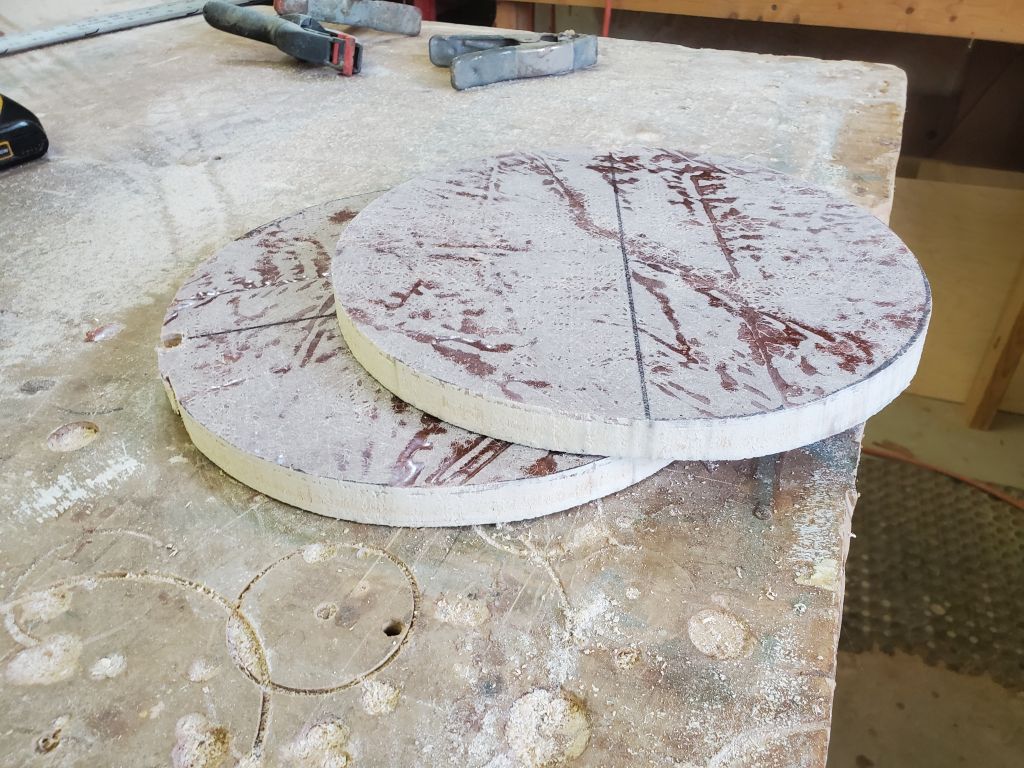
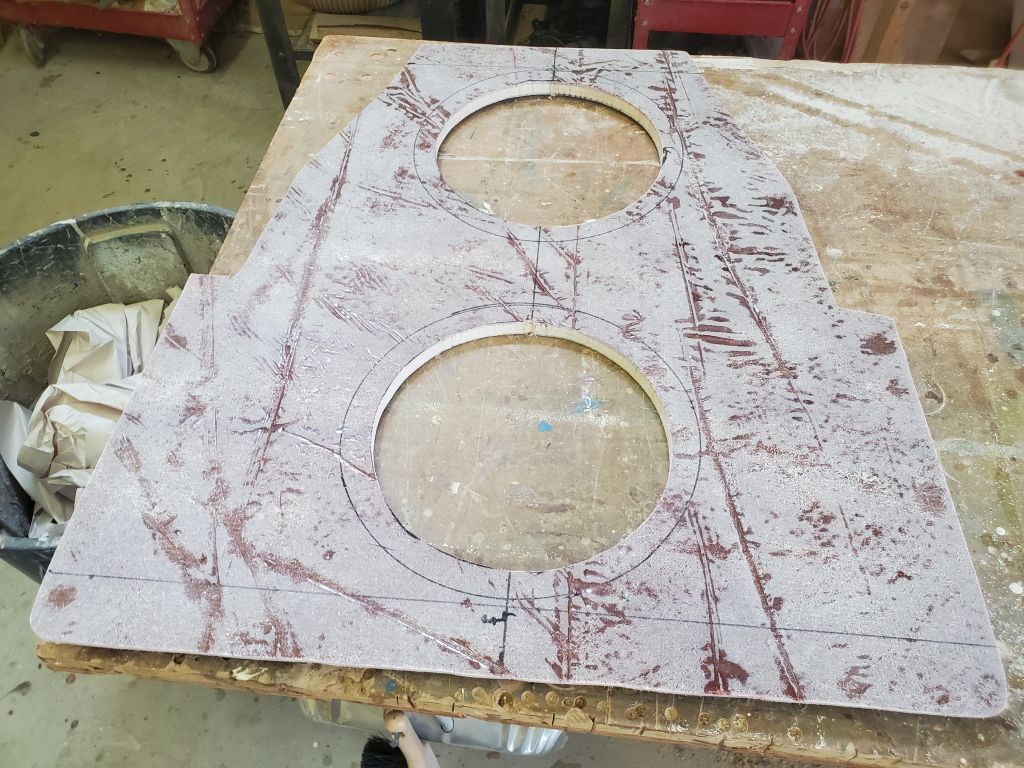
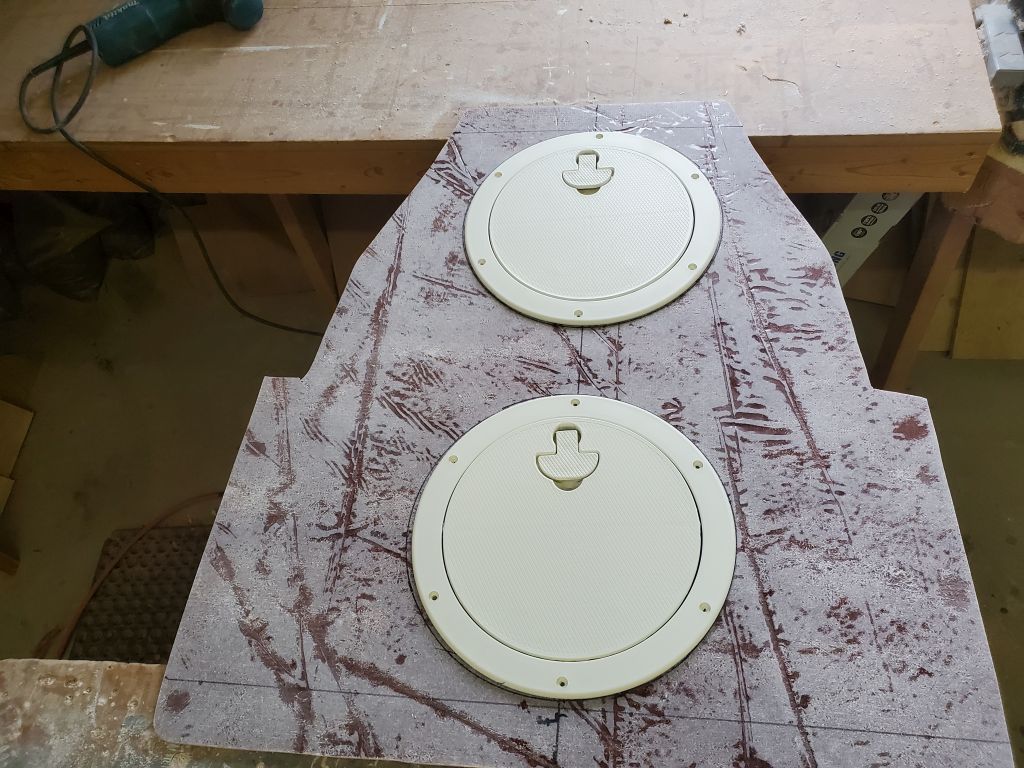
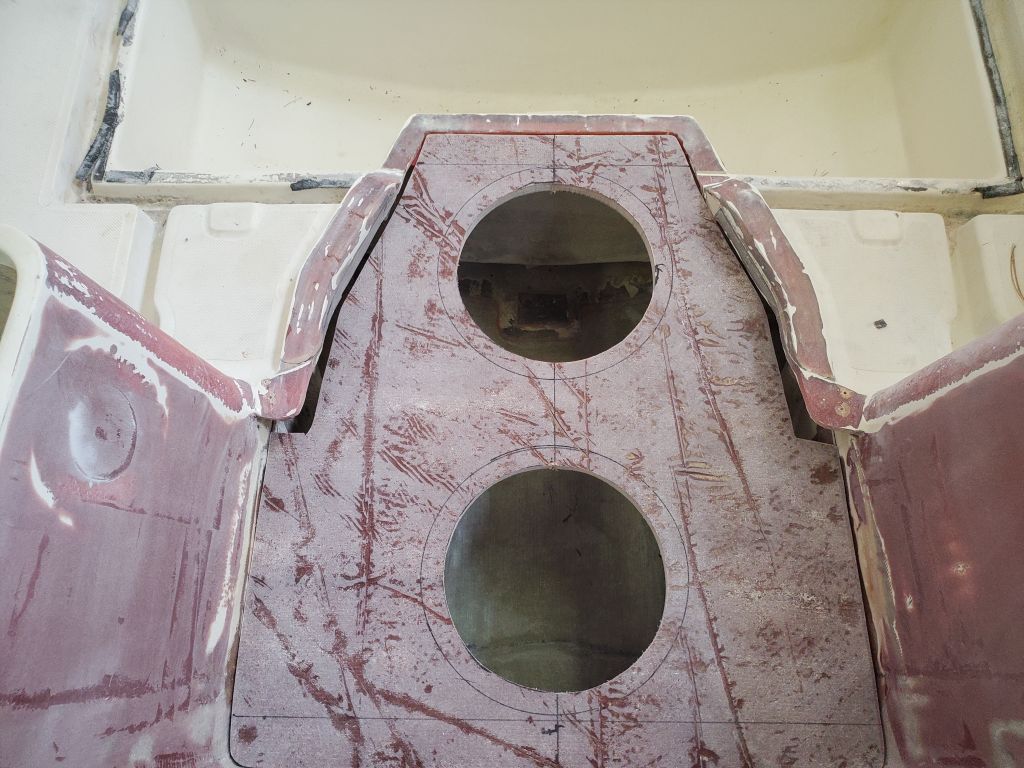
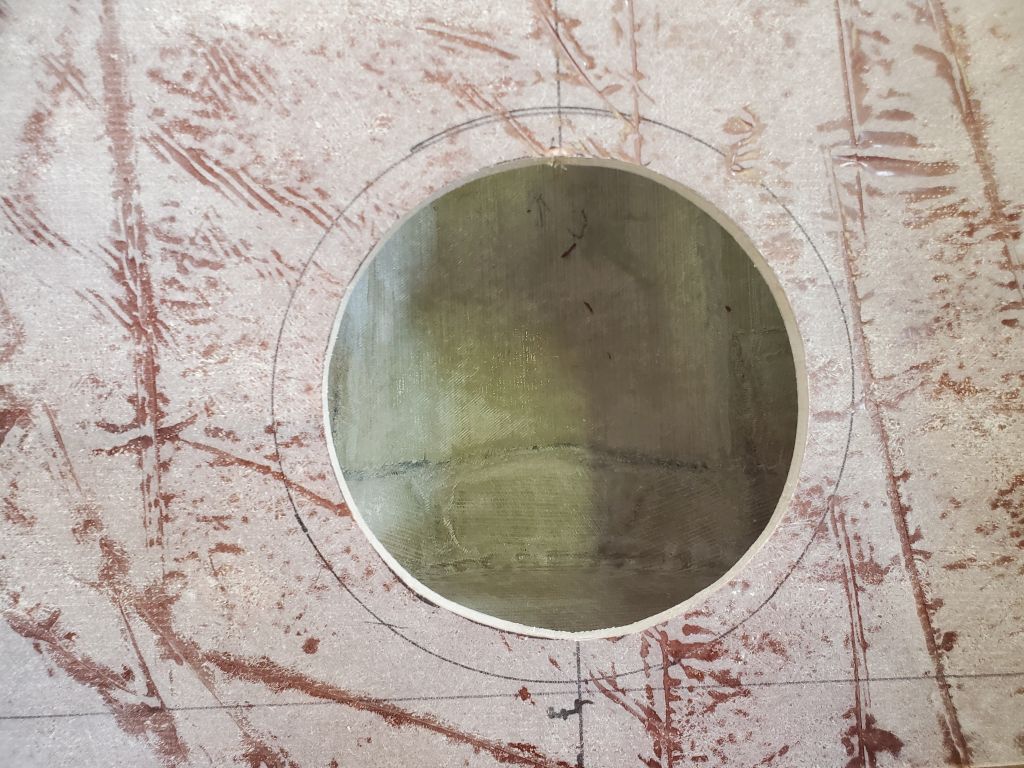
To provide access beneath the new outboard well, I chose two large round access hatches. I selected these rather than rectangular versions because they fit the narrow space well, and I thought they’d give better access overall, and because the lids were completely removable for better access; the plastic rectangular hatches have lids that only hinge open, and in this confined space would generally end up being in the way. Now I marked an actual centerline on the deck panel (while installed in the boat), and after some additional layout positioned the two hatches near each end of the deck and made the round cutouts as needed. Later, next time I was working with epoxy, I’d ream out the core from the new openings and replace it with solid epoxy to prevent water ingress, but for now I was pleased with the access these openings would provide to the bilge beneath, for the bilge pump, hoses, or electrical needs going forward.

Total time billed on this job today: 6 hours
0600 Weather Observation: 48°, mainly cloudy. Forecast for the day: Chance of showers, patchy fog, mostly cloudy, 69°