

October 26, 2022
Holby 39
Wednesday
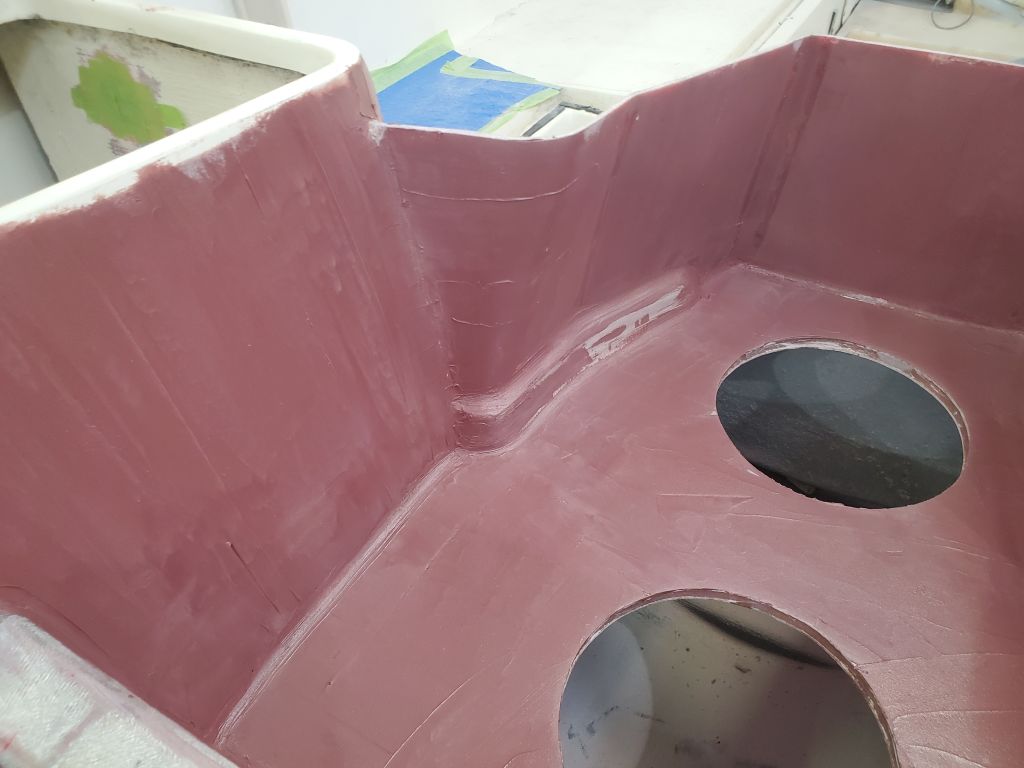
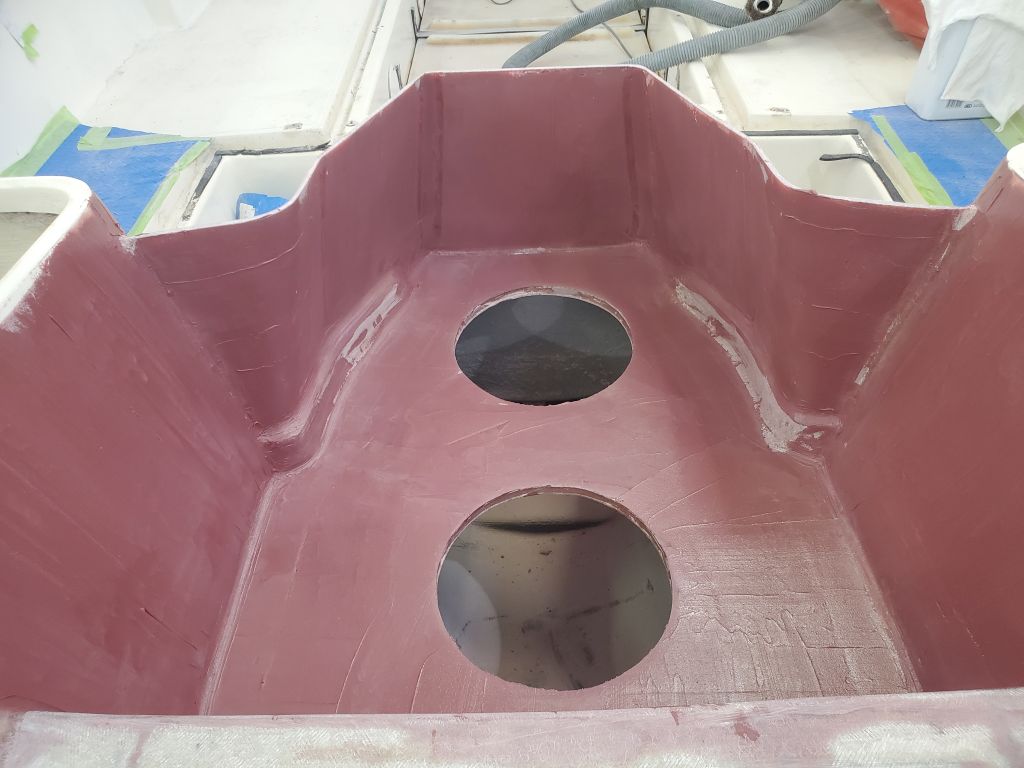
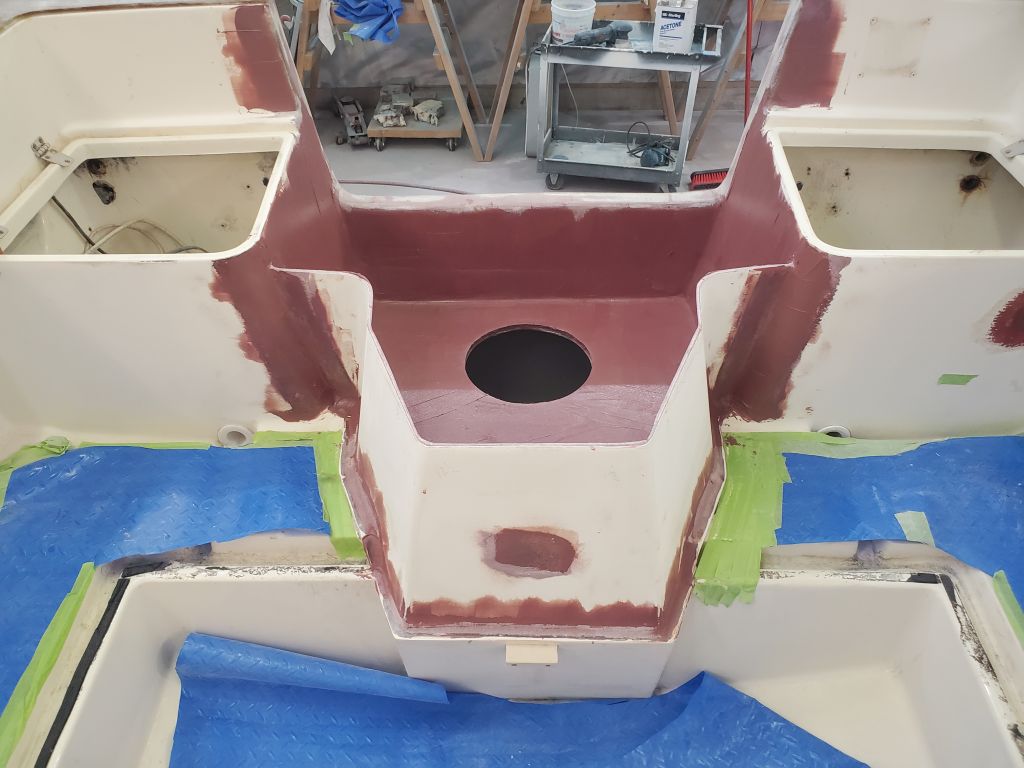
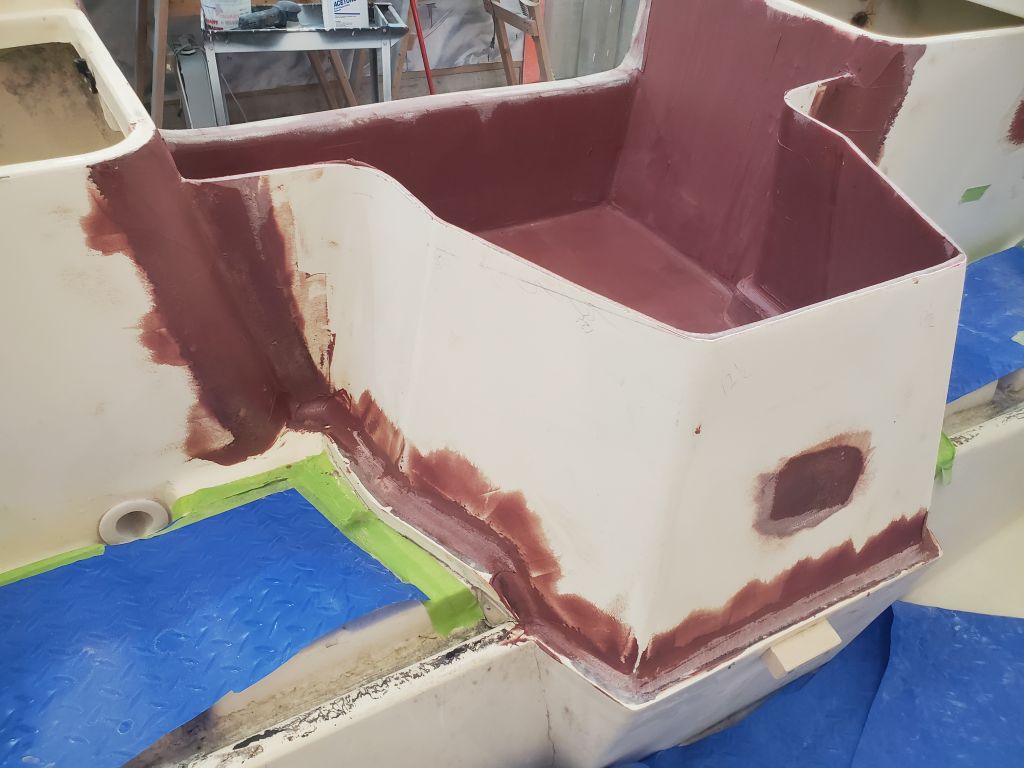
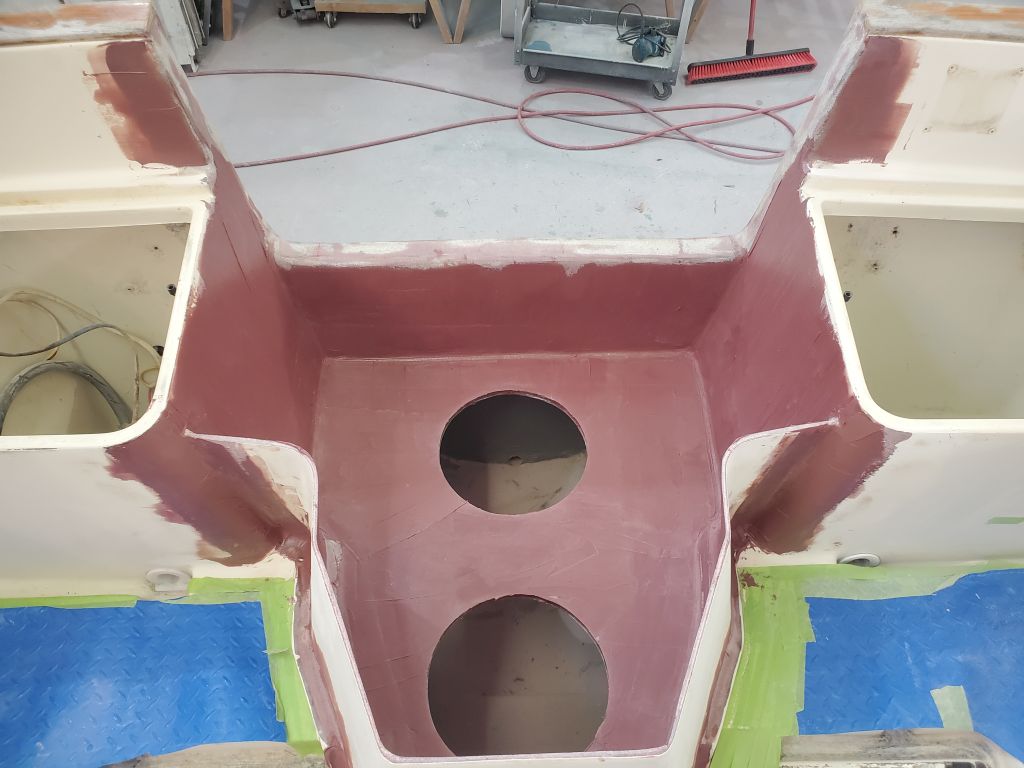
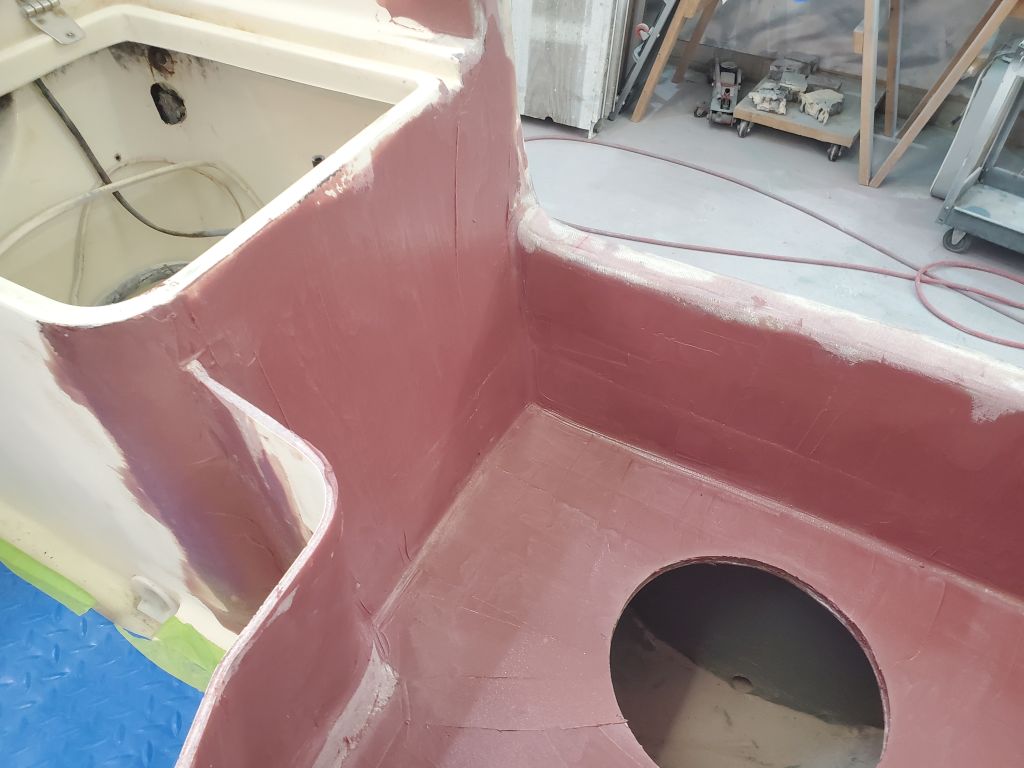
Continuing on the outboard well, I began the day by sanding the first round of epoxy fairing compound.
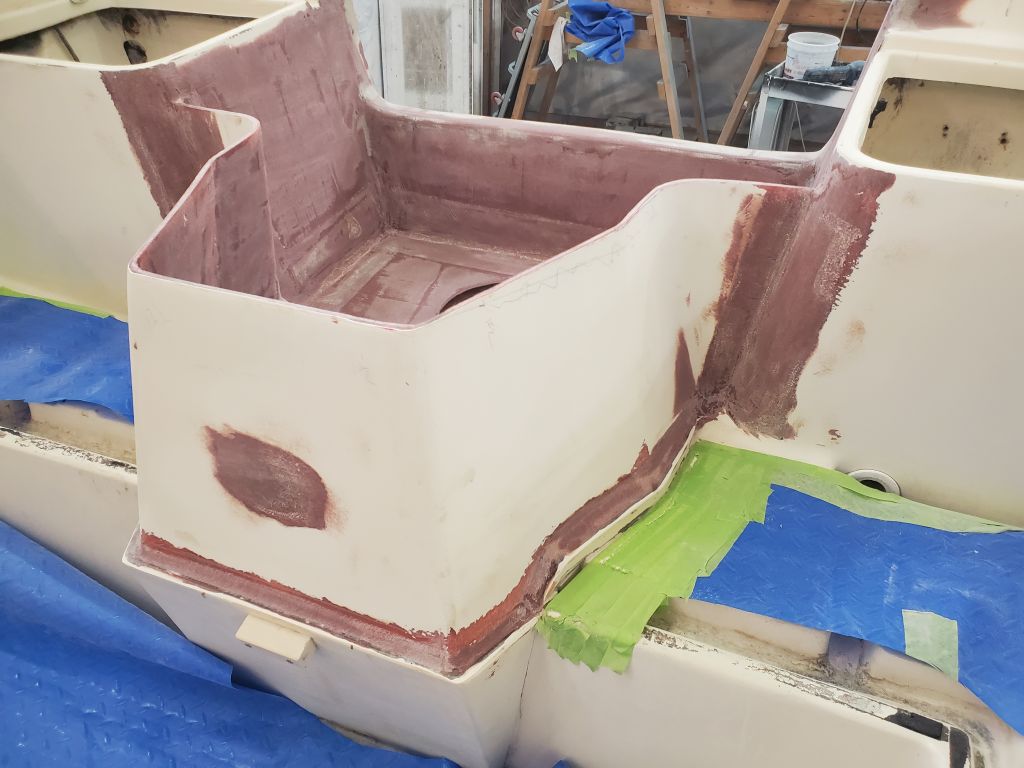
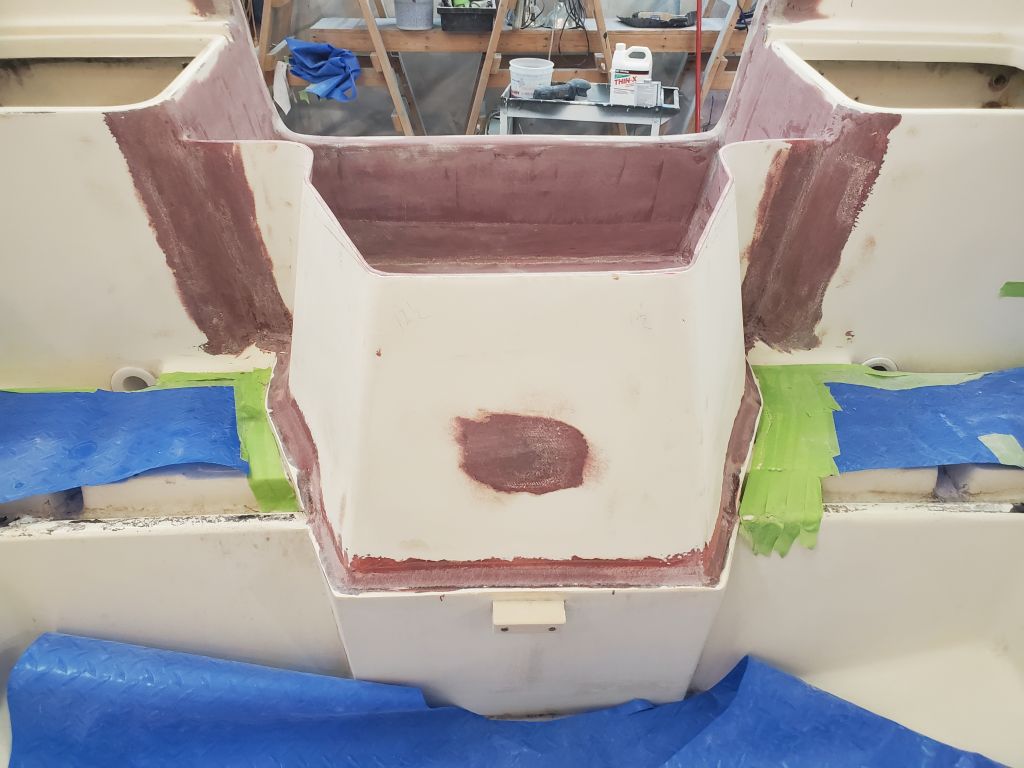
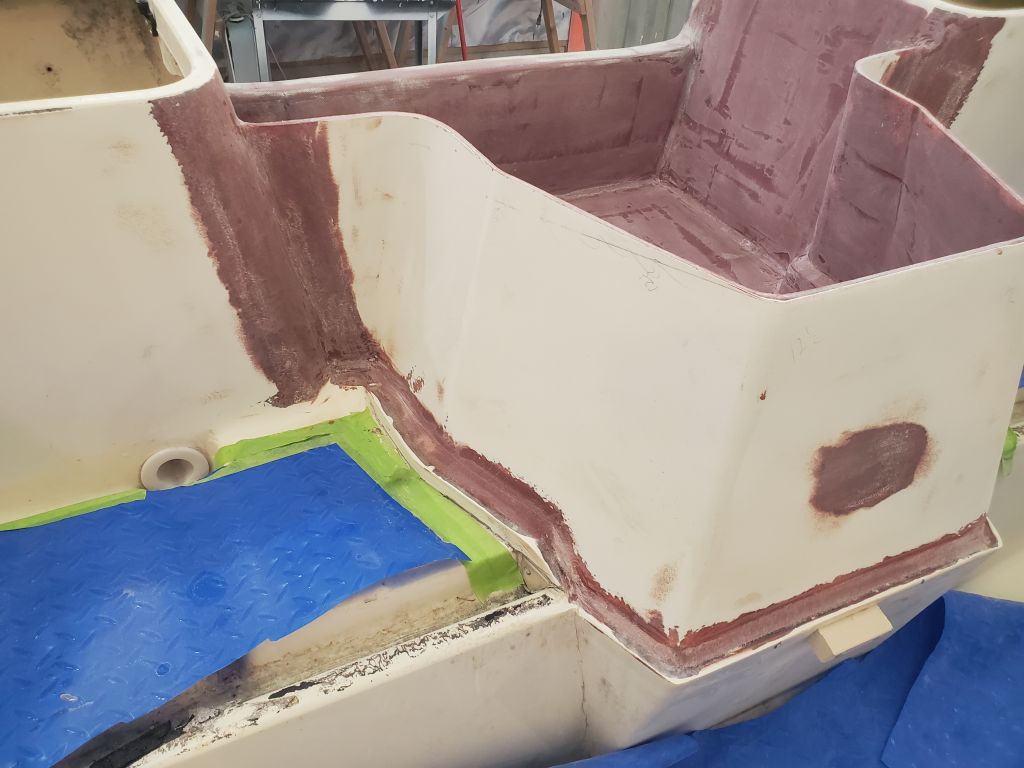

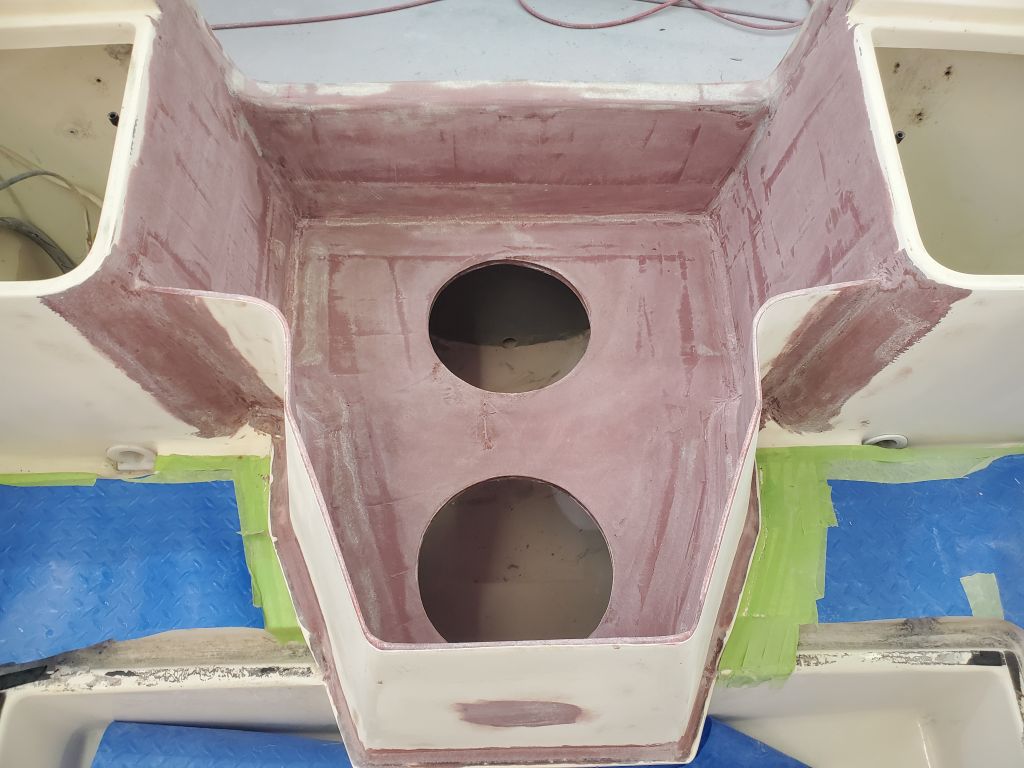

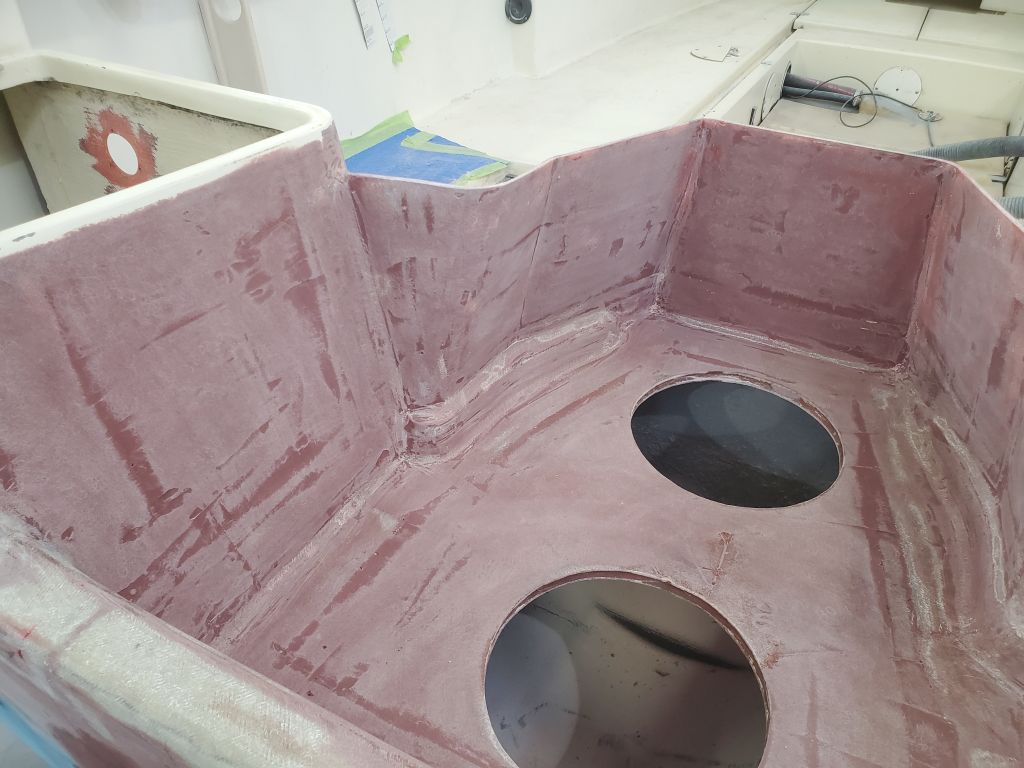
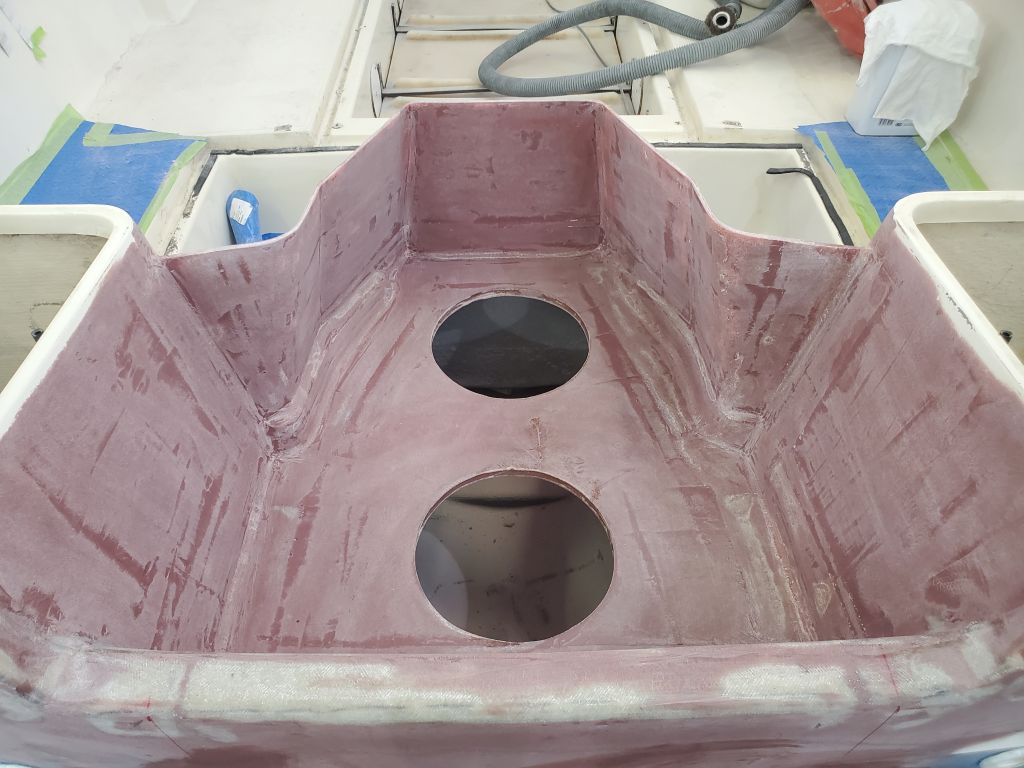
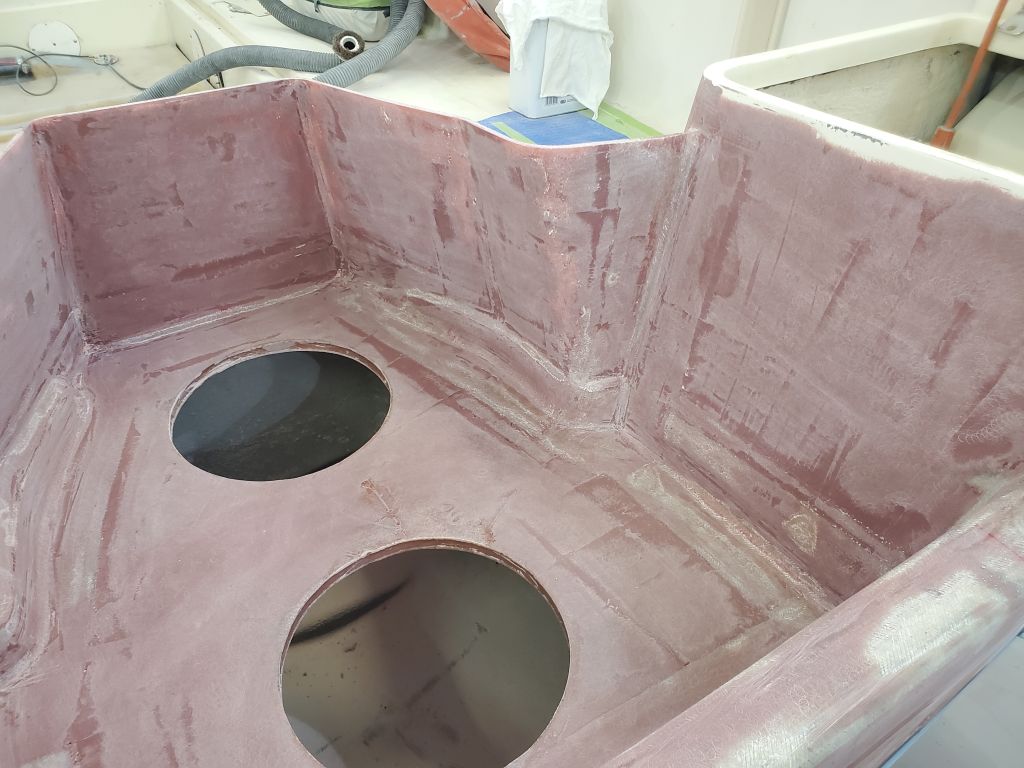
After cleanup, I applied a second layer of fairing compound to all areas as needed.


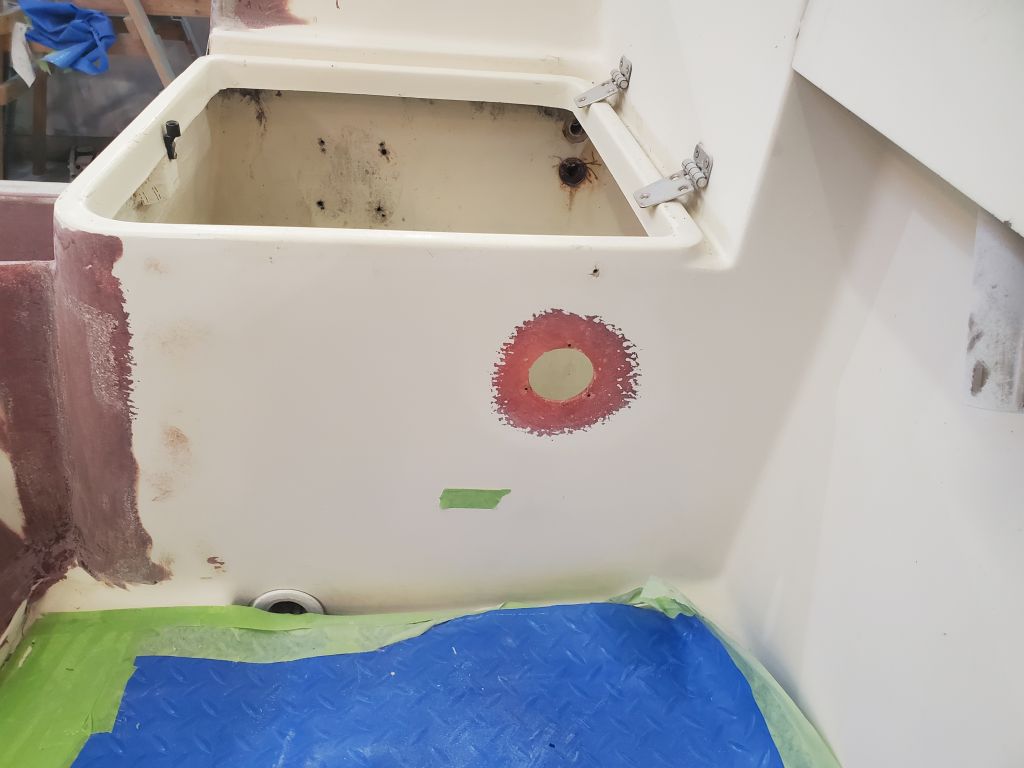
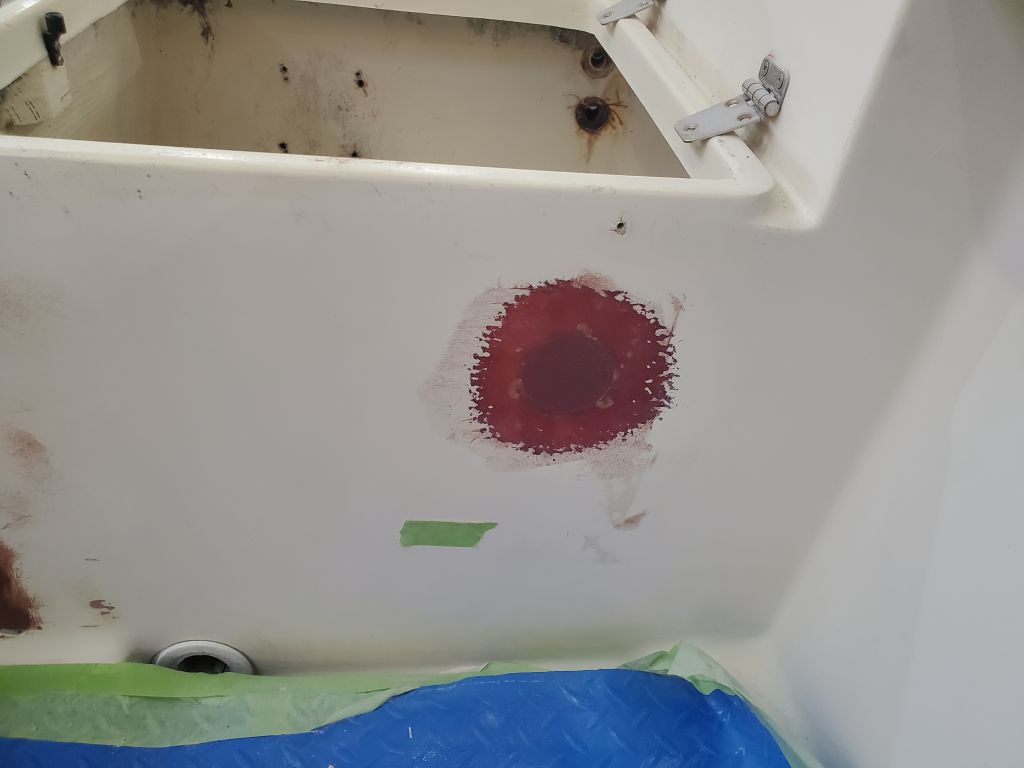
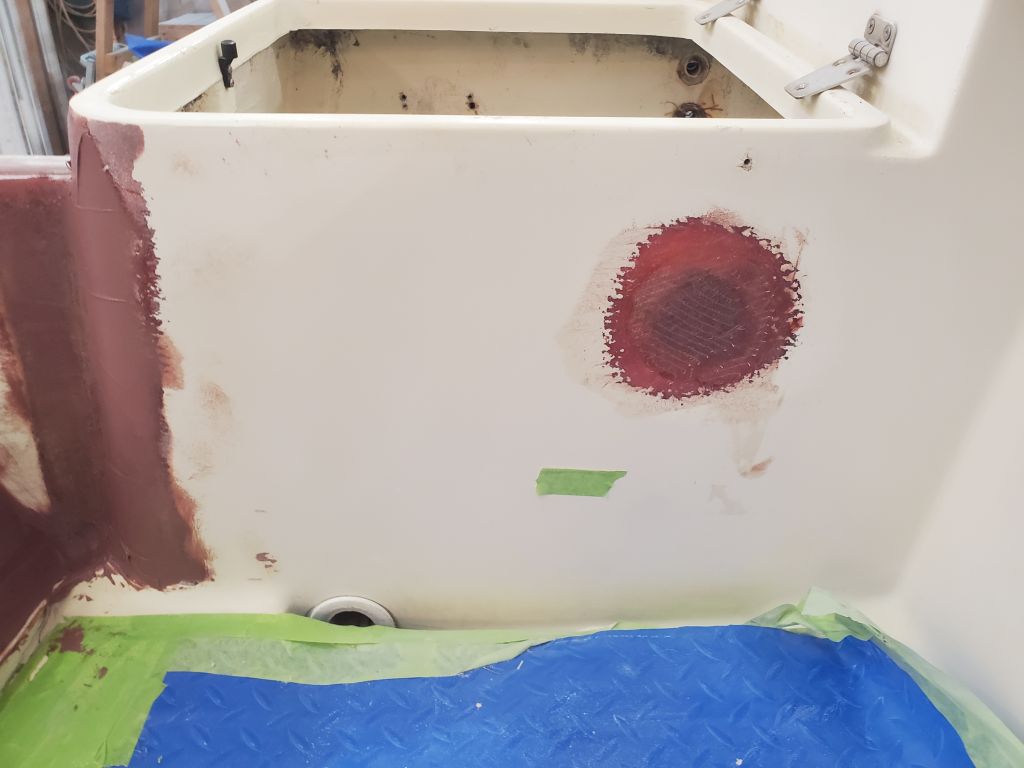
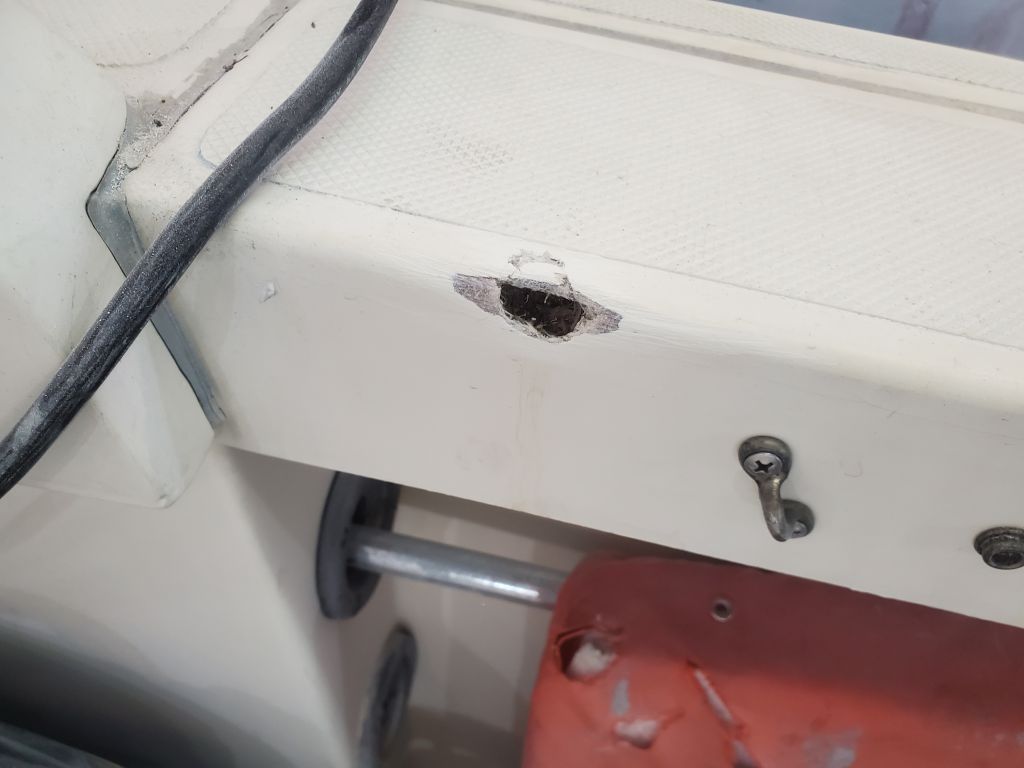
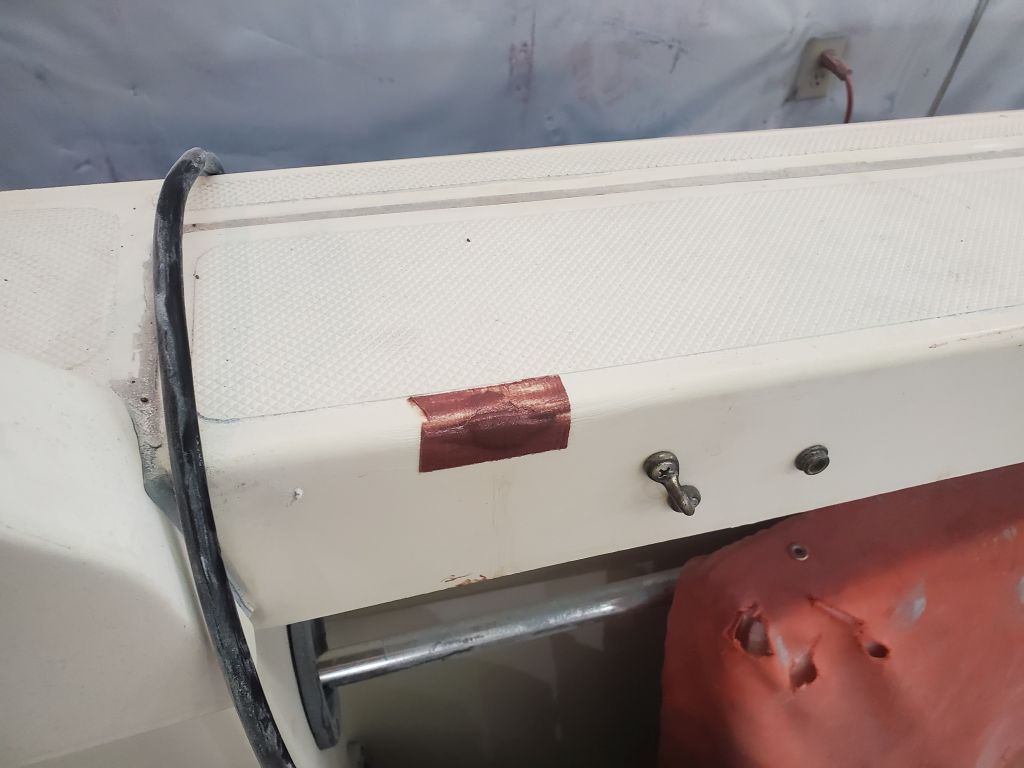
The owner requested that I patch a spot on the port aft seat where there had originally been some kind of control lever for the livewell. I’d previously removed the remnants of the old fitting, so now I prepared the remaining hole for patching and, to begin, filled the round hole with a thickened epoxy mixture. Later in the day, I applied two layers of fiberglass over the exterior, once the epoxy plug had cured sufficiently.
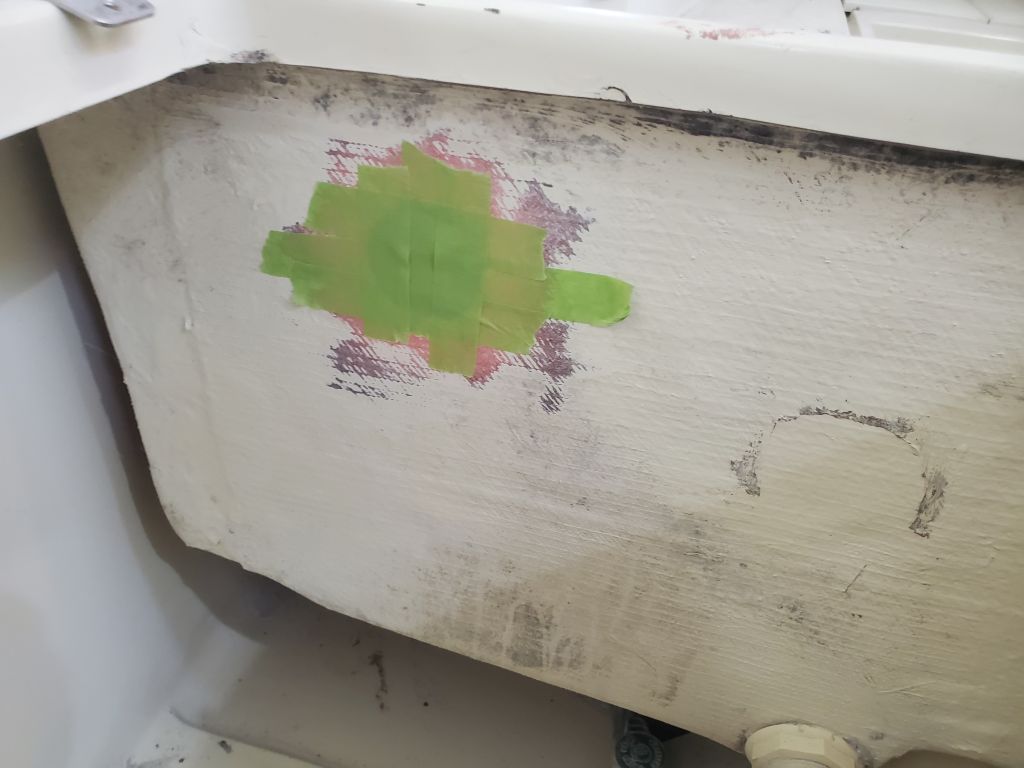
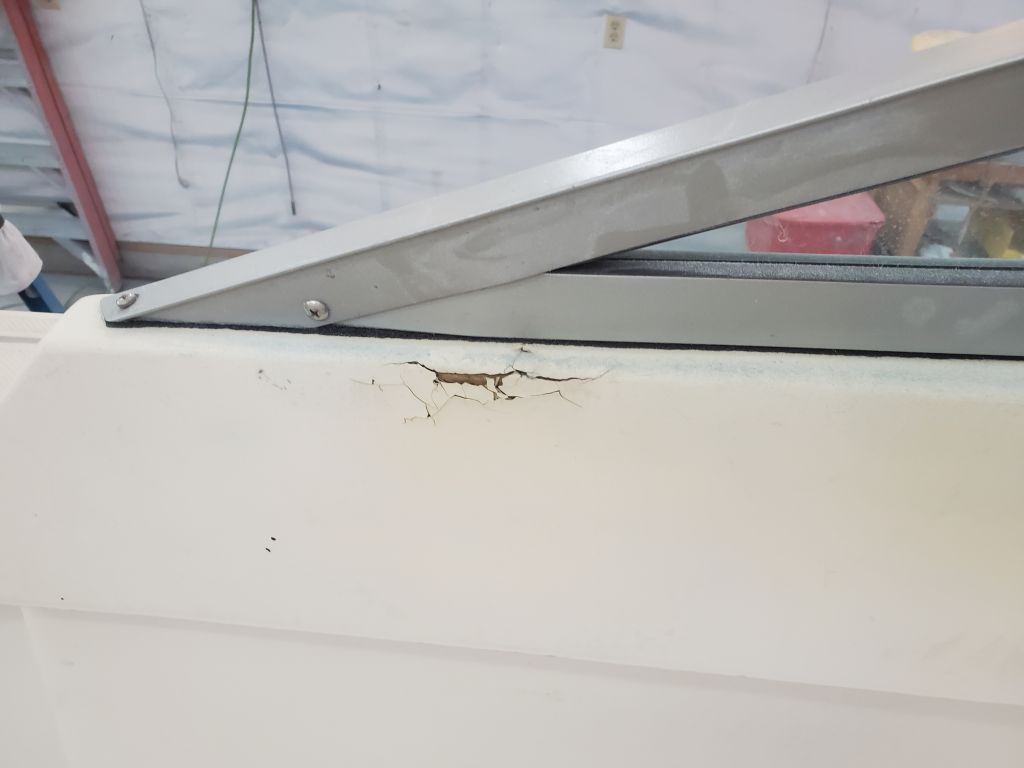
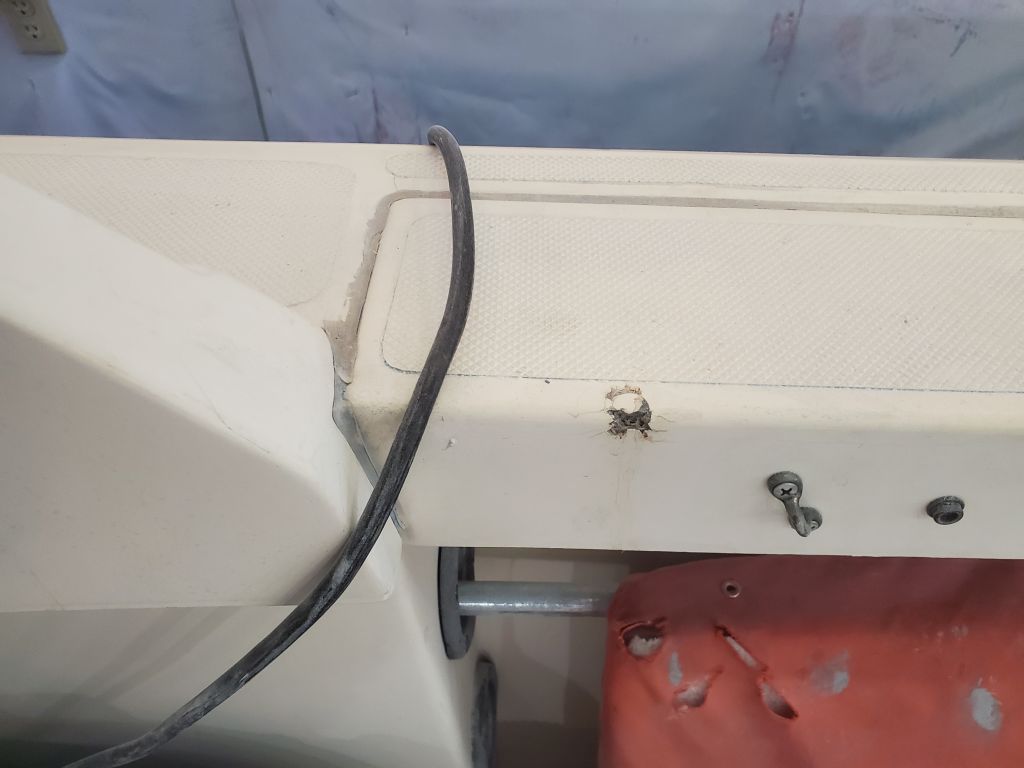
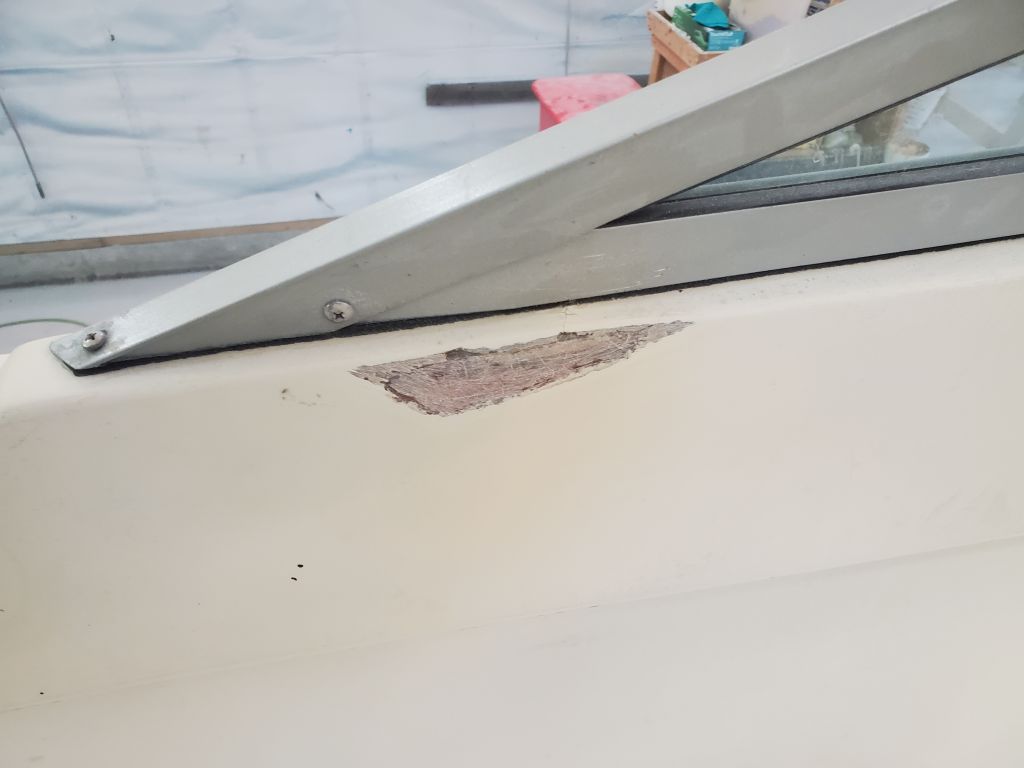
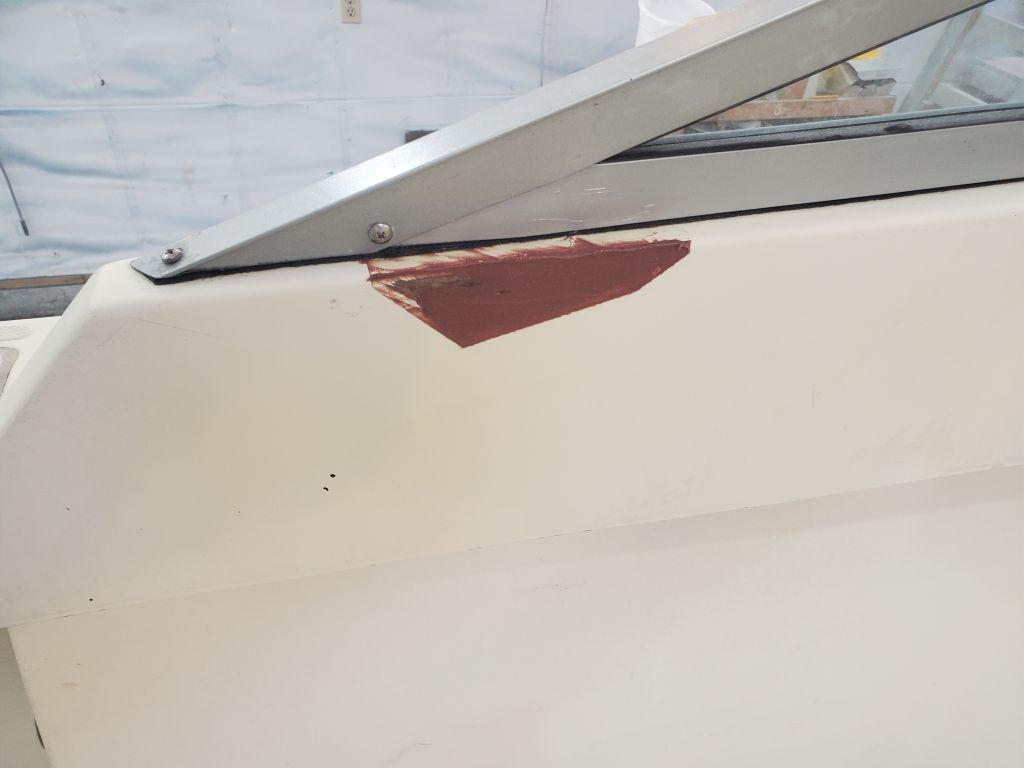
There were two damaged gelcoat areas forward that the owner requested I repair, one on the inside of the coaming near the helm, and another on the opposite side beneath the aft edge of the windshield,. Now I cleaned these up and prepared them for patching with epoxy; neither was structural or significant in nature. I masked around each repair, applied epoxy-based filler, then removed the tape to let the repairs cure.
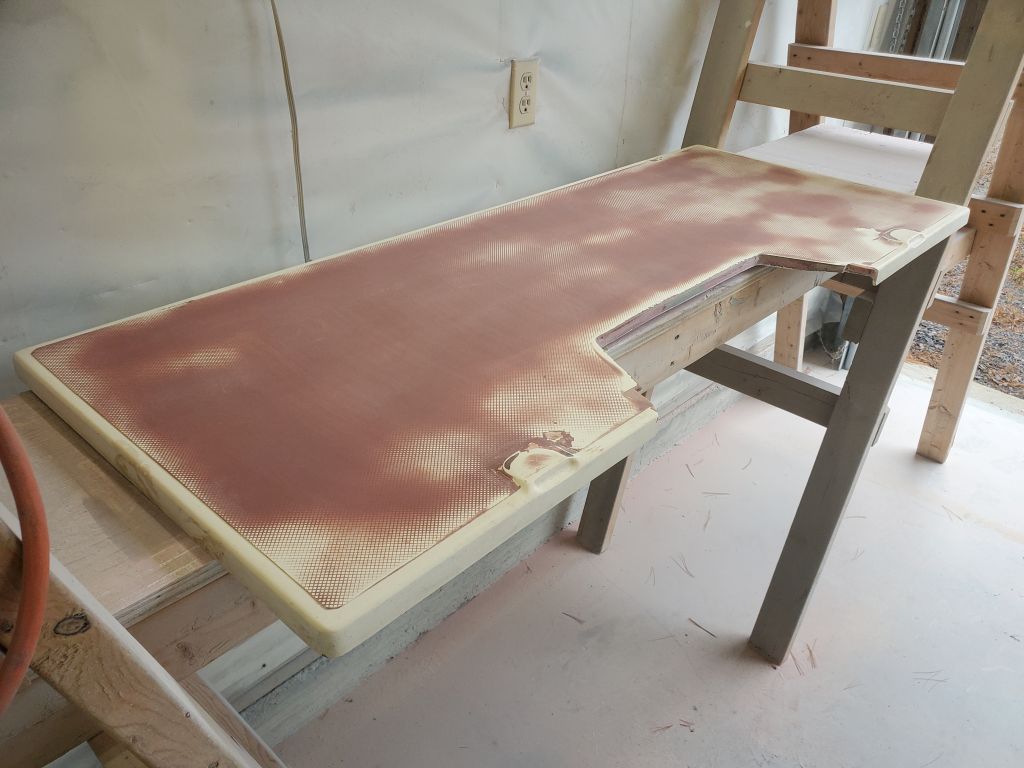
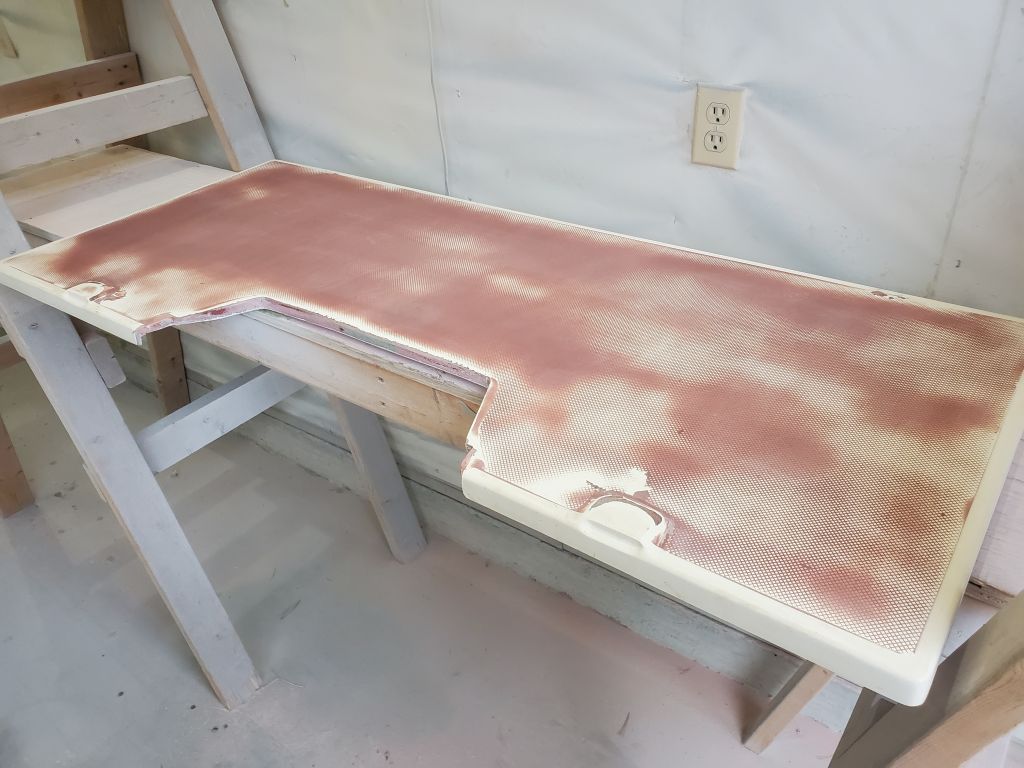
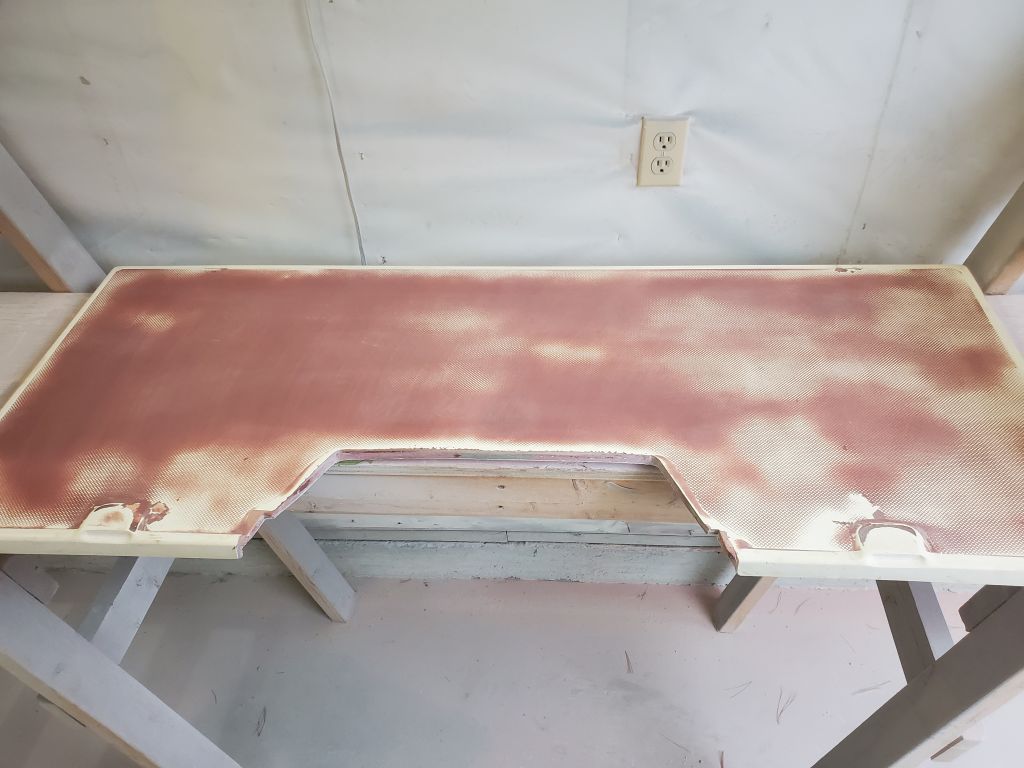
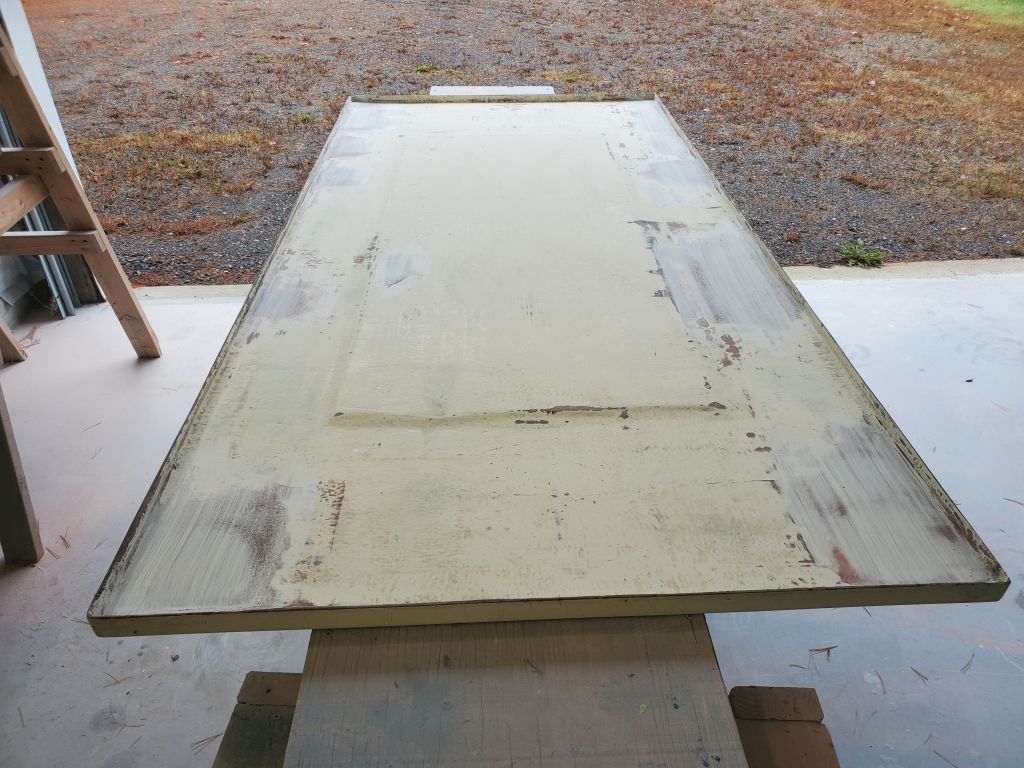
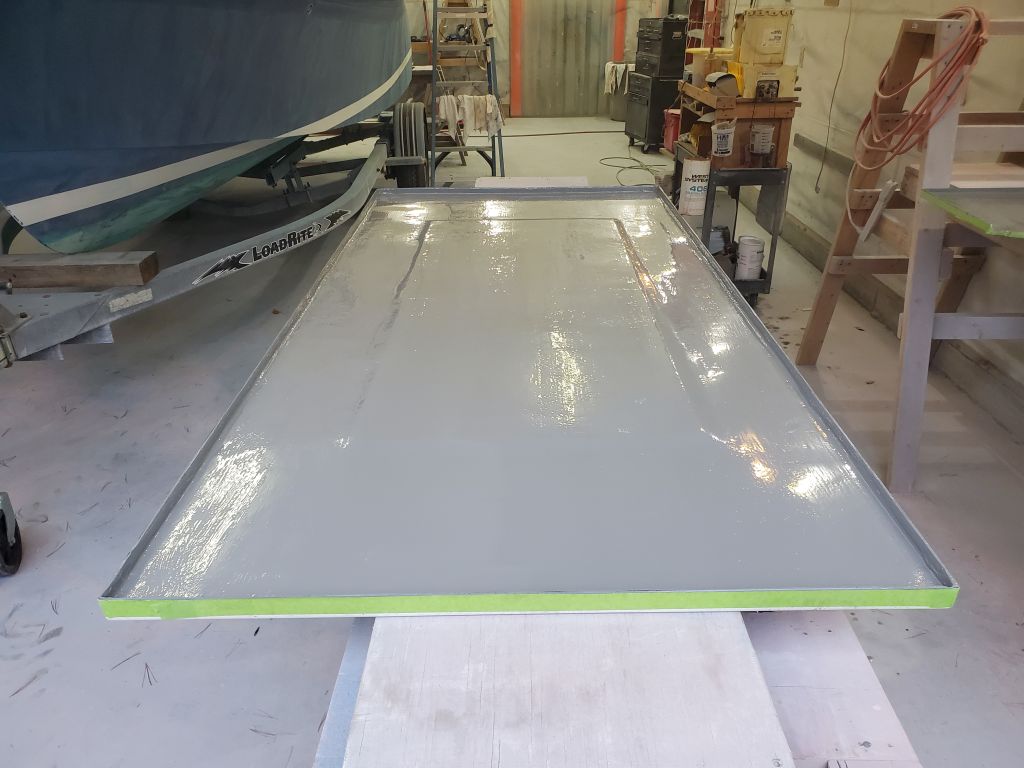
I sanded the skim coat of epoxy on the livewell hatch nonskid field, working through the grits and tools to bring this to its final stage of pre-primer readiness at 120 grit. The edges of the hatch would require sanding and prep later.
I lightly sanded the primer I’d applied to the repair work on the undersides of the livewell and fuel tank hatches, then masked as needed and applied a coat of Bilgekote to these areas.

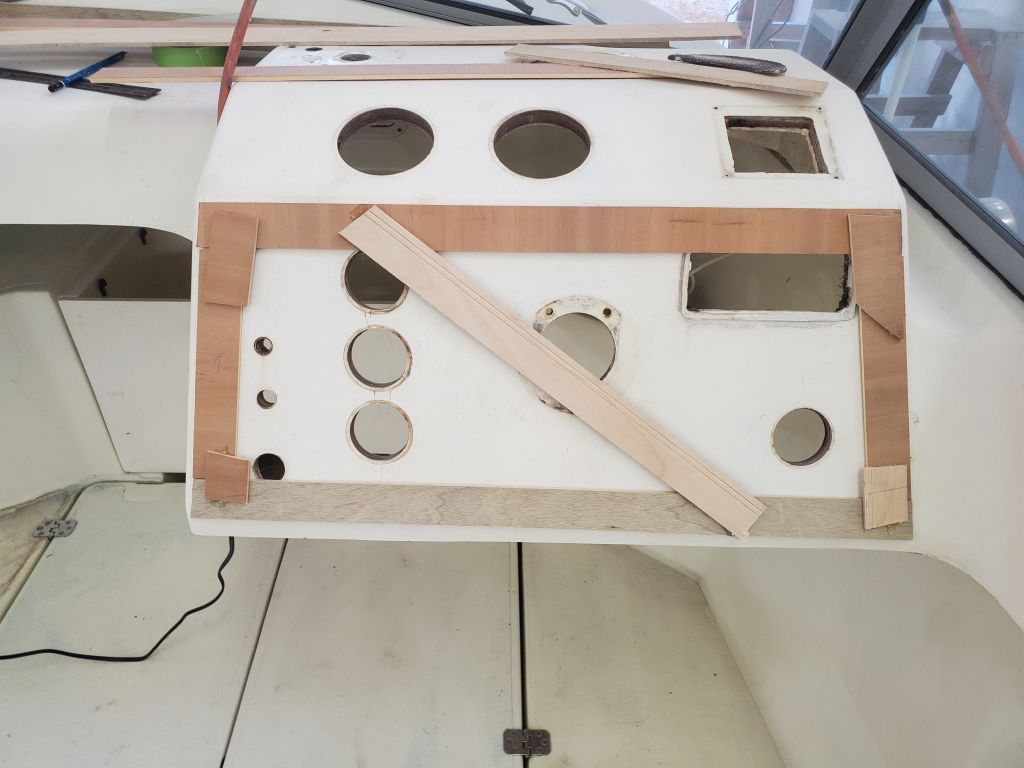
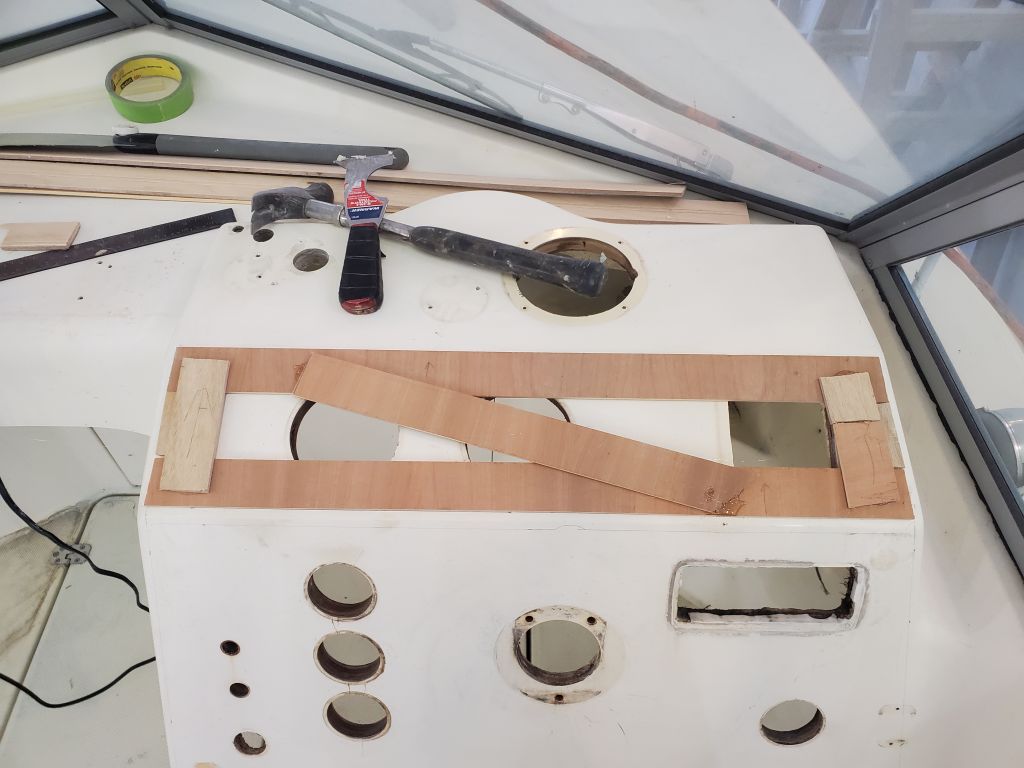
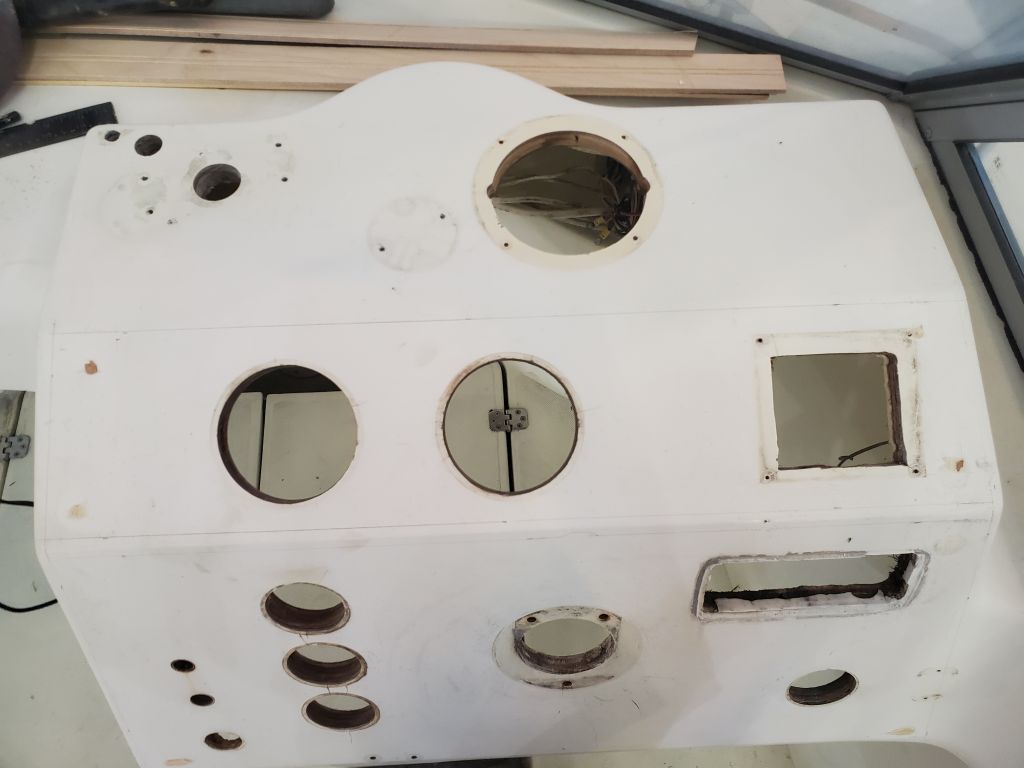
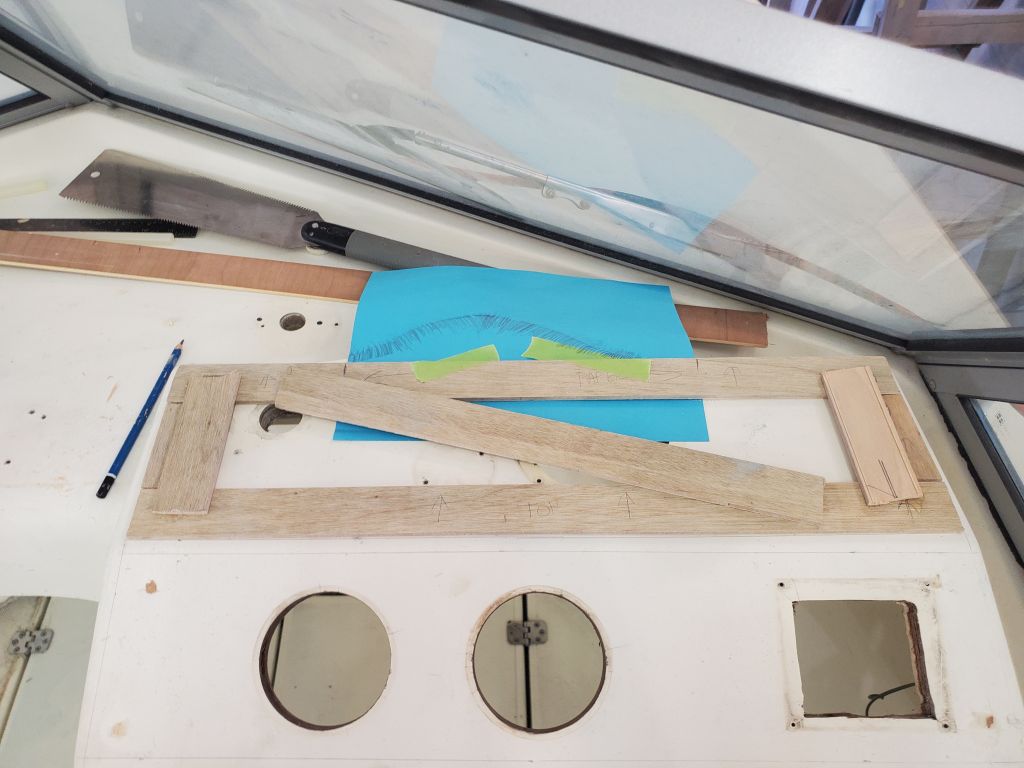
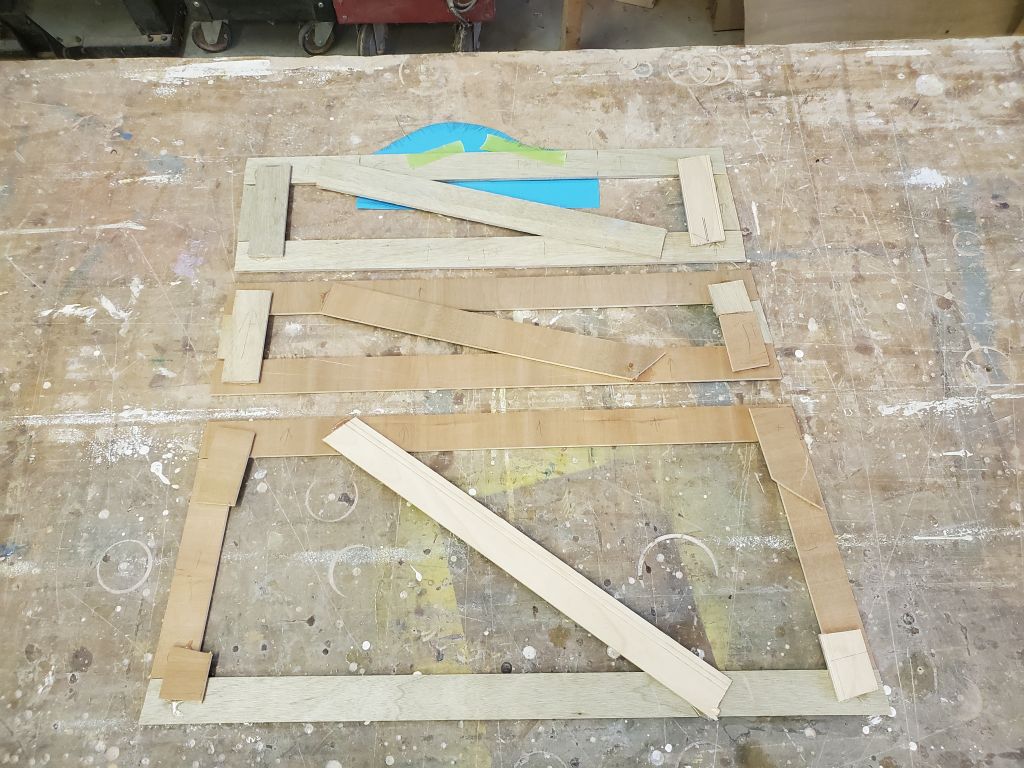
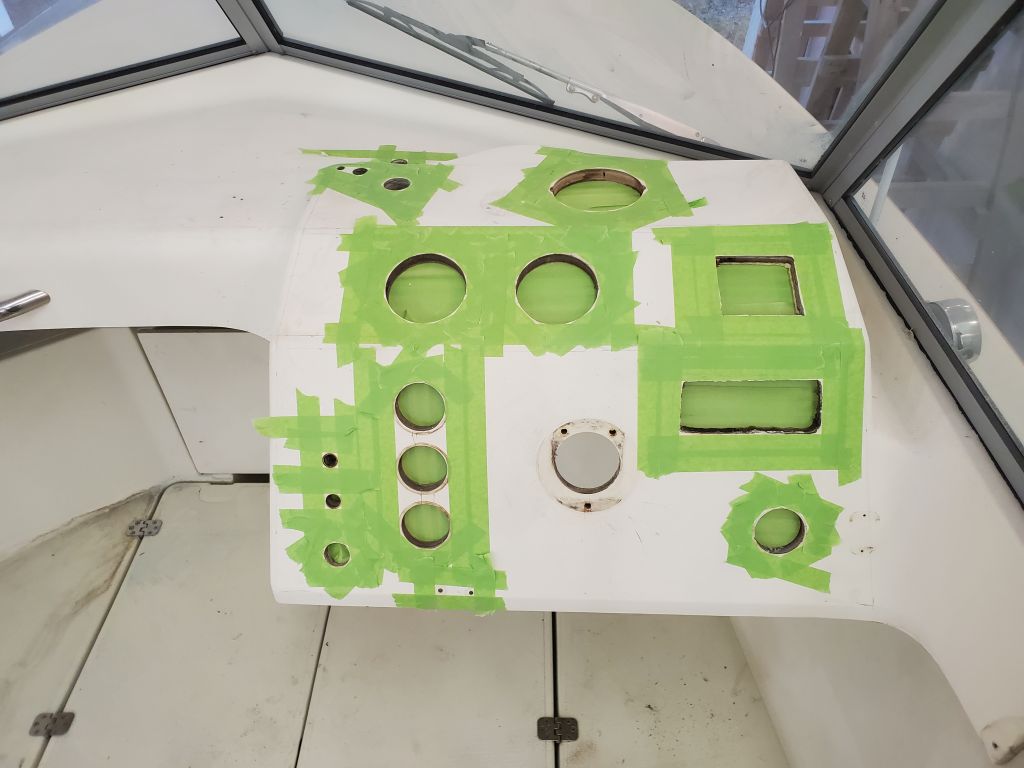
At the helm console, I made three simple templates to prepare for new black cosmetic panels that would cover the existing console and its myriad old holes and improve appearance. Keeping 1/4″ in from the edges in each case, I used plywood strips and hot glue to template each of the three facets of the console. At the top section, which featured a curved area originally intended, one supposes, to house the compass (originally the compass was not installed in this area, however), I used a piece of paper registered to the plywood template to make a rubbing of the shape that I could later use to create an appropriate curved panel.
With the templates complete, I prepared the panel for simple patch work by masking over the holes from beneath, and around on the top surface. I planned to fill these with a strengthened epoxy mixture later, just to provide a flat and sound surface going forward and to allow for appropriate new openings to be cut as needed; there was no structural need to fill the old holes and I didn’t plan on making “structural” repairs, though the epoxy would be strong once installed.


Total time billed on this job today: 7 hours
0600 Weather Observation: 65°, showers. Forecast for the day: Showers and rain, 65°