December 5, 2022
Holby 60
Monday
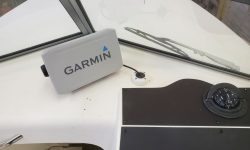
I got started with the installation of the new GPS/plotter unit on its bracket, mounted on the dashboard near centerline. The display was too large to fit comfortably as a flush-mount anywhere in the console, so during an earlier meeting the owner and I had determined this general location instead. For now I just mounted the unit; I’d finish up the wiring later, once I had the panel in place in the console. I’d hoped also to lay out and install the new VHF radio, but found that (of course) it didn’t include the flush-mounting hardware, which I had to order now. (Expressions of displeasure reserved.)
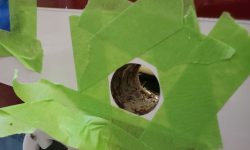
Preparing to install the bilge pump through hull, I started from inside the boat, in way of the old hole that I’d filled from outside before painting, and drilled a pilot hole through the hull, then finished the 1″ hole for the fitting from the outside. I also removed, with a larger hole saw, a section of the molded interior liner to make room for the through hull nut and access. Unfortunately, I discovered that the SS through hull I’d purchased was not long enough to fit through the extra-thick transom construction, so this stymied progress while I found and ordered something suitable. For now, I had to content myself with epoxy-coating the exposed coring within the new cutout. All in all the morning hadn’t gotten off to a stellar start so far.
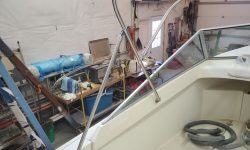
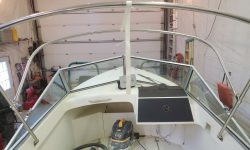
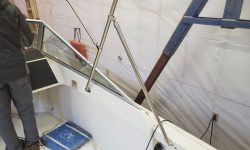
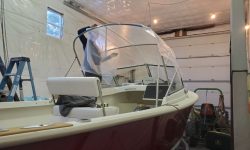
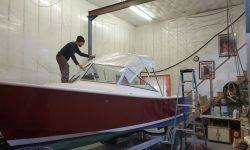
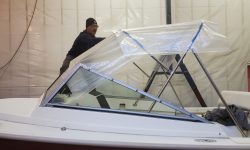
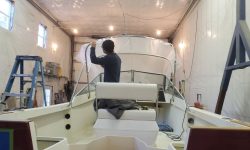
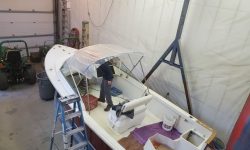
My canvas contractor arrived with a new frame to set up and make a pattern for the new top. He chose to mount the new frame on the inside of the windshield, secured to the fiberglass molding, as he wasn’t a fan of using the shaky aluminum windshield as a mount for the frame. With the new frame properly positioned and mounted temporarily on its brackets (I’d finish the installation later with backing blocks for added strength), Jason proceeded to pattern the top and front of the new enclosure, leaving the side panels for later, once the top was complete.
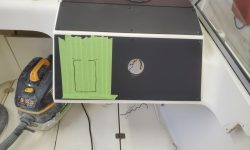
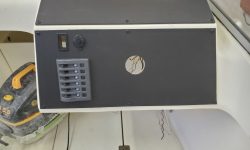
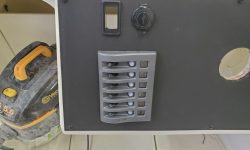
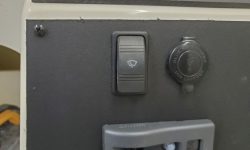
During the afternoon, I laid out and installed the new switch panel, along with an accessory outlet and wiper switch, on the port side of the main console panel, adjacent to the helm. I removed the black cosmetic panel and made the cuts there first, then transferred the openings to the console itself to finish things off before installing the new components permanently.
Armed with a battery and test leads, I went through the various wires remaining in place to determine what was what, hooking each pair up in turn to see what turned on or lit up, then marking the wires as needed. Then, preparing for the final wiring connections to come, I installed a few wire mounts below the console before discovering that most of the tube of adhesive I was using was in fact semi-cured and unusable, so I didn’t get as far with these preparations as I’d hoped either. In any event, the end of the day was nigh and I bid a fond farewell till next time.
Total time billed on this job today: 6.75 hours
0600 Weather Observation: 0600 Weather Observation: 25°, mainly clear, dew point 17°. Forecast for the day: Isolated showers, then mostly sunny, 45°


