December 14, 2015
Aventura 52
Monday
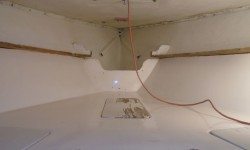
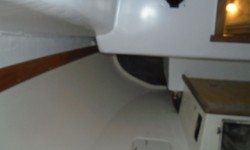
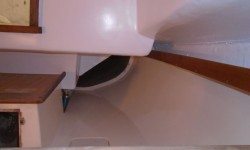
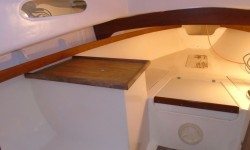
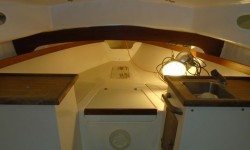
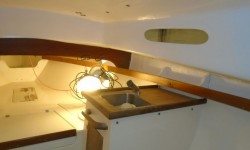
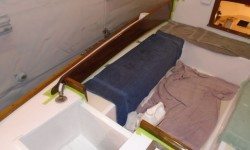
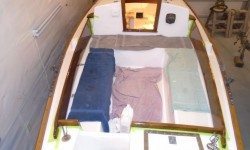
With most of the other work now complete, I turned my attention to the interior. The work list here was minor, as most of the interior–consisting largely of molded interior structures and liners–was in generally good condition, and the owners had no particular plans for truly using the interior. Earlier, I’d painted the overhead in the main cabin, but we deemed the forward cabin OK as is, other than requiring some cleaning and sprucing up.
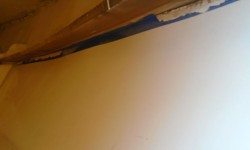
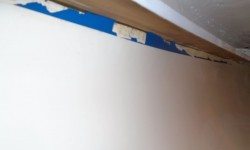
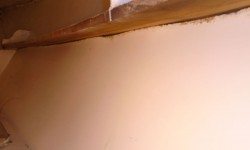
Someone in the past had applied some blue plastic tape as a sort of molding or trim beneath the full-length shelves along the sides of the cabin. The tape was in poor condition and had to go. so I removed it with a heat gun and solvent to get rid of the substantial adhesive residue.
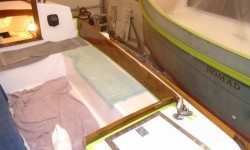
Afterwards I vacuumed everything, then washed the exposed hull and overhead to remove dirt and mildew, which improved the appearance above the shelves and liner. and lightly buffed the gelcoated liners and interior structures to clean them up. Finally, I reinstalled the newly-varnished teak fiddles on the long shelves. The net result was a completely presentable interior.
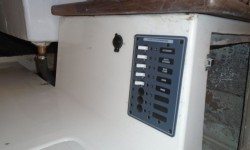
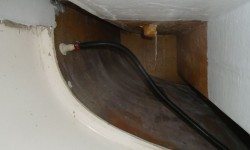
Getting started on a basic electrical system–required for a bilge pump, 12-volt outlet, and depthsounder–I increased the size of an existing cutout in the step area beneath the companionway, making room for a new electrical panel, which I temporarily installed for now, along with a new outlet in an existing hole to replace an old one that I’d removed before.
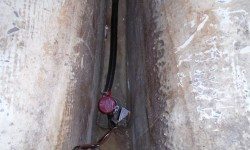
I installed a new automatic bilge pump to replace the one that was in the boat originally, along with a new hose. Later, I’d complete the wiring.
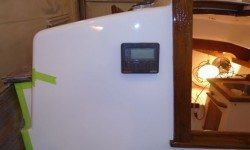
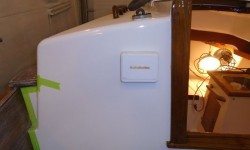
In the port cockpit bulkhead, I reinstalled the depthsounder that I’d removed early in the project.
I’d wrap up the wiring for these items soon, but for now I had to transition to varnish mode, and apply another coat to the coamings.
Total time billed on this job today: 6.75 hours
0600 Weather Report:
35°, cloudy. Forecast for the day: Clouds and showers, around 40.


