

November 20, 2015
Aventura 35
Friday
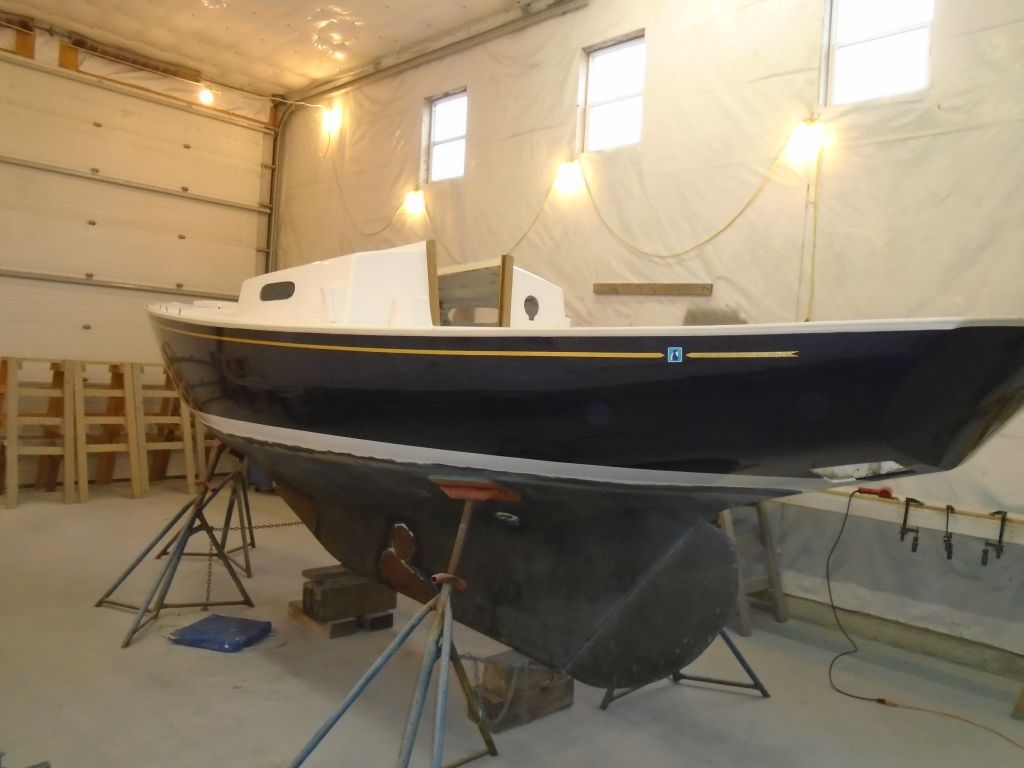
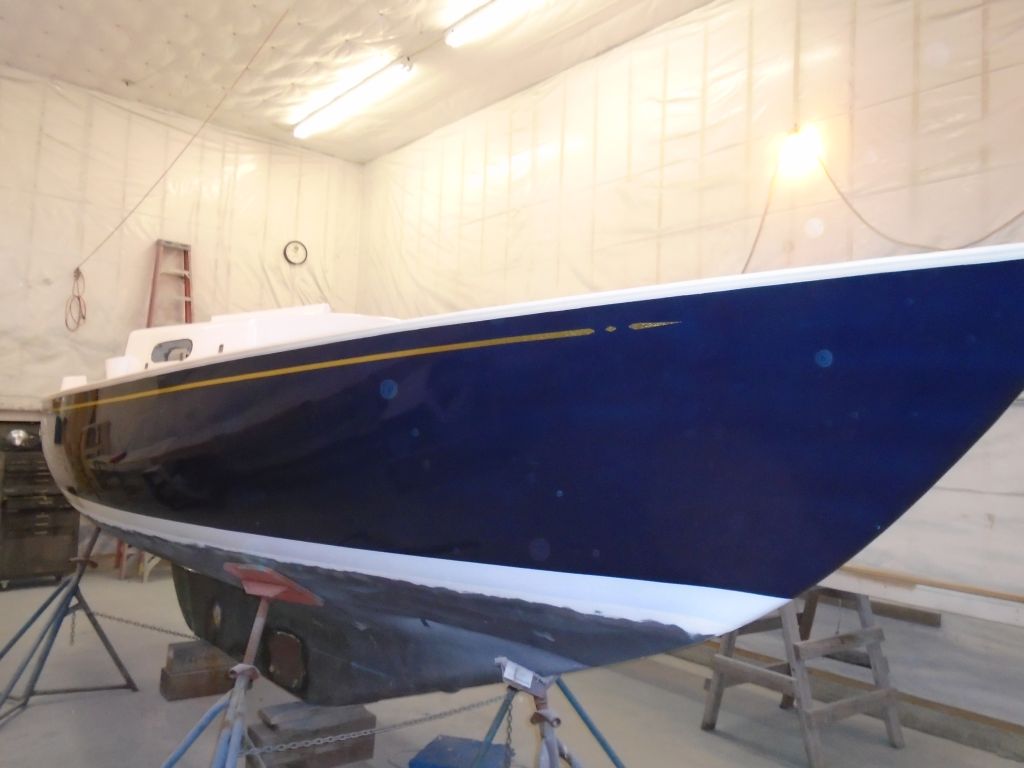
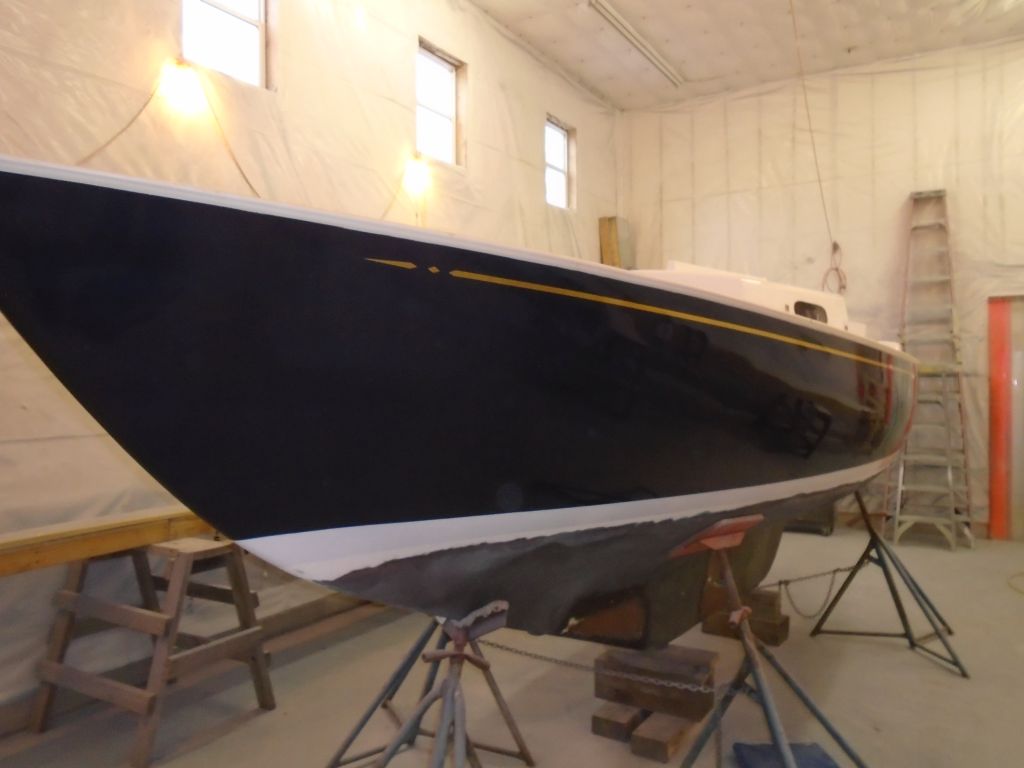
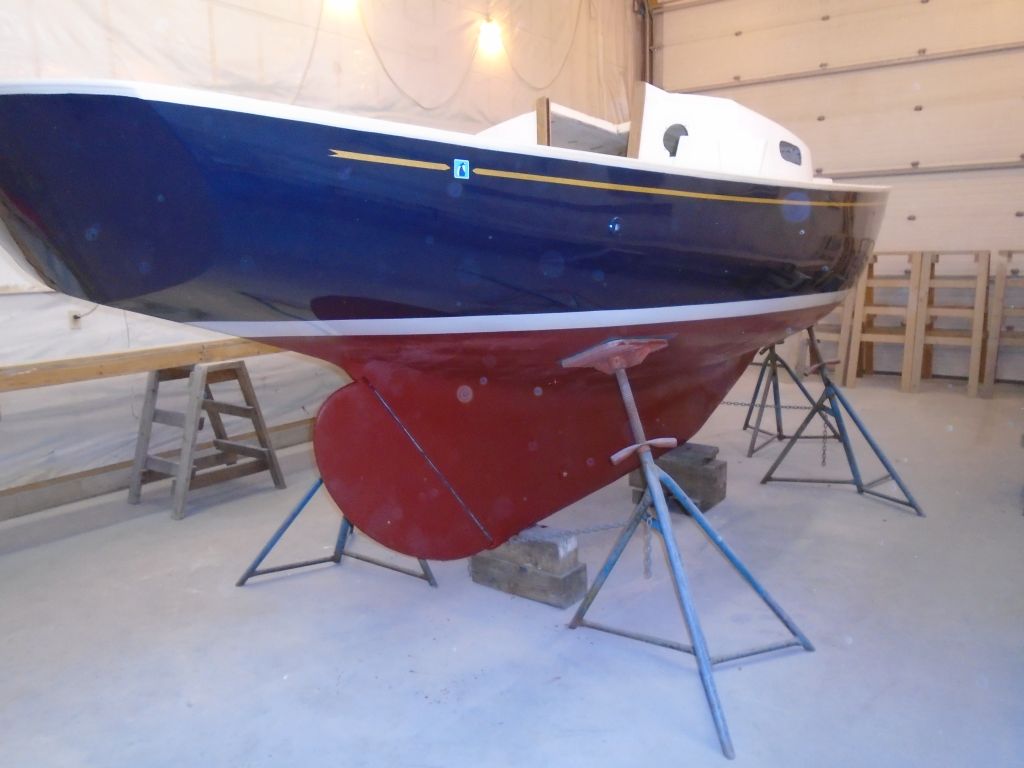
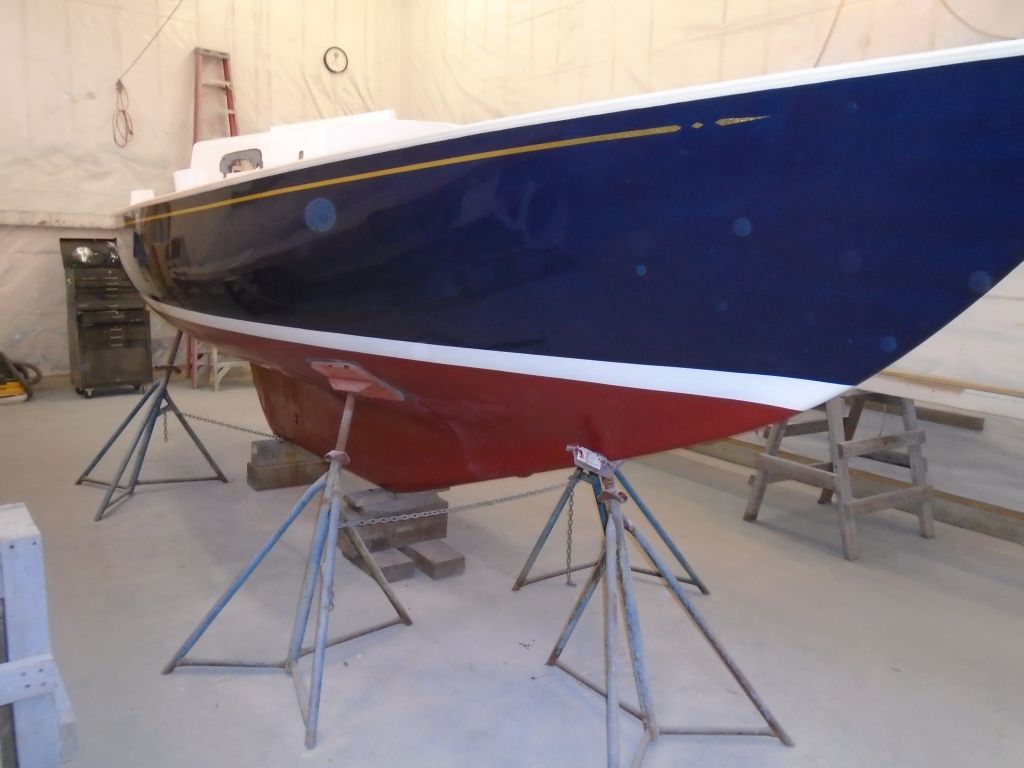
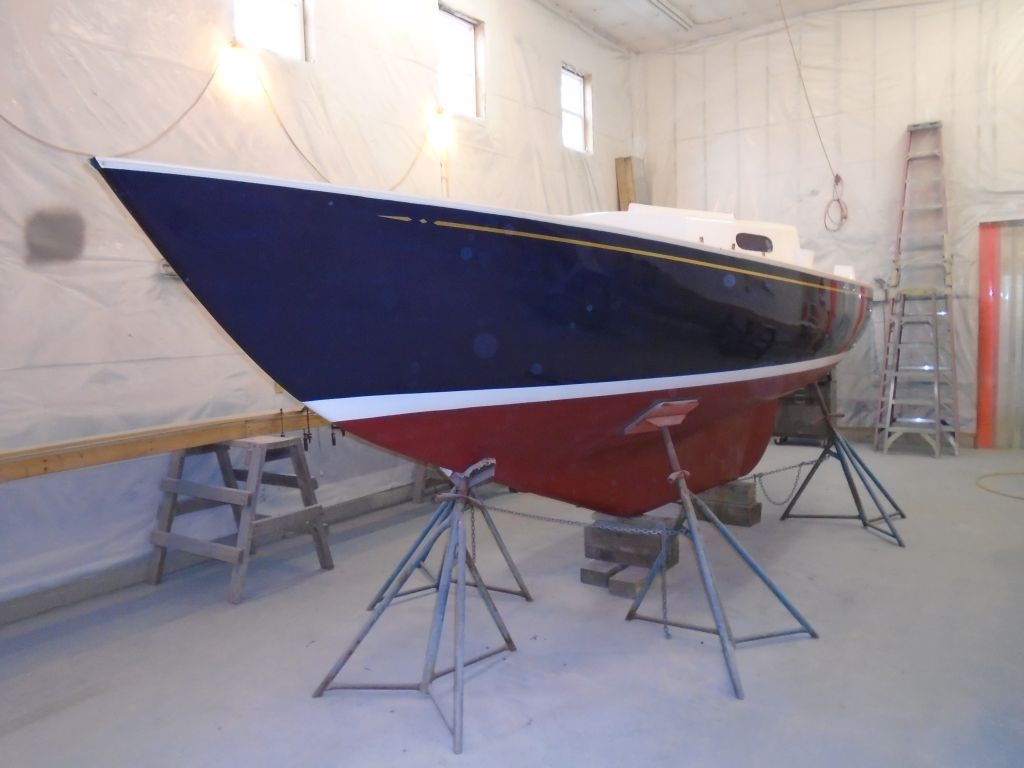
I spent part of the morning installing the new cove stripe. To begin, I used 2″ tape to strike a clean line beneath the vinyl rubrail, fairing the tape by eye as needed. Then, I installed 1/2″ gold leaf striping tape below my reference mark, beginning 12″ forward of the edge off the transom and ending 30″ aft of the stem to suit my eye for the right appearance. A few of my photos didn’t come out well, but there are more a bit further down the page. I’d incorporate registration numbers later once various style decisions were made for them and for the name.
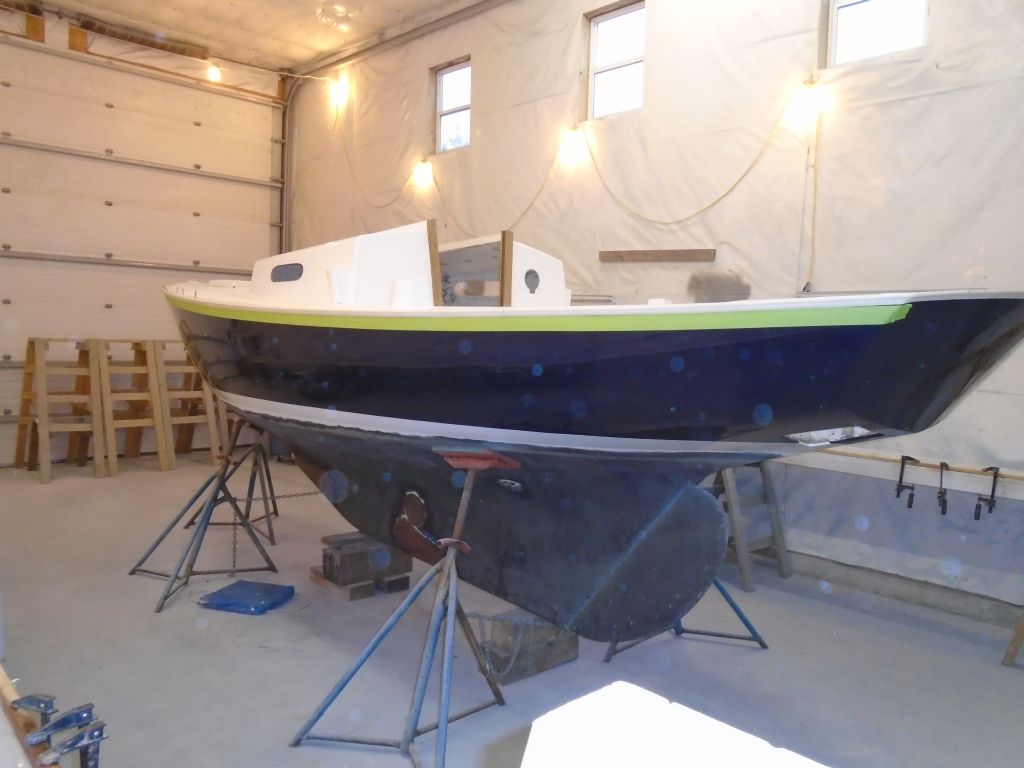

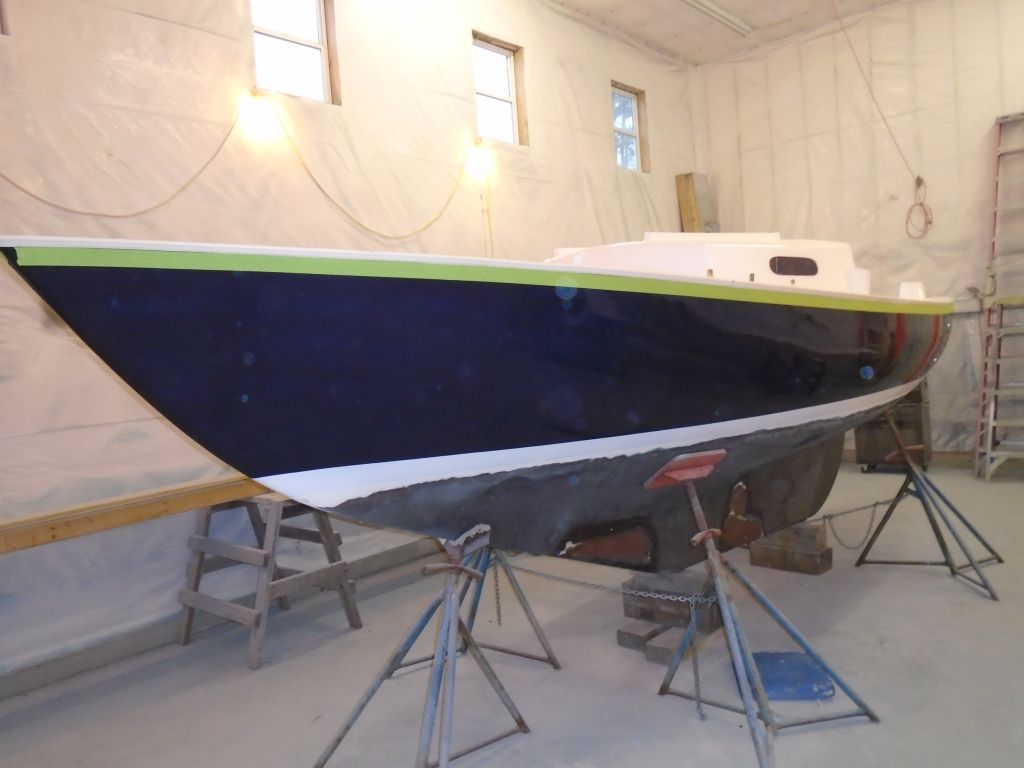
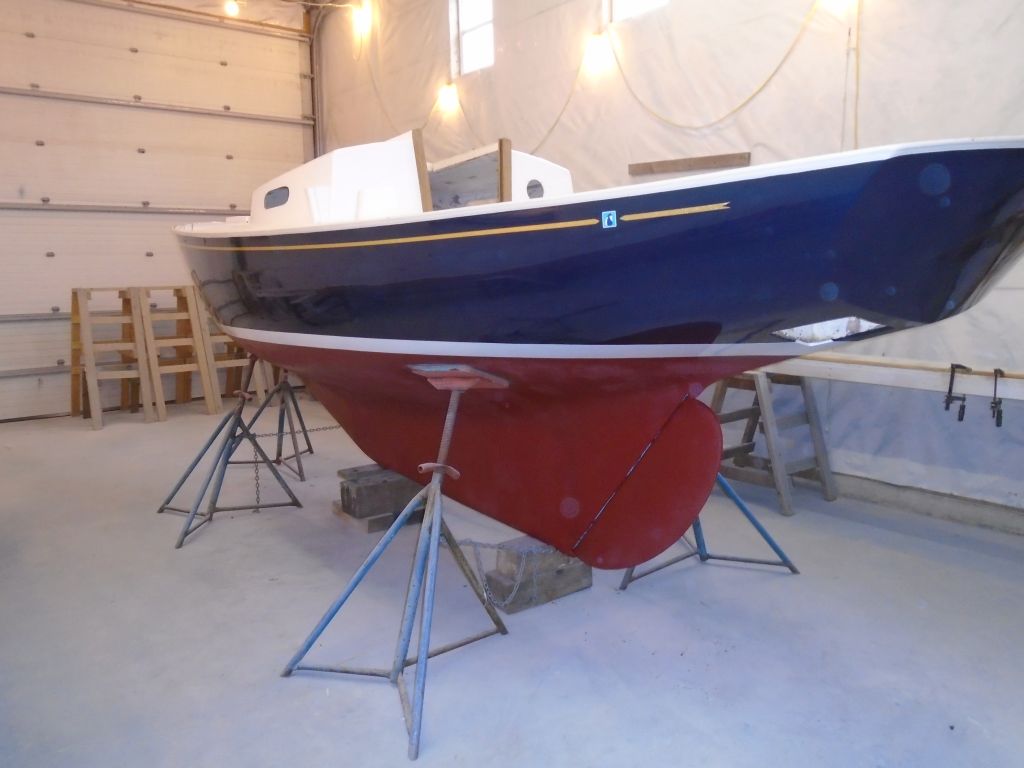
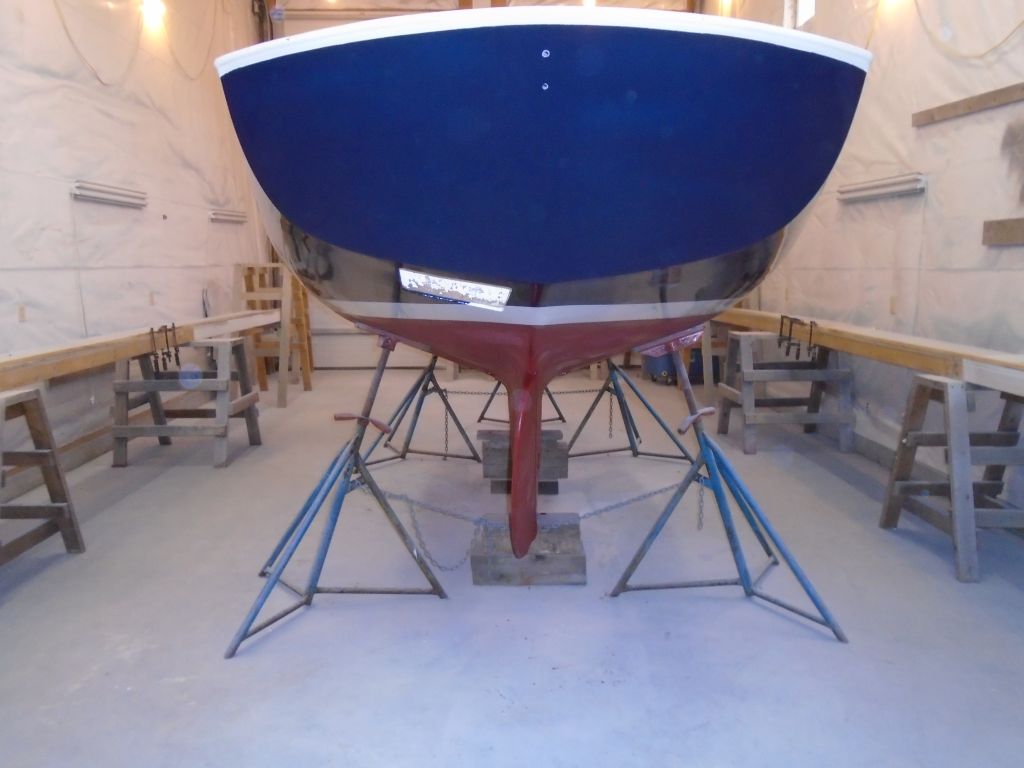
With the cove stripe complete, I masked off and painted the bottom. Before beginning, I water-washed and lightly sanded the recently-epoxied bottom patches. A freshly-painted boat never looks complete till the bottom is done, so I was anxious to do this. The owner selected red for the bottom paint.

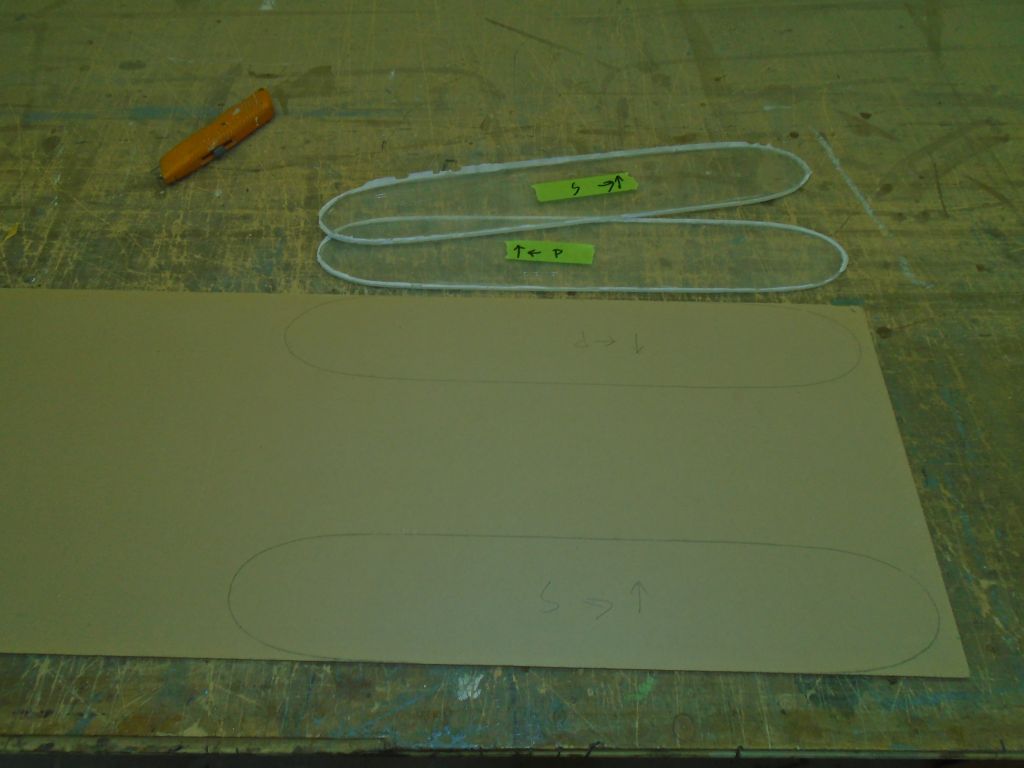
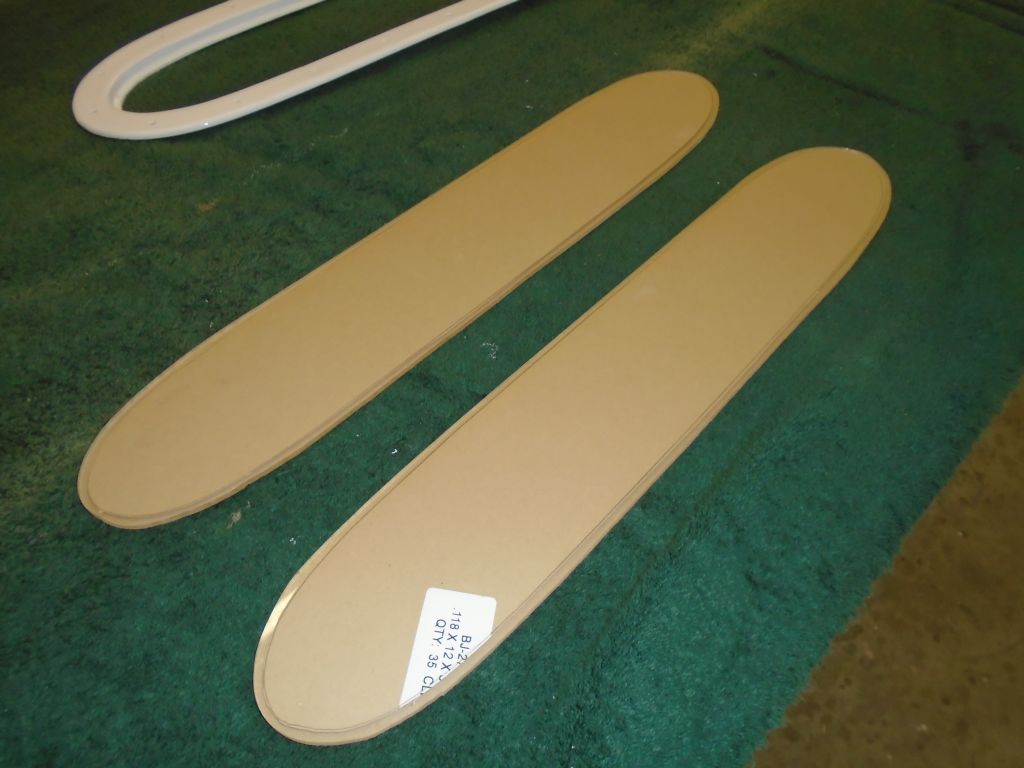
I lost a few hours of the afternoon to an unrelated chore, so when I got back to the shop I had less time than I’d planned for, and looked for a smallish, straightforward task to knock off the list given the short timeframe at hand. I decided to prepare the new lenses for the deadlights, so from a new sheet of 7/64″ acrylic I cut the new pieces, using the originals as templates. Fitting the new lenses into the plastic deadlight frames–the lenses fit in from the outside and rested against a small inner flange–I marked the inside faces where the frame overlapped, and cut along this line with a knife to remove the masking paper from the lens on their faying surfaces.
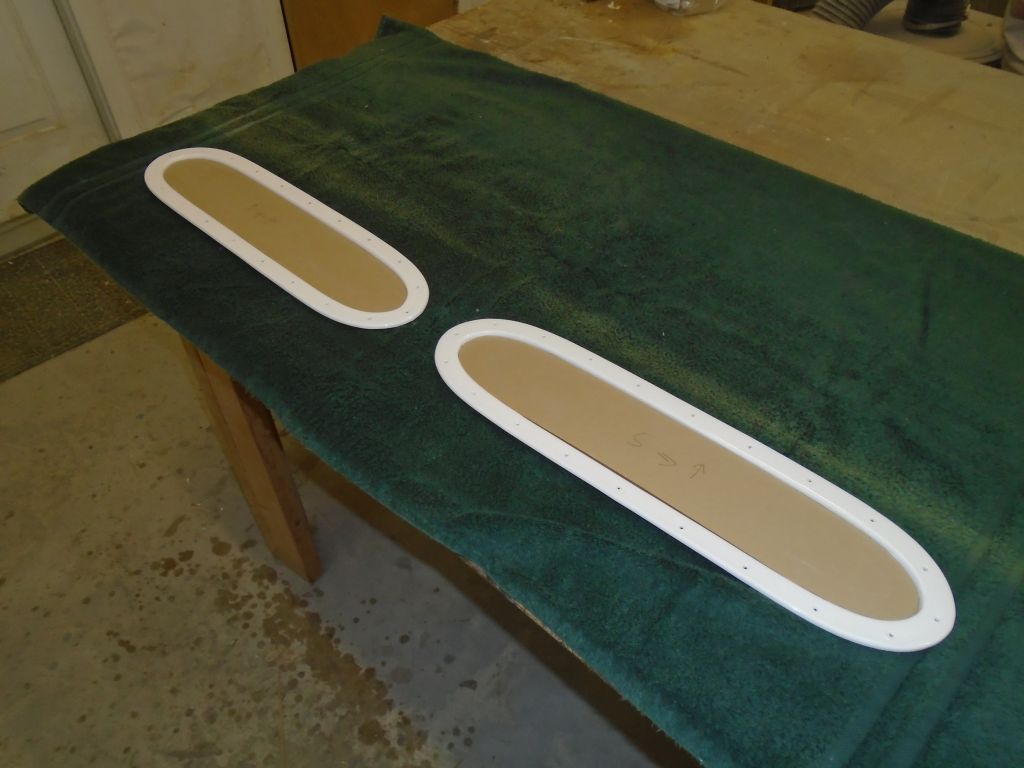
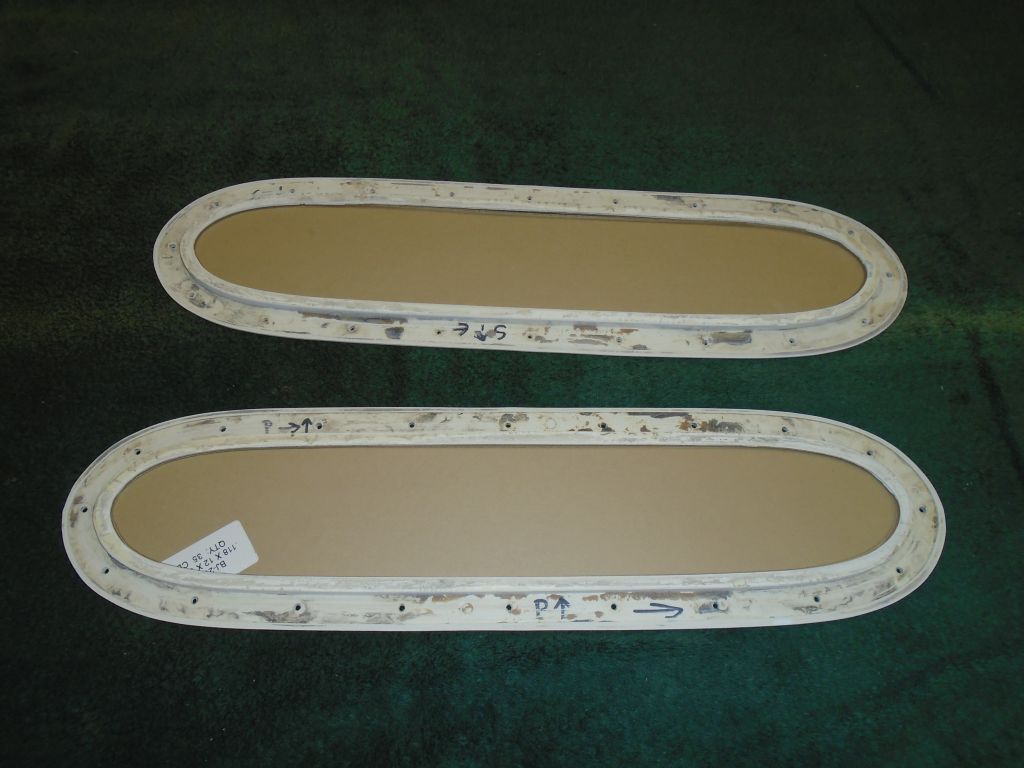
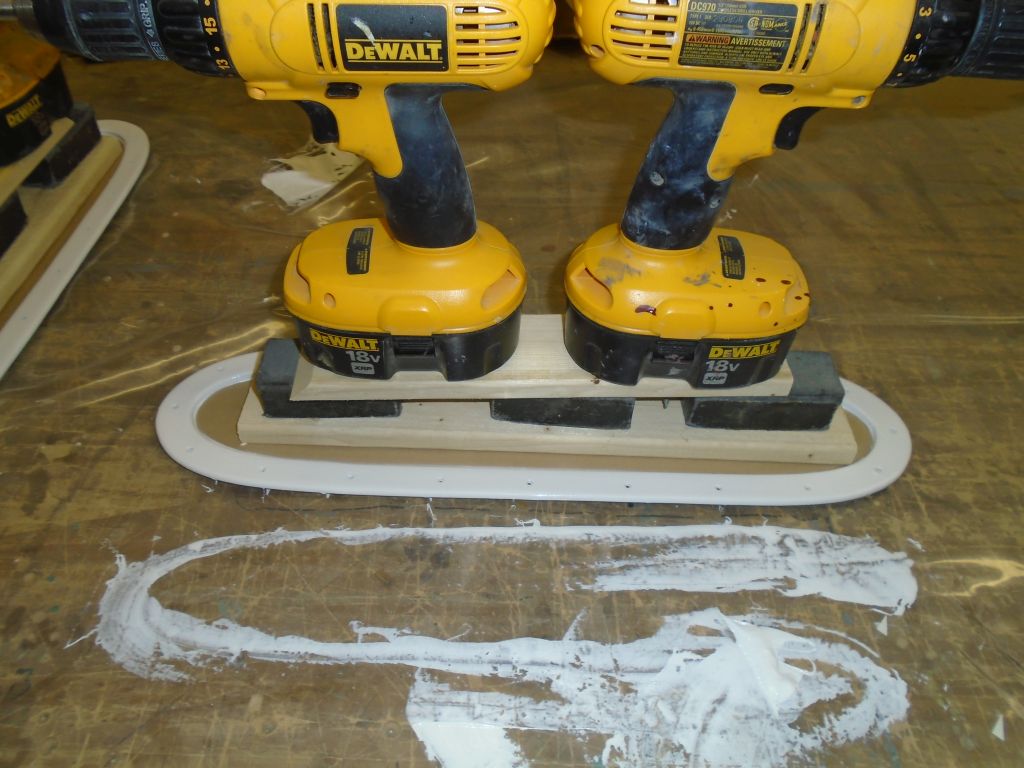
I installed the lenses with light polyurethane sealant, applying a bead into the flange and pressing the lens (with all protective paper still in place except on the narrow bonding edges) into place with weights. I placed the assemblies on a sheet of plastic to prevent the sealant that must be oozing out beneath from sticking to the bench–that mess on the plastic is where I picked up the first assembly after I’d installed the lens (I left the second one right where it was once I installed the sealant). I cleaned up excess sealant from around the exposed edge of the lens (which would be visible when all was said and done, and left the unseen squeezeout beneath for trimming once the sealant had cured. Then I left the two assemblies to cure for a couple days.


Total time billed on this job today: 5 hours
0600 Weather Report:
Heavy rain, 45°. Forecast for the day: Rain in the morning, eventually ending and clearing behind, highs in the 50s.