

December 9, 2015
Aventura 48
Wednesday
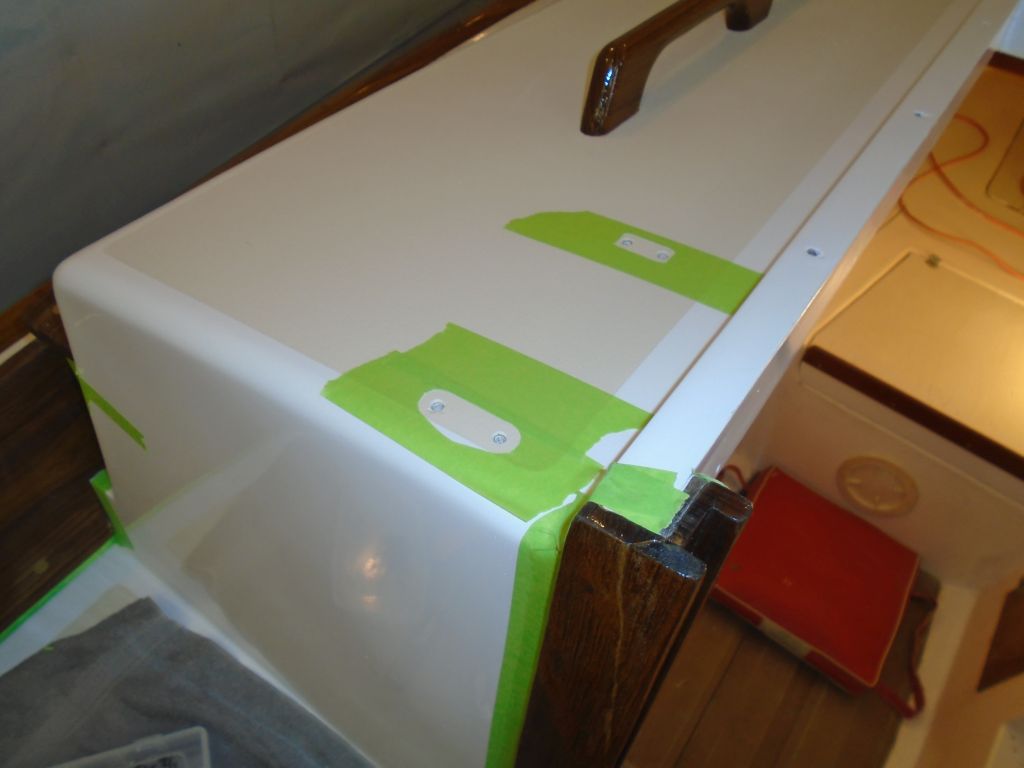
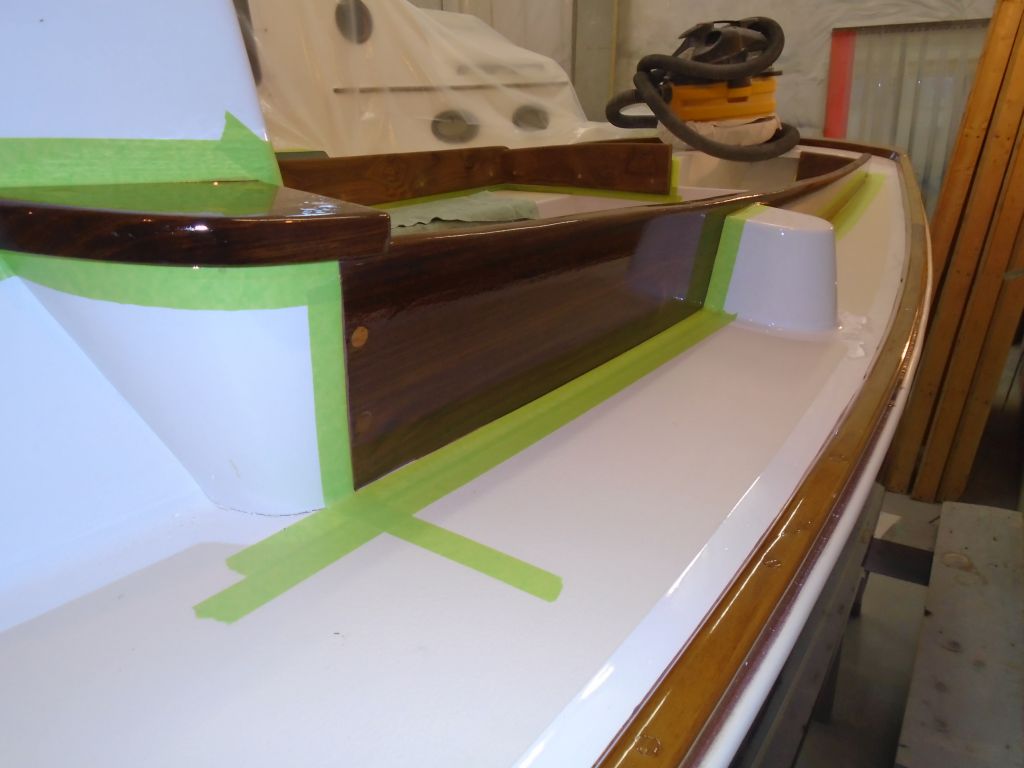
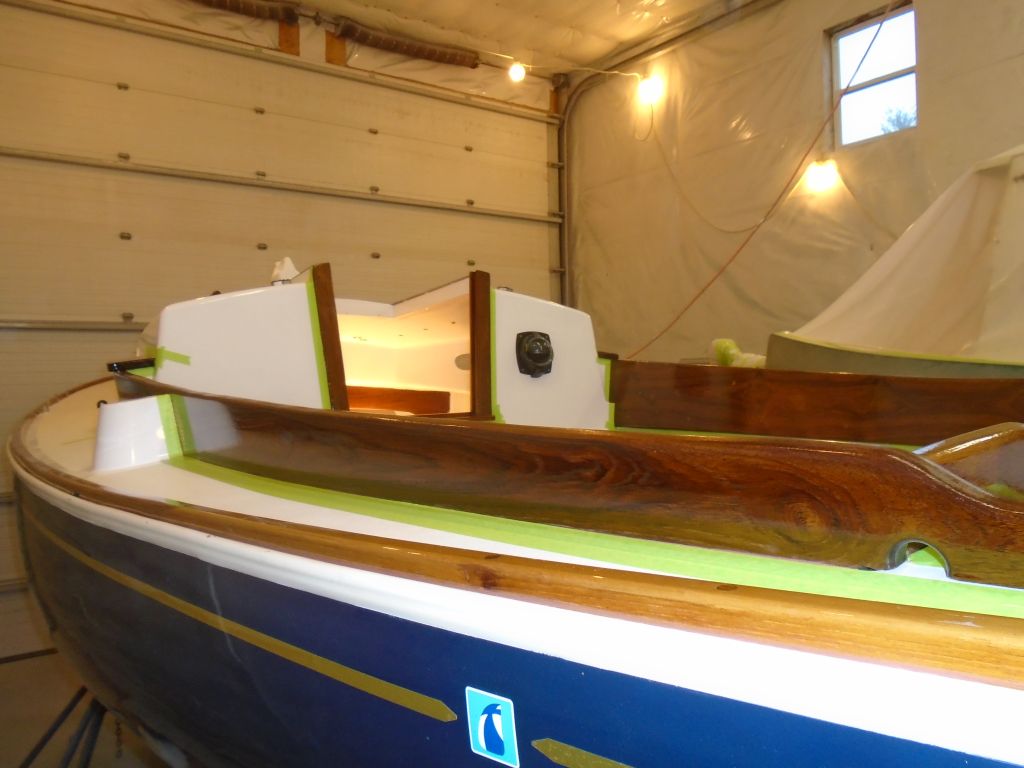
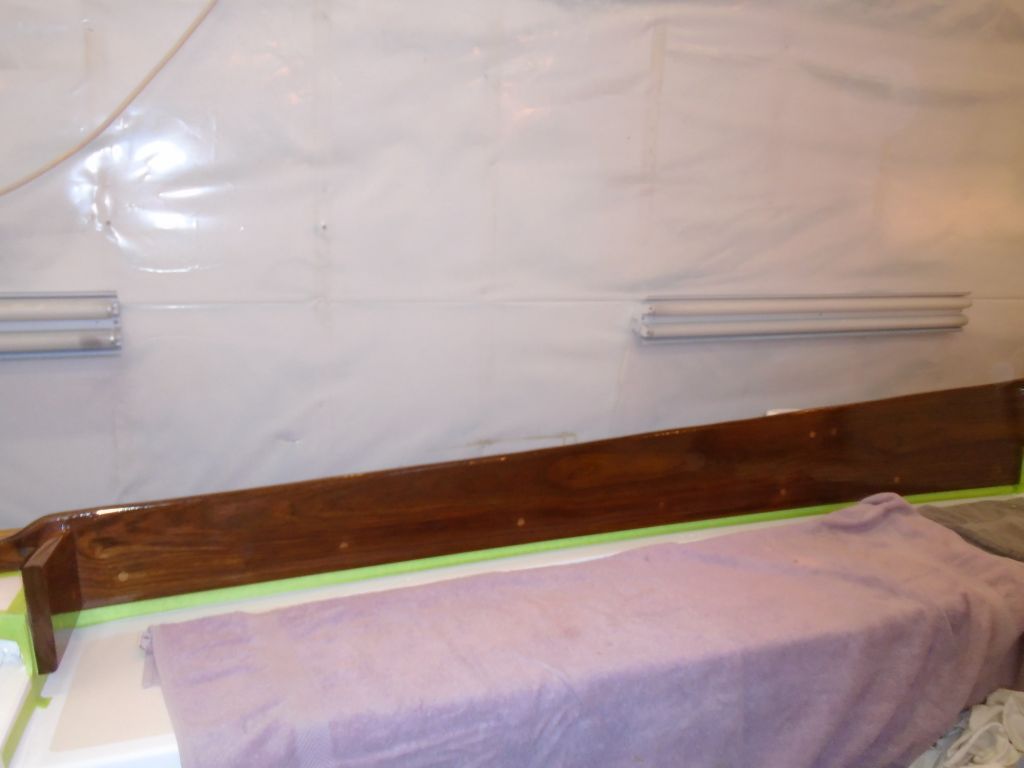
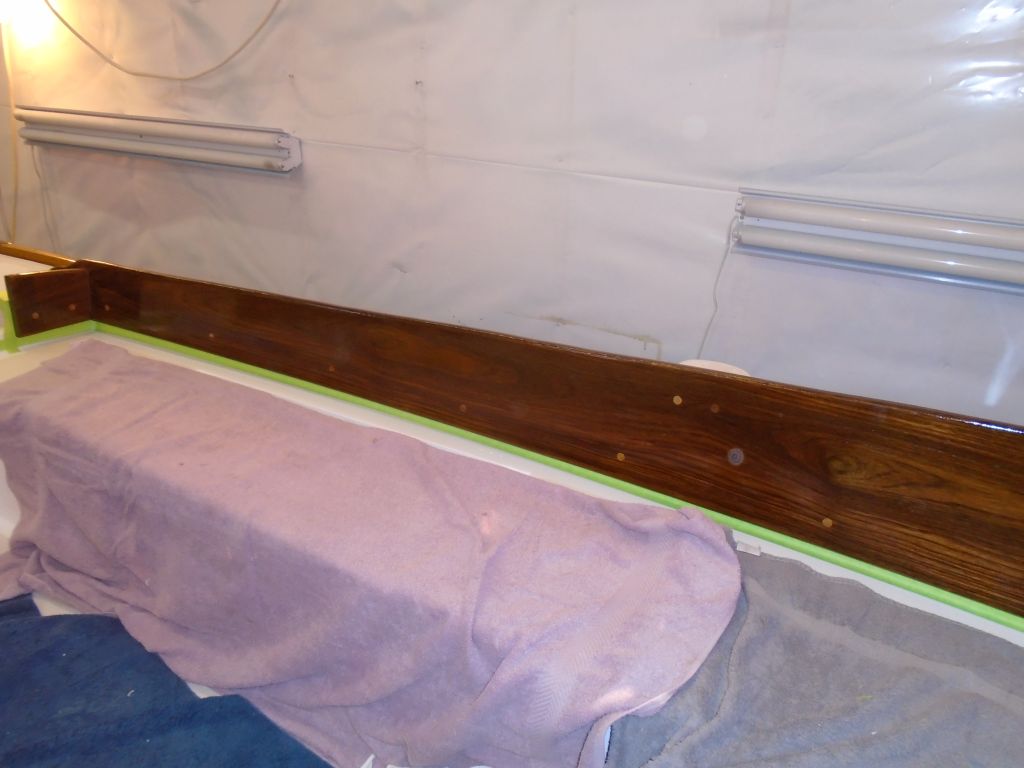
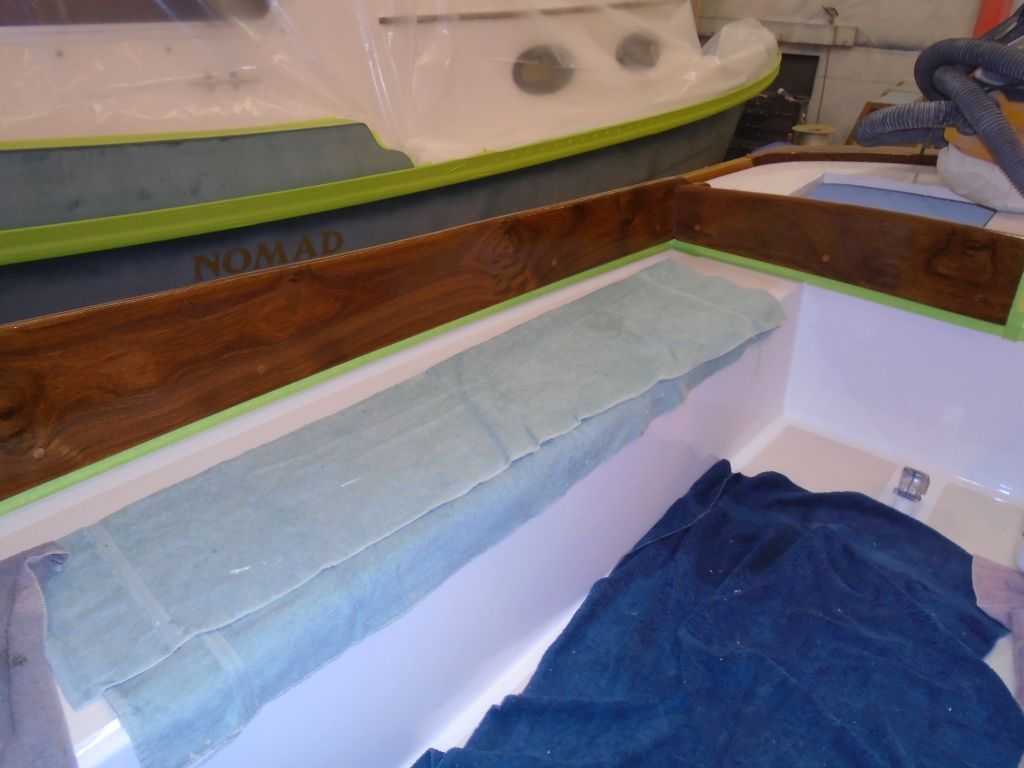
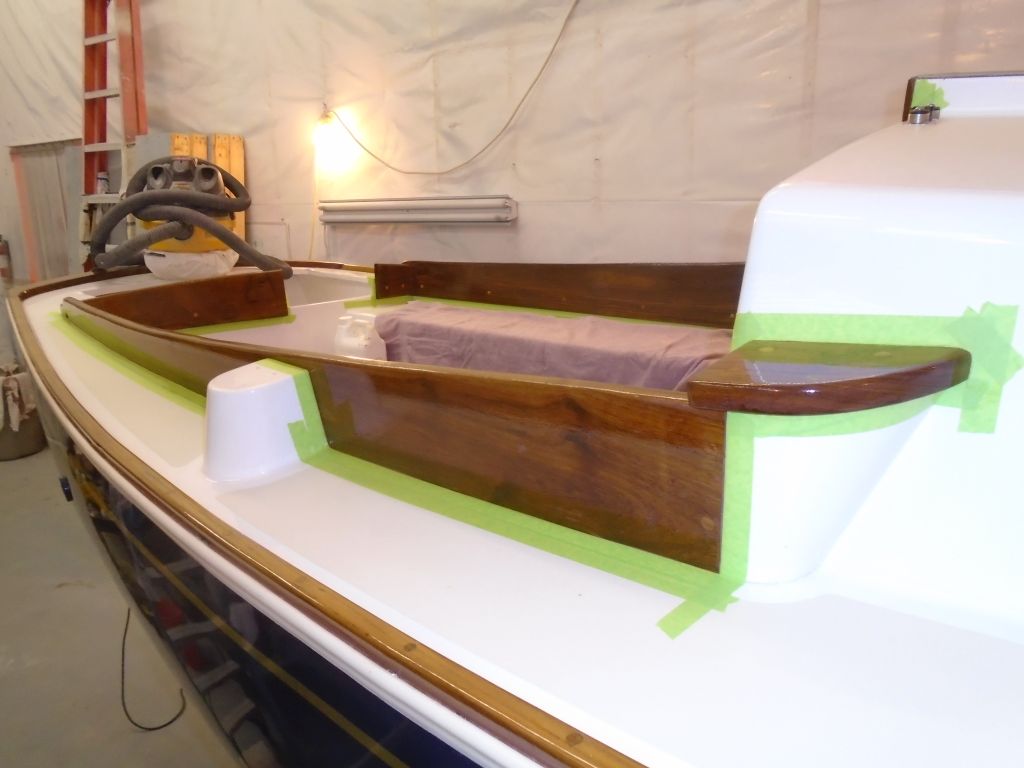
I got things rolling by preparing the coamings for the beginning of their varnish sessions, which would be a daily event for the next week or so. After paring away the final bungs from the coamings, I masked around the coamings as necessary, then lightly sanded them and cleaned to prepare for varnish, which I’d do late in the day.
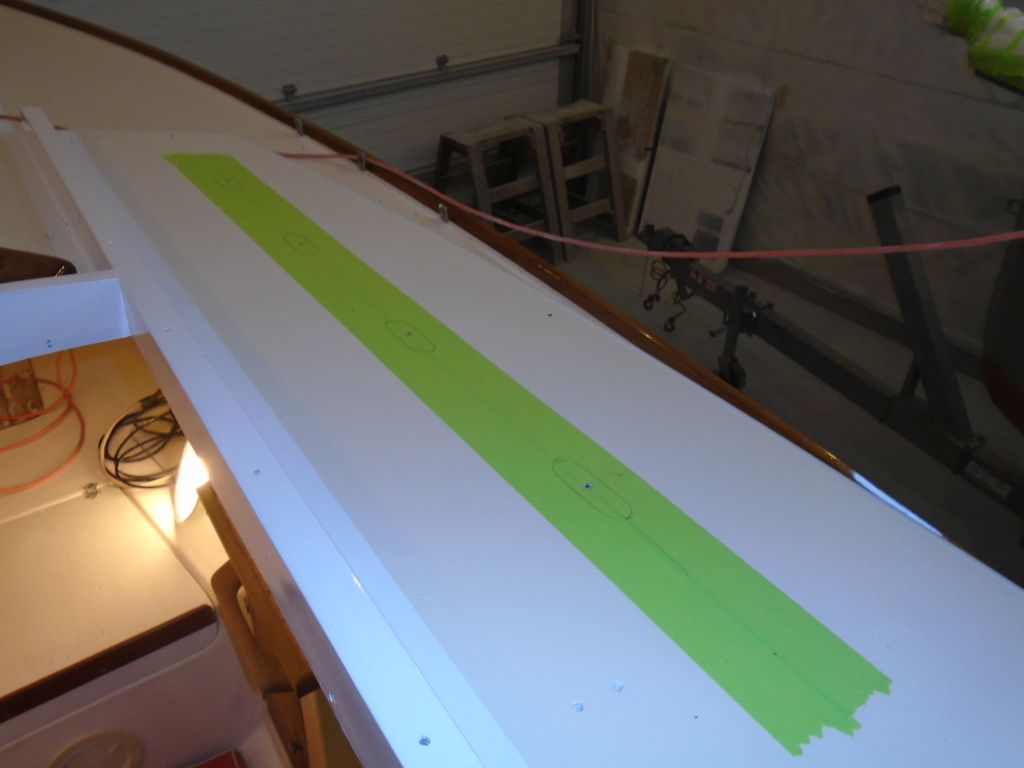
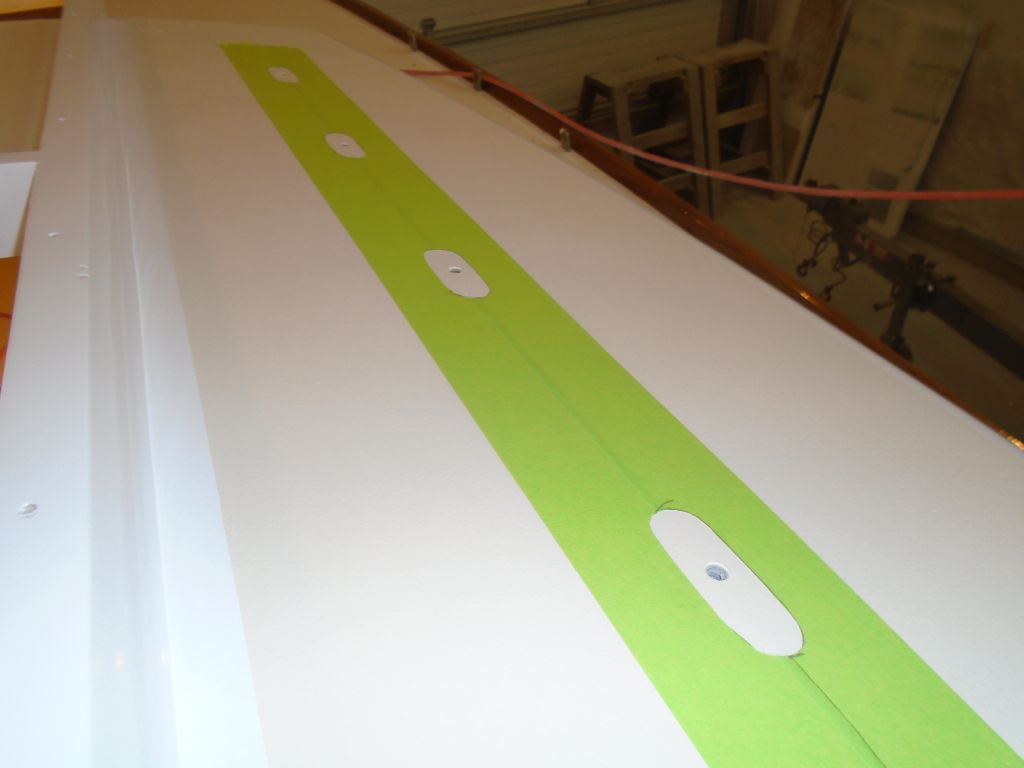
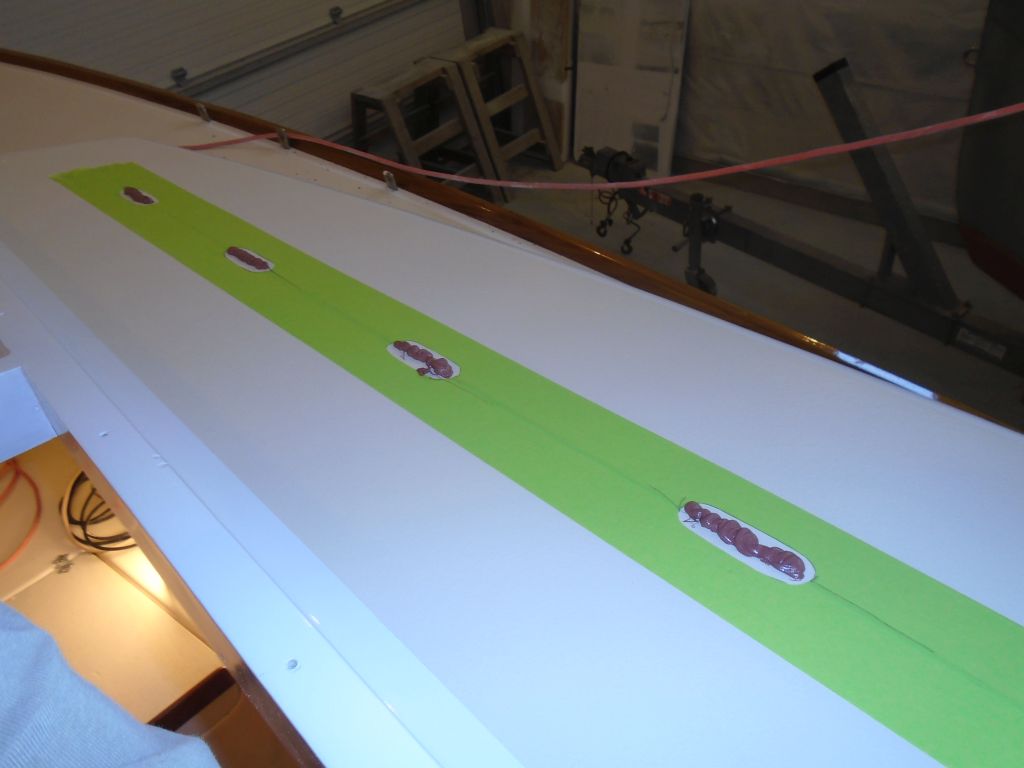
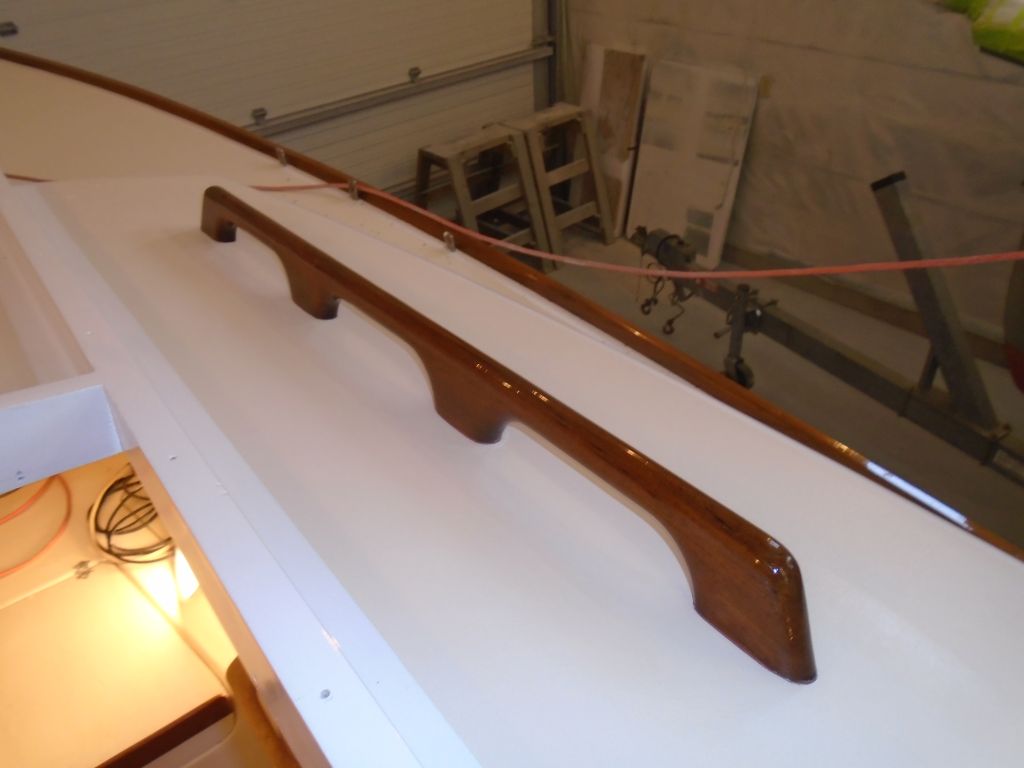
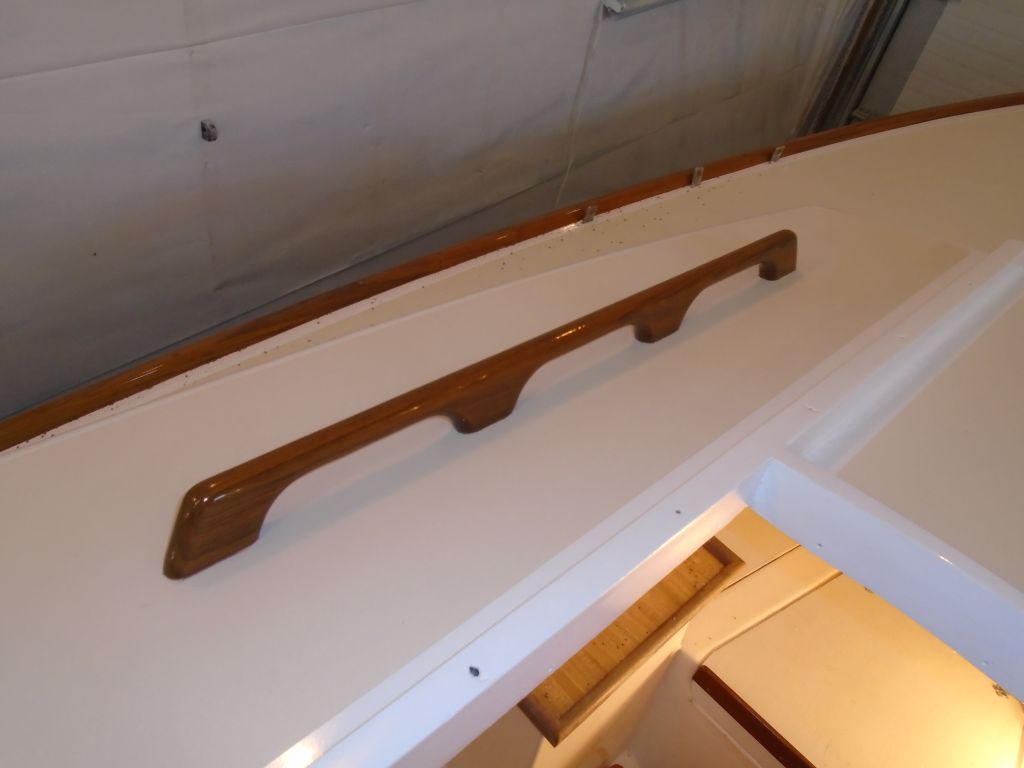
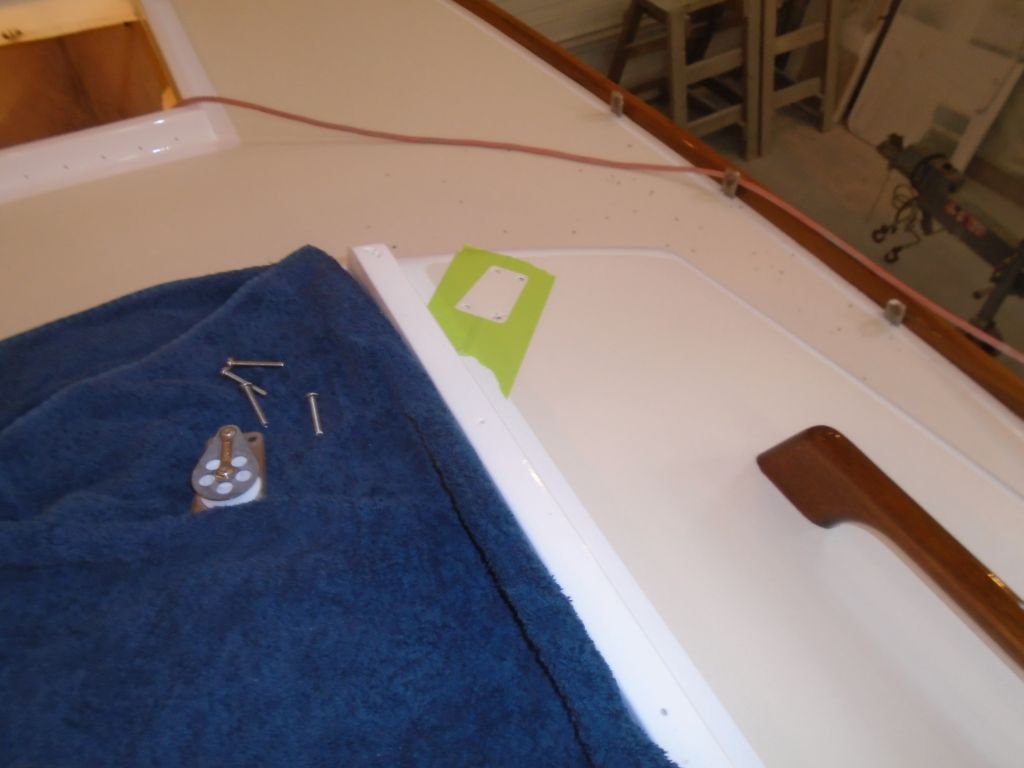
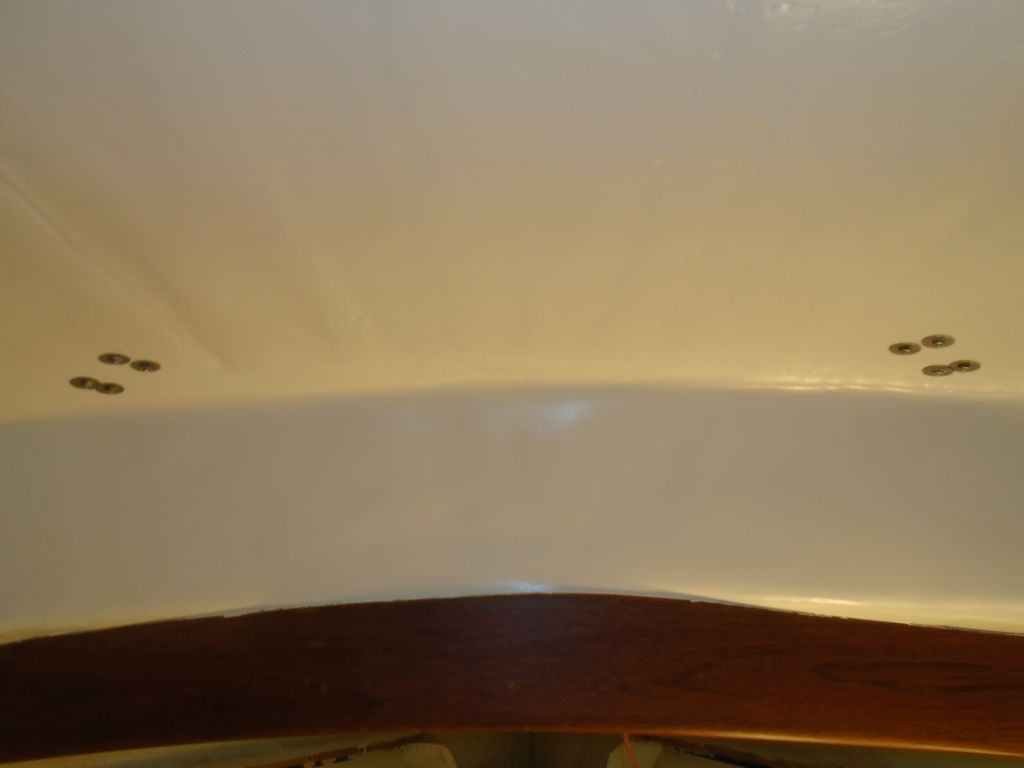
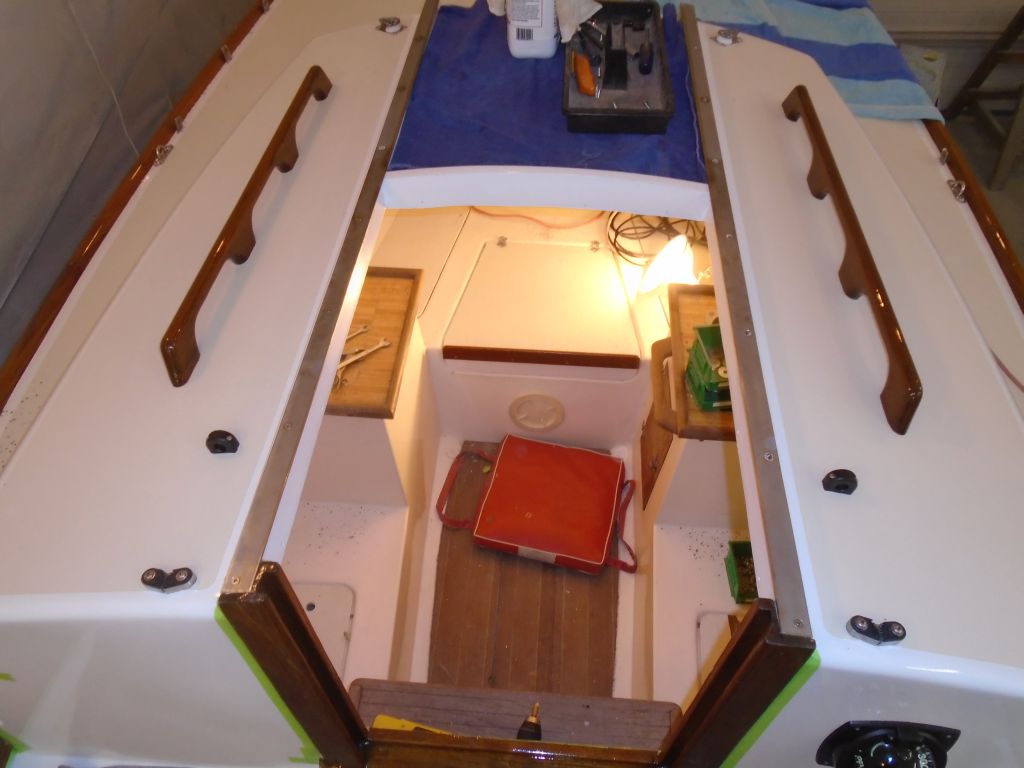
The focus of the rest of the week was deck hardware. I began on the cabin top, and installed the new handrails, which I’d pre-varnished on the bench. I’d left the original holes in the deck, so I masked off the deck in way of the holes, then laid out the new rail to determine its position against the holes before aligning it and drilling pilotholes up from within. With the rail temporarily in place, I traced around the bases so I could remove the tape in the bonding areas.
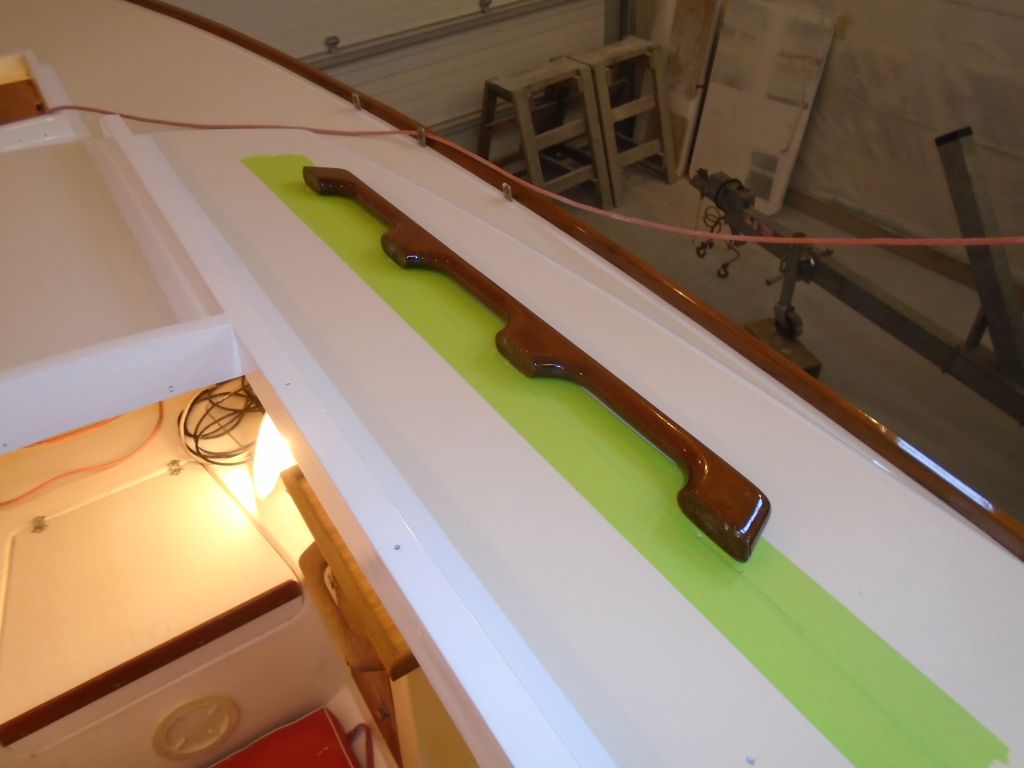
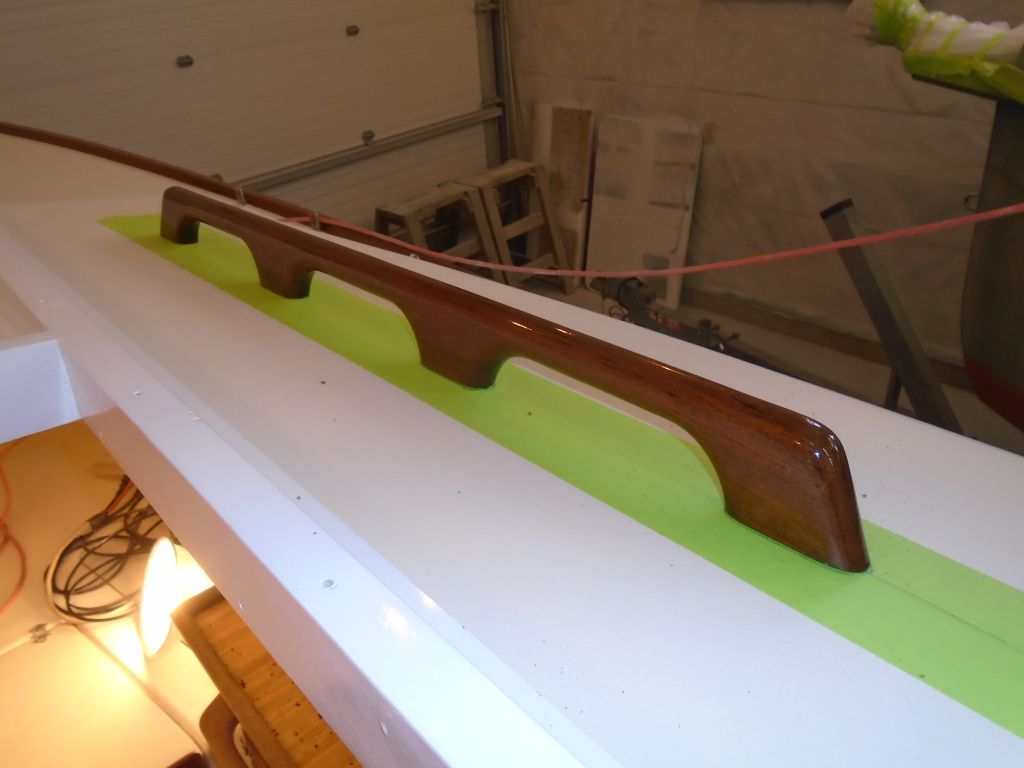
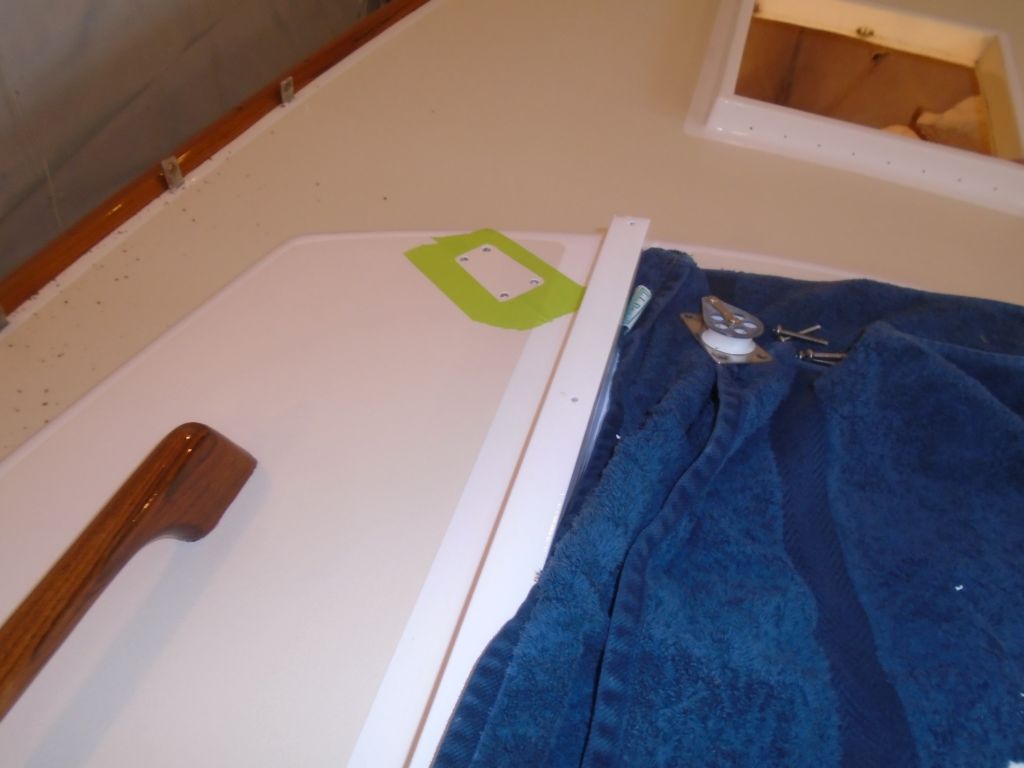
I installed the rails with a bed of brown sealant and #14 x 2″ screws from beneath.
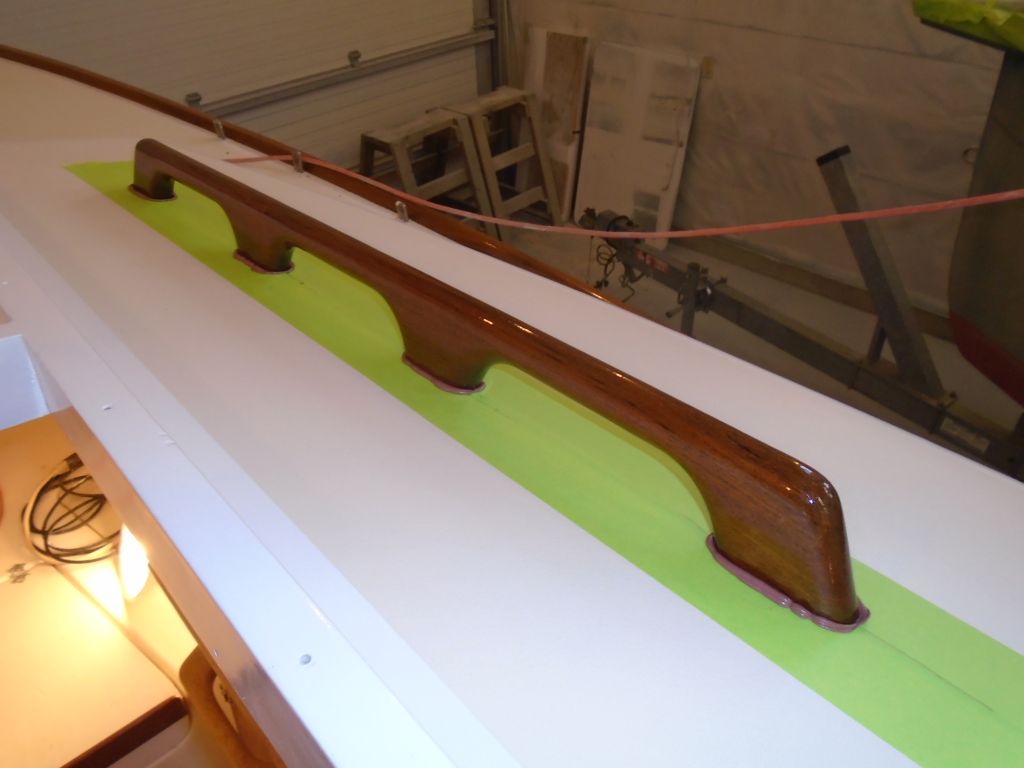
I repeated the process with the port handrail.


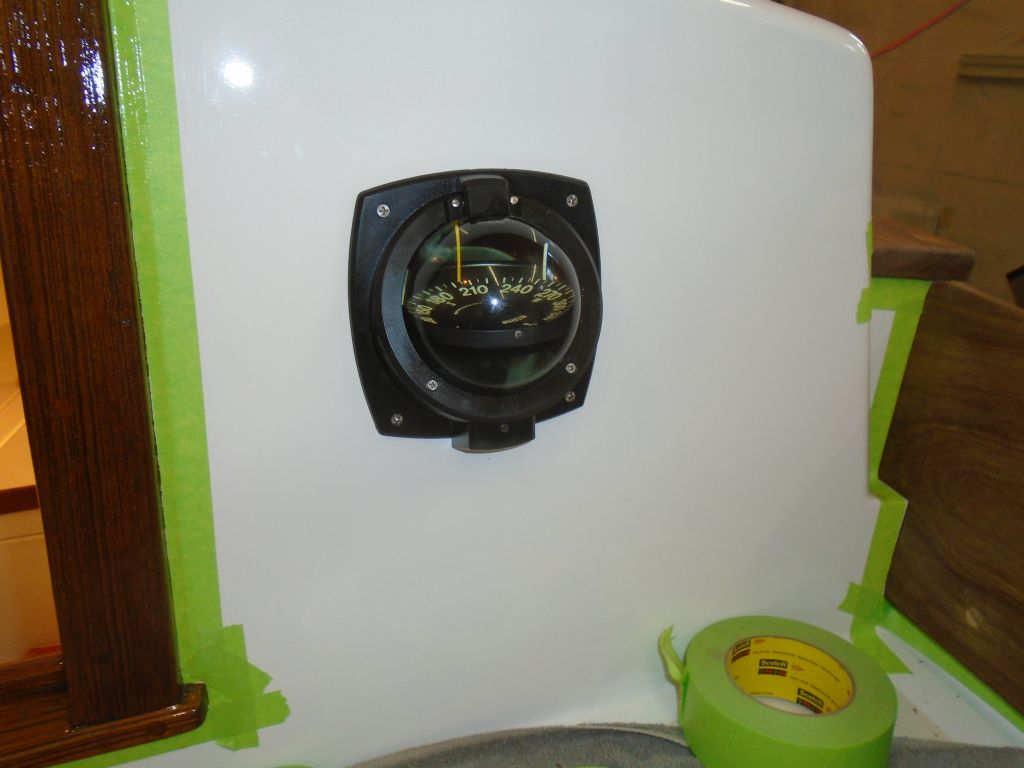
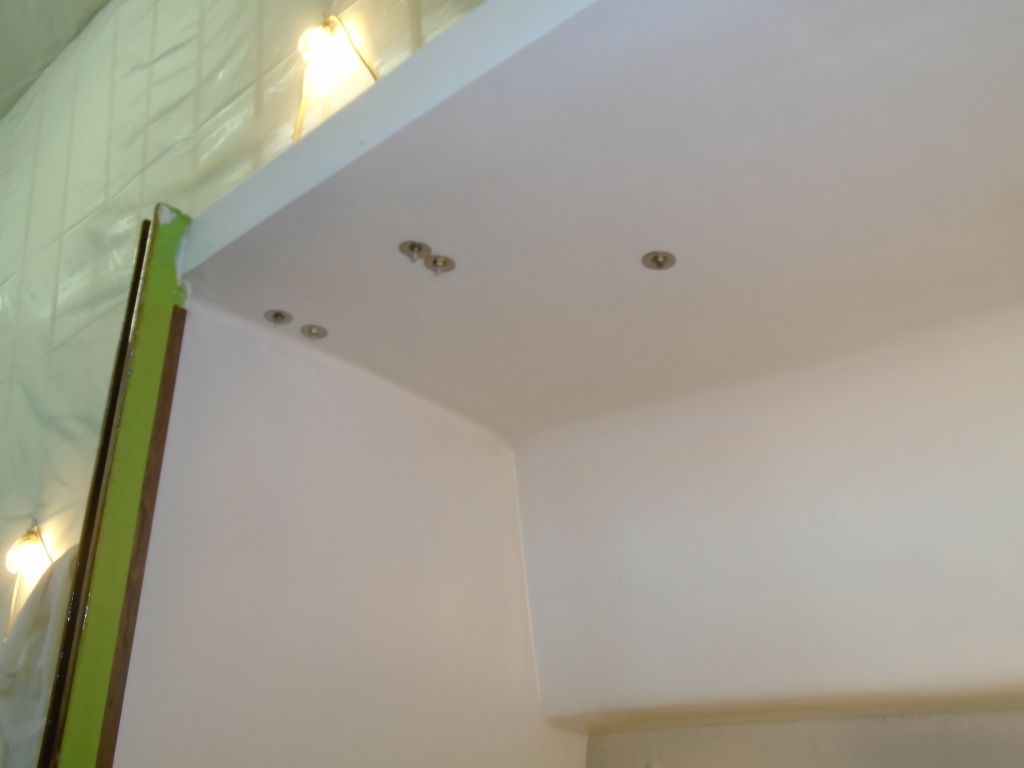
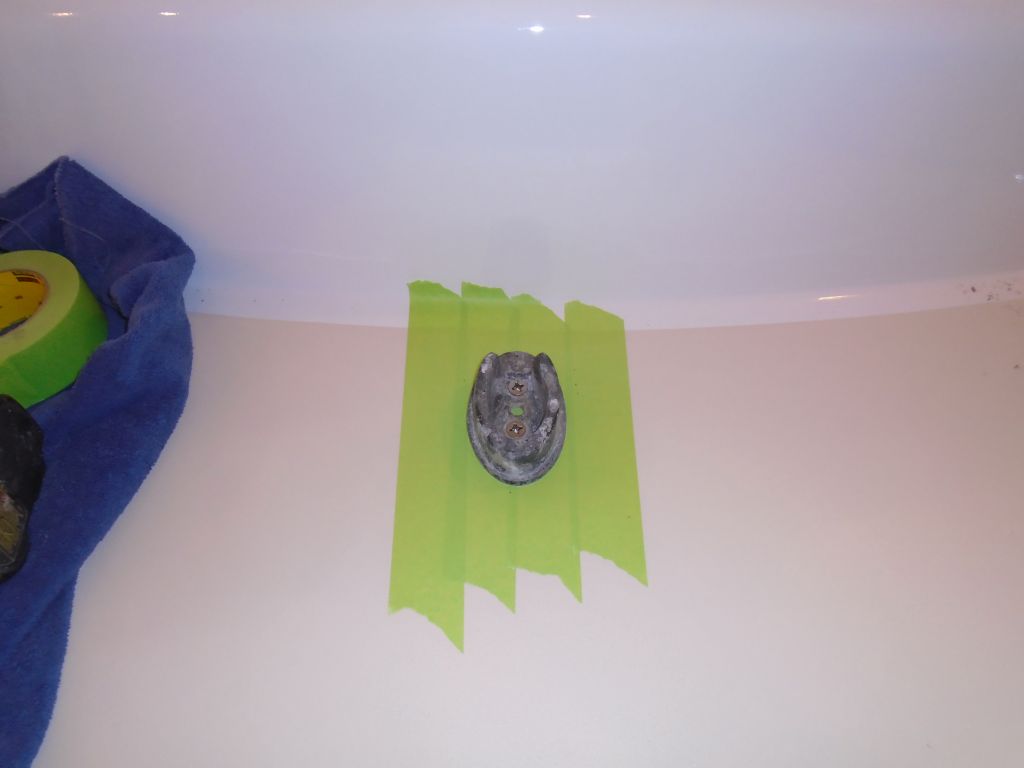
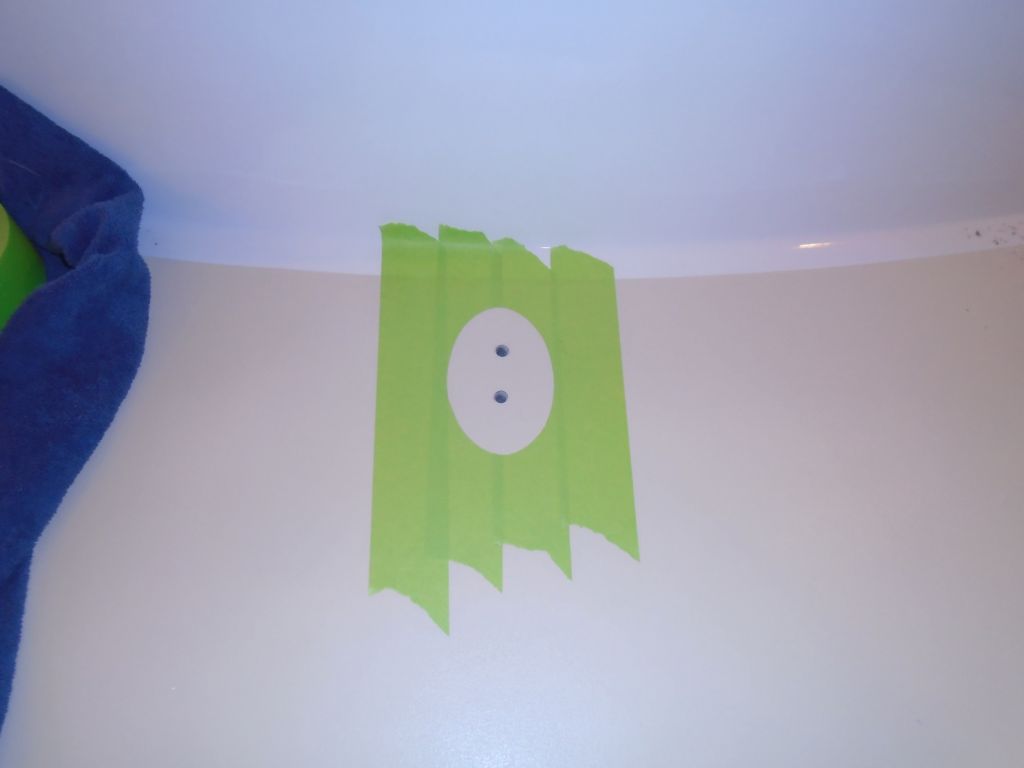
The bulkhead compass had been devoid of fluid when I removed it early in the project, so at some point I refilled the compass (I was glad I didn’t have to do that every day for a living) and left it for a while to see if it leaked. It didn’t seem to, so I reinstalled it in its original hole.
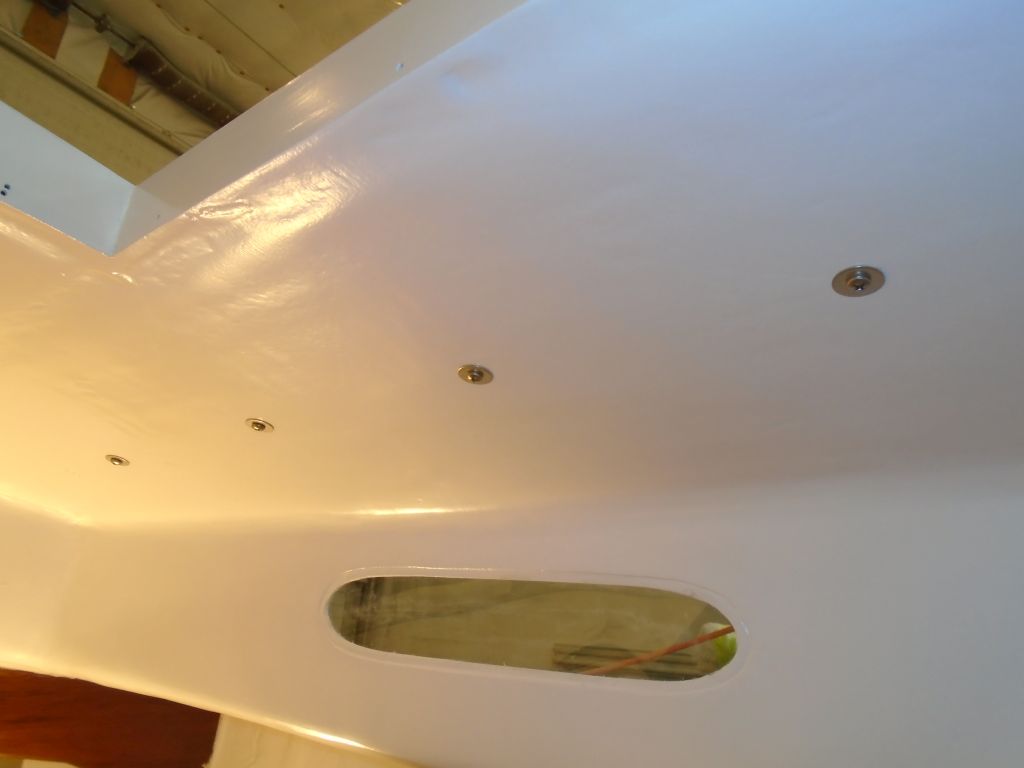
Continuing on the cabin top, I prepared and installed various line control hardware for the halyards, reusing existing fastener holes and original hardware, except for the plastic bullseye fairleads, which I replaced with new that I had on hand. The cabin top was uncored fiberglass, so there was no need for additional hole-preparation work.
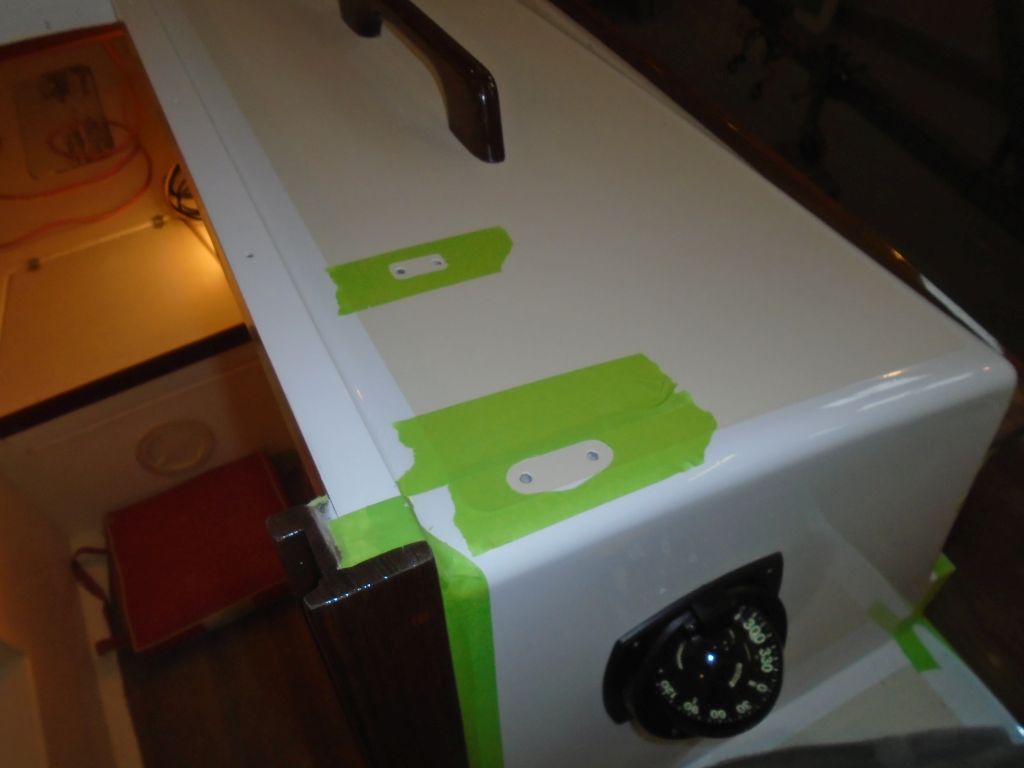
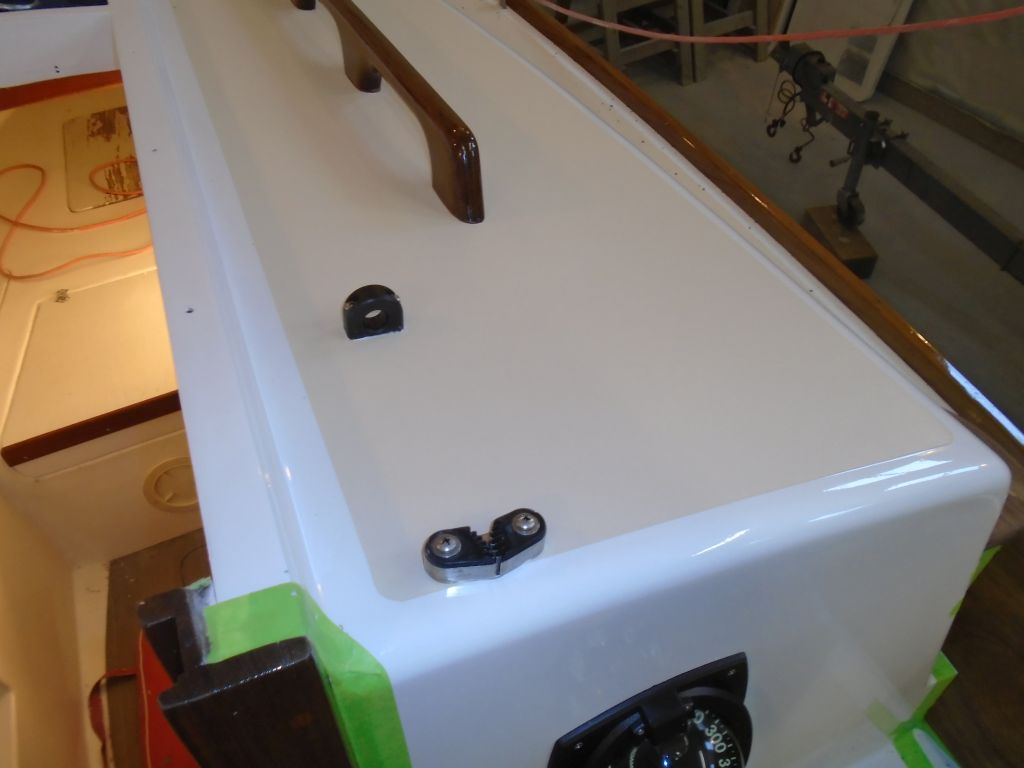
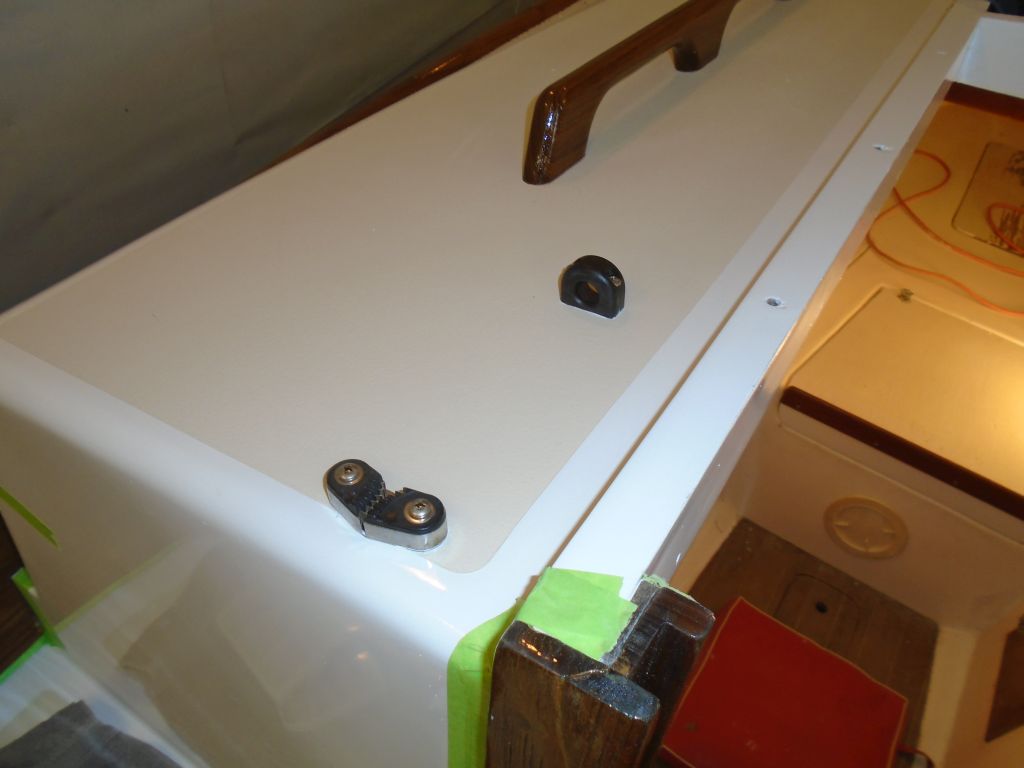
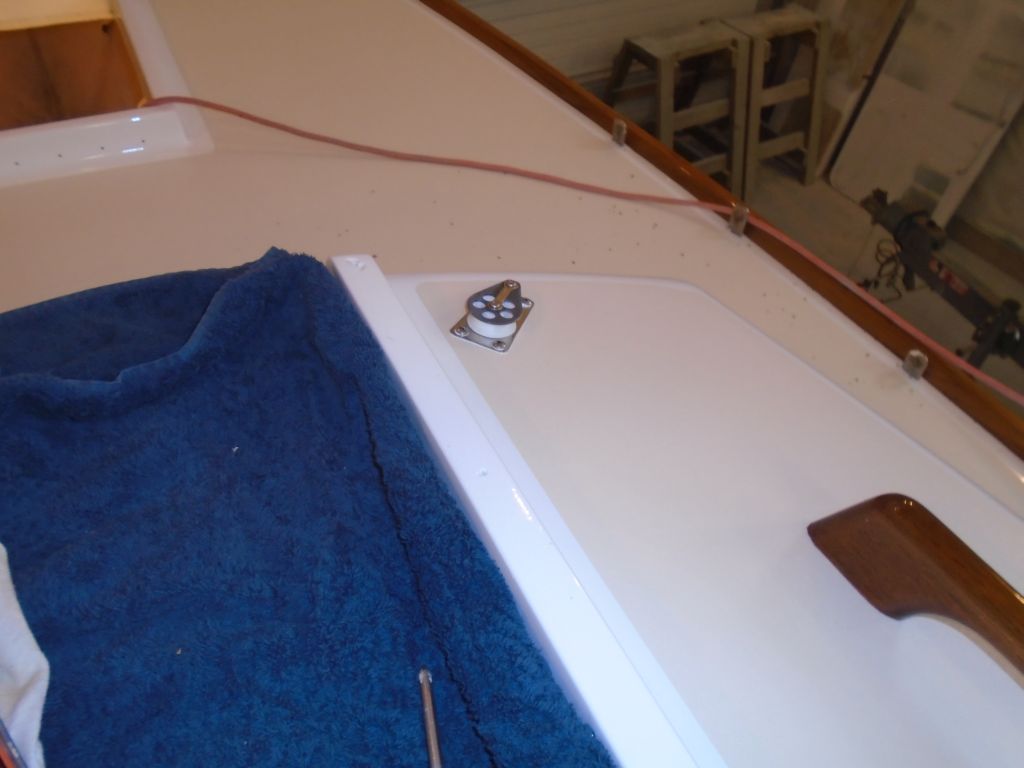
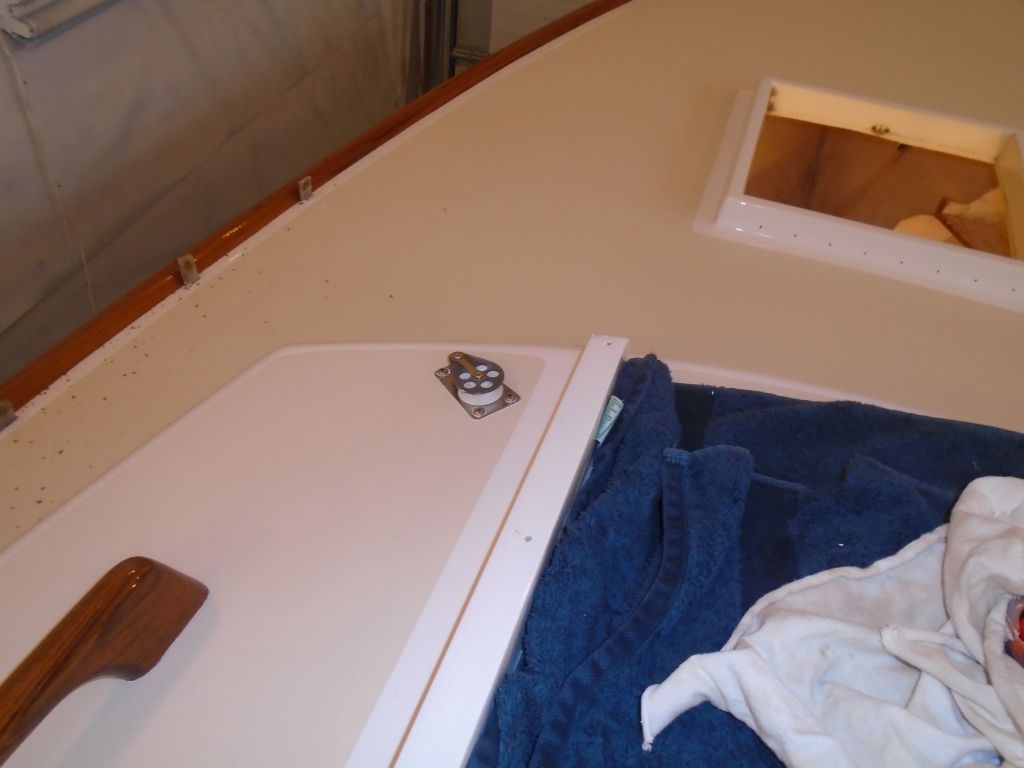

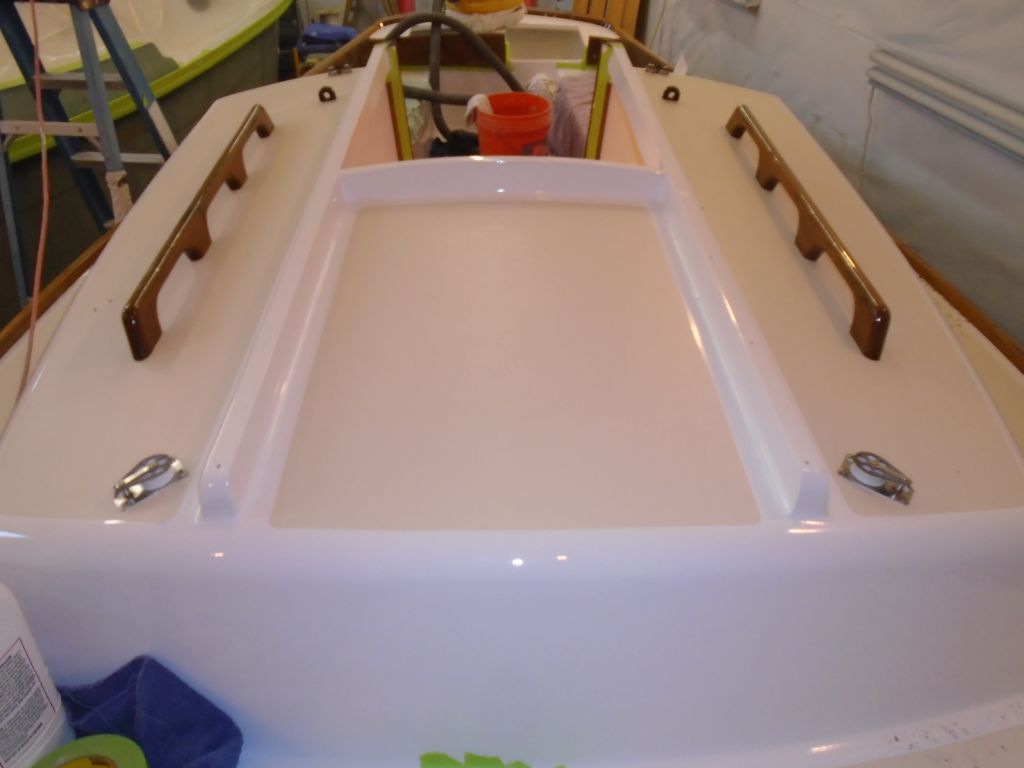
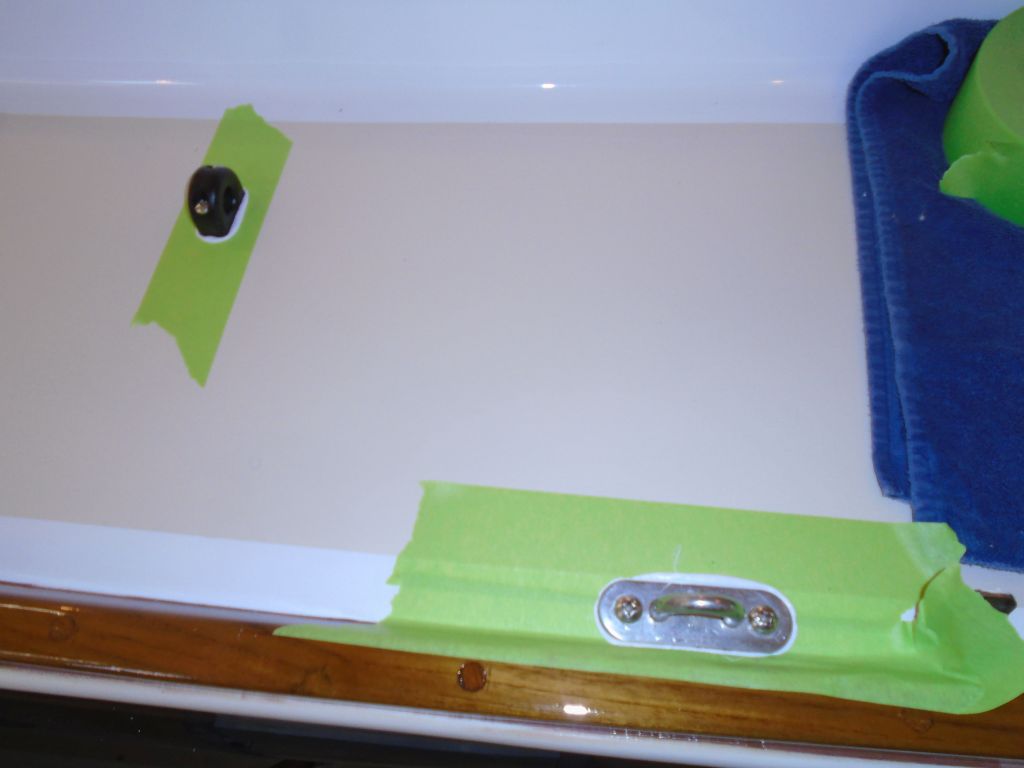
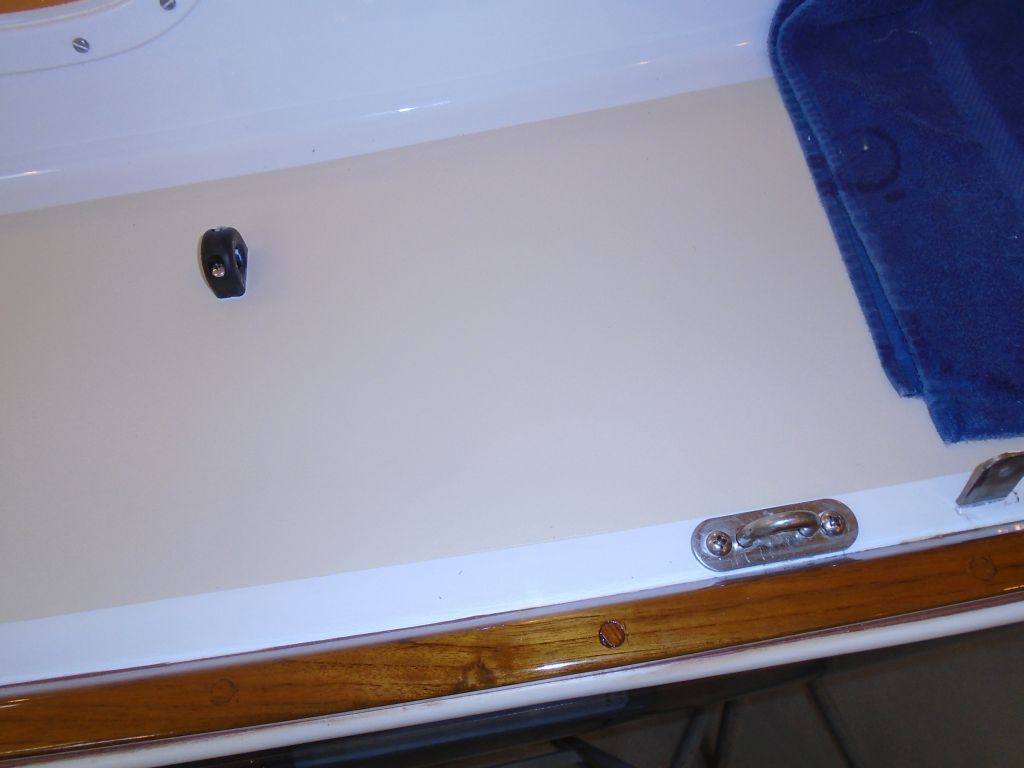
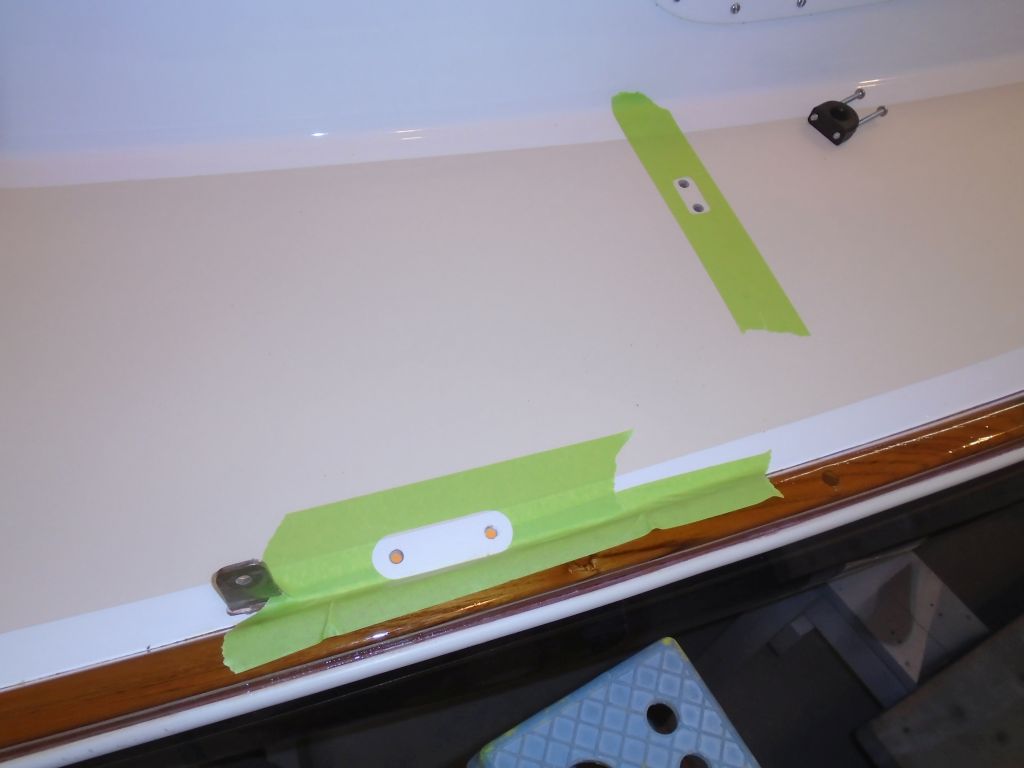
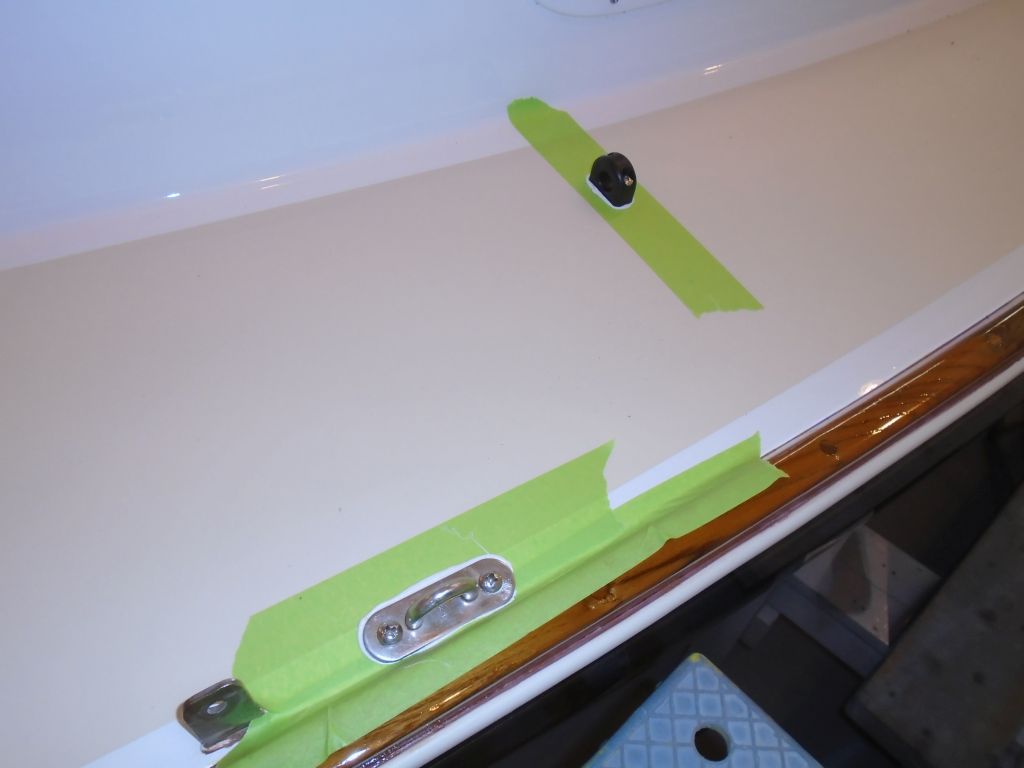
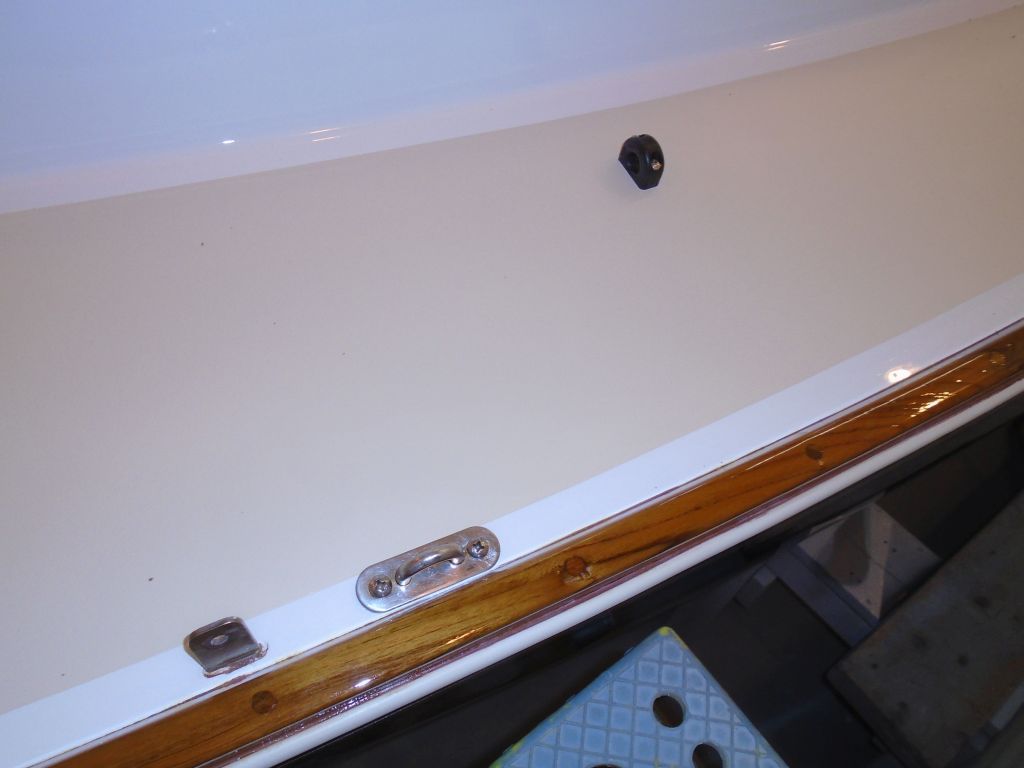
Next, I installed padeyes and another set of bullseye fairleads on the sidedecks, reusing existing locations and hardware. During deck work much earlier, I’d overbored and epoxy-filled the hole locations for the little fairleads int he middle of the deck, so now all I had to do was drill pilot holes, tap for machine screw threads, and install the hardware. The padeyes went through the outer portion of the deck where there was no core. I did the starboard side first, then repeated the process with the port side.


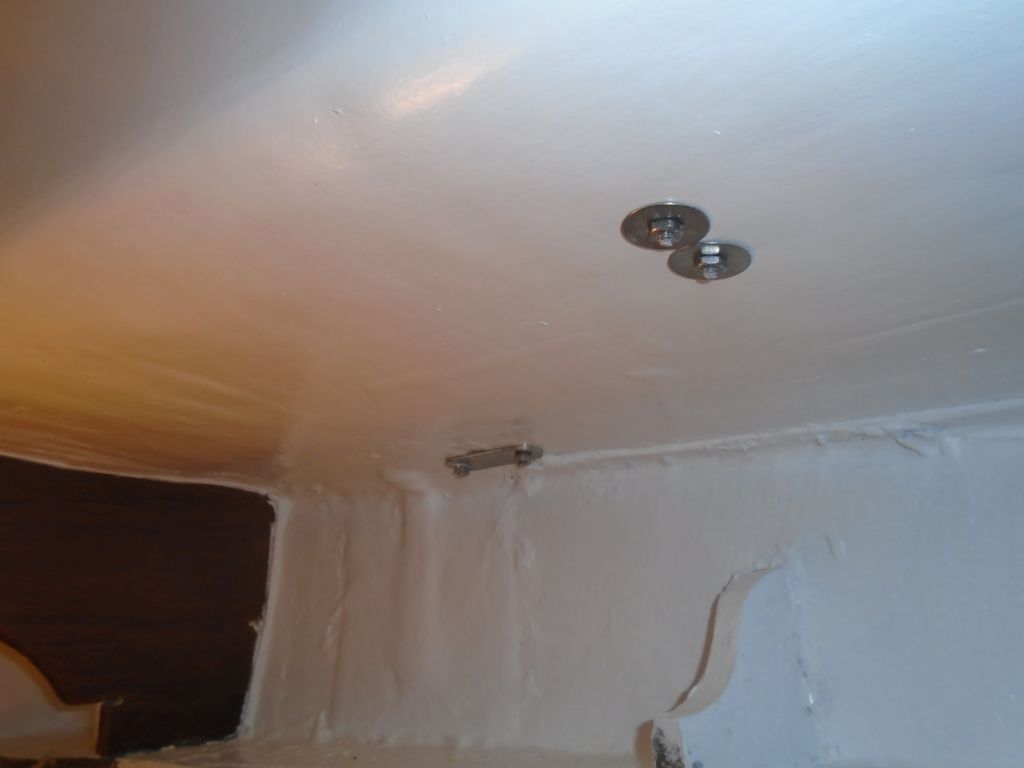
To reinstall the mast step, I first drilled a small pilot hole from beneath, where the old fastener holes were still visible, to help me locate the step on the deck. With the single locating hole, I could adjust the step properly and drill the two mounting holes, which I tapped for 5/16″ machine screws. I prepared the area for final installation, but found that the screws I had were too short, though I thought I’d determined the length correctly, so I had to order different ones. I’d pick up this installation as soon as the new fasteners arrived.
I wanted to leave ample time for the varnish work, but I had enough time first to install the companionway rails.
After cleaning up from the deck hardware work, I applied a coat of varnish to the new cockpit coamings.


Total time billed on this job today: 7 hours
0600 Weather Report:
25°, clear. Forecast for the day: Mainly cloudy, 40°