

October 8, 2015
Aventura 10
Thursday
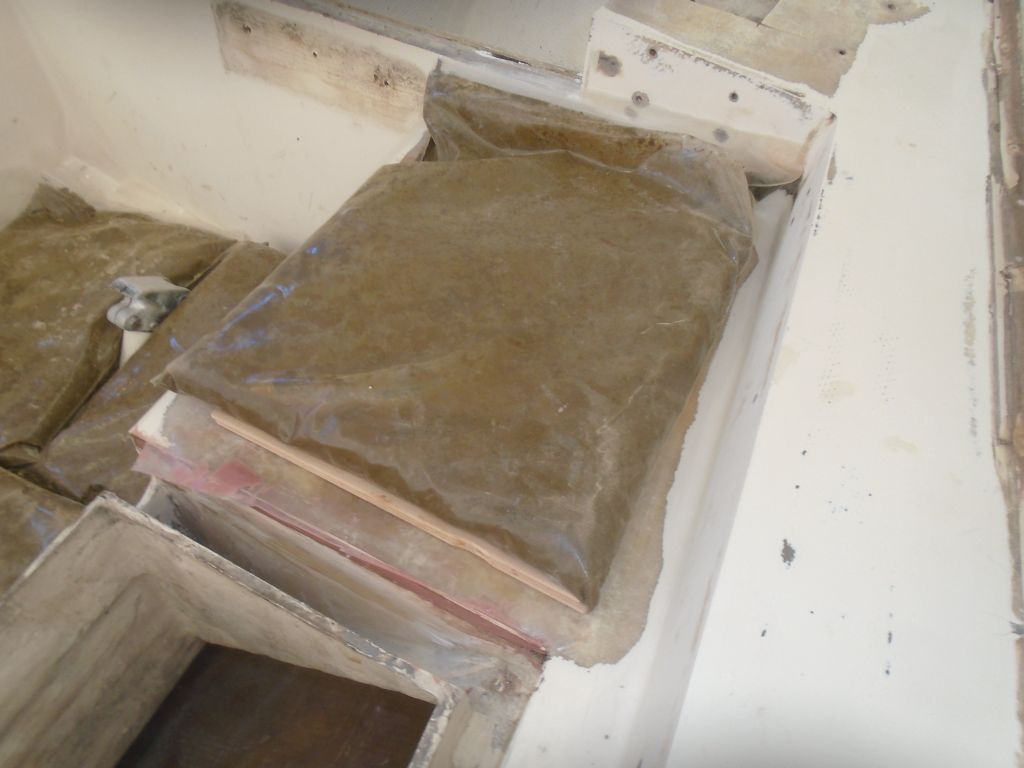
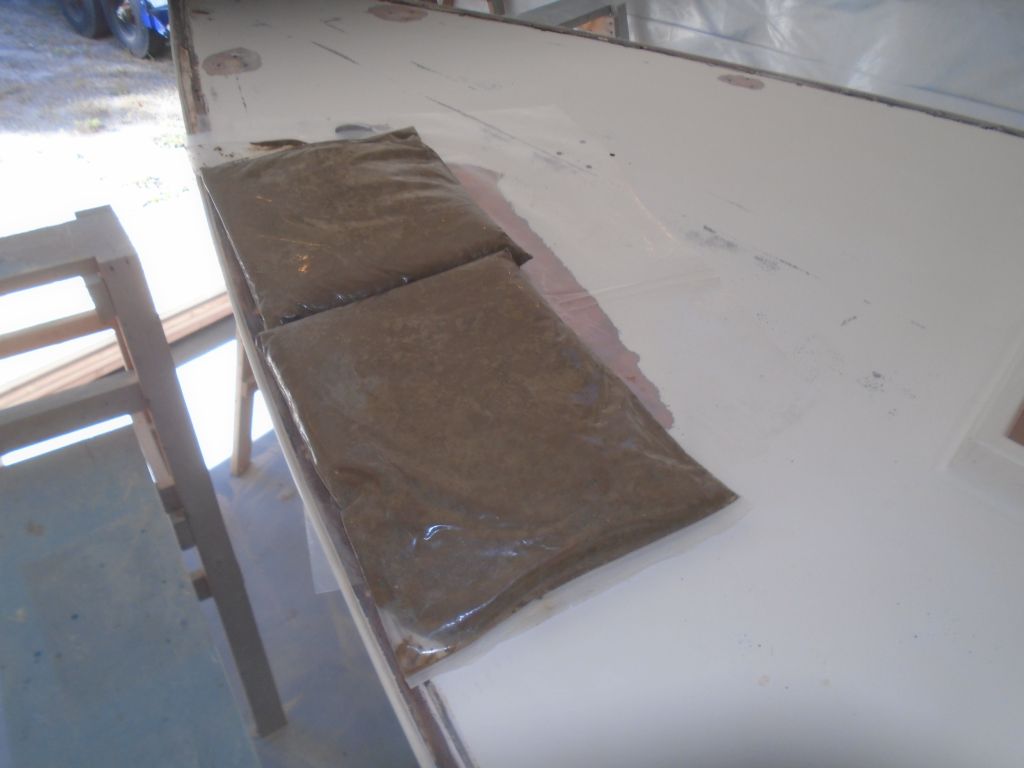
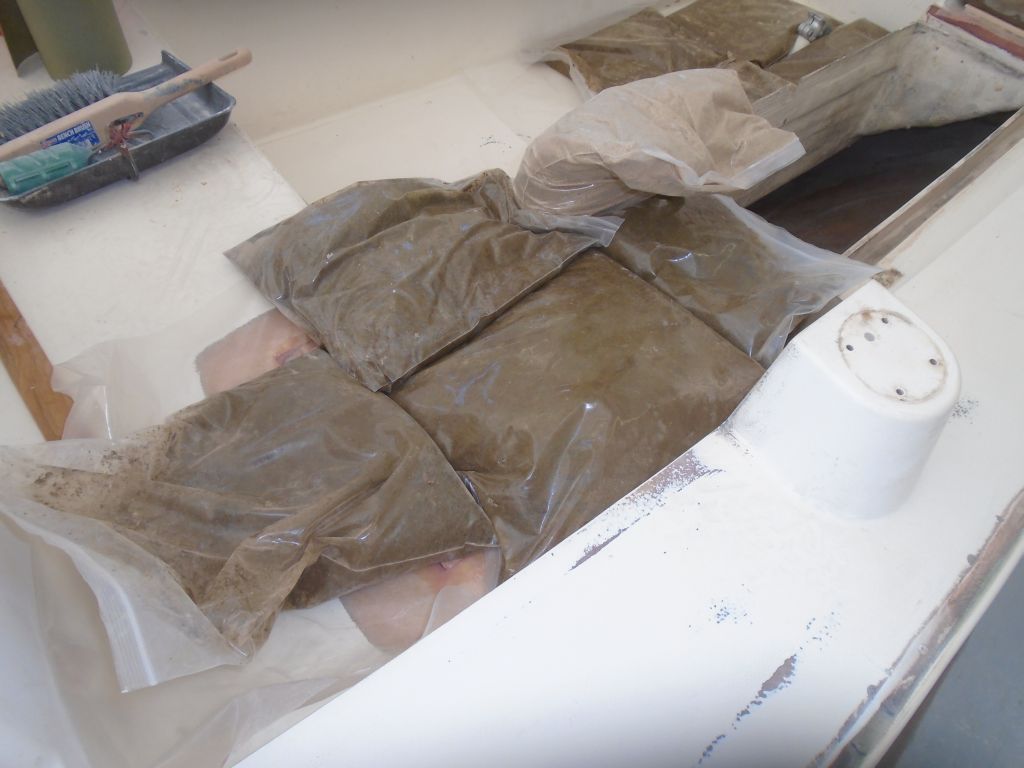
After final cleanup and preparations, I installed new balsa core in most of the areas on deck (excepting, for the moment, the poop deck). For each instance, I wet out the core on the bench, and wet out the edges and flanges of the deck area before filling, as needed, the space around the edges with epoxy thickened with structural fillers. Finally, I applied thickened epoxy adhesive to the inner deck skin with a notched trowel and pressed the new core in place, weighting as needed. The messy and time-sensitive nature of this work prohibited photos till the core was in place and weighted.

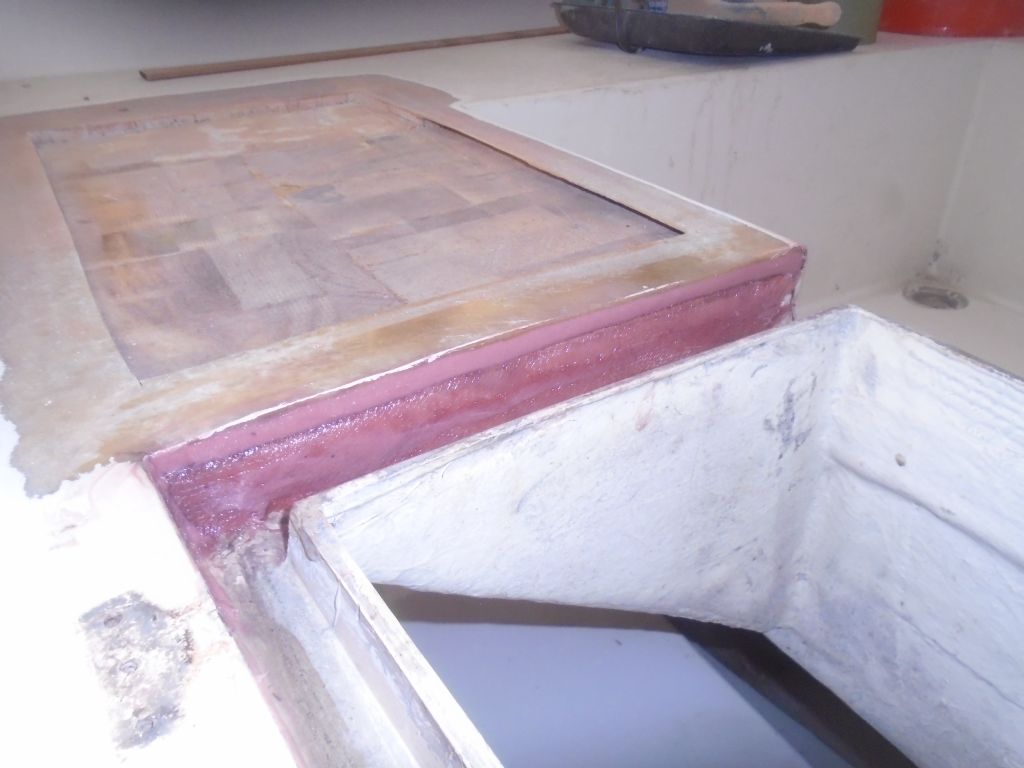
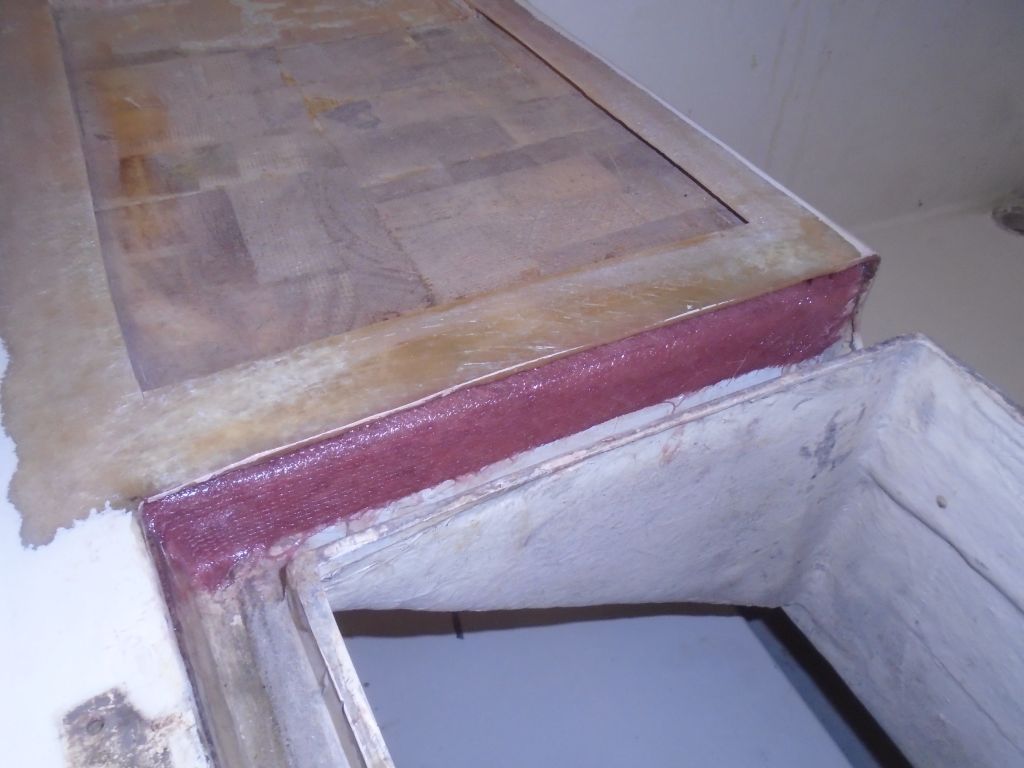
At the forward cockpit seat area, where I’d begin to rebuild the locker lid gutter, before installing core I added a tab of fiberglass where the gutter met the cockpit seat, and led it partially cure before next filling the gap above (originally filled with balsa core) with structural epoxy filler from the gutter side. Once that had cured for a couple hours, sealing off the opening from that side and helping to support the little strip of top skin above, I continued with the core installation in that spot, filling in the rest of the gaps and edges with more structural filler and installing the core in thickened epoxy adhesive.
At the same time, I filled the outboard edge of the gutter with the thickened epoxy.

At the mast step, working in batches of several layers at a time to avoid overheating, I installed 10 layers of biaxial fabric to fill the area nearly flush with the adjacent tapered deck edges. Some of the layers “grew” a bit when wet out, so I just let them wrap up the edges as needed, leaving the top edge for later trimming.
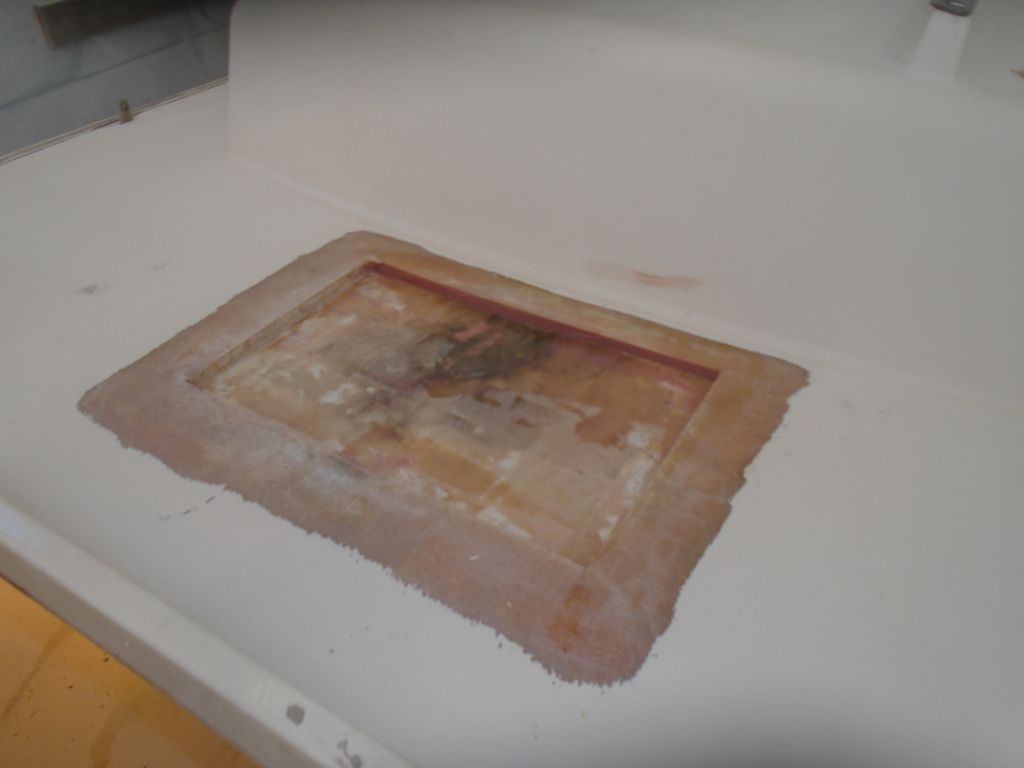
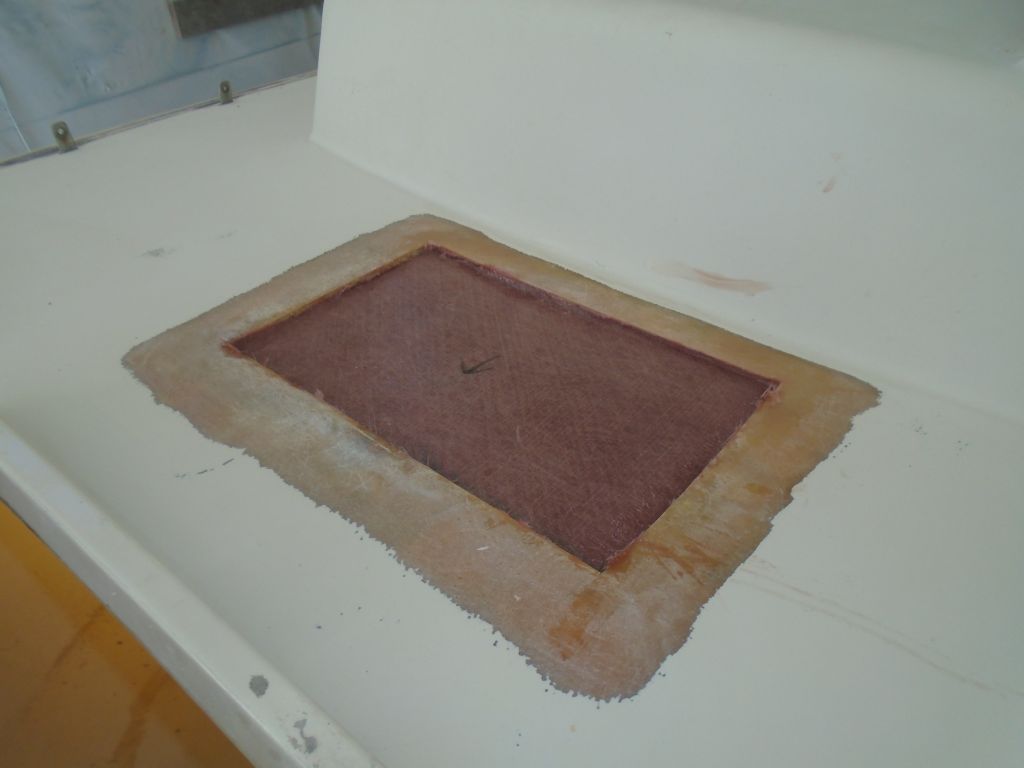

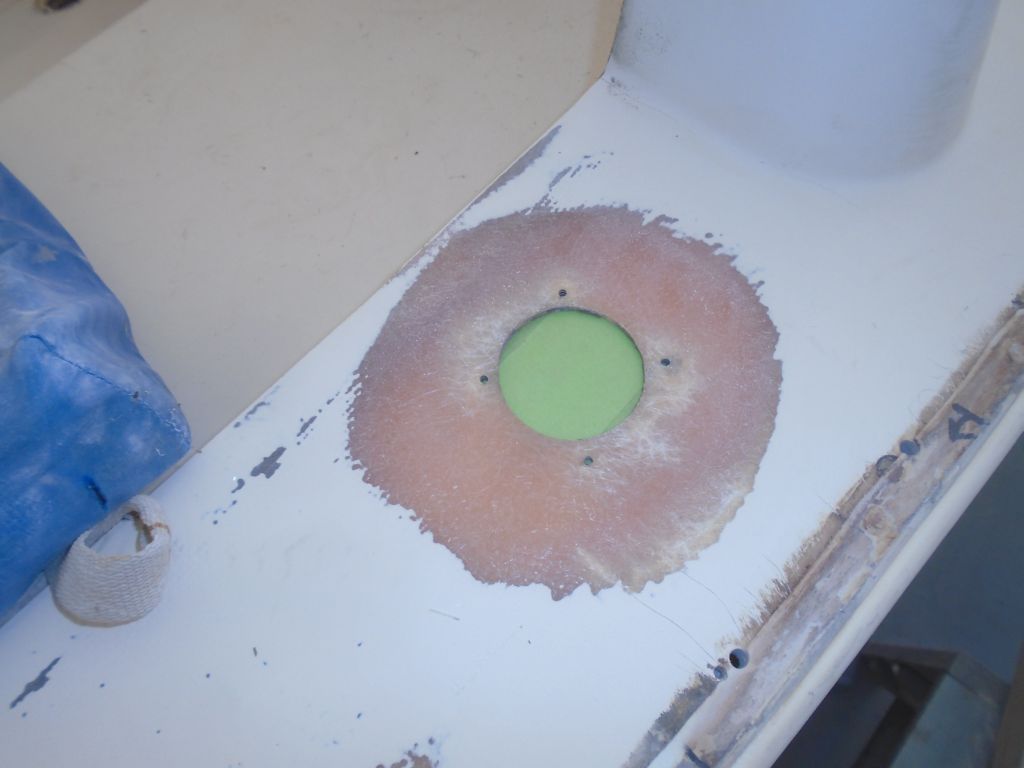
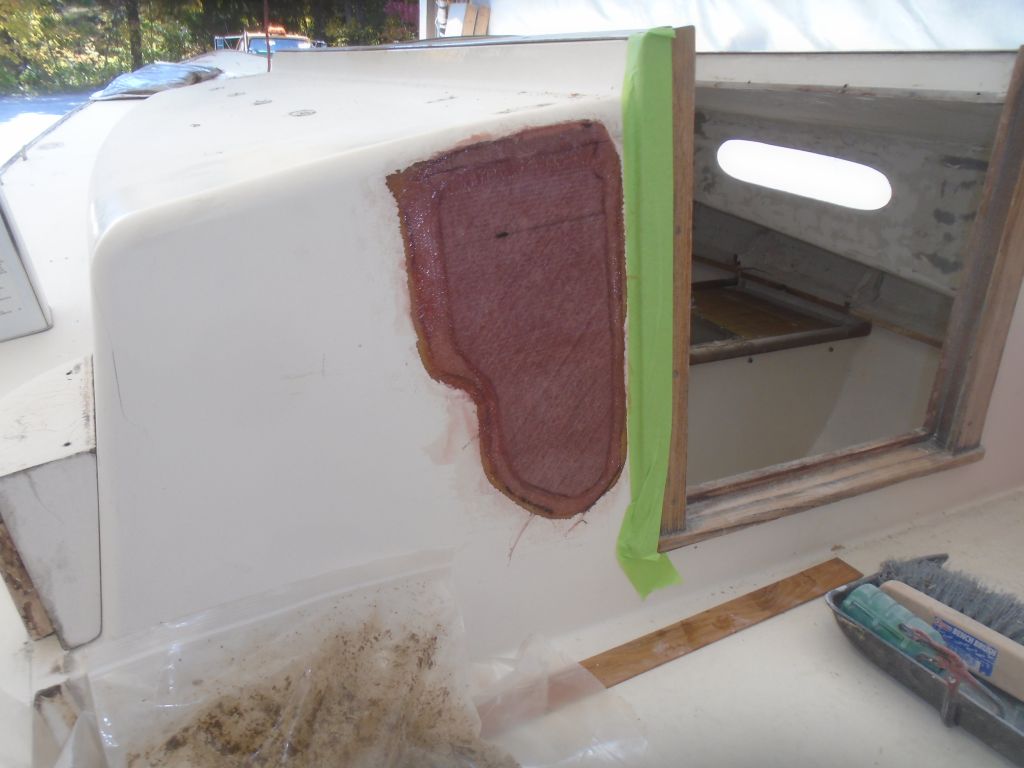
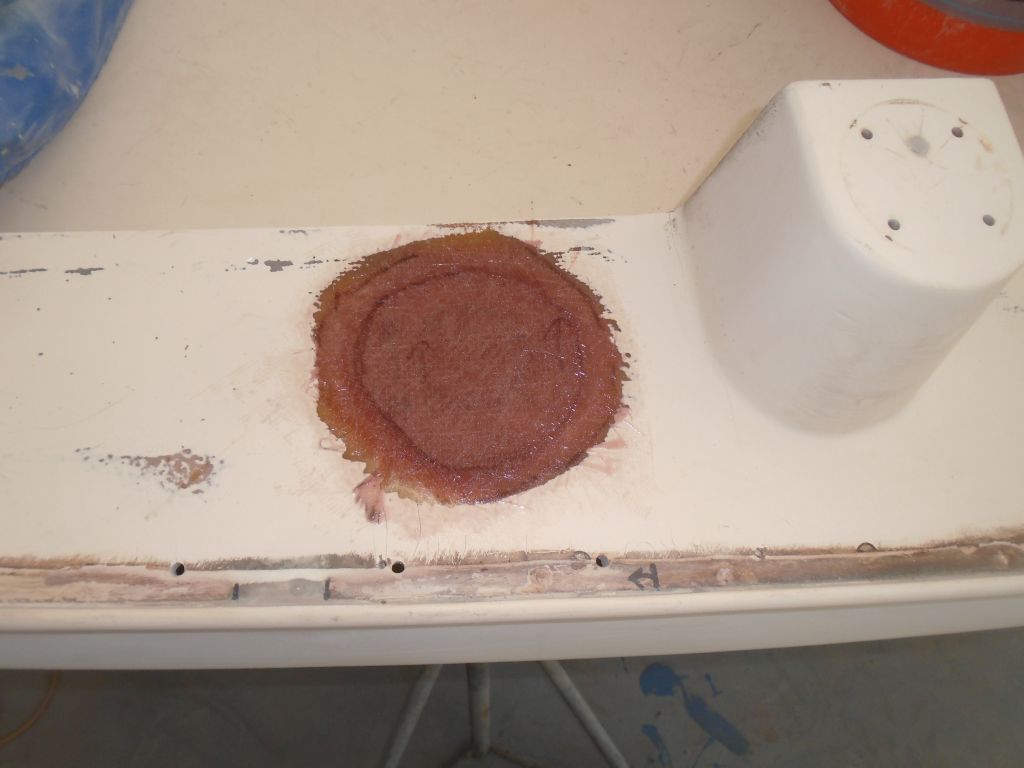
With all the core in place, I continued work on the old water deck fill and bulkhead patches. After masking over the holes tightly from within, I installed some thickened epoxy to fill the holes and, after allowing it to cure for a while, appliied layers of fiberglass from the outside. Sometime later I’d complete the patches from inside

Preparing for the poop deck rebuild, I laid out several pieces of core as needed, leaving core-free several areas around known hardware locations (mainsheet blocks and centerline mooring cleat). Because of the way the inner skin tapered up to meet the top skin at the edges of my cut–the builders had created very broad, shallow tapers at the core edges during construction–I kept the new core back from those areas as needed, and also held the core back from the edges of the two locker openings to avoid the issue that had caused all the damage here in the first place. I’d fill all these areas with solid material.


I’d had enough epoxy mixing for the day, and I didn’t think I had enough sandbags left, so I held off on installing this core for the moment, choosing instead to wrap up the day with framing some of the boats outdoors to prepare for their winter covers.
Total Time Billed on This Job Today: 5.25 Hours
0600 Weather Report:
40°, clear. Forecast for the day: Sunny, 60.