

November 24, 2015
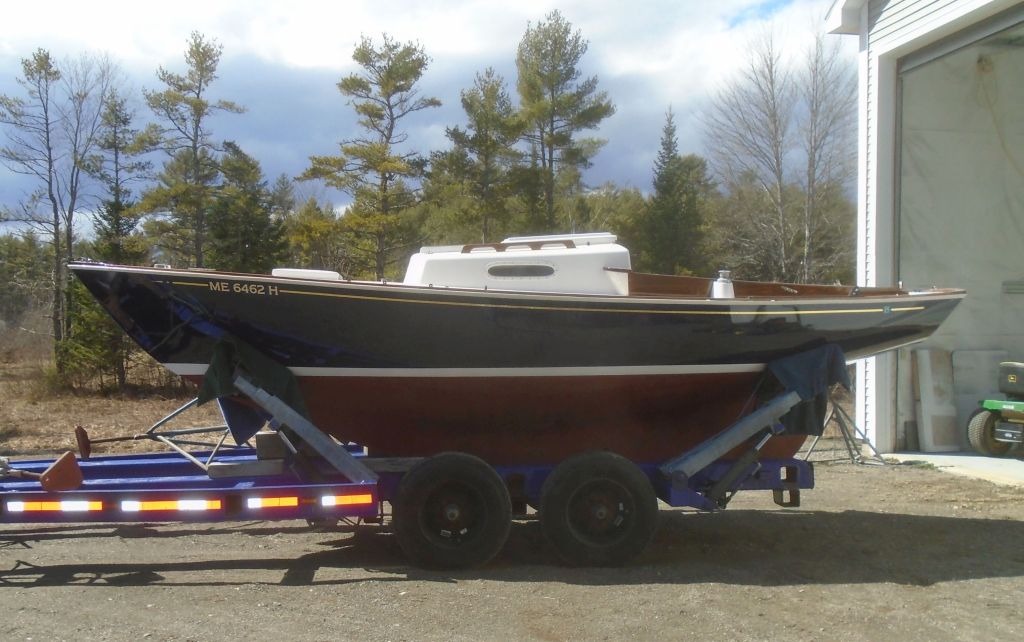
Aventura 37
Tuesday
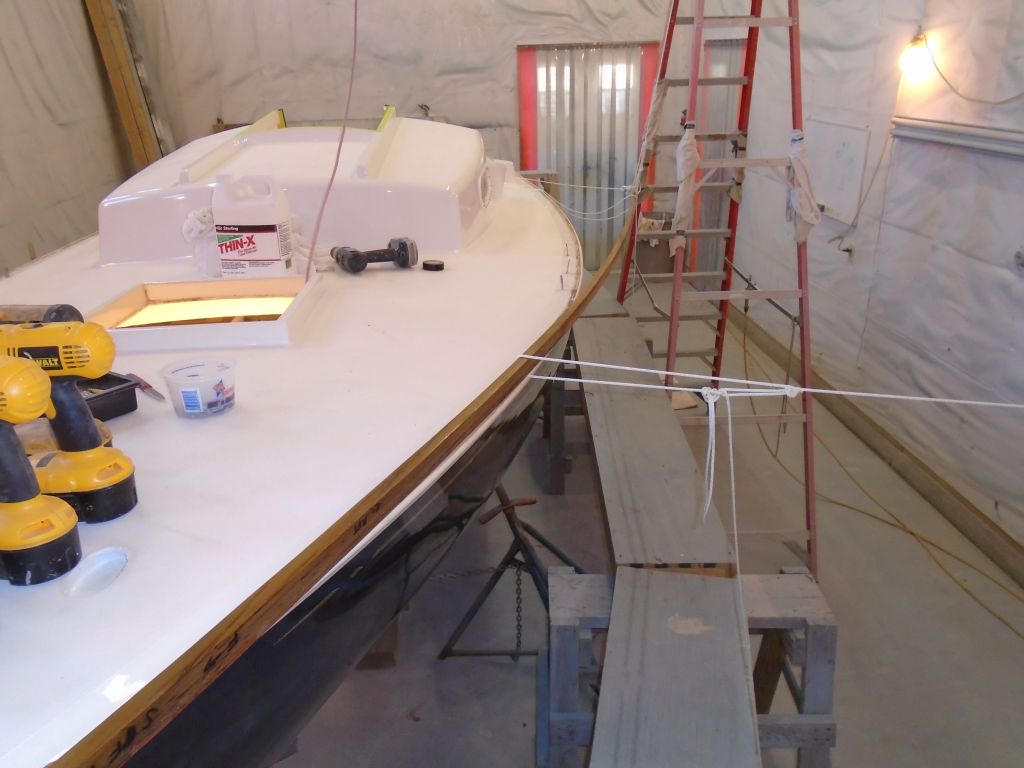
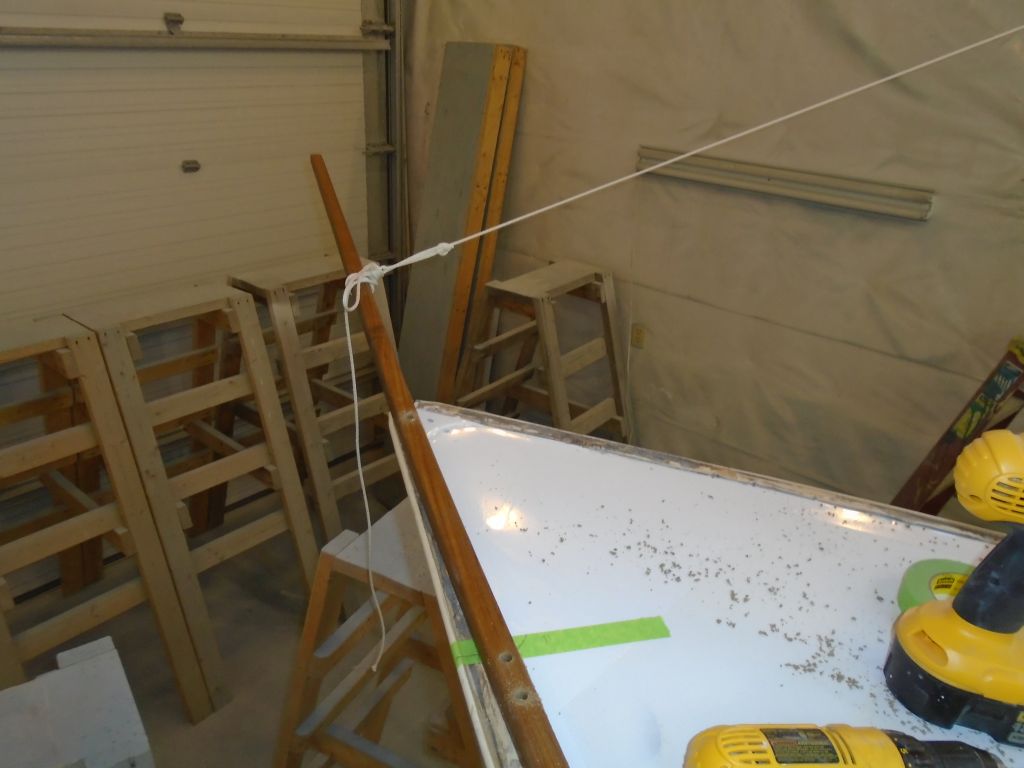
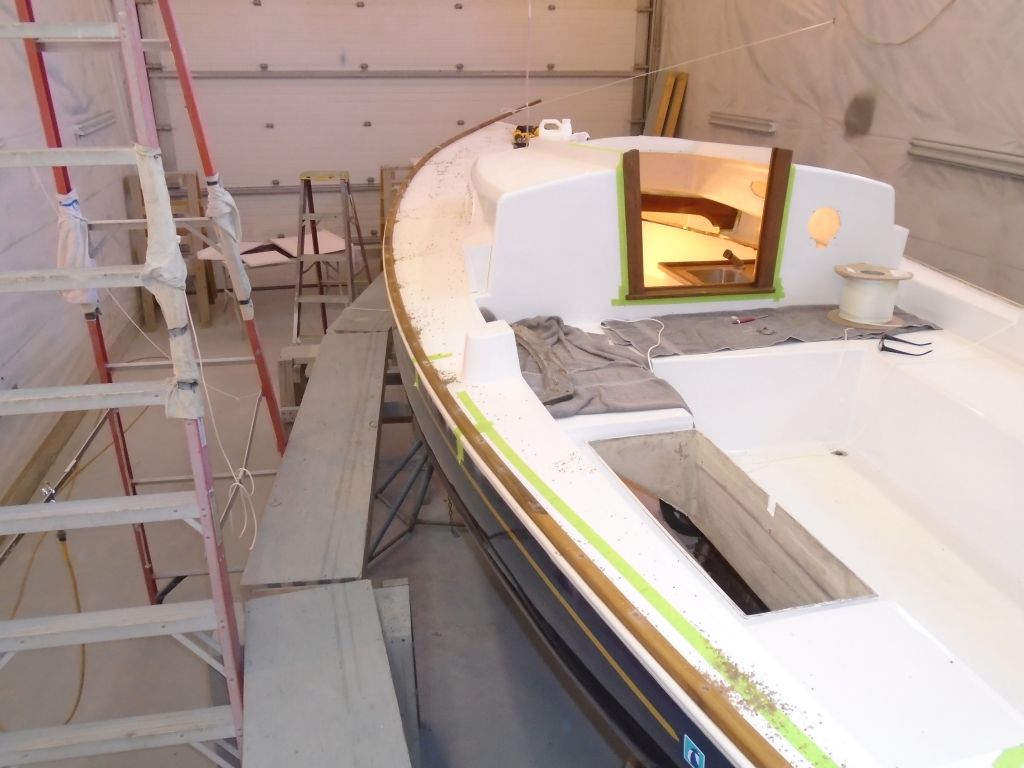
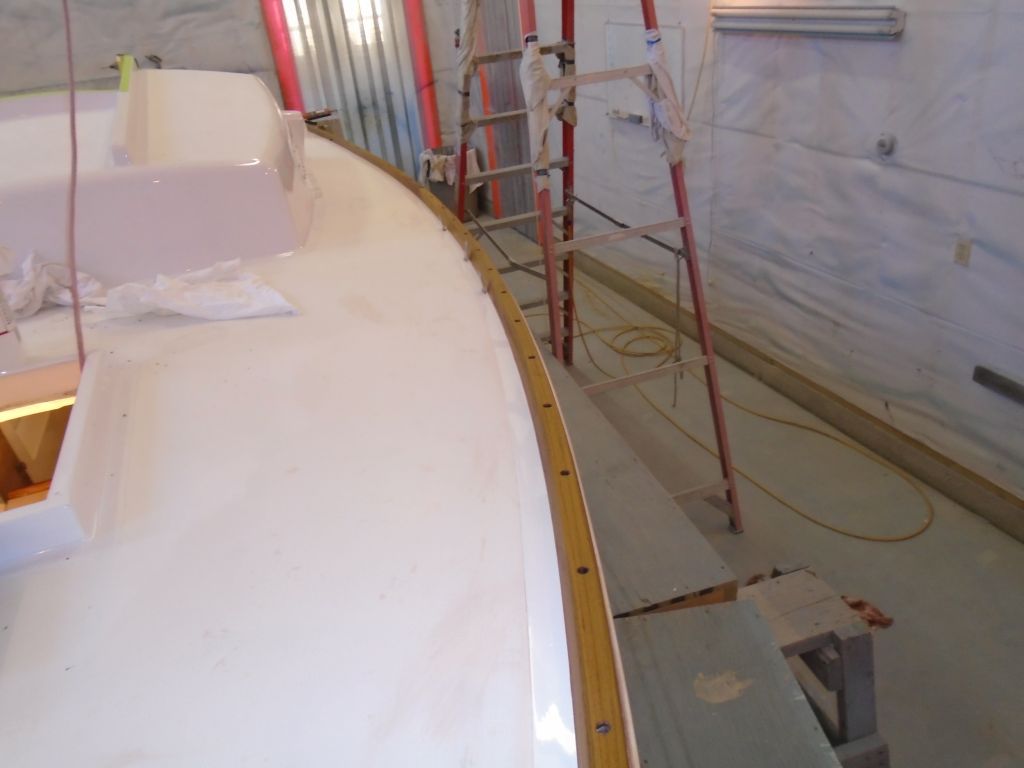
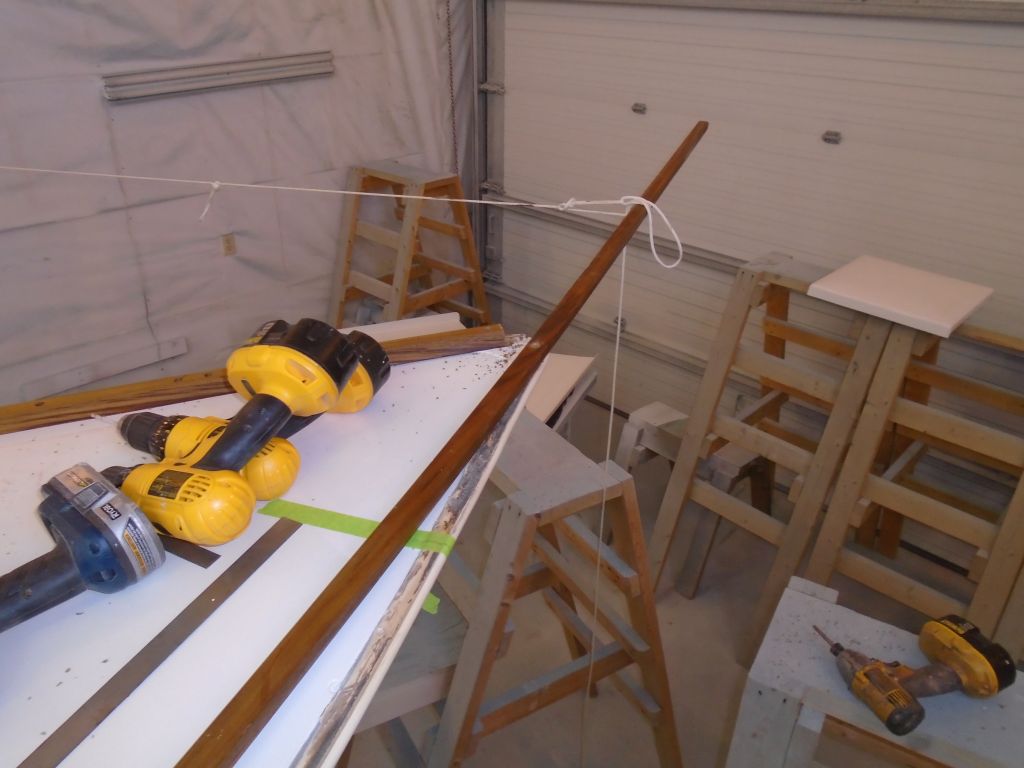
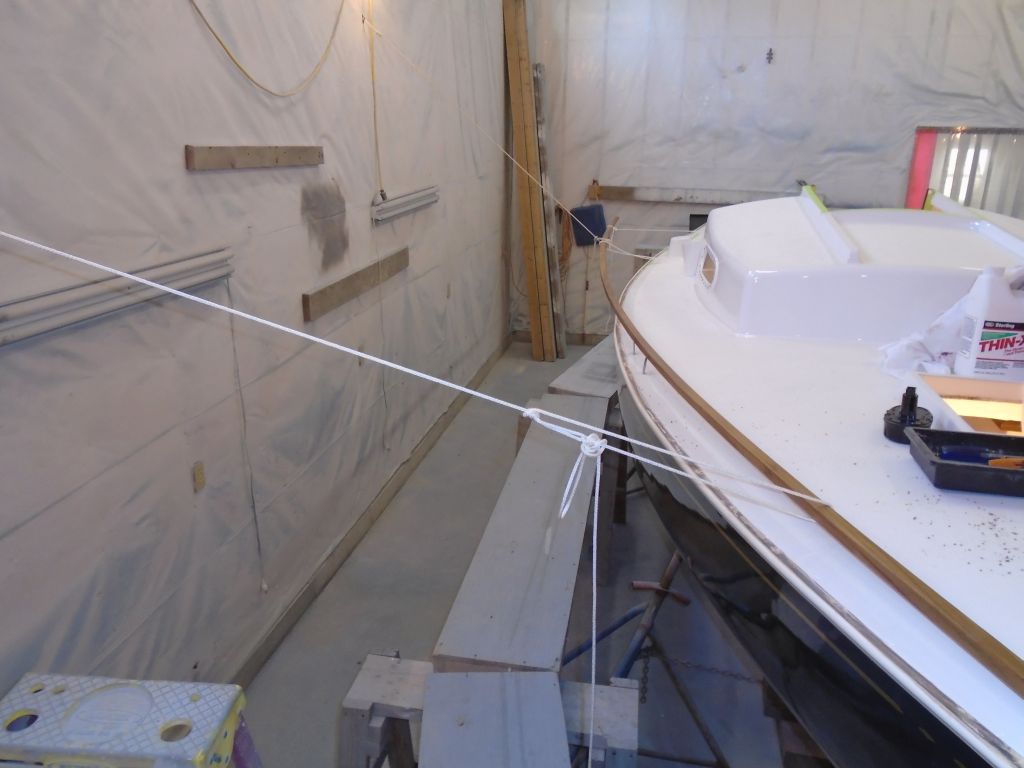
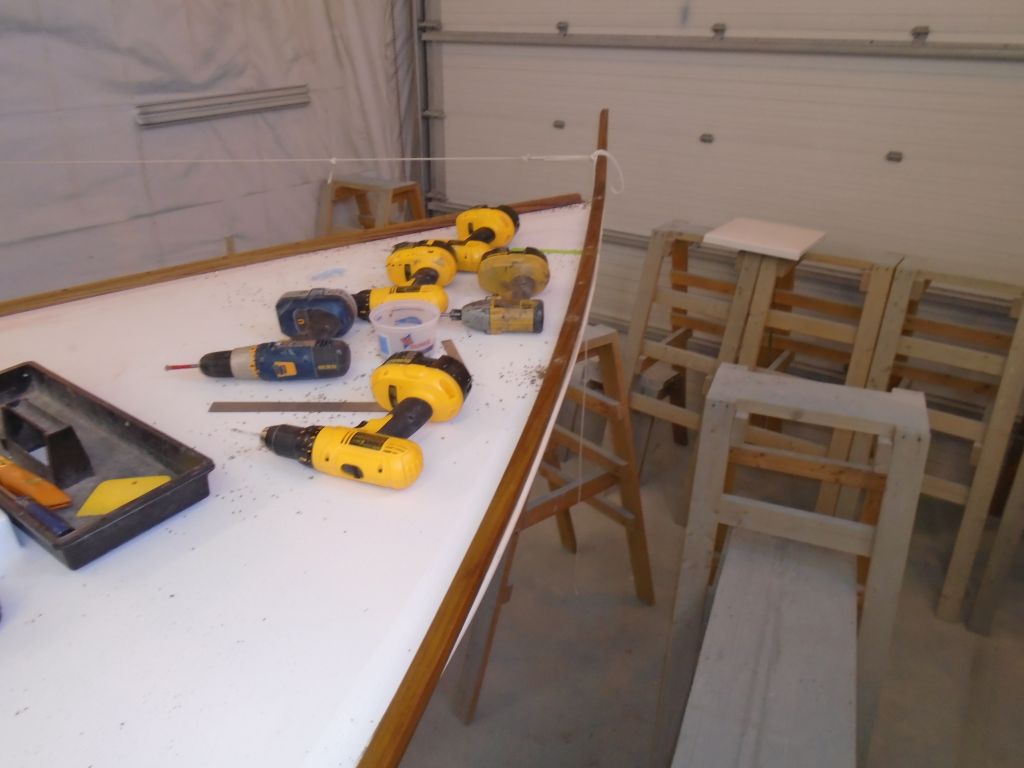
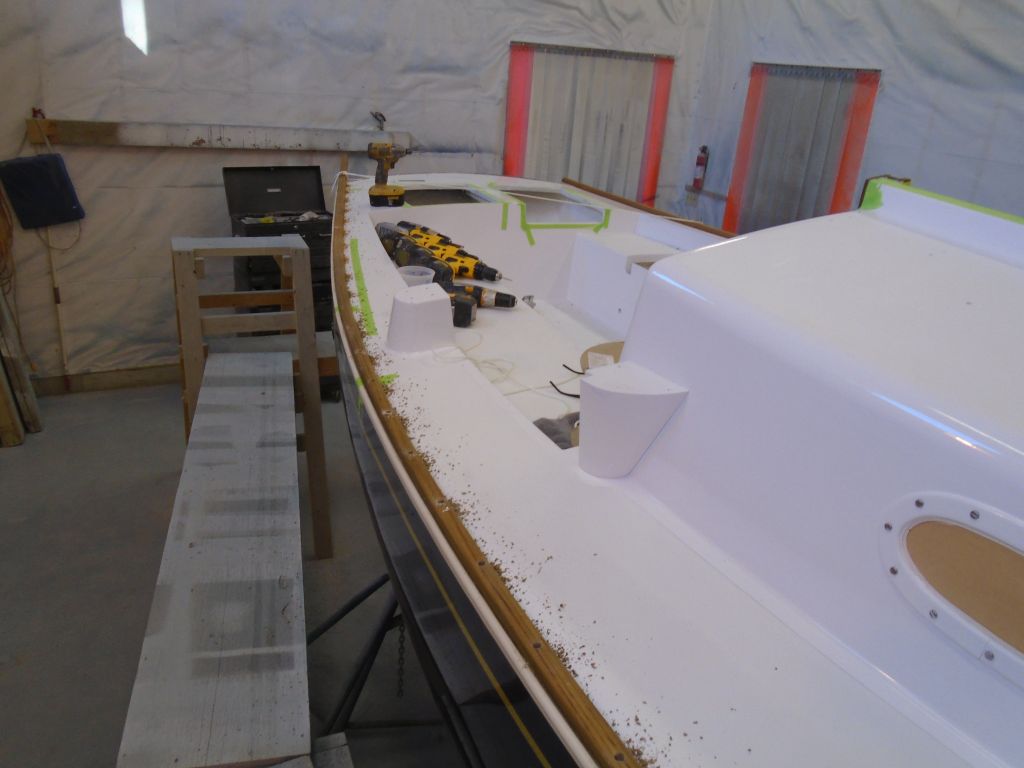
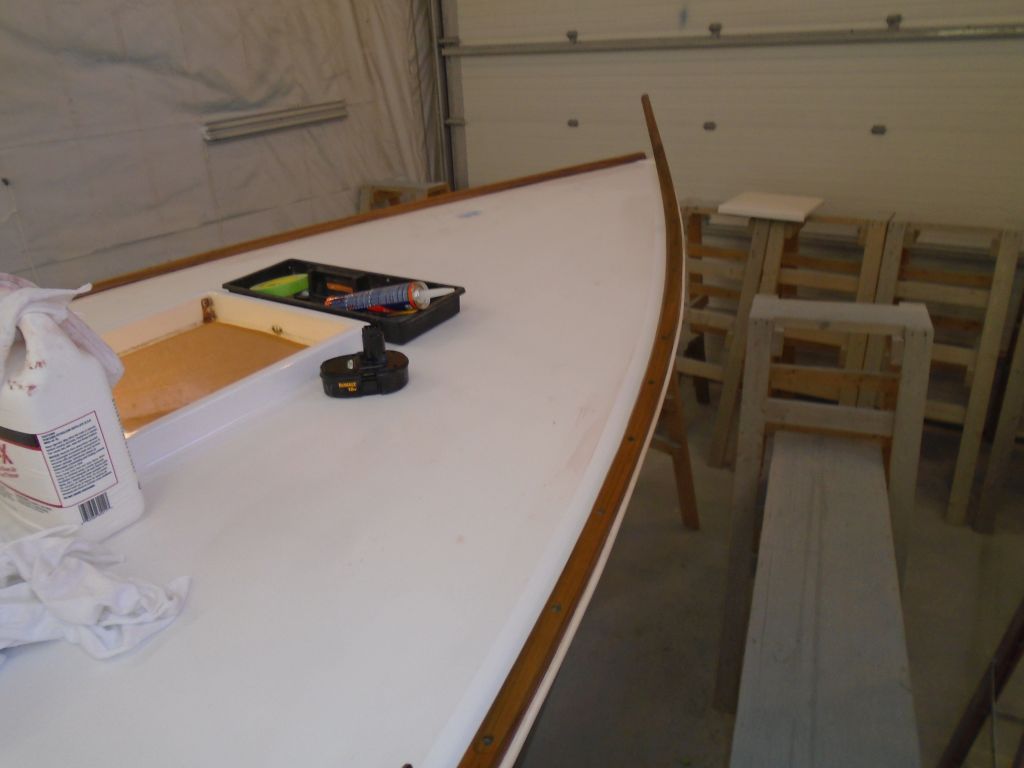
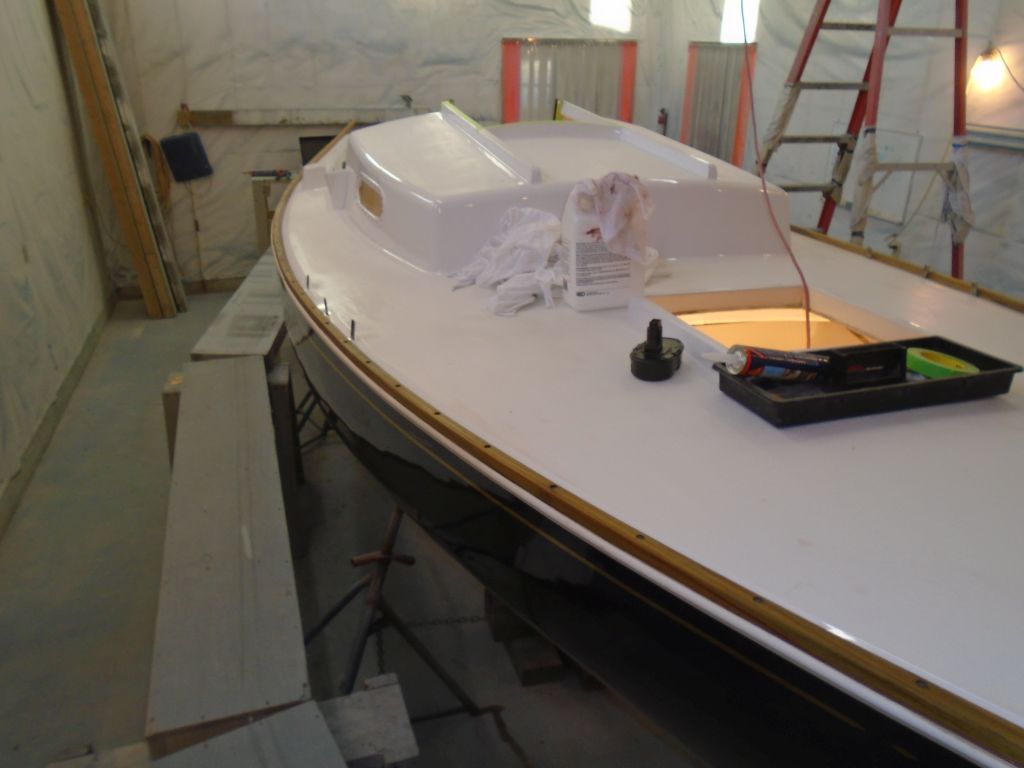
I moved the staging back alongside the boat so I would work at deck height comfortably, and made final preparations for the toerail installation, collecting tools and so forth to be close at hand, and rigging various support and control lines that I’d need to act as my second set of hands as I manipulated the long rails into position.
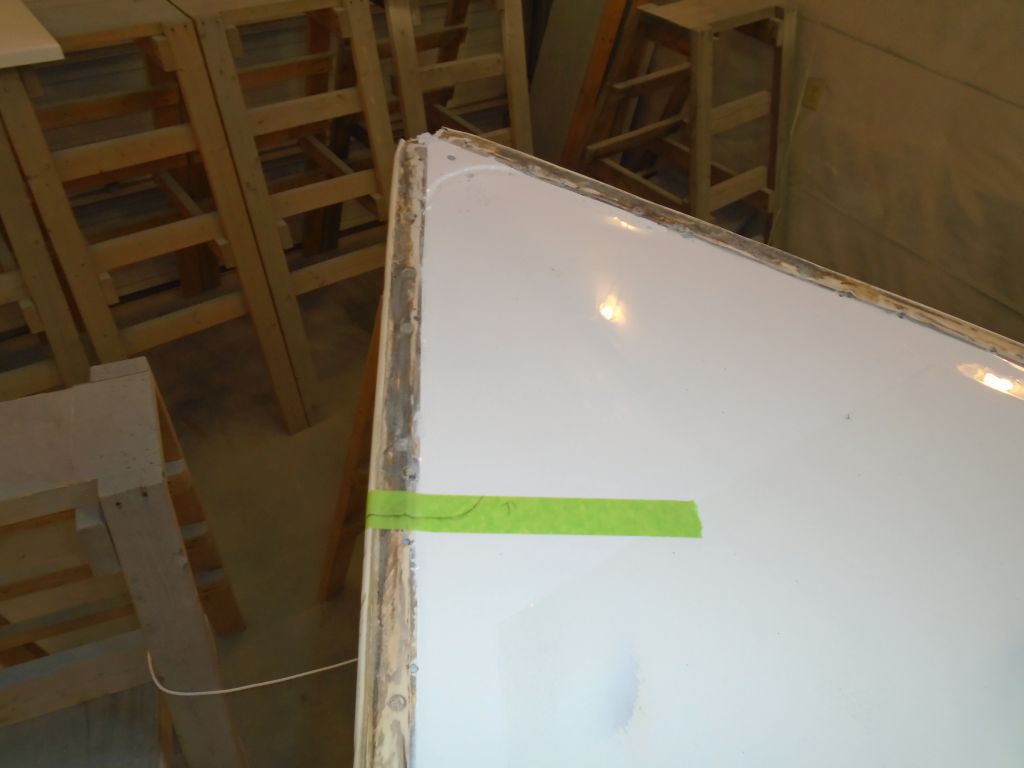
At the stem and stern, I used the original wooden assemblies to make some reference marks on the deck so I could determine where the end screws in the new toerail needed to be. I also marked with tape on the hull and deck the original locations of the toerail scuppers, which locations I’d carefully maintained throughout the rebuild process; I’d mark the toerail in these spots once it was dry-fit, so I could make the notches before permanent installation. Finally, I made additional notations to mark the locations of the genoa track fasteners so I could ensure the toerail screws were staggered a safe distance away.
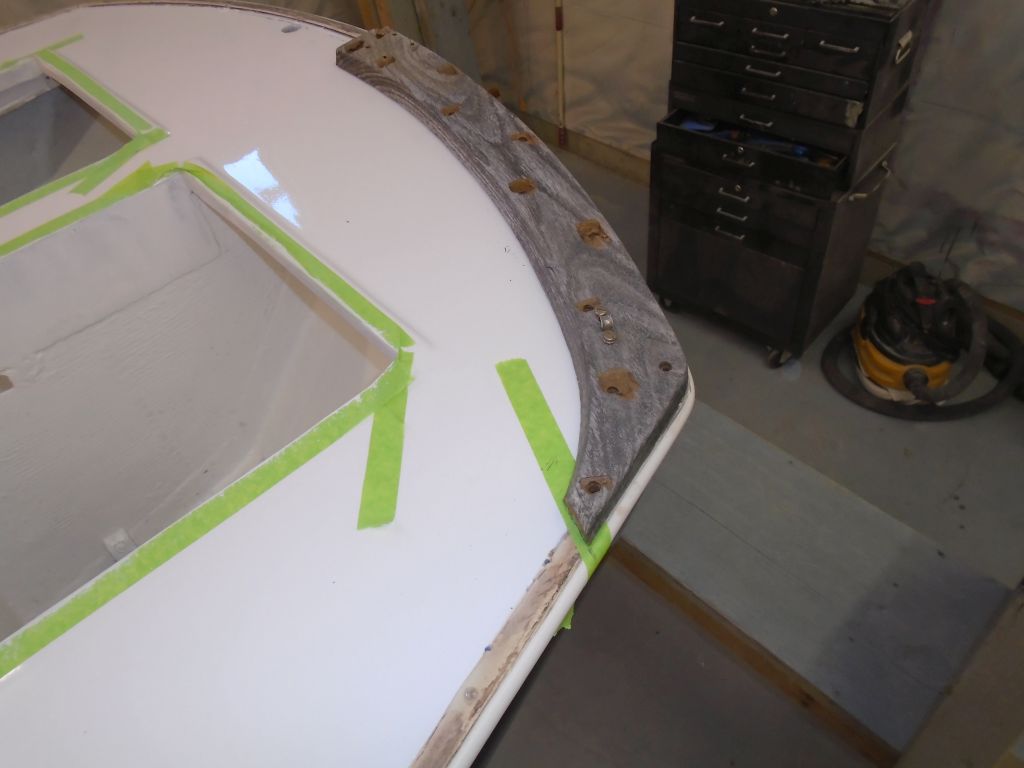

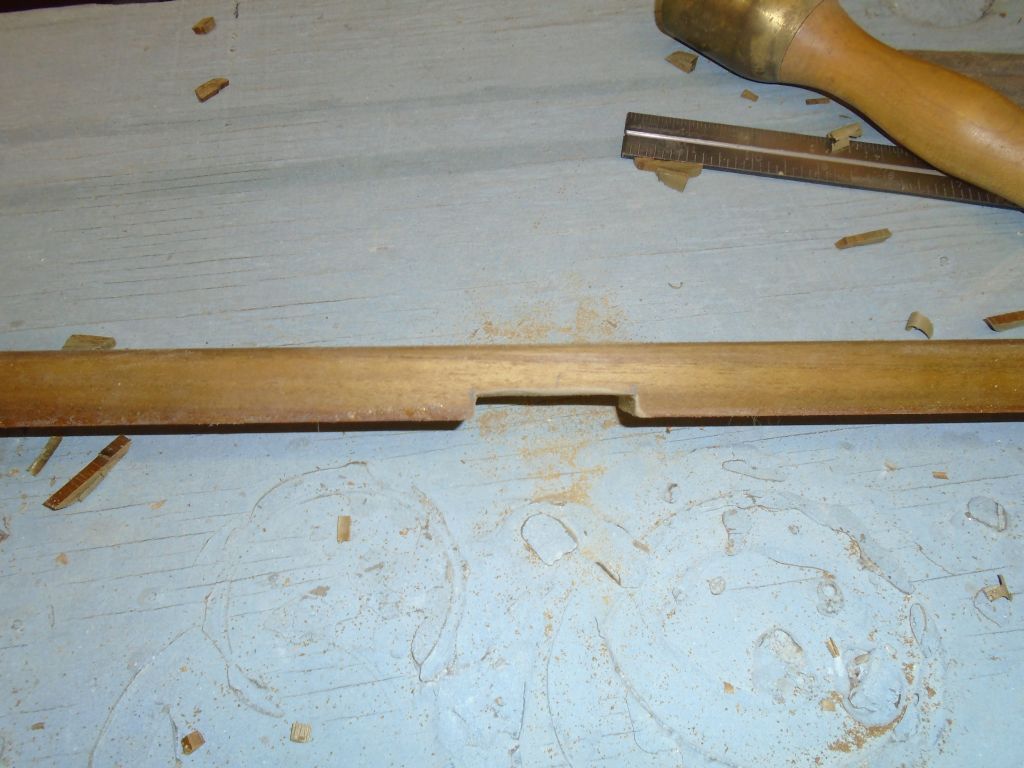
I had ample extra length available with the toerail blanks, and I chose to keep much of this at the bow, as the longer overhang would allow the rail to bend into position more easily: the bow was quite narrow, with a strong curve required over the first few feet. This also kept the second scarf joint well forward of the transom, and, as it happened, beneath the genoa track location.
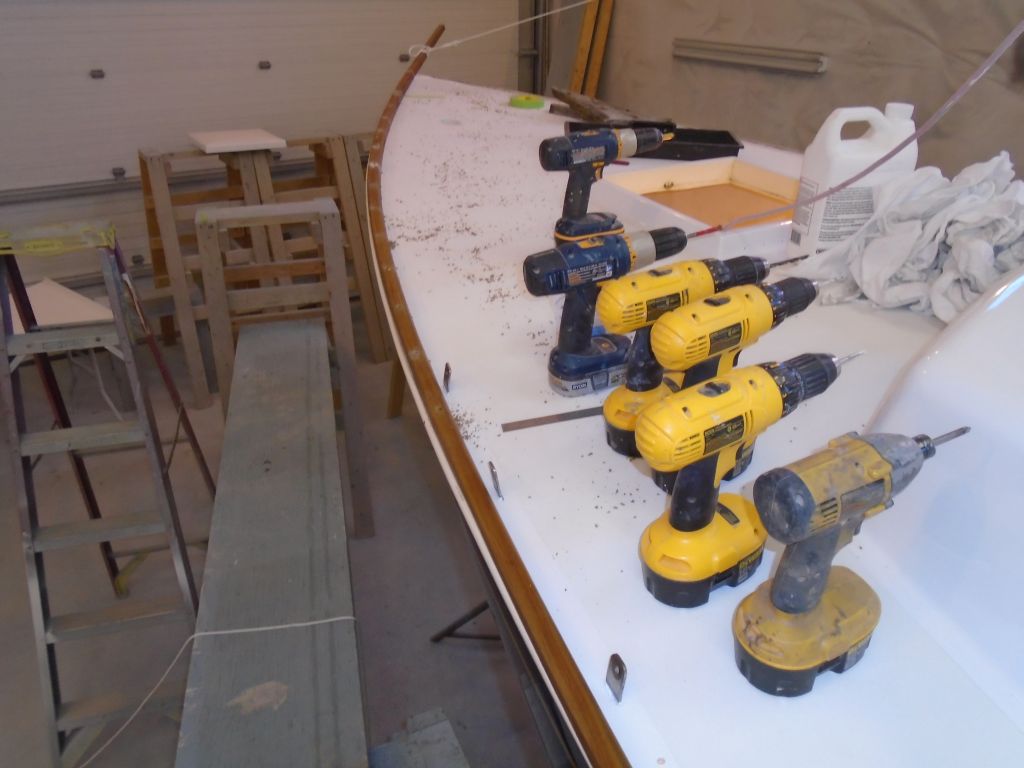
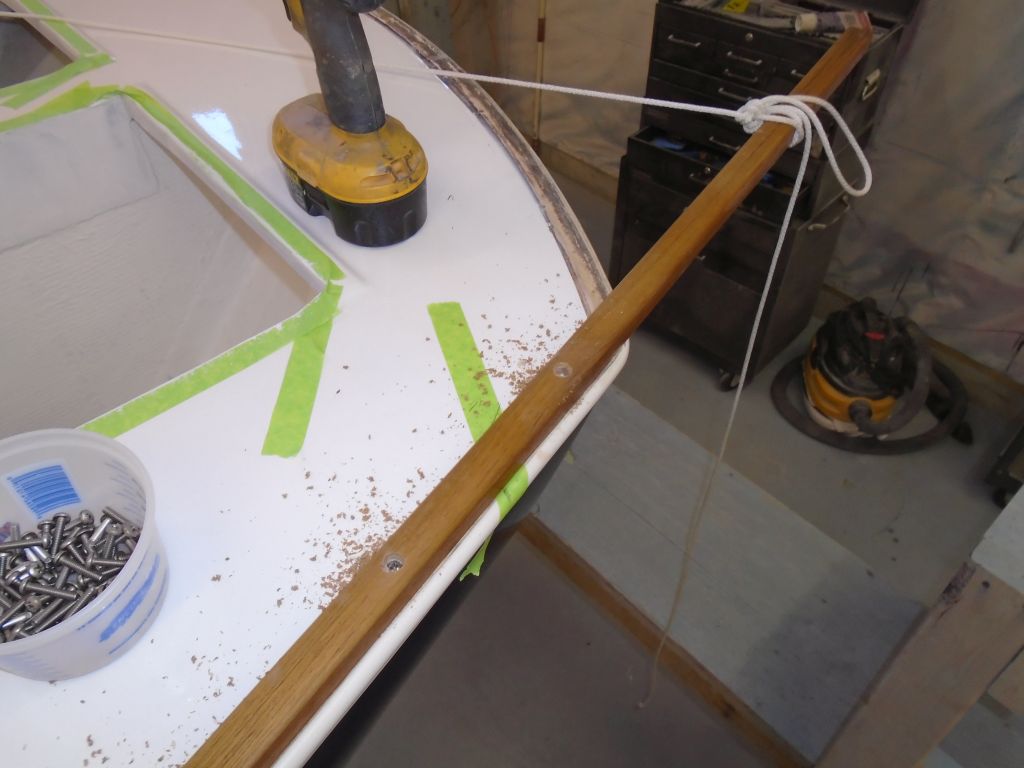
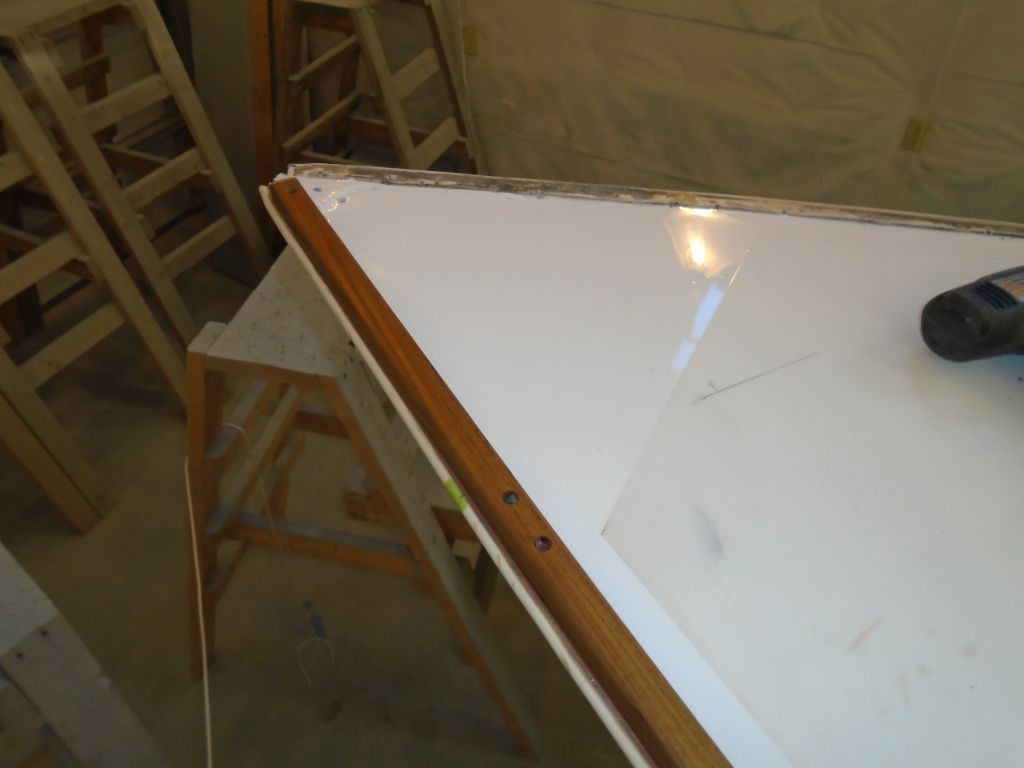
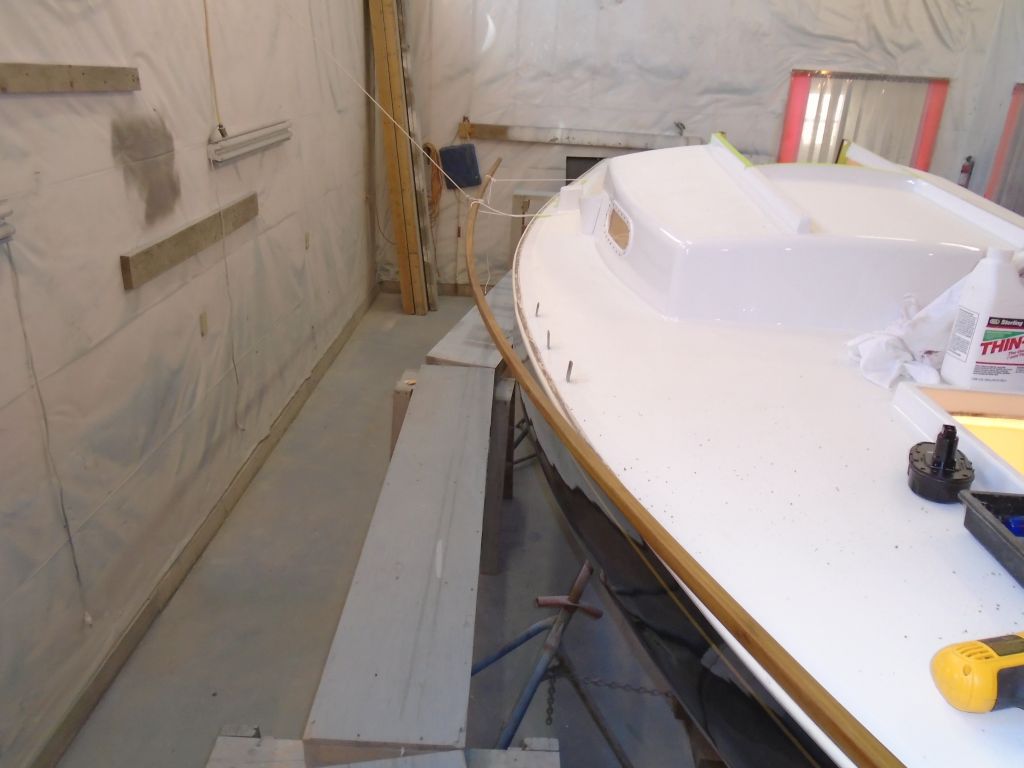
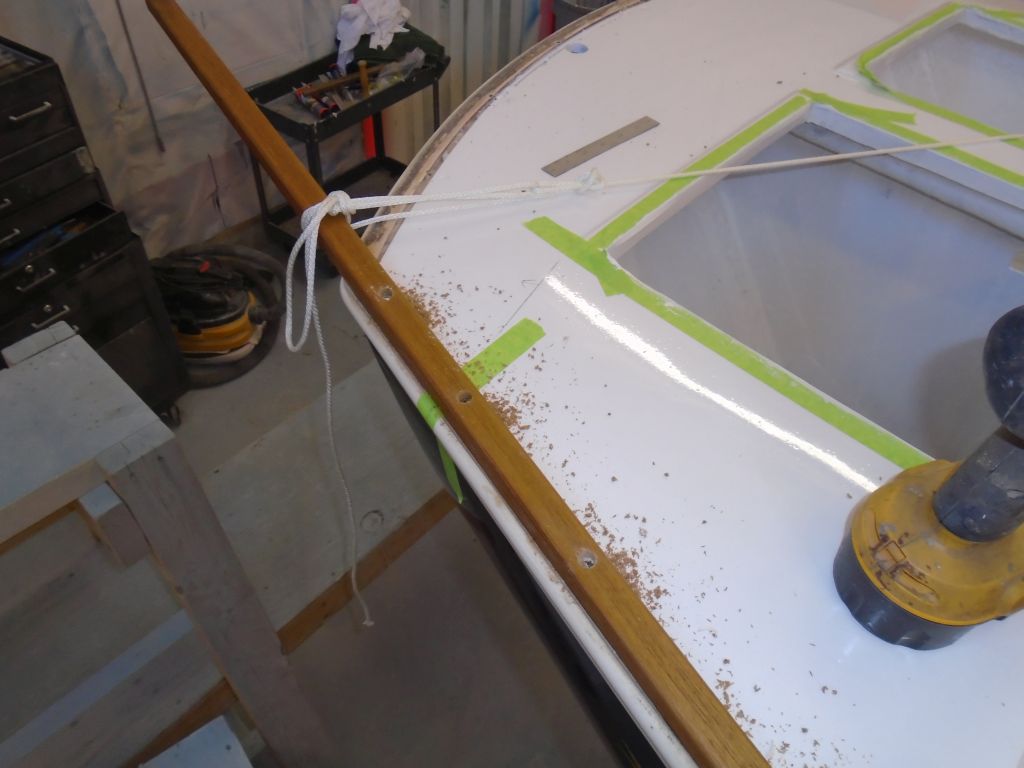
Getting the toerail started at the bow, particularly with a strong curve and while working alone, tends to be a bit of a challenge, as the rail needed to be pre-bent while essentially unsupported, and then somehow fastened in just the right place. To start the installation, I adjusted the various control lines as needed to start the rail bending into shape, then, with the rail positioned at the deck edge where it needed to be right at the bow, I installed one screw near the stem, in a section of the rail that would later be removed to accommodate the stem piece. This pinned the rail securely, and prevented it from twisting, as it had badly wanted to do.
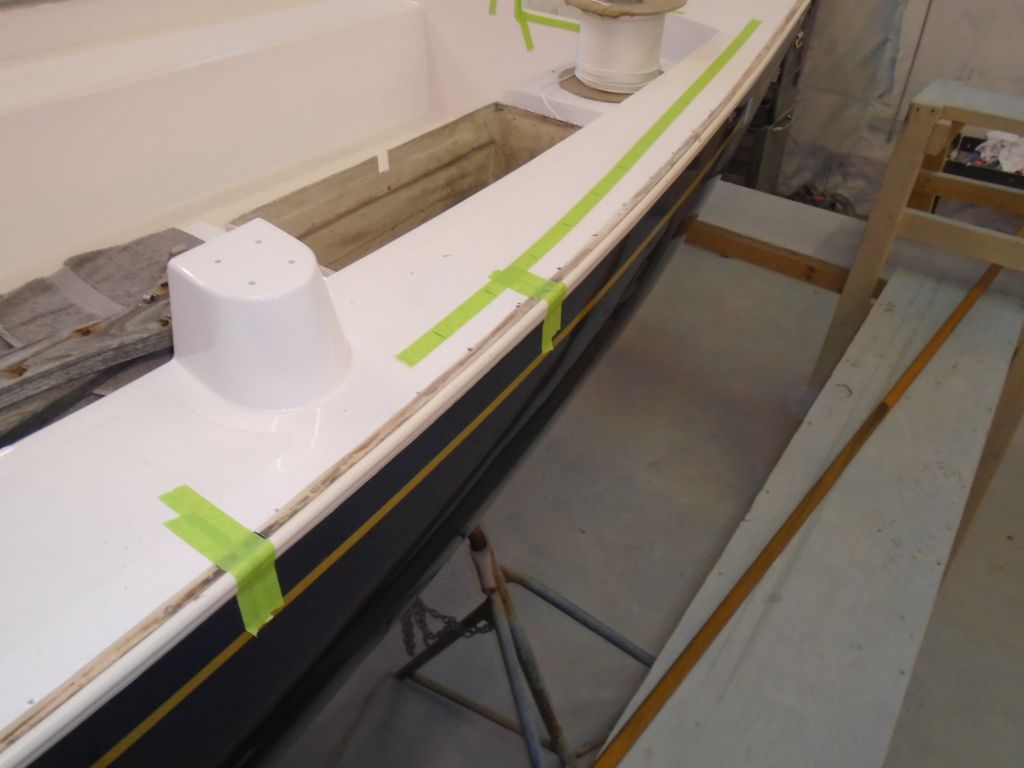
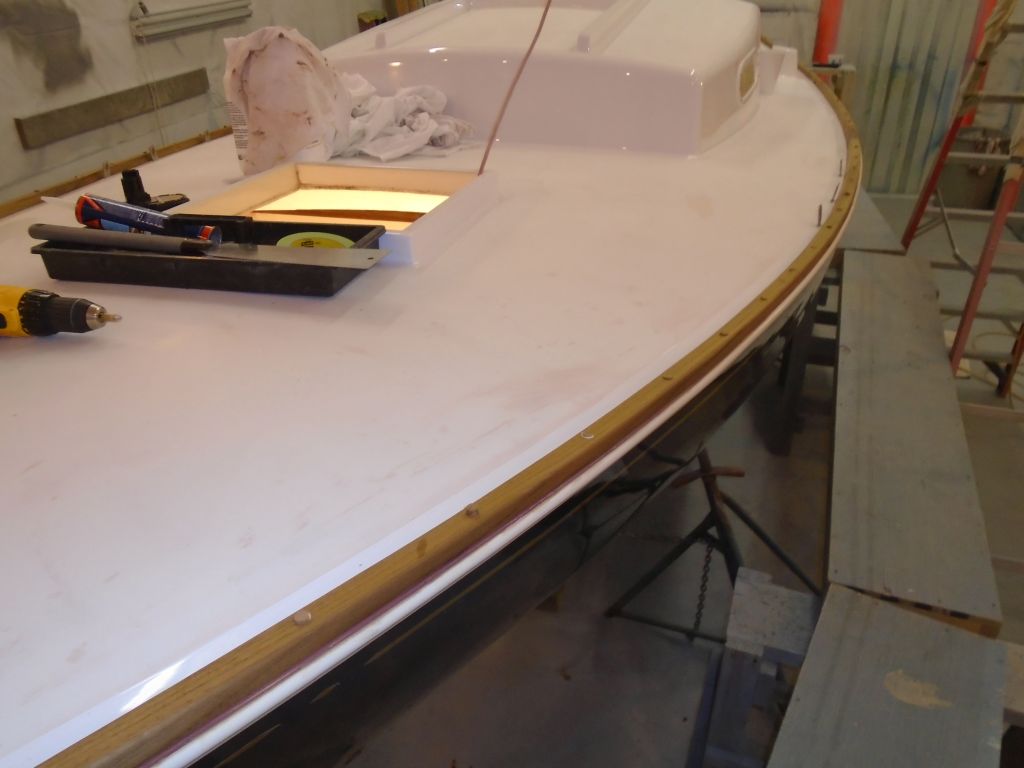
Now it was relatively simple to mark the actual first fastener locations, just aft of the reference mark I’d made where the stem piece would later fit. To help hold the rail end securely, I liked to install a pair of fasteners near the end, so I measured and marked the locations and prepared the holes, in a process I’d repeat over and over for each fastener in the rail: first a 3/8″ counterbore to recess the screw head and accept a bung; then a pilot hole for the screw shank, just through the wood; then, with the rail held properly in its final position, a smaller pilot hole into the deck, followed by a pass with a 10/24 tap; and finally, a 10/24 x 1″ pan head machine screw.
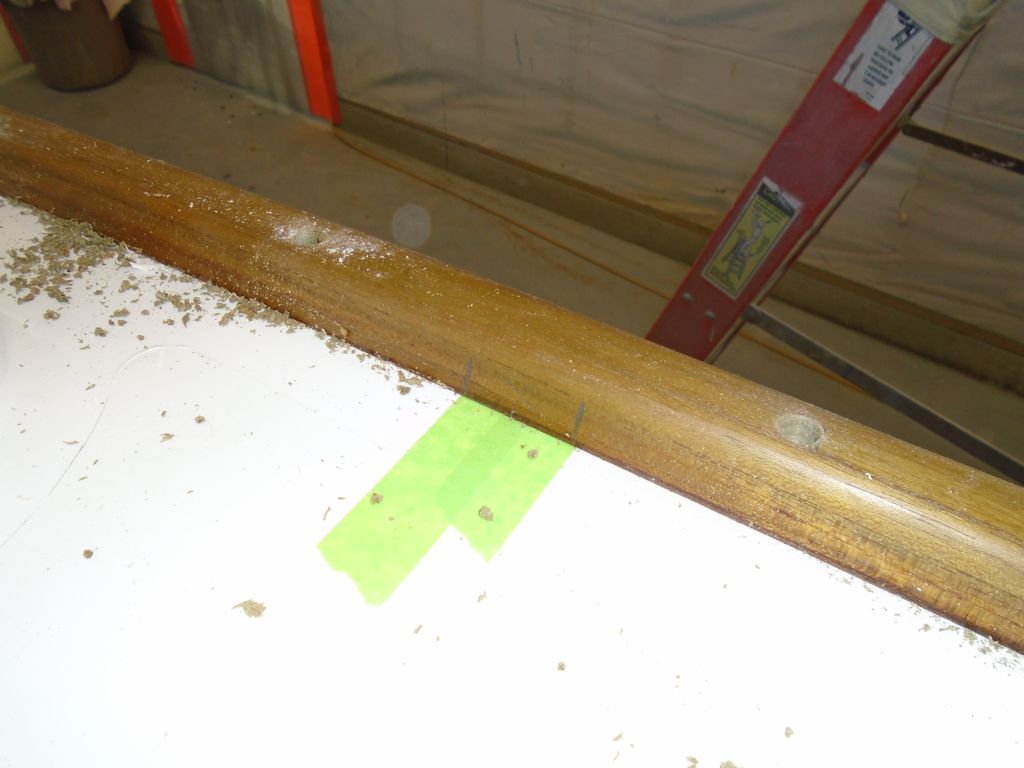
After securing those first two critical fasteners, I could relax a little, but didn’t rest till I’d installed 6 or 10 more fasteners, spaced six inches on center, which got the rail past the most critical bend and safely secured.
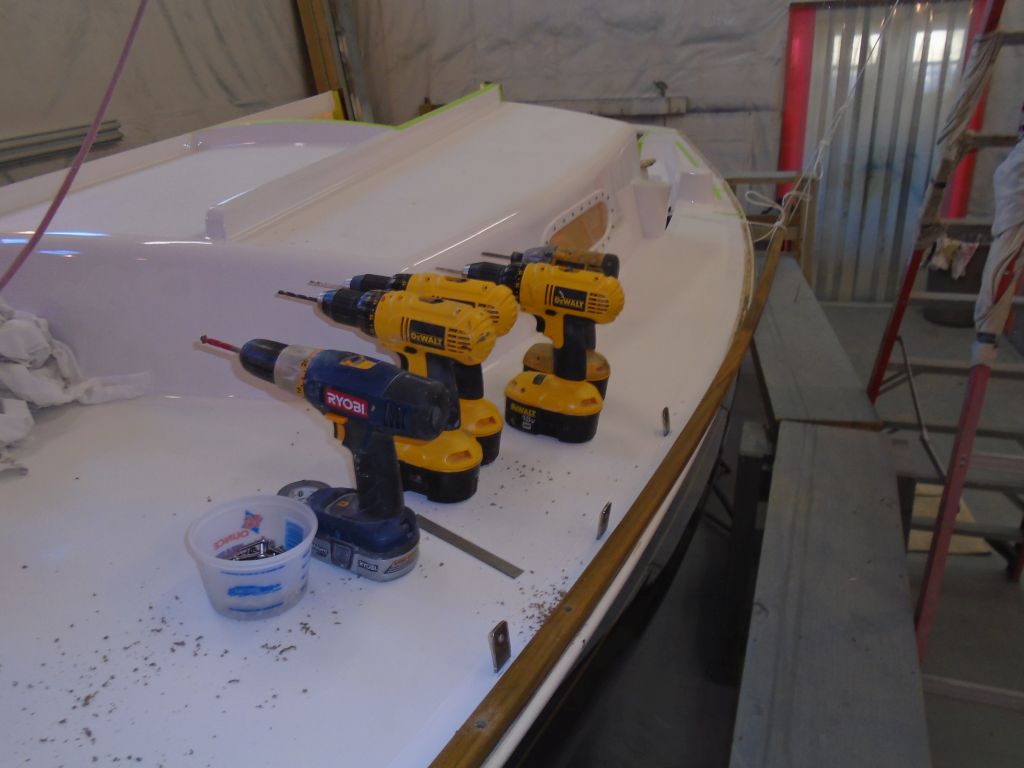
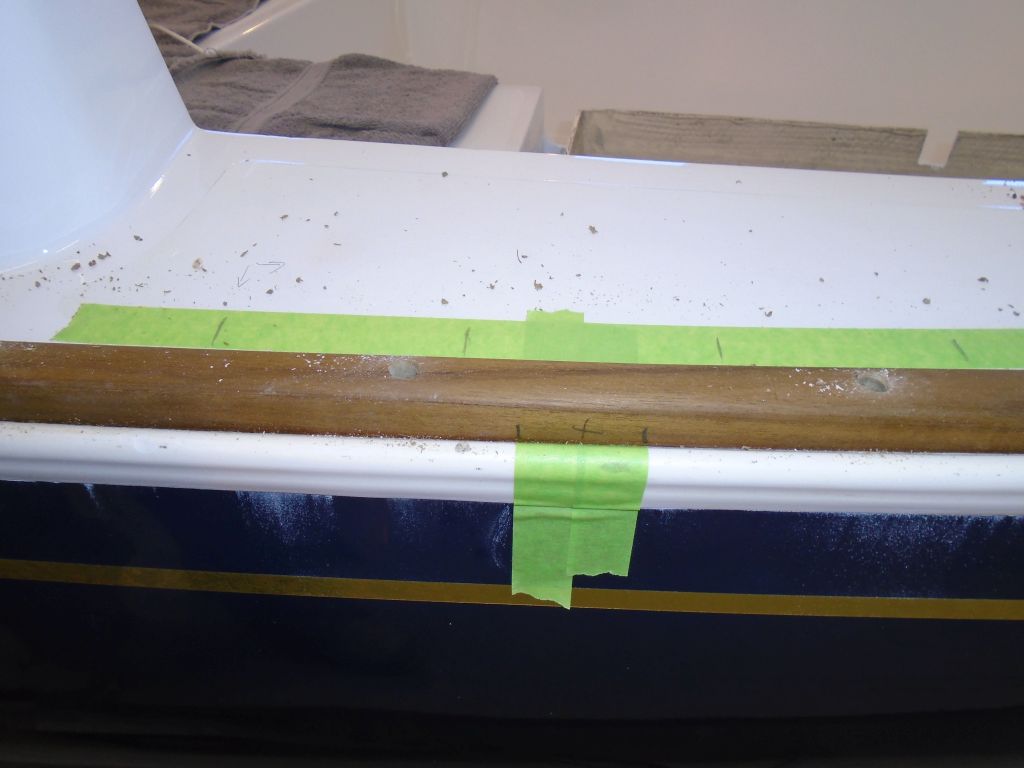
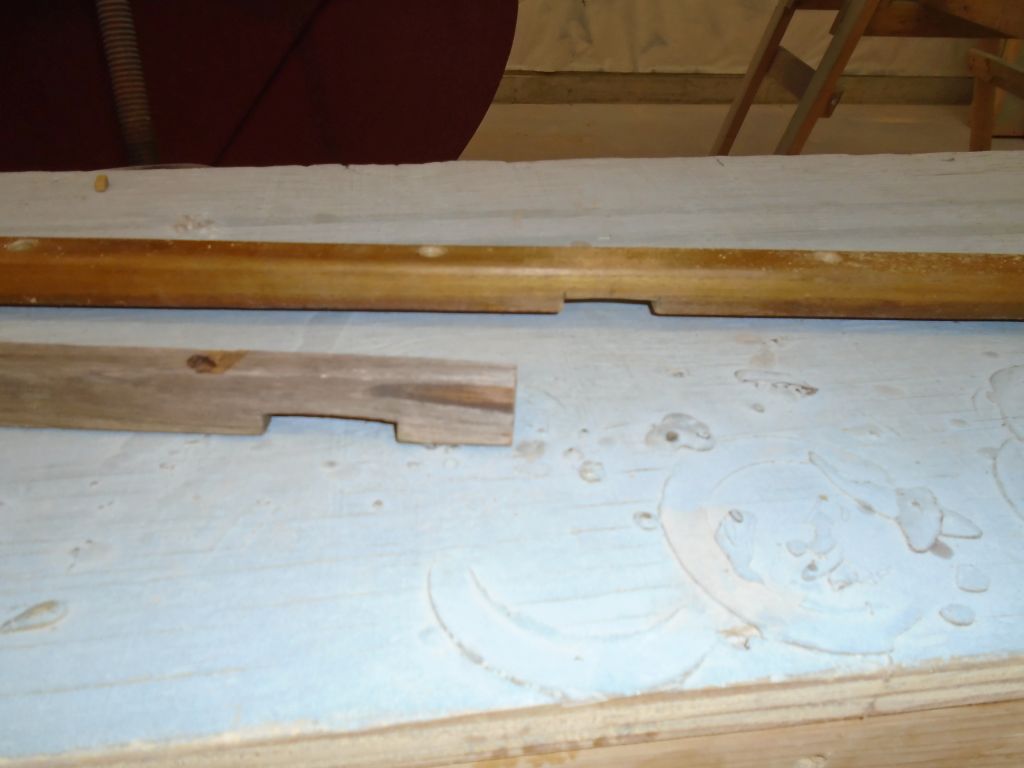
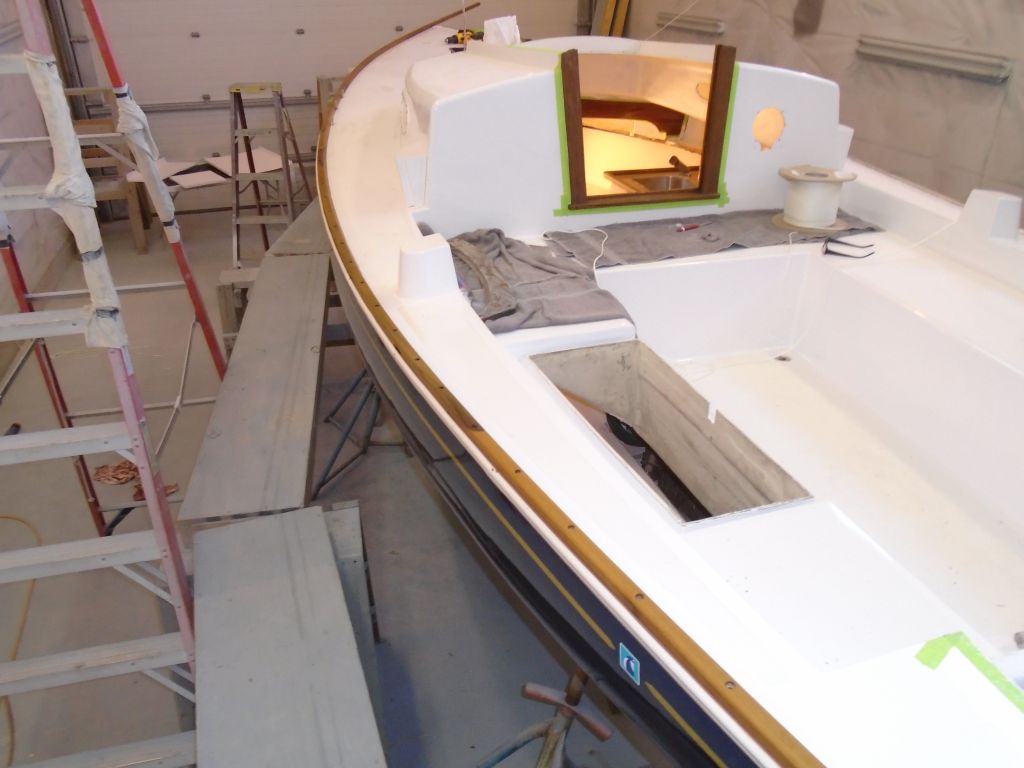
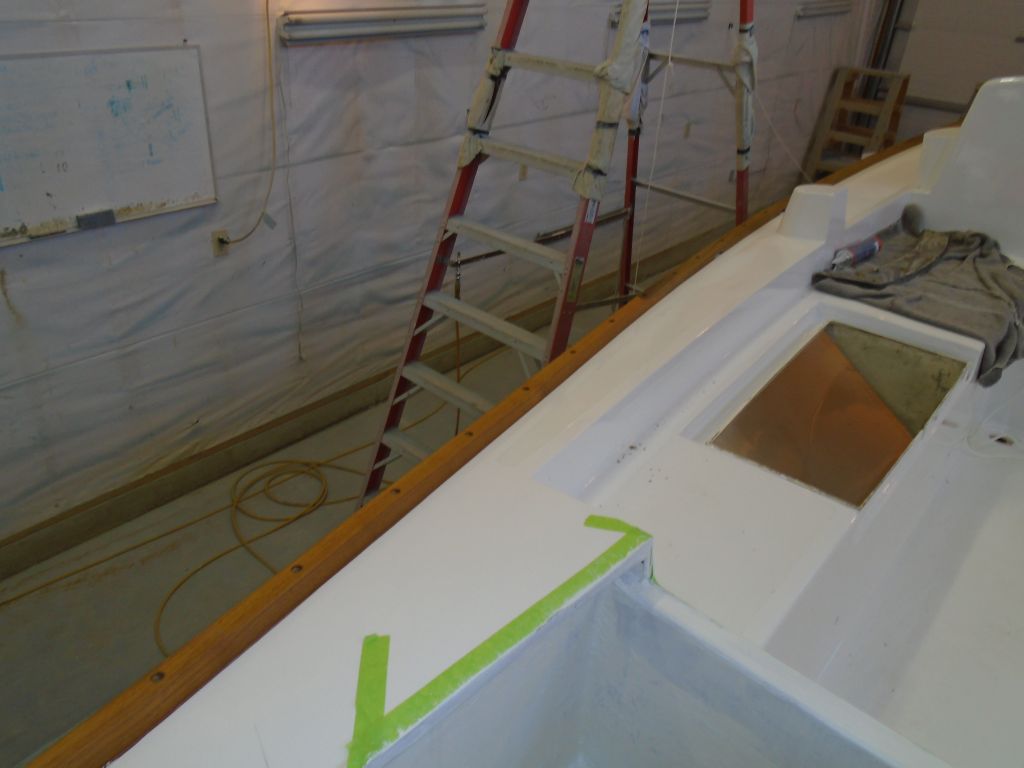
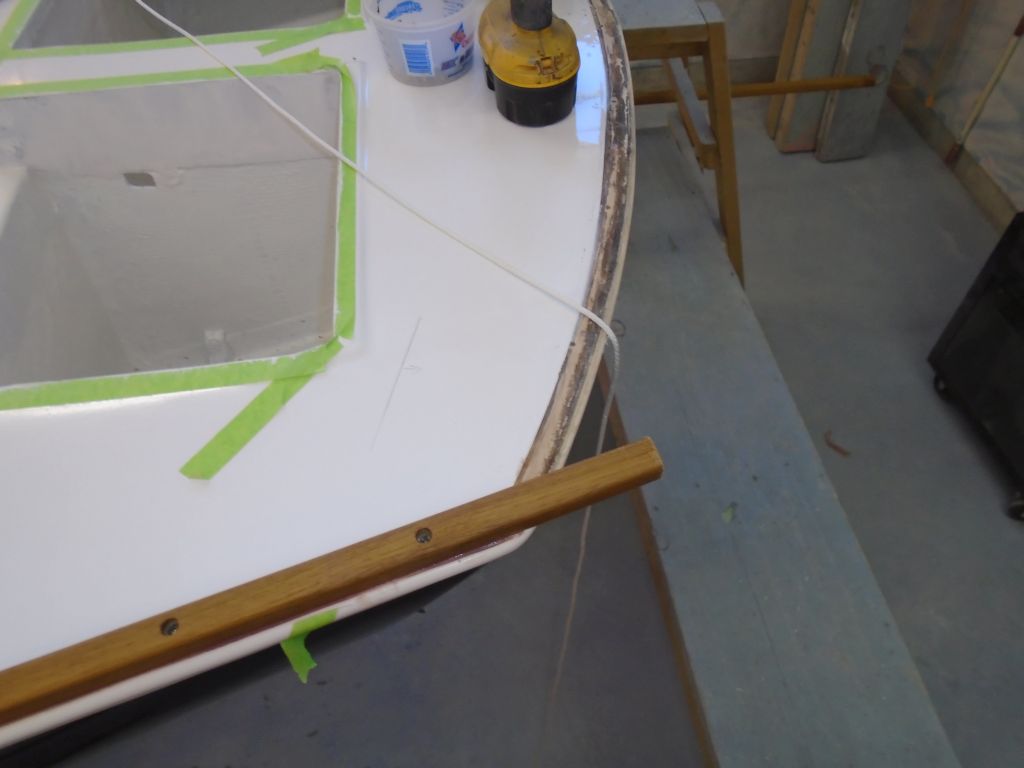
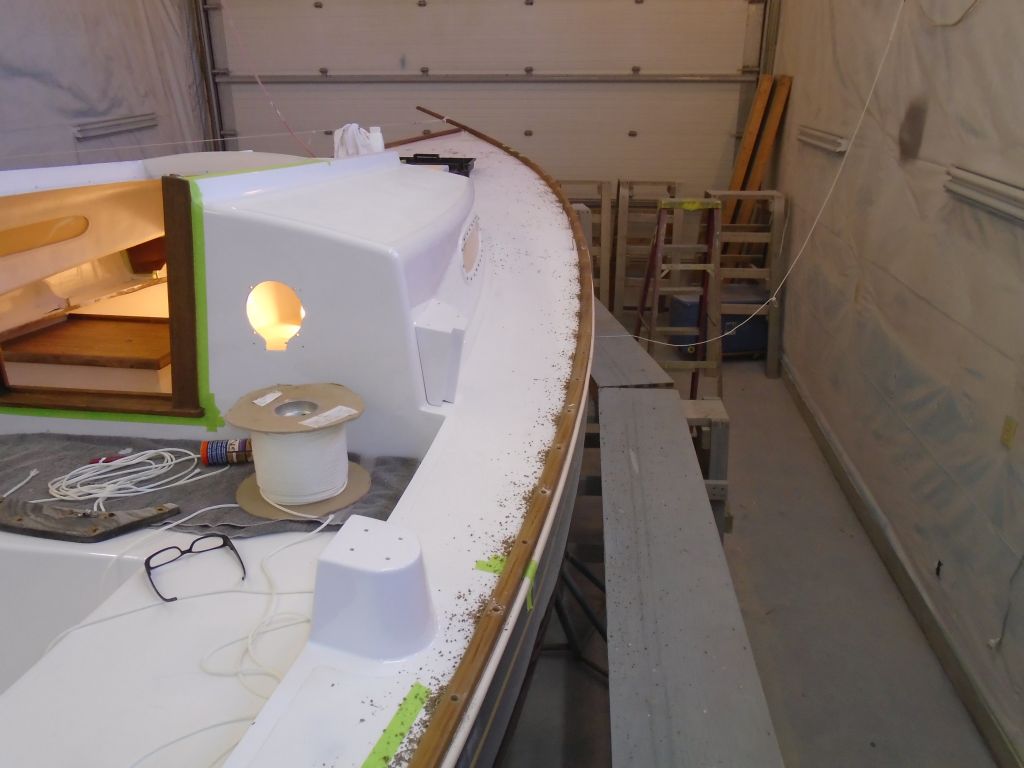
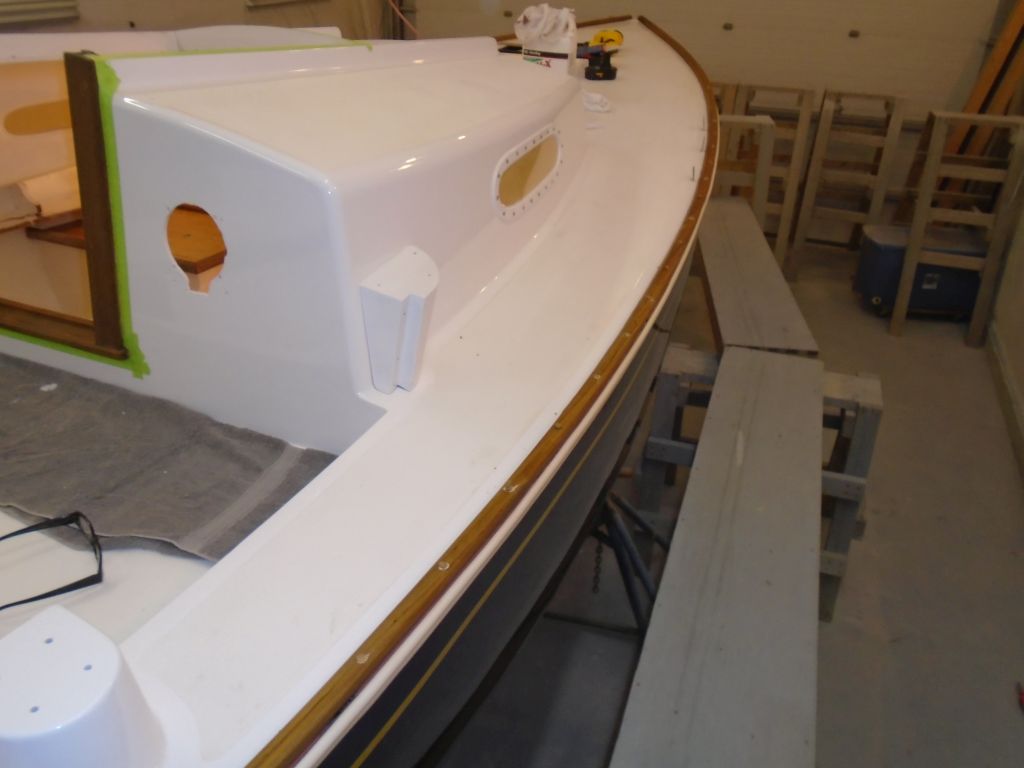
I continued in this way to the transom, adjusting screw locations as necessary to miss the eventual scupper locations and the genoa track fastener locations. At the transom, I made sure the screws were safely on either side of the approximate taffrail location that I’d marked before, and, with the dry-fit complete, I marked the scupper locations on each side of the rail so I could make the cuts required once I’d removed the rail again.
Now I reversed the process and removed the rail so I could make final preparations for its permanent installation. With the rail safely off the the boat (they come off very quickly and easily), I bored small countersinks at each fastener hole in the deck, to provide that little bit of extra sealant where it’s most important, and cleaned the decks of drill spoils and debris.
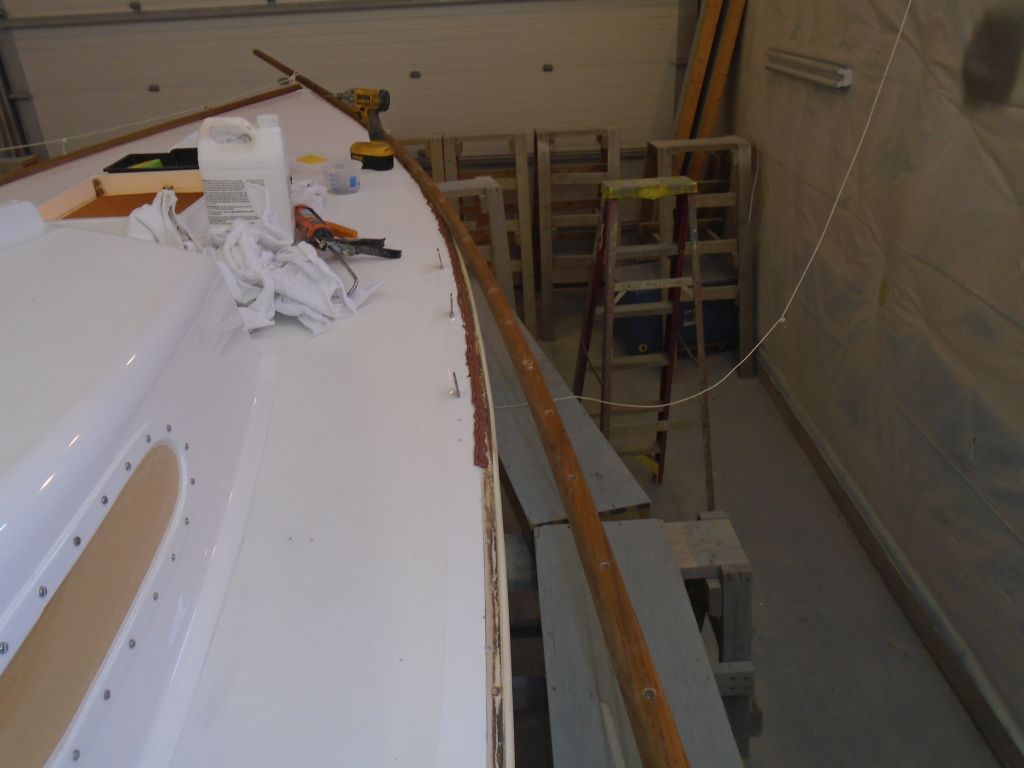
Meanwhile, working off the marks I’d made and with a section of the old toerail as a guide, I chiseled out spaces for drainage scuppers, in the same locations as original. On other jobs, I often created these openings only after the rail was fully installed, but in this case, with the design and position of the vinyl rubrail prohibiting easy access, I chose to make them first, a process made that much easier by the fact that I had marked and maintained the original locations right on the vinyl rail throughout the rebuilding.
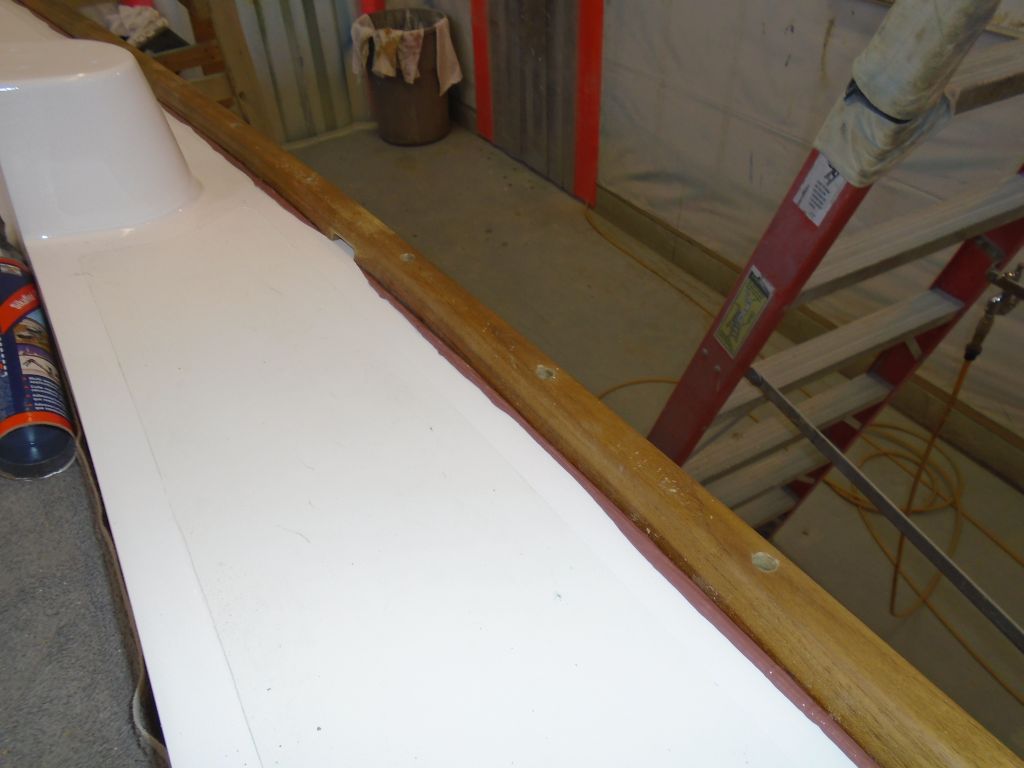
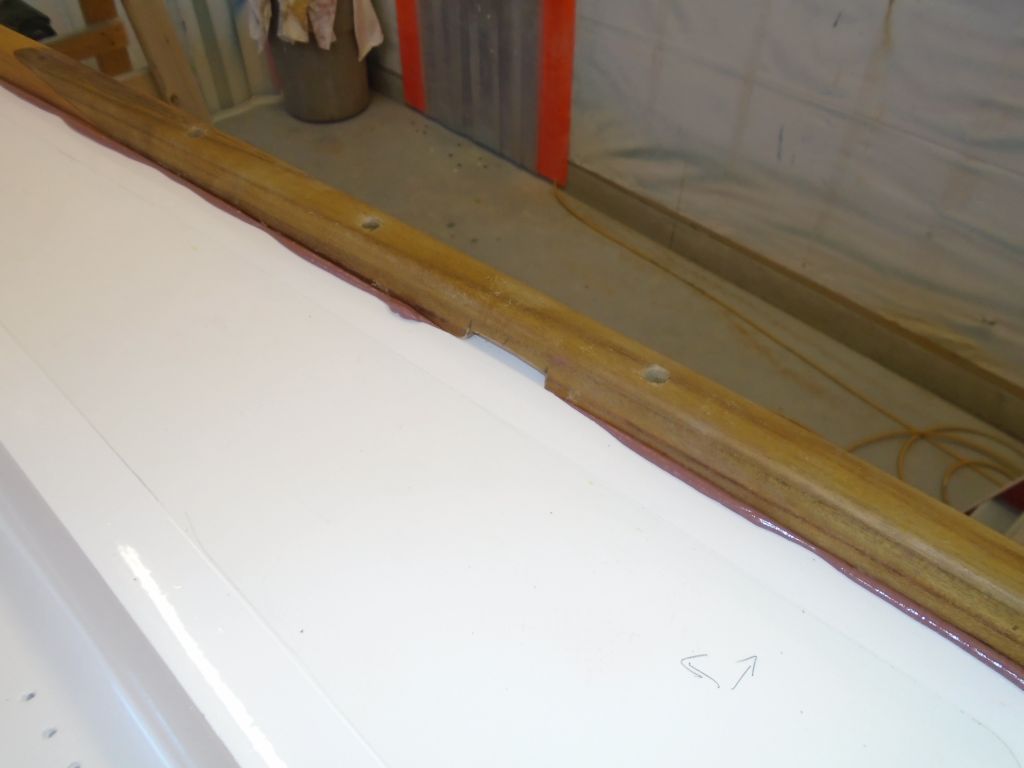
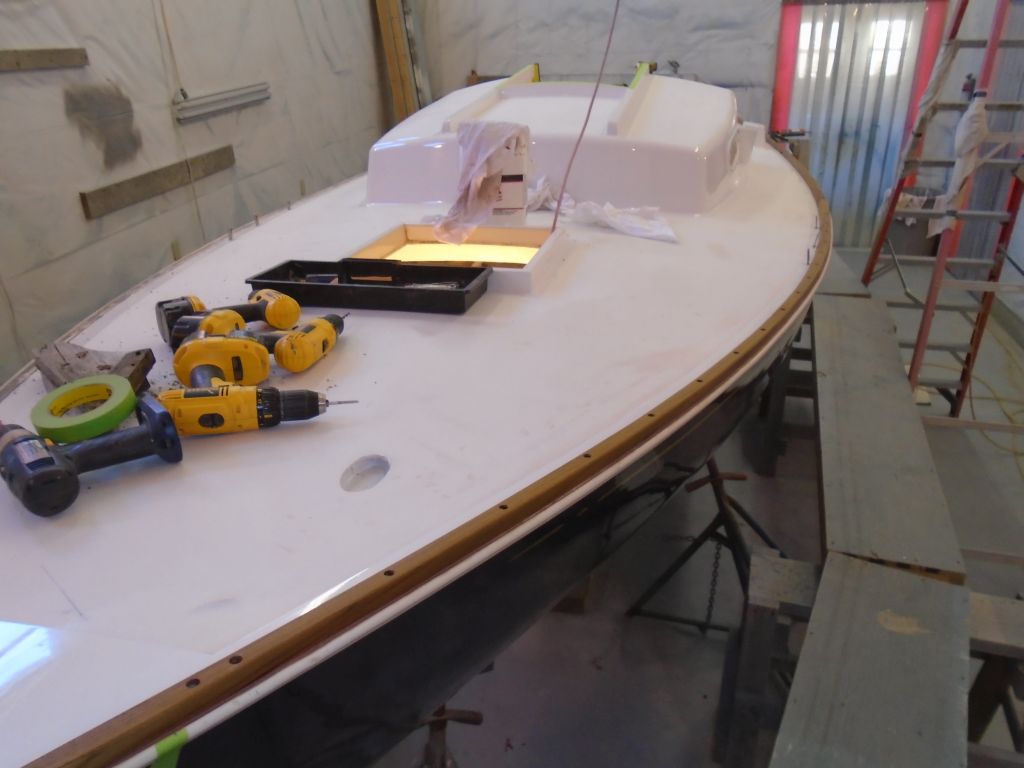
With all preparations complete, I installed the toerail in a heavy bed of brown-colored sealant. To ease the issues at the stem, I started with one of the fasteners several down from the bow, now that their positions were already determined, and then worked my way back to the curvy stem before continuing aft, applying sealant and maintaining the rail in such a position as to avoid messing up the sealant. I was overly generous with the sealant, which made cleaning it up on the outboard side–where the rail sat just inboard of the bulbous edge of the vinyl rubstrip–a fairly tedious and messy process, but before long the port installation was complete. To wrap it up for now, I trimmed off the excess rail at stem and stern.

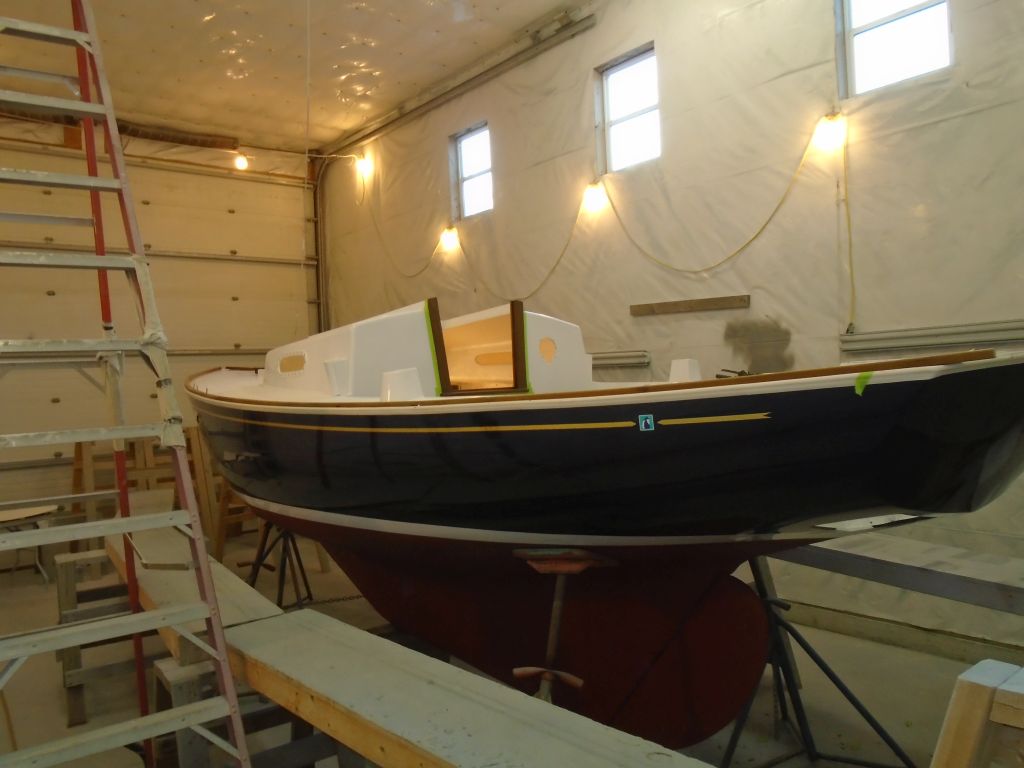
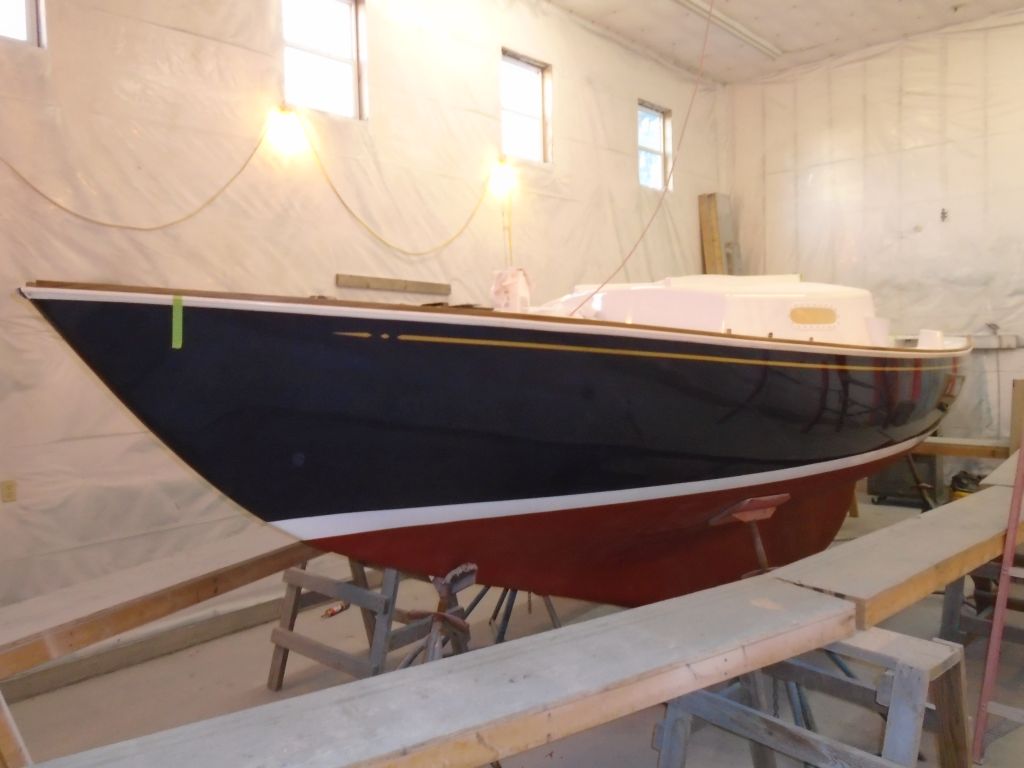
Wood makes such a dramatic and positive difference to any boat’s appearance, don’t you think? I do.
I repeated the basic procedure chapter and verse on the starboard side. The second side usually goes more quickly, in part because all the initial setup and prep is already done. and the appropriate rhythm well established. I was a bit more reserved in my use of sealant this time, particularly along the edge of the rubrail, so cleanup was a bit more streamlined.


To wrap up the installation for now, I bunged all the screw holes.
Total time billed on this job today: 7.75 Hours
0600 Weather Report:
Clear, 18°. Forecast for the day: Sunny, highs in the 30s