October 19, 2015
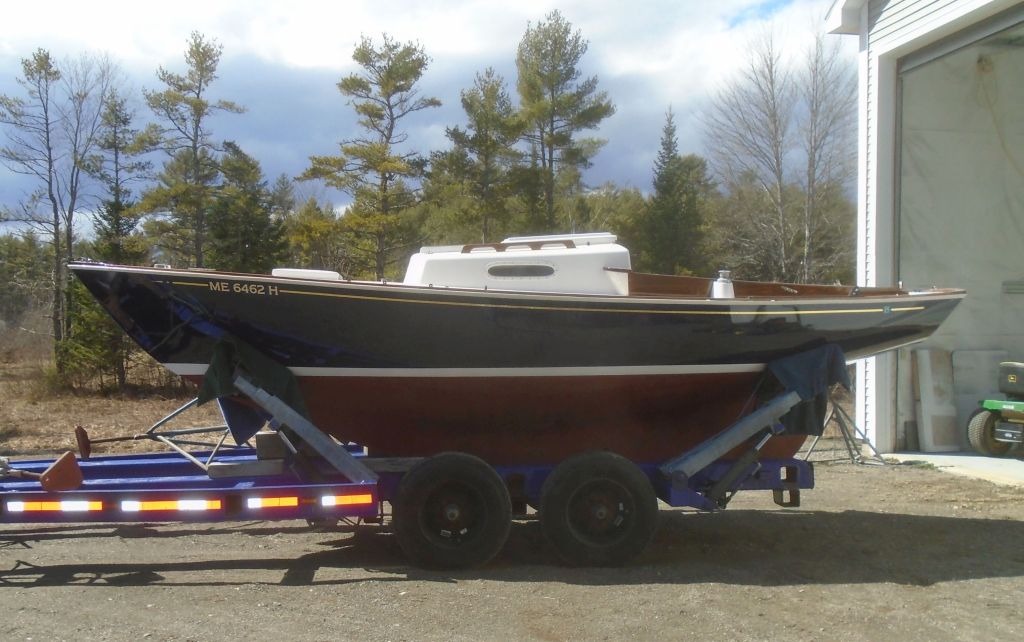
Aventura 12
Monday
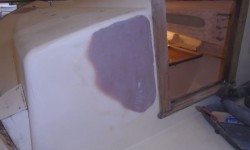
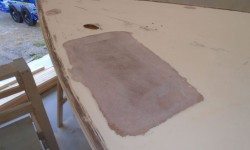
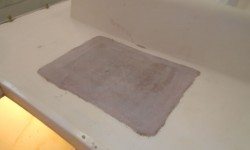
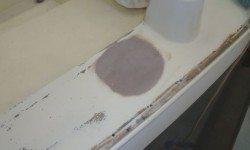
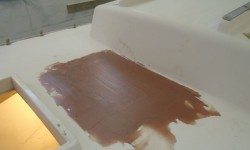
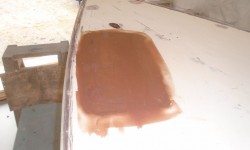
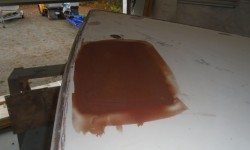
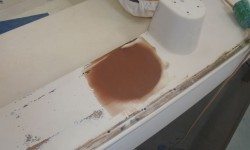
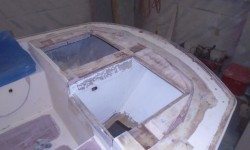
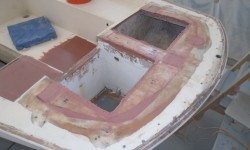
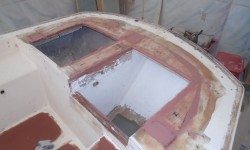
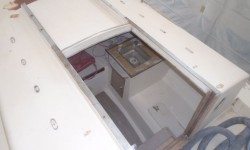
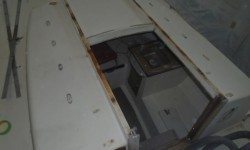
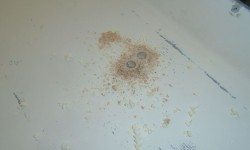
After the usual water wash, I prepared all the newly-laminated deck patches for the next steps by sanding as needed, concentrating on the edges to ensure they were flush with the surrounding deck areas, and lightly scuffing the entire areas as required.
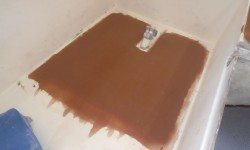
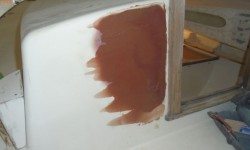
After cleanup and final preparations, I applied a coat of epoxy fairing compound to all areas.
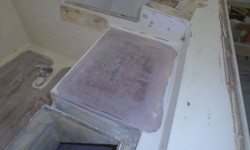
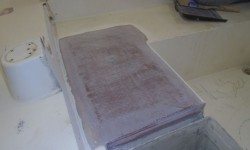
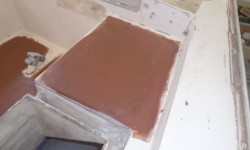
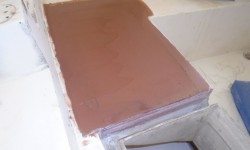
On the poop deck, I removed the weights from securing the core, and lightly sanded the area as required.
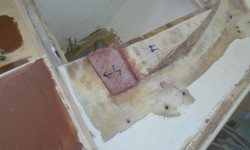
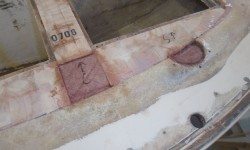
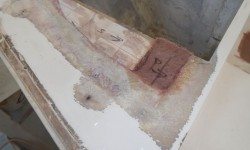
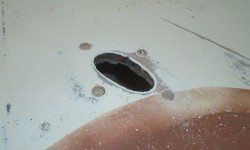
Next, I cut pieces of fiberglass to fill in several of the voids I’d left in the core, specifically at the hardware locations and other larger, deeper areas. I wet out and installed the fiberglass, and later filled in other areas with high-density structural filler. At the edges of the two hatch openings, where I’d omitted the core, I strove to define the inner edge as cleanly as possible at this early stage, though final shaping would require additional applications later.
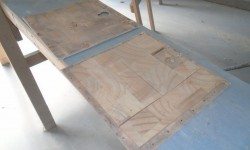
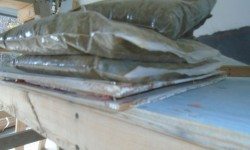
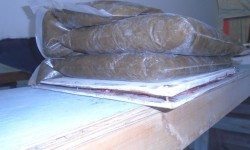
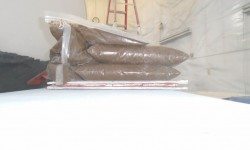
Meanwhile, I prepared new core for the lazarette hatch itself, and, after final preparations, installed it in thickened epoxy adhesive, securing the two hatch skins together with weights and screws through some of the existing holes to align the two panels properly. Later, I’d fill the edges with thickened epoxy
On deck, I removed the metal companionway tracks to allow better access to the surrounding areas for surface preparations.
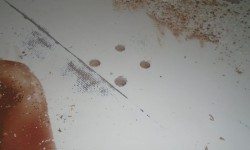
Finally, I prepared several existing hardware locations–more specifically their fastener locations–by overboring the fastener holes, reaming out the core in a larger area so I could later fill the voids with thickened epoxy. which I’d do during later deck preparation steps.
Total time billed on this job today: 6 hours


