

October 18, 2022
Holby 35
Tuesday
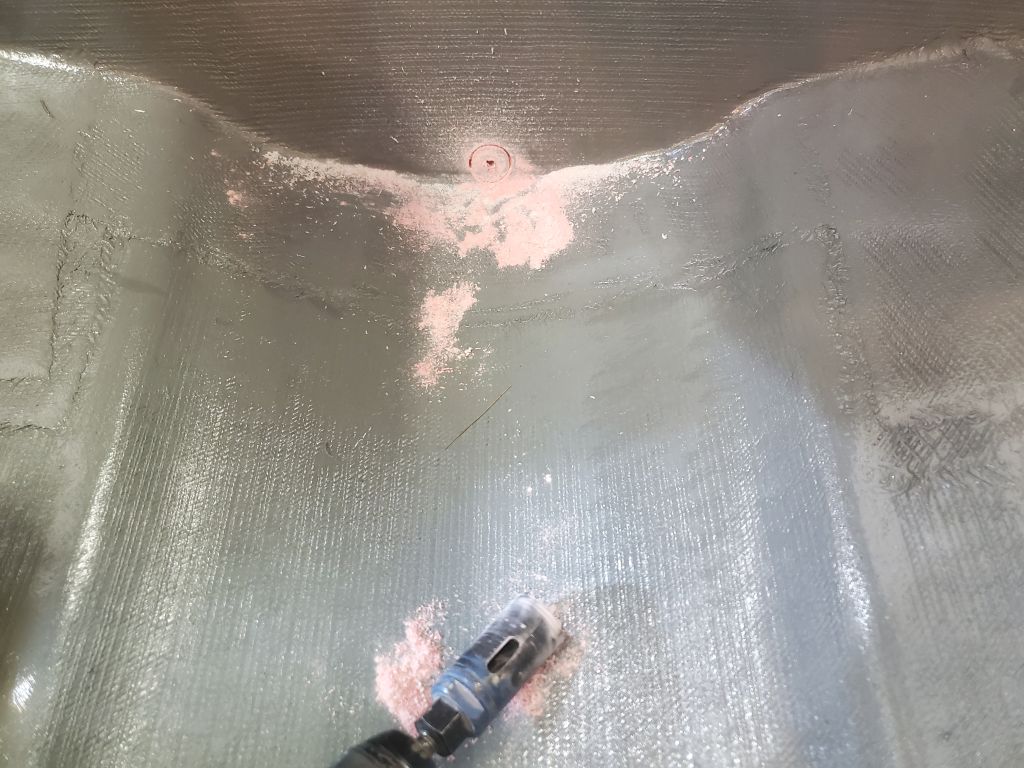
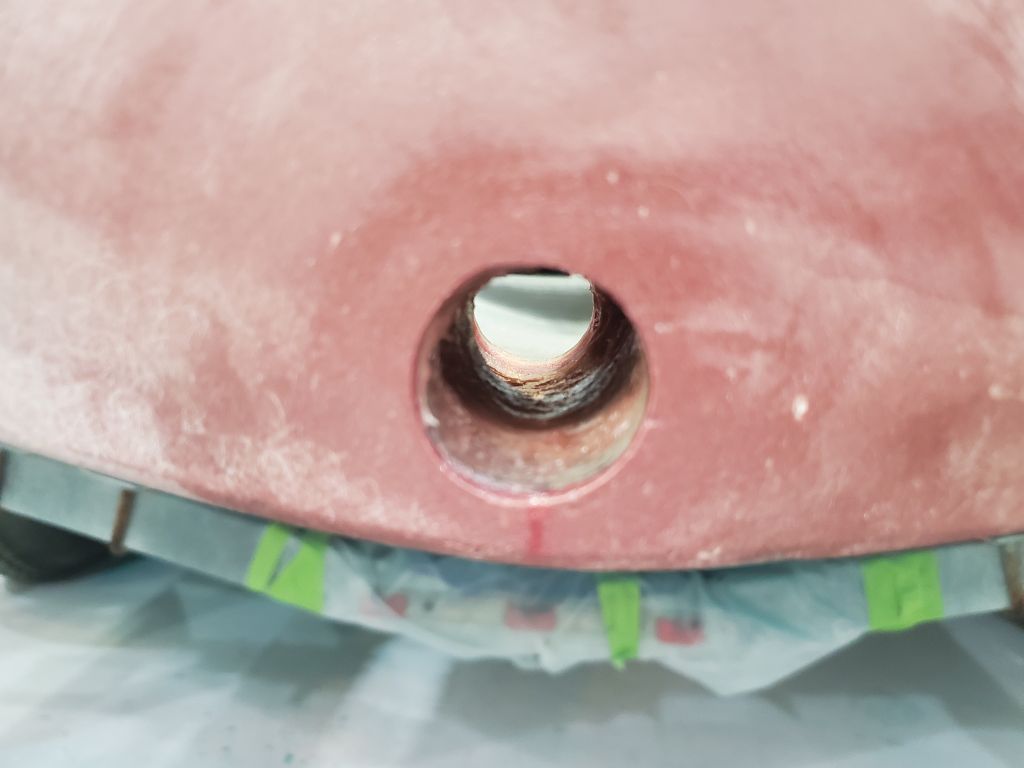
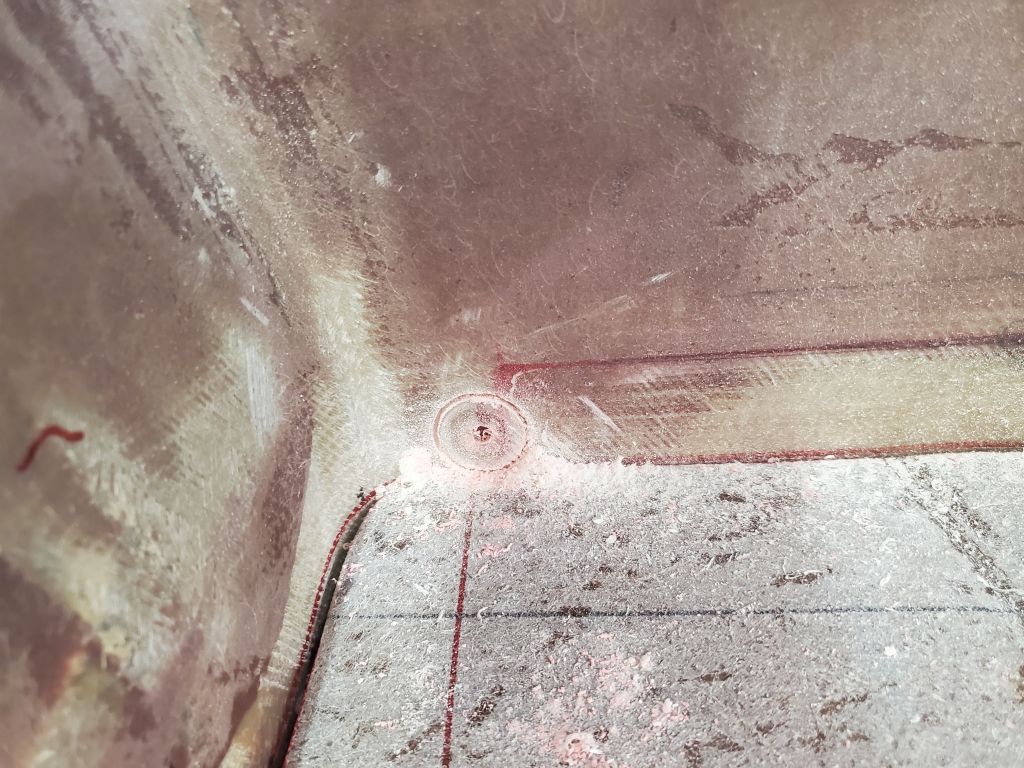
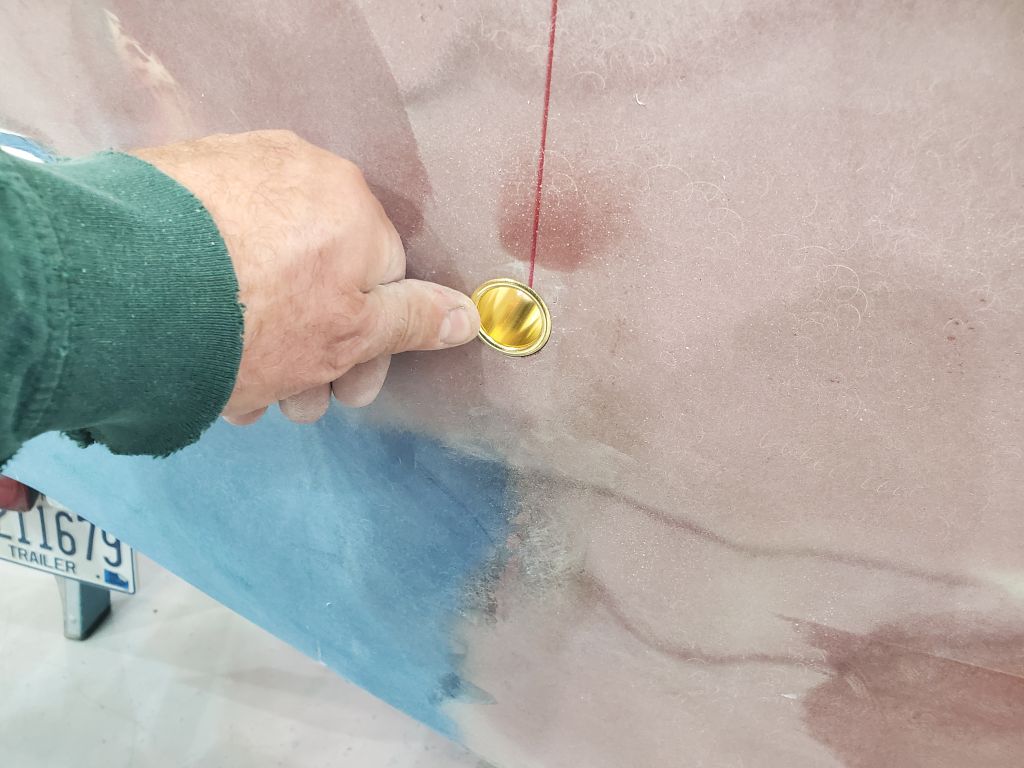
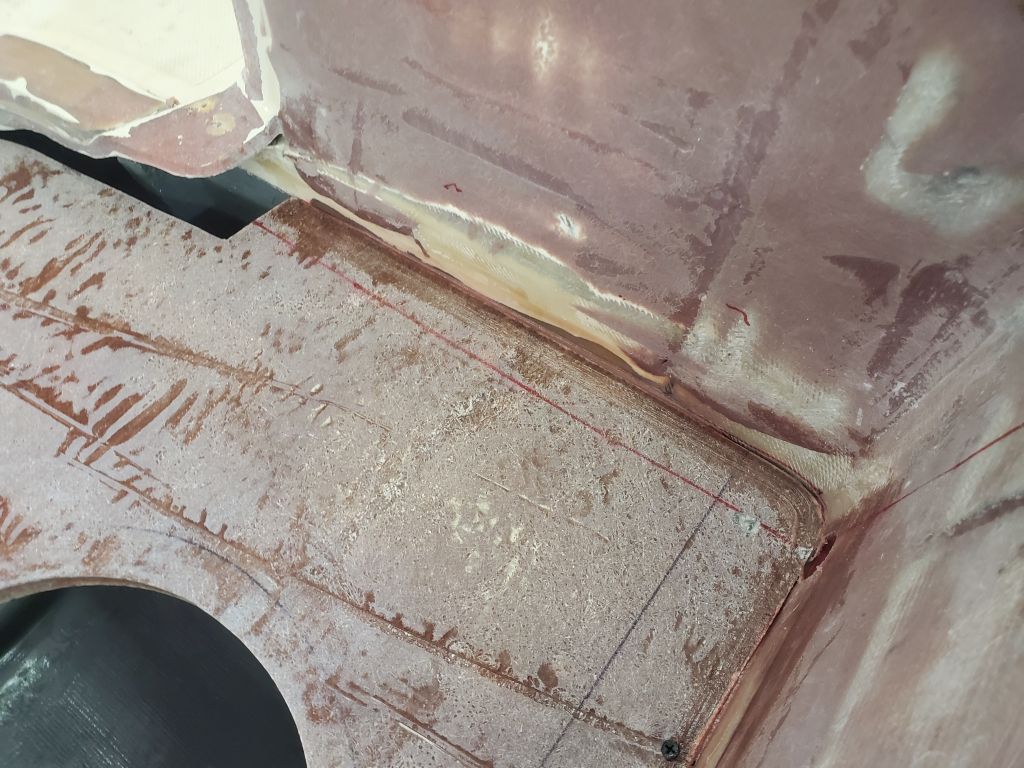
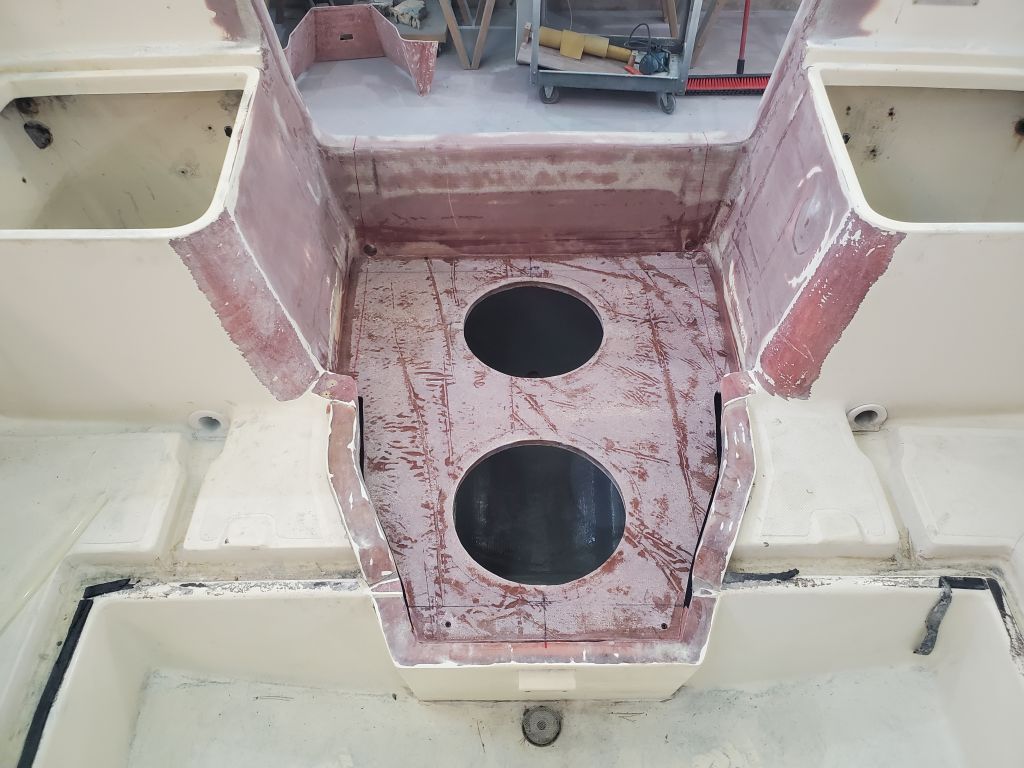
Before I could start installing and finishing the new outboard splashwell on the inside of the boat, I wanted to prepare the main bilge (garboard) drain and the splashwell drains. Using the typical bronze transom-mounted drain fitting, I marked the inside of the boat where the center of the hole should be and, after confirming its position would work on the exterior as well, started drilling from inside a hole large enough for the bronze body of the drain. With the basic hole placement determined, and a center hole from the pilot, I used a 1/4″ bit to drill all the way through to the outside, where I finished up the hole. Afterwards, I sealed the inside of the new hole with a thickened epoxy mixture and left it to cure. The transom is roughly 3″ thick overall, and in this area, which was all-new construction during this project, consisted of various layers of fiberglass, prefab fiberglass, and foam core.
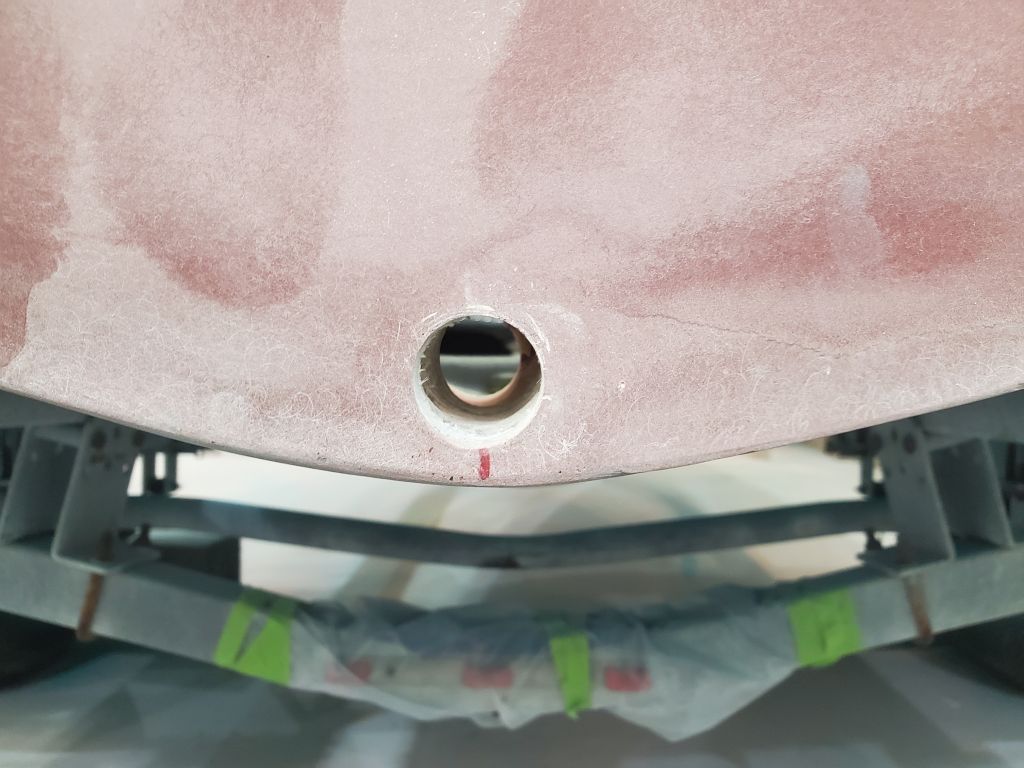

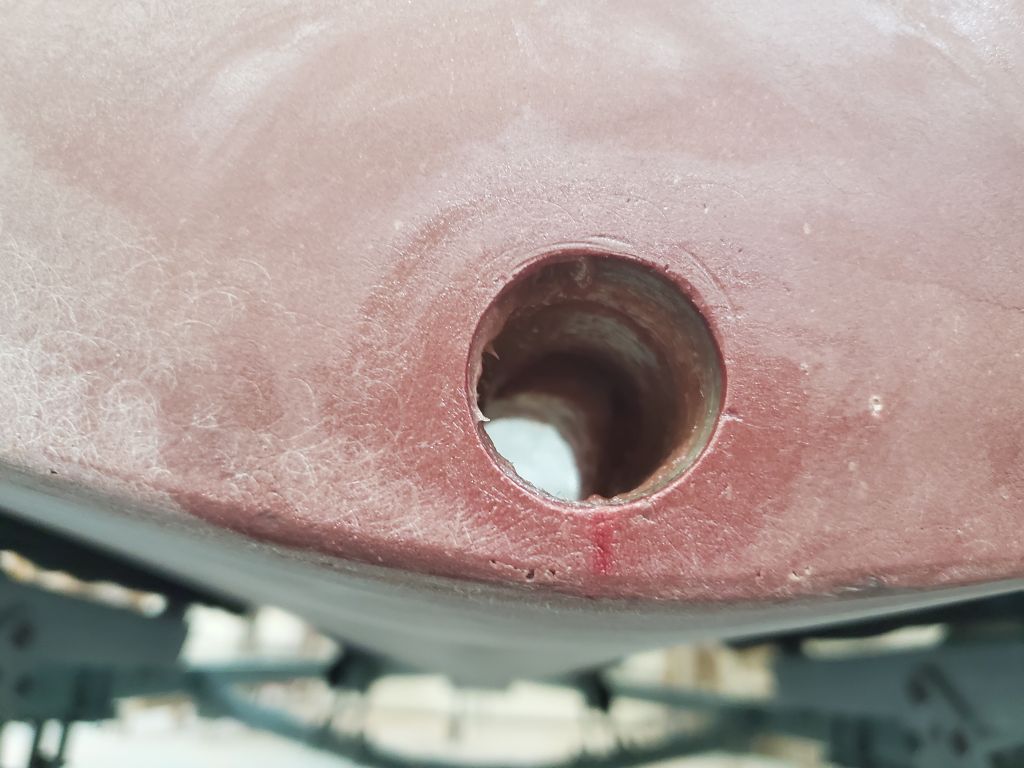
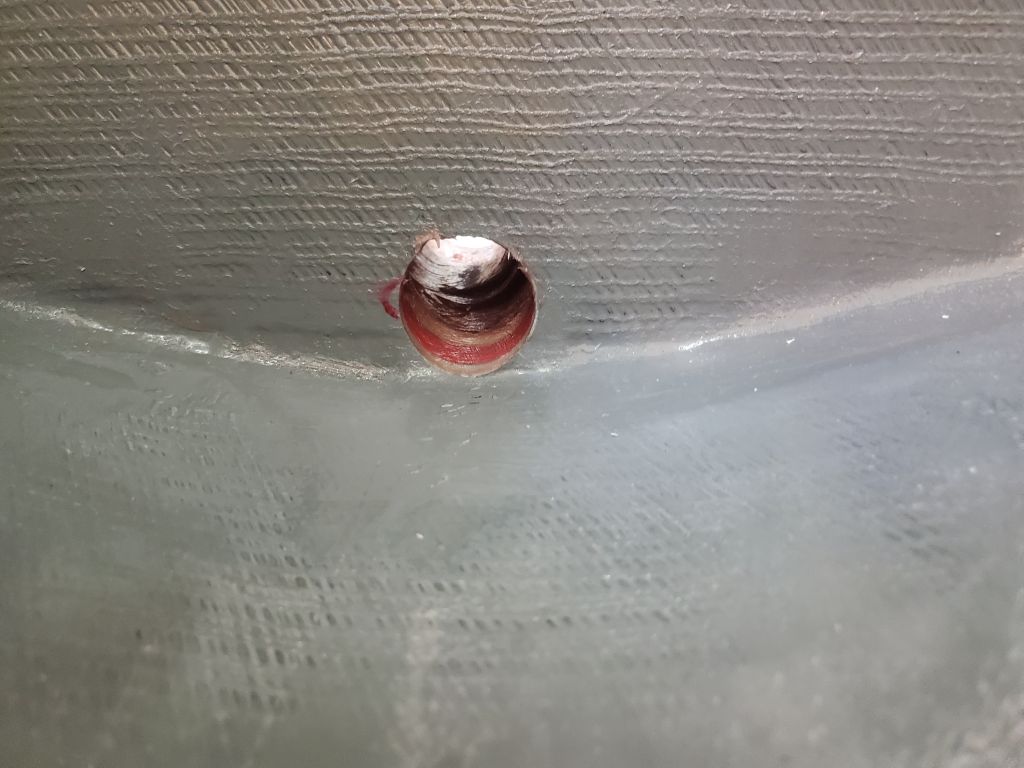
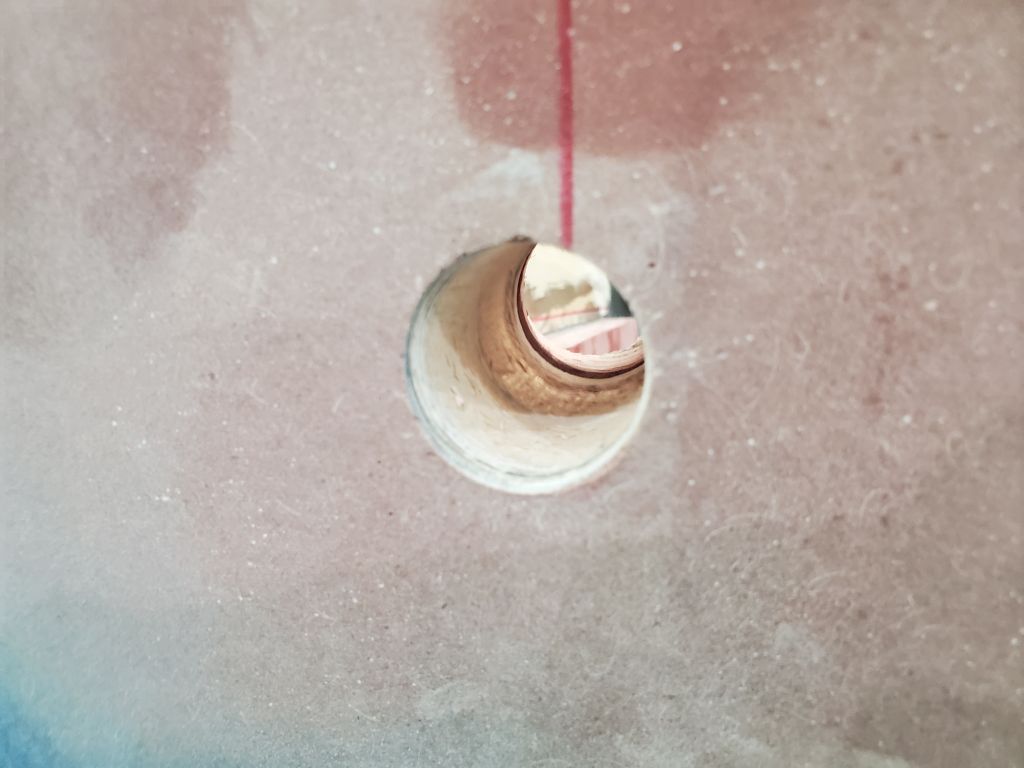
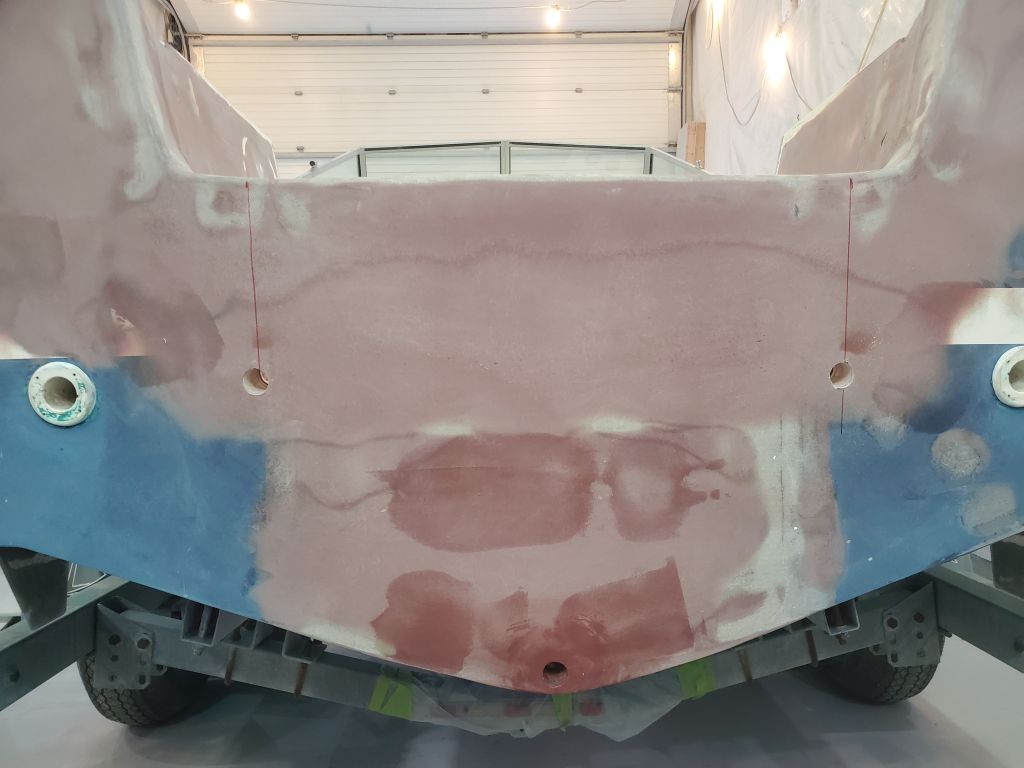
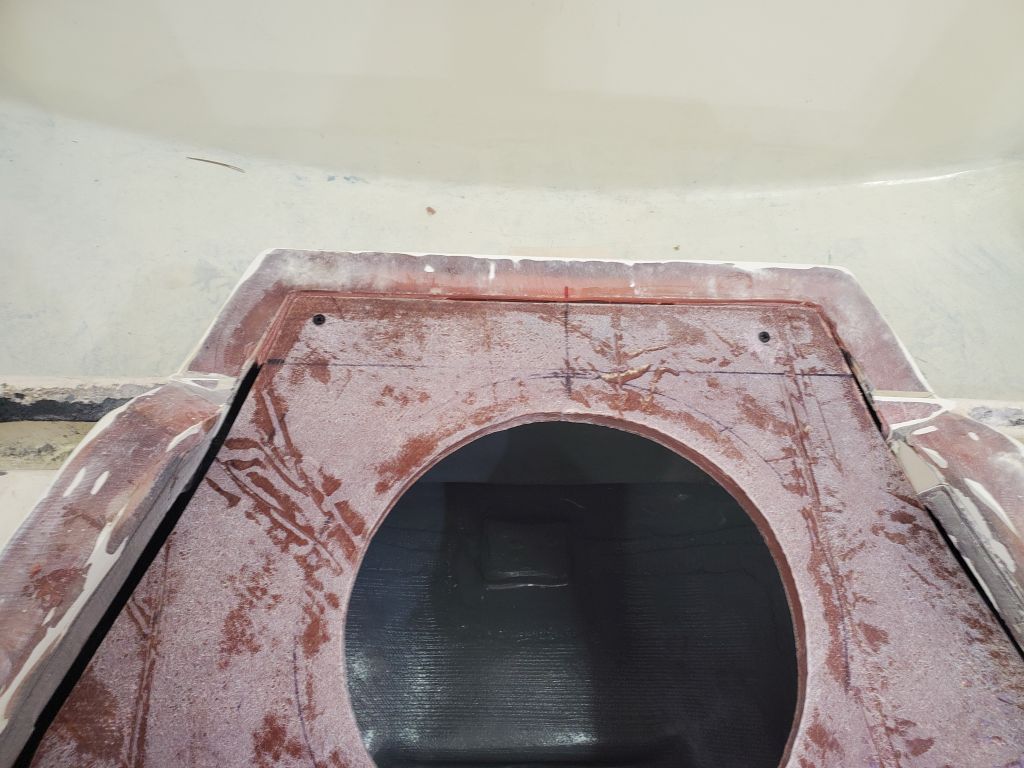
I temporarily installed the outboard well deck, securing it with temporary screws to ensure it was held tightly in place and in the proper position, then made some measurements and reference marks to place the drain openings, one per side near the edges of the deck. I transferred the marks to the outside of the transom to determine how straight I made the initial pilot holes through the thick transom, with the bottom edges of the 1″ holes flush with the top of the deck. The pilot holes ended up close to the marks I’d made on the transom, so I continued and drilled out the rest of the holes from there. Here, in the original transom structure, were two layers of balsa core, with laminate between and on either side, plus the new fiberglass panel and additional laminate on the interior.
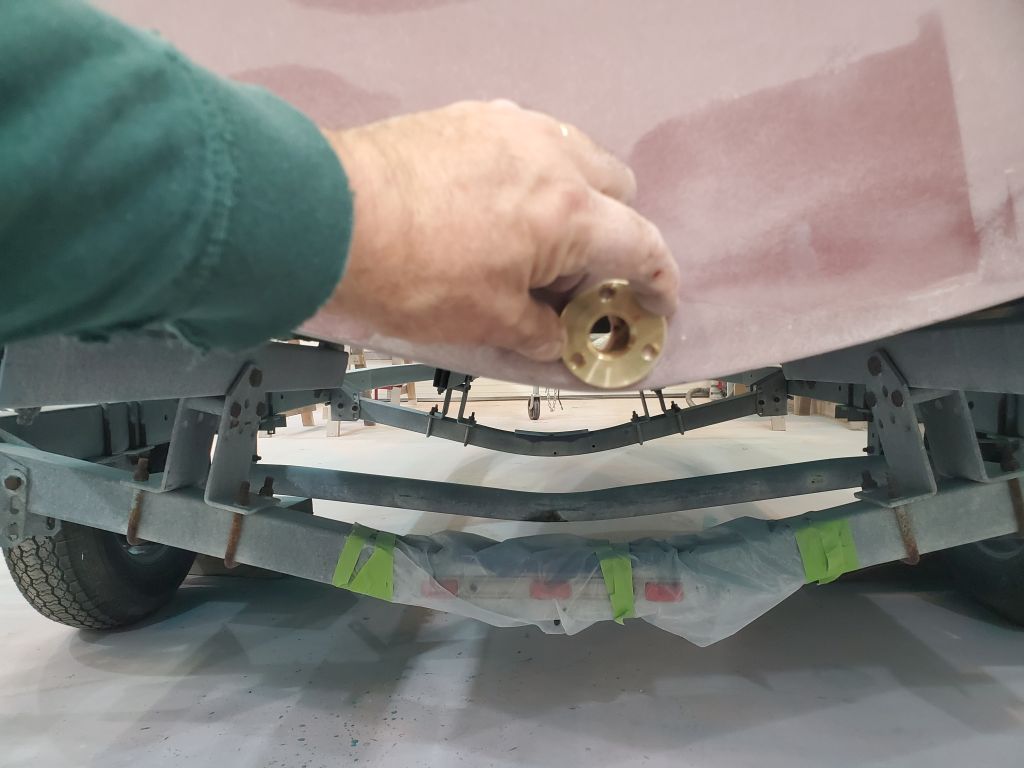
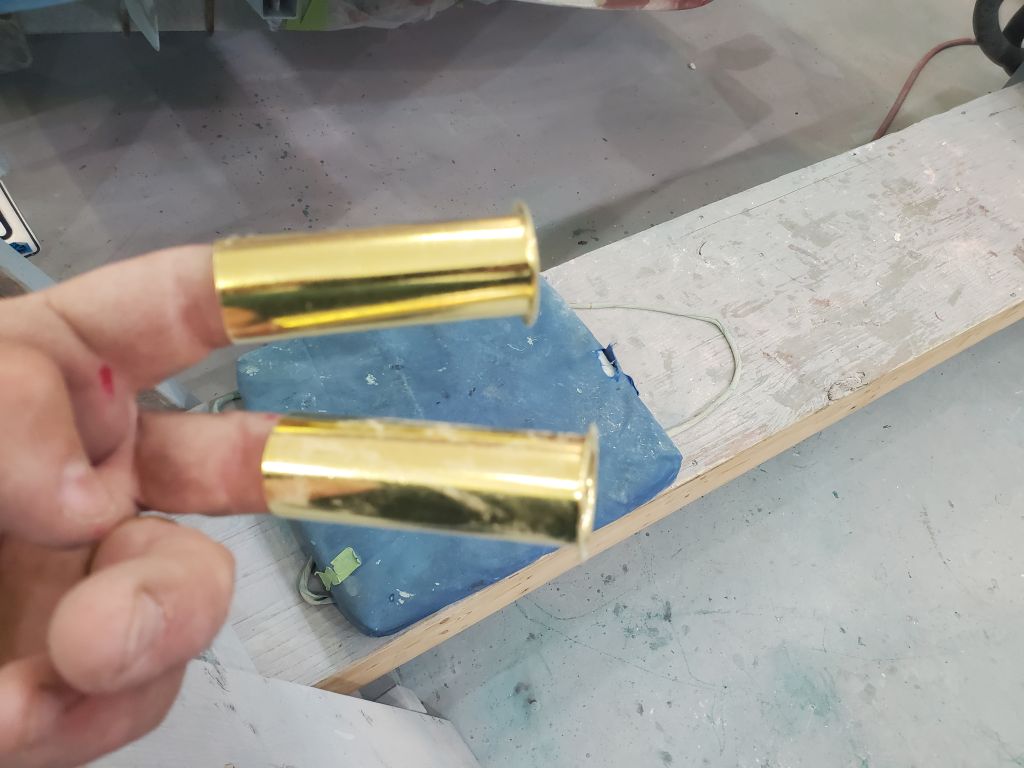
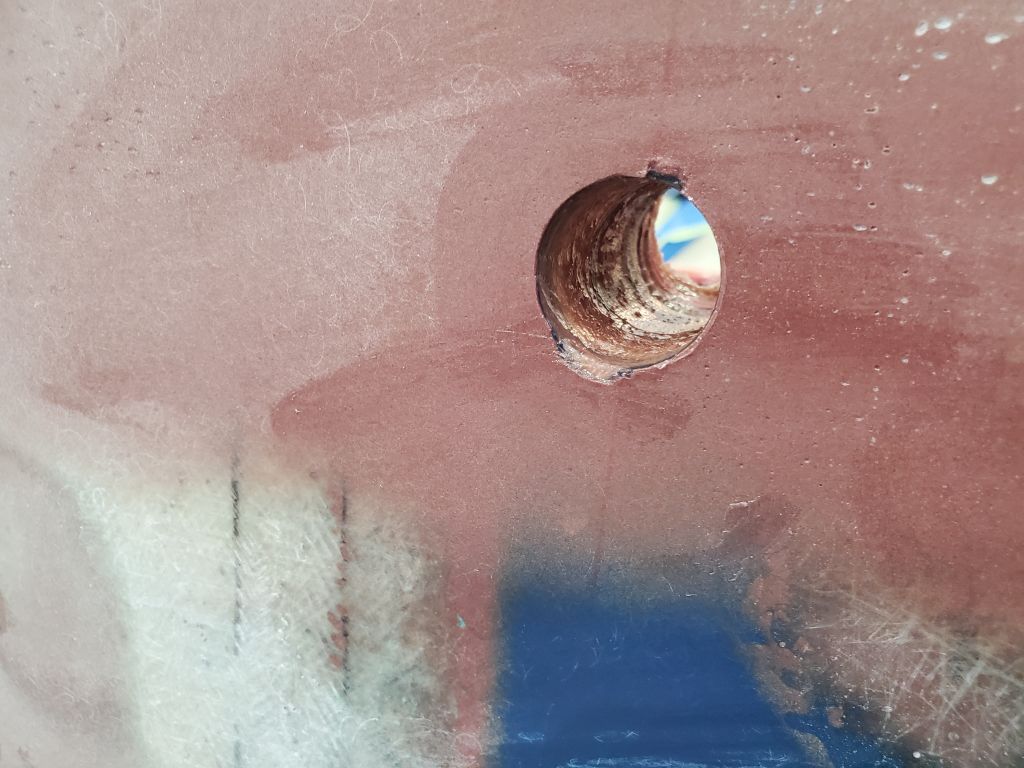
These drains would eventually be lined with the usual brass flanged liners, which accept those ubiquitous 1″ rubber plugs if desired. For now, as with the garboard drain, I treated the insides of the holes–slightly oversized–with a thickened epoxy mixture to seal off the exposed interior structures.
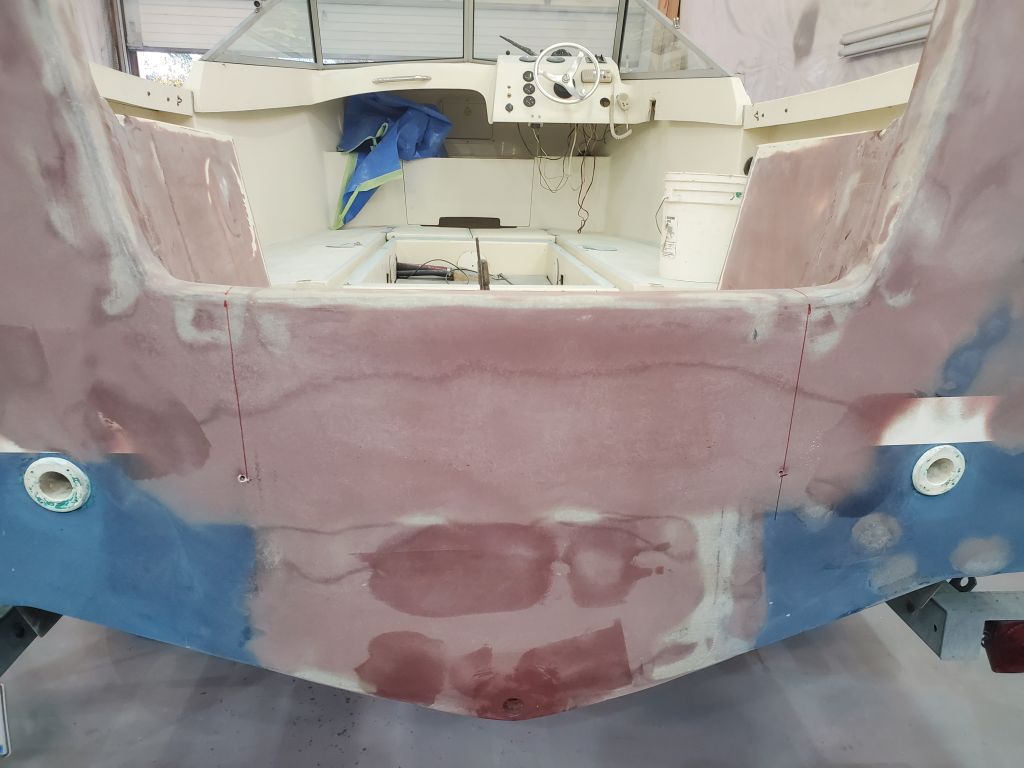


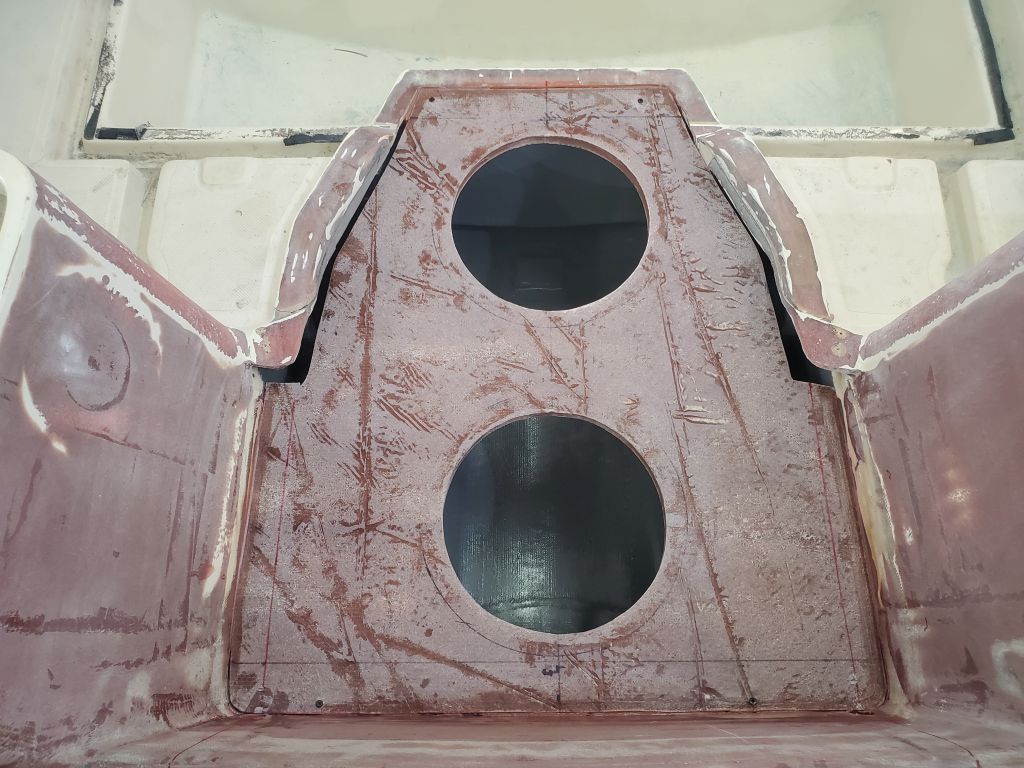
Now I could move on with the installation of the new deck. After final preparations, I secured the new deck with epoxy adhesive to the fiberglass cleats I’d installed for this purpose, securing it with four temporary screws to hold it tightly. This step would hold the deck securely once cured, after which I’d finish off the installation with tabbing along with the splashwell bulkhead in the coming days.

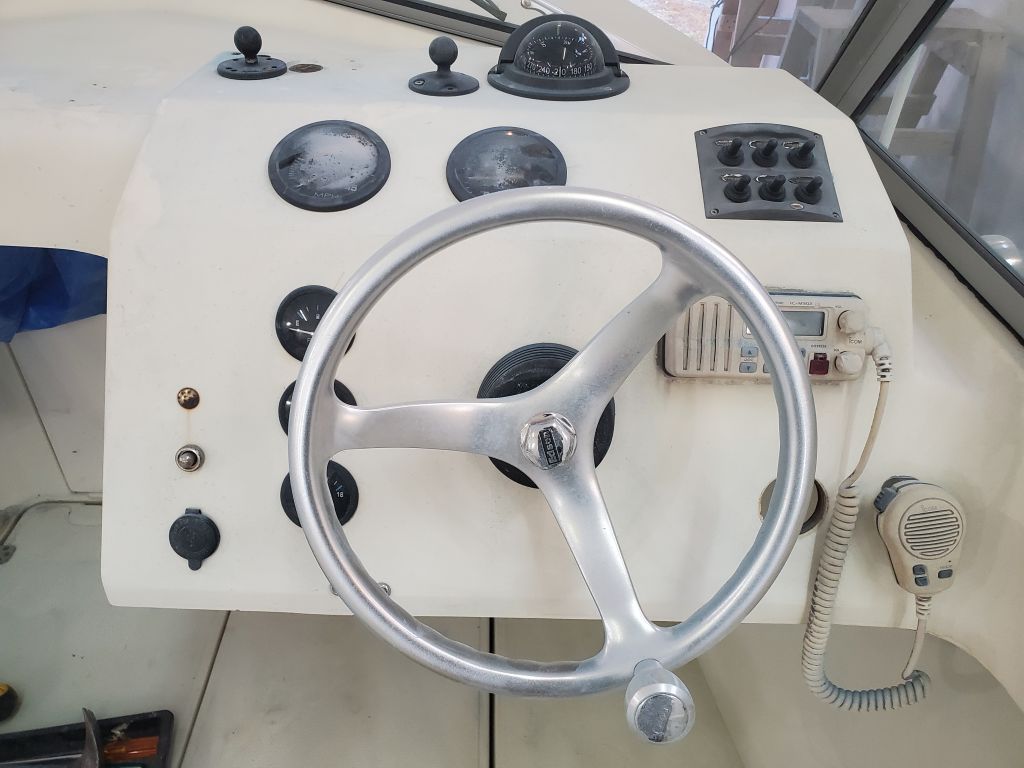
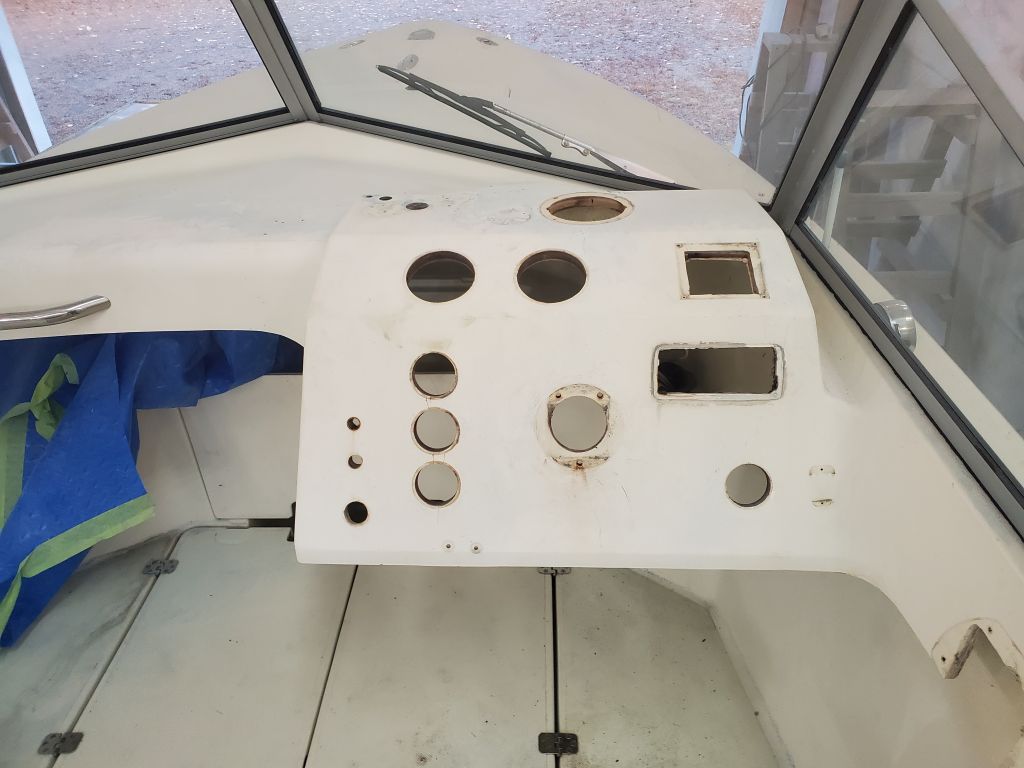
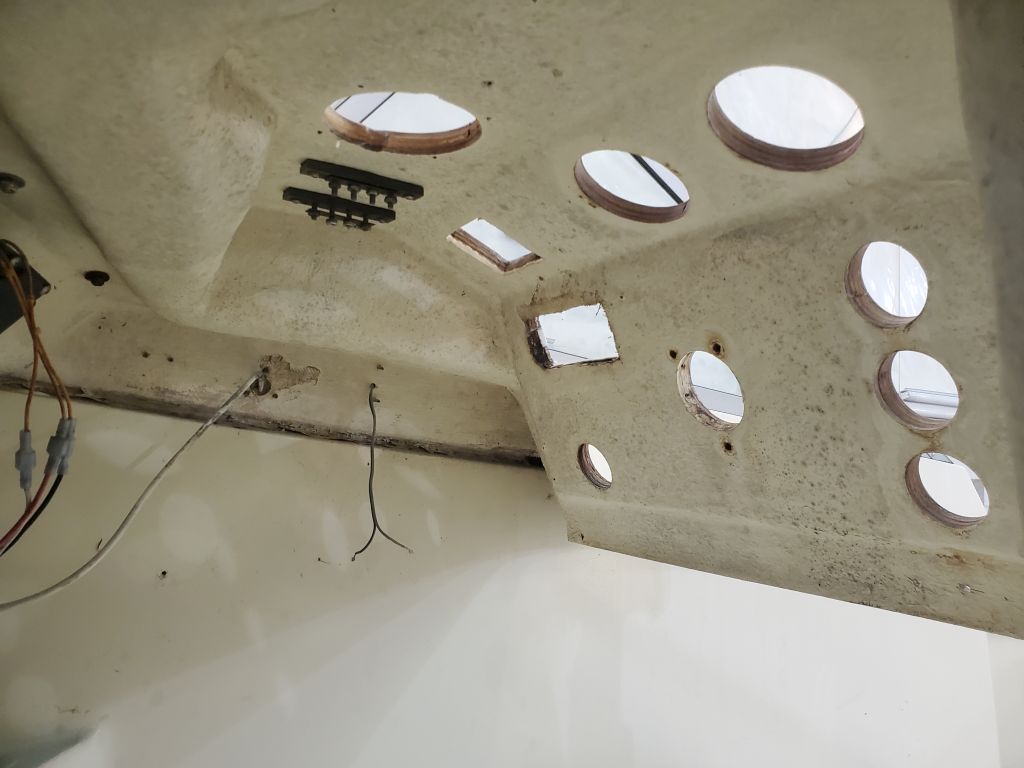
The helm console was full of now-obsolete gauges, switches, and riff-raff leftover from past installations. The owner’s new outboard would come with its own controls and gauges, and the owner had a new GPS plotter we hoped to incorporate into the dash, so for now all the old stuff needed to be removed to clear the way for repairing or covering the console somehow to give it a fresh and clean look for the new installations to come.
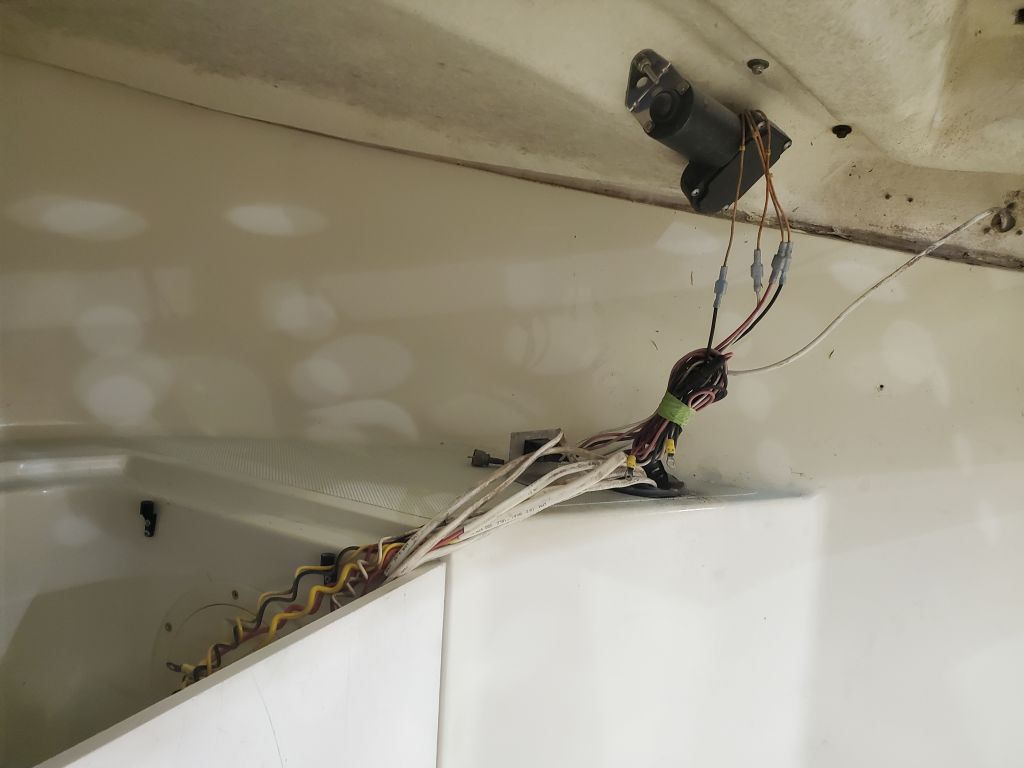
I removed everything for now, disposing of the gauges and related wiring but saving the helm, compass, and other things at least for now while we worked out the new plan.


Total time billed on this job today: 4.5 hours
0600 Weather Observation: 58°, rain. Forecast for the day: Rain, 64°