

November 10, 2016
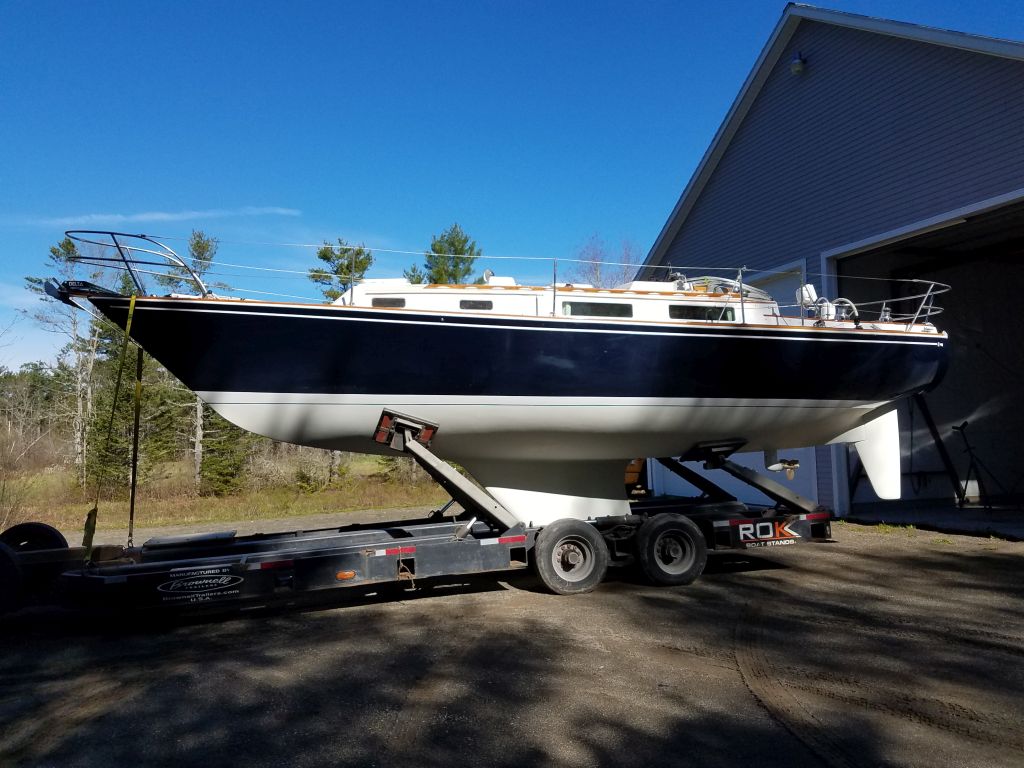
Acadia 34
Thursday
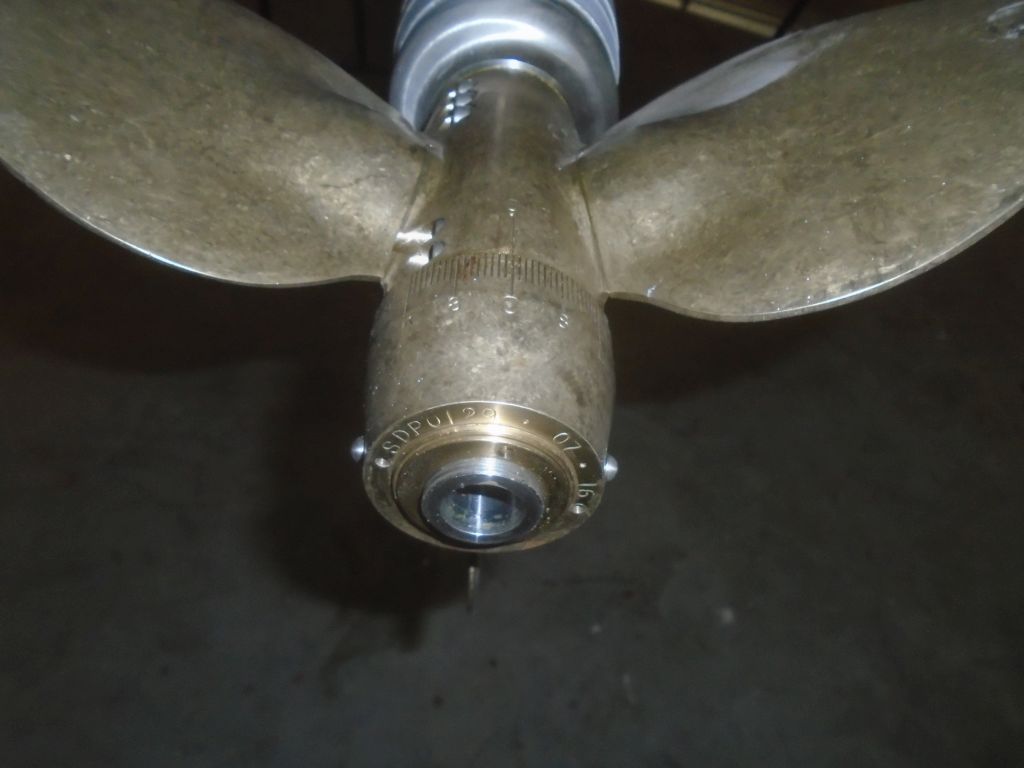
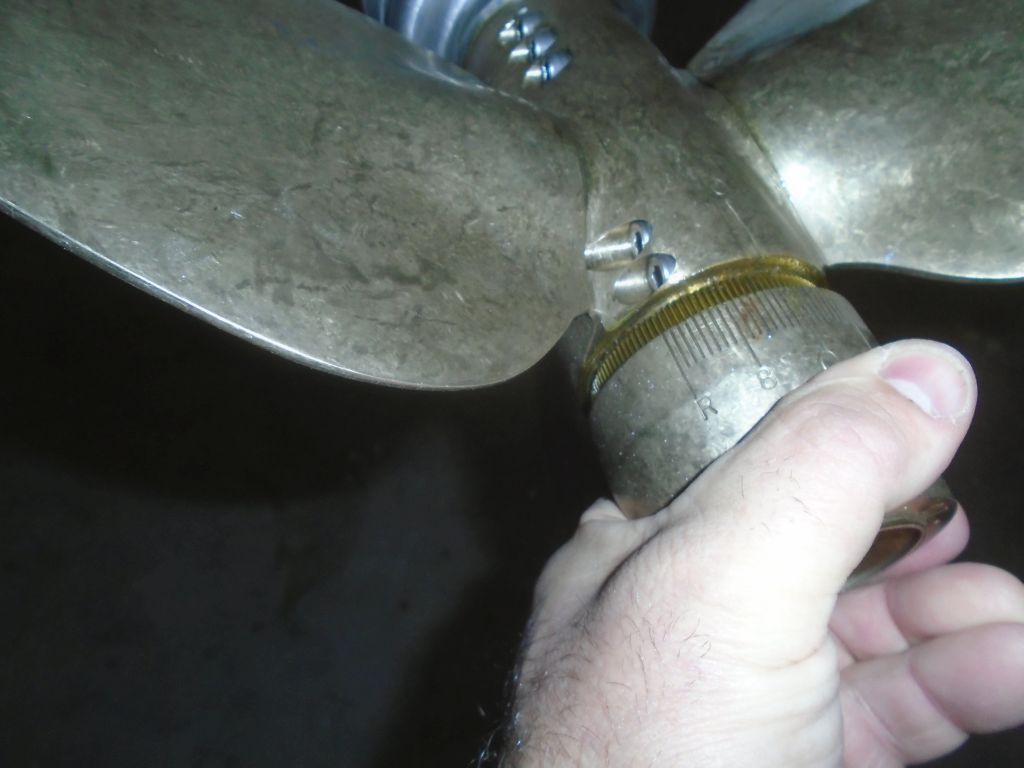
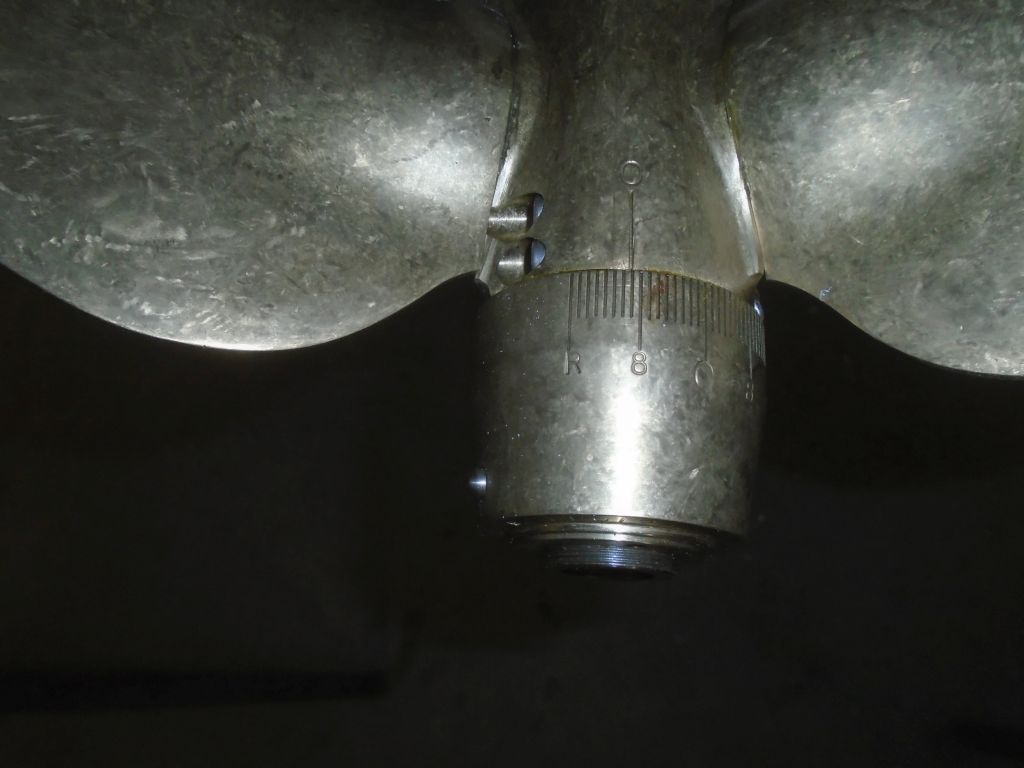
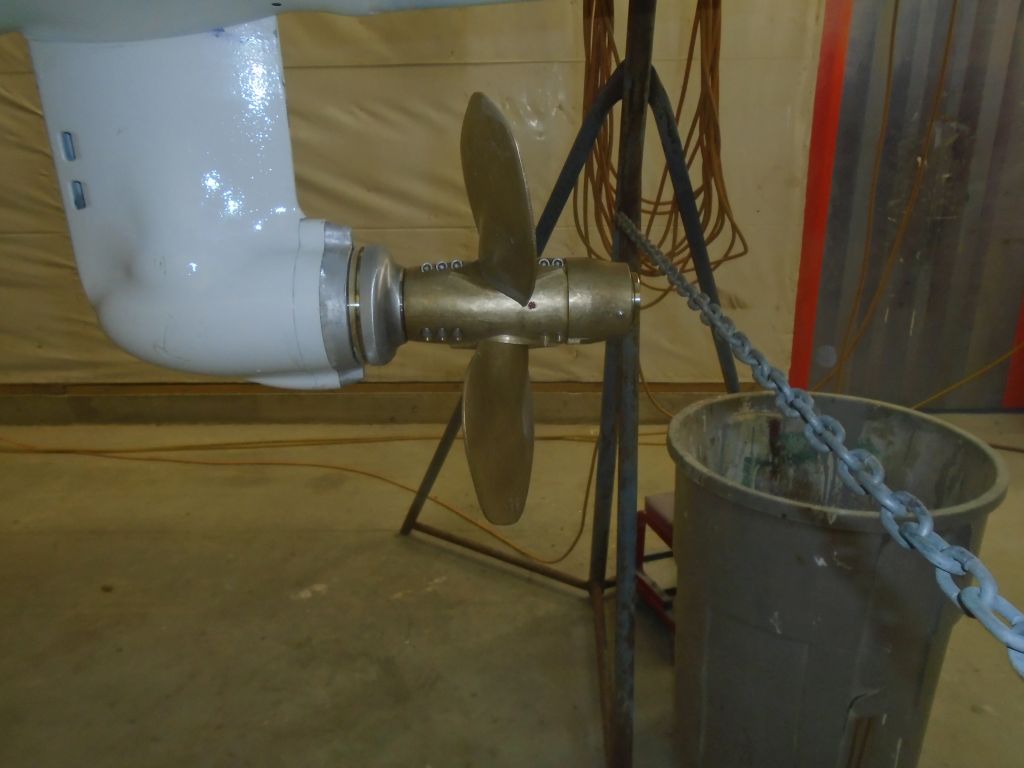
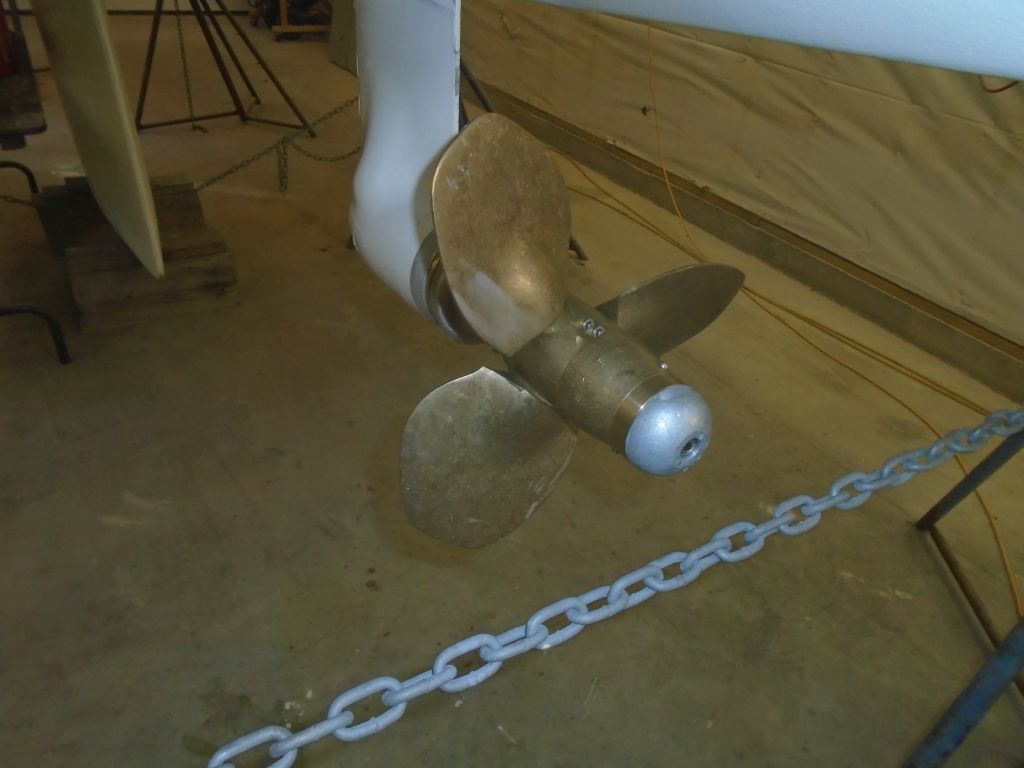
After corresponding with Beta Marine to get their recommendations for the propeller pitch required for this boat, prop, and engine combination (the recommendation: 10″ pitch), I followed the simple instructions to set the pitch on the prop hub. After removing the prop zinc and two other rings from the aft end of the prop hub, it was easy to pull out the hub itself (they call it the ogival nose) and twist it to the required setting. Stan at Beta indicated that notch 9 (10.52″) or notch 8 (9.23″) would be appropriate settings. I went with notch 9. Now, when the propeller spun, the blades ended up at the appropriate angle, rather than basically flat the way they’d been when the prop was shipped at the 0 setting. I reassembled the pitch locking ring and other hub components, completing the job.

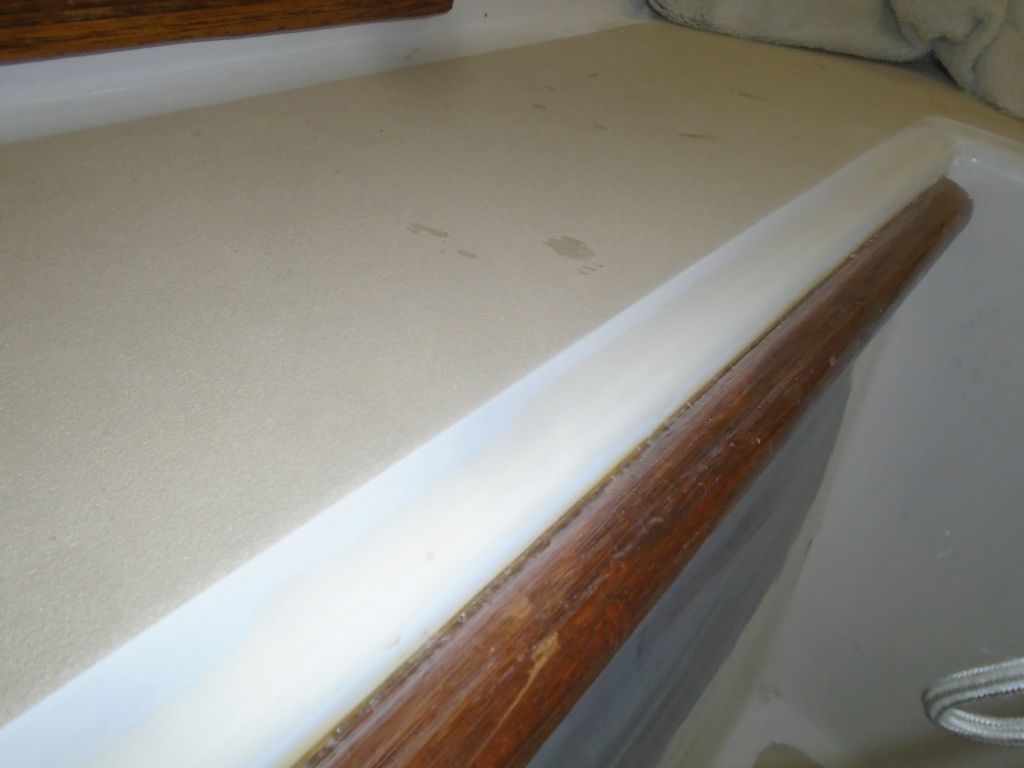
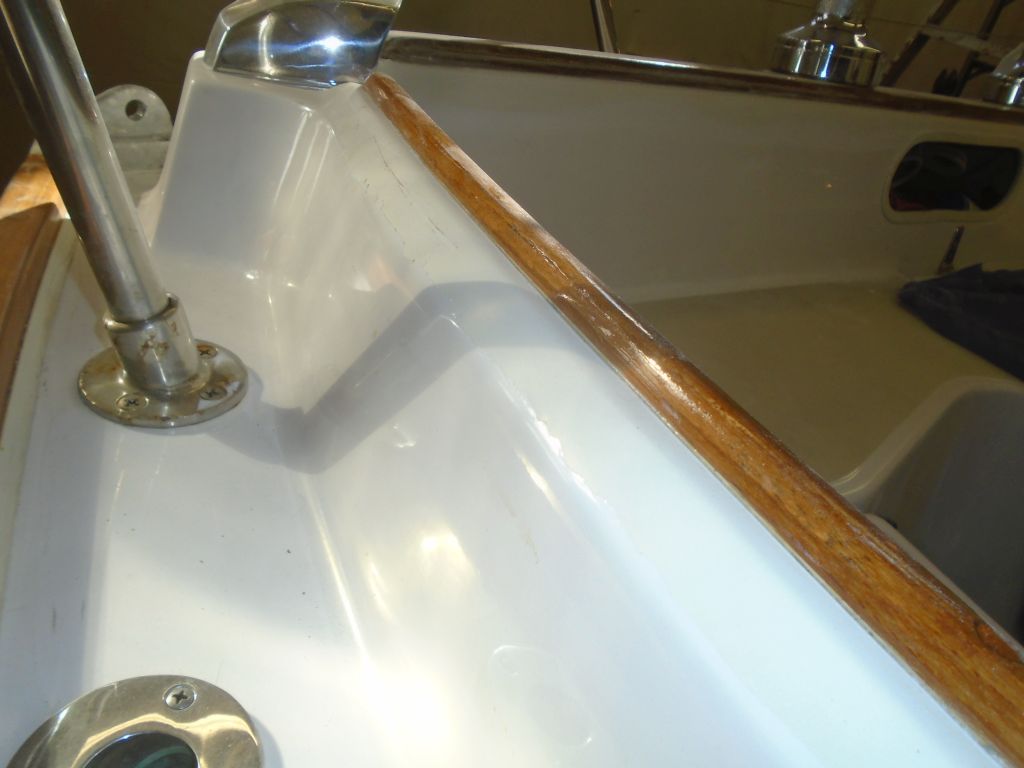
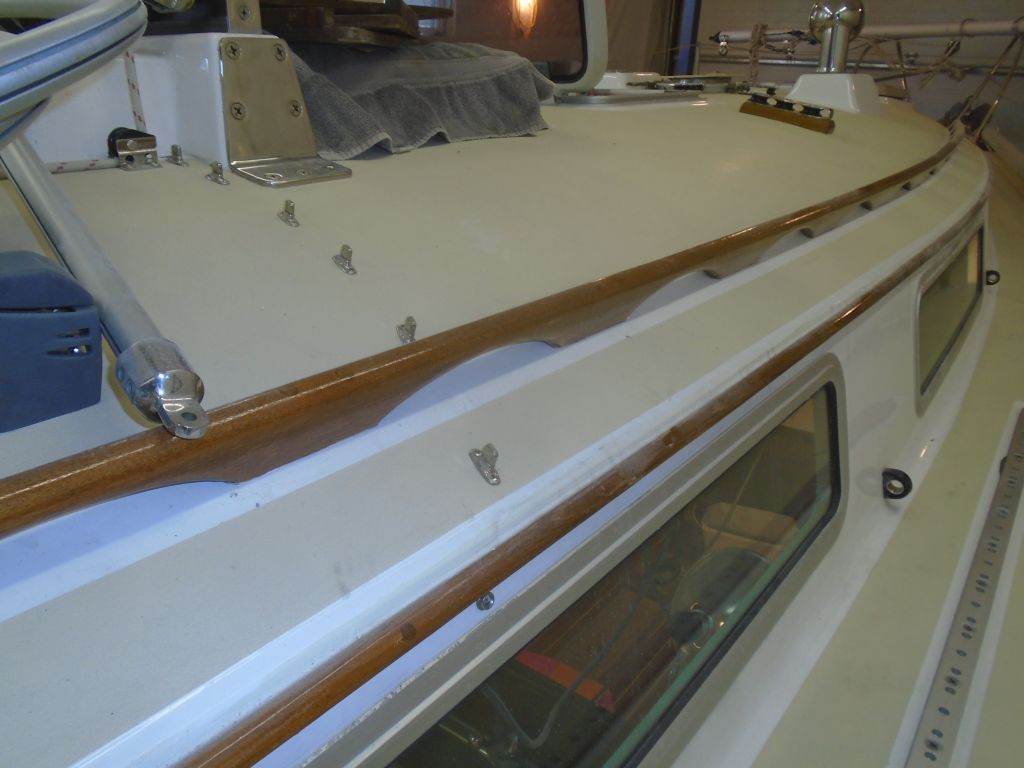
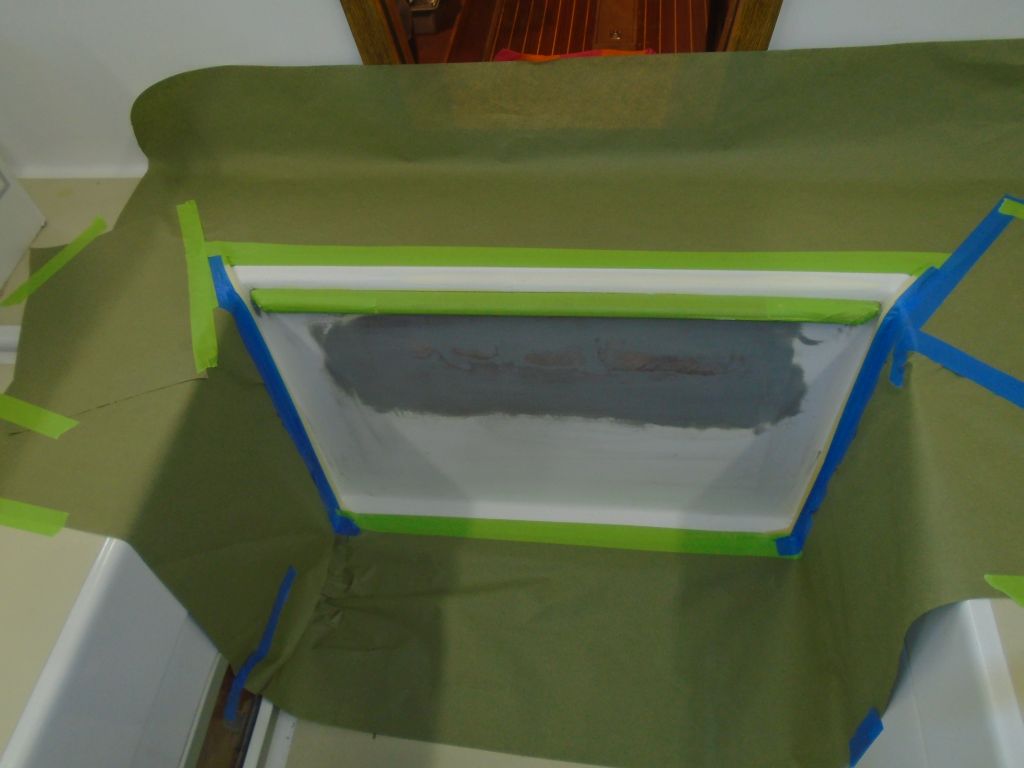
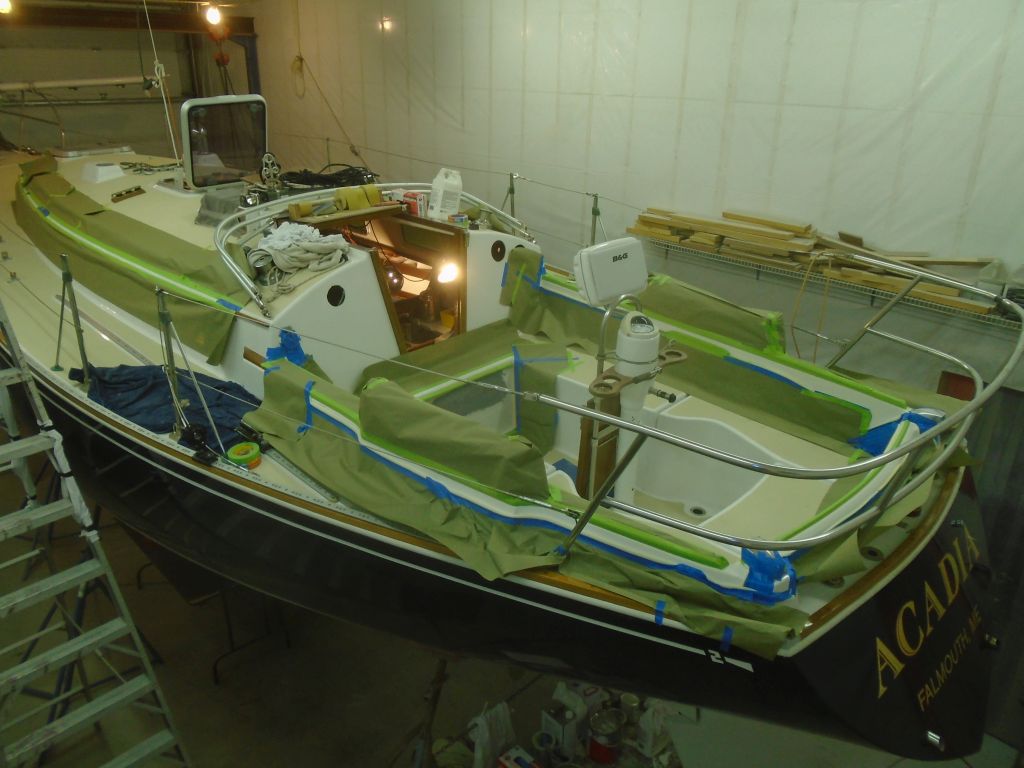
Next, I turned to the cockpit paint preparations, beginning with a light sanding for the newly-primed patch at the forward end and the new instrument cover plates. Then, I went around the cockpit edges, sanding the damaged paint areas as needed to feather the paint edges and prepare the substrate primer beneath. This was all detail sanding by hand. I brought the sanded area down a little bit into relatively solid paint to give the new coating a place to blend into the existing. During the morning, I went over the cockpit, sanding these edges on both sides of the varnished coaming tops and at the aft end as well.
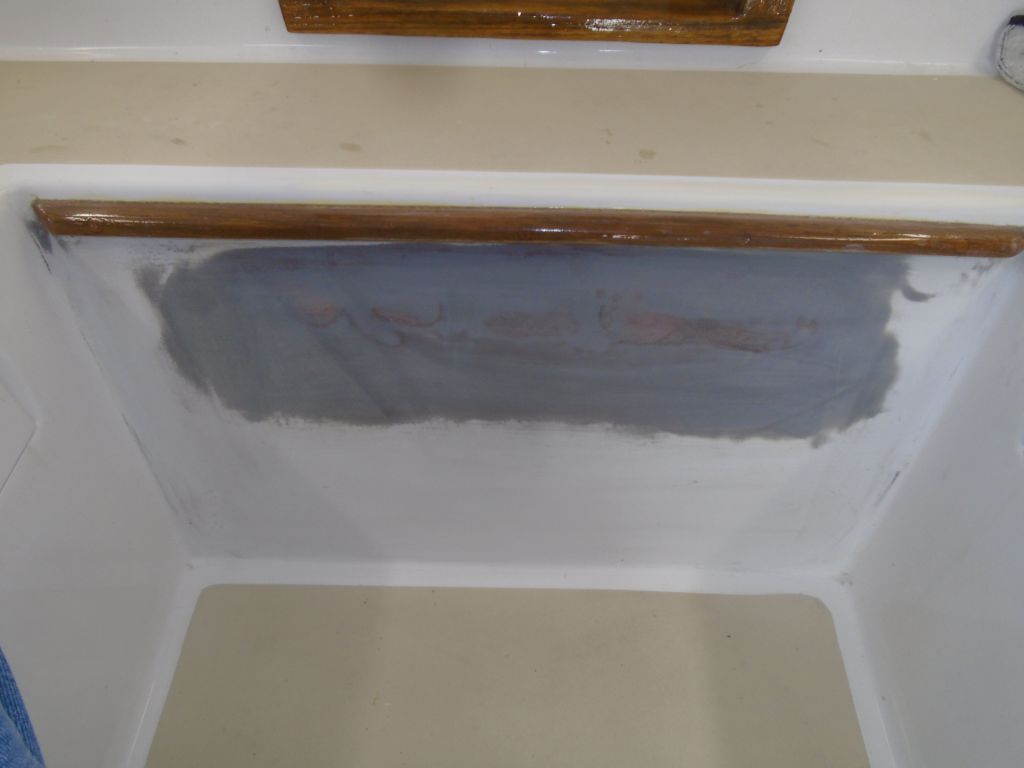
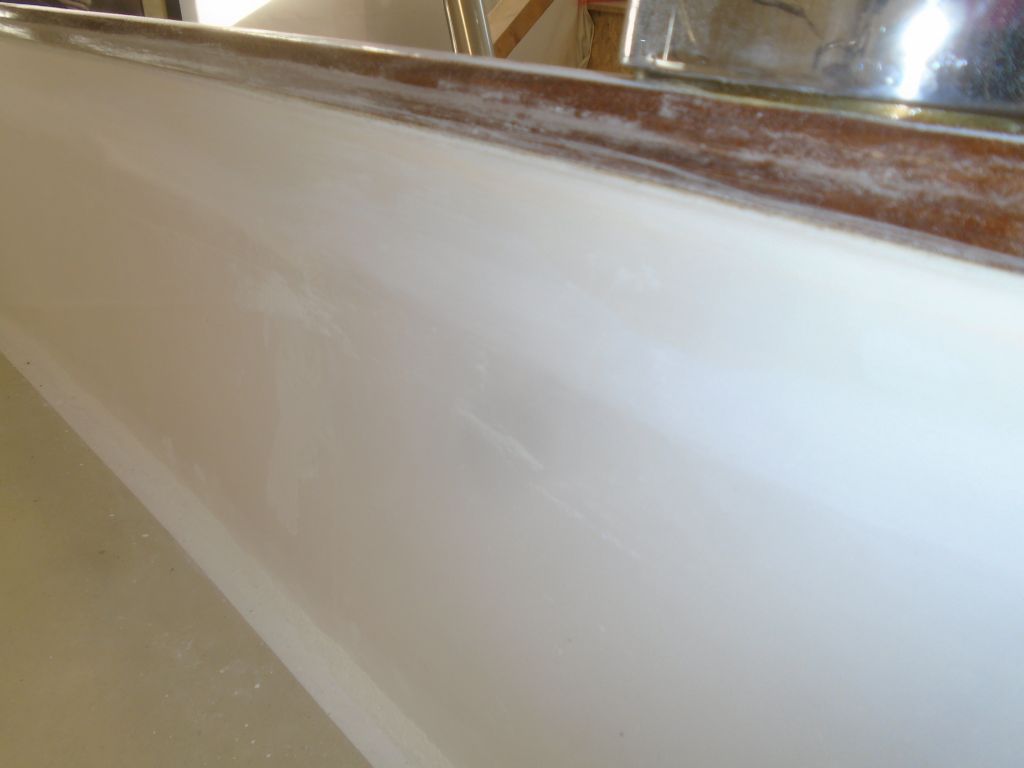
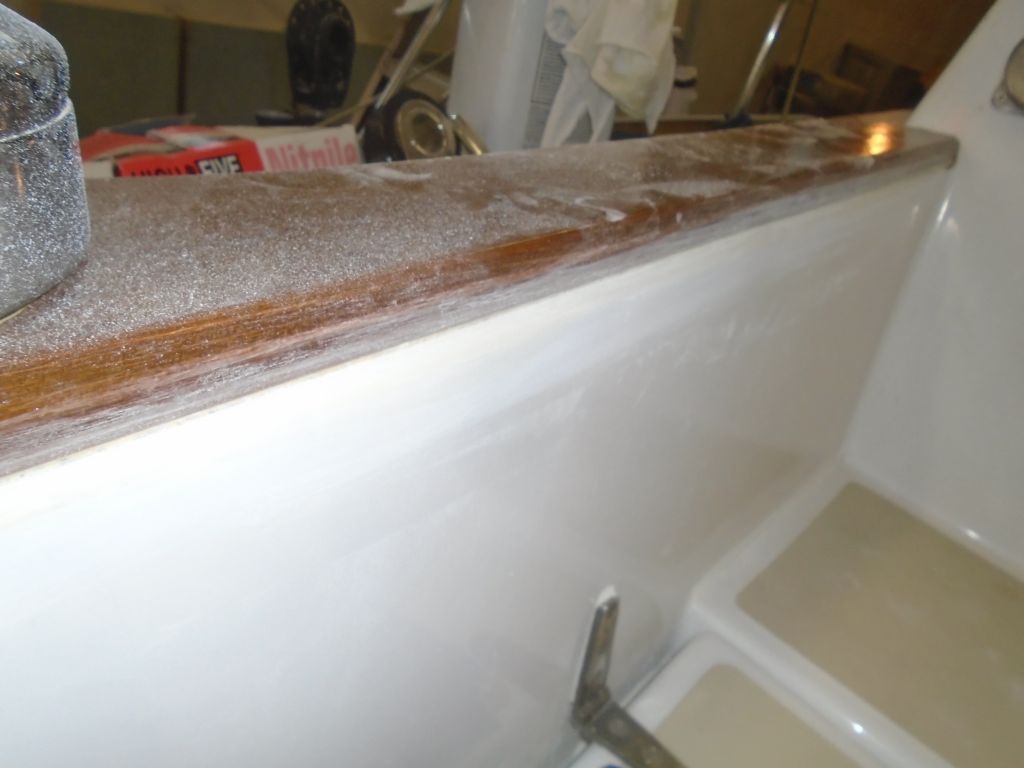
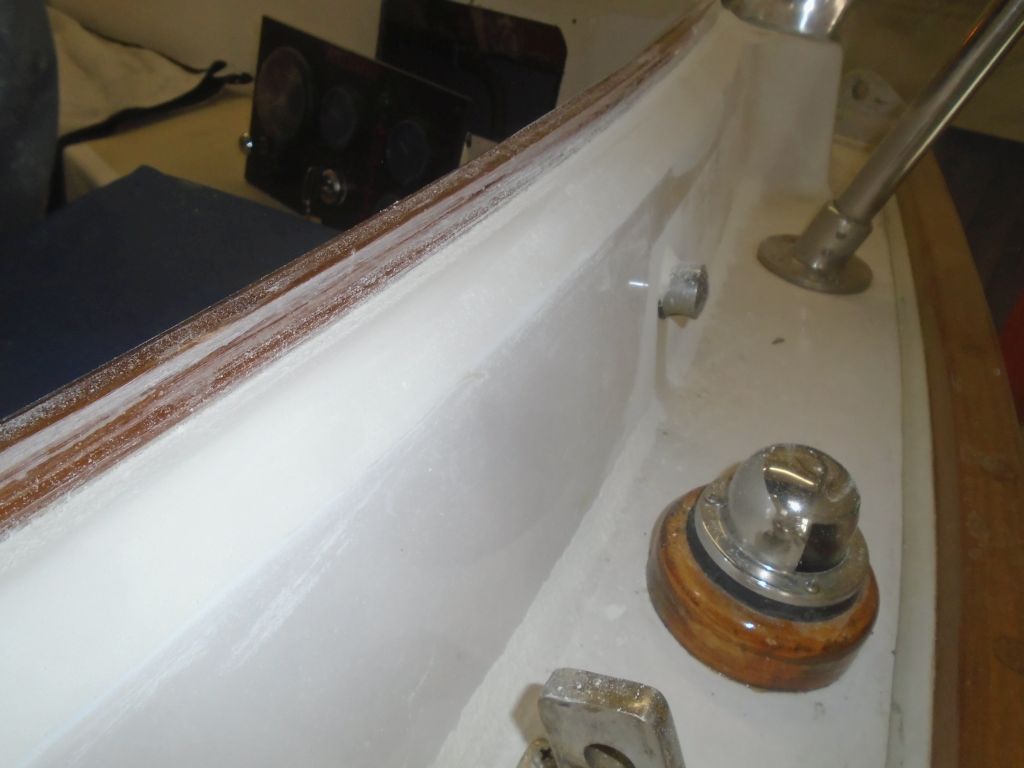
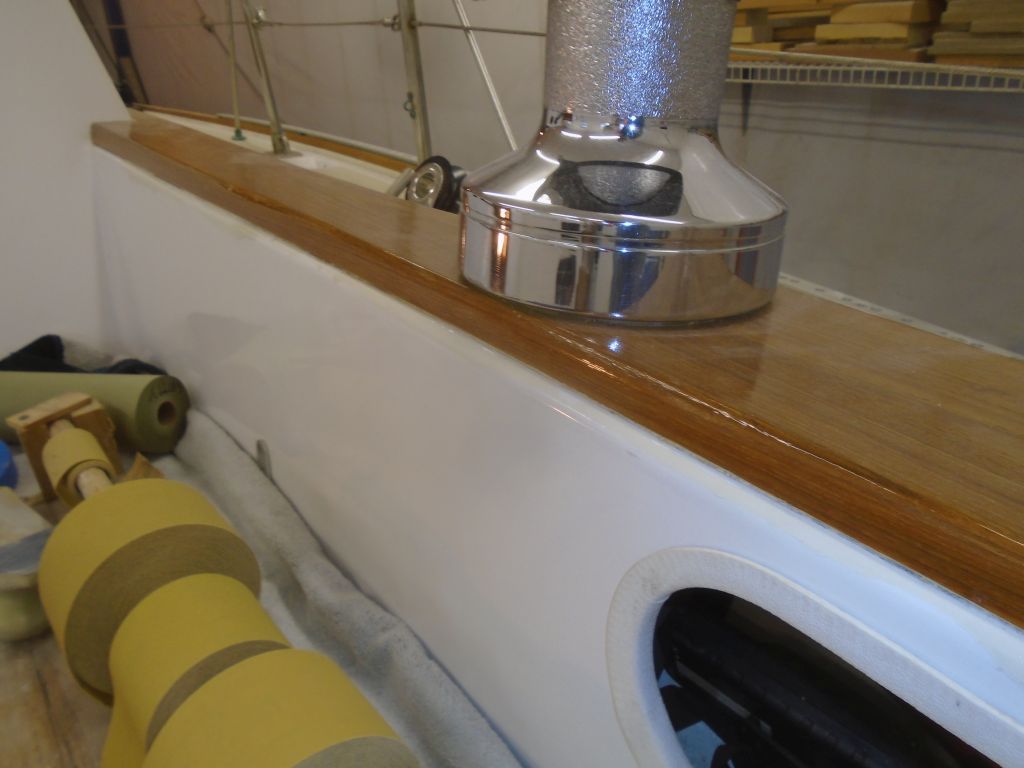
In addition, there were some failed paint areas along the edge of the cabin trunk where the eyebrow had been taped off, so I similarly sanded and prepped these areas as well.

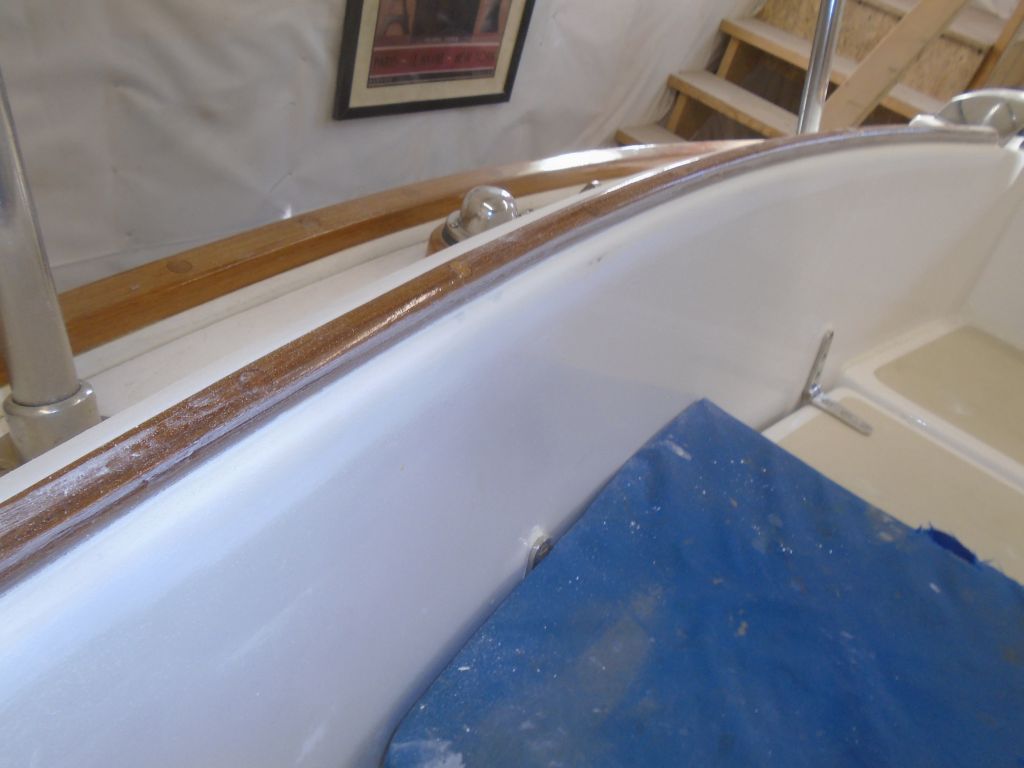
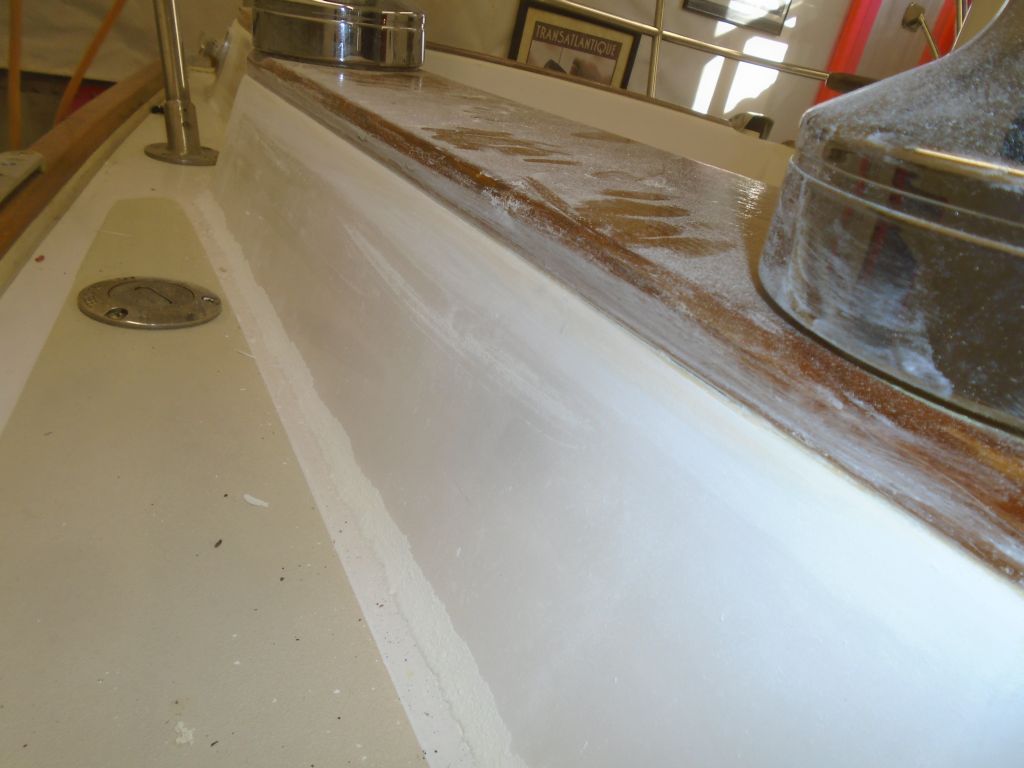
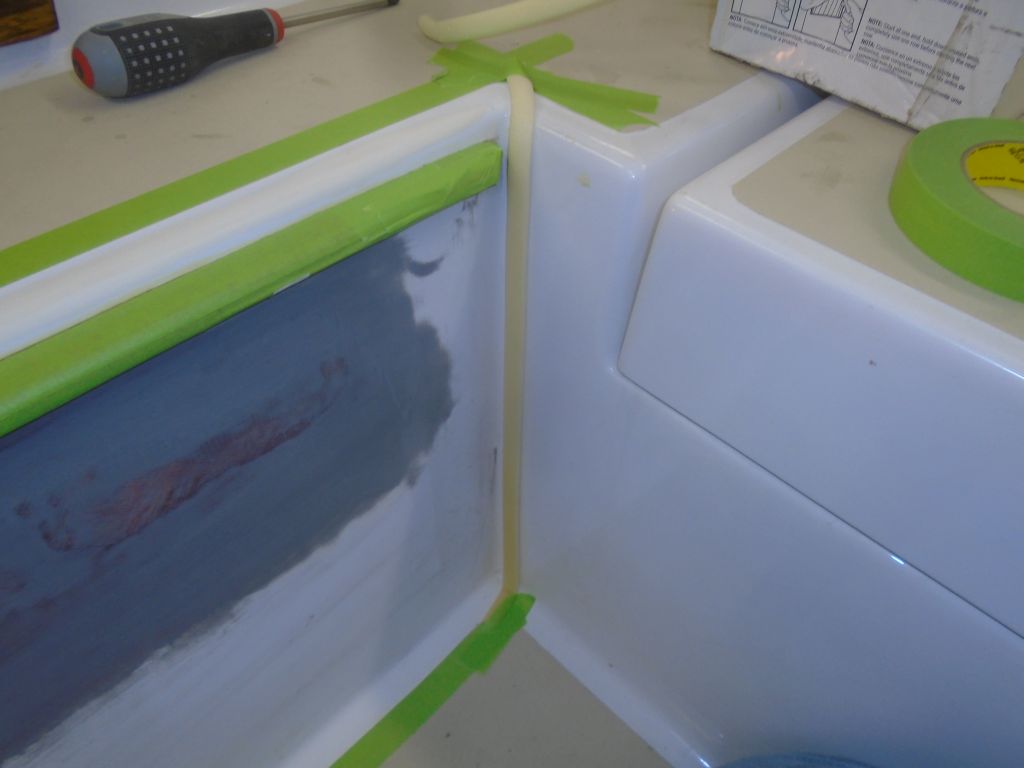
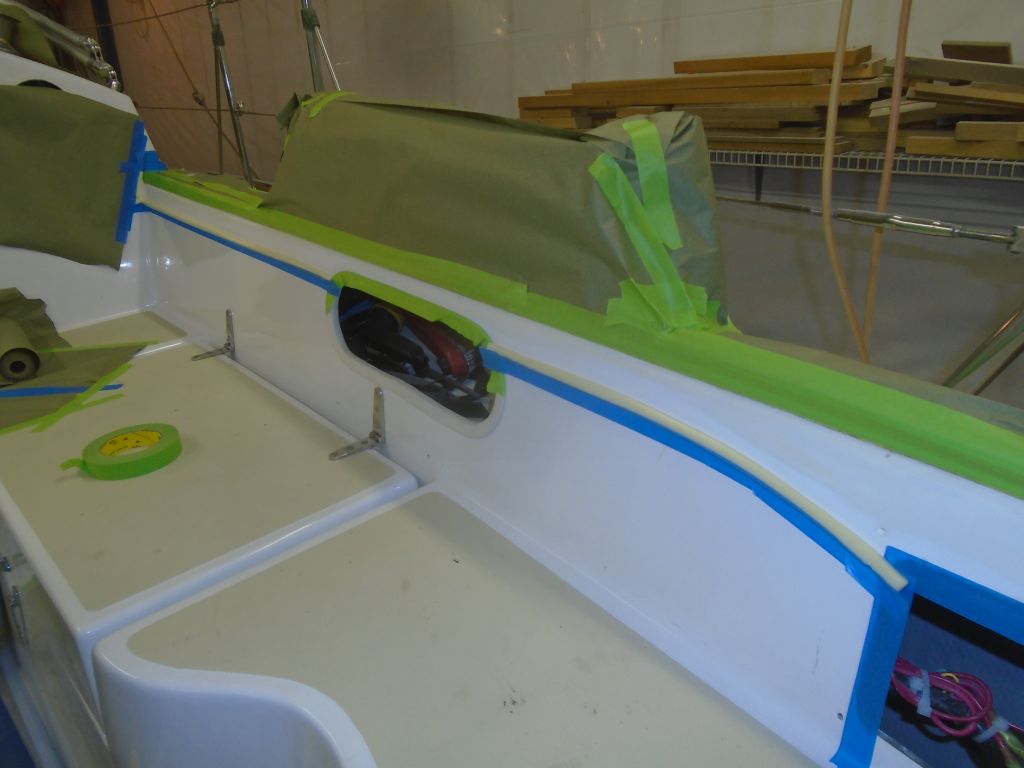
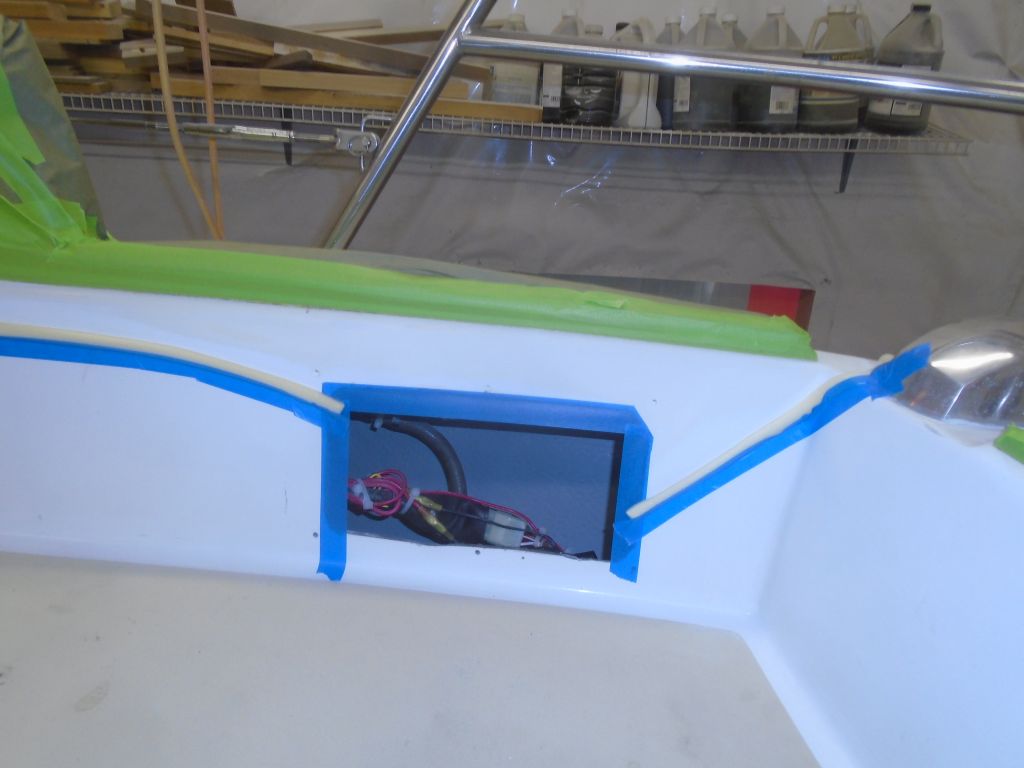
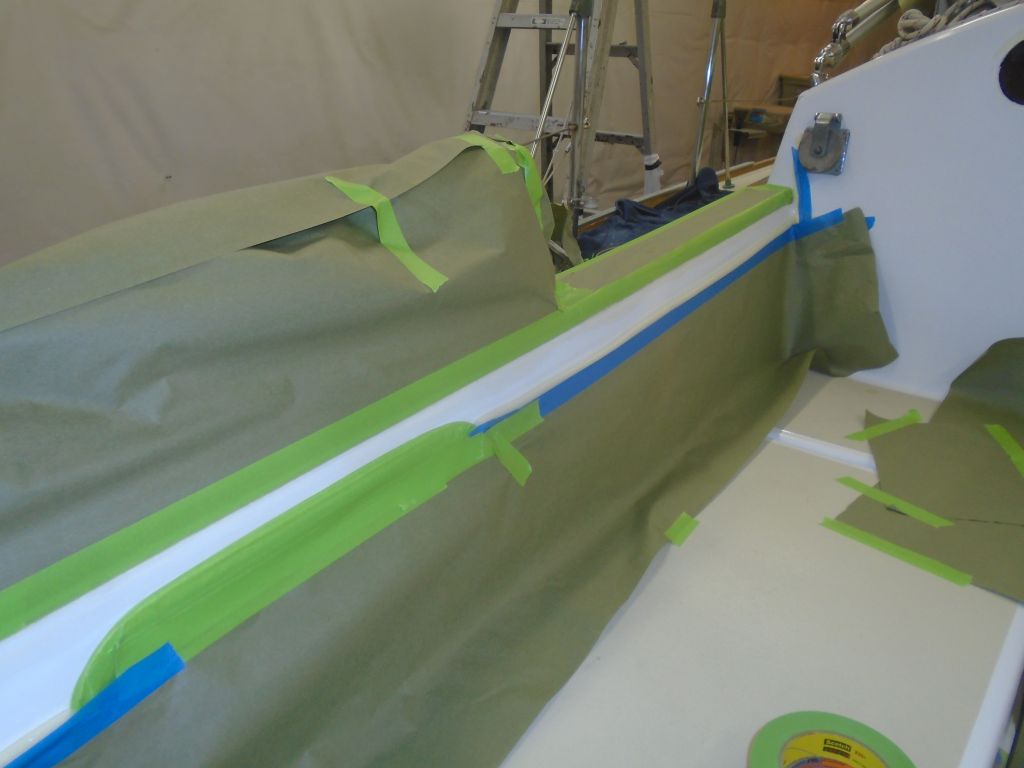
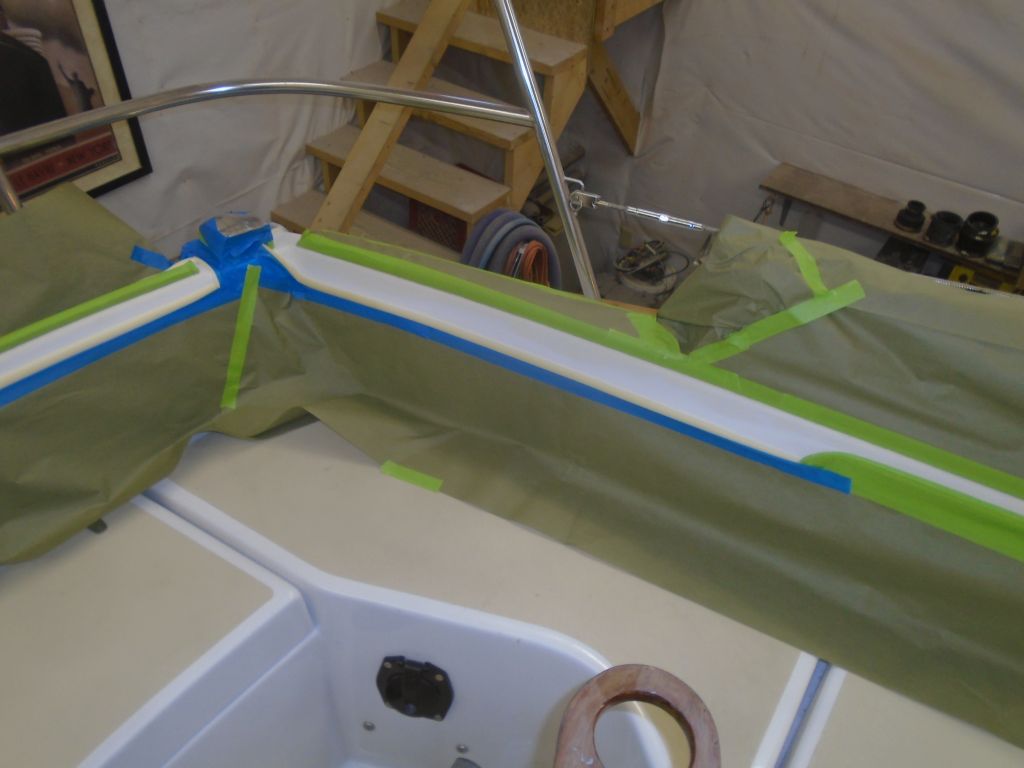
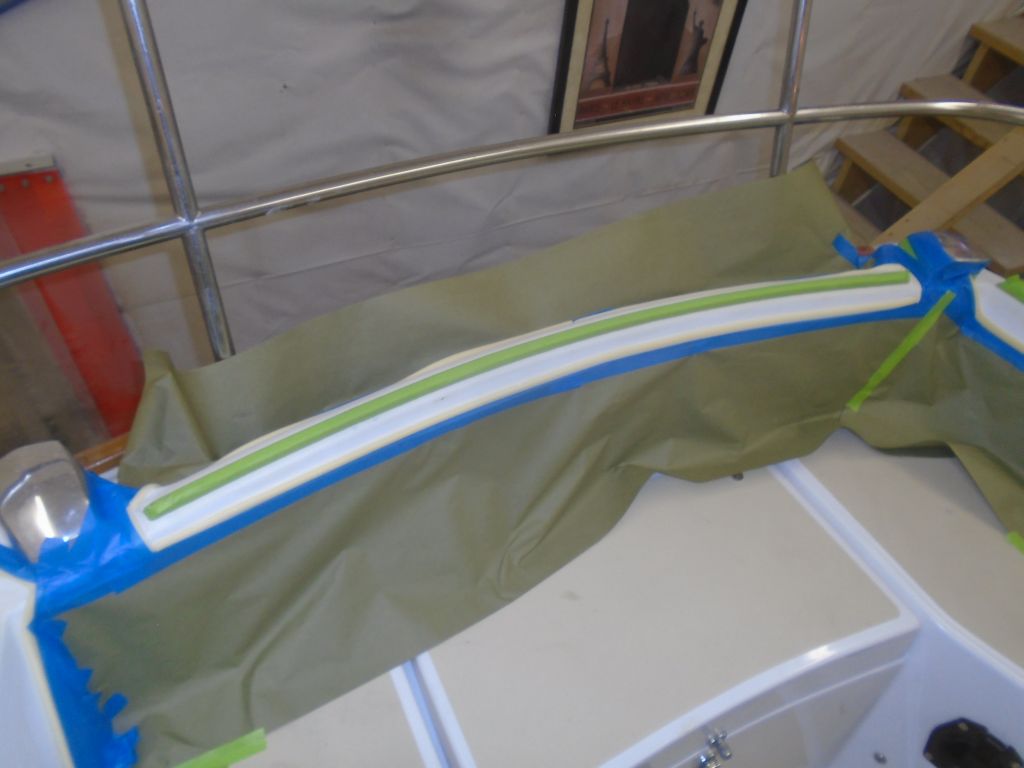
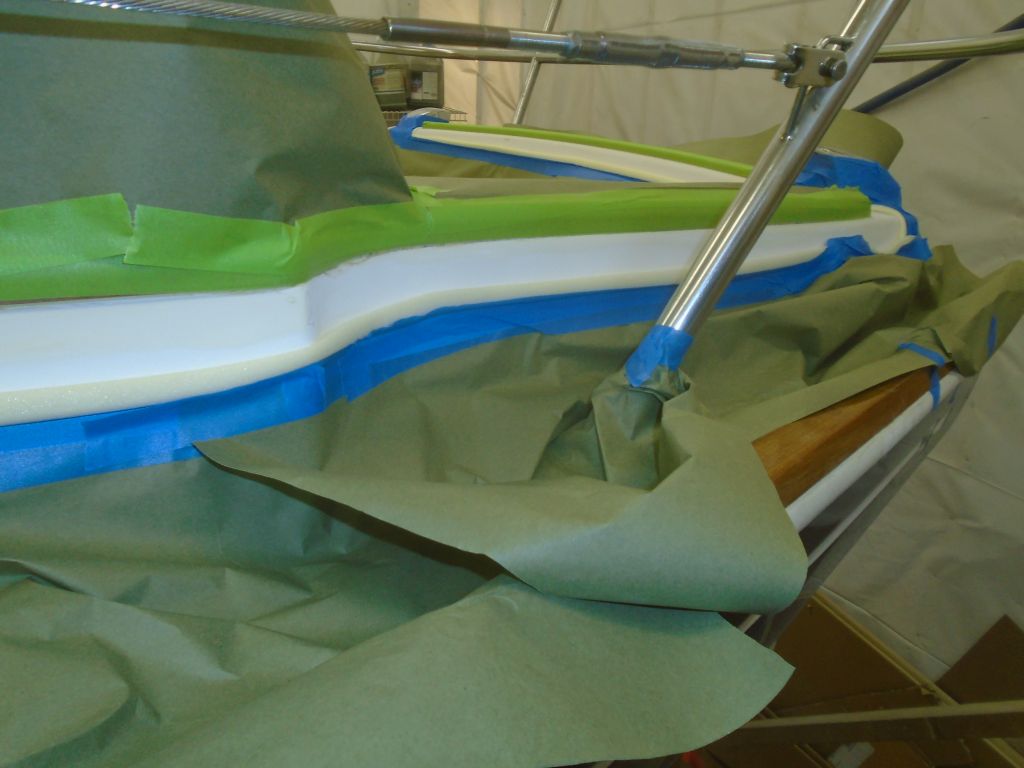
With the sanding work complete, I vacuumed and solvent-washed, then spent the remainder of the day masking off. I used my normal green masking tape on all the varnish and nonskid deck areas, but anywhere I had to mask over the white gloss paint, I used a special low-adhesion masking tape that I hoped wouldn’t create its own issues when I removed it later.
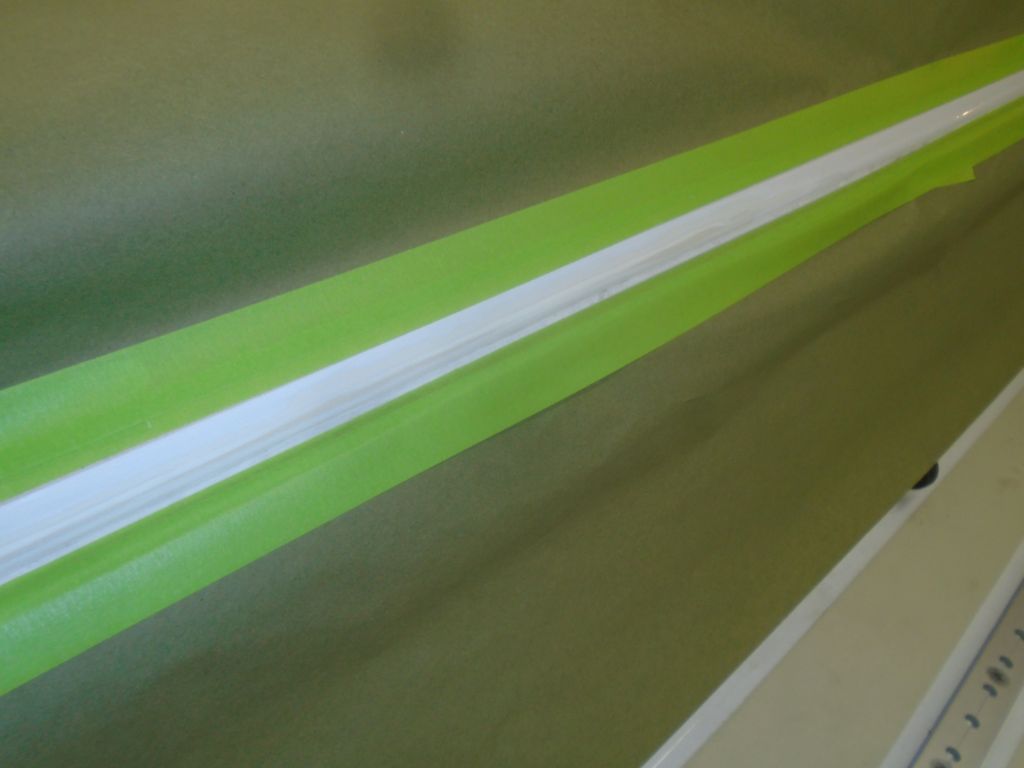
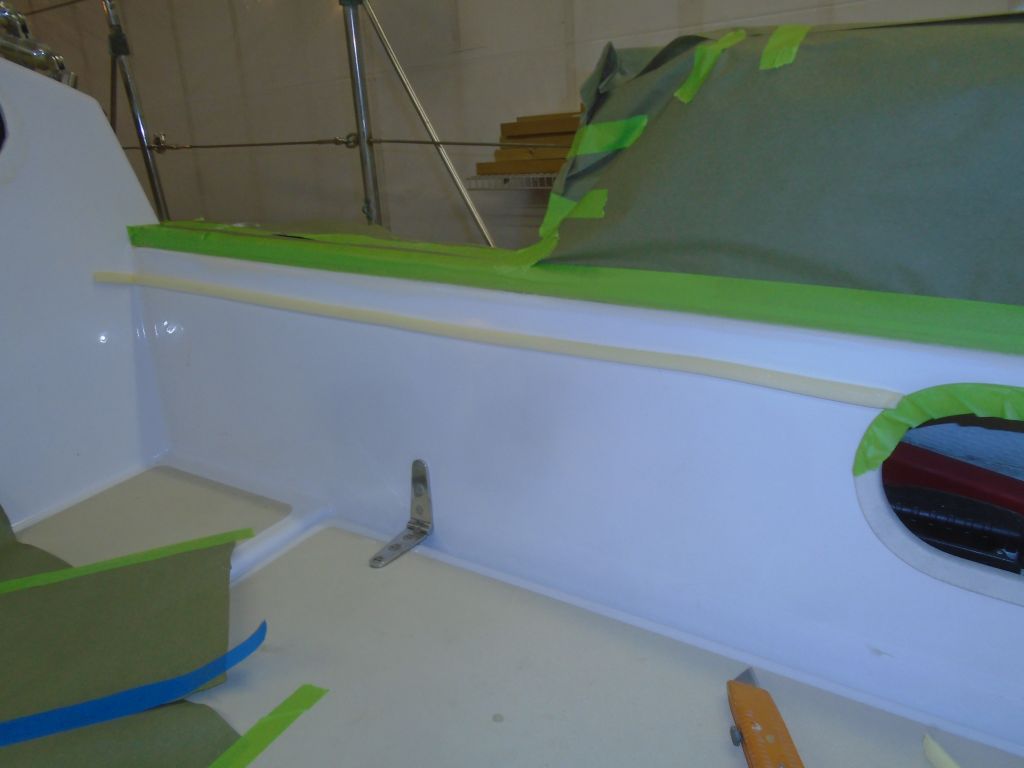
In any field areas where the new paint would be required to blend into the existing coating, rather than a hard line at some brightwork trim or nonskid, I started with a strip of foam masking tape, set just beneath the sanded area, which would help avoid a hard transition between old and new. Then, I masked below and around the edges as required to protect from overspray, covering the adjacent surfaces with masking paper.


Total time billed on this job today: 7 hours
0600 Weather Observation:
28°, clear. Forecast for the day: sun and clouds, high 40s