

October 27, 2016
Acadia 25
Thursday
First thing, I finished up tapping the hole for the last engine mount bolt. I timed the process: almost 45 minutes to tap through the fiberglass (easy) and stainless steel plate, and this was one of the easiest of the four holes. Just lots of backing off the tap to clear the chips and to prevent breaking another tap, and minute cutting progress each time. Given the access and limitations of the tools (and, frankly, the operator), slow and steady was far safer than trying to accellerate the process, much as I wanted to.
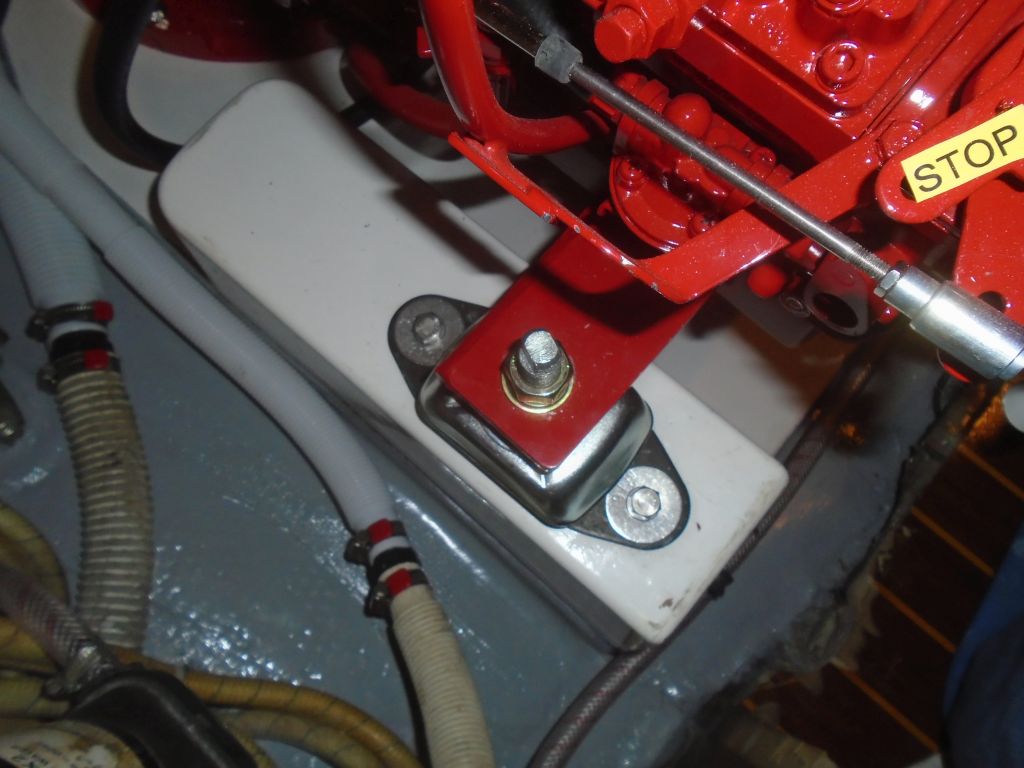
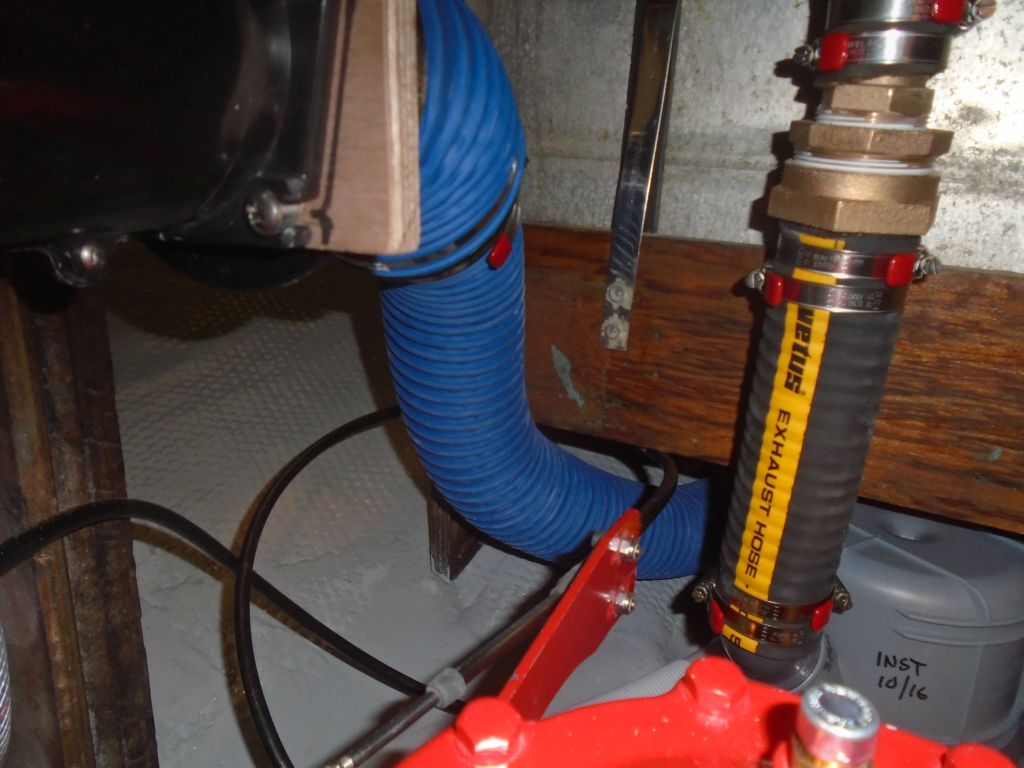
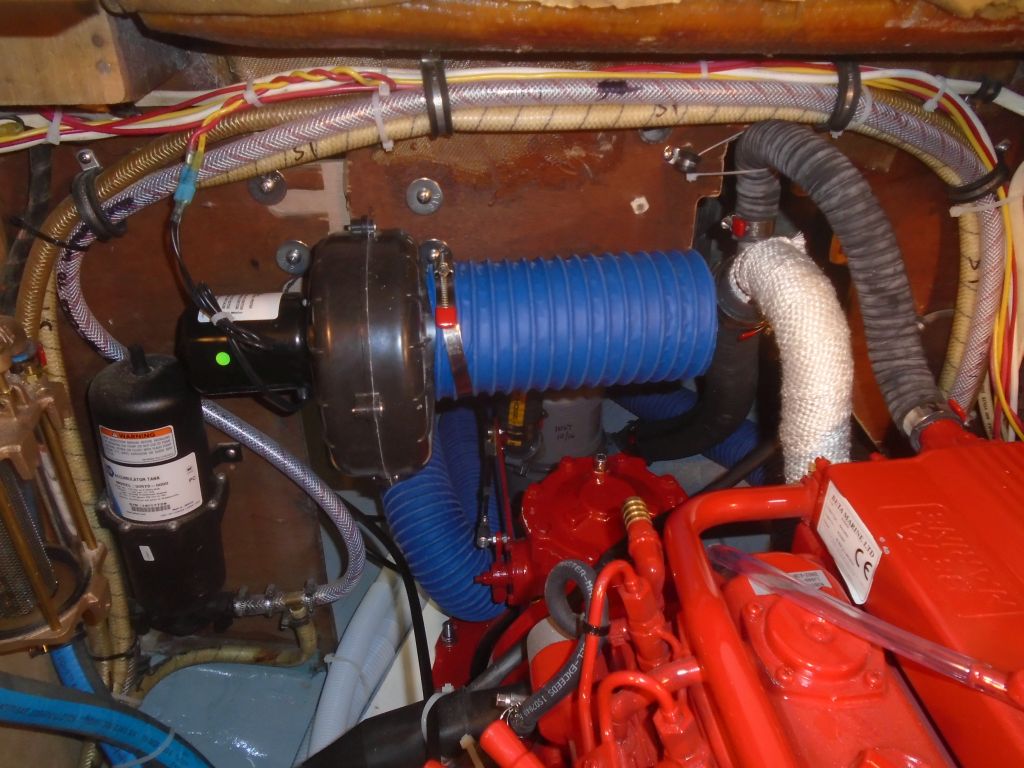
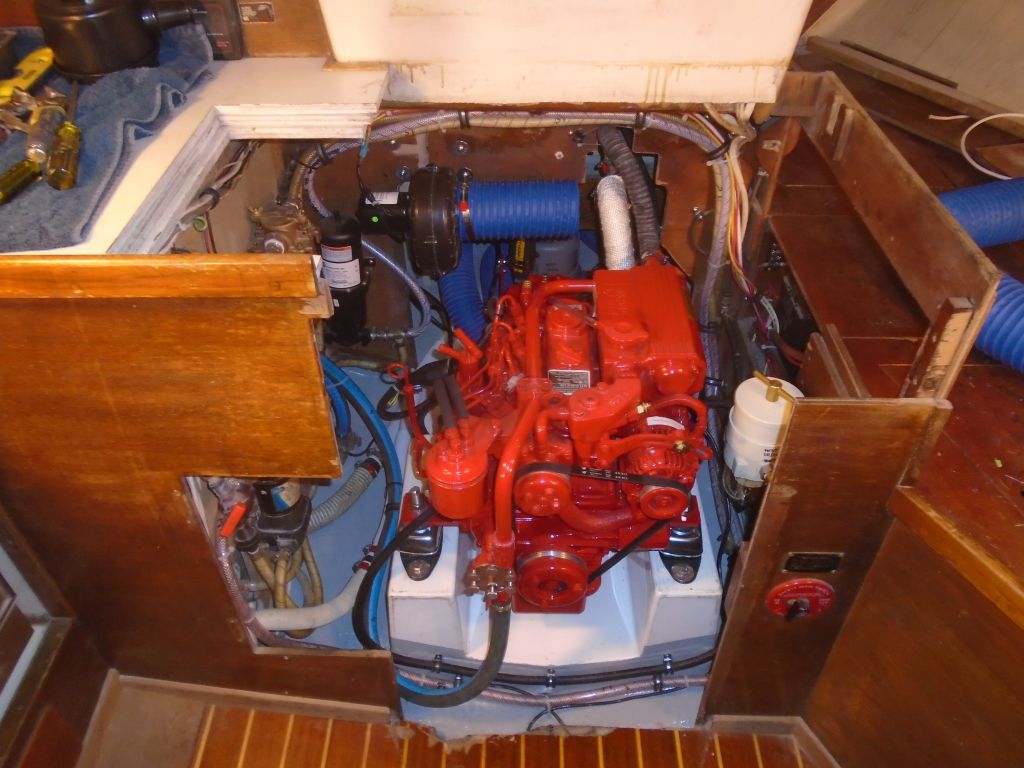
Now that all the mounts were finally secure, I could move on with finishing up the final engine connections. While access was still as clear as possible, I started with the intake vent hose, which I led over to the port side of the space and secured with a wire tie to the bulkhead to keep it out of the way of the nearby muffler. I left the exposed end near the transmission, where it could provide fresh air into the compartment. I lulled any slack in the hose back into the lazarette, where I’d eventually make the final connection to the clamshell vent on deck.
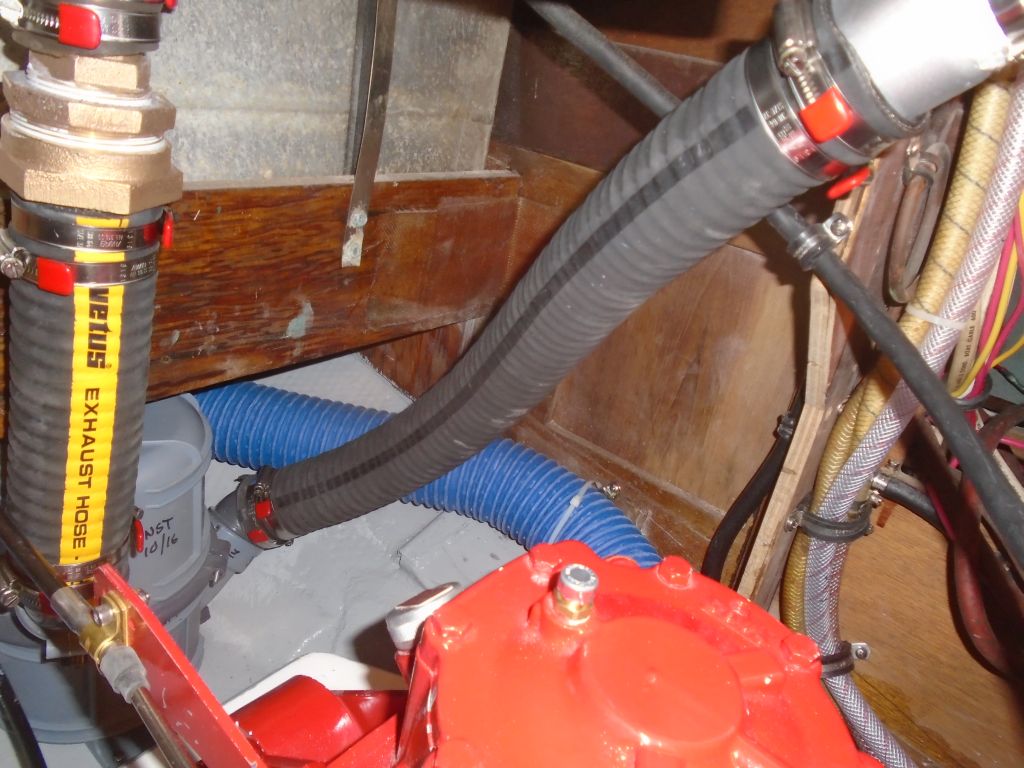
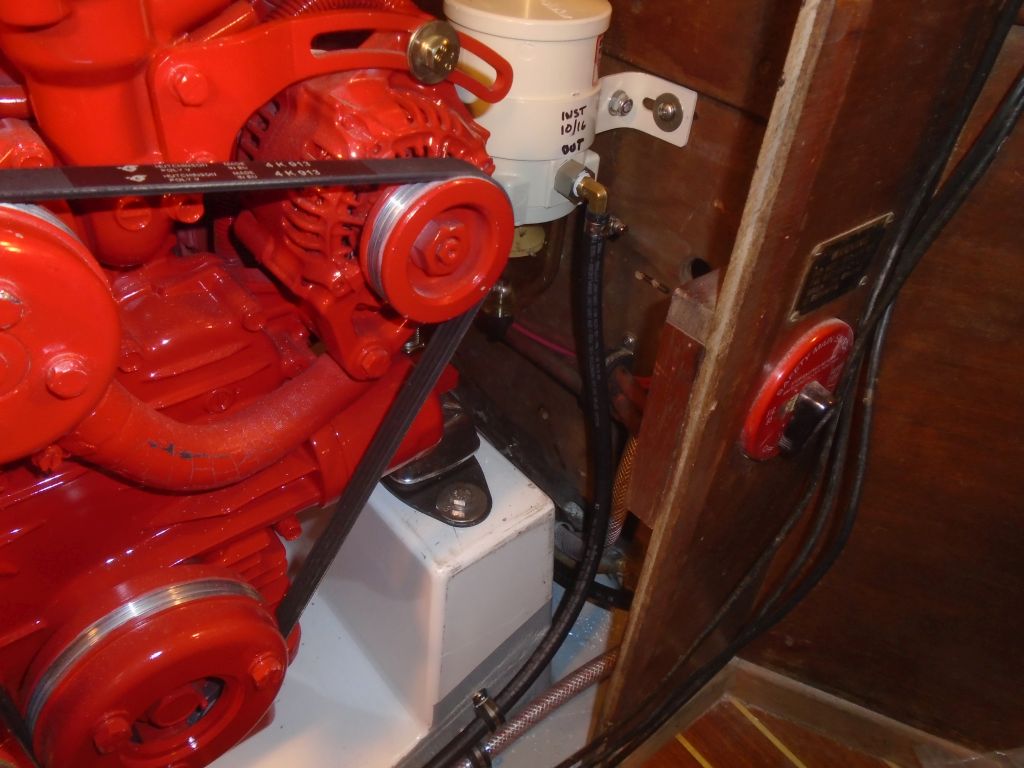
Next, I installed the 2″ exhaust hose from the engine elbow to the muffler, securing it with four clamps.

From the outlet side of the fuel filter, I led a fuel hose across the engine foundation and connected it to the little mecnanical fuel pump inlet on the starboard forward side of the engine.
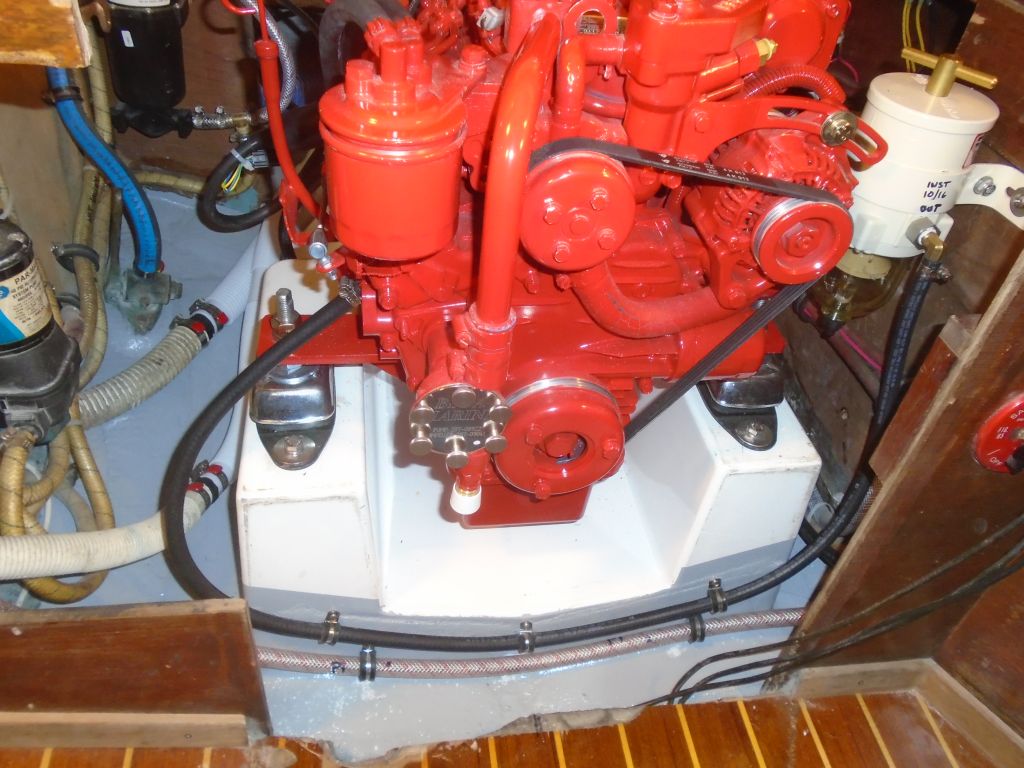
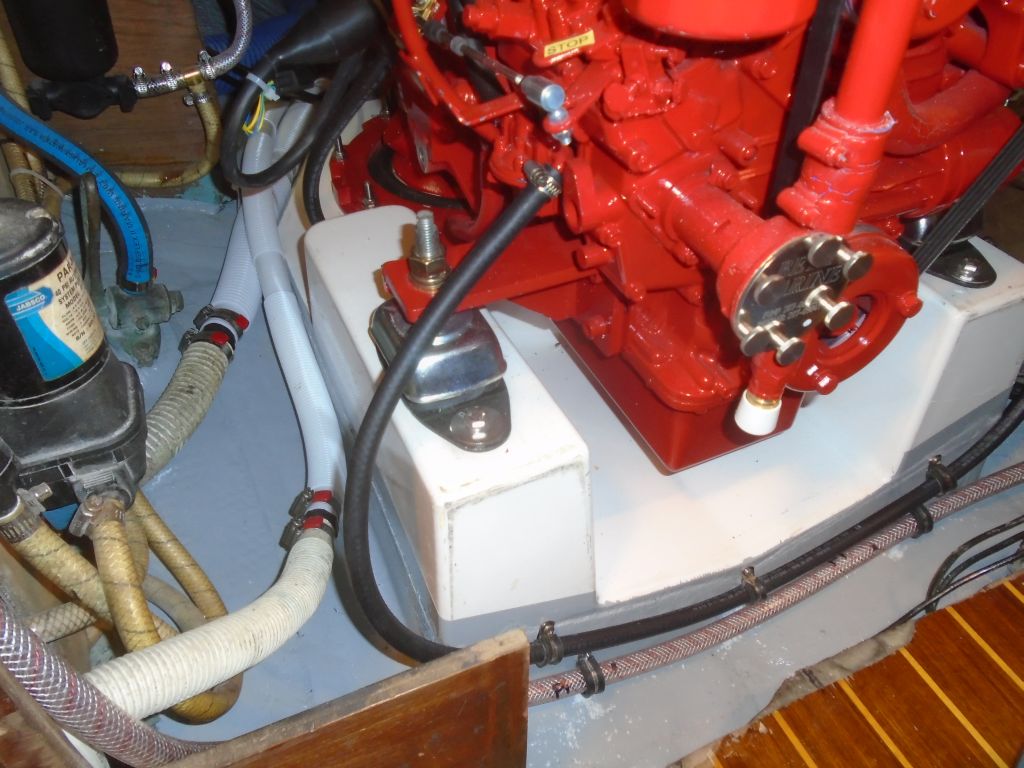
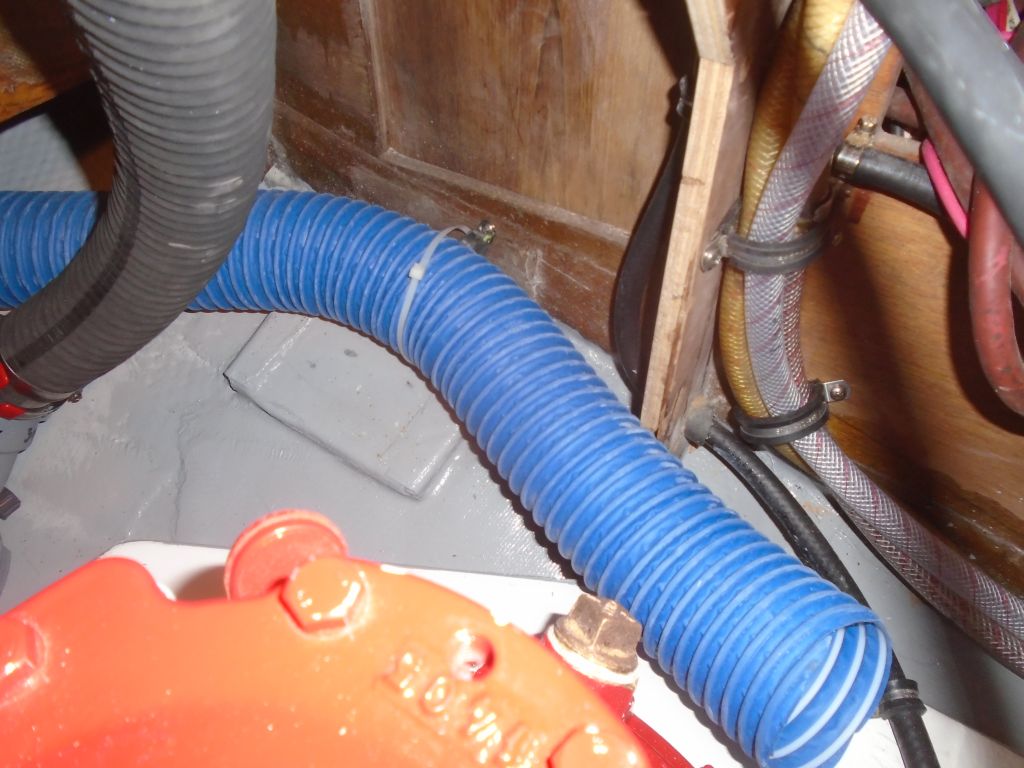
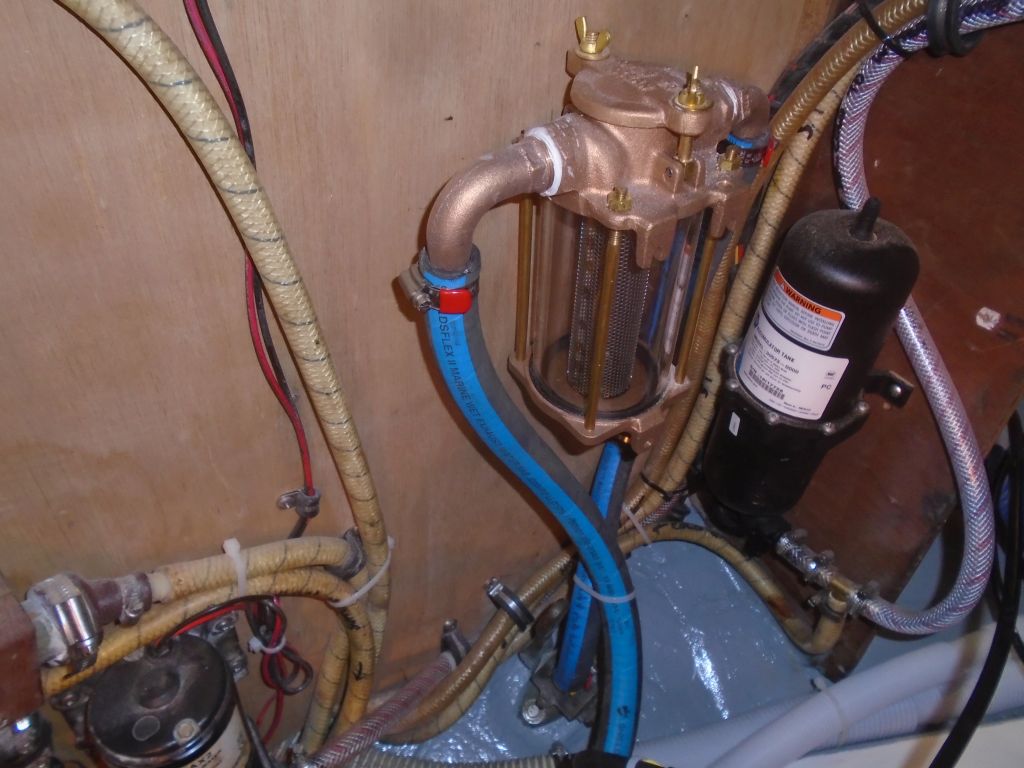
I secured a length of water intake hose along the side of the foundation between the raw water intake strainer and the engine’s water pump.


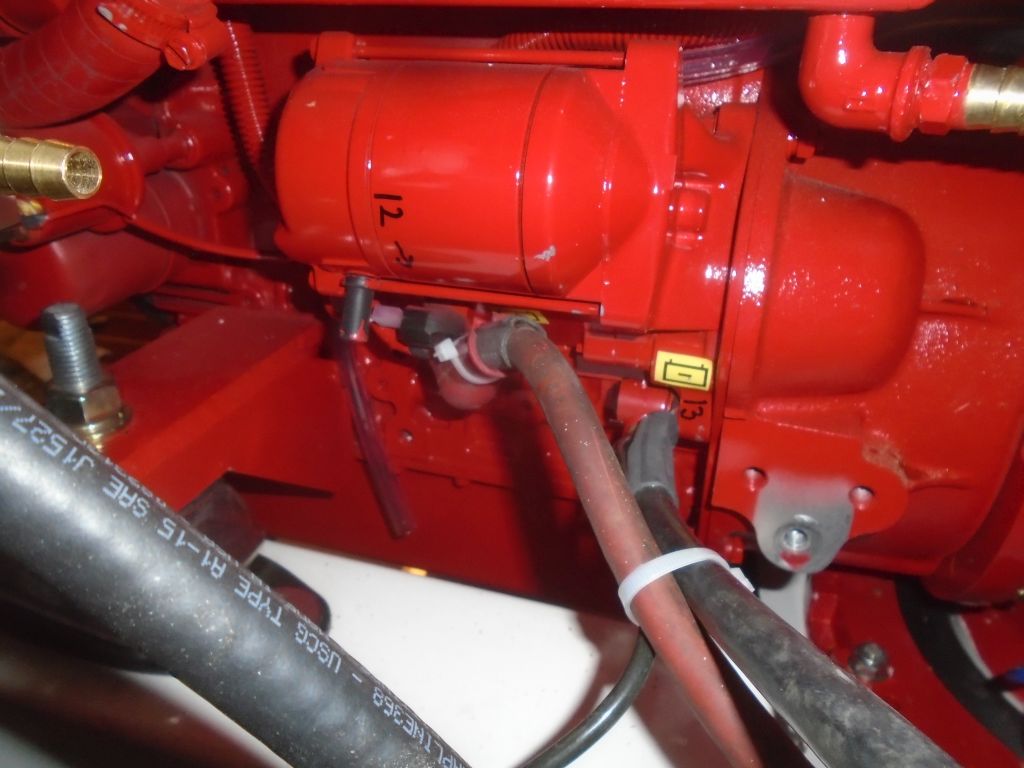
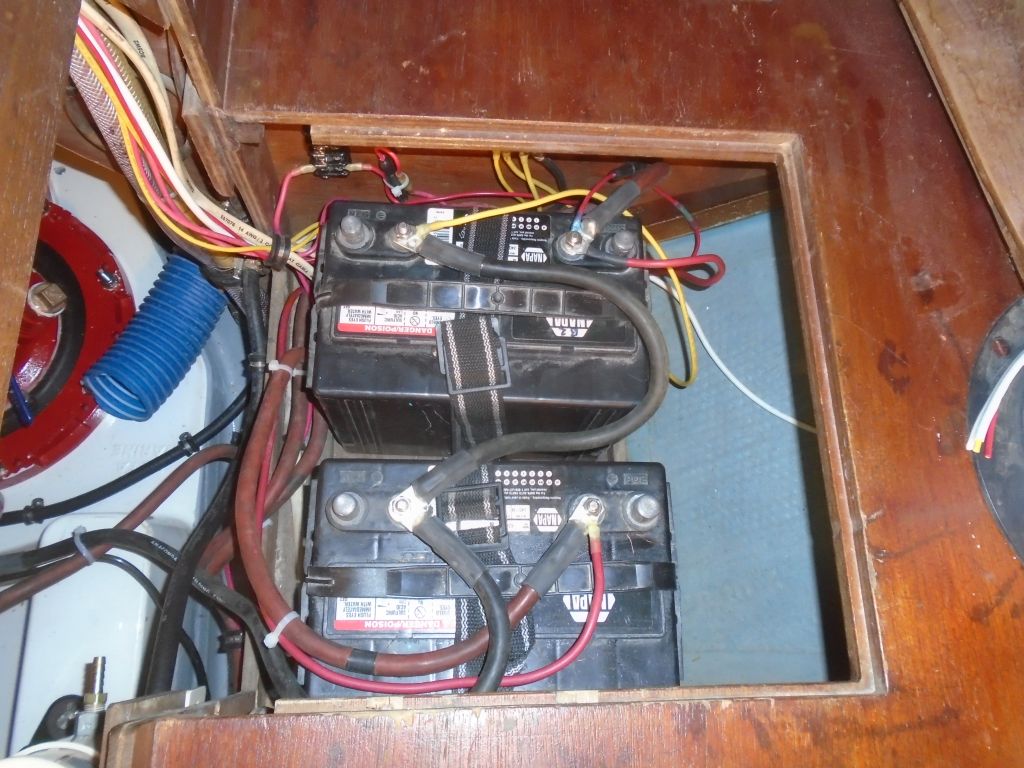
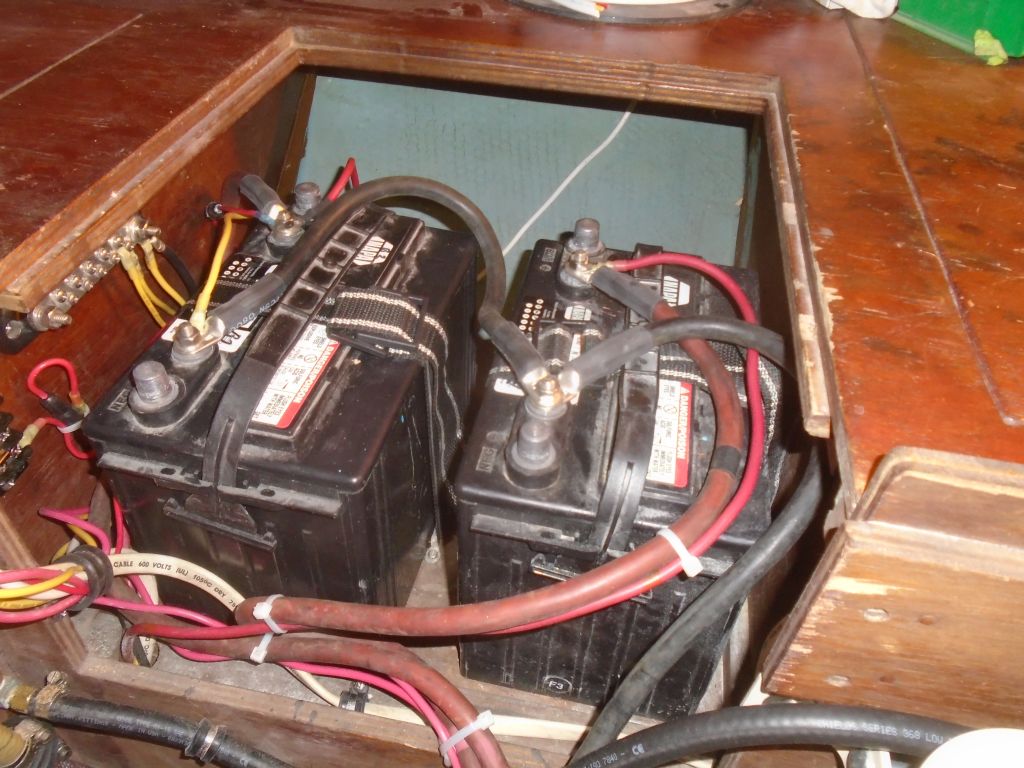
Now, I used the pre-existing lengths of battery cable, to which I affixed new terminal lugs, and made up the battery connections to the engine’s positive and negative connection points (starter solenoid and an engine ground bolt), as well as cleaning up and finalizing the cabling at the batteries themselves with new terminal lugs and rerouted cable runs. I also secured bonding wires, which I’d removed early in the project, back to the engine intake seacock and engine ground.
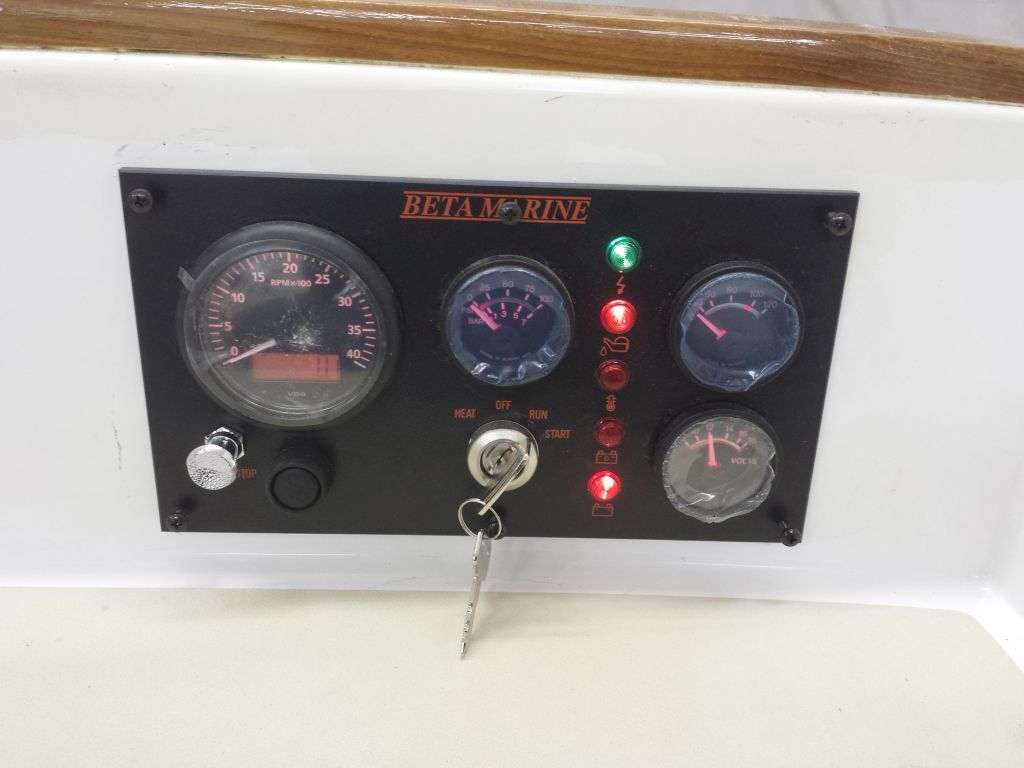
With the electrical system back up and running, I could test the engine panel.
Next, I secured the new blower to its plywood panel, then attached the panel to the bulkhead at the aft end of the engine room, securing it with bolts and attaching the length of blower hose I’d led into the engine room earlier. At the blower’s intake end, I installed another short length of hose, mainly to shield the blower fan for safety reasons. The blower in this case was intended to evacuate excess heat, not fumes, so there was no need nor desire to lead the intake hose lower into the space. Again, a little later I’d finish up the other end of the hose connection, but for now, this was enough to run a blower test as well.

There were still some tasks to expunge from the list, including making up the pedestal control cable connections and fiberglassing the inside of the Saildrive leg hole from the bottom, but now most of the final engine connections were complete.
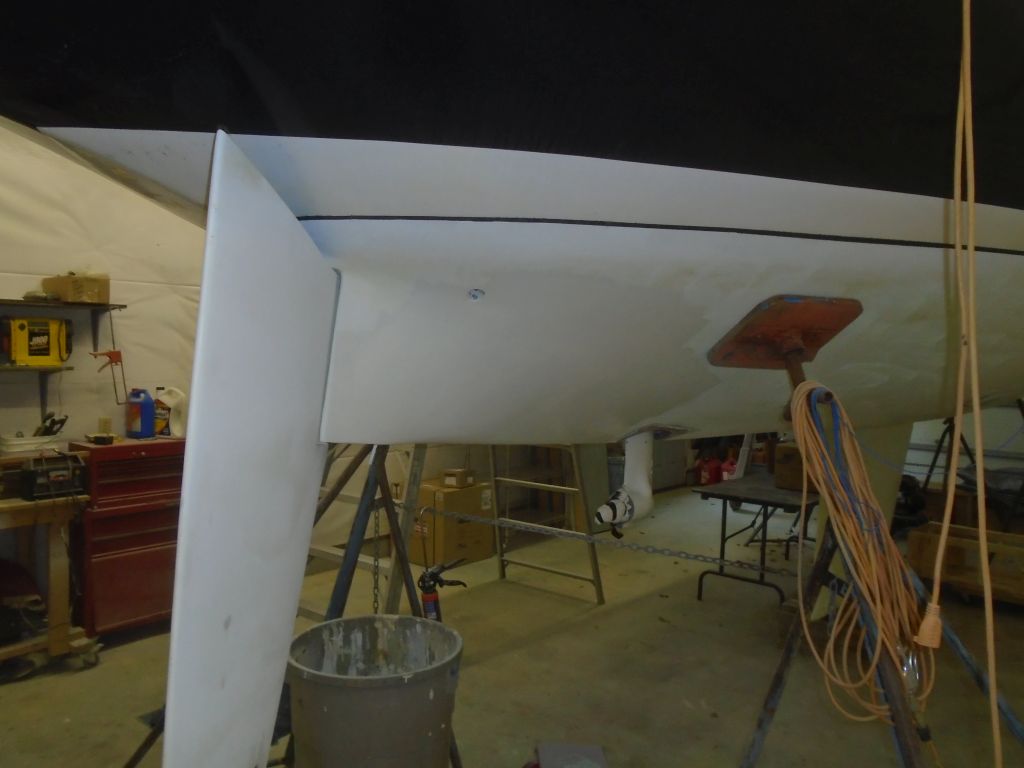
A little later, I applied a couple coats of white antifouling paint over the patches in the bottom, as I’d grown tired of looking at the scars.
Total time billed on this job today: 5.5 hours
0600 Weather Observation:
30°, mostly clear. Forecast for the day: sun to clouds, rain overnight