

November 2, 2016
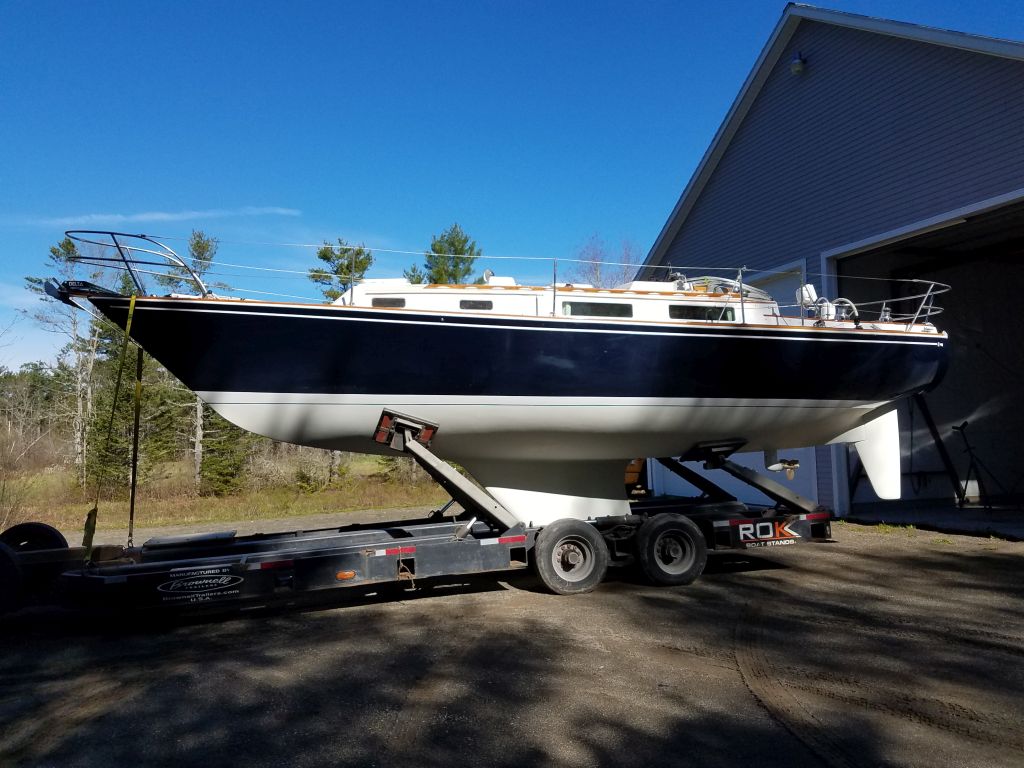
Acadia 29
Wednesday
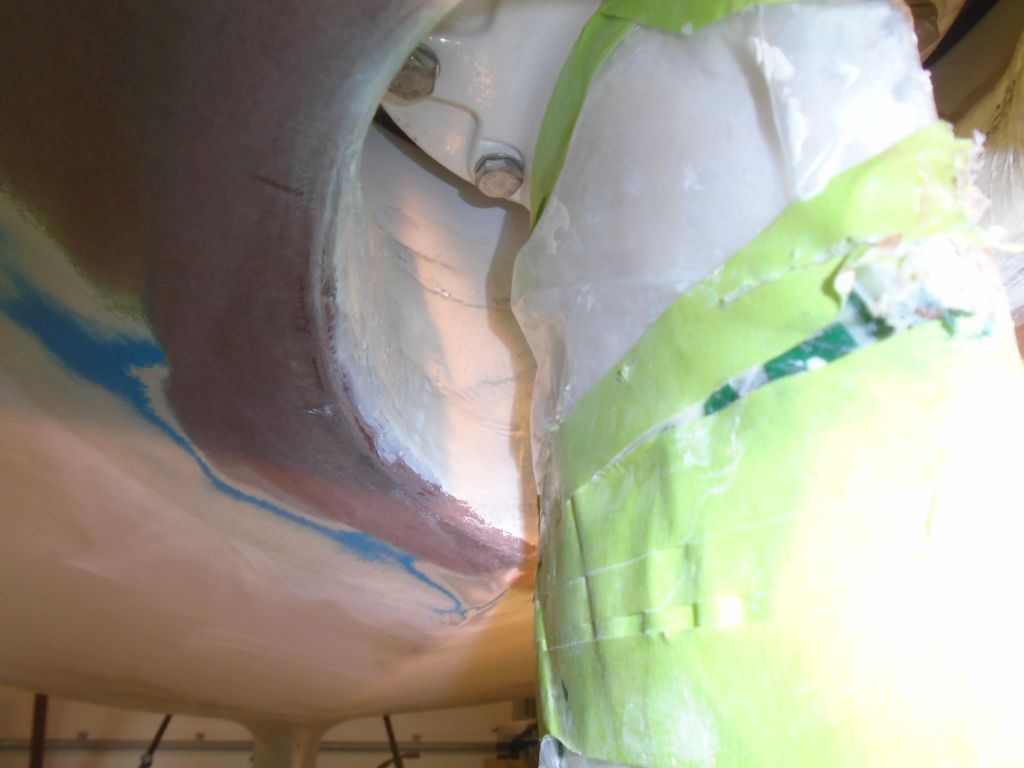
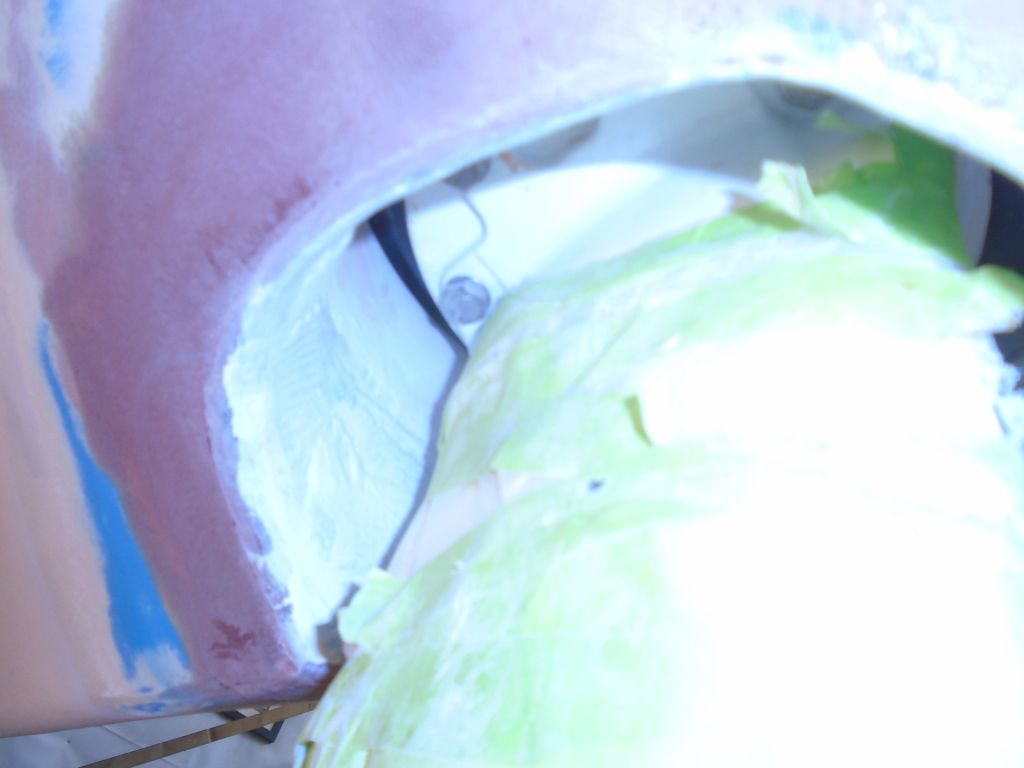
I began once again with some sanding at the Saildrive leg opening, sanding smooth and fair the epoxy compound I’d applied earlier. This completed the prep work for the area. Afterwards, I thoroughly cleaned the inside of the opening and the surrounding area.
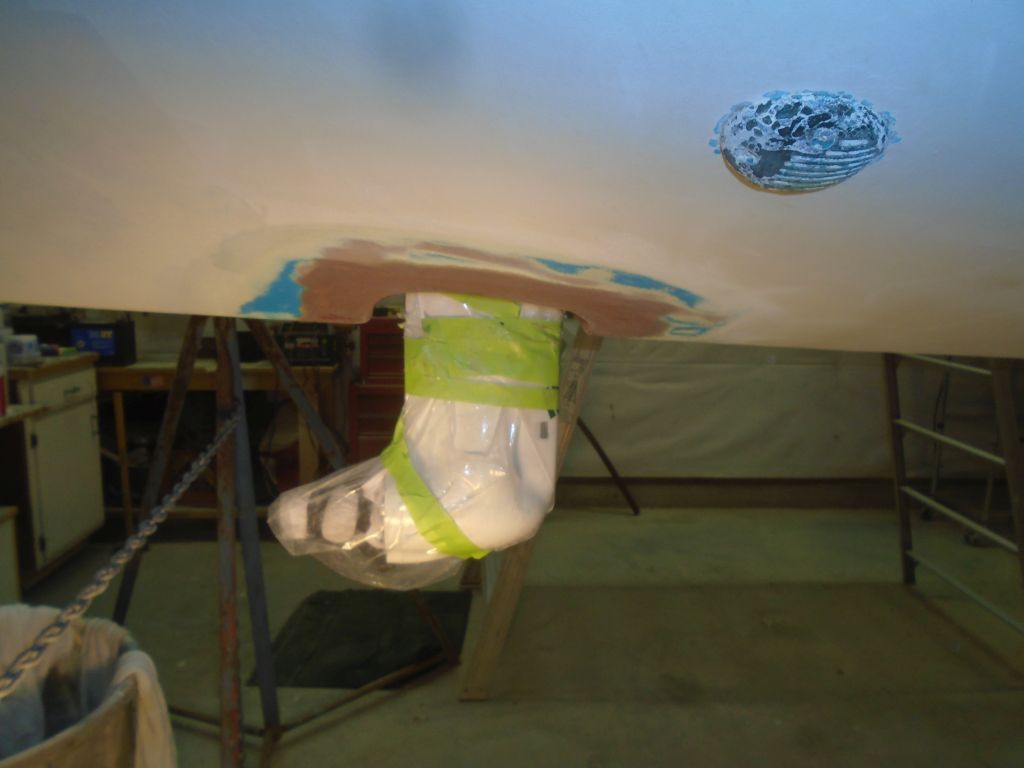

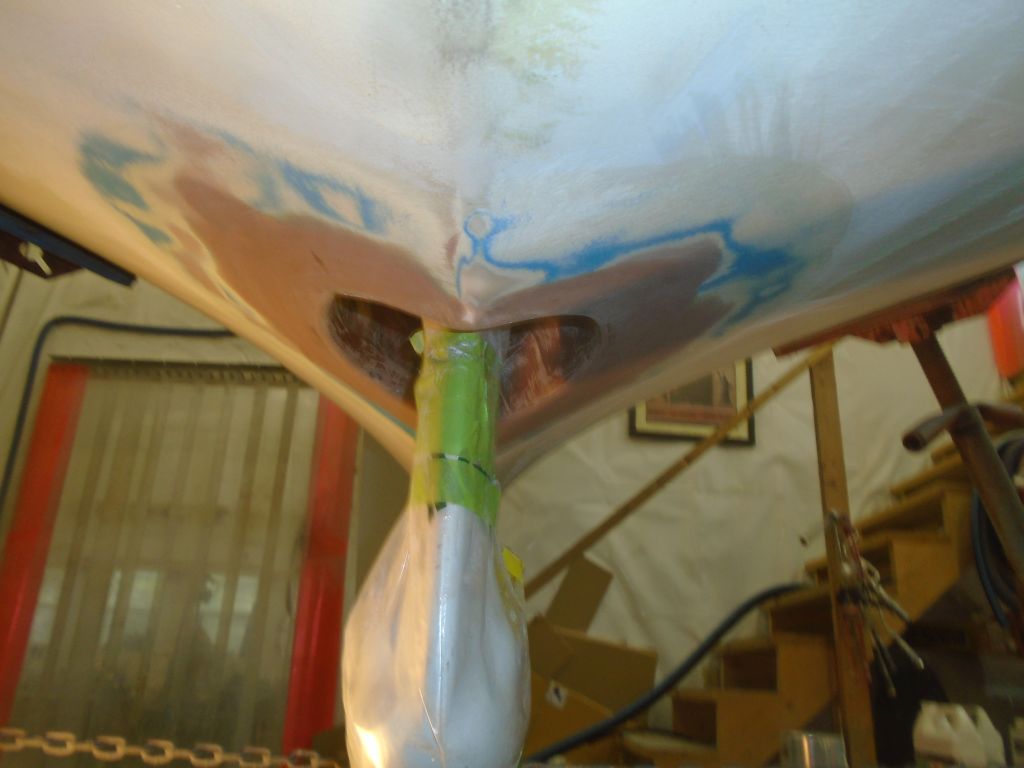
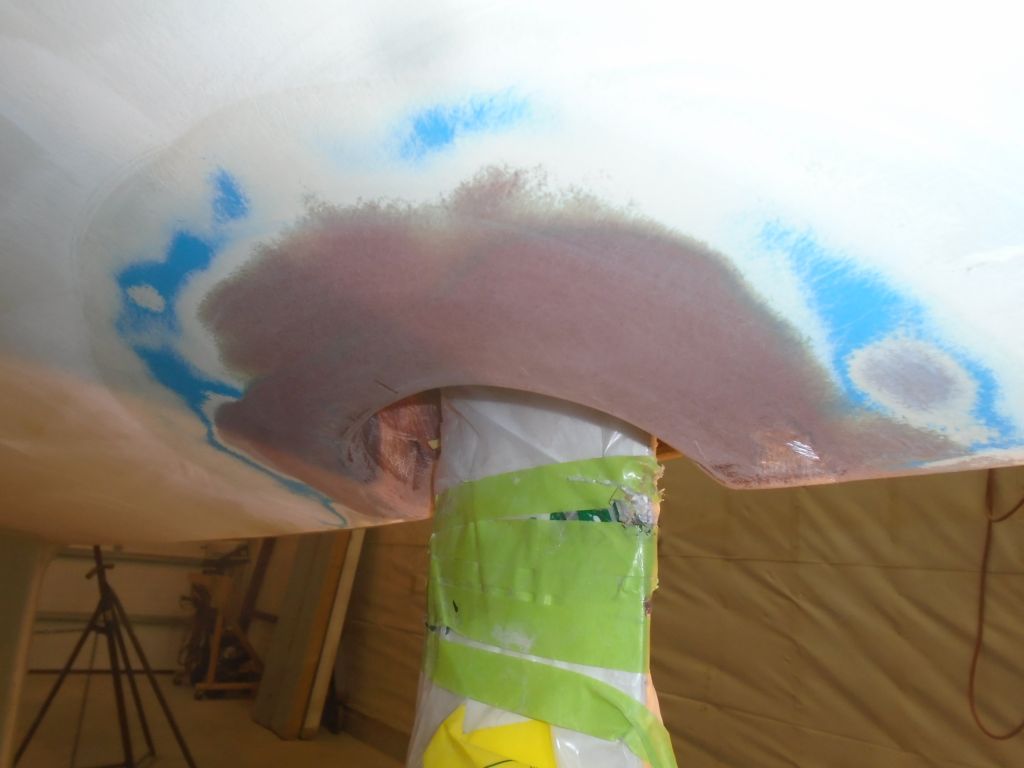
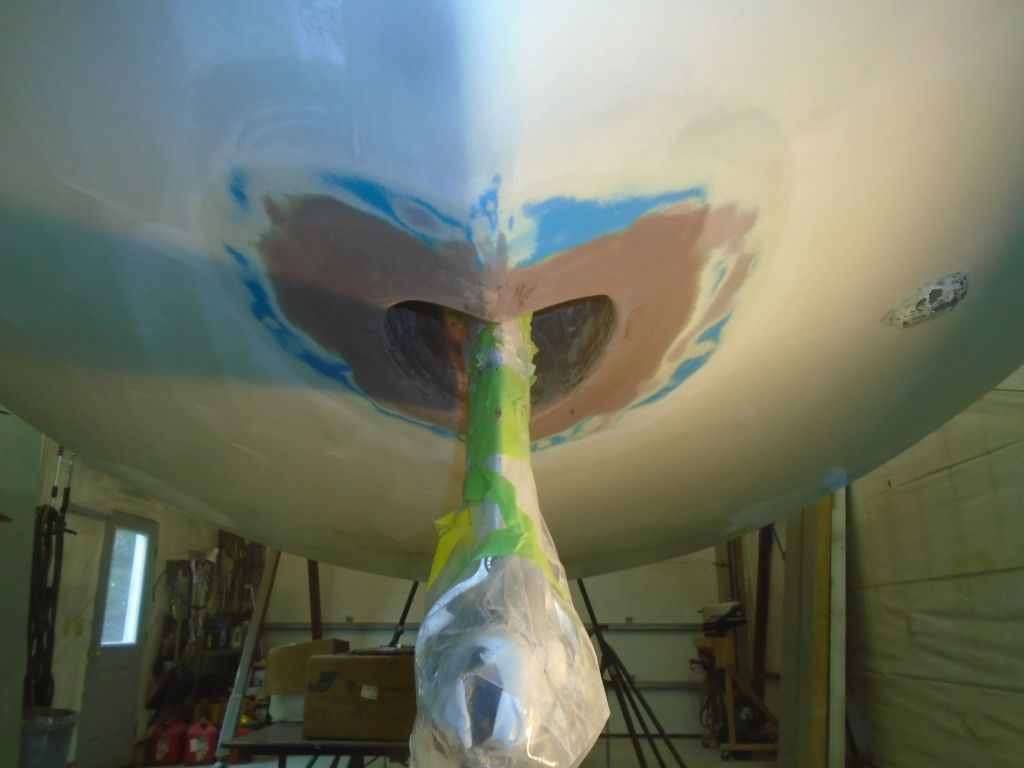

It didn’t feel right not to coat the inside of the opening with something, so I used some bottom paint to paint out the new work within.
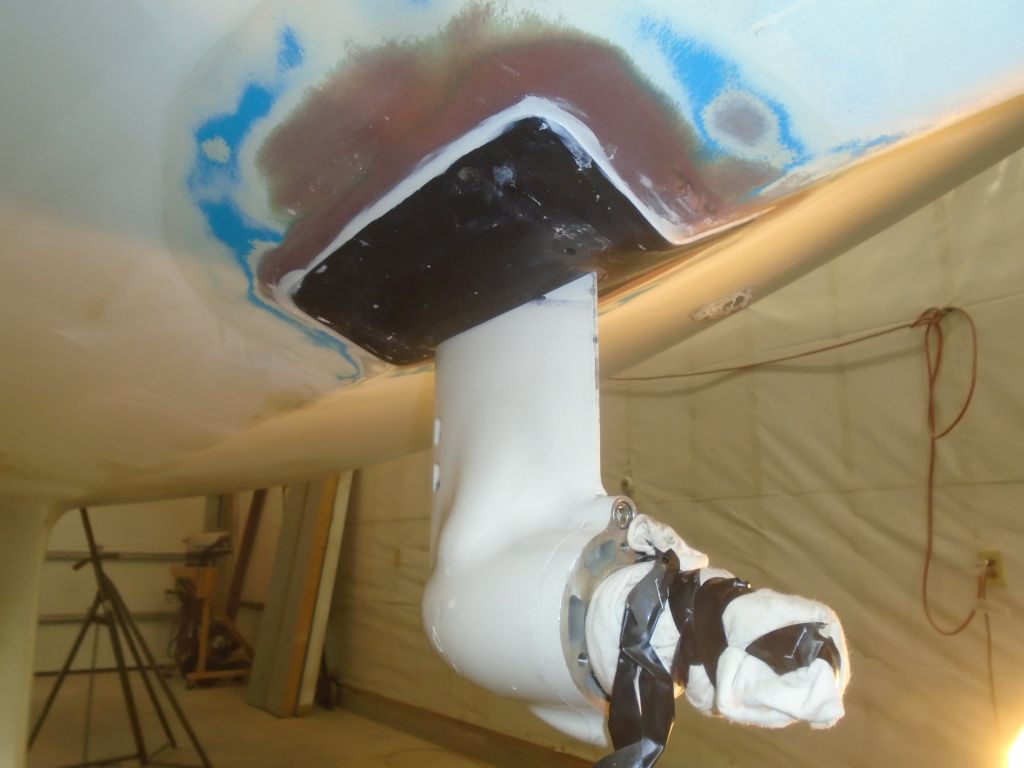
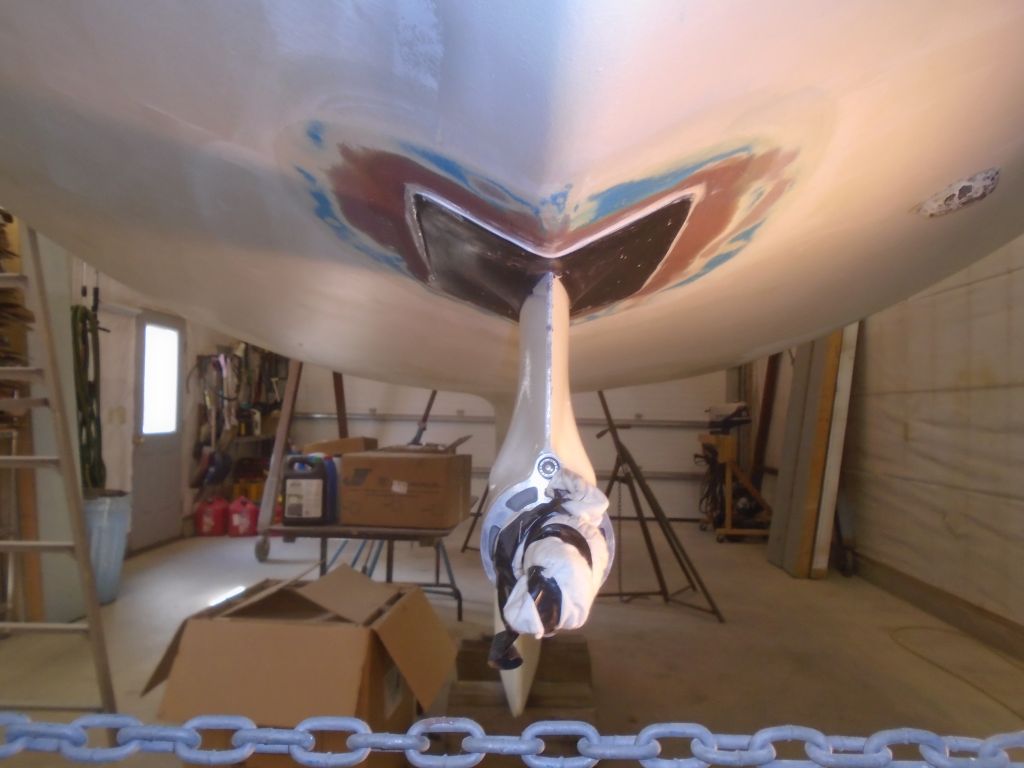
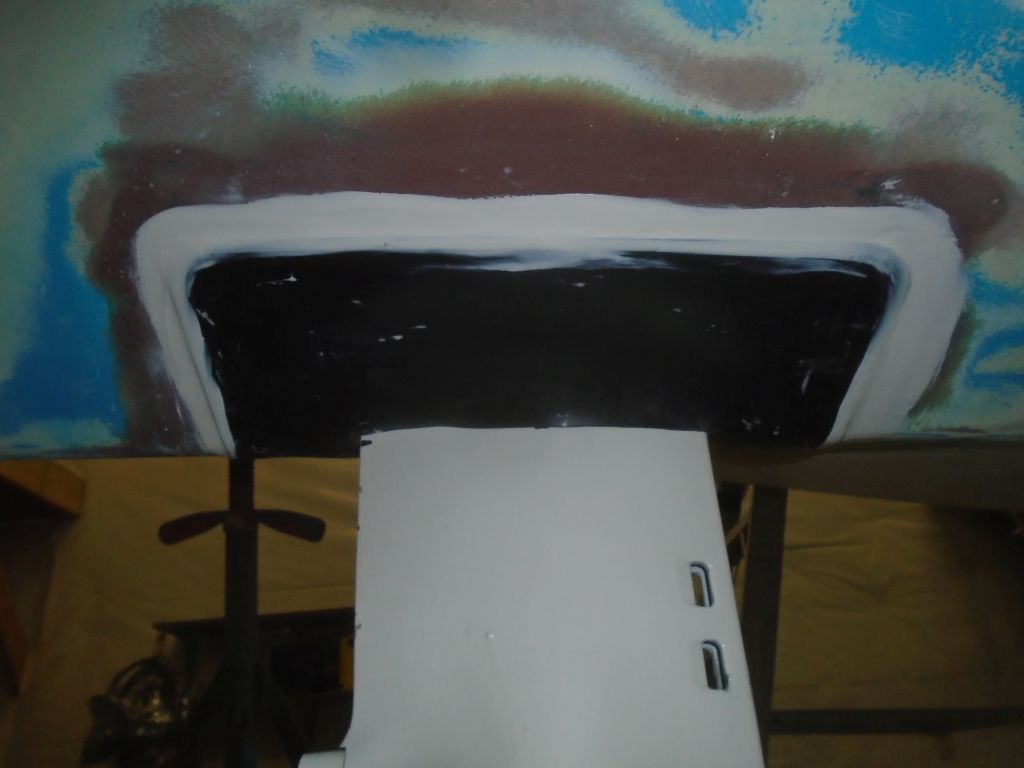
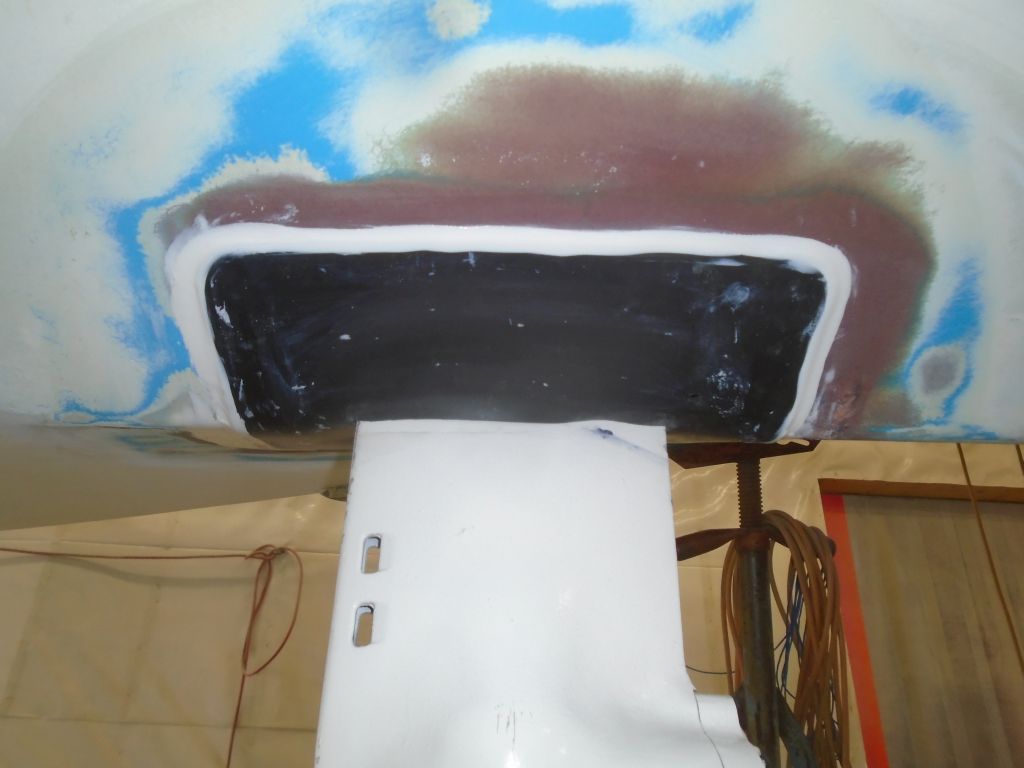
There was now nothing standing in the way of installing the rubber drive boot, supplied with this engine package. The instructions called for using a “suitable glue” to secure the boot, but otherwise was non-specific. Searching online for clues and others’ experiences, and wading through the usual fluff , I eventually determined to use polyurethane adhesive (4200) to secure the rubber. Not only was this product compatible with both materials in question, but it was strong and flexible and durable, with the added benefit of quick tack time, and a stiff-enough consistency to ensure that the boot would stick in place immediately and on its own without a need for substantial clamping means.
The boot was a cosmetic/hydrodynamic thing only, and was not designed for–nor would it provide–watertightness. In fact, cooling of the leg internals required that the entire length of the leg be submerged in water, including within the large foundation/hull opening. There was a small drain/air release hole in the boot as well.
To begin, I used sandpaper to scuff up the bonding surface of the rubber, then cleaned it and the hull’s bonding area with solvent. With the boot held in place dry, I marked its outline on the hull as a guide for placing the adhesive, then applied an even coat of the 4200 to the hull and boot before pressing the boot into its final position. I used a J-roller to press out the boot and excess adhesive and ensure a good bond, and smoothed out any excess from around the edges.


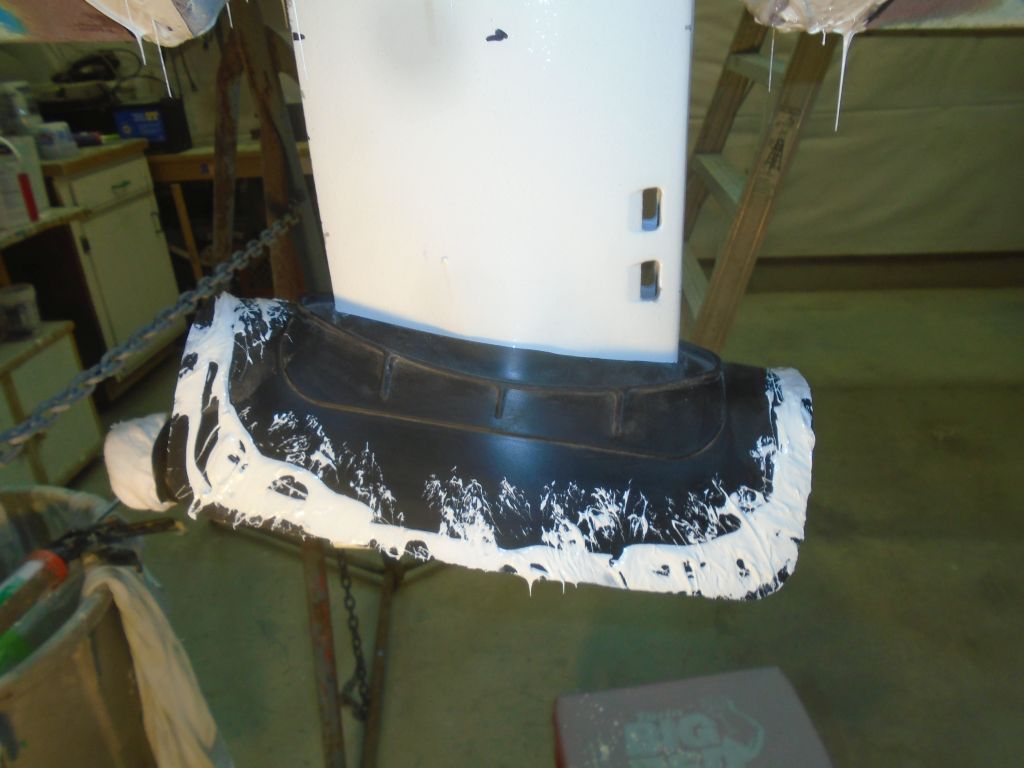

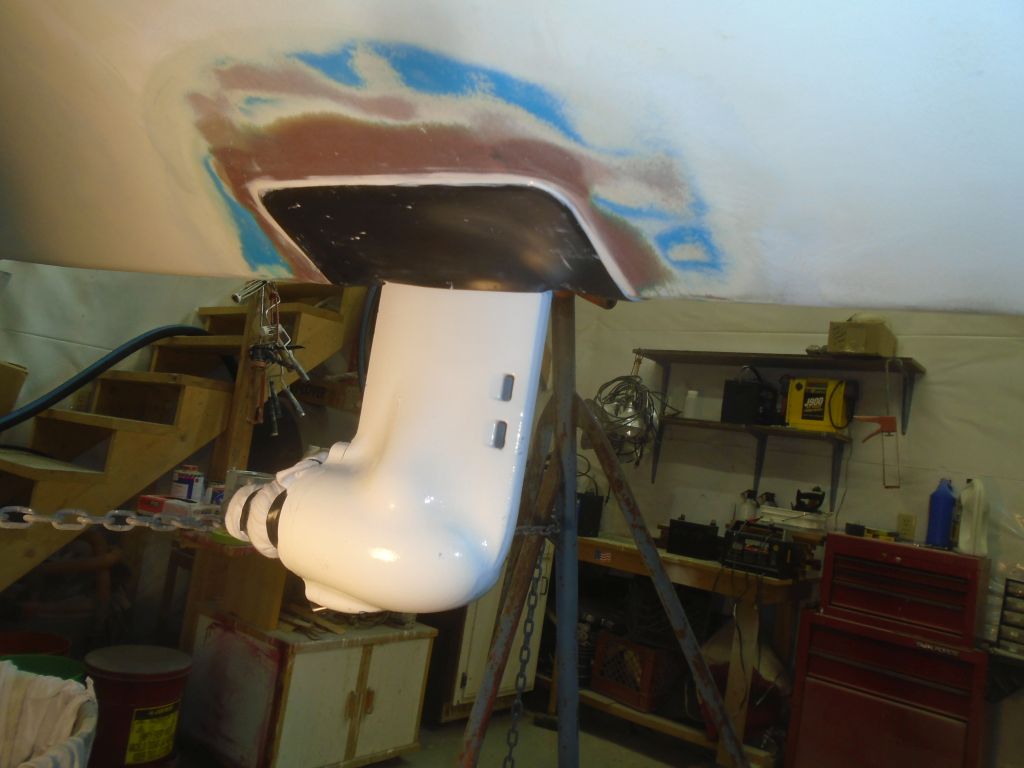
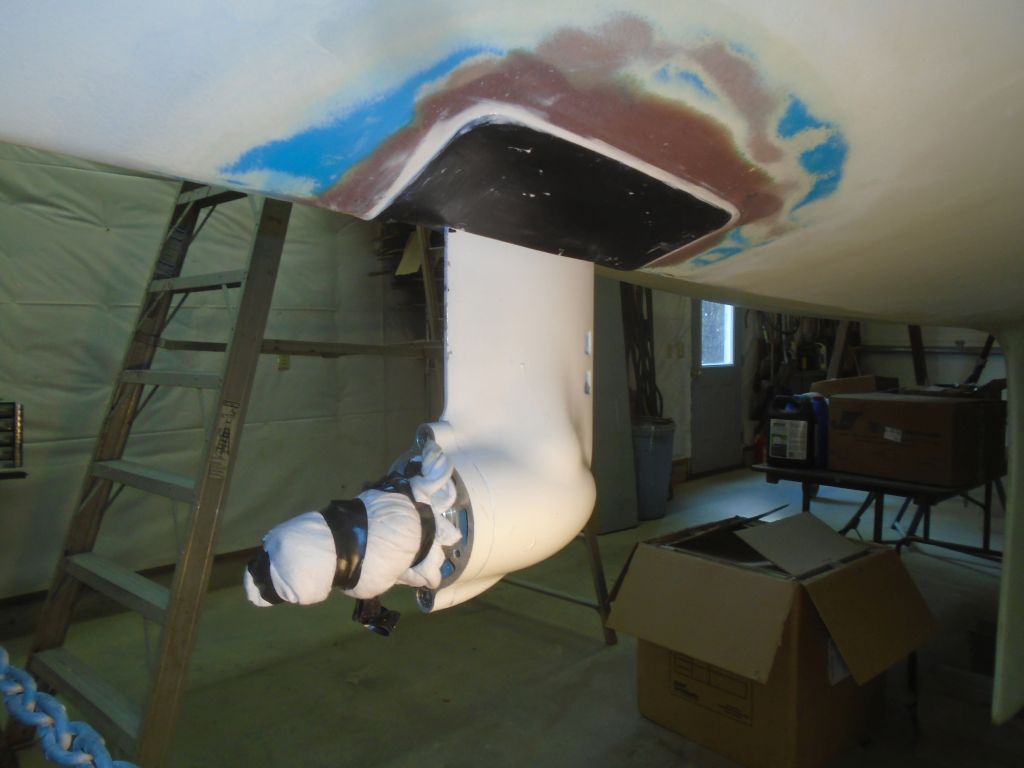


A little later, the initial adhesive had tacked up to the point that I could use additional material to create a sort of fillet at the edges of the boot, further smoothing the transition and adding (I hoped) additional strength and resistance to the edges lifting off with time.
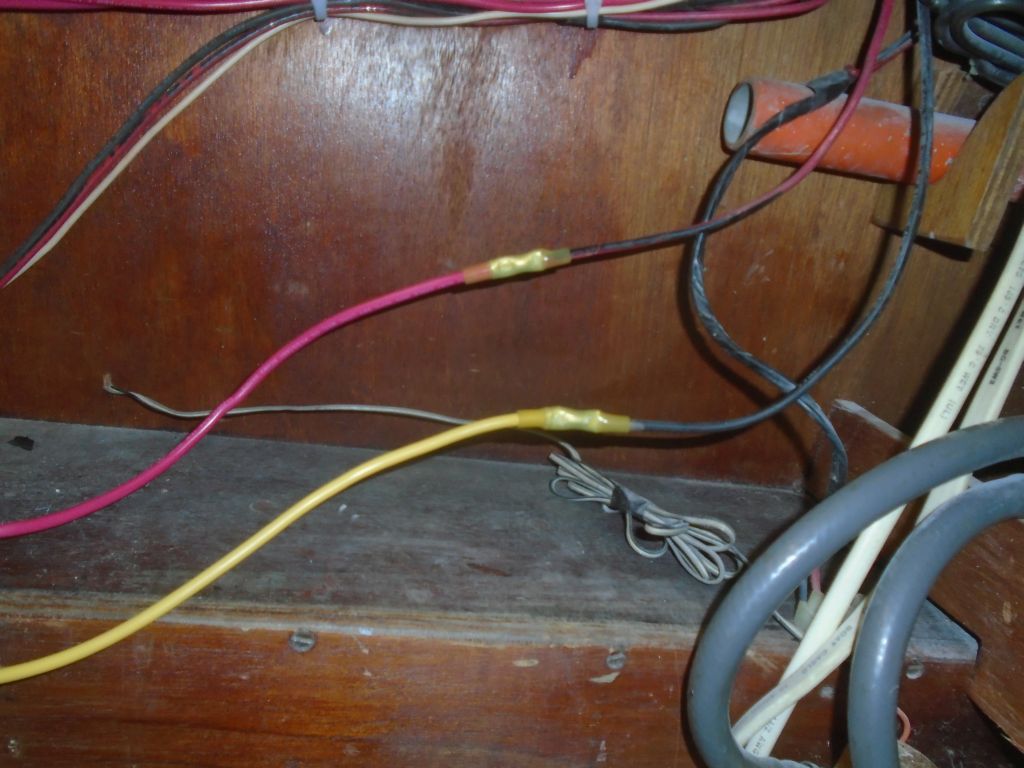
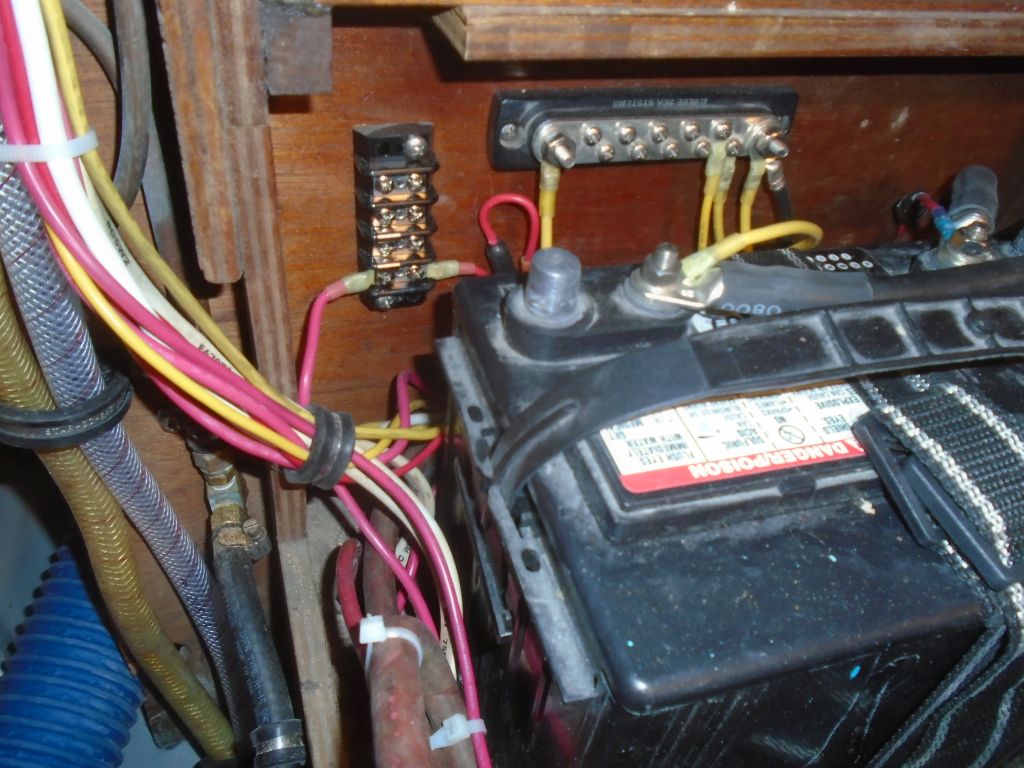
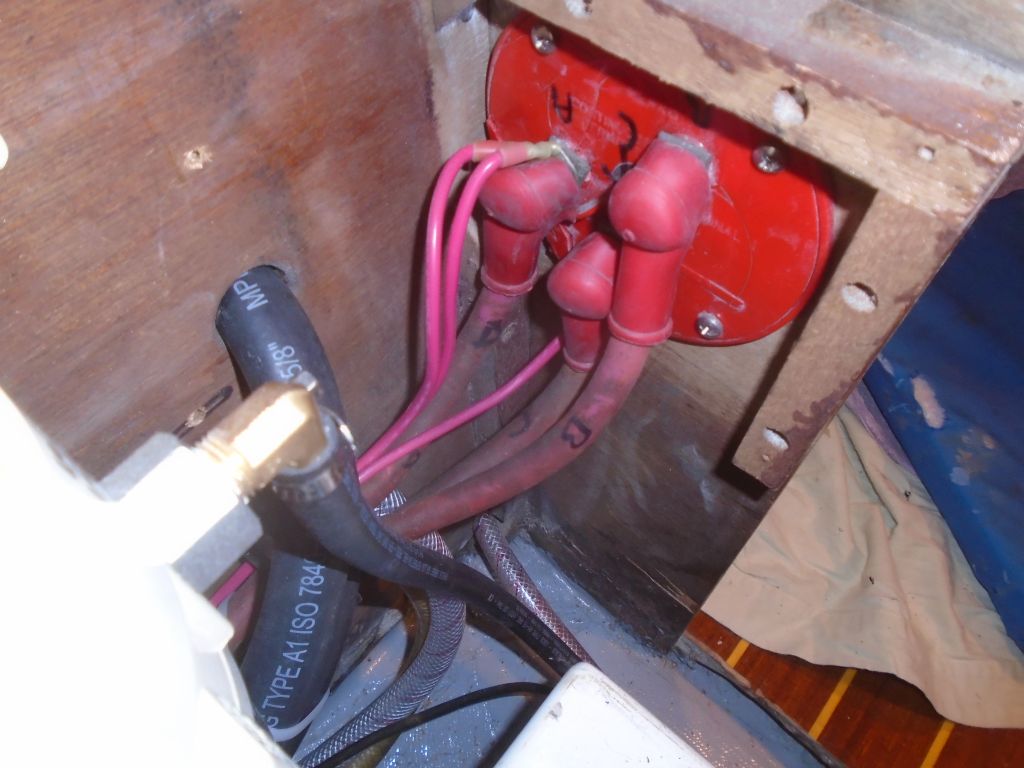
Earlier, attempting to test the potable water pump after reconfiguring the hose situation, I’d tried powering up the ship’s electrical system, only to find that the main panel was dead with no power. Investigating, I found that someone, in an overenthusiastic attempt to clean up unnecessary wiring during the engine room reconfiguration earlier, had clipped off the main wires leading to the panel and negative distribution. (I’m not sure who it was, but with such a small shop surely I’d soon locate the culprit.) So I led new positive and negative wires from the battery switch and new negative distribution buss in the battery locker, and reconnected the main DC panel, after which various components tested operational.
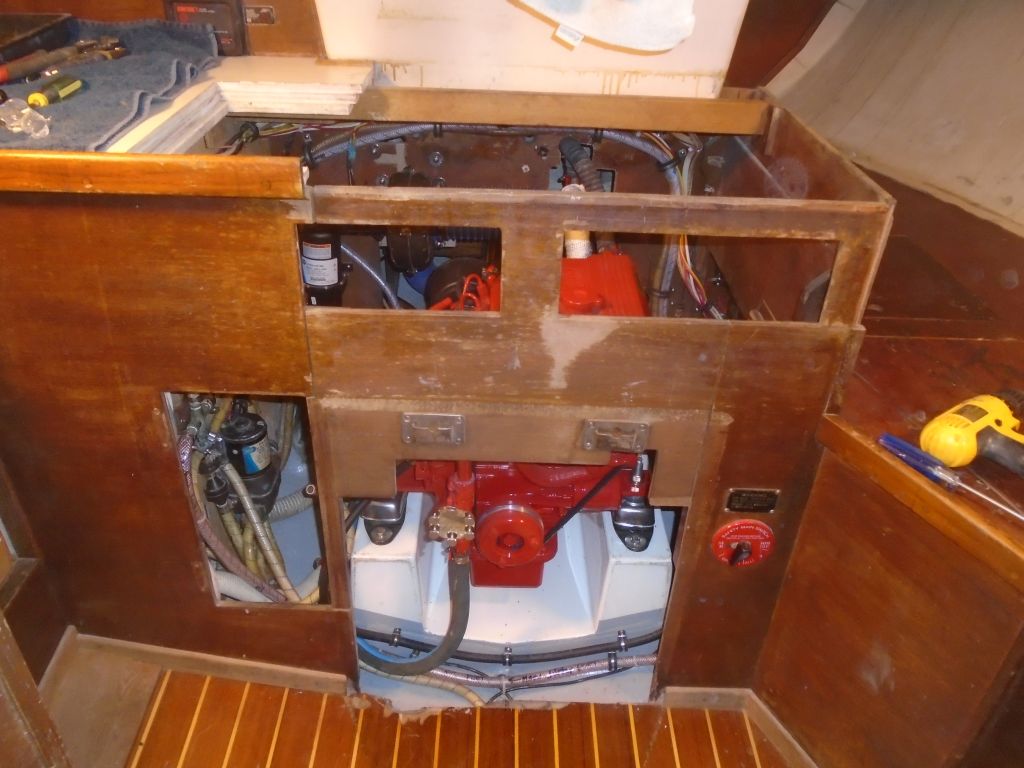
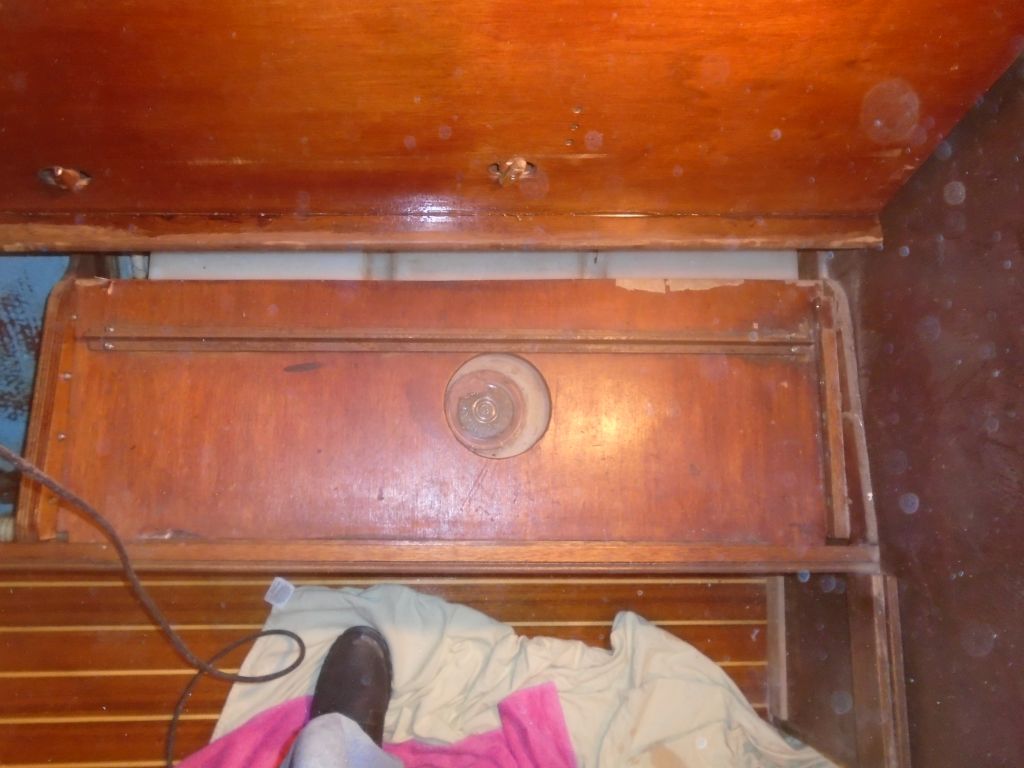
Now I test-fit the forward panel of the engine room, initially thinking of reassembling it (it would be nice to have companionway steps again), but it impeded the engine access a bit more than I wanted at this stage, at least until we’d done the test-firing of the engine in the near future. The panel was semi-permanent, secured with screws, so I didn’t want to jump the gun. While I had it in place I noted that I could remove some additional material on the starboard side to ease future access to the secondary fuel filter, so I marked the extent and took the panel down to the bench for cutting and surface prep that would lead into the next phase of the project.
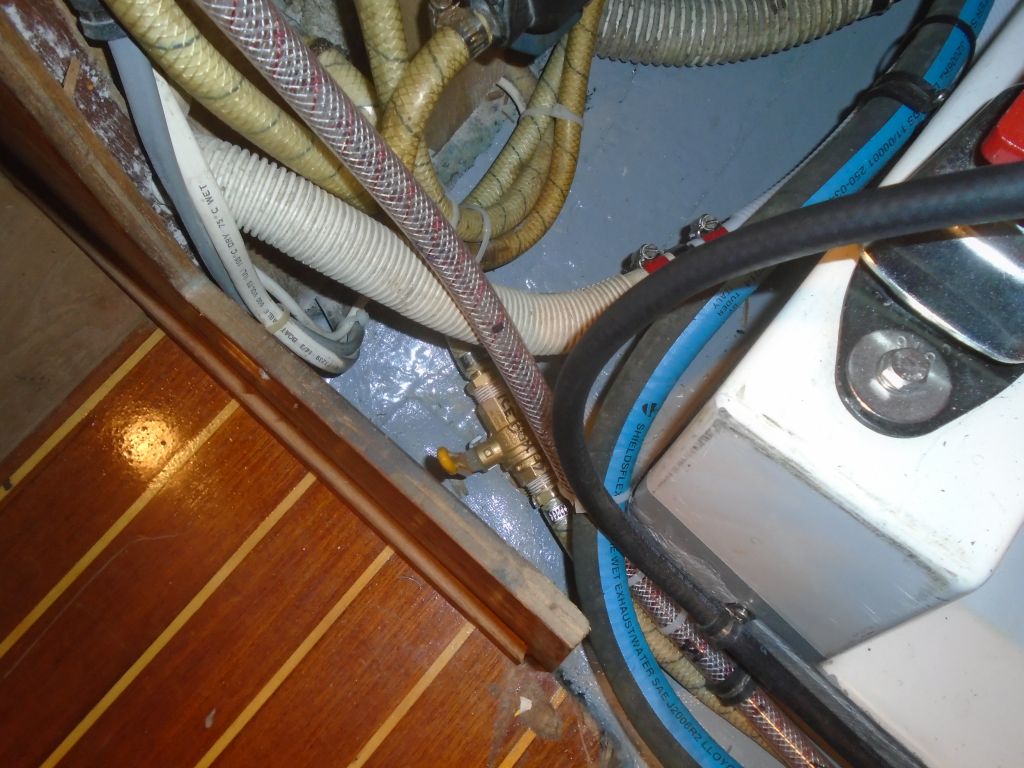
In the icebox drain line, I plumbed in a shutoff valve, located within easy reach of an engine room access door, to control the drainage from the icebox for collection and disposal.


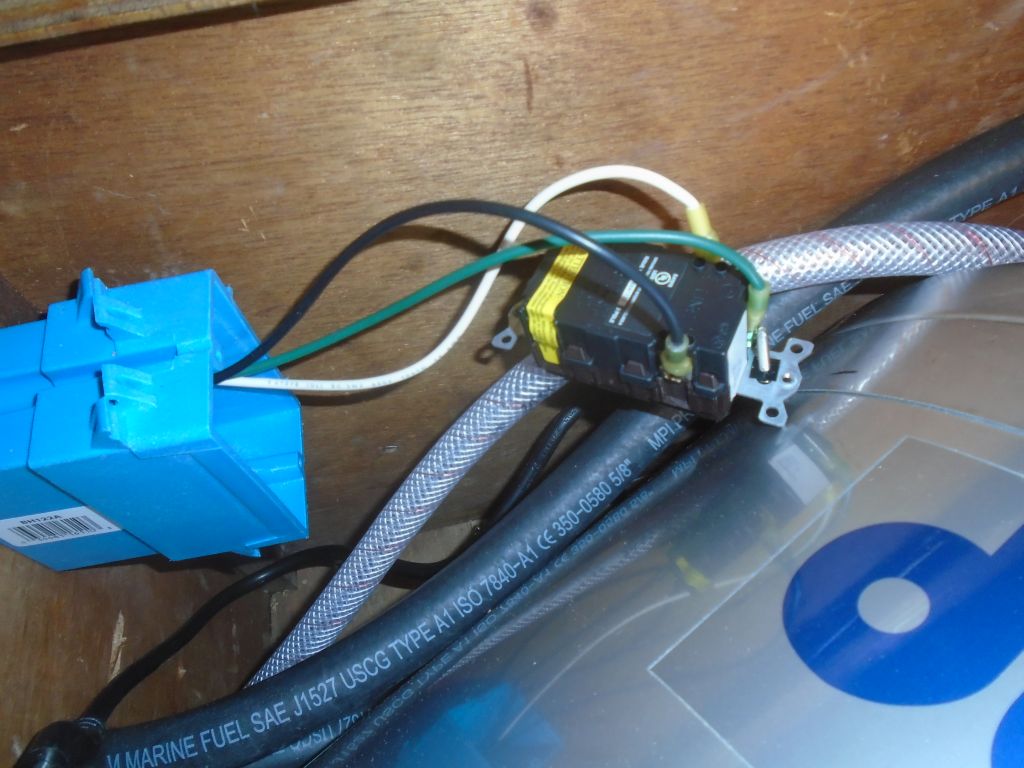
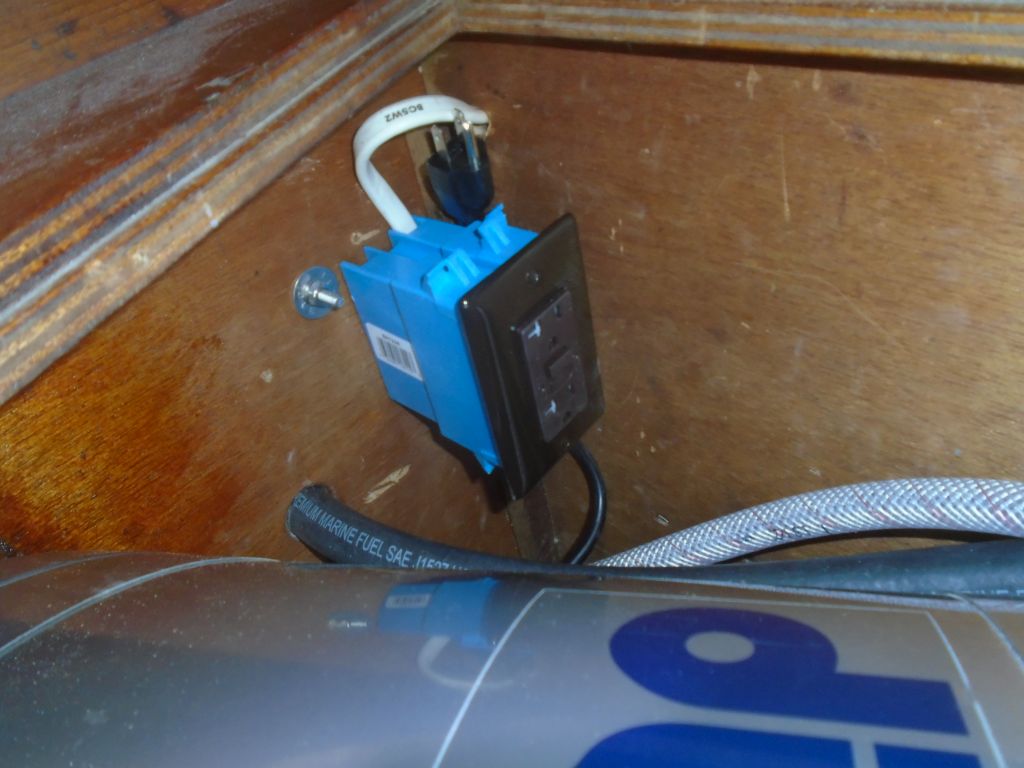
To complete the water heater installation, I installed a new plastic outlet box in the compartment, then wired up a GFCI outlet using the wiring that already existed in the space, leftover from an older water heater. For now, I left the water heater cord unplugged to ensure that the element wasn’t fired electrically until the tank was full of water.

Turning to the starboard water tank, I found that it was installed similarly to the port tank, but at least here the metal stiffener on the top panel hadn’t yet been bent out of shape. As before, I removed the cleats securing the plywood top, and then unbolted the stiffener for disposal. Later, I’d build new support members like those on the opposite side, but for the moment I was out of time.
Total time billed on this job today: 6.25 hours
0600 Weather Observation:
48°, cloudy. Forecast for the day: clouds, 58°