

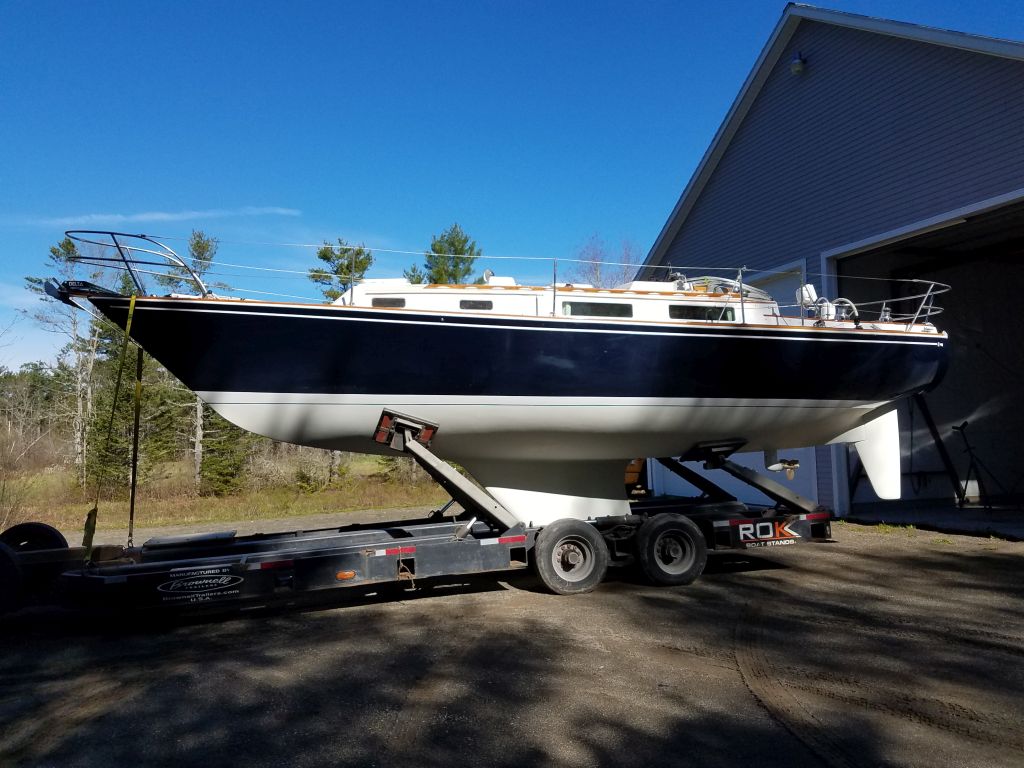
November 9, 2016
Acadia 33
Wednesday
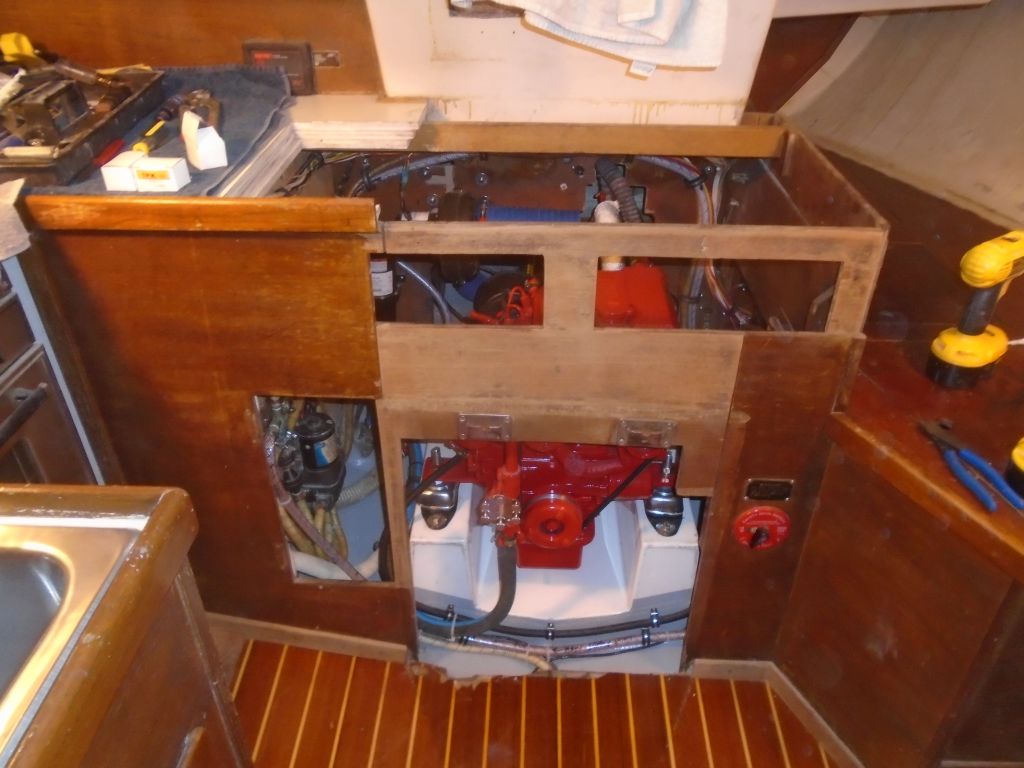
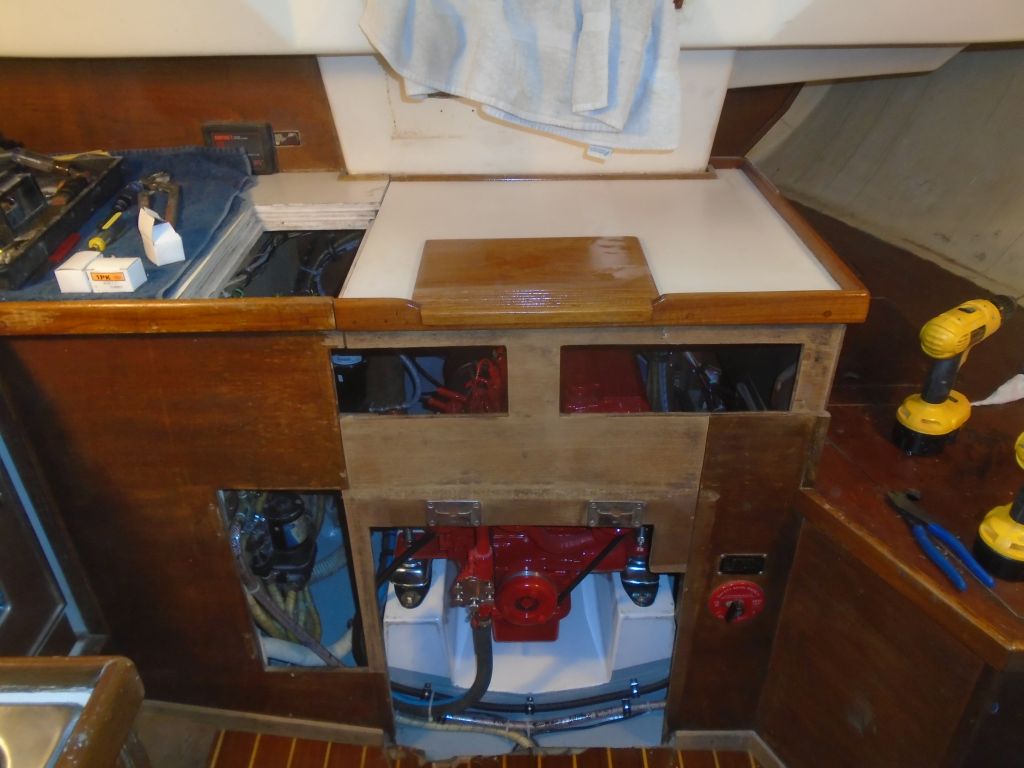
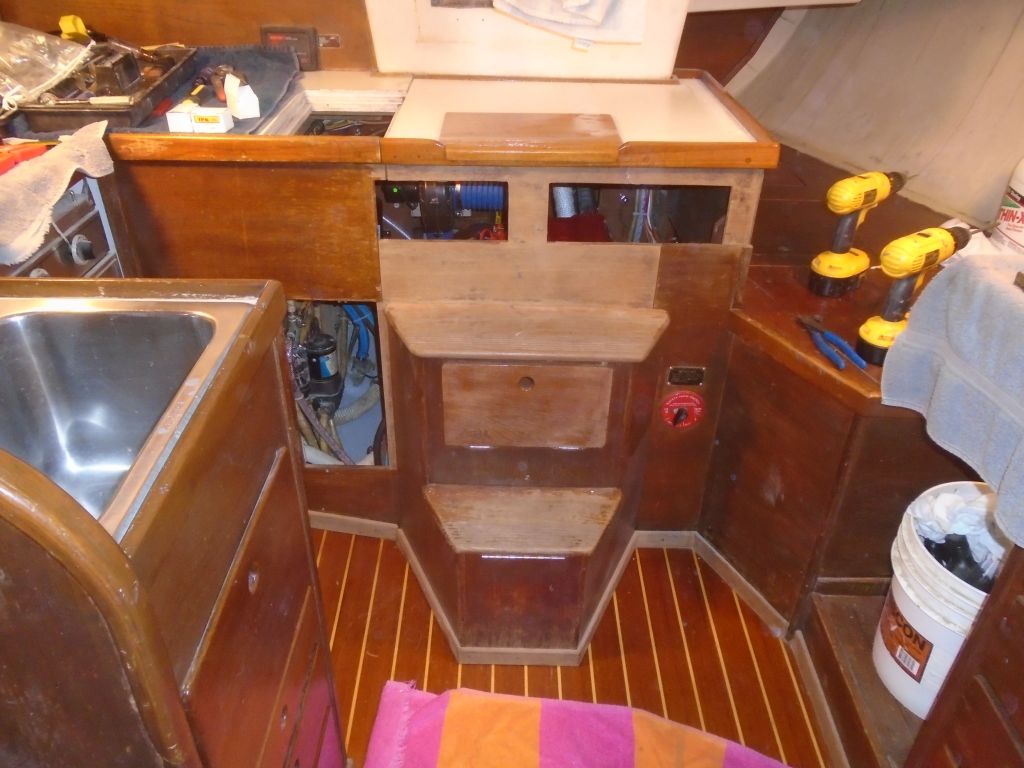
Now that the engine installation and testing was essentially complete, it was time to turn to some of the other tasks that had recently been added to my work list for the boat. Transitioning from the engine phase, the first thing I did was prepare to reassemble the engine room, which would be nice since I’d have steps to get into the boat for the first time since the day the boat arrived.
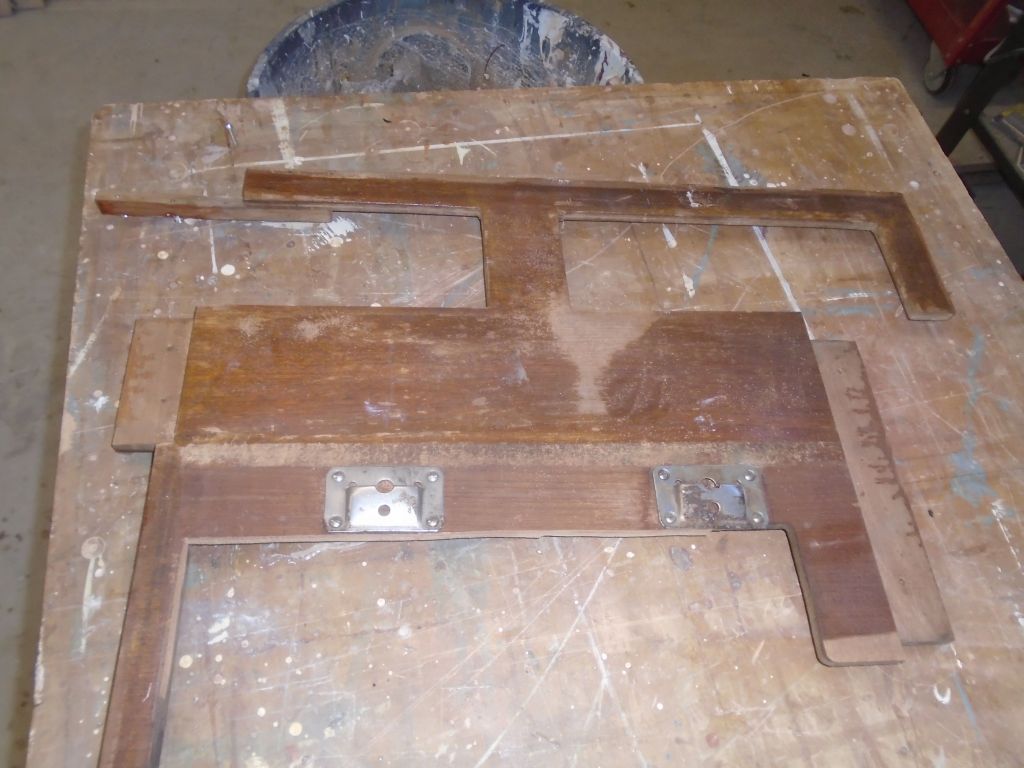
Earlier, I’d effected a minor glue repair on the removable front panel from the engine room, and since this piece was still down on the bench I chose to sand it now, preparing it for the next refinishing steps. The owner asked me to paint out various areas of the old plywood cabinetry, which task I’d be getting to soon, including this engine room panel. I’d also earlier cut away more of the panel, making additional access room to accommodate the new engine specifics. Afterwards, I reinstalled the panel with various screws from the back side, as before, and reassembled the engine room countertop and ladderway. The adjacent panels below counter and settee level would soon receive similar preparations and, eventually, primer and paint, but more on that later when the time comes.
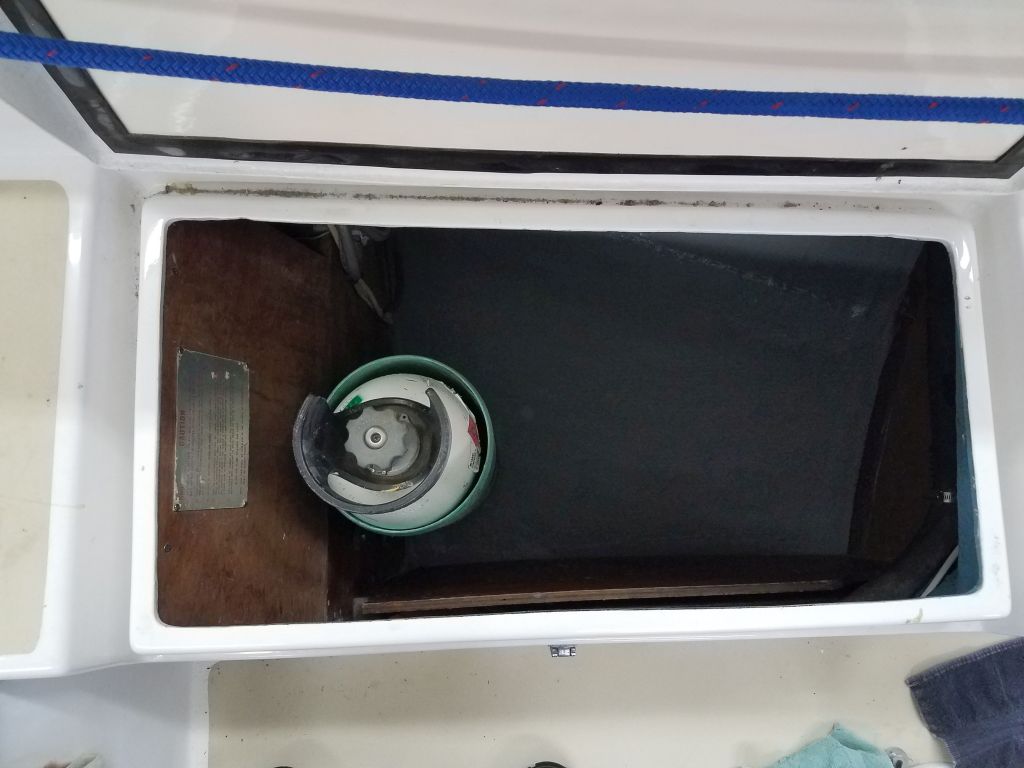
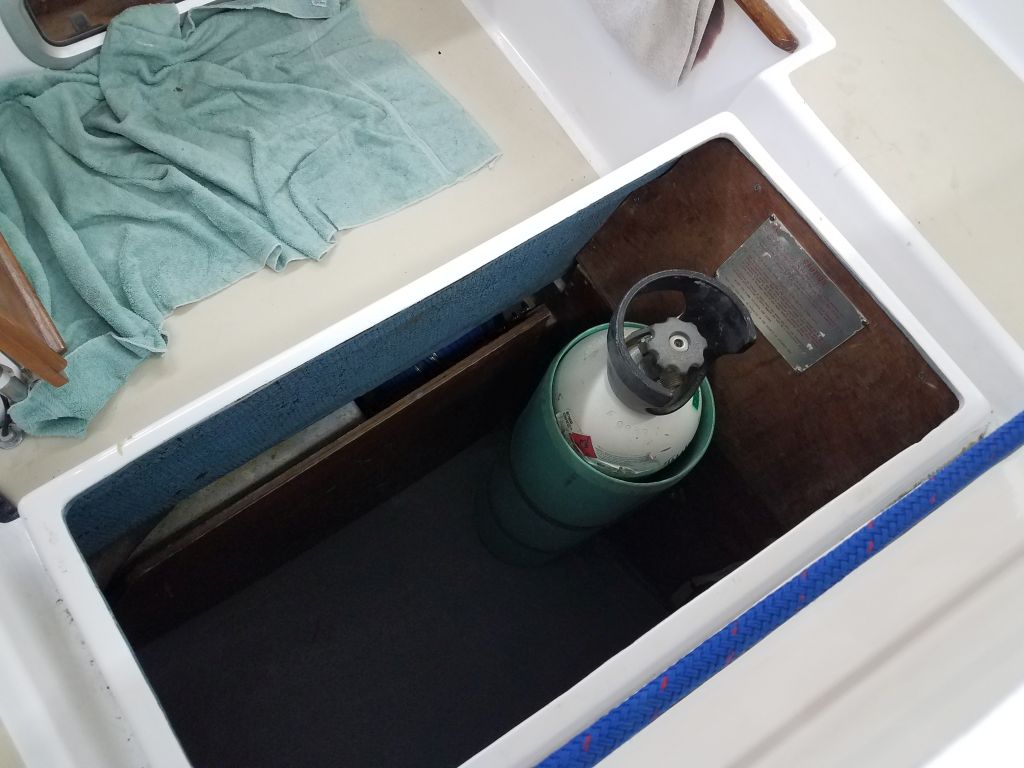
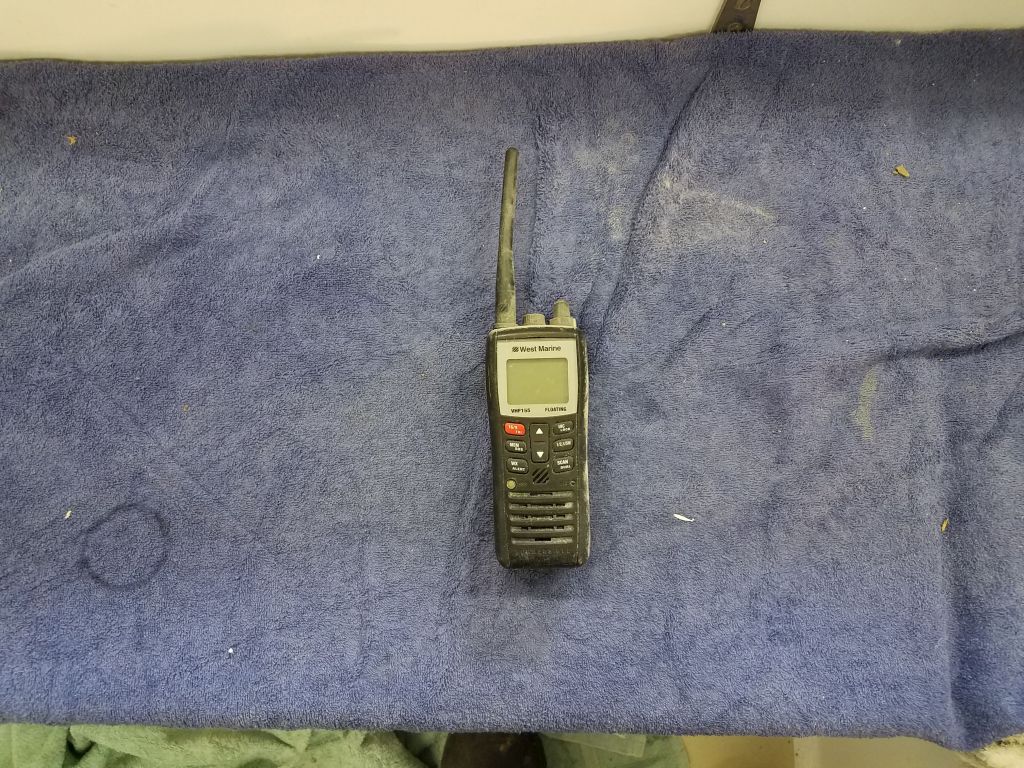
For the immediate moment, I chose to focus on a few deck tasks before shifting my focus to the interior refinishing, and the first step was to reassemble some panels in the starboard sail locker and reinstall the CNG bottle and its support system, clearing these items off the foredeck where they’d been stored for the past weeks. While I was in there, I discovered this handheld radio sticking out from beneath the bulkhead just aft of the pedestal.
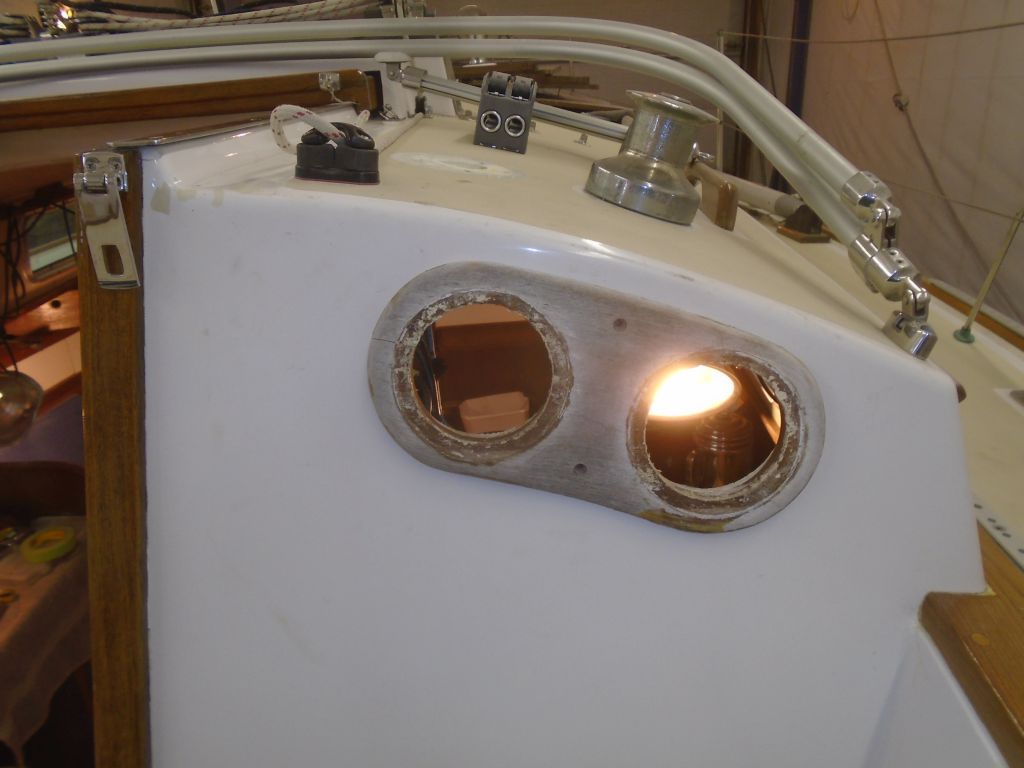
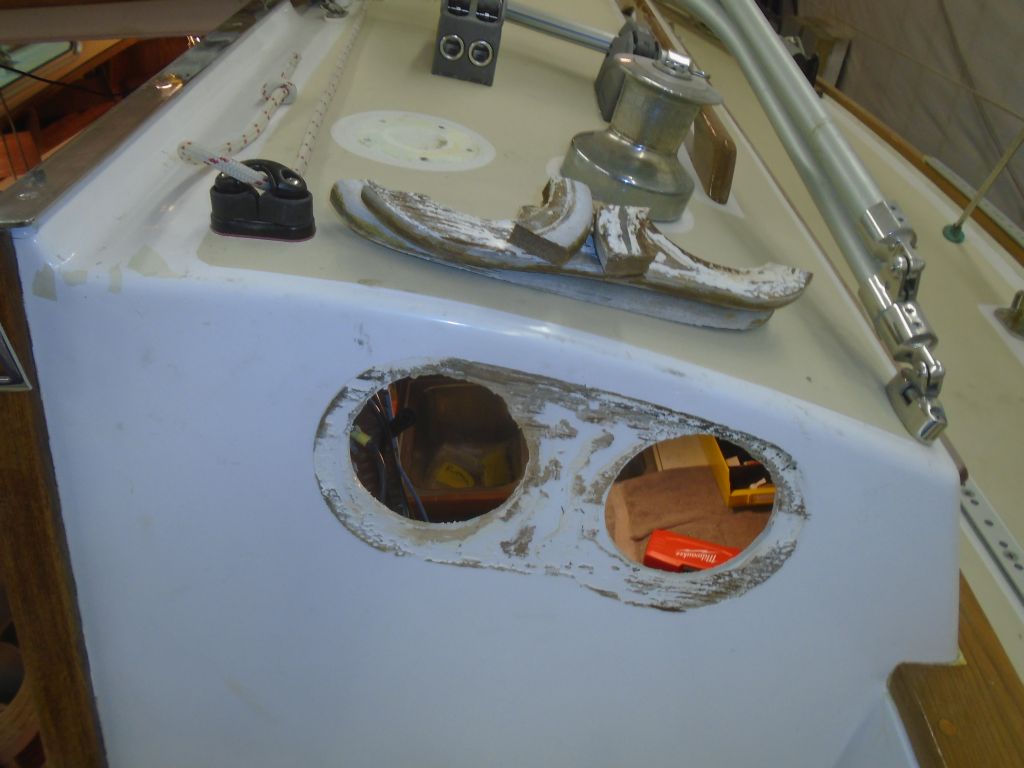
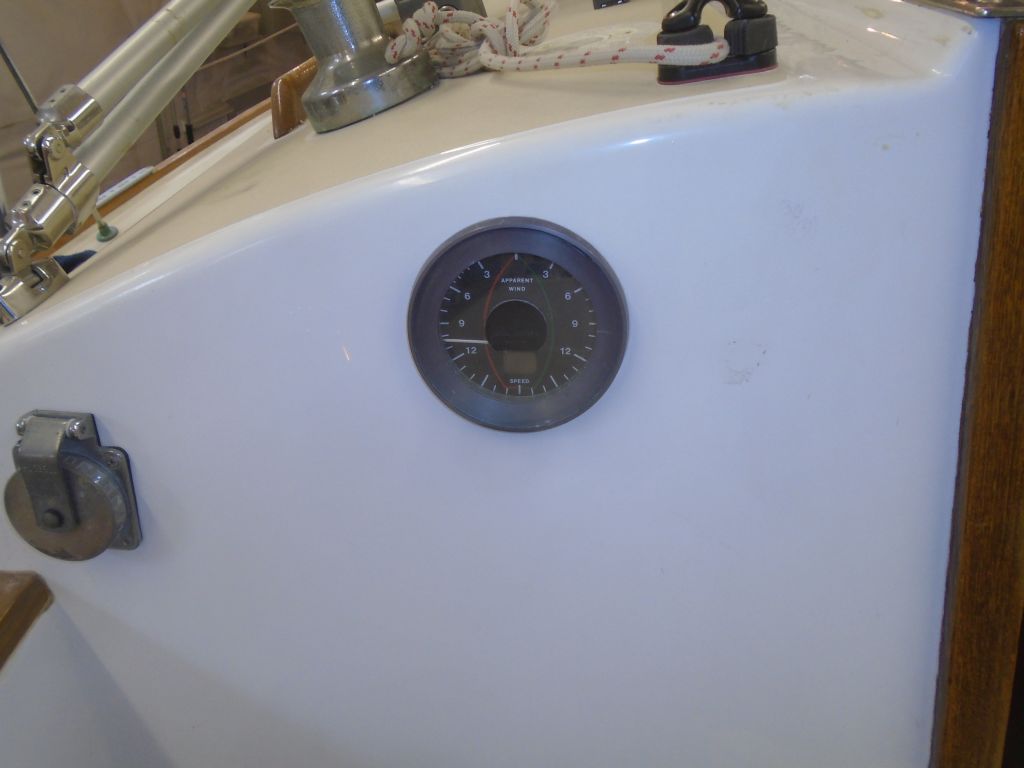
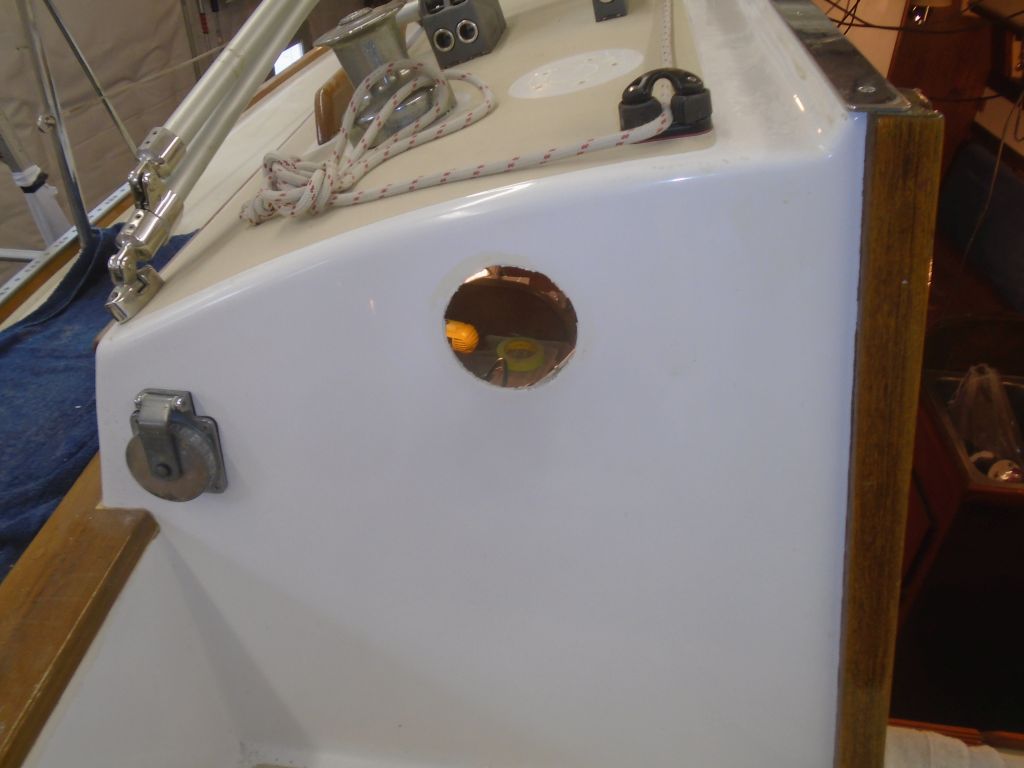
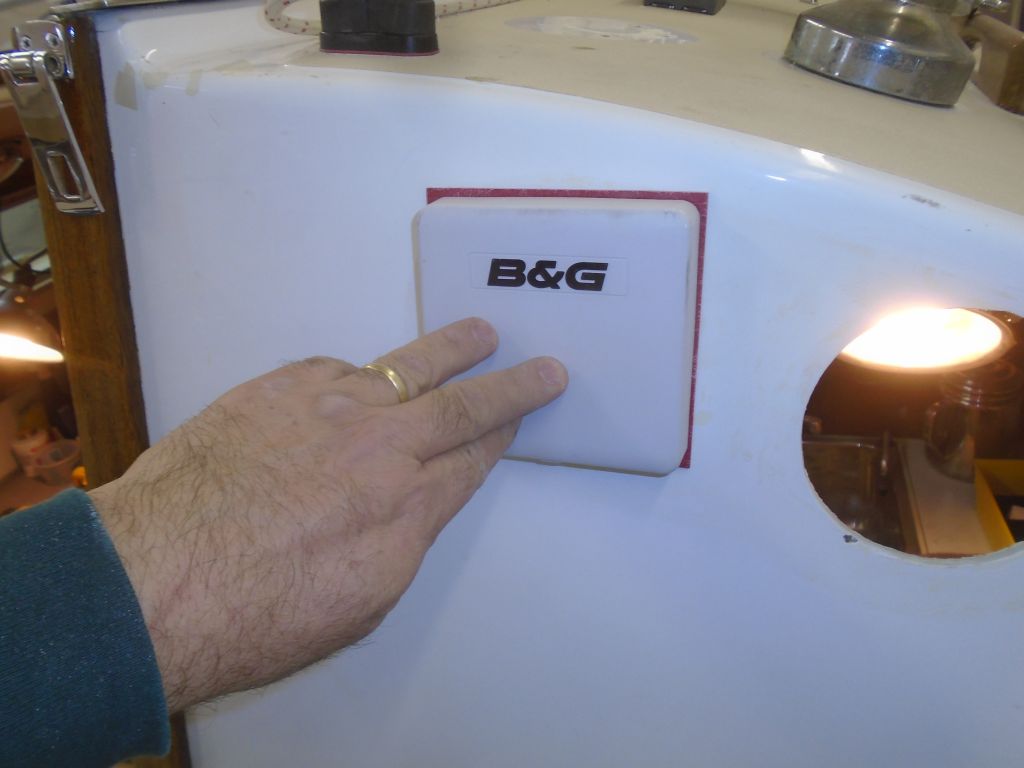
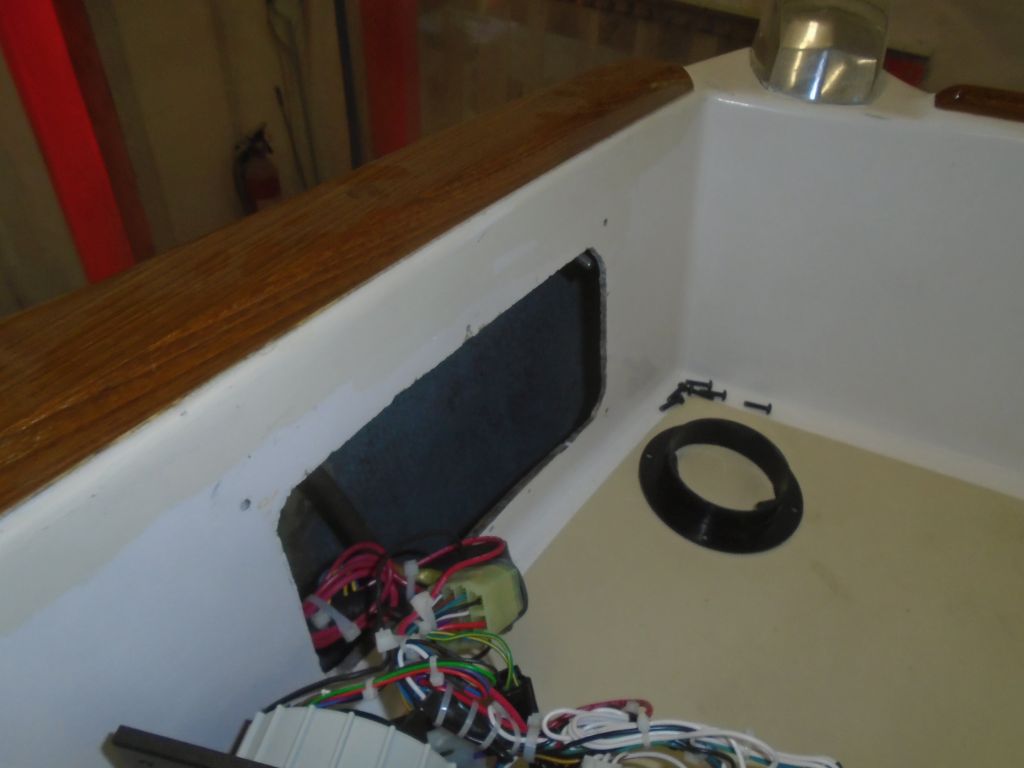
My chosen first task on deck was to deal with the paint failure problem and patching thereof in the cockpit and a few other areas of the deck. Part of this process included dealing with one obsolete instrument in the port cockpit bulkhead, and an old weathered backing block beneath two modern instruments on the other side.
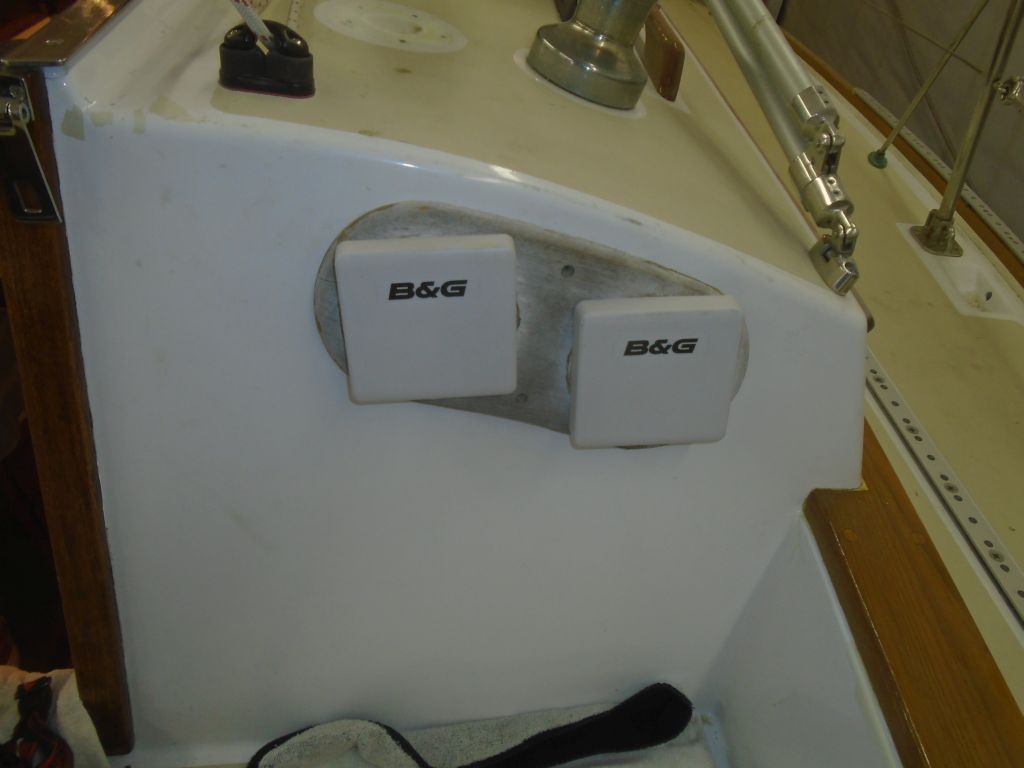
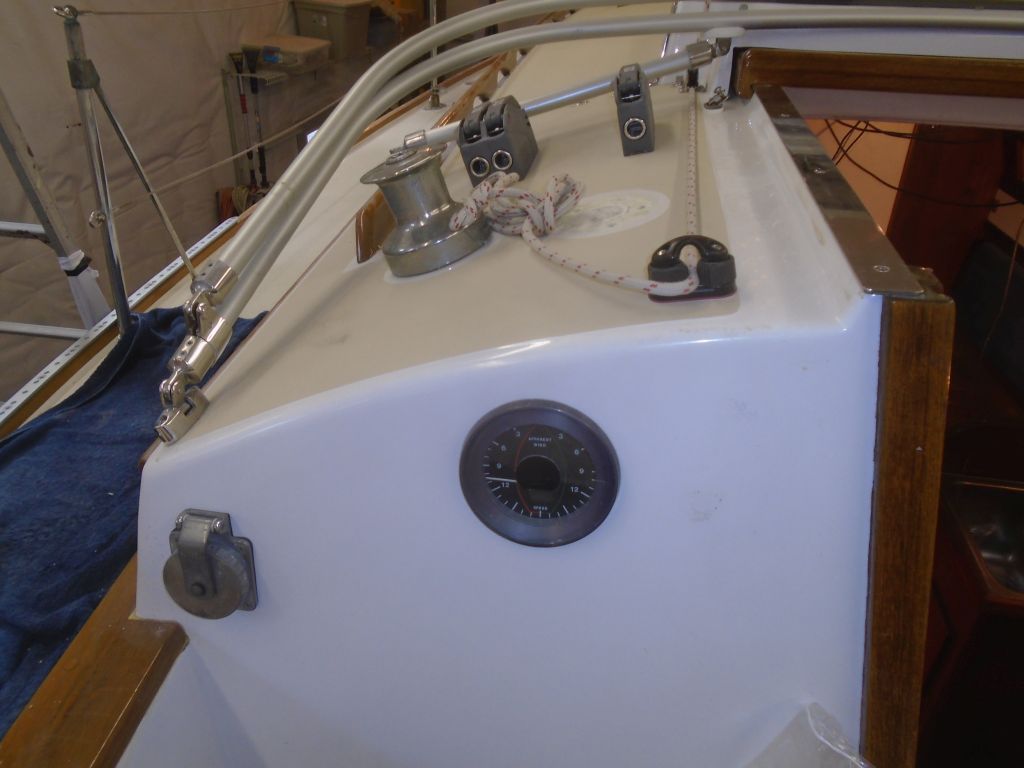

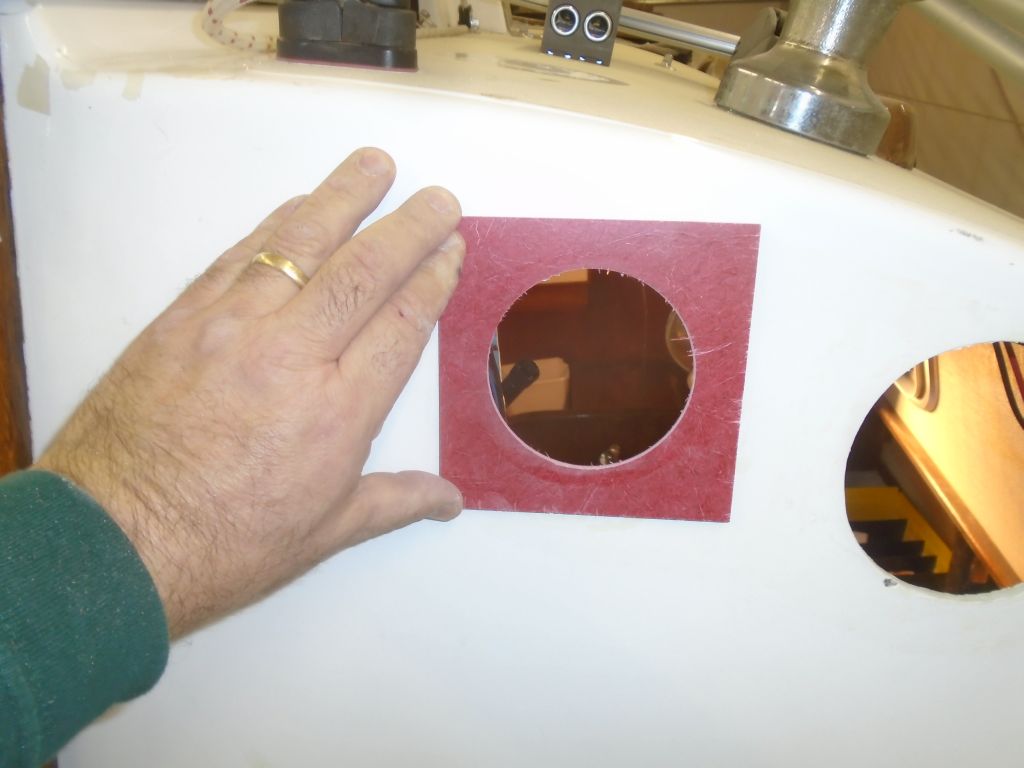
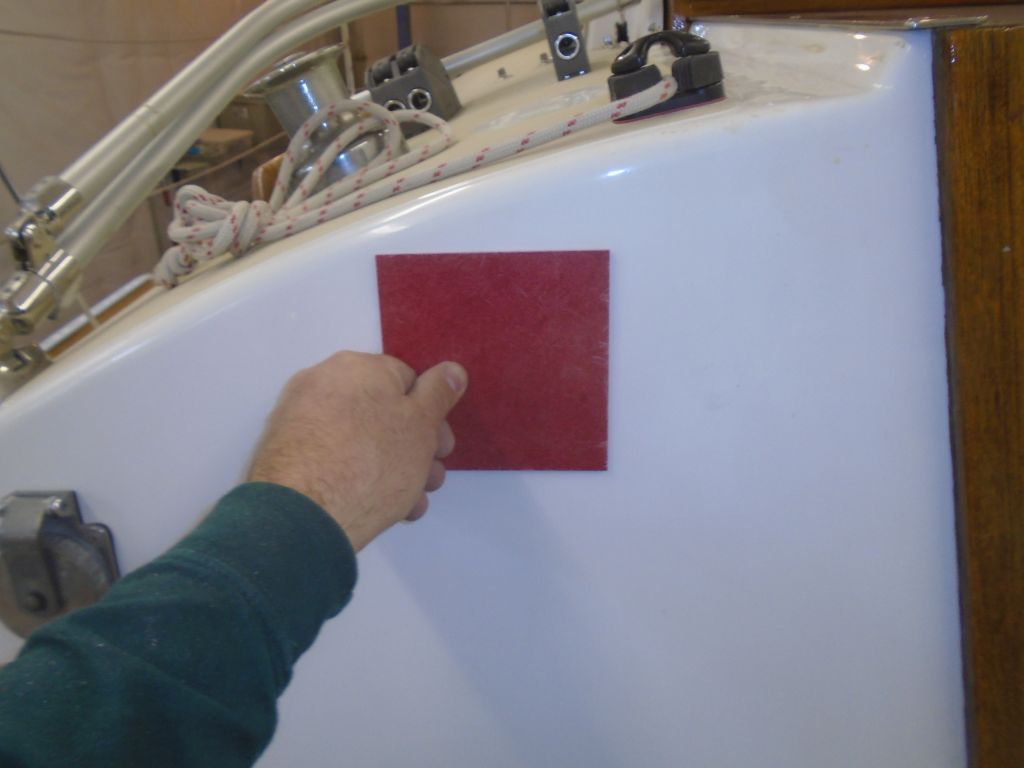
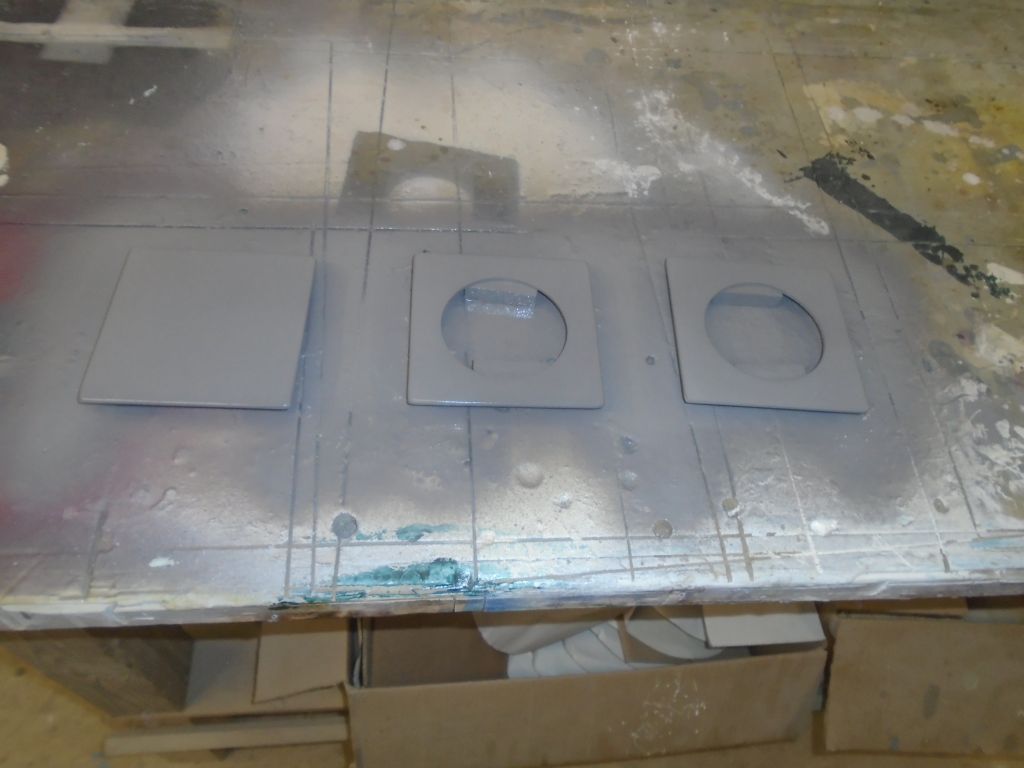
I removed the instruments and the wooden block, then cleaned up the sealant from around the openings. Fortunately, the paint beneath held up well on both sides. We’d talked about teak backings for the instruments, since the holes in the bulkhead were larger than the current instruments, but my belief is that these small bits of wooden trim are a hassle to maintain, so instead I made up some plates from 1/8″ fiberglass sheet, sizing them to accommodate the square instruments while still covering the large holes beneath. I cut 3-3/8″ holes in two of the plates to accept the starboard instruments; for the port side, I left the plate blank, simply as a cover for the old hole but ready to accept another instrument like those to starboard.
After some finish sanding to smooth the corners and edges and otherwise prepare the fiberglass, I applied several coats of epoxy primer to the new pieces.


The edges of the cockpit near the teak coamings and some other areas had been damaged by masking tape at some earlier date; the reasons for this catastrophic paint failure in this professionally-painted boat were unclear and unknown and, frankly, unimportant at this stage, but the failure disturbed the otherwise nice appearance of the boat. These photos show a few of the areas in question.
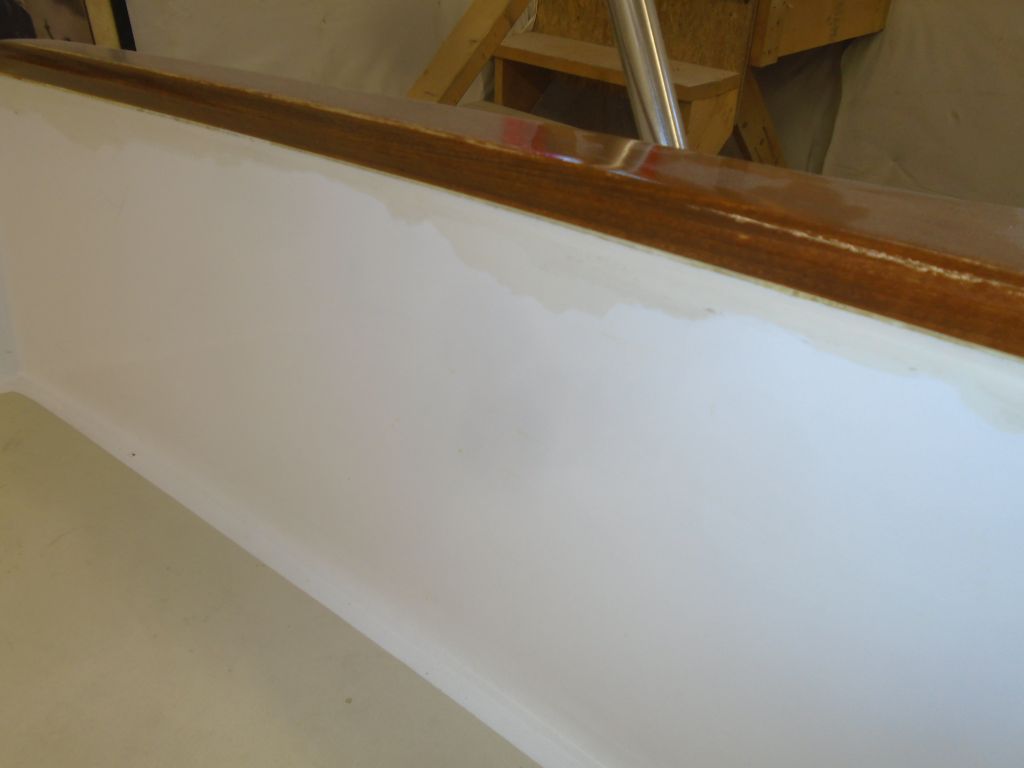
Knowing full well that any attempt to patch in these spots would be imperfect, both in final appearance (though I hoped to do well towards that end) and in the potential longevity of the new coatings, not to mention the already-failed older coating, my plan of attack was to sand the transitional areas as needed–but no more than needed–and spray in some new topcoat, hopefully blending it with the original, hopefully taking care of the problem long enough until someday when the owner wanted to redo the decks completely. With an acceptable compatibility test result a few days earlier, I’d be using Alexseal paint on hand for the repair rather than attempting to locate and use Imron; I already had the closest match for the color and all the other components on hand.
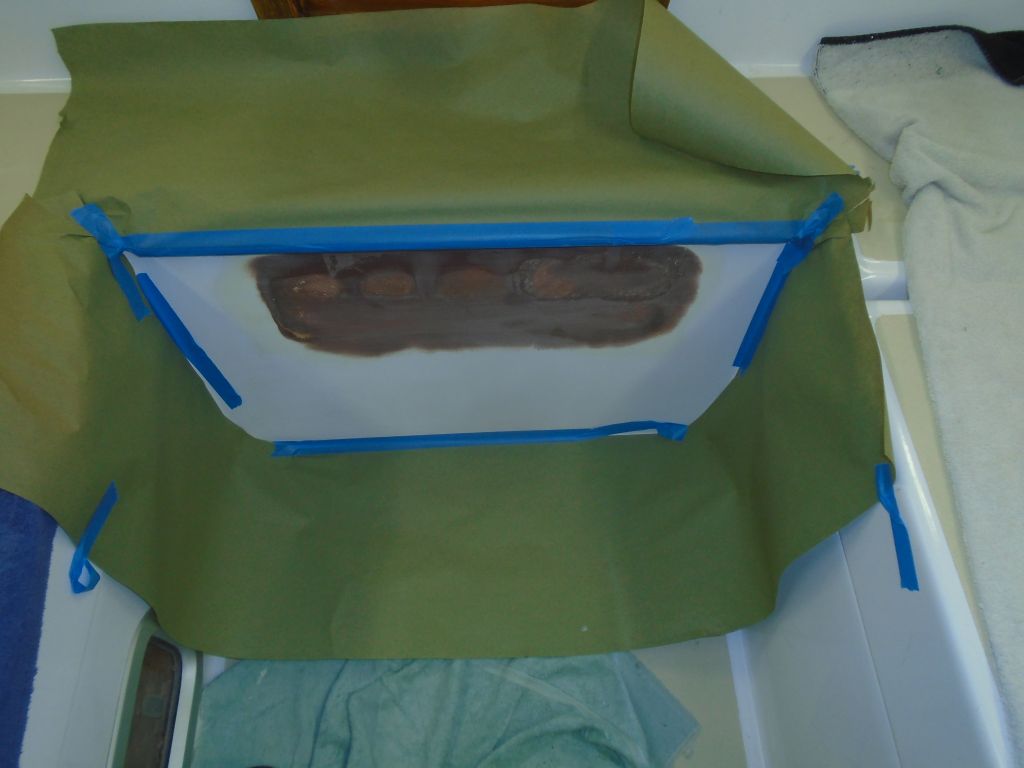
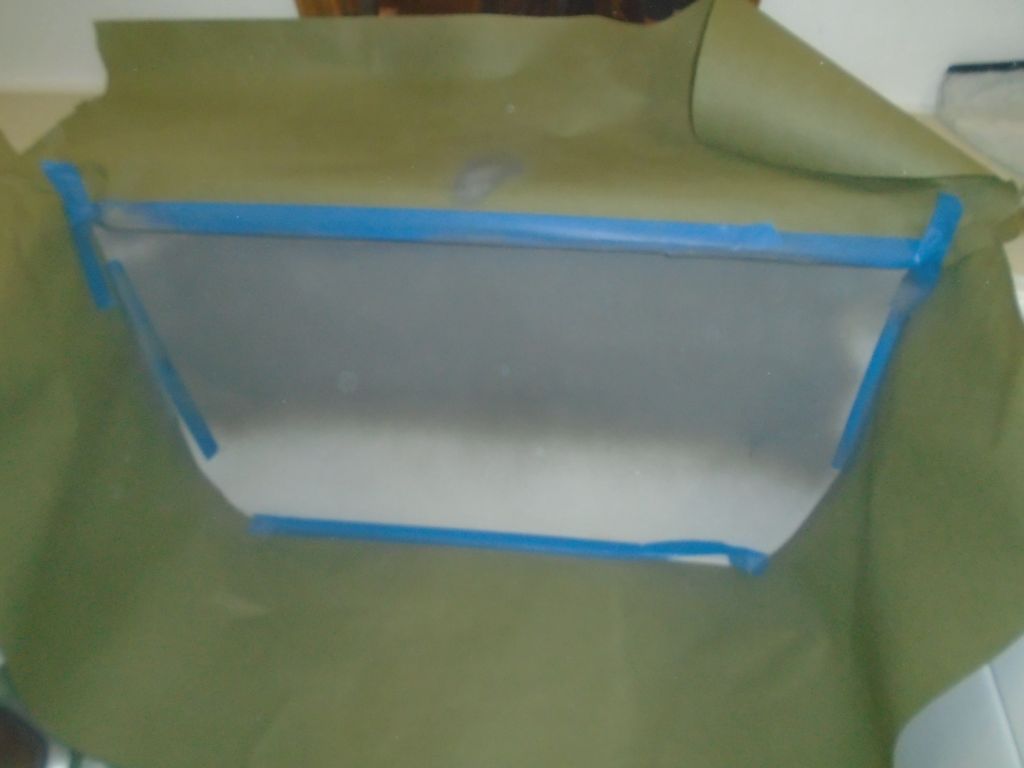
I’d planned to spend what remained of my afternoon (it was to be an early day thanks to an outside commitment) beginning the sanding and prep process for the paint, but as I got set up and began sanding in the cockpit, I realized that this would be the ideal time to get some primer on the large patch area at the forward end of the cockpit, where I’d removed the old engine gauges. I already had a small batch of primer underway for the instrument covers, and with ample product mixed and already in use, it made sense to get the primer on the patch so I could then move forward with the topcoat all at once when I was ready. So I adjusted my plans and quickly prepared the area for spraying with some masking tape and paper, then applied a few coats of the primer over the raw patch over the next hour or so before I had to depart.
Total time billed on this job today: 5.5 hours
0600 Weather Report:
32°, partly clear. Forecast for the day: mostly cloudy, chance of showers.