

December 5, 2018
Dharma Rose 9
Wednesday
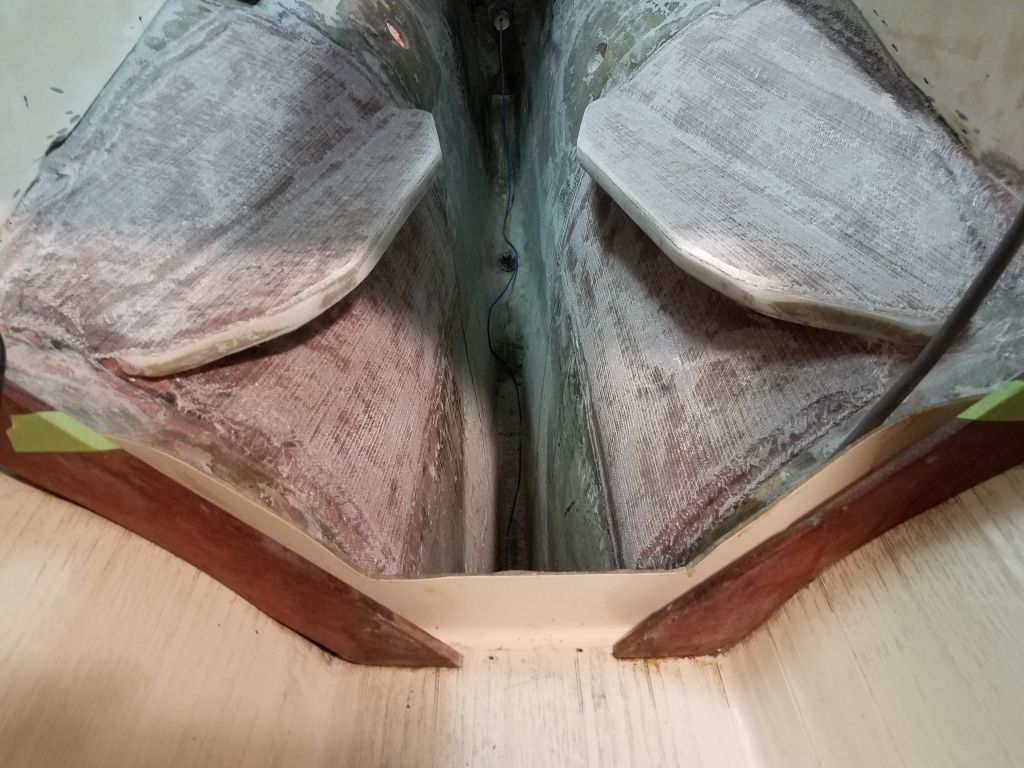
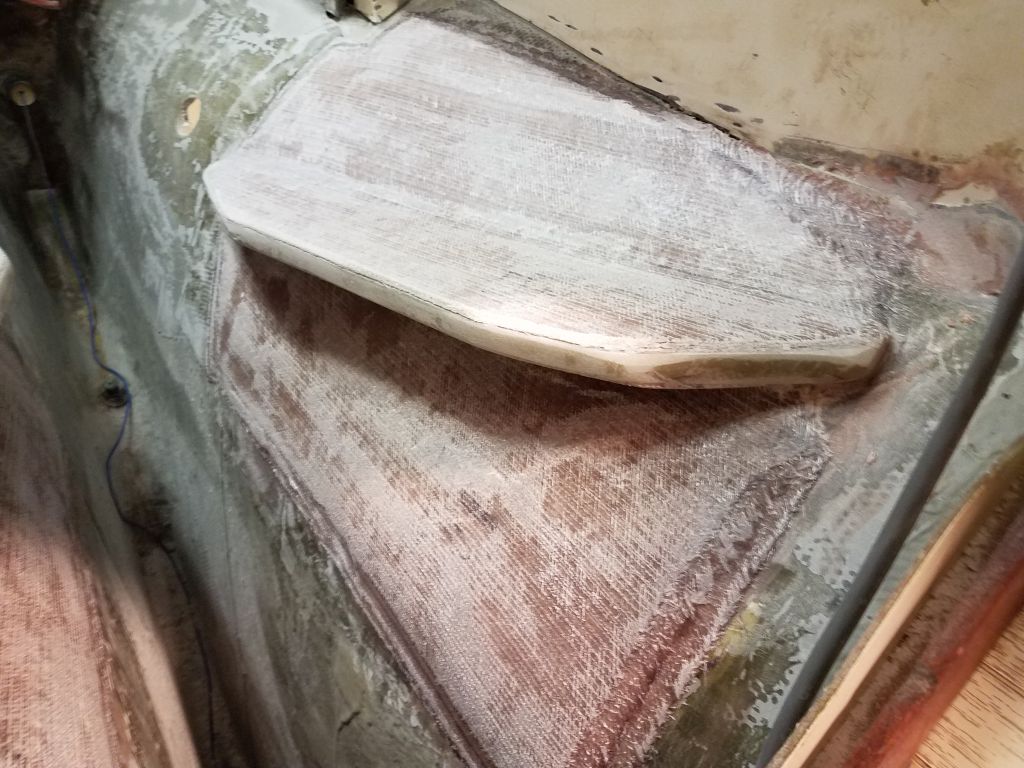
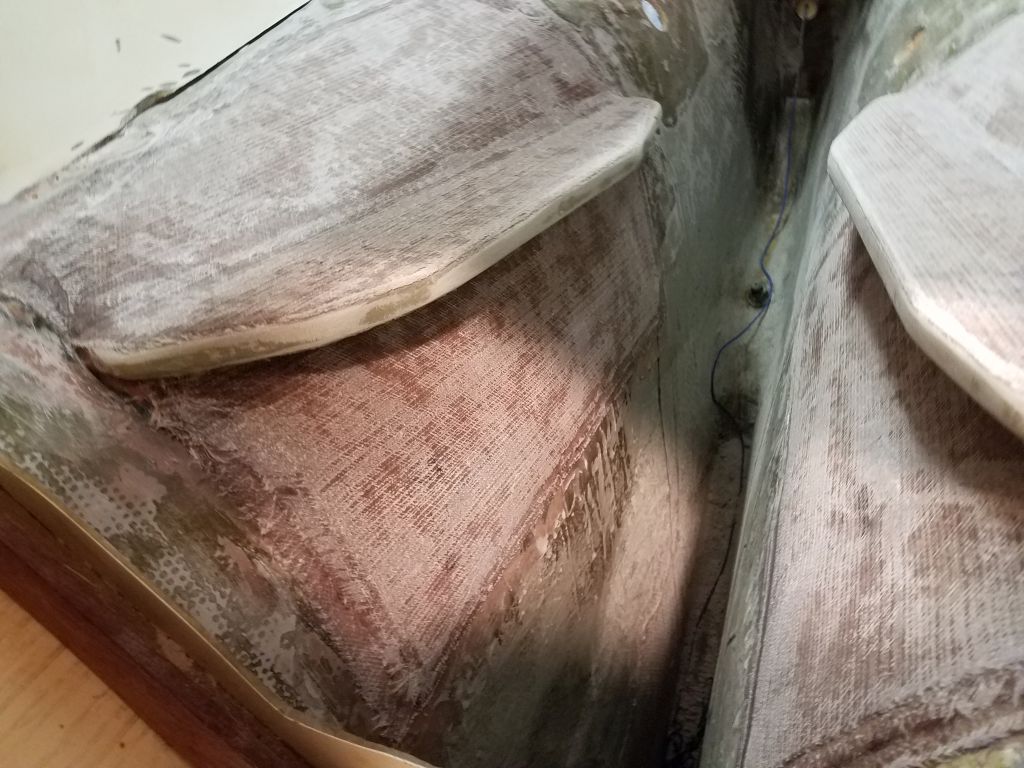
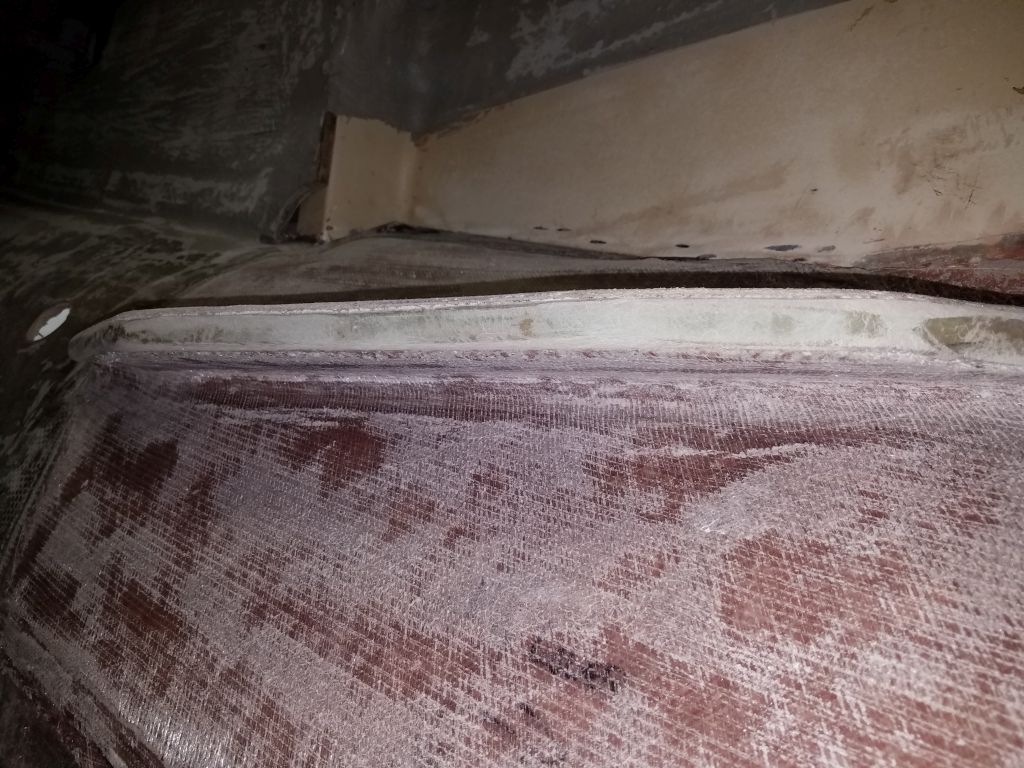
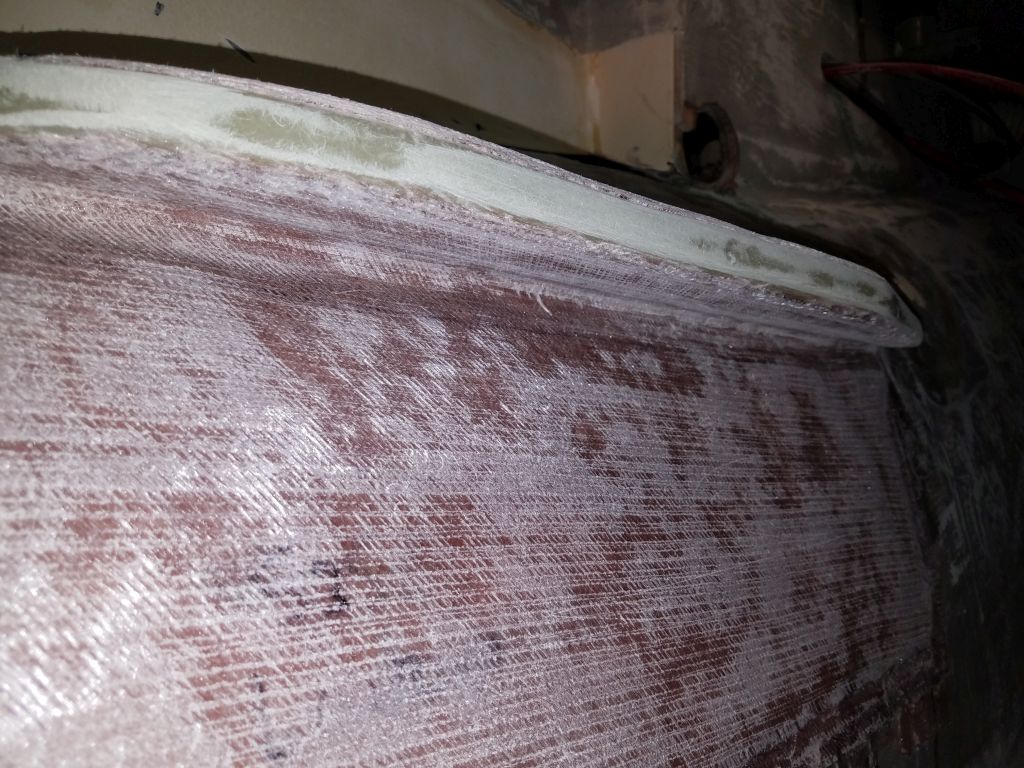
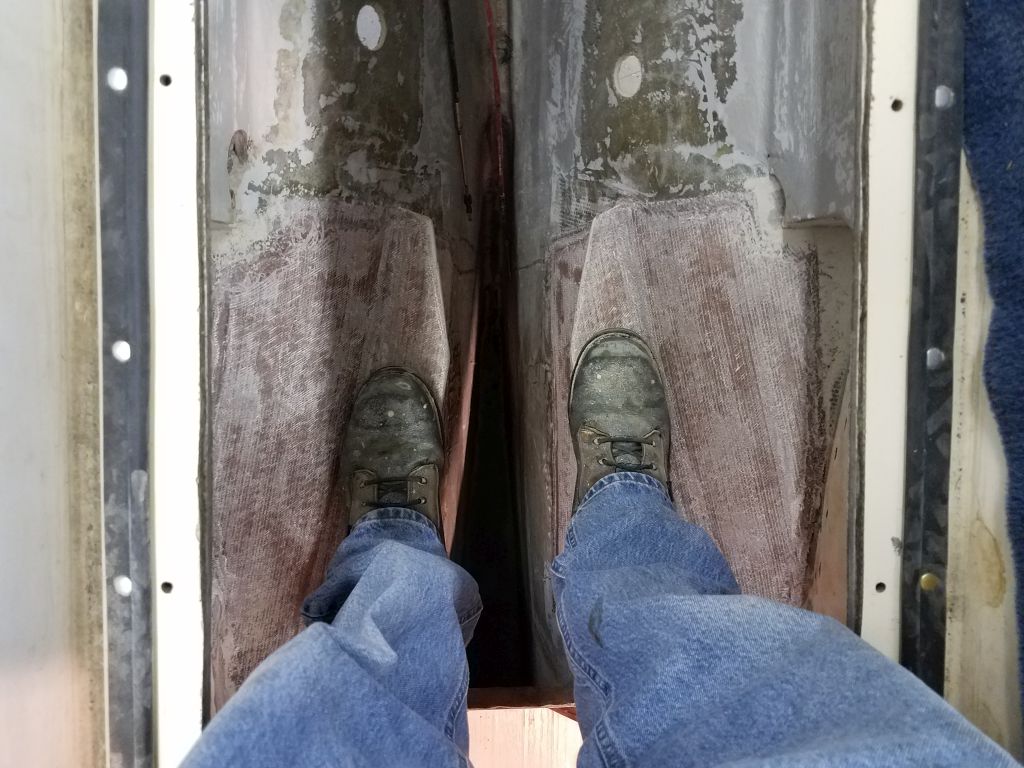
To begin, I lightly sanded the new fiberglass on the engine foundations, smoothing any rough edges and preparing the area for the next steps, including another alignment test for the engine template, but for the moment I continued with some other tasks.


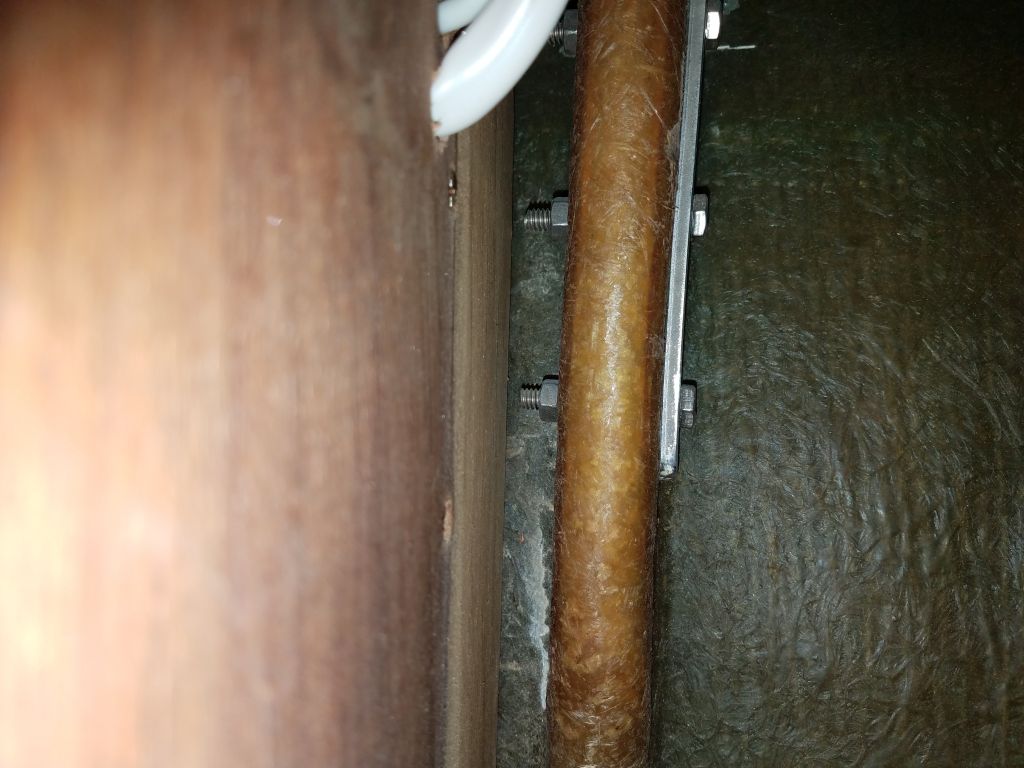
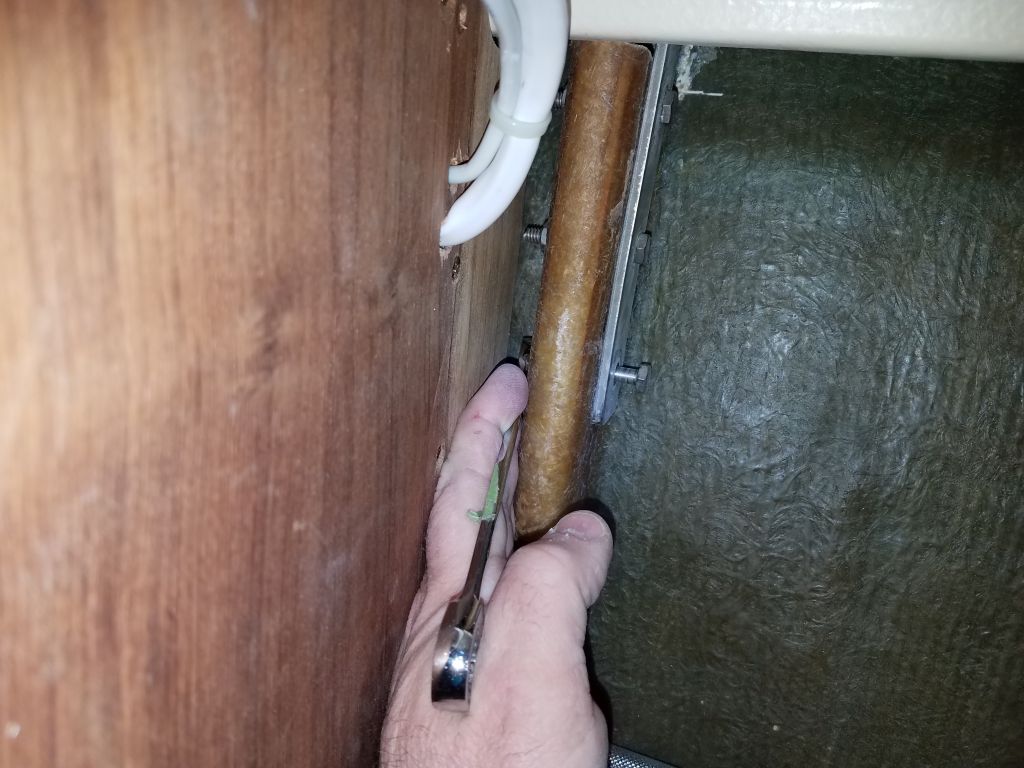
Back to the port chainplates. To open the tight access panel, I screwed a small handle temporarily to the top and pulled it out without issue, exposing the two chainplate knees and chainplates beyond. While I could see and reach the chainplates as is, I couldn’t get into the narrow locker opening with both arms and shoulders at once, which I needed to do in order to manipulate the wrenches, so I removed the outer panel from the locker to improve access.
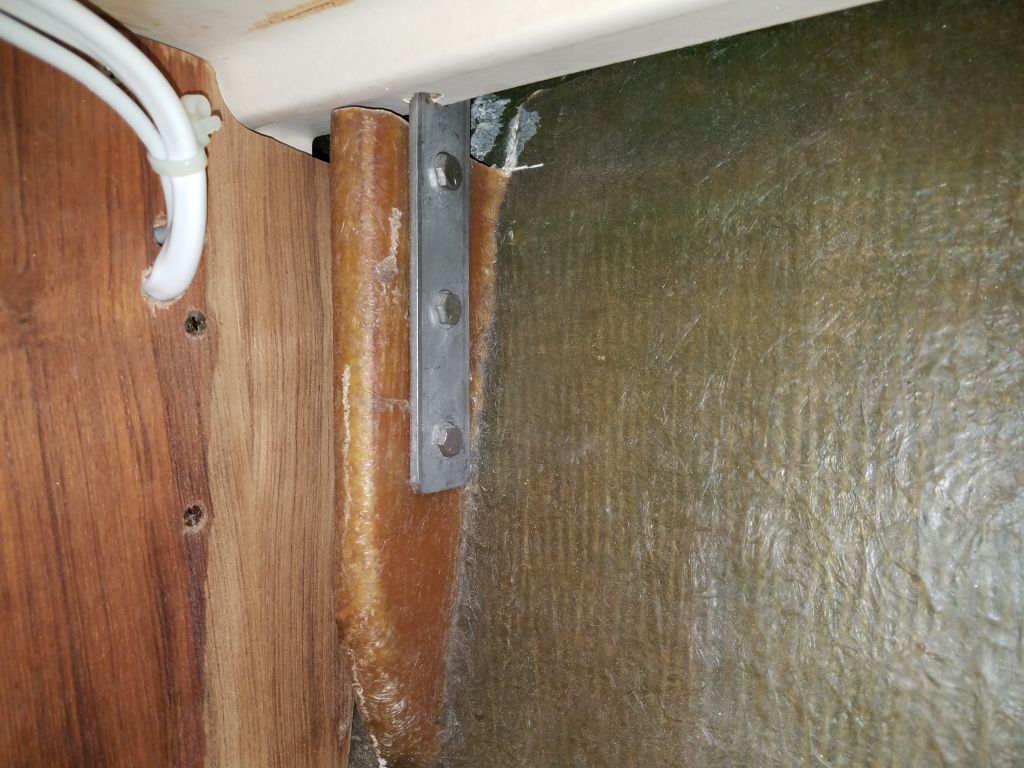

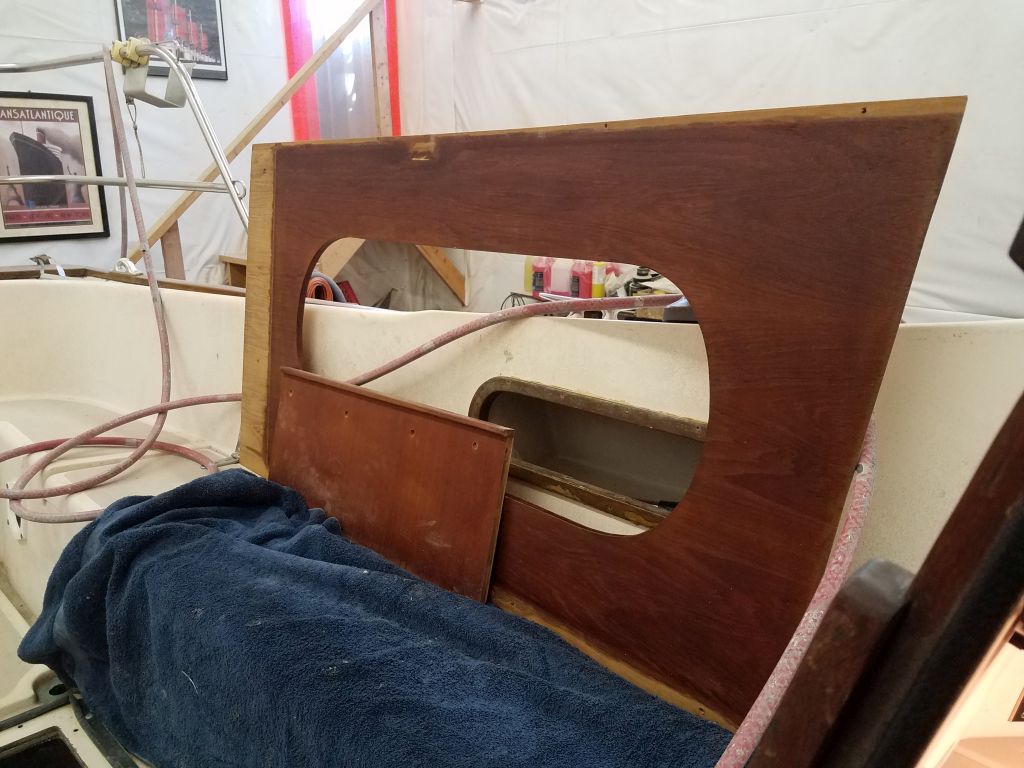
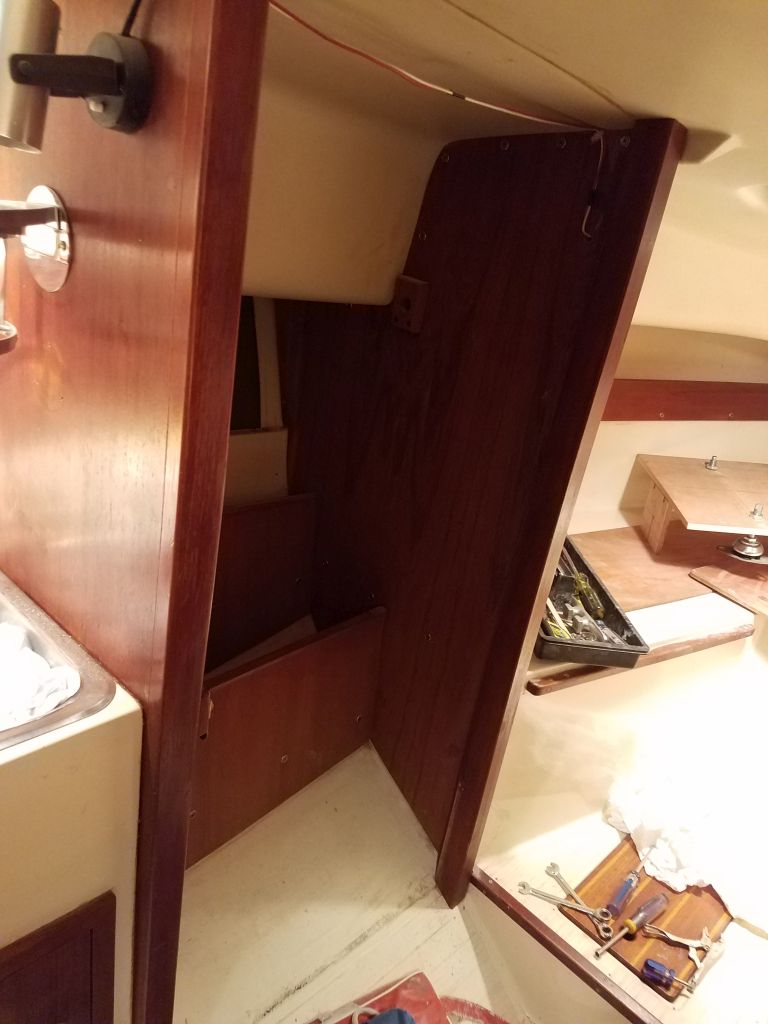
Once more, I was happy to find that, although tight and only just barely possible, it was indeed possible to remove the after (i.e. center) chainplate without removing the main bulkhead, breaking the two-for-two streak from past Contessa 26 jobs. Reinstallation later would be challenging, but still possible (I thought…I hoped). It didn’t take long to remove the six bolts from the two chainplates, after which I pulled them up from above decks.
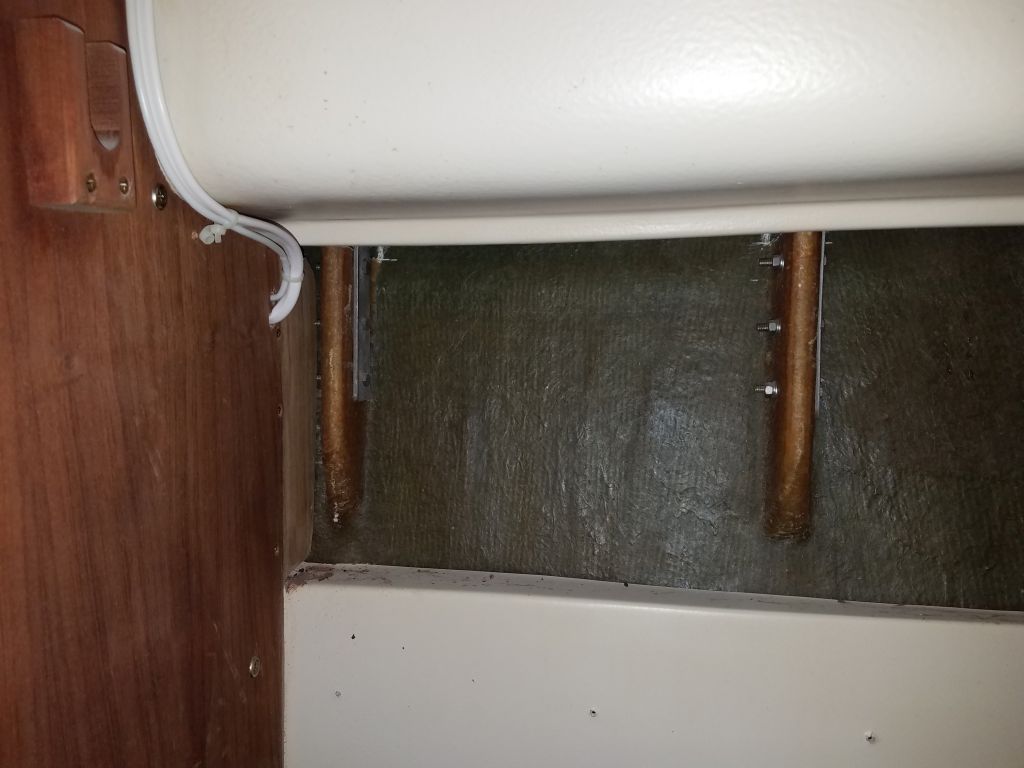


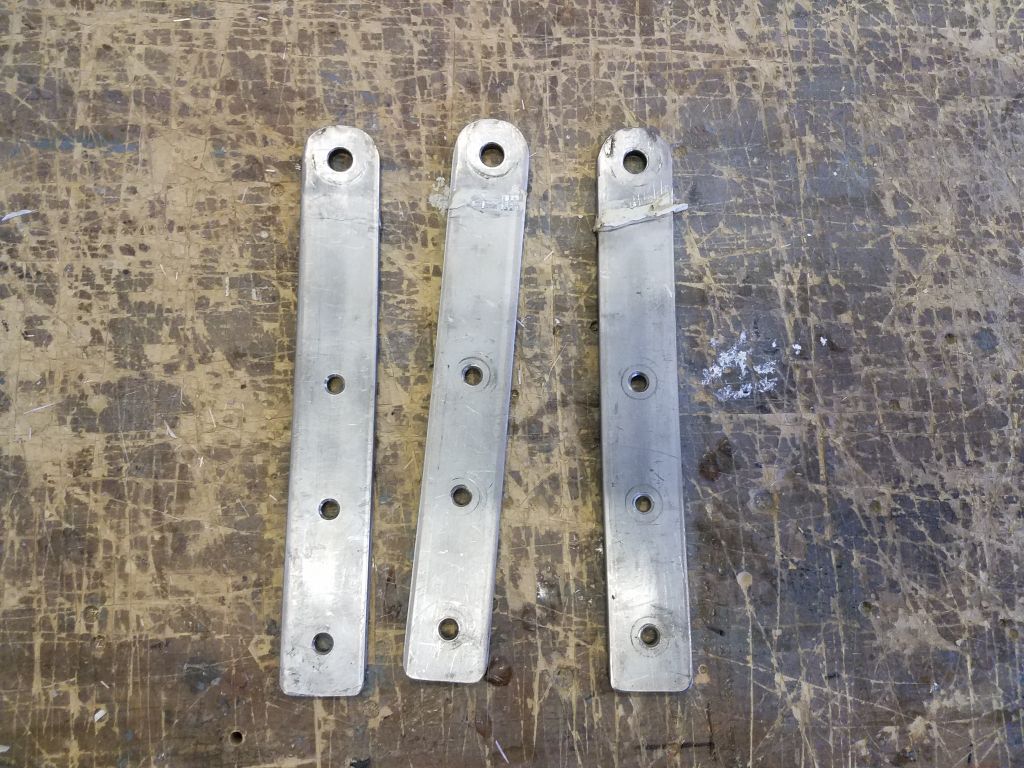
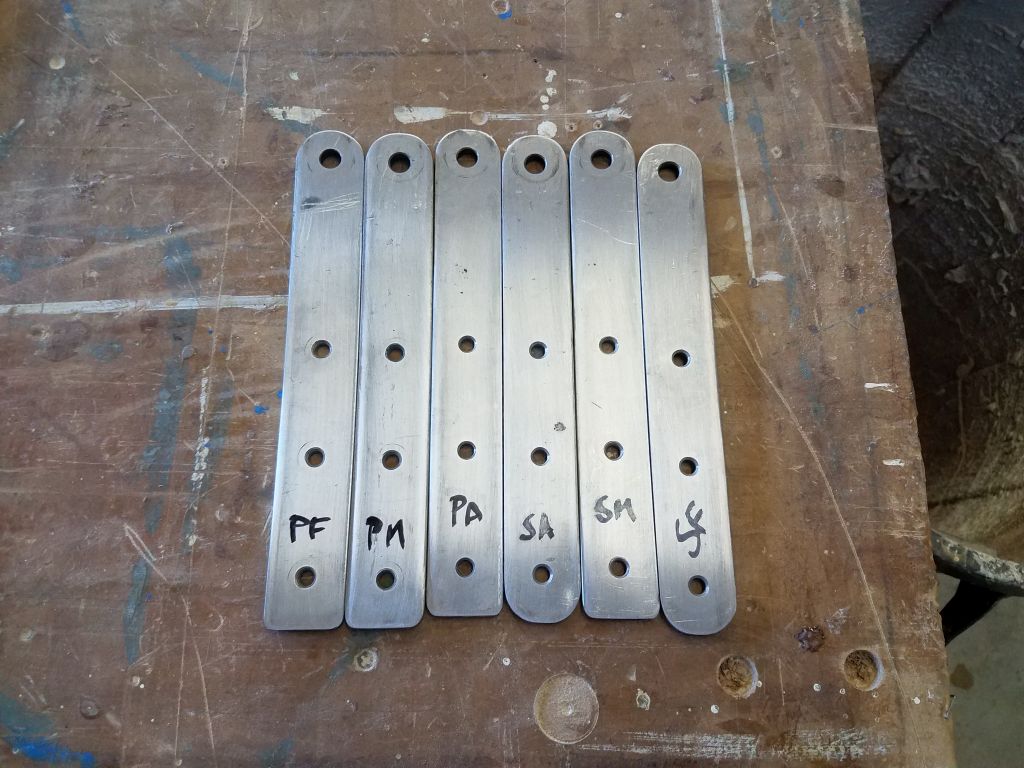
Fortunately, these two remaining chainplates were in similar (good) condition, and with all six now out and exposed I spent some time cleaning them up to remove the old sealant and prepare them for reinstallation, which I’d do a little later once I got the fasteners I needed.

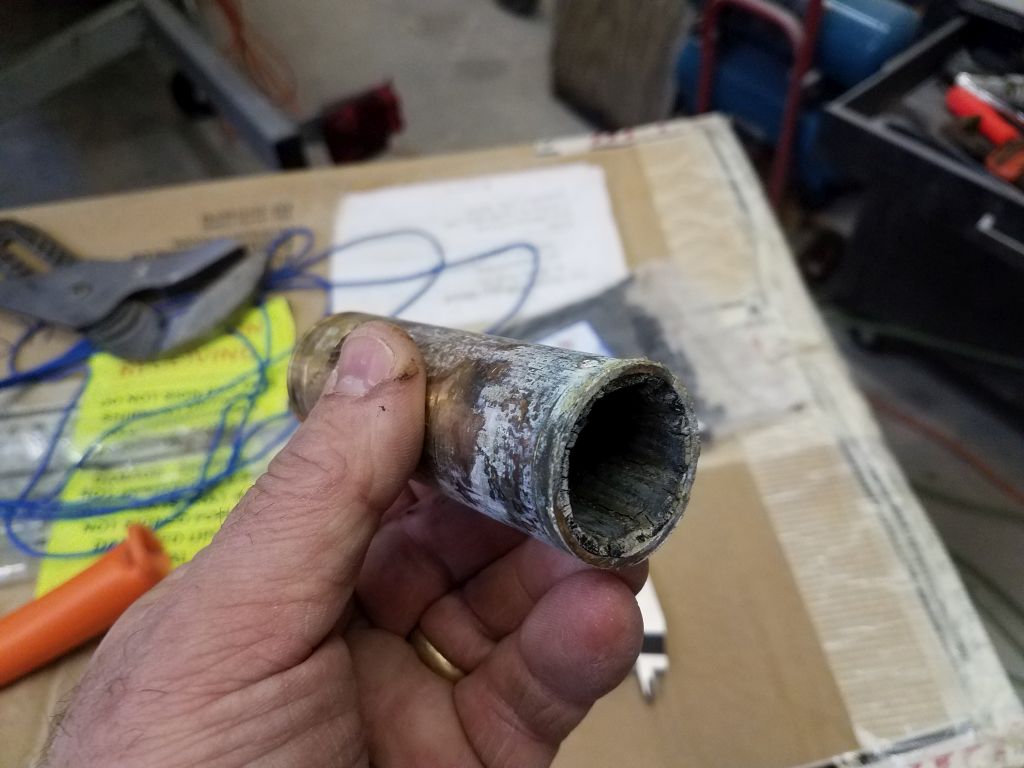
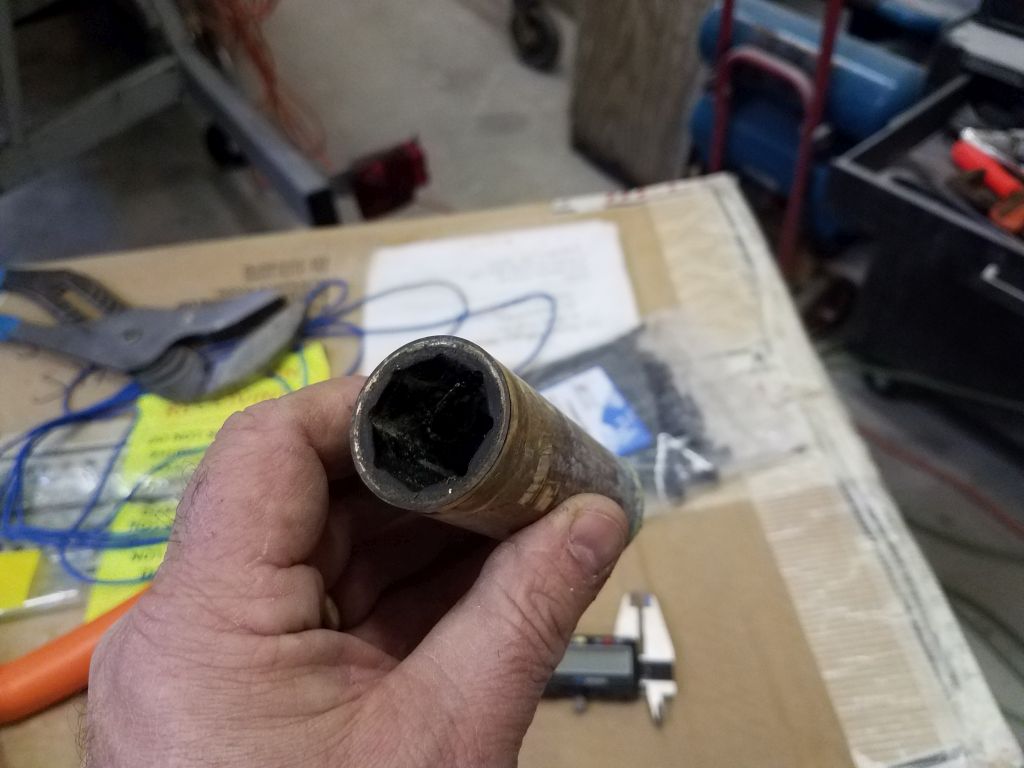
With the new engine foundations in and available for me to stand or kneel on in the engine room, it was the best and most convenient time to remove the old Cutless bearing from the stern tube. With just a little scraping on the outside of the tube, I exposed the two little setscrews that were securing the existing bearing, and removed them without issue.
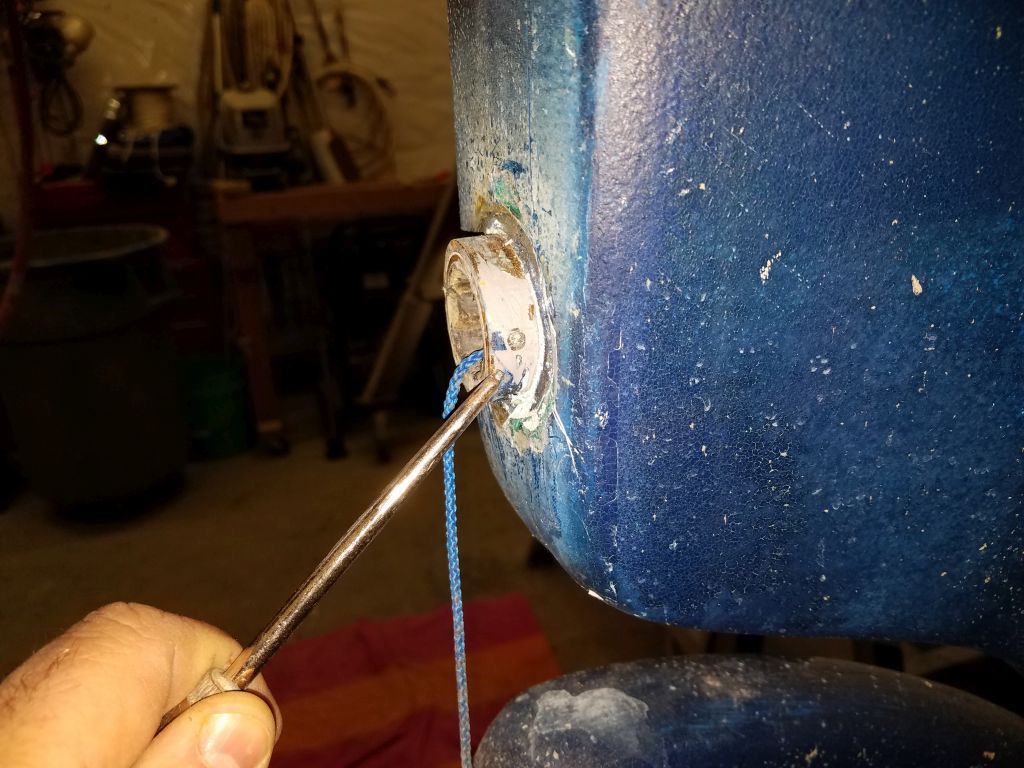
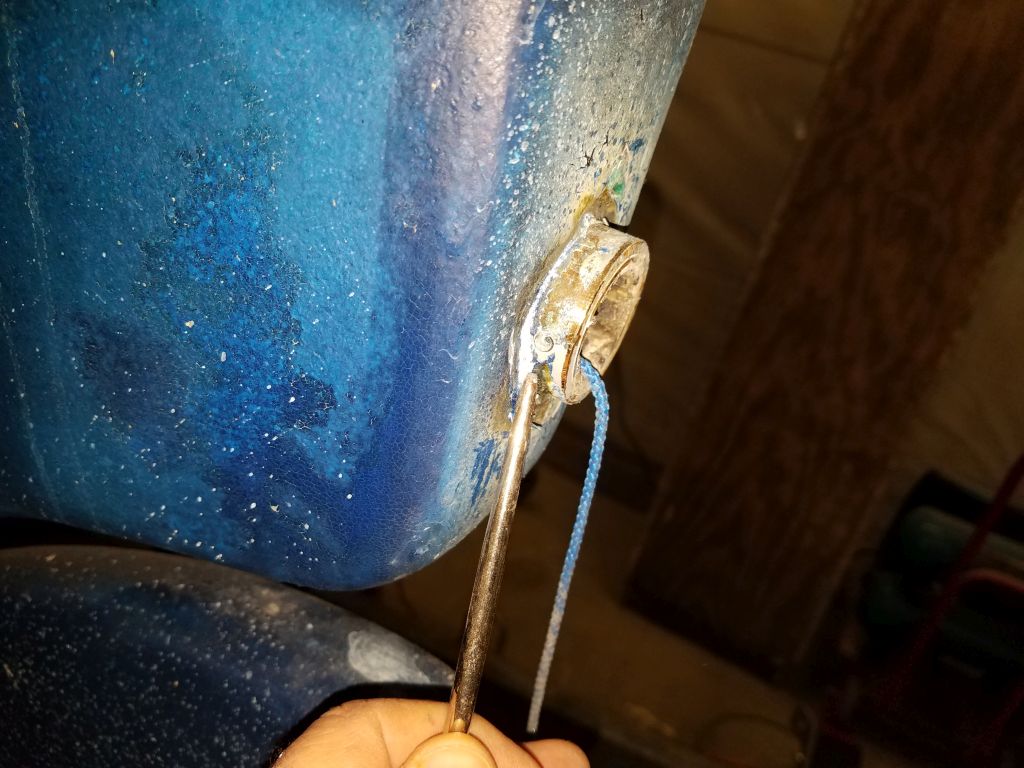


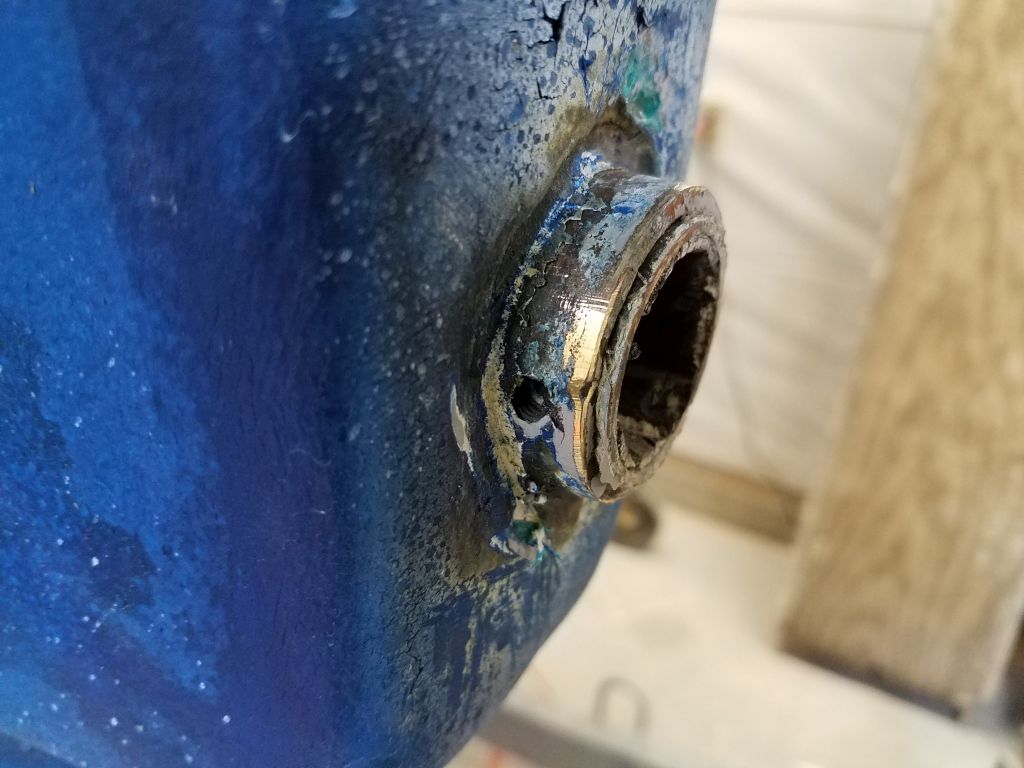
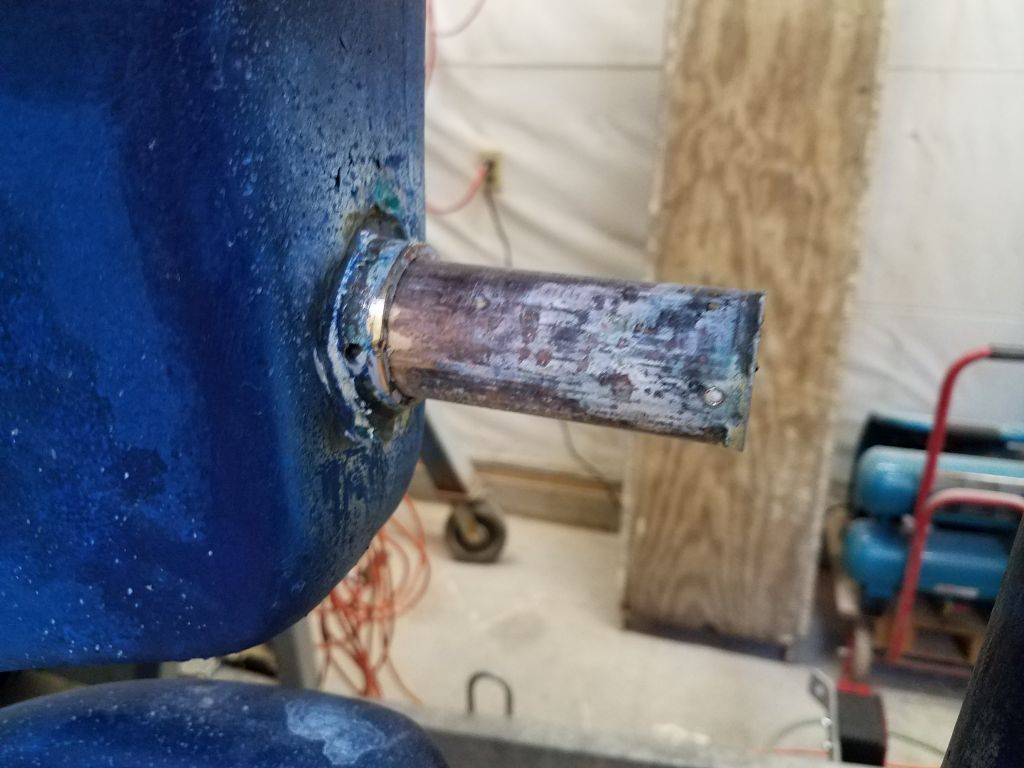
From inside, I used a length of steel pipe that just fit within the stern tube to hammer out the old bearing. After a few tentative taps on the pipe–not wanting to overdo it–I checked outside and was happy to find that the bearing had moved a little, so I proceeded with more vigor as required till I pushed the old bearing completely out. Afterwards, I measured up the stern tube and bearing and ordered a replacement bearing, along with the new packing box to replace the old grease-filled one.


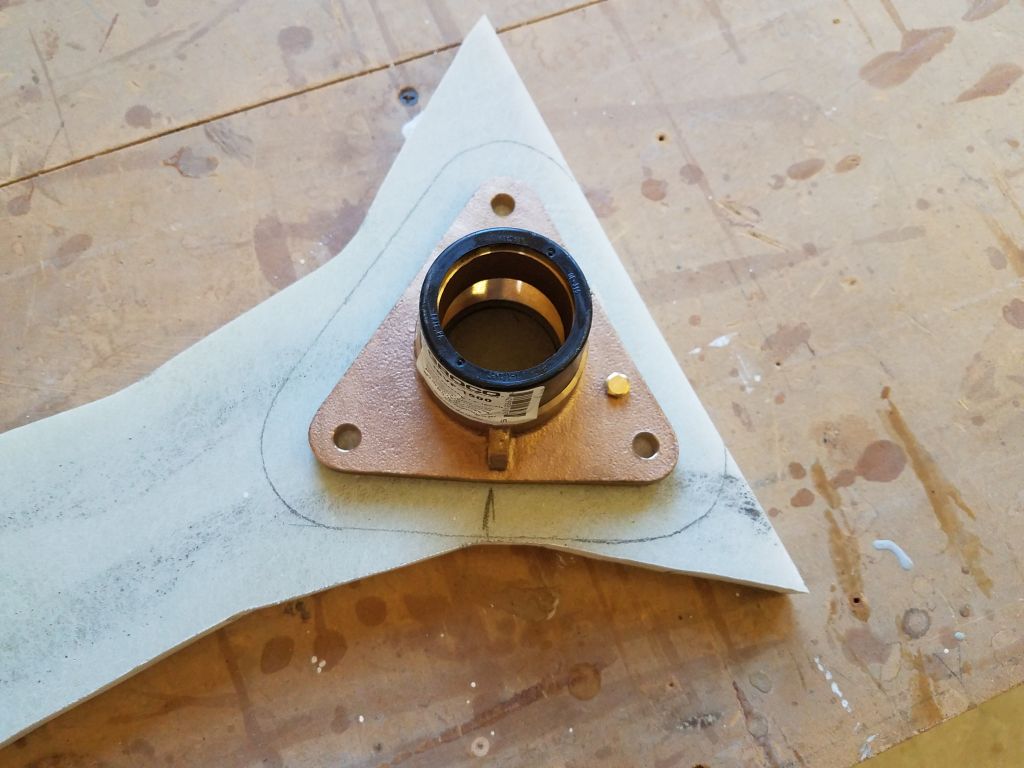
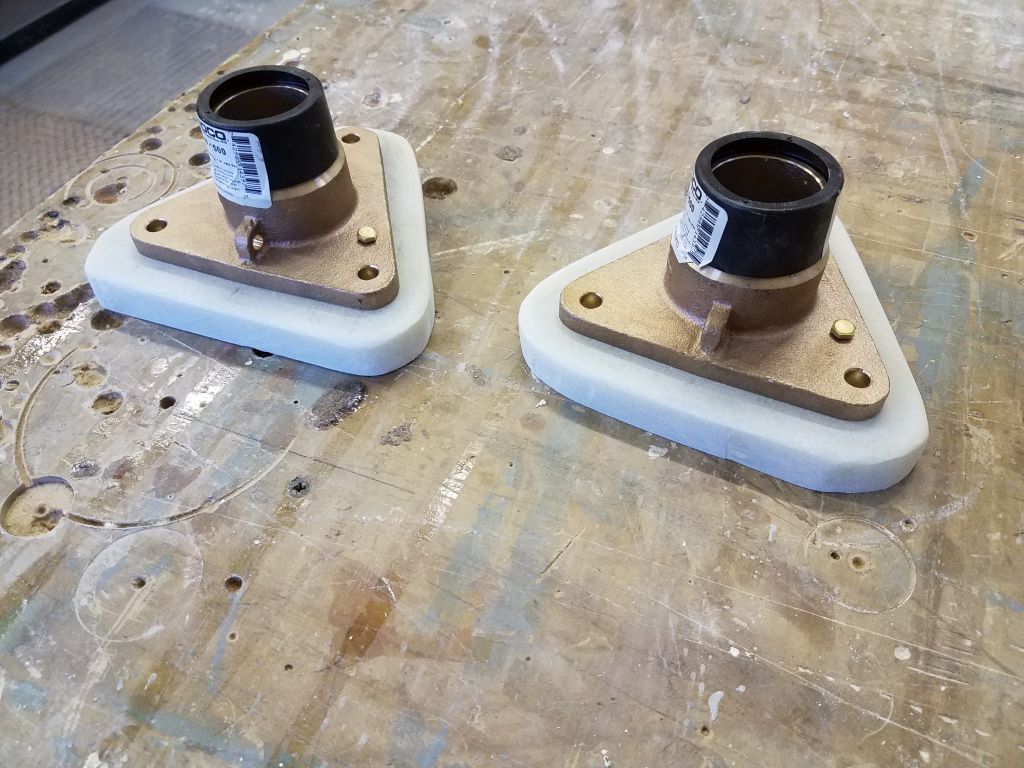
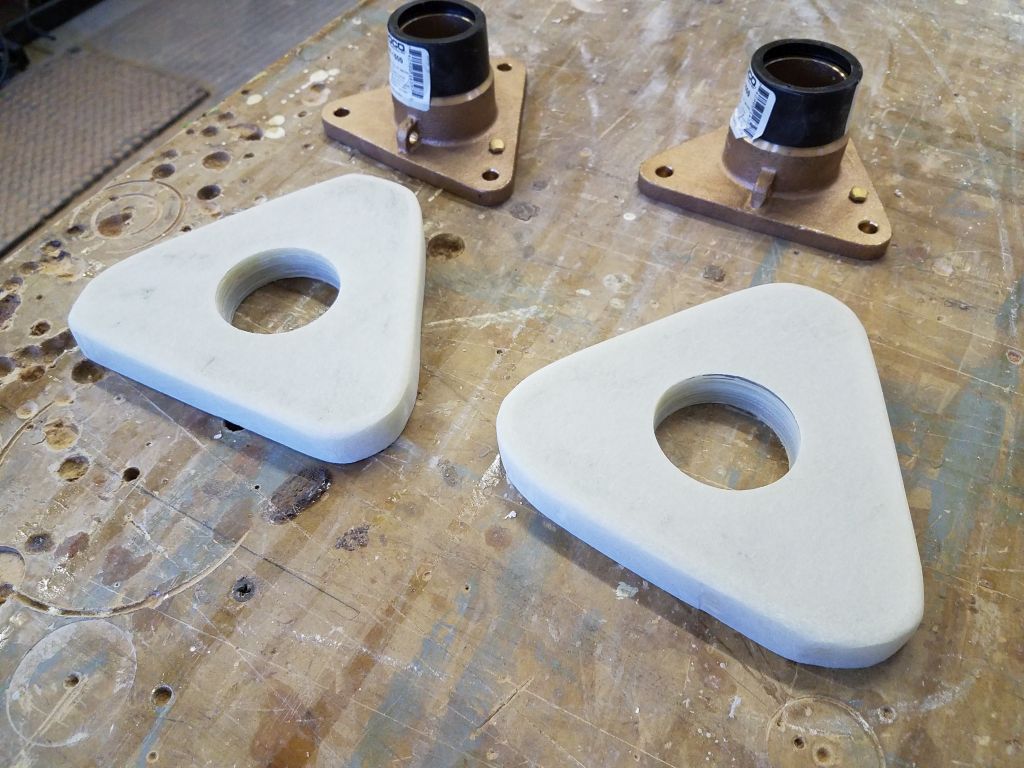
The next task to take care of while engine room access was as good as it would get was to install the two new through hulls for the cockpit scuppers. I’d already ordered and received the new bronze hardware. I discovered I’d mistakenly ordered through hulls with a hose barb instead of the plain threaded versions, so that would delay final installation slightly while I waited for the replacement order, but in the meantime there was plenty I could do to prepare, starting with the fiberglass backing pads for the flange bases. I cut and shaped these from 3/4″ G10 leftover from the engine foundations.

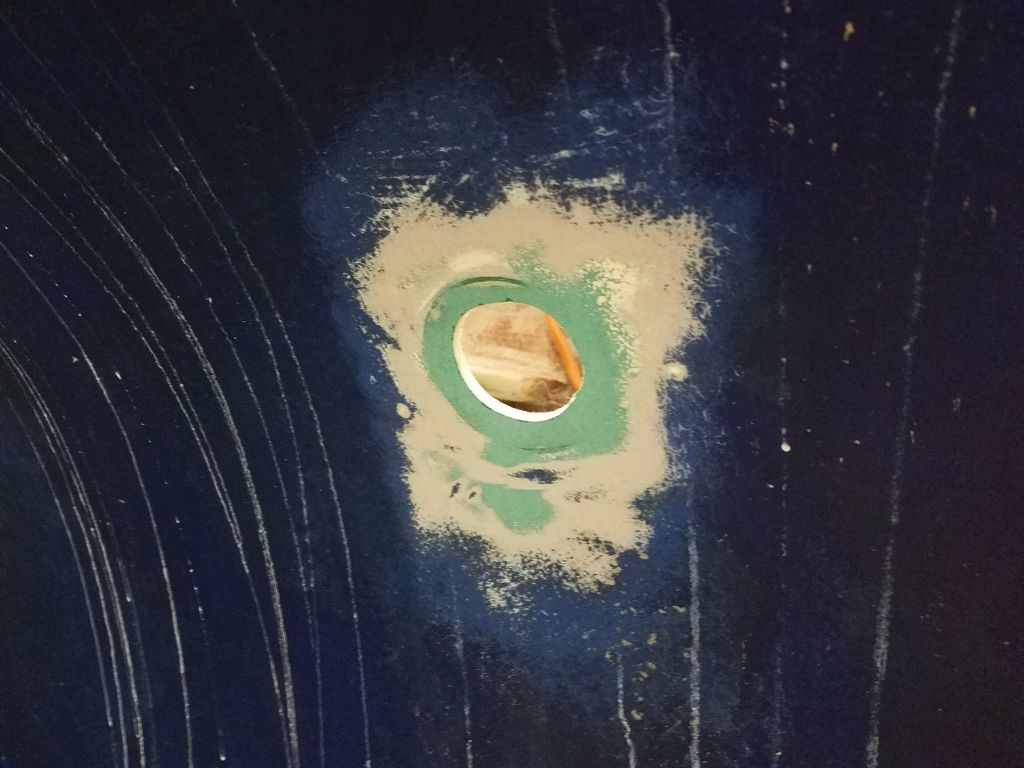
I’d already prepared the hull at the scupper openings inside the boat, but outside I sanded away the paint and old sealant from around the holes, and, since the old holes were a little undersized, used a drum sander to open up the holes as needed to fit the new through hulls.

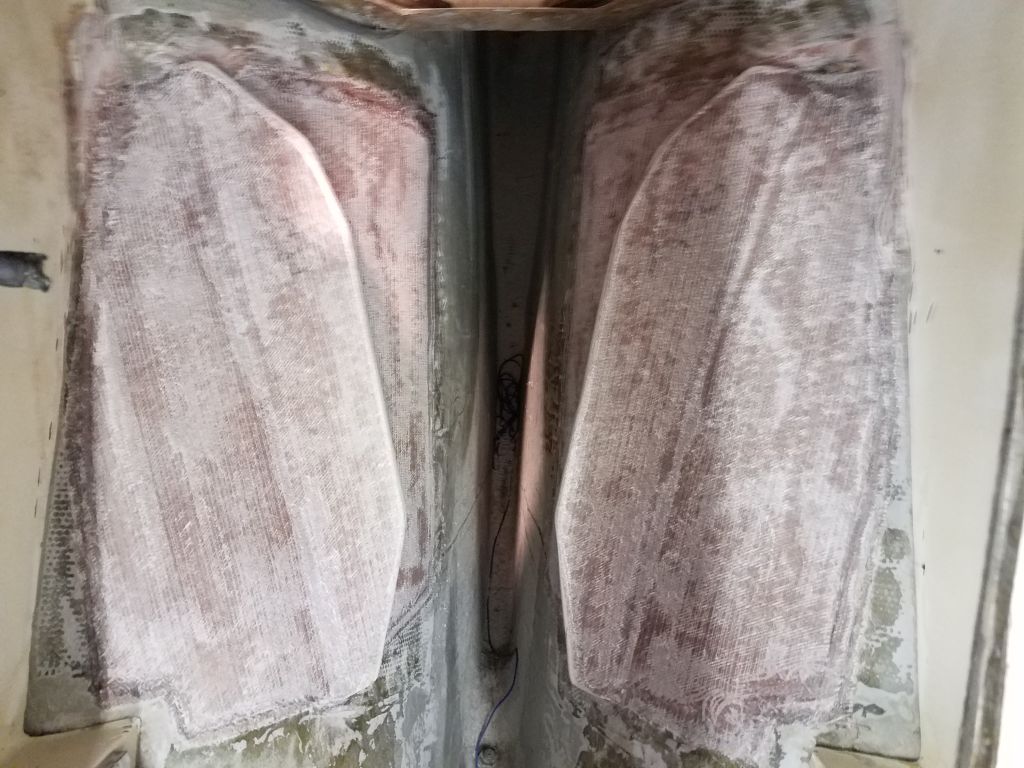
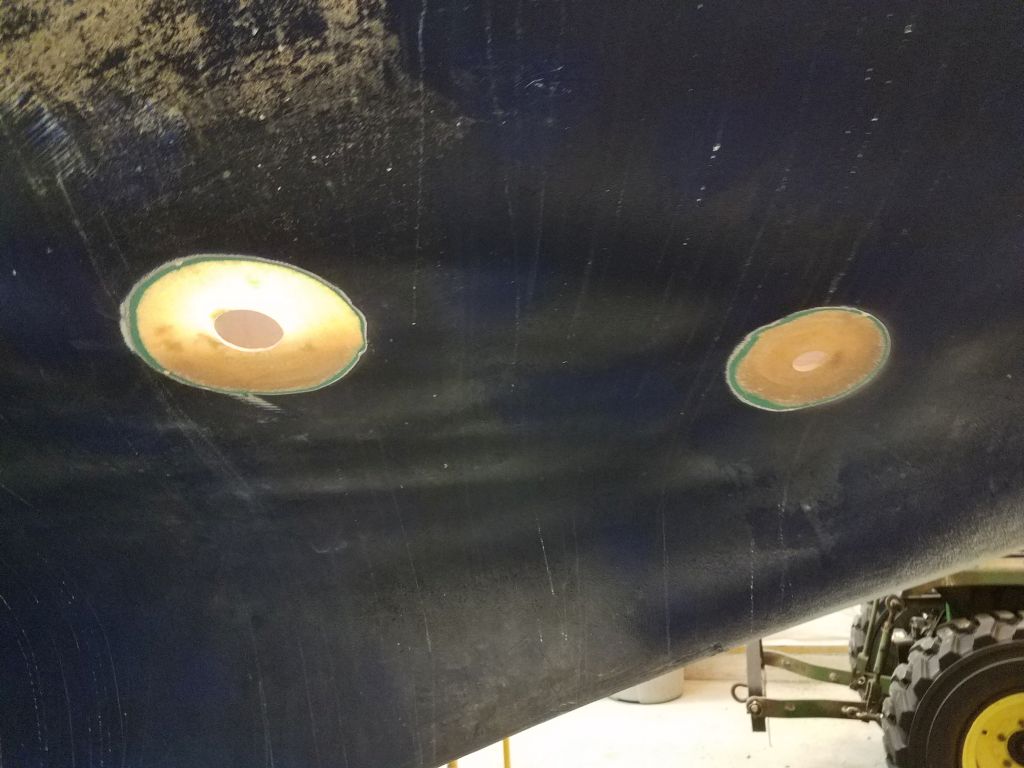
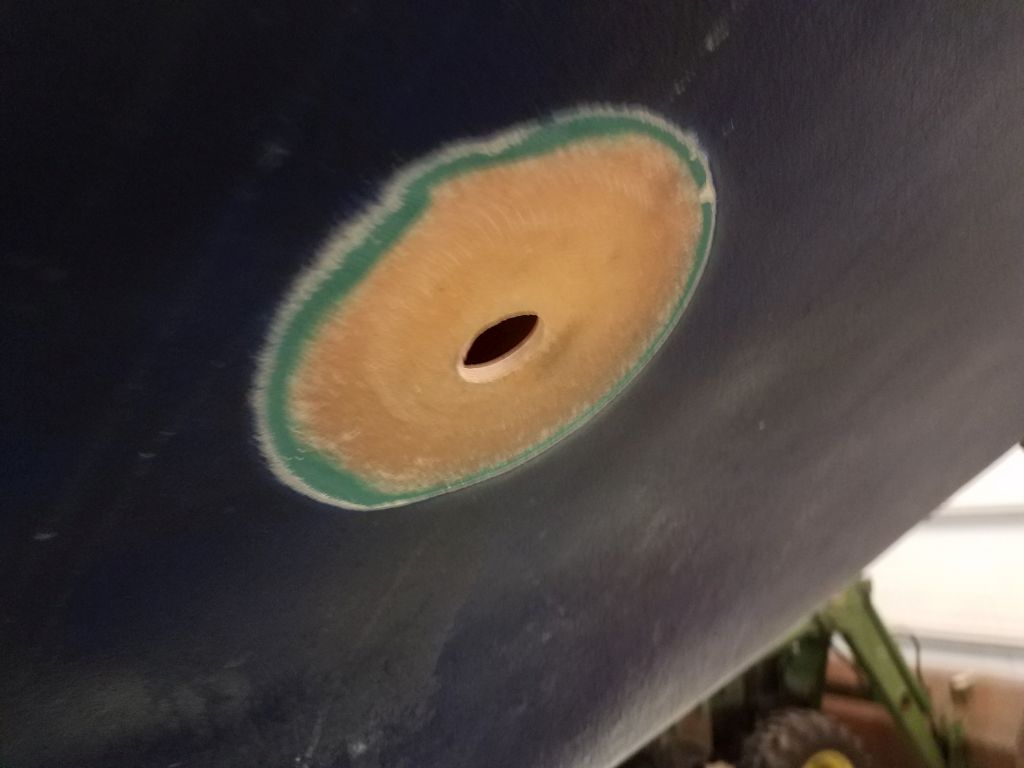
While I was at it, I prepared the two old holding tank through hull openings on the starboard bow for patching, grinding out circular dish-shaped areas around each hole so I could patch with fiberglass.

Total time billed on this job today: 6.75 hours
0600 Weather Observation: 15°, clear. Forecast for the day: Sunny, 30°