

January 9, 2019
Dharma Rose 27
Wednesday
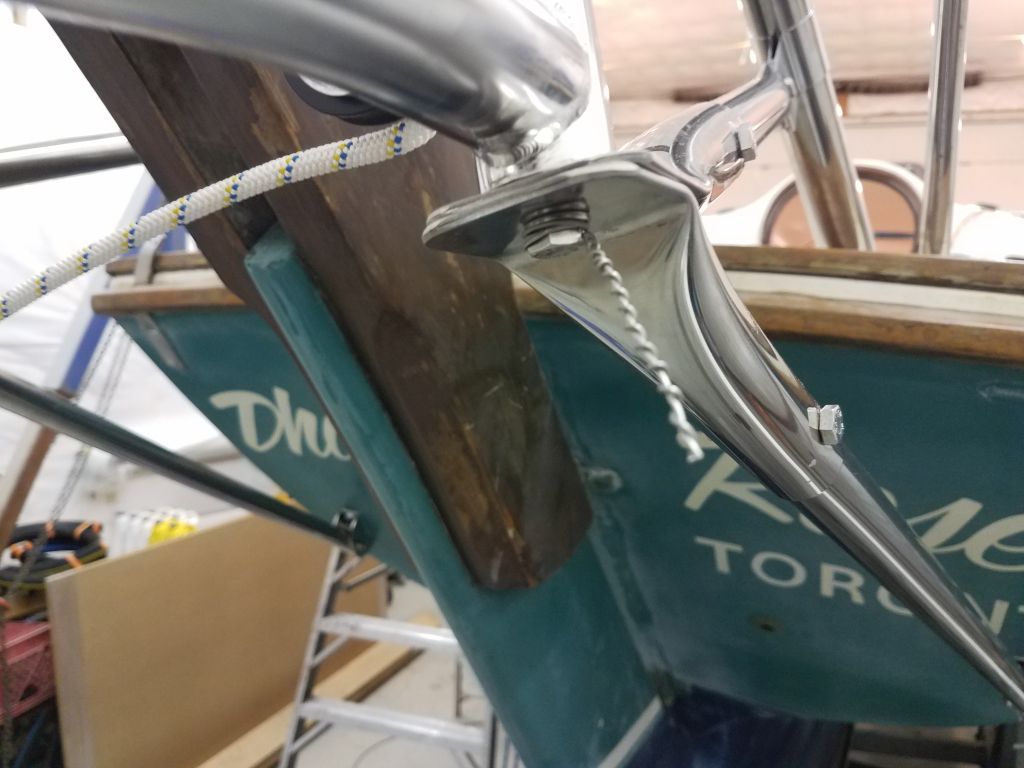
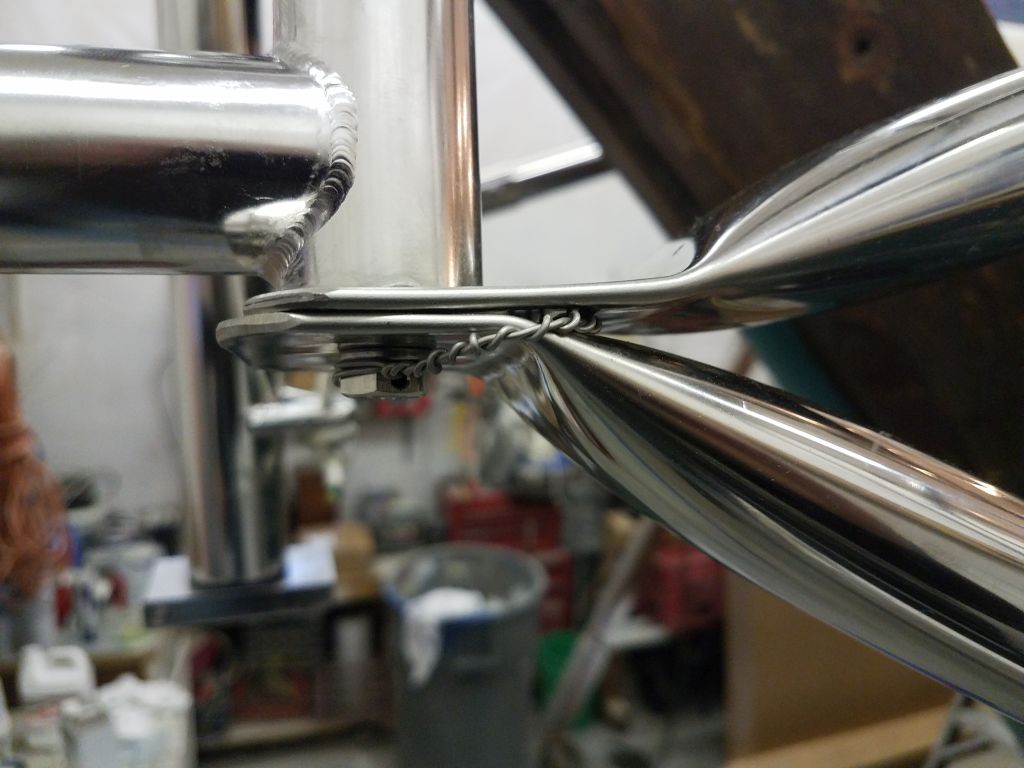
A final small detail to round out the Monitor installation was to mouse the bolts at the bottom of the frame, which bolts secure the brackets for the lower supports and diagonal tubes. The supplied bolts included a hole through the hex heads for this purpose, and with stainless steel wire I moused around the heads and secured the wires in a crook of the frame above.

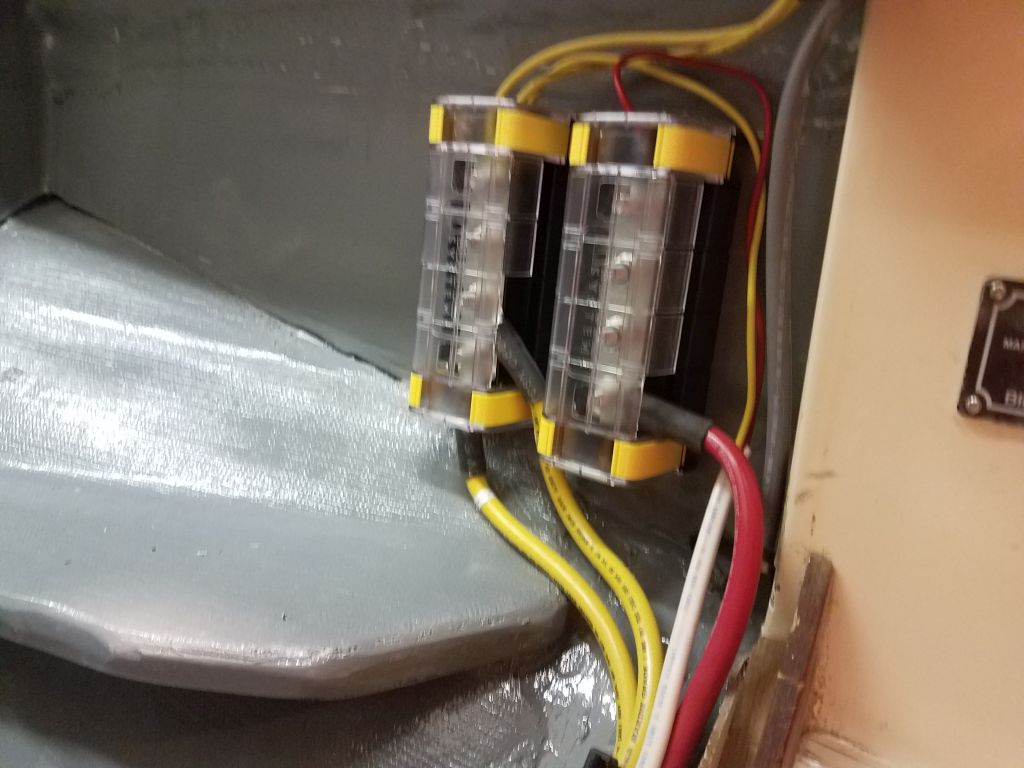
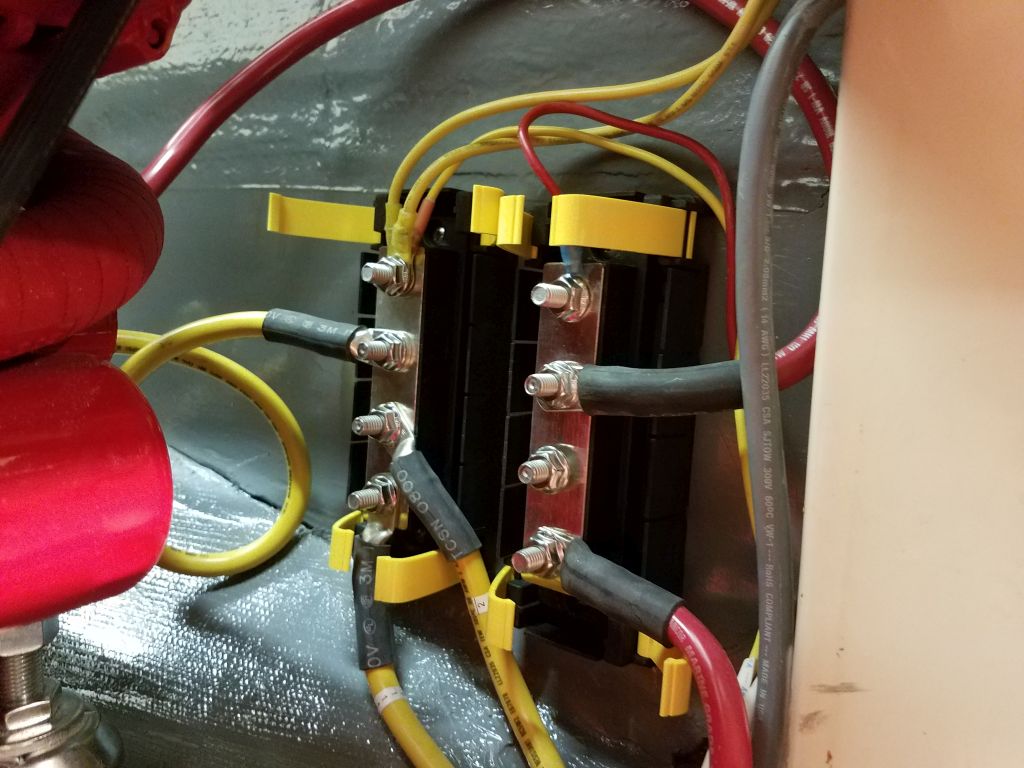
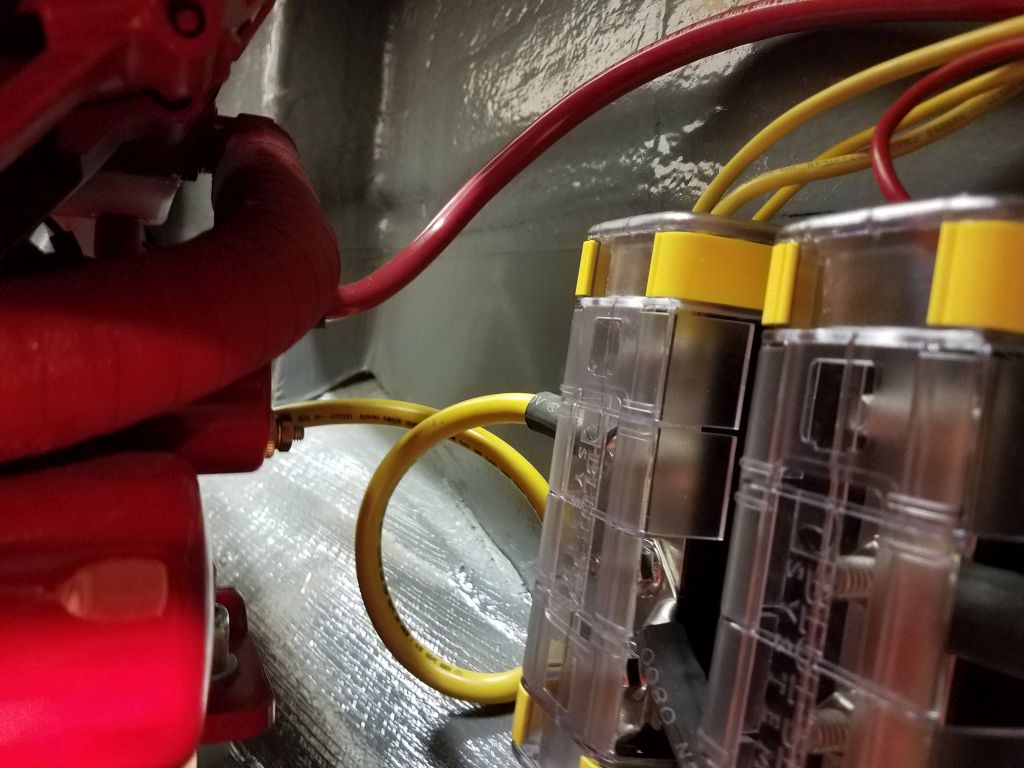
The protective covers for the new battery cable buss bars in the engine room had arrived, and now I went ahead and installed them. This was straightforward, though as anticipated I had to remove the buss bars to do so, since the covers simply snap over the backs of the busses, after which they can be reinstalled with the same screws.
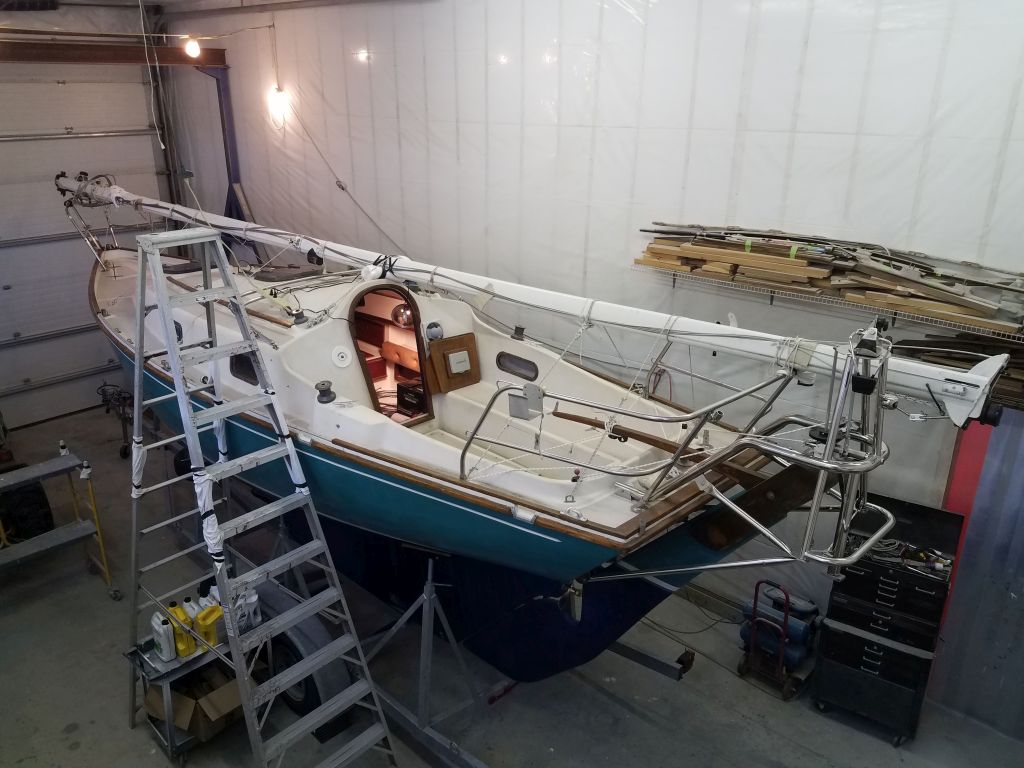
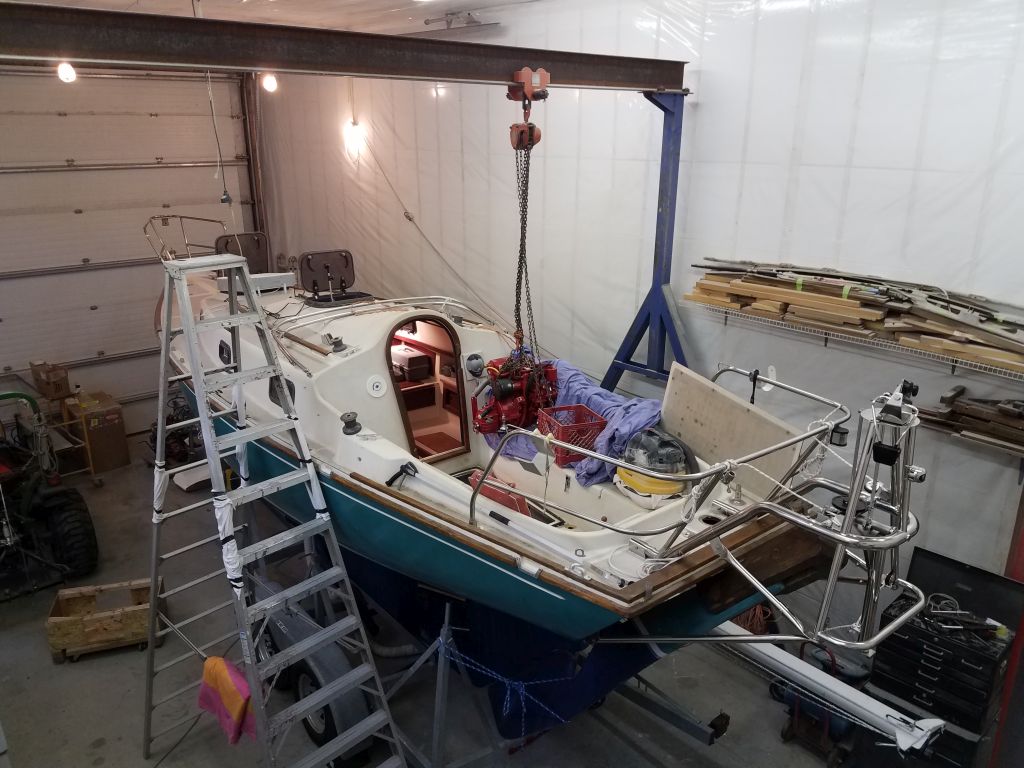
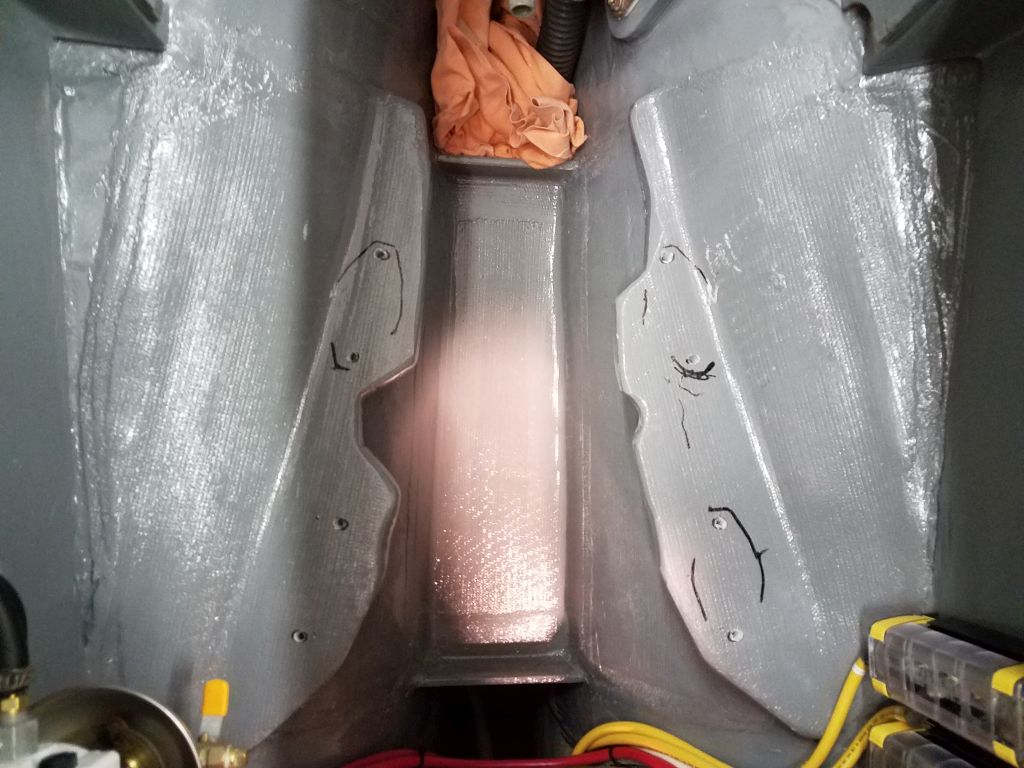
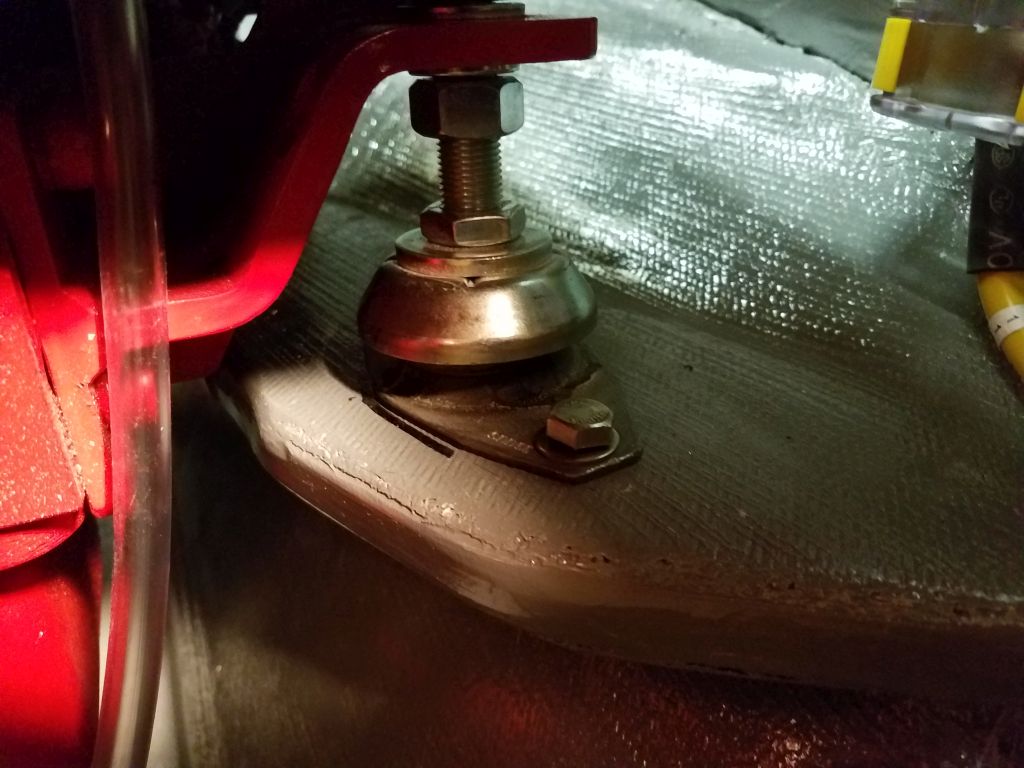
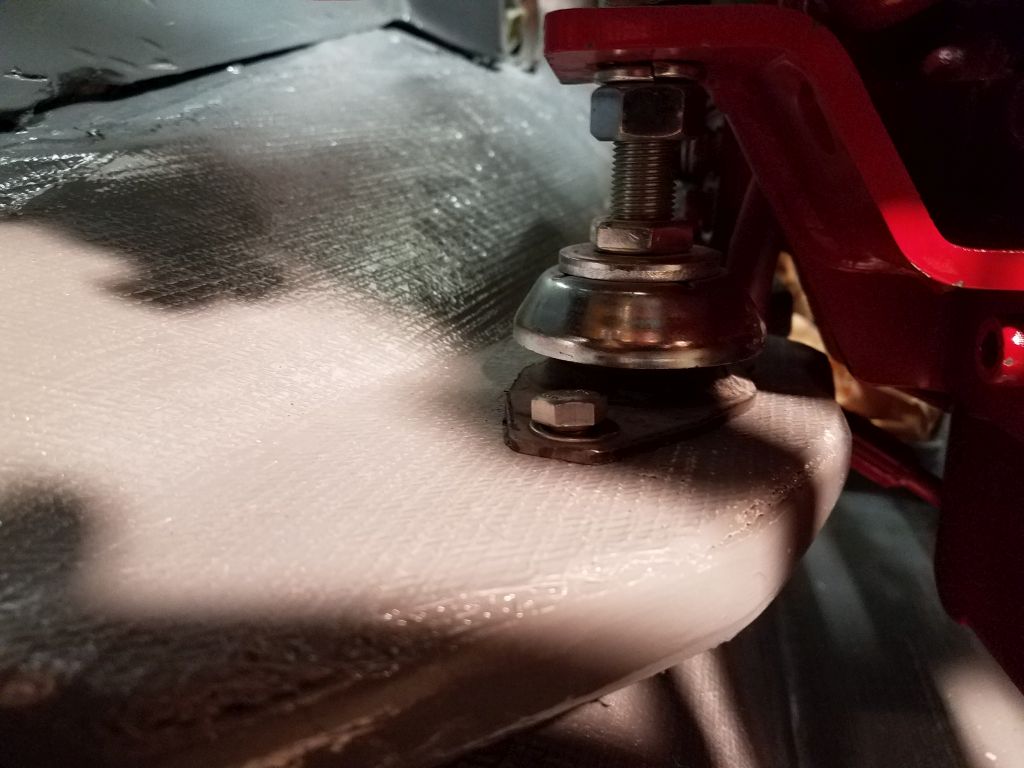
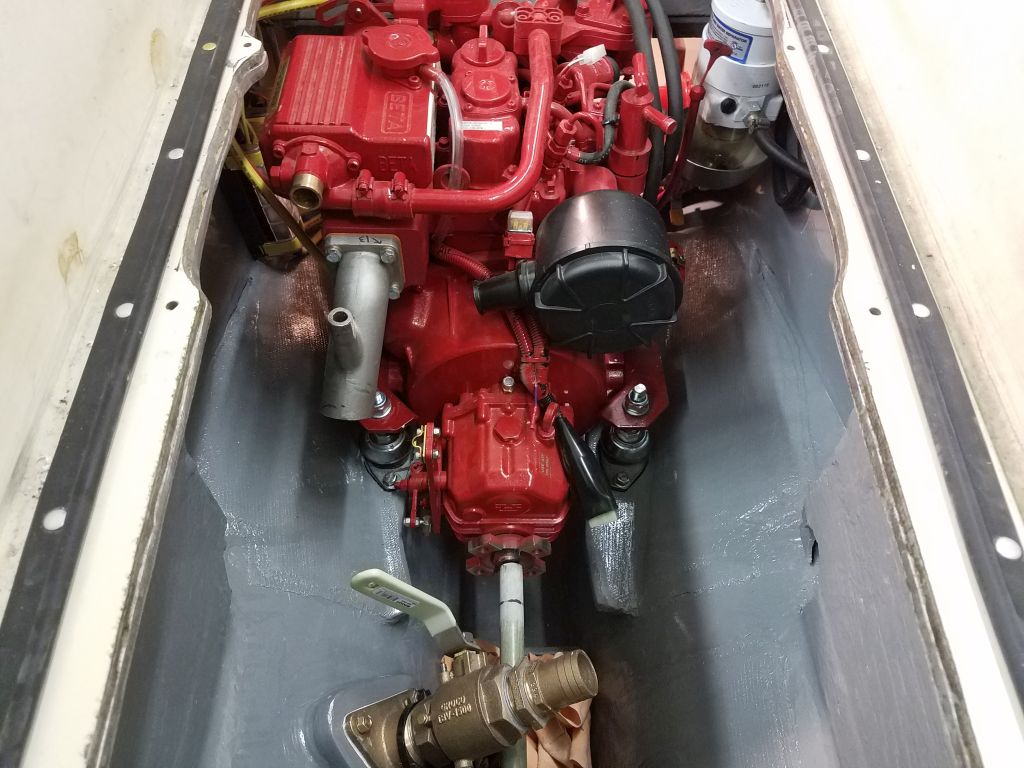
Now it was time to permanently install the new engine. Before raising the engine into the boat, I replaced the temporary nuts on the mounting studs with the final nylon-insert nuts and washers, since these were much easier to start on the ground than in the tight space in the boat. Then, I raised the engine and set it on the foundations so I could make the final marks for the mounting bolt holes.
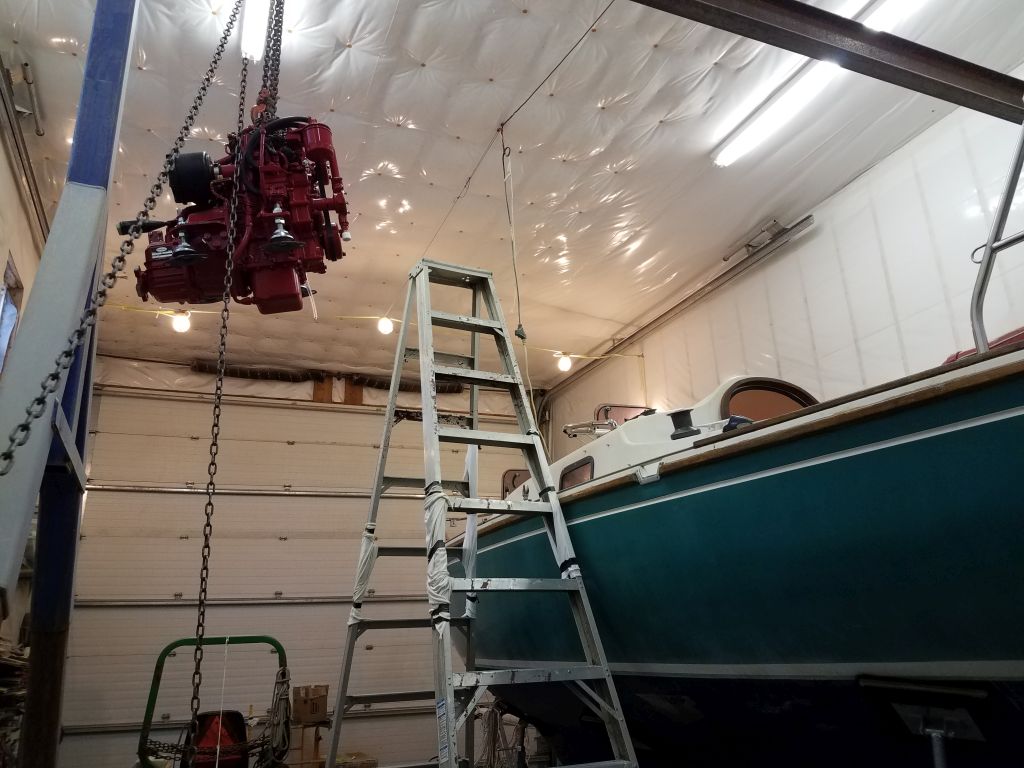
To ensure I got the bolt holes in the right place, I set up my fiberglass shaft mockup (the new propeller shaft was being machined). I’d sent off the coupling to the machine shop, but for this purpose just running in the shaft to ensure it was centered on the nut inside the transmission flange would be sufficient to drill the mounting holes, since the nature of the mounts was to allow fine-tuning for alignment later.
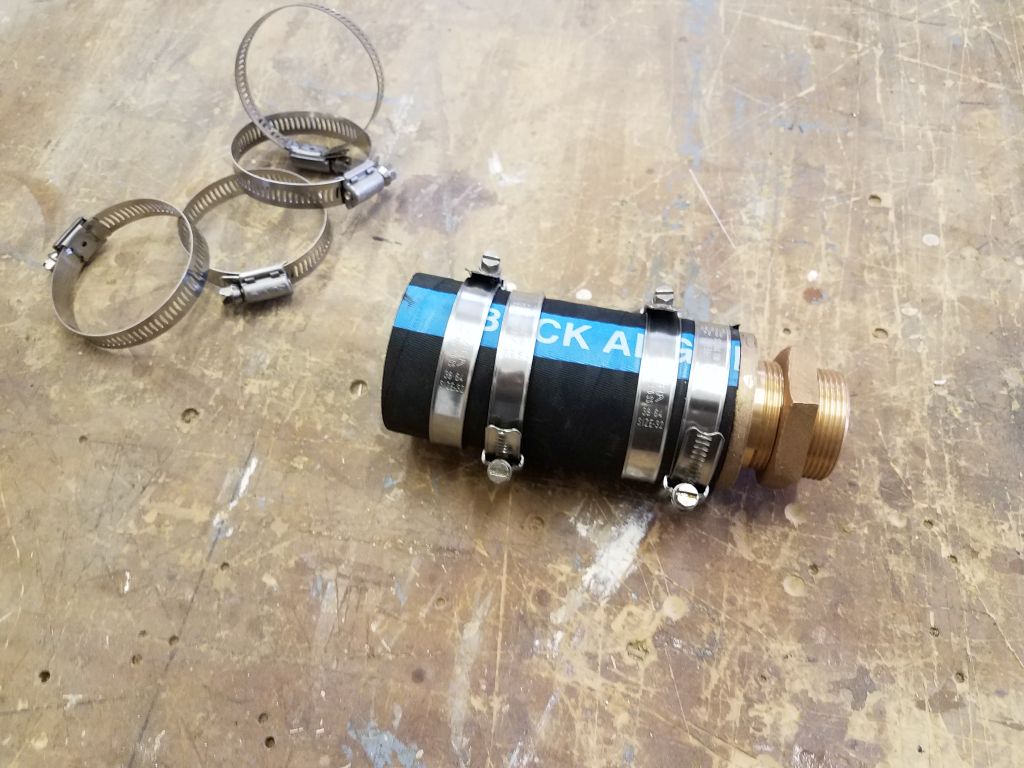
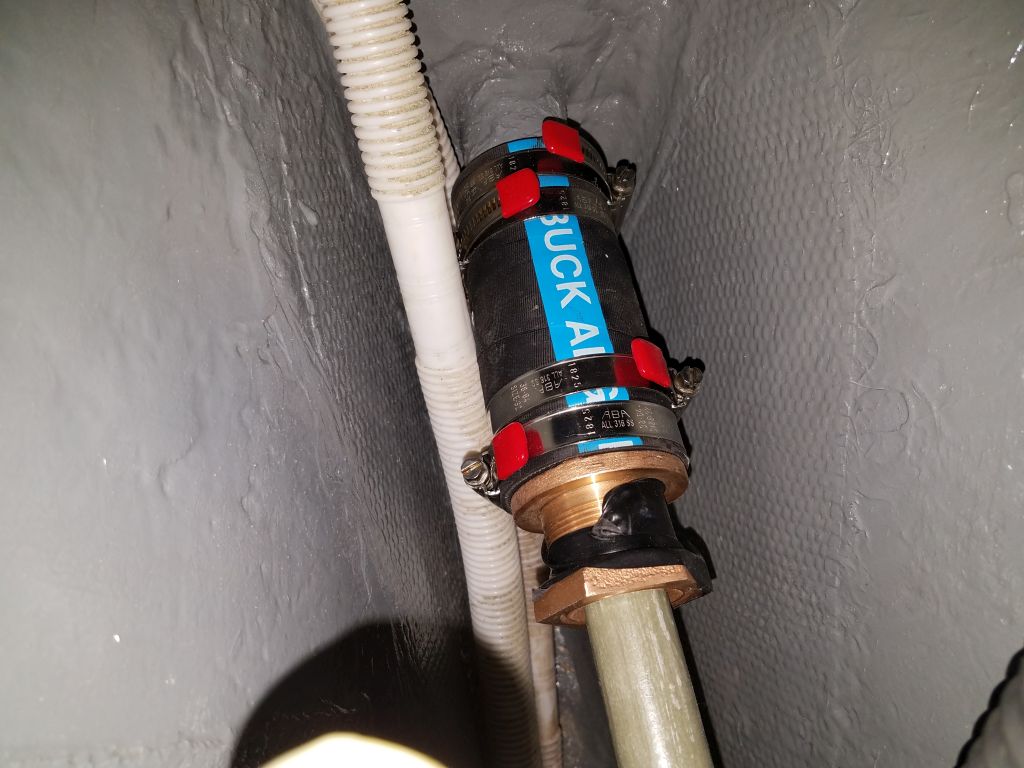
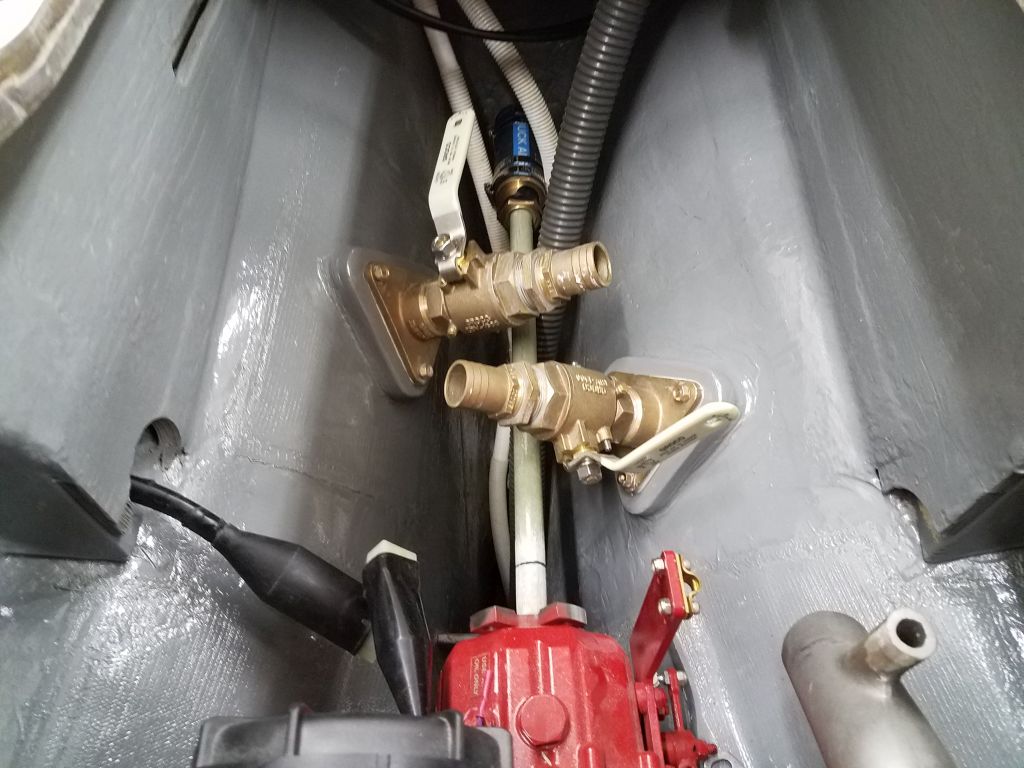
To help support and align the temporary shaft, I installed the new stuffing box (leaving off the packing nut for now). The new hose came with four clamps of an inferior type, so I replaced them with my usual solid band all-316 clamps, then installed the new assembly in the boat.
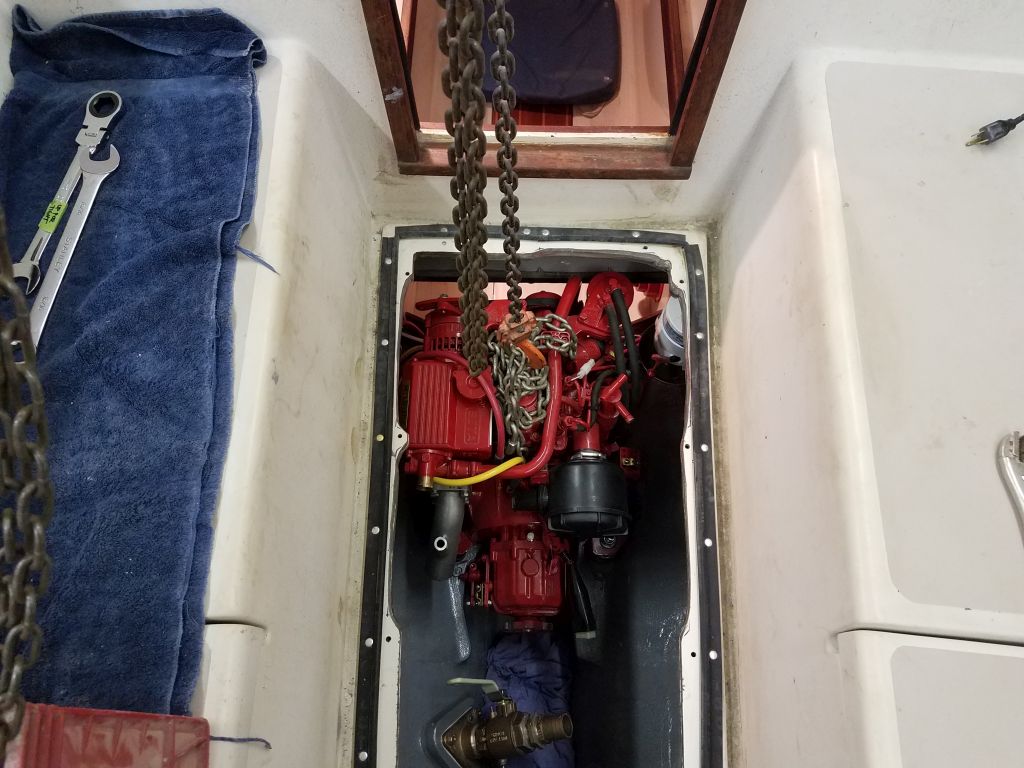
With the shaft in place, I shuffled around the engine a bit, using the small pilot holes I’d made earlier to assist (I had to be in the same basic position since the new shafting depended on it), and eventually achieved a satisfactory position all around, with the engine in essential alignment and all the mounts where they needed to be. Then, I marked the bolt holes through the mounts, and/or marked around the mounts as possible given the challenges of access, particularly on the after pair of mounts. Afterwards, I lifted the engine back out temporarily.

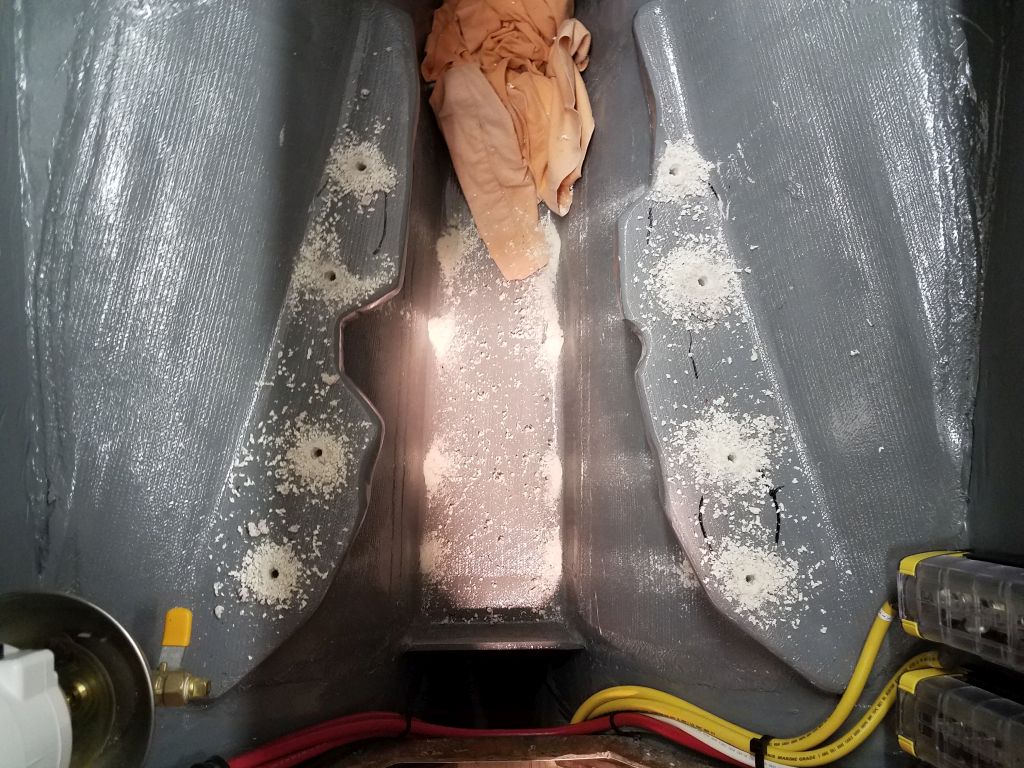
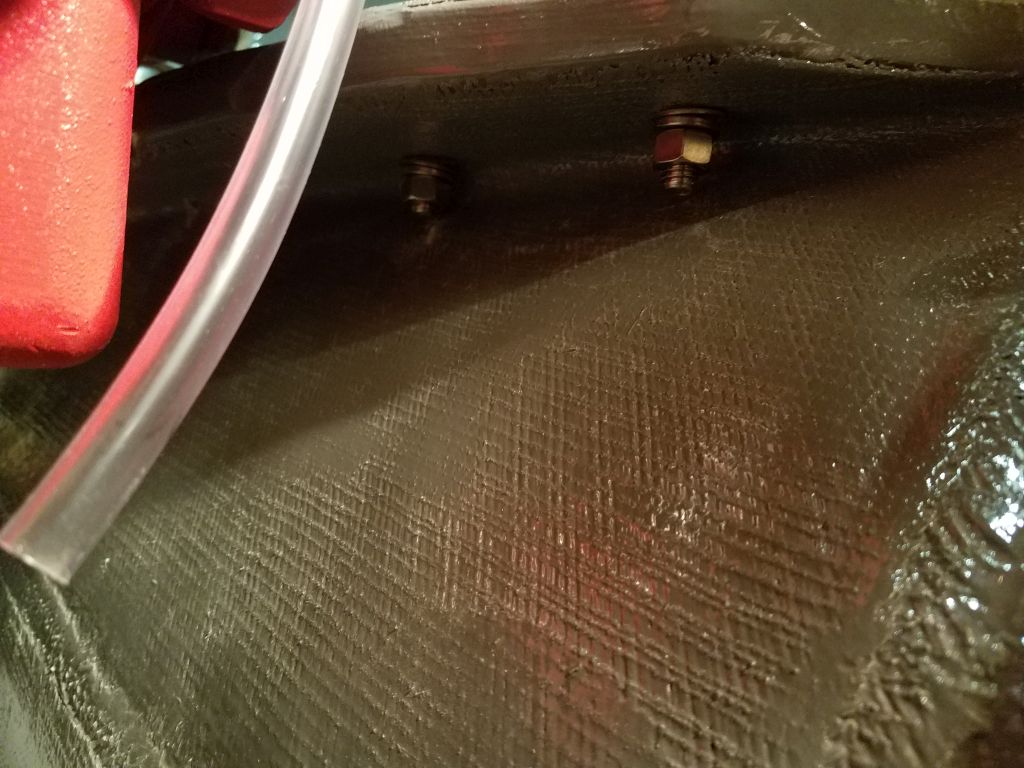
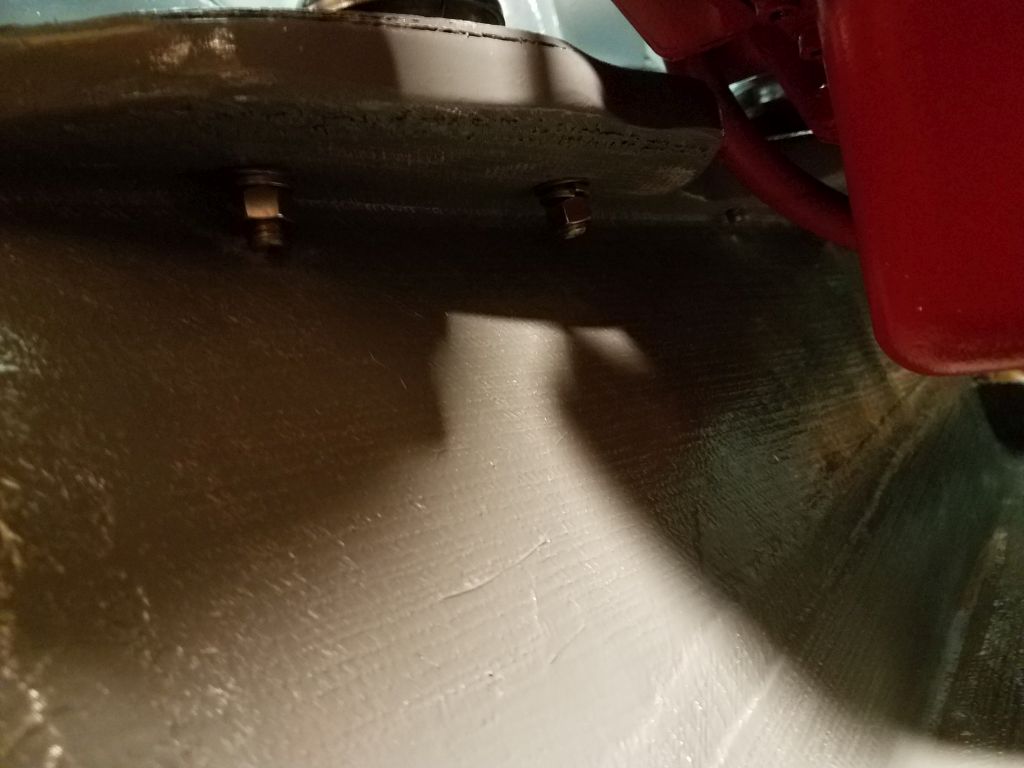
For reasons of access, I decided to pre-install the two aft mounts, since the shape of the hull, foundations, and the narrowness of the mounts conspired to make access back there extremely difficult. Once I removed these mounts, I used them as guides to locate and drill the pilot holes for all the mounting bolts. I tapped all the holes for the 3/8-16 machine screw threads as well. Afterwards, I bolted in the after set. I considered installing the forward set as well, but given how much I needed to move the engine once it was down in the hole, plus the fact that I had at least reasonable access to the forward end, I decided to leave them on the engine.

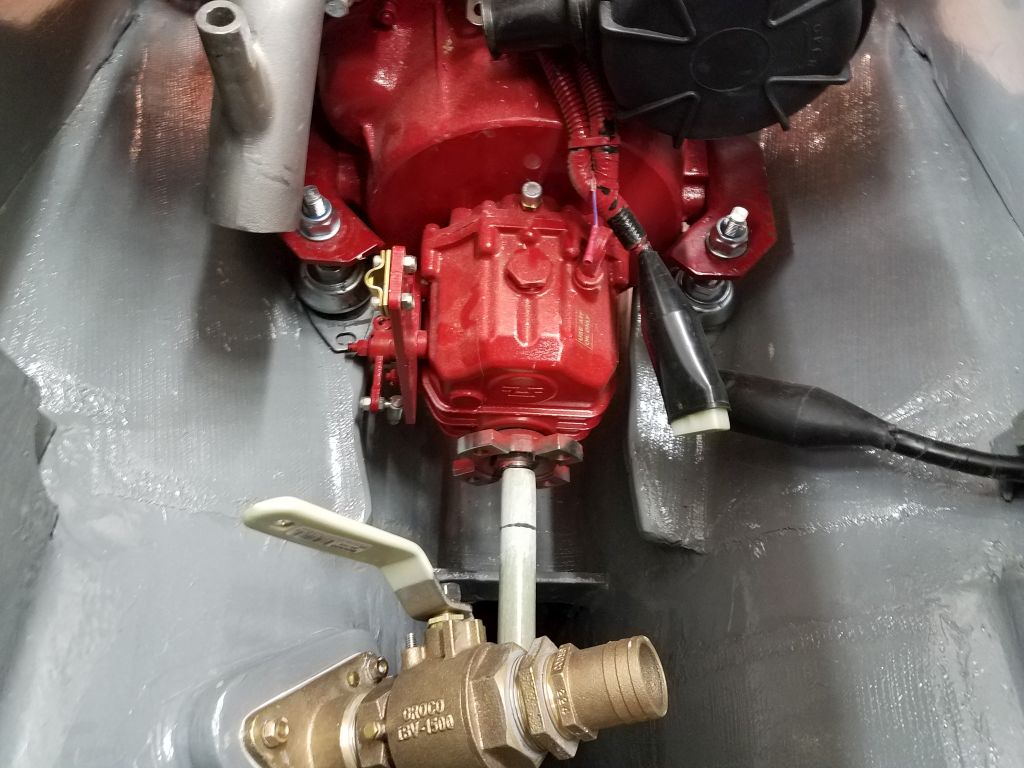
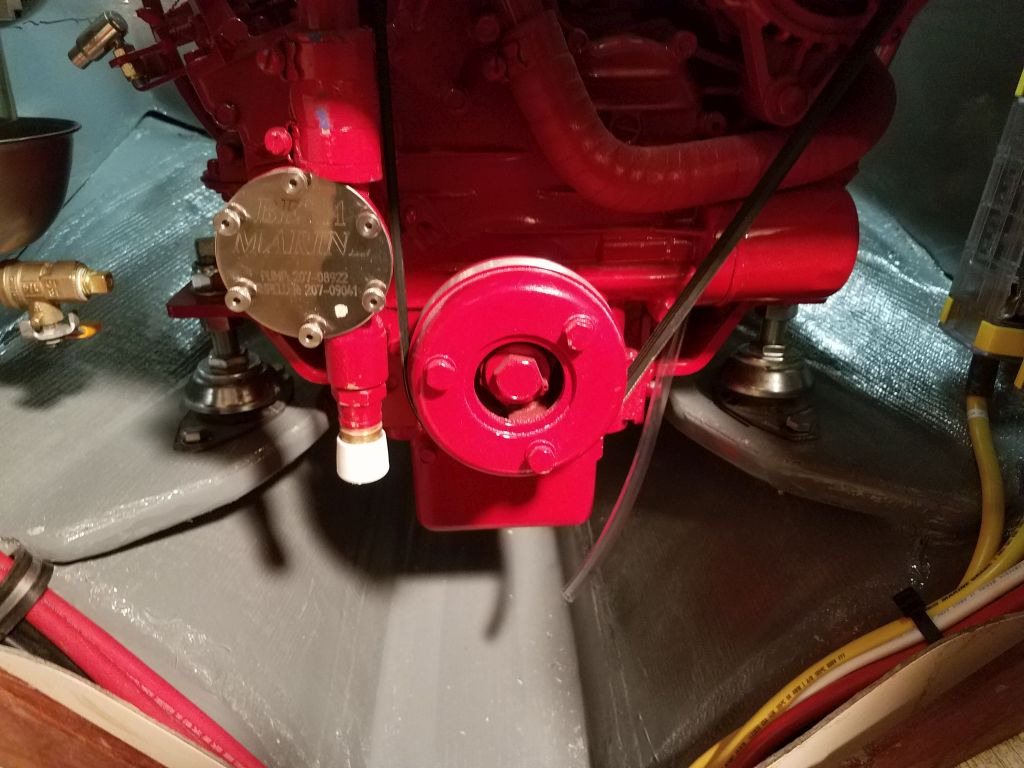
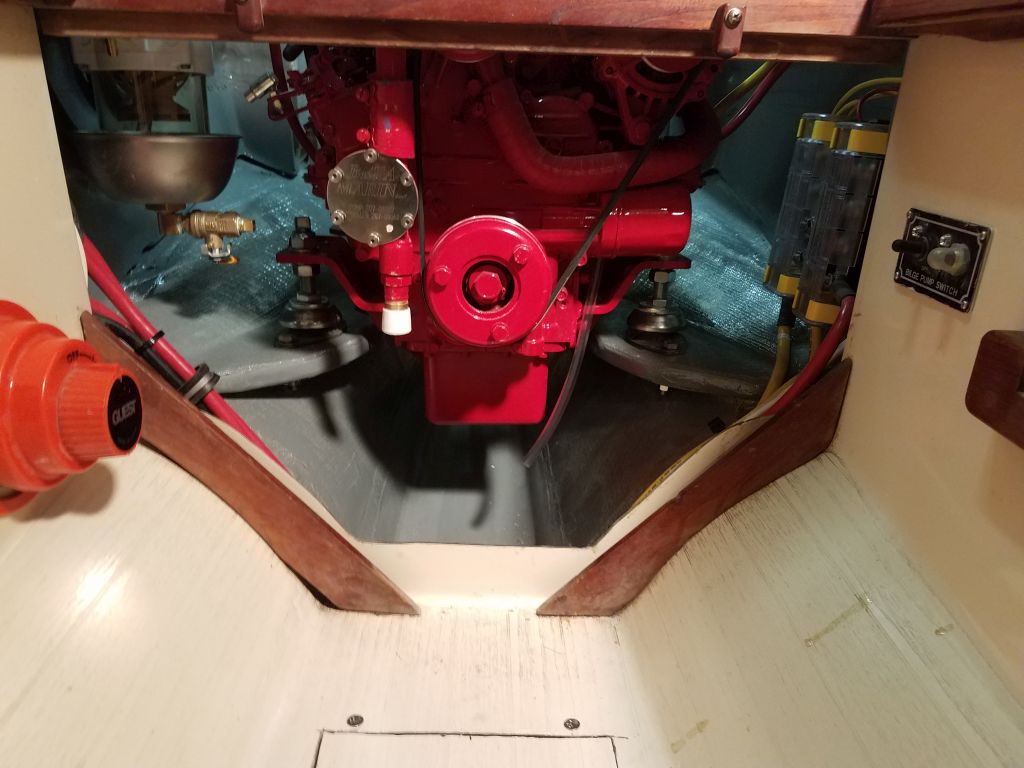
For the last time, I lowered the engine back into the space, onto the after mounting studs, and then down onto the forward mounts, after which I loosely installed all the bolts just hand tight to allow adjustment later once I got back the coupling and new shaft.
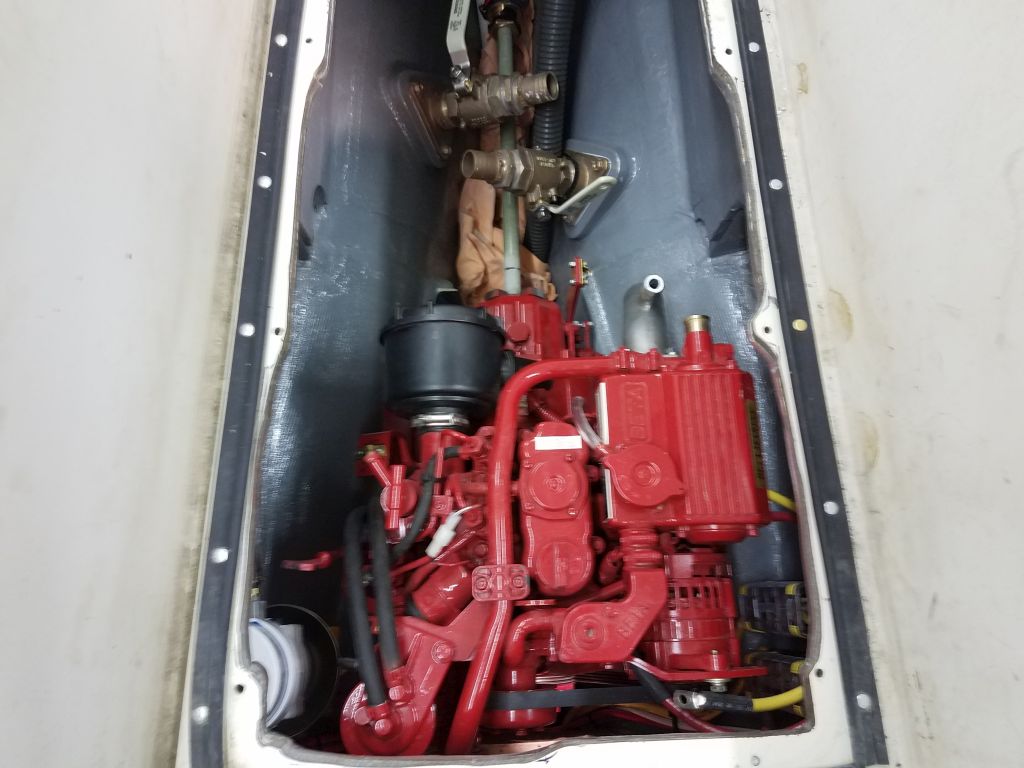

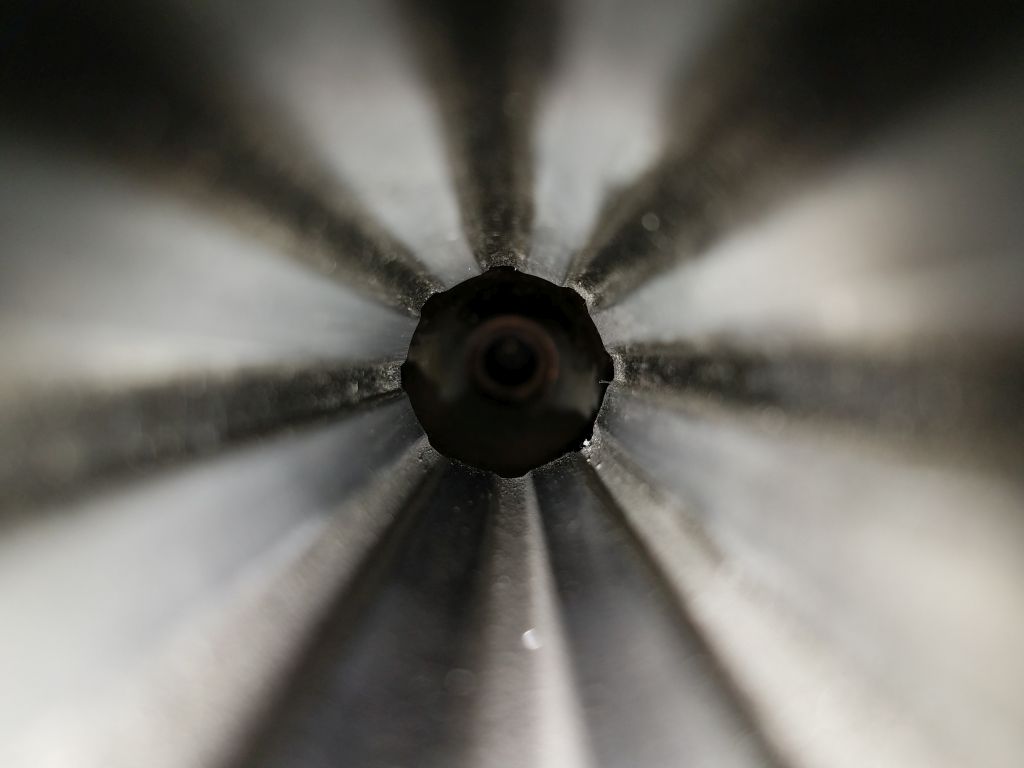
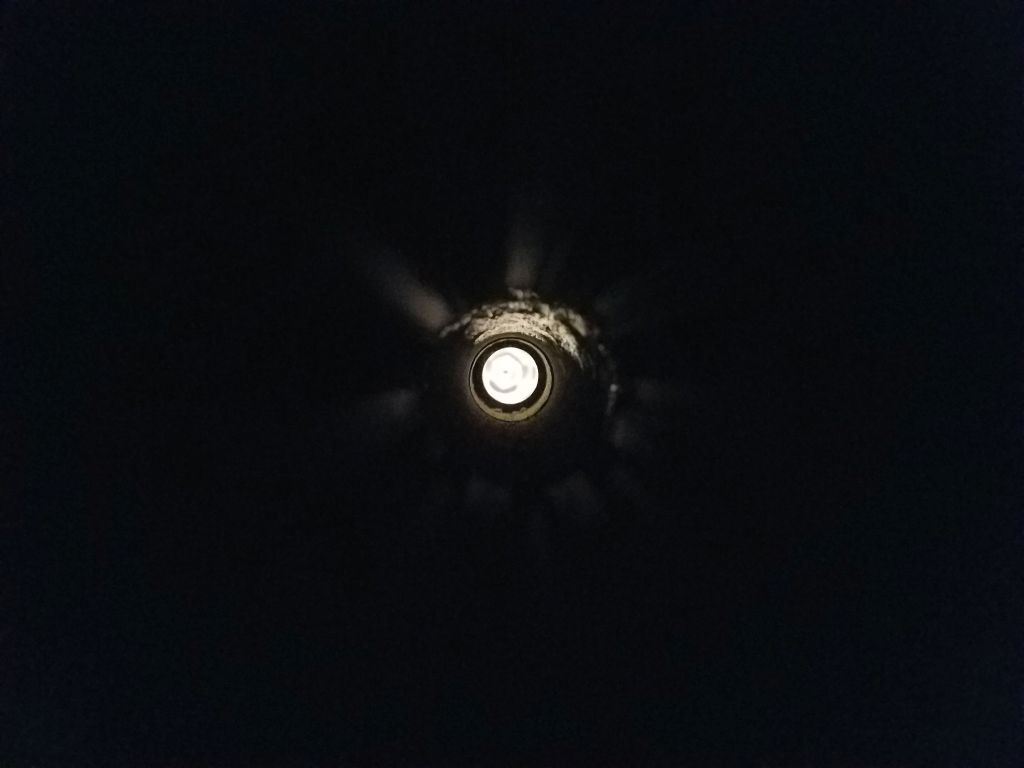
I always like to take a picture up the stern tube to show the center of the transmission coupling. I liked the way the one with the flash came out.
Now I could start making up the final connections, starting with the positive and negative battery cables, which I’d already connected to the engine itself before installation; it was a simple matter to connect them to the convenient buss bars.

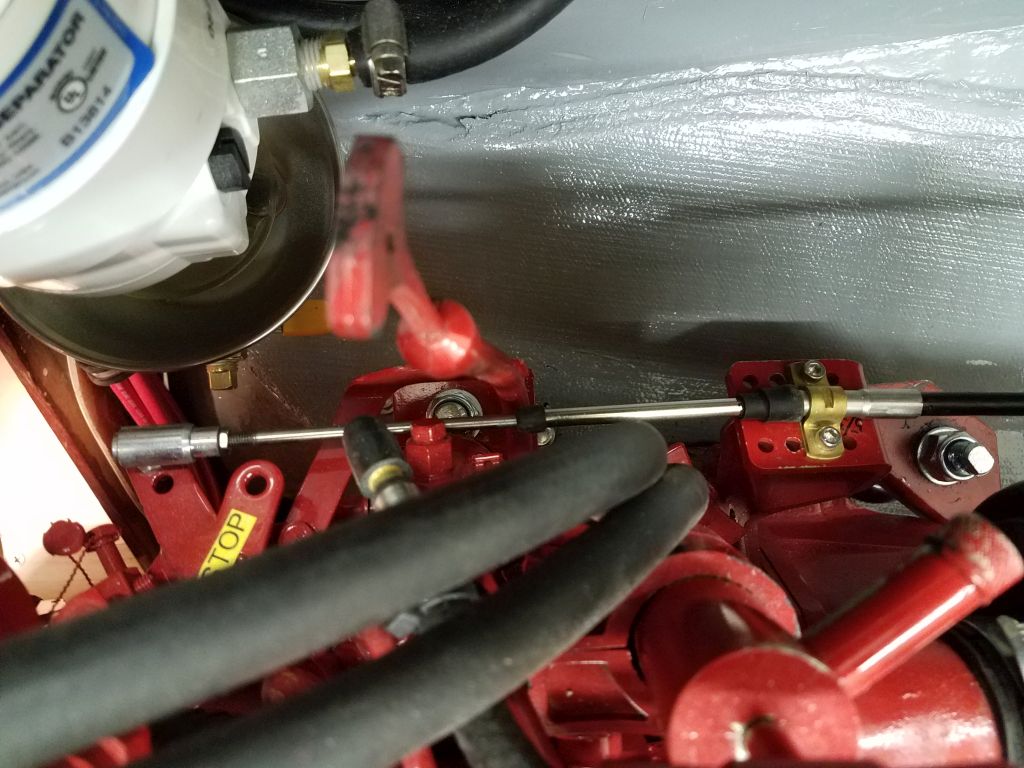
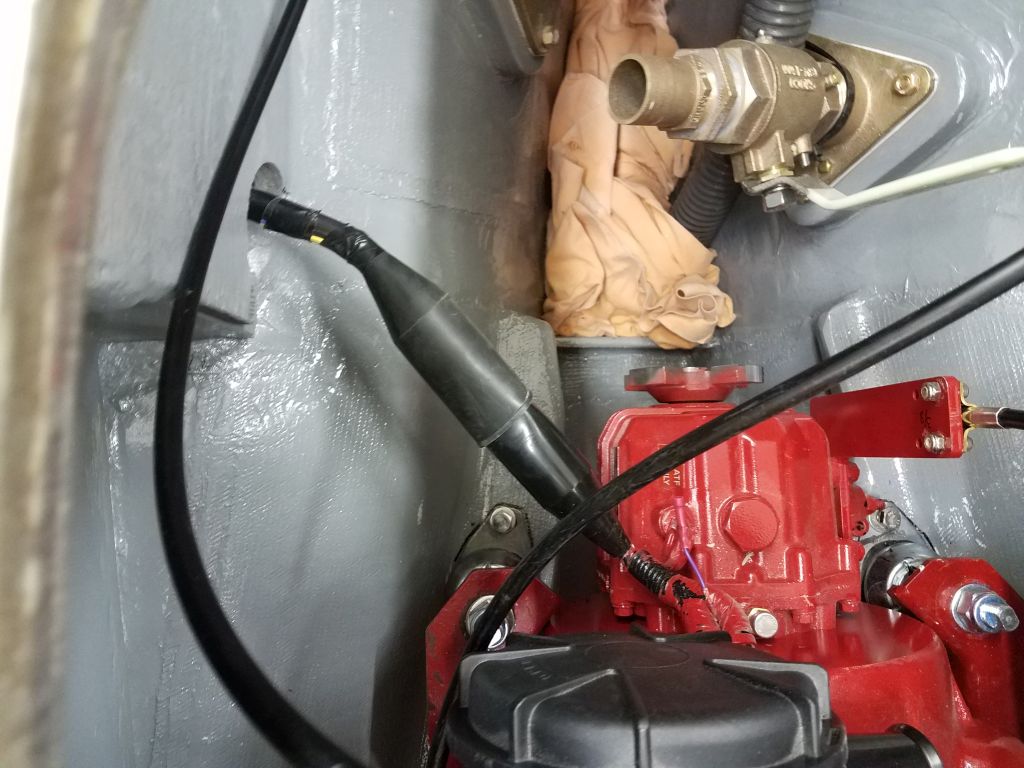
I installed the throttle and gear cables, and connected the engine wiring harness.

I made up the short length of hose between the fuel filter and the inlet on the engine-mounted fuel pump, and made up the connection to the return line on top of the engine.
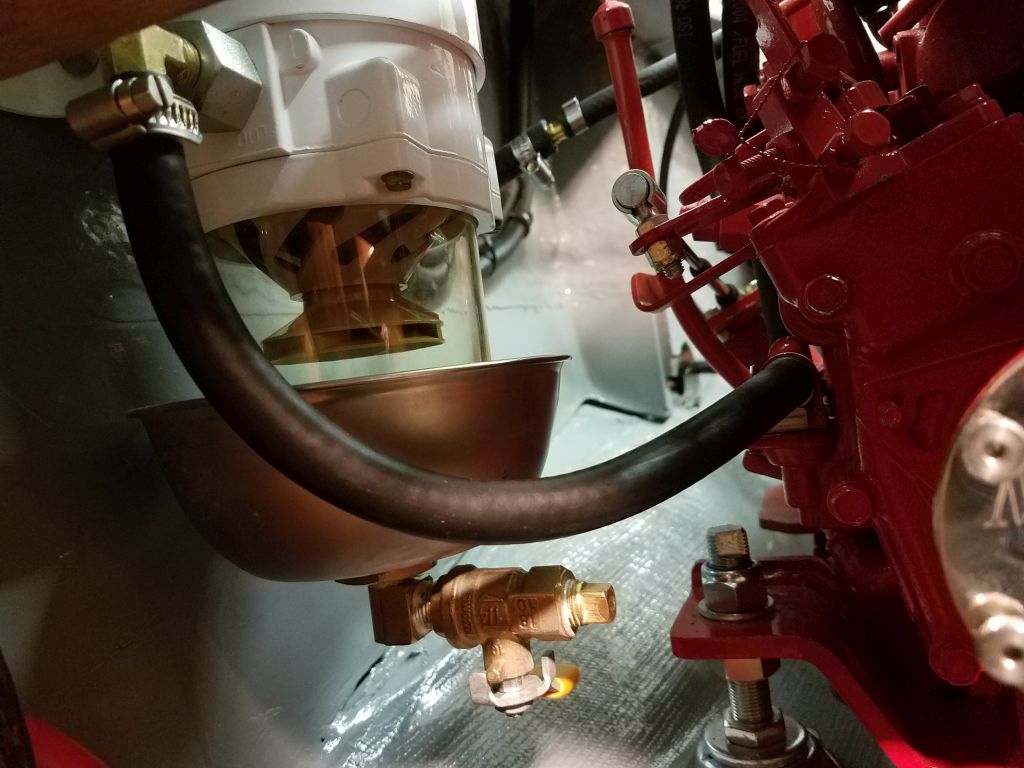

I’d hoped to install the raw water hoses as well, but found that the length I had wasn’t long enough given the bends and curves required, so for now I had to settle for installing the short run between the seacock and the raw water filter. This brought me to the end of the day.

Total time billed on this job today: 7.25 hours
0600 Weather Observation: 38°, clouds, drizzle. Forecast for the day: Rain to snow, growing colder.