

November 28, 2018
Dharma Rose 4
Wednesday
Still in removal mode, I turned to the head system. In addition to the soon-to-come job of opening up the old waste tank in the bilge area, the owner also planned to remove all the existing hoses and equipment related to the system, with simpler waste management plans for the future. We had a brief discussion mid-morning to consider last-minute alternatives for the system, but ultimately stayed true to the original plan.
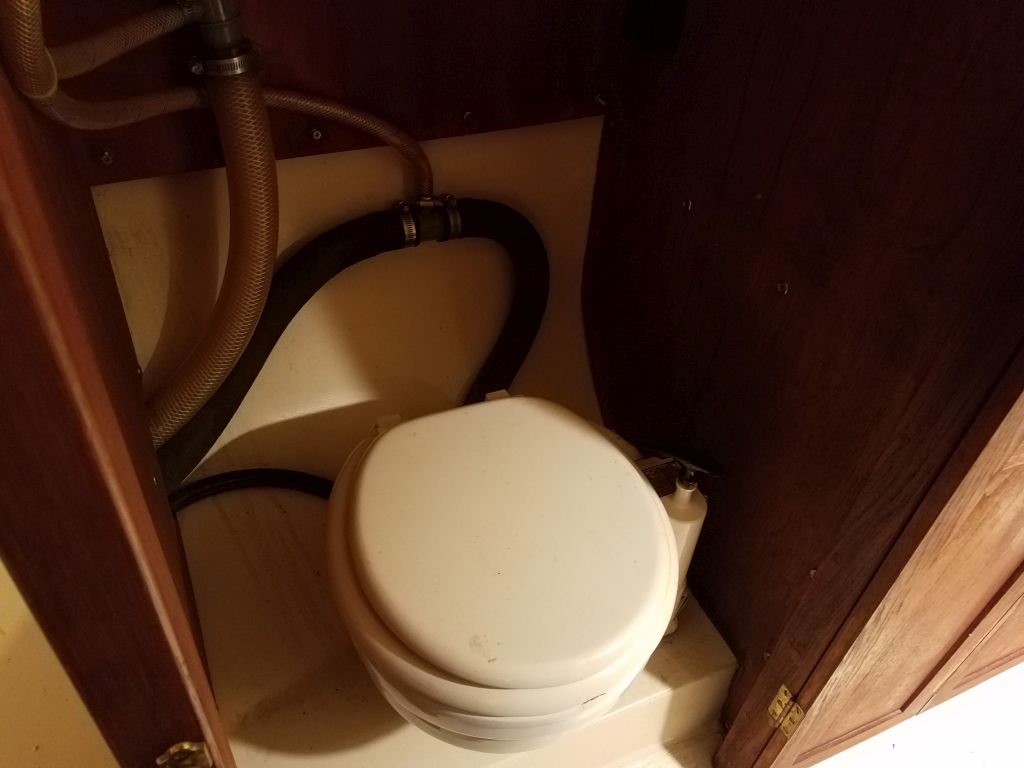
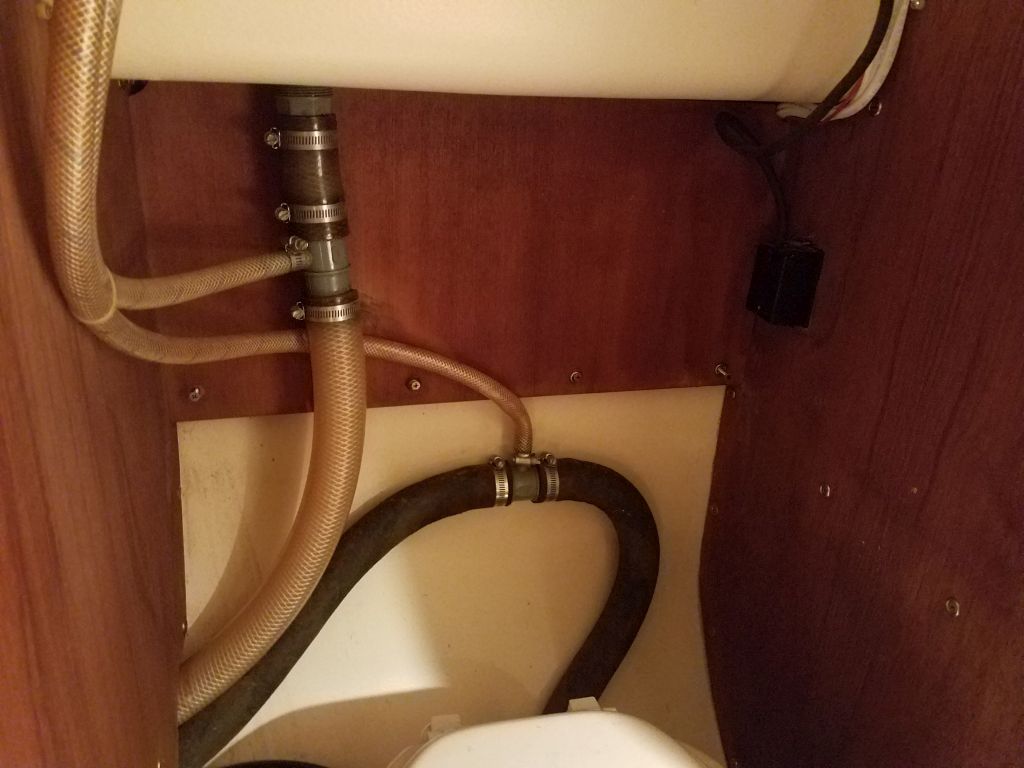
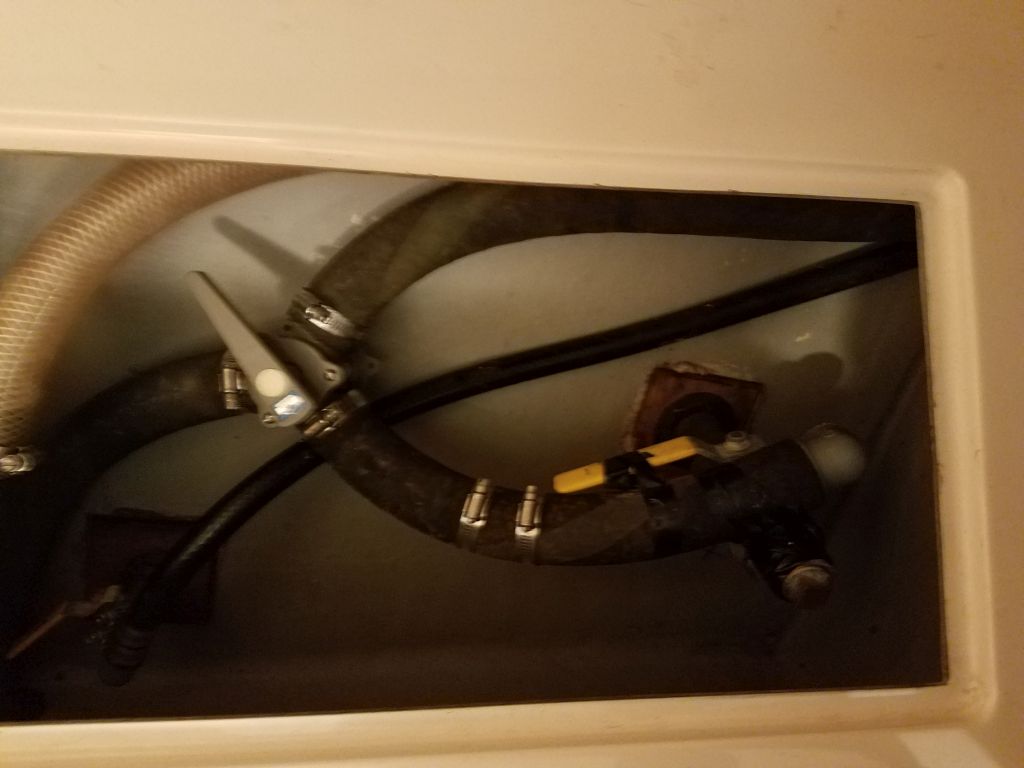
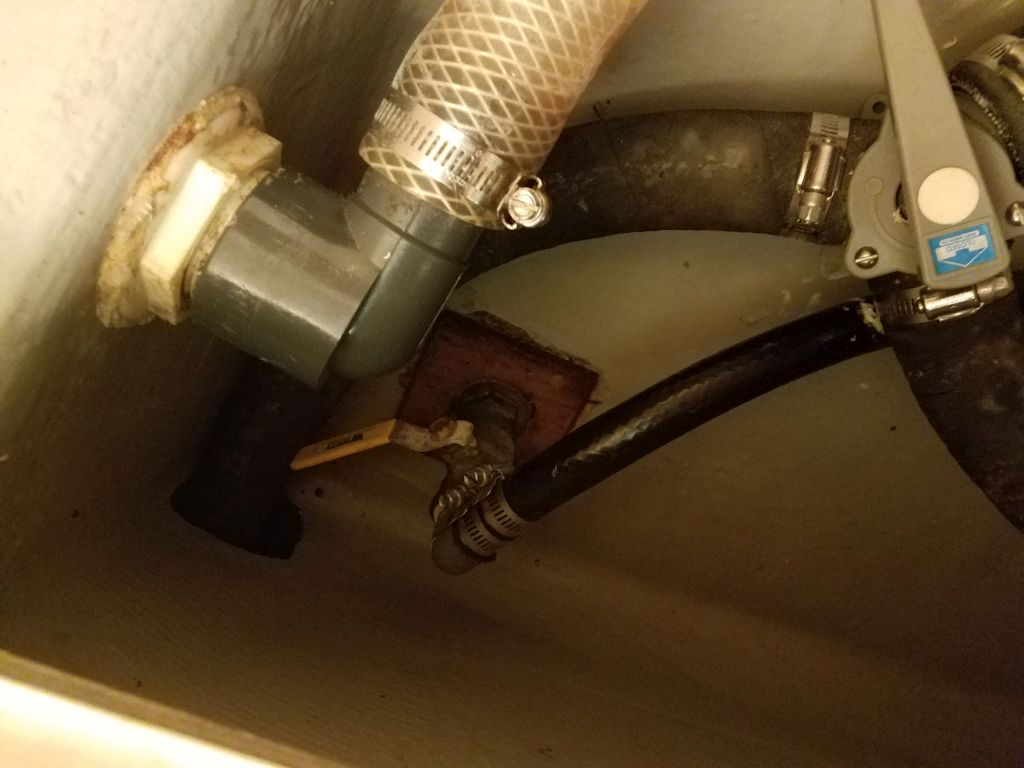
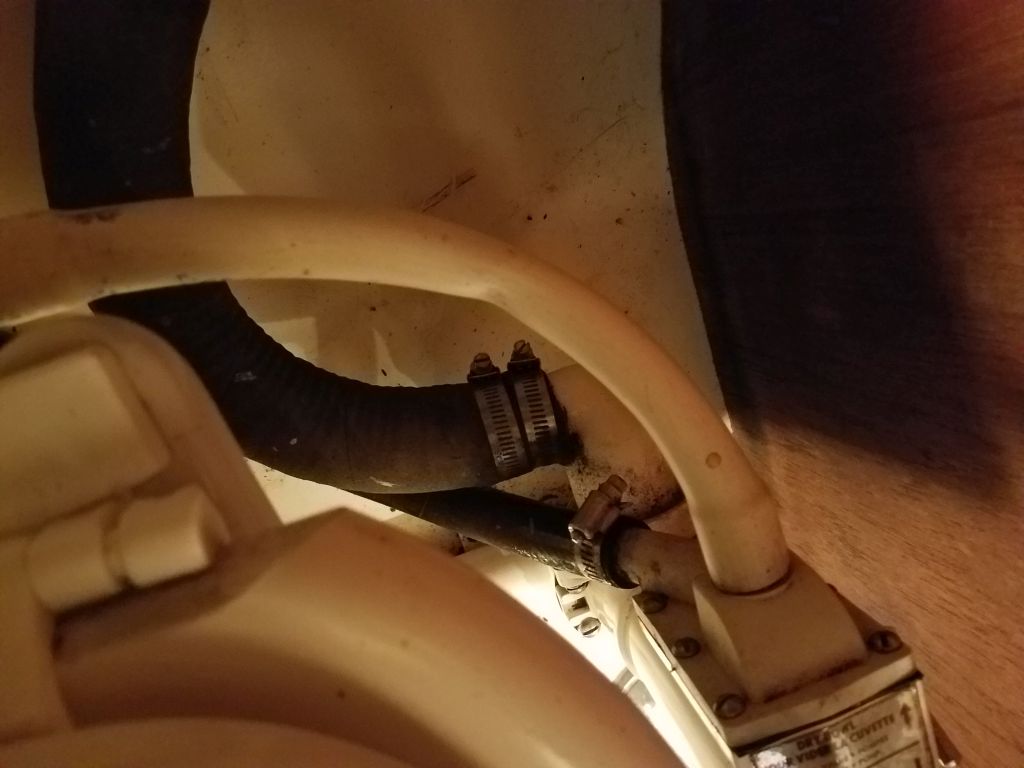
As in most older boats, the head system was pretzeled with multiple hoses, vents, a Y-valve, and just a complexity of old, cracked hoses. The hose to the direct overboard discharge through hull had been removed and that fitting plugged at some point in the past.

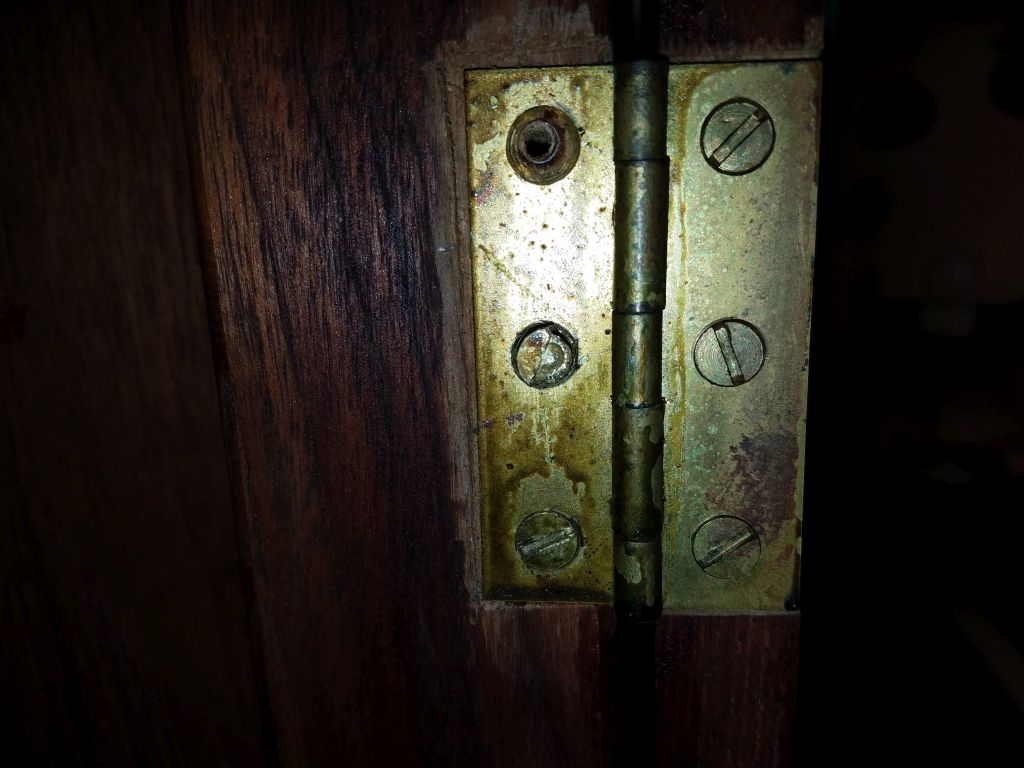
First, I removed a bifold door that closed off the head compartment, which would help open up the space for the various work ahead throughout the project. This was straightforward except that one of the brass screws (the last one…always the last one) sheared half its head off at the slot on the first turn of the screwdriver, but once I reinstalled another screw to to the work of holding the hinge in place, I found there was enough of the head left to allow me to carefully remove the screw.
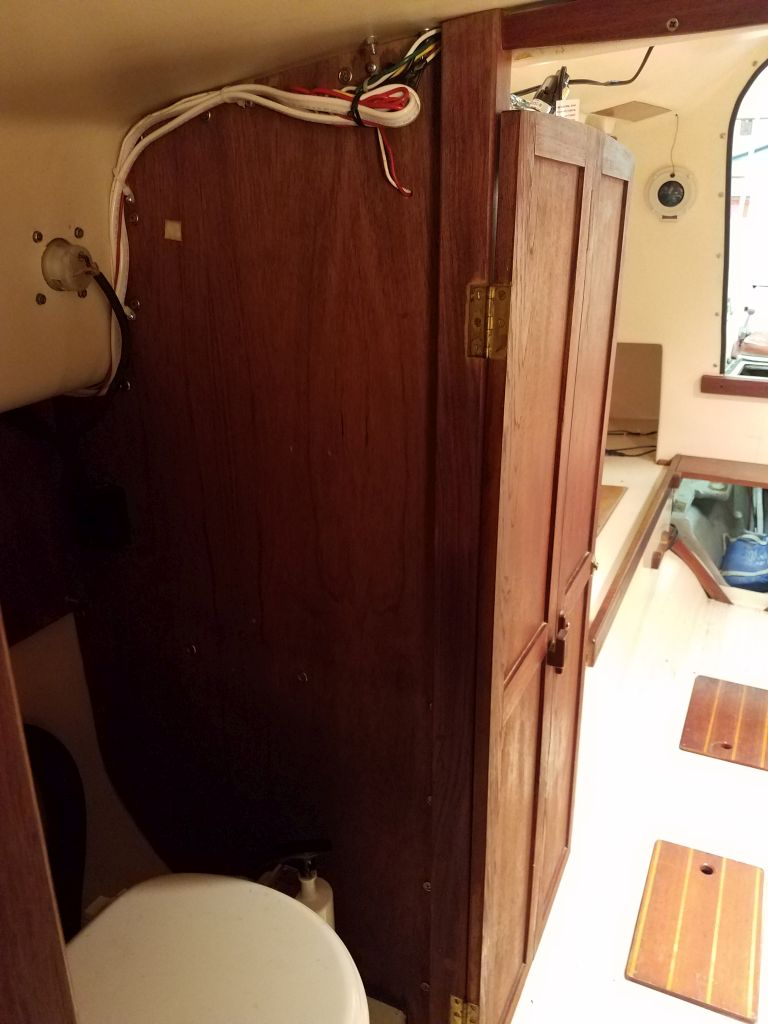
With the space opened up as much as possible, I started removing the old hoses. Not unexpectedly, but still to my dismay, I got one gush of (ahem) water out of the hose when I removed it from the fitting at the base of the marine toilet, but fortunately this was just a leftover in one of the low points of the hose and therefore a containable amount. The rest of the hoses, once this initial gush spewed forth, proved to be acceptably dry, and I had no issues removing the remaining hoses.

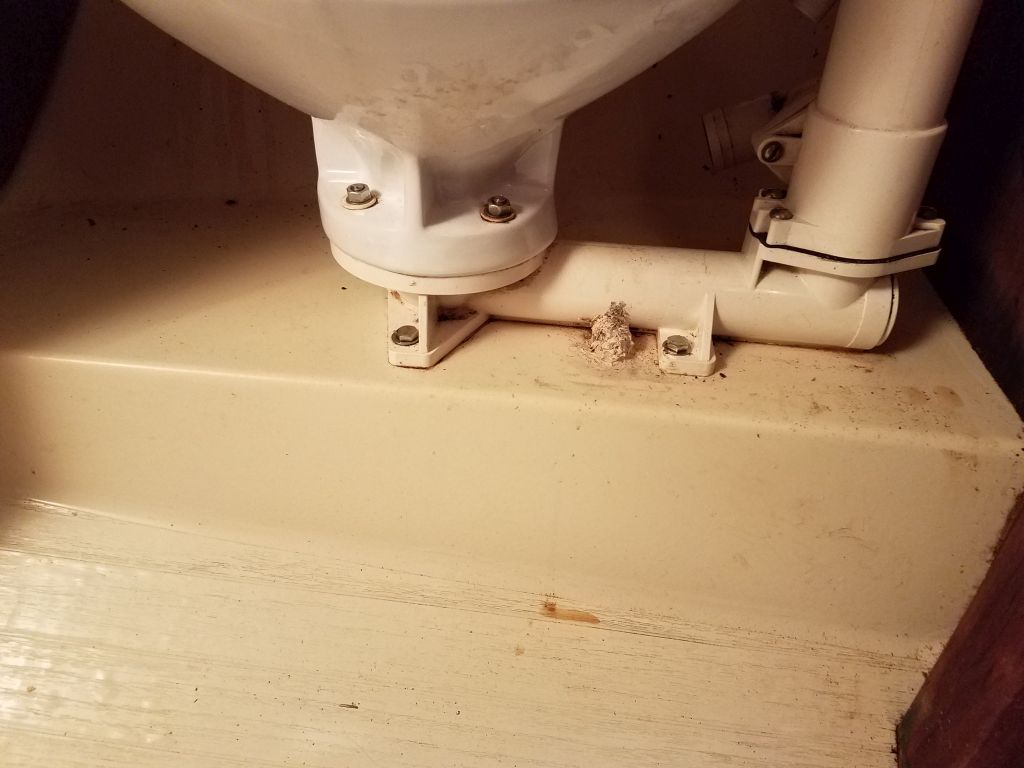
The toilet was secured to the molded fiberglass interior liner with four (please?) lag screws stainless steel bolts installed through the molded fiberglass interior liner conveniently at some comfy work station at the factory in 1984 before the boat was assembled, but the builders thoughtlessly provided no access to the nuts for the (surely) unthinkable possibility that the head might someday require removal. Fortunately for me, the base of the toilet was plastic, so it was an easy task to cut through the plastic just beneath the bolt heads, and then sever the bolt heads with the saw while remaining clear of the fiberglass platform itself. I actually only needed to cut through the most accessible two, after which I manhandled the toilet away from the remaining two bolts, tearing through the plastic like so much toilet tissue. (Later I cut off the remaining bolt heads easily).
Gurgling forth a ghastly final gush, (which photo I’ll spare you, dear reader), the toilet surrendered with a whimper and I happily deposited the old toilet down on the shop floor, reunited with its long-suffering hoses.
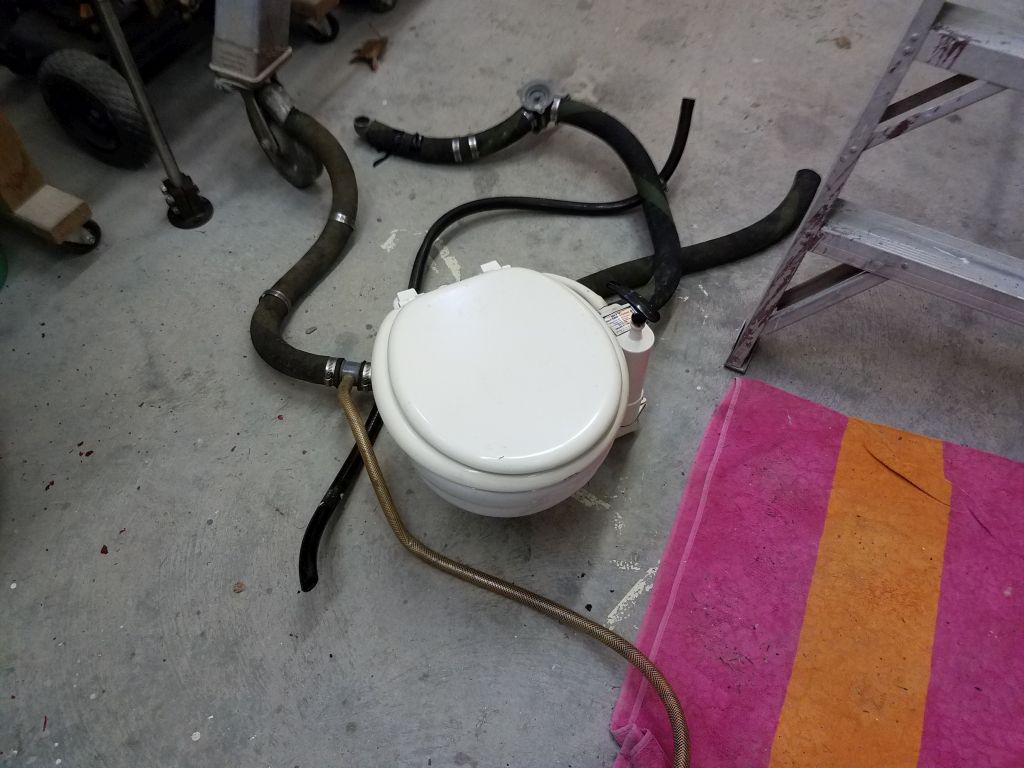
If one can’t keep a sense of humor while working with old toilet systems, all hope is lost.
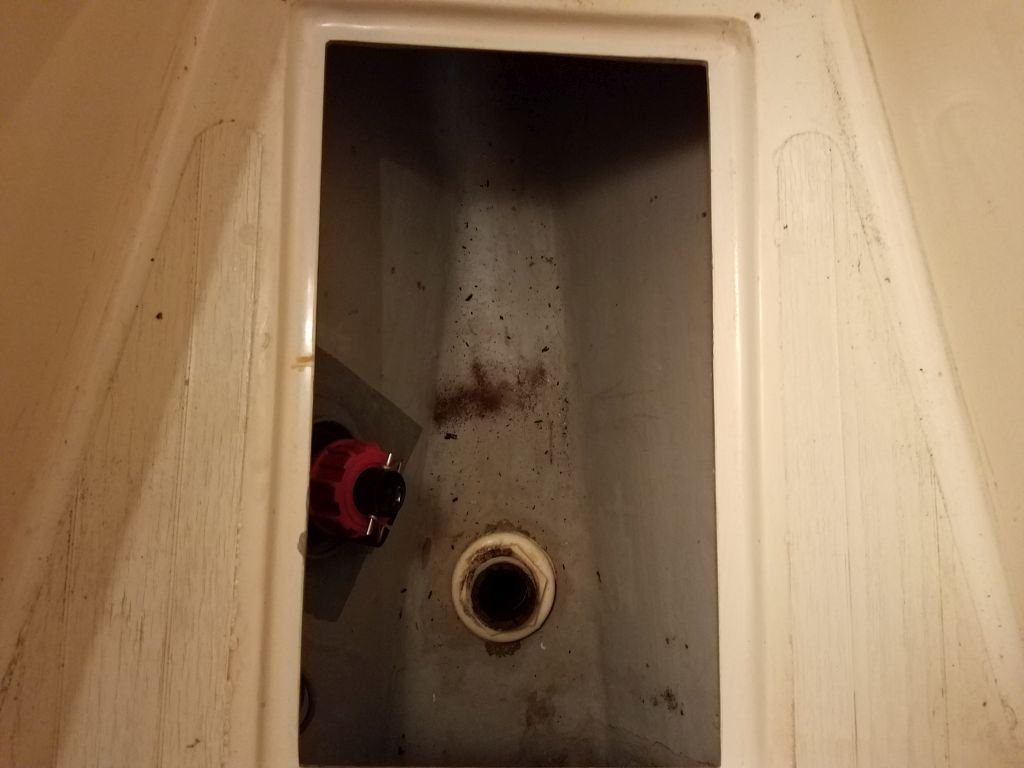
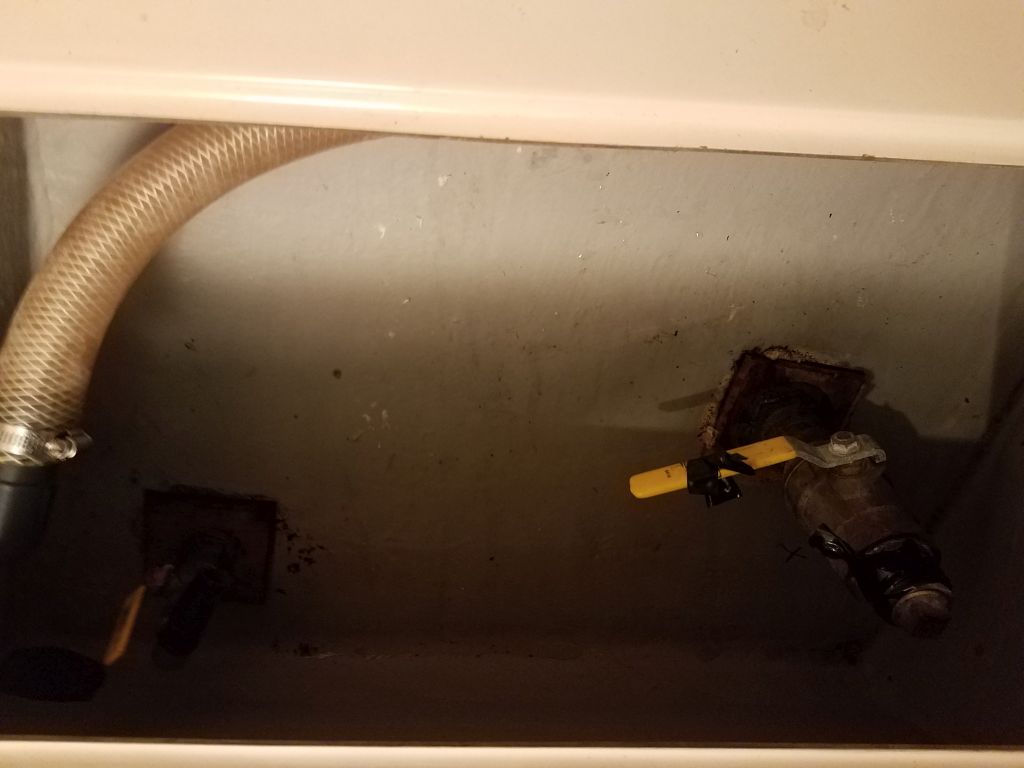
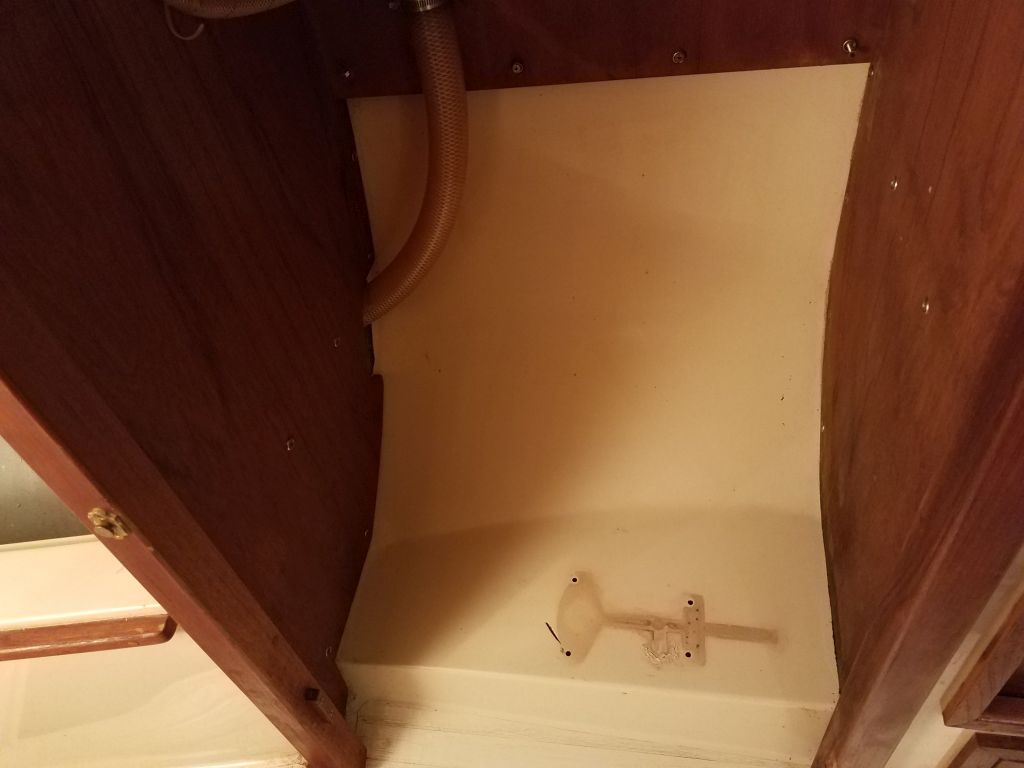
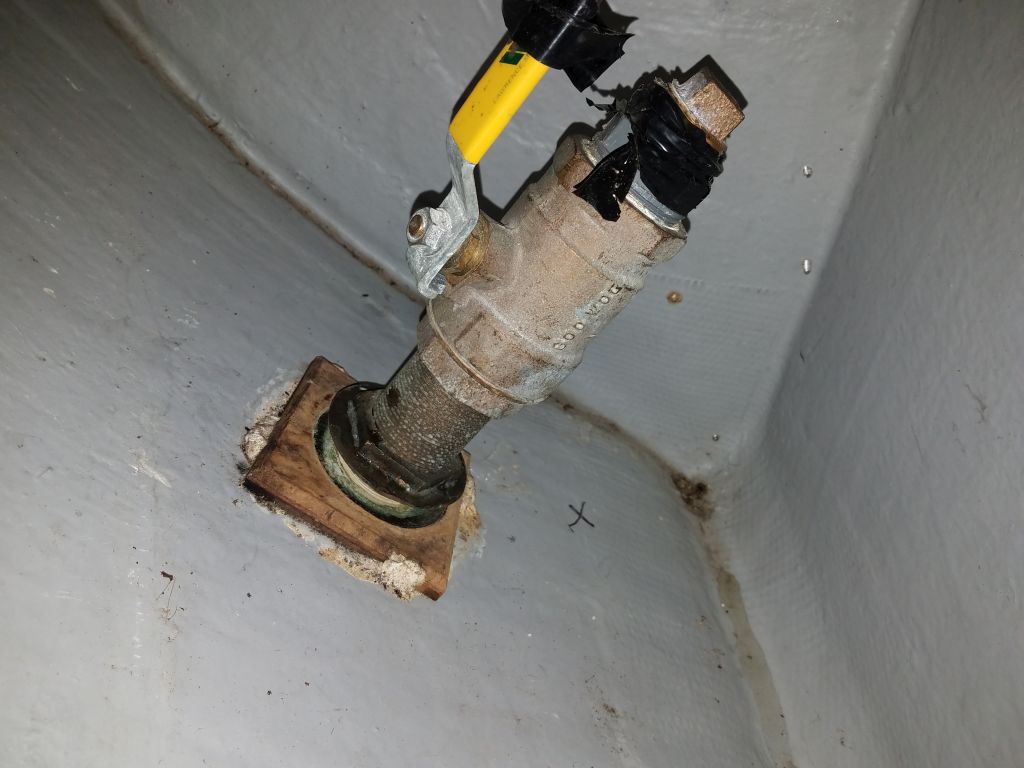
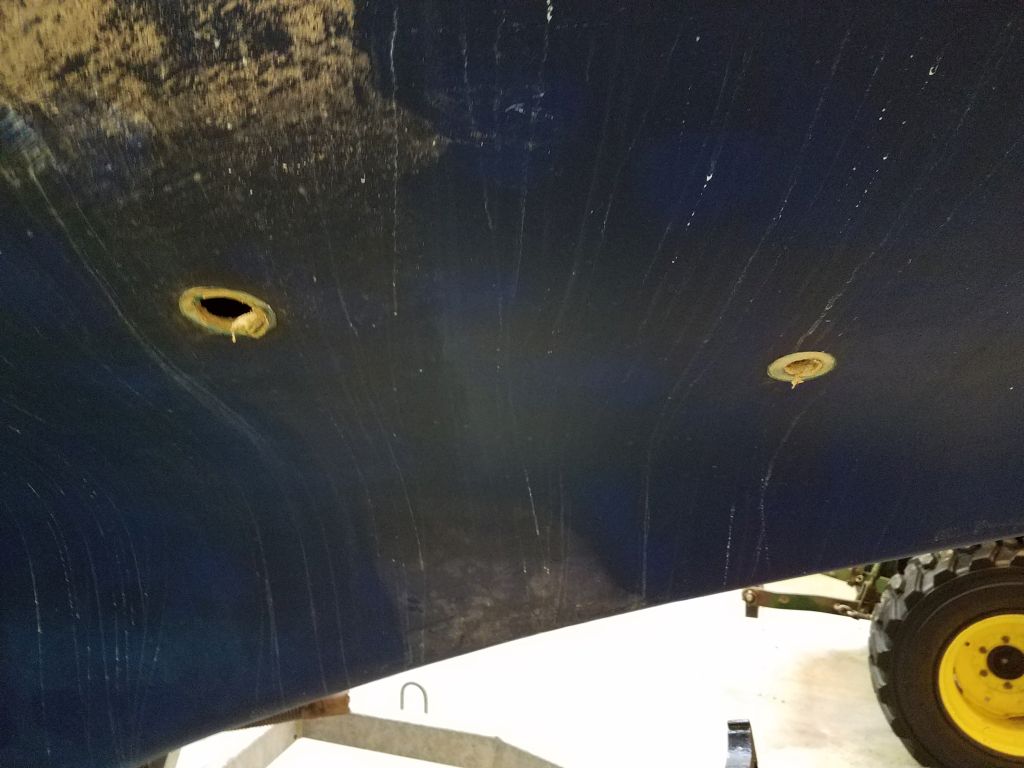
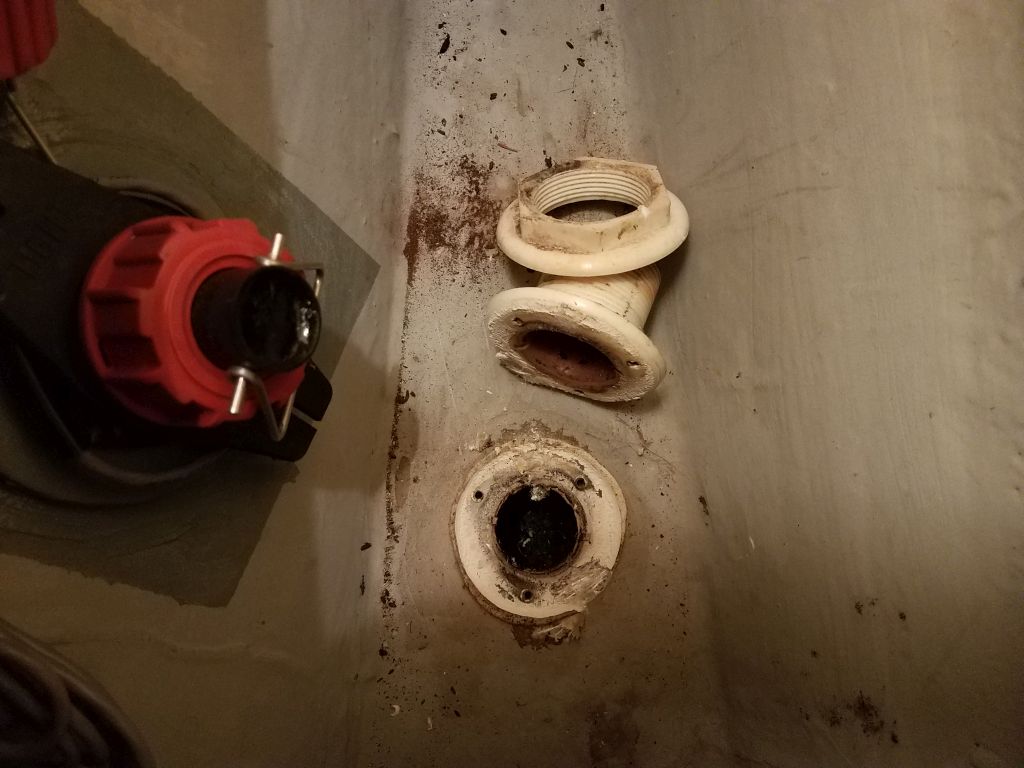
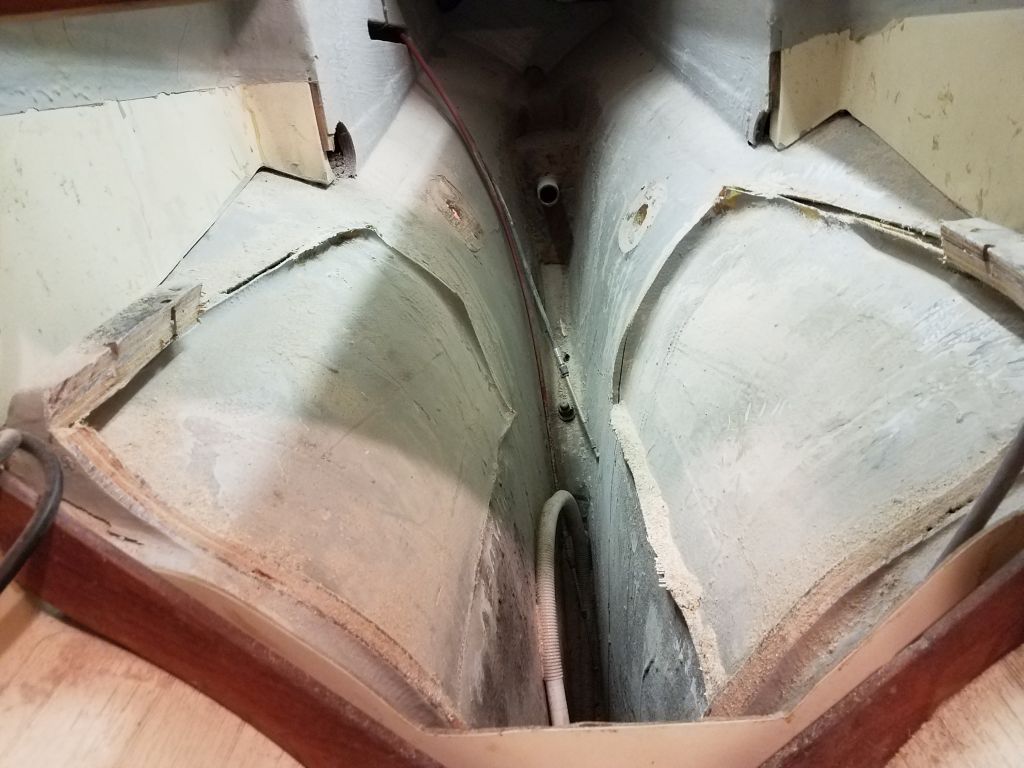
Moving on, I removed the two through hulls associated with the toilet–intake and discharge–so I could patch their now-unneeded holes. Here, I found that I could partially unwind the through hull nuts beneath the threaded-on ball valves, which exposed enough of the through hull shanks so I could easily cut through with a saw to remove the fittings.

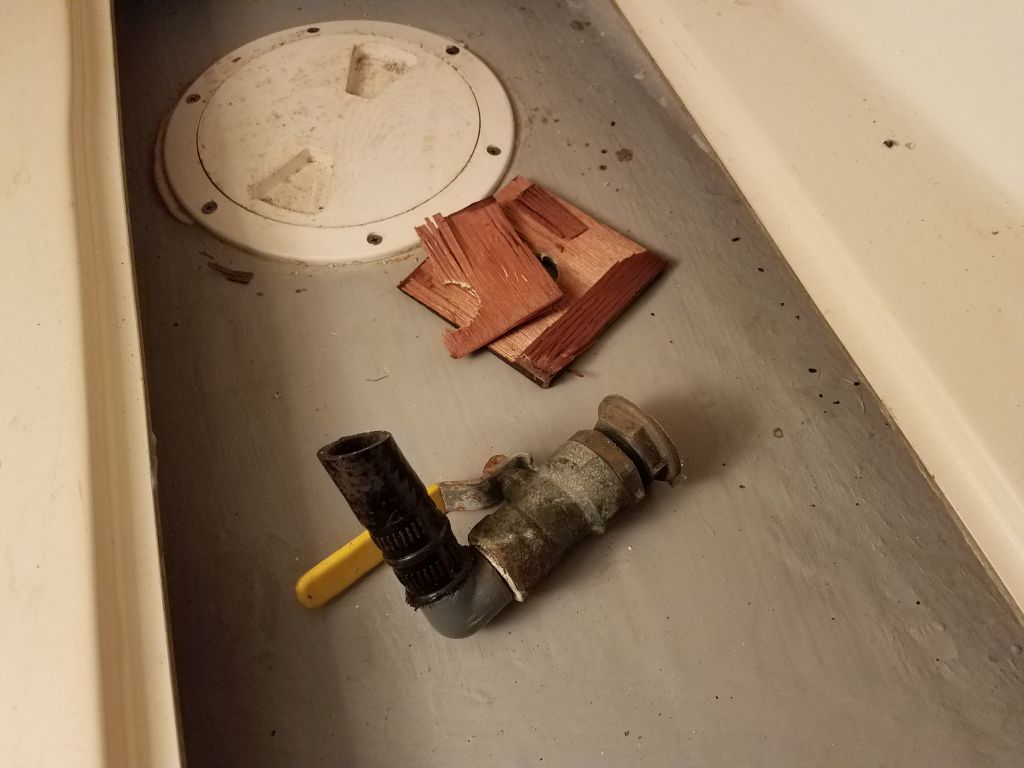

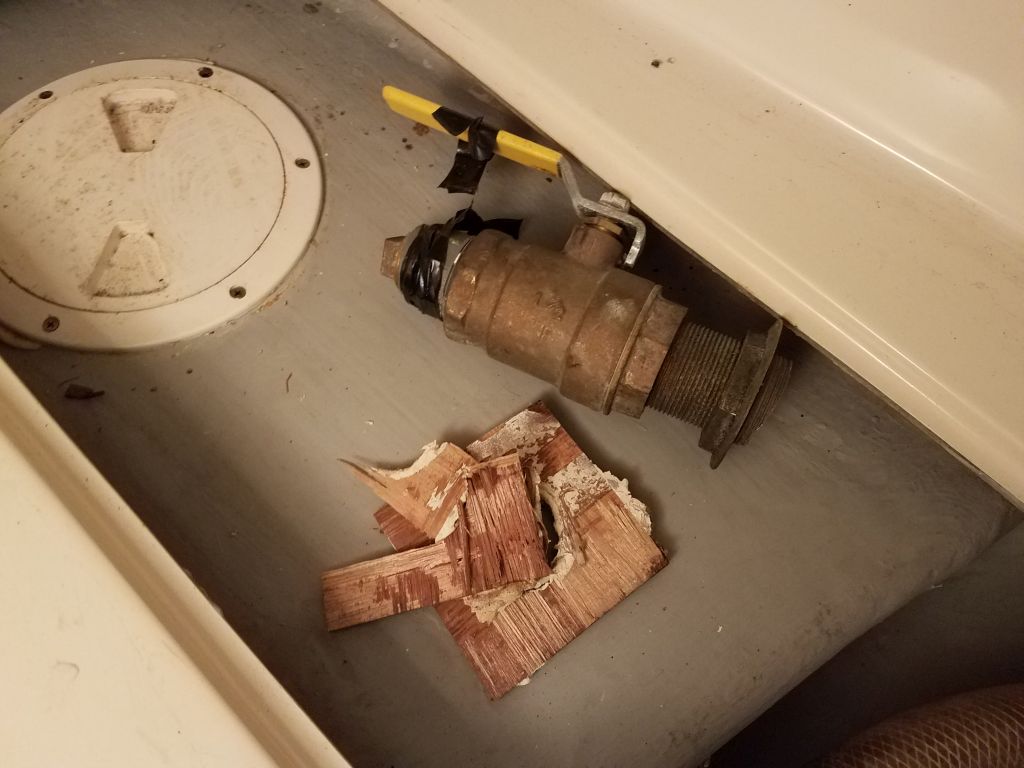

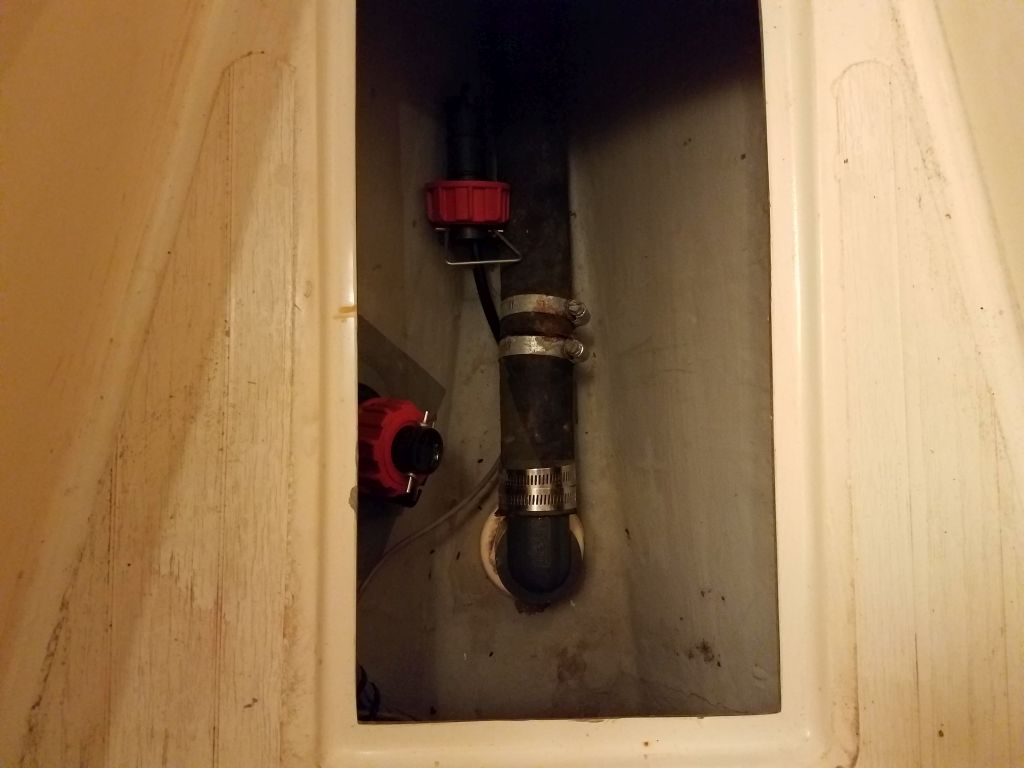
Where one of the hoses had entered the waste tank, centerline beneath the v-berth sole, I removed an interestingly-installed fitting there, the exact likes of which I’d not seen previously. Here, a normal plastic/Marelon-type mushroom through hull fitting had been installed upside down on top of the tank, splooshed into a pile of sealant and screwed to the tank through the mushroom head, then covered with the through hull’s normal nut. The removal was otherwise unremarkable.
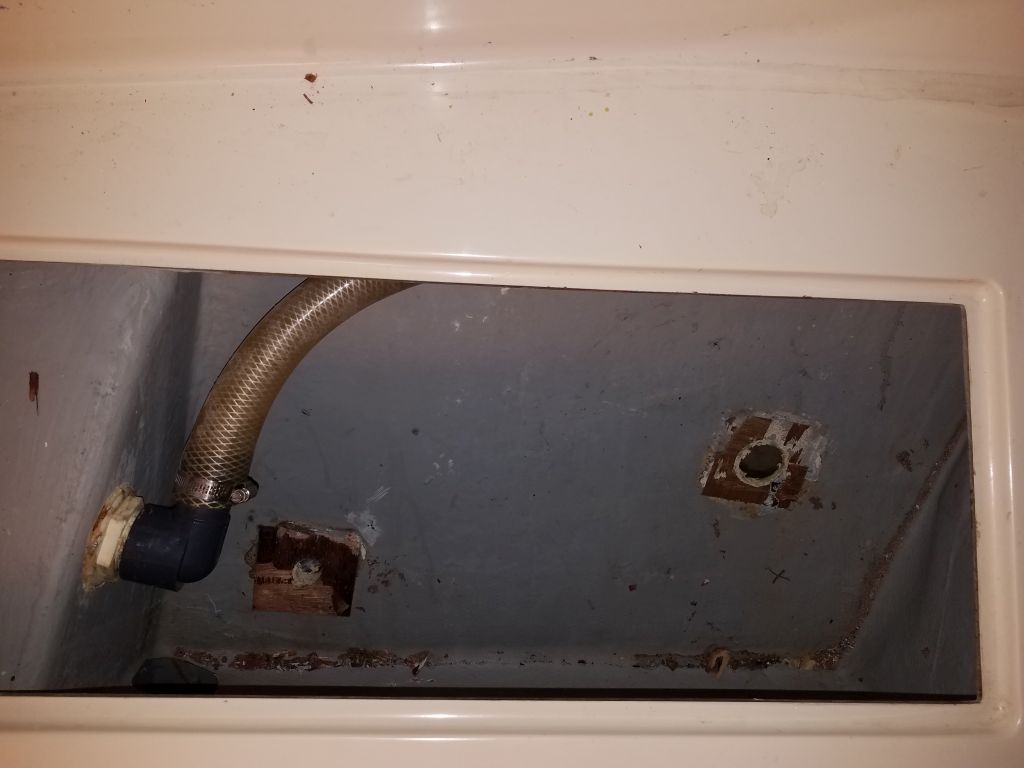
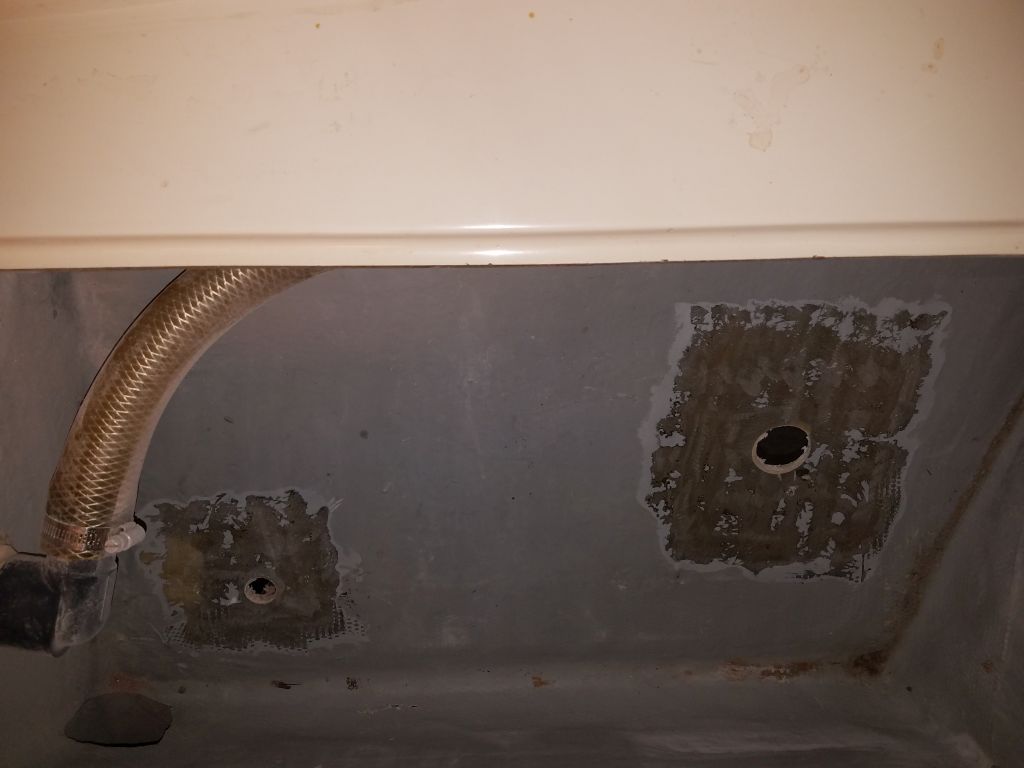
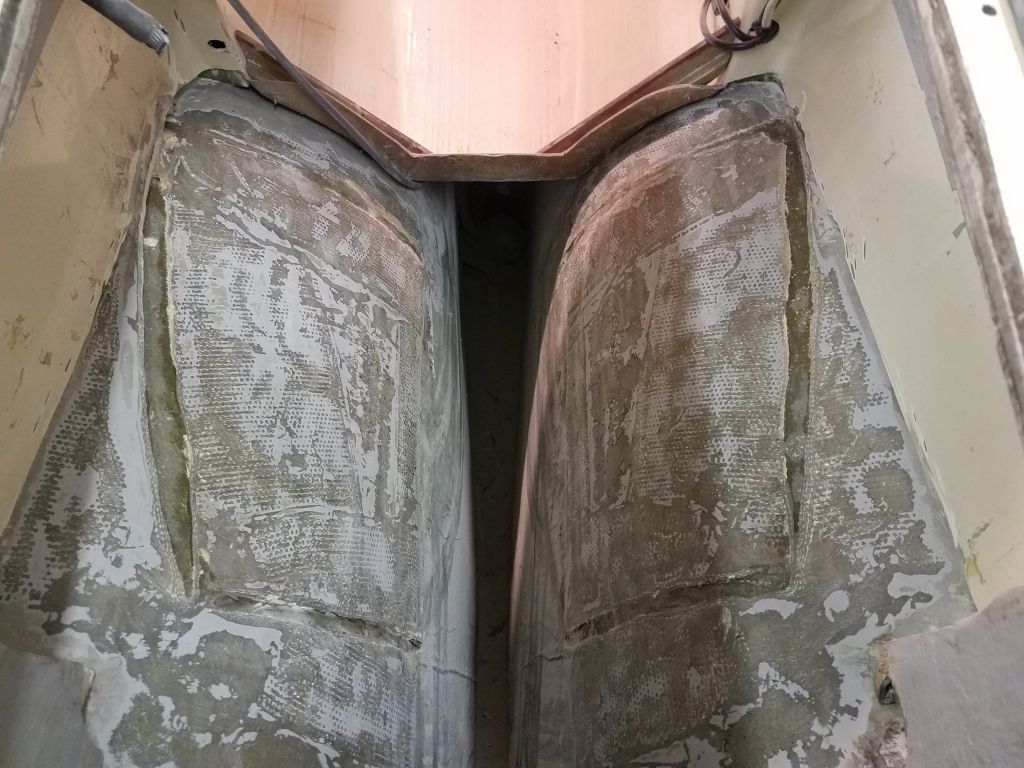
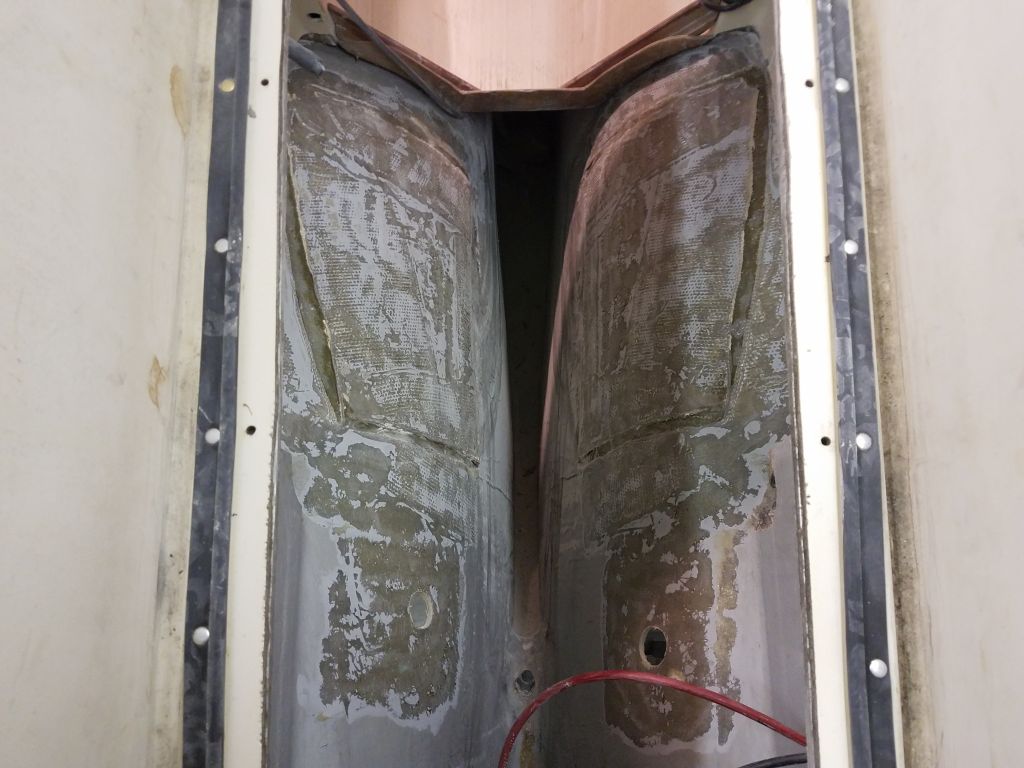
Later in the day, I ground clean the inside of the hull in way of the two through hulls, removing remnants of sealant, gelcoat, and wooden backing block to prepare these areas for patching.
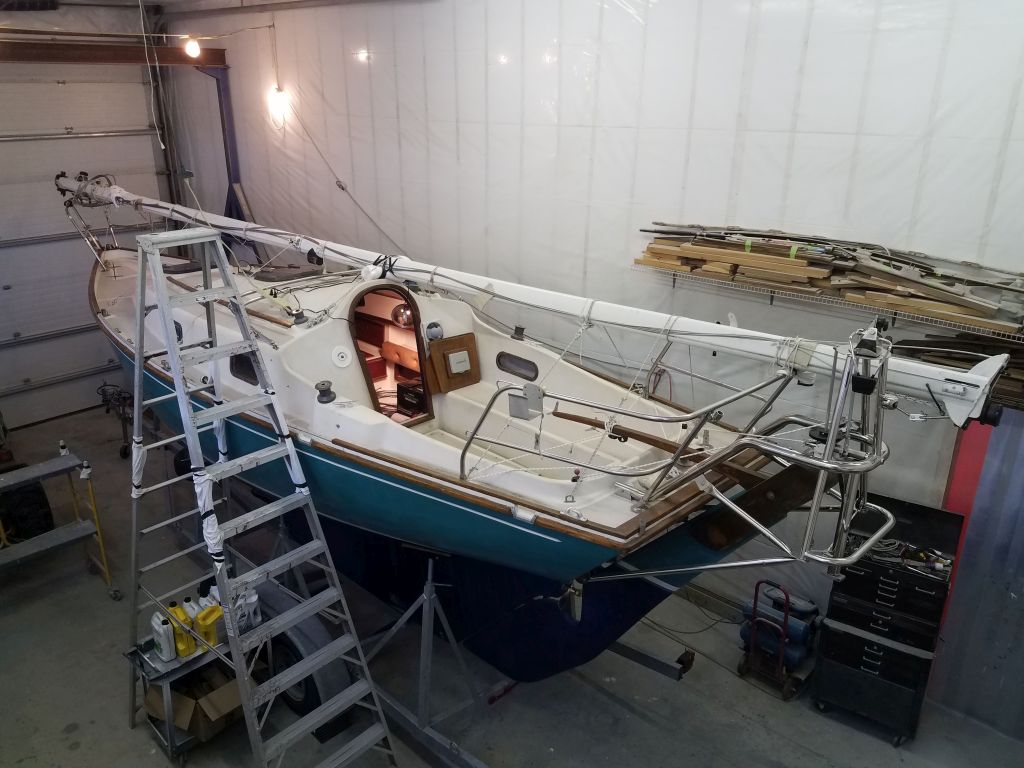
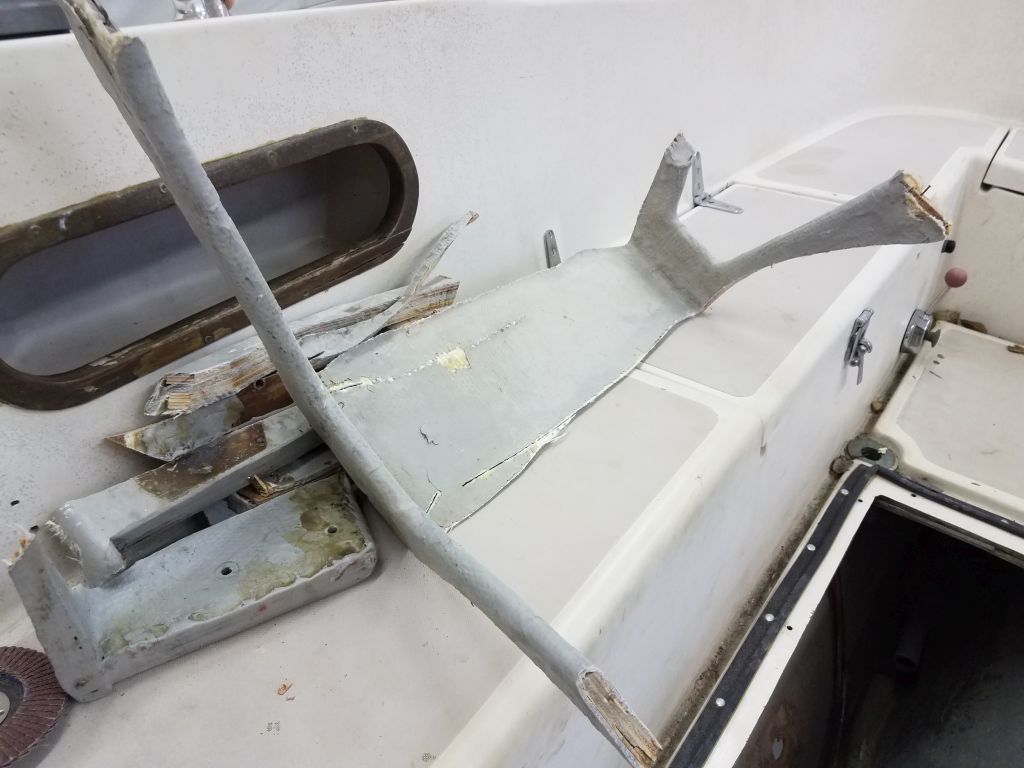
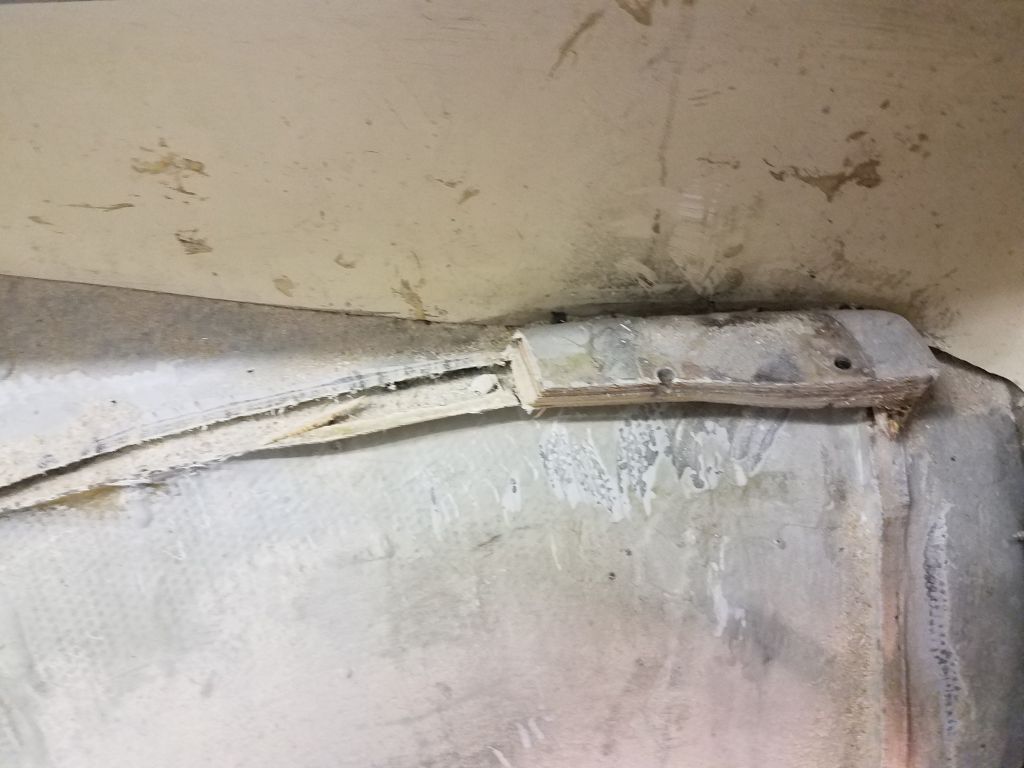
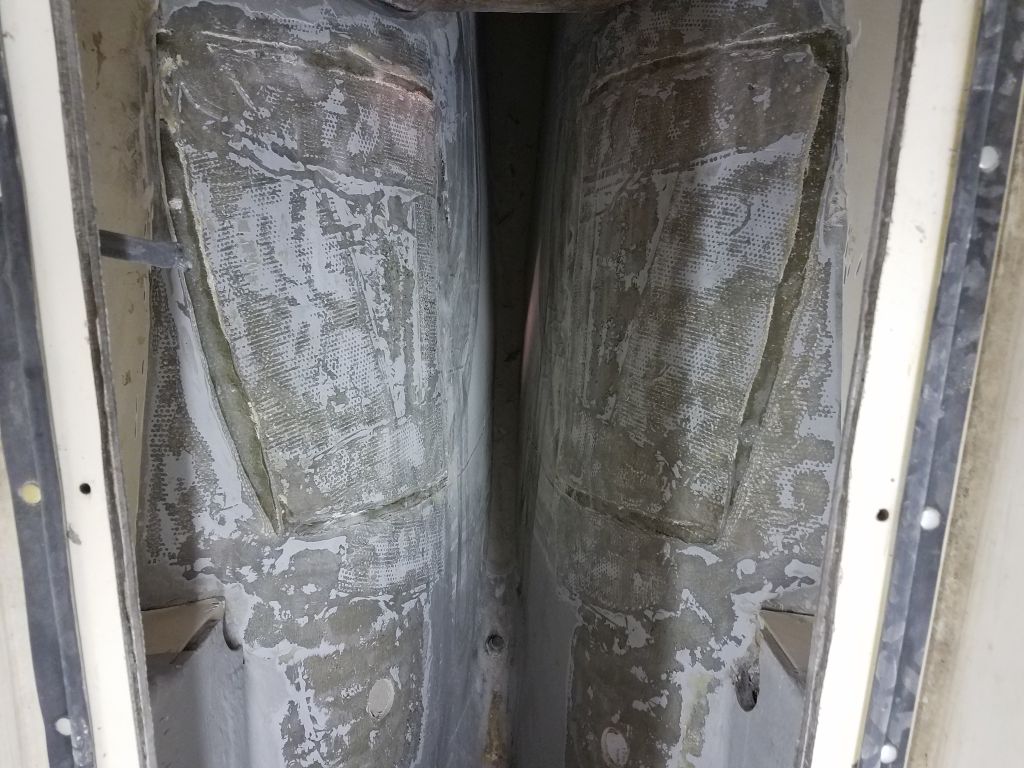
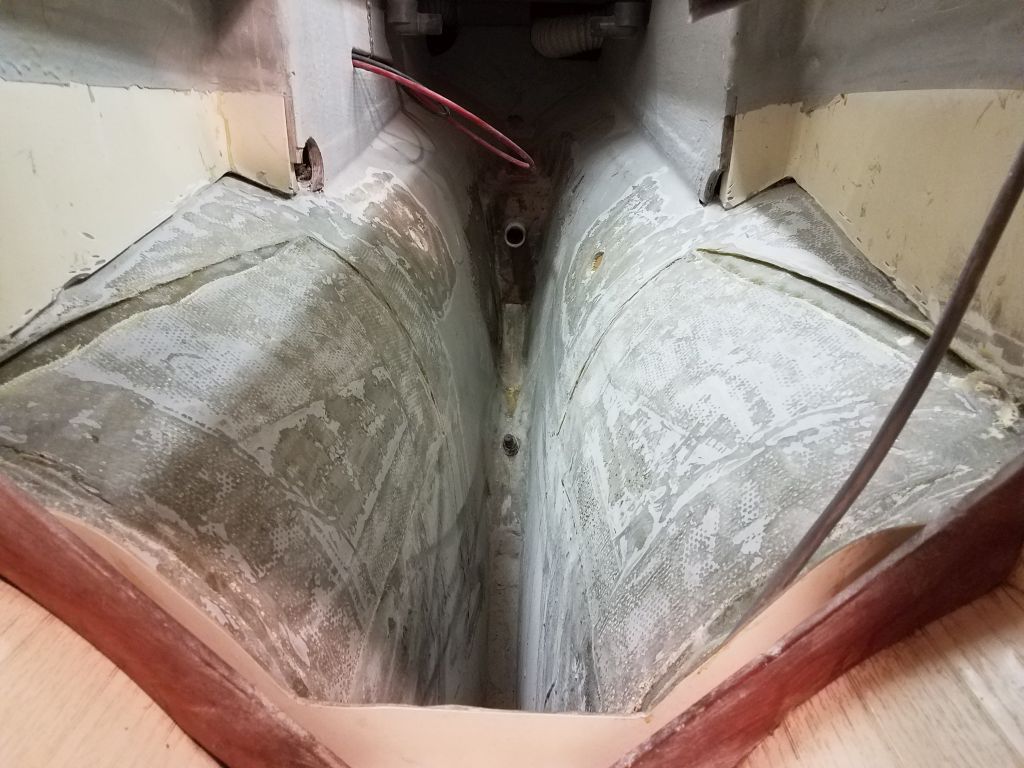
With a basic incompatibility born from a differently-shaped new engine and vastly different engine mounts, the existing engine foundations required removal, a job best gotten over with. I studied the existing foundations for a time, trying to figure out cutting angles, which tools I needed, and how, indeed, best to approach the removal, since the process would remove the very means I might have otherwise used to support myself in the space for the task.
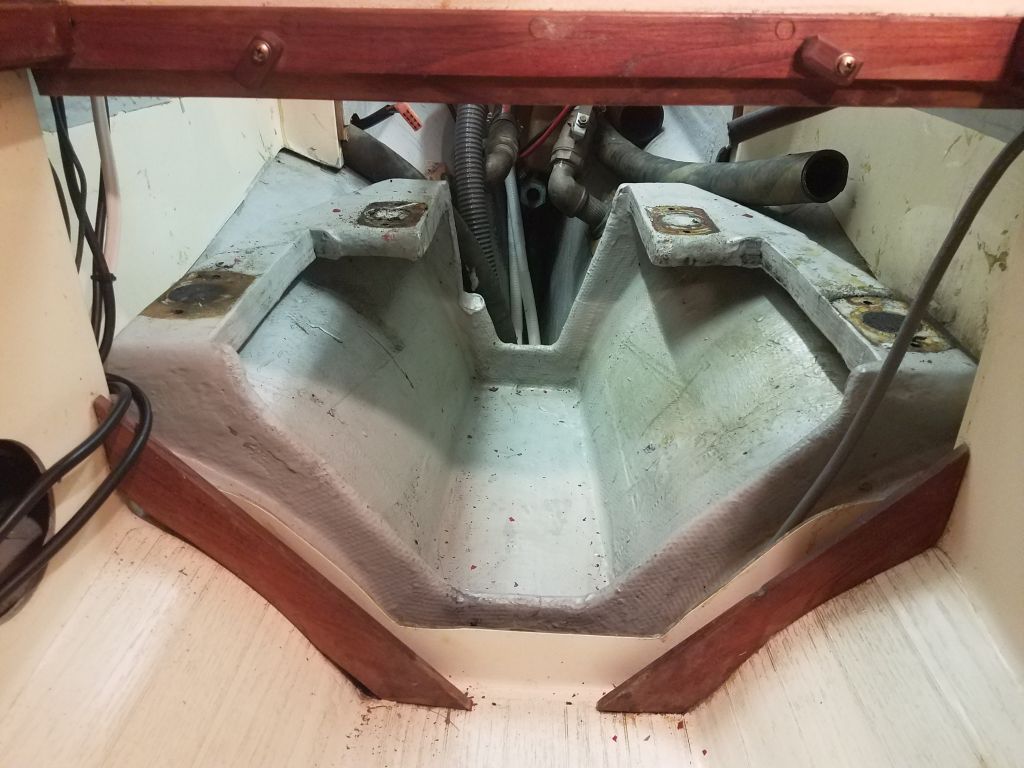
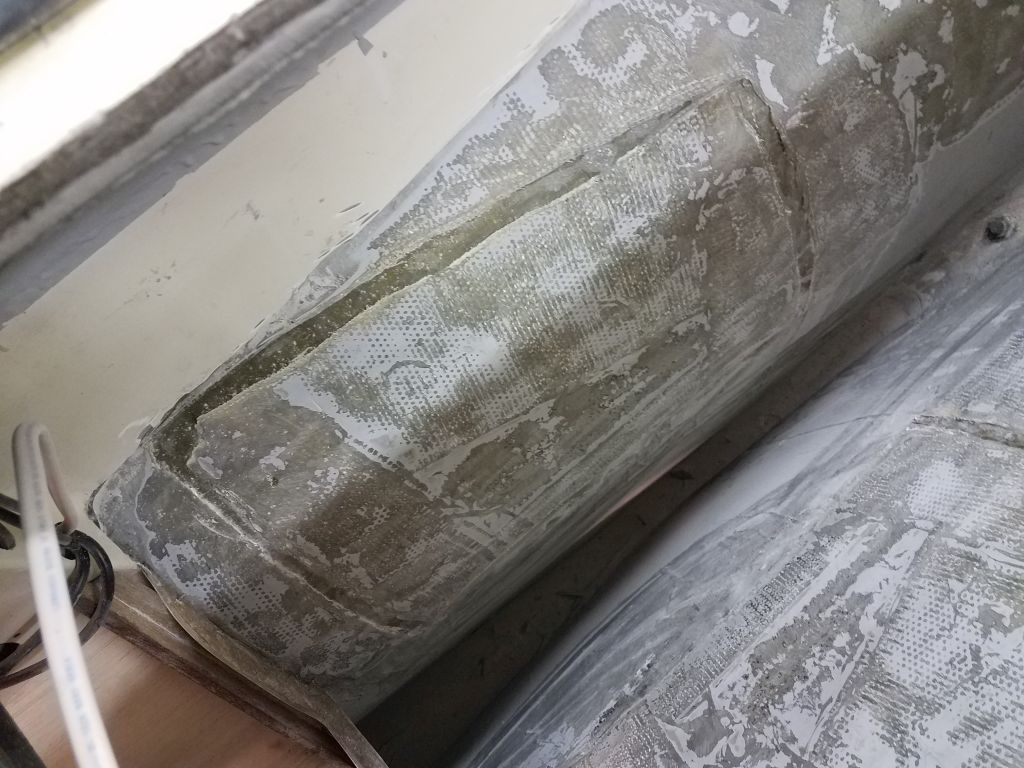
The basic problem, other than access itself, was that the very wide foundations spread so far up the curvature of the hull, and against the nearby longitudinal bulkheads, as to make cutting access to the tabbing challenging. So I essentially started by cutting what I could, and what was generally easy–the forward and after portions that curved down towards the drip pan–and also removed some of the inner width of the flat top surface to allow better (or any) access to the tabbing within the tight curvature beneath. I left the drip pan intact at first since it provided at least a semi-foothold for access. I used a reciprocating saw with a carbide blade for much of the initial demolition.
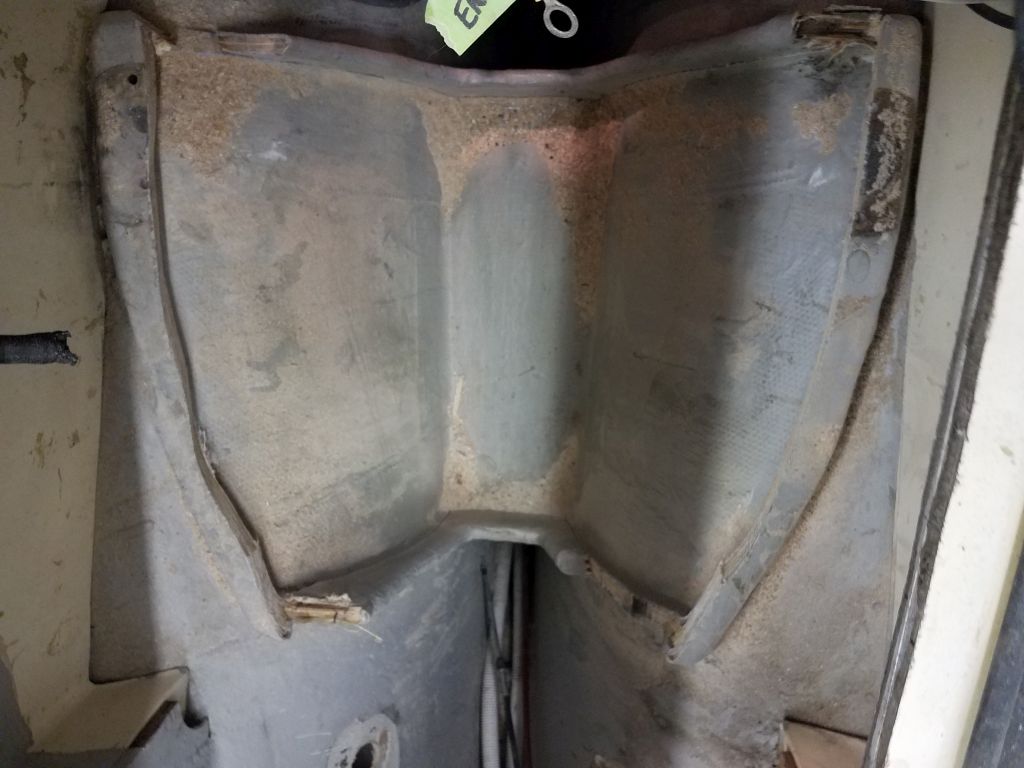
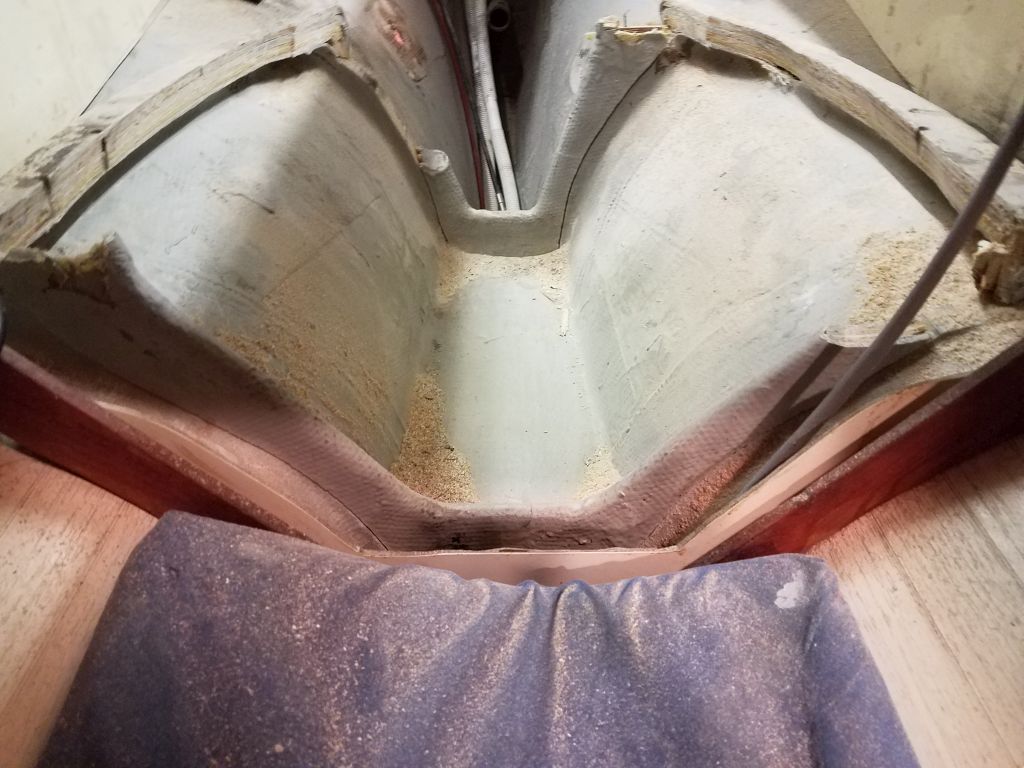
Continuing, I cut what I could with the saw, stopping as the blade got too close to the bulkheads and their respective tabbing, and cleaning up some of the earlier cuts, but then I had to switch to a small grinder equipped with a cutting wheel, which worked fine but was tough to control since the access was not ideal no matter where I tried to set myself up. And even still, the forwardmost corners of the old foundations were so tight against the bulkheads that I just couldn’t really get in there from any angle to cut the old tabbing. Still, through these various means I managed to remove the bulk of the existing foundations, which, it must be said, were quite durable. This process left little narrow pieces of plywood still stuck between the remnants of tabbing, but later I pried out the wood since it made further cutting and grinding next to impossible.

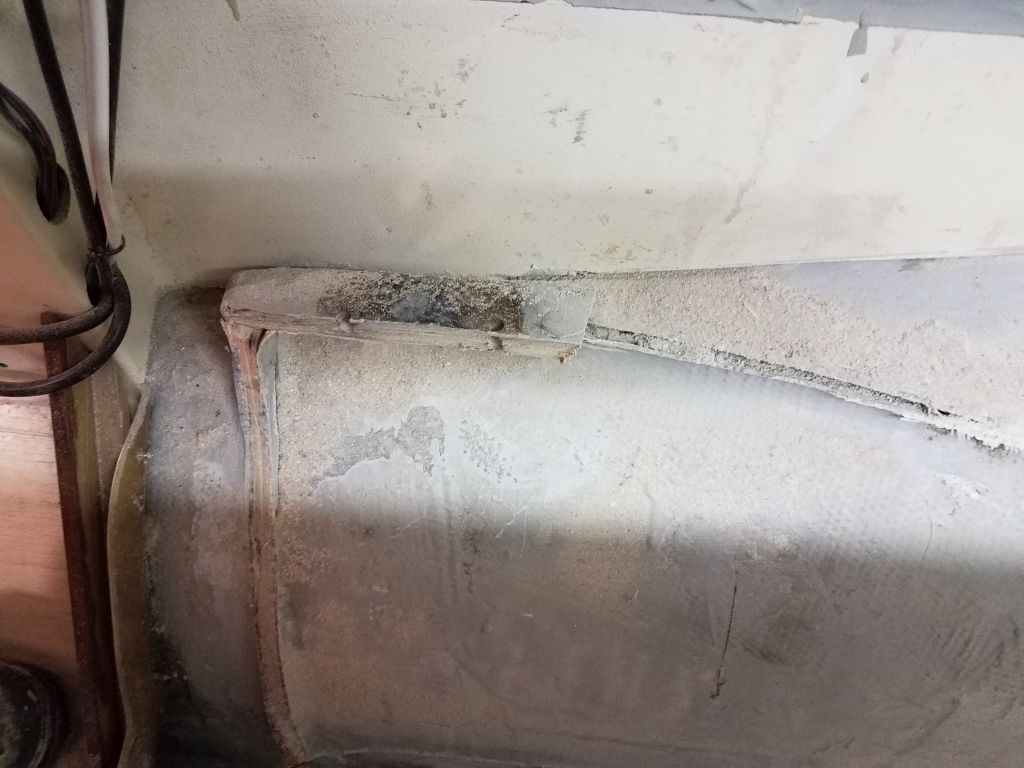
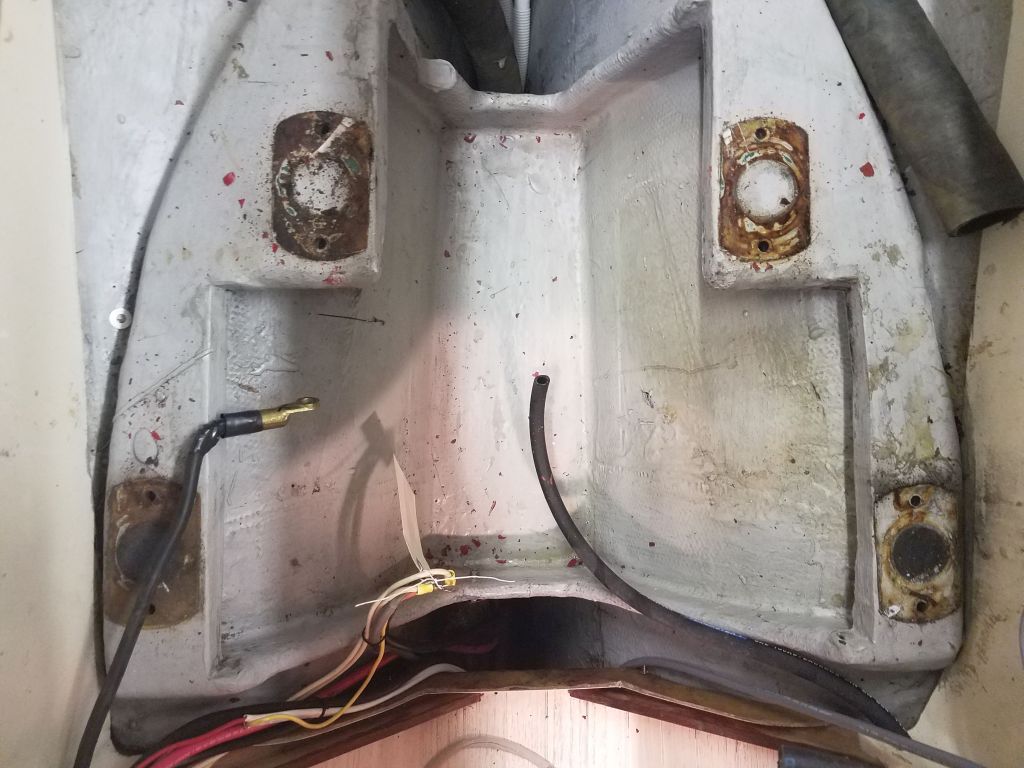
With some effort, mainly with hammer and chisel, I finally freed the last little corners of the old foundations at the forward end enough that I could turn to the grinder with an angle flap disc to remove the remains of all the tabbing, as well as to remove most of the gelcoat from the engine room (and scupper through hull locations). I might sand some more once I determined where the new engine foundations would lie (the owner had purchased and provided a prefab engine foundation from the Contessa builder in England), but for now the bulk of the prepwork in the engine room was done, other than a continuing cleanup of the deep, deep (and still directly inaccessible) bilge beneath, which contained some water and various debris from now and in the past.

Total time billed on this job today: 5.5 hours
0600 Weather Observation: 32°, cloudy, drizzle and show showers. Forecast for the day: Mainly cloudy, high 30s