

November 27, 2018
Dharma Rose 3
Tuesday
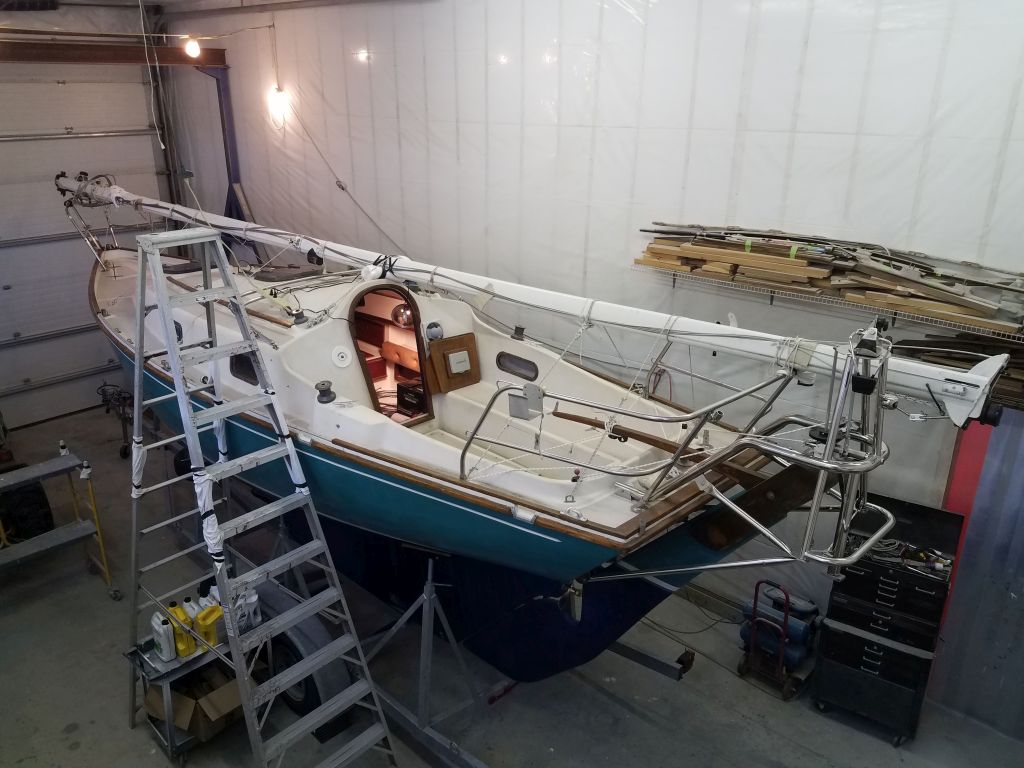
With the engine out, my next goal was to clean out the rest of the engine room, inasmuch as required for the scope of work. In this case, since I’d be replacing all engine-related components (exhaust, battery wiring, raw water, and so forth), basically everything in the compartment could go, along with the scupper hoses and through hulls, as these were also on the list to replace with new.
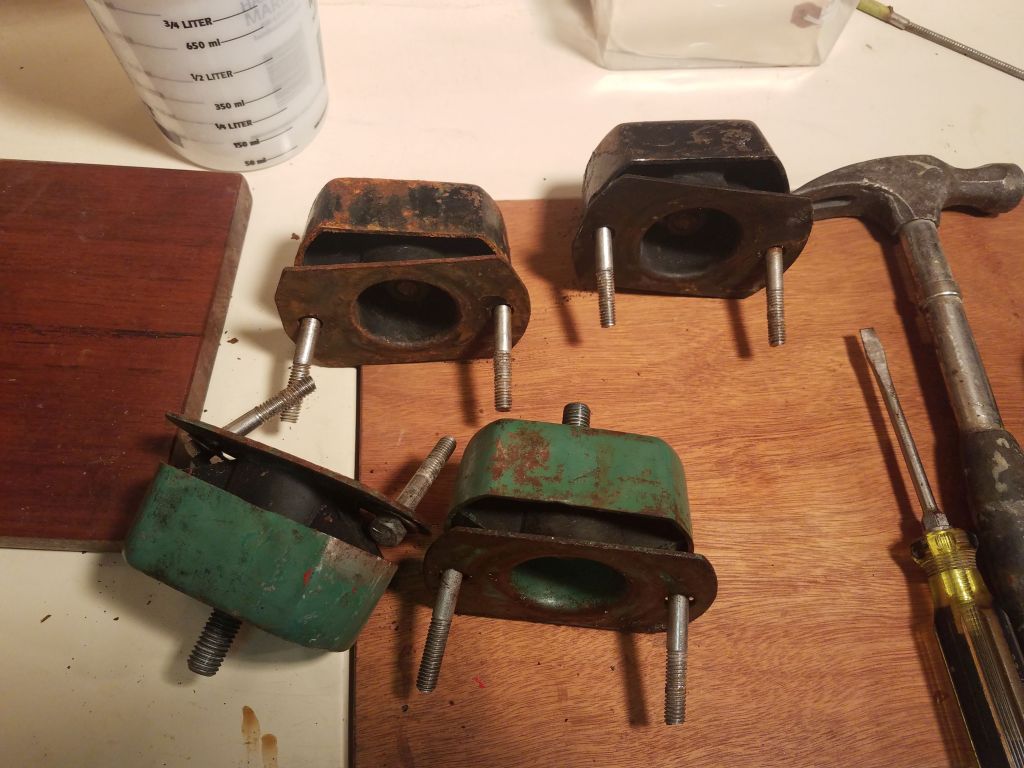
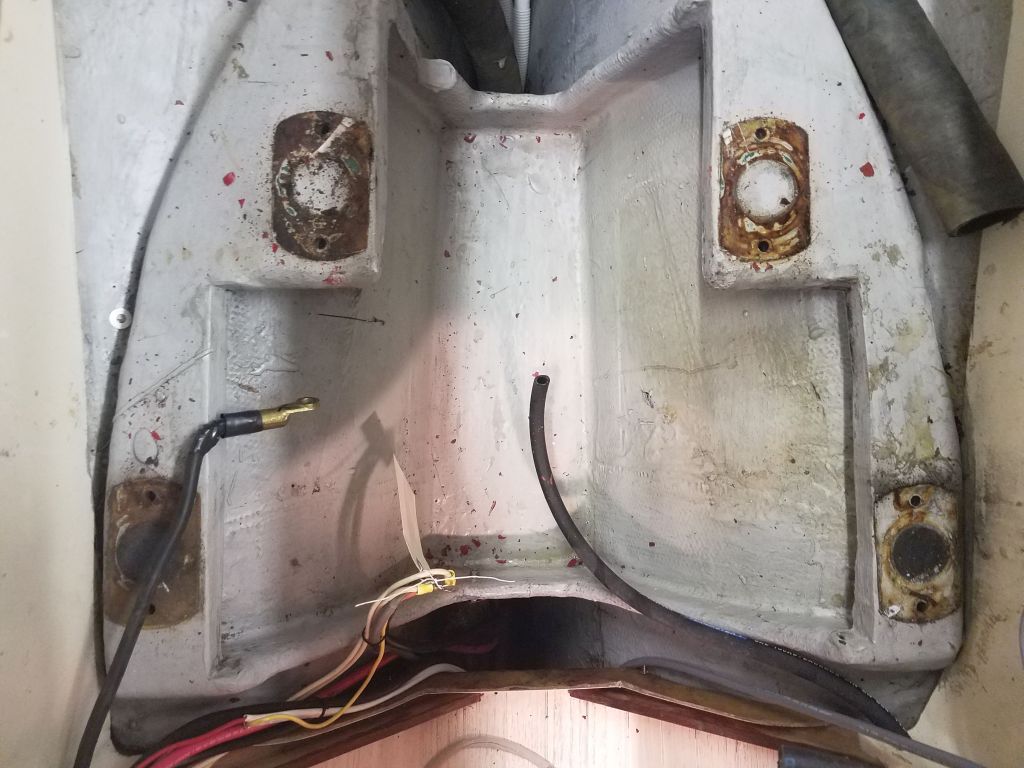
To begin, I removed the four flexible engine mounts, which were secured with bolts through the fiberglass engine foundation. Fortunately, these were stainless steel bolts in good condition, and other than the usual access issues the bolts came out with ease thanks to the clean, well-maintained, freshwater engine room.
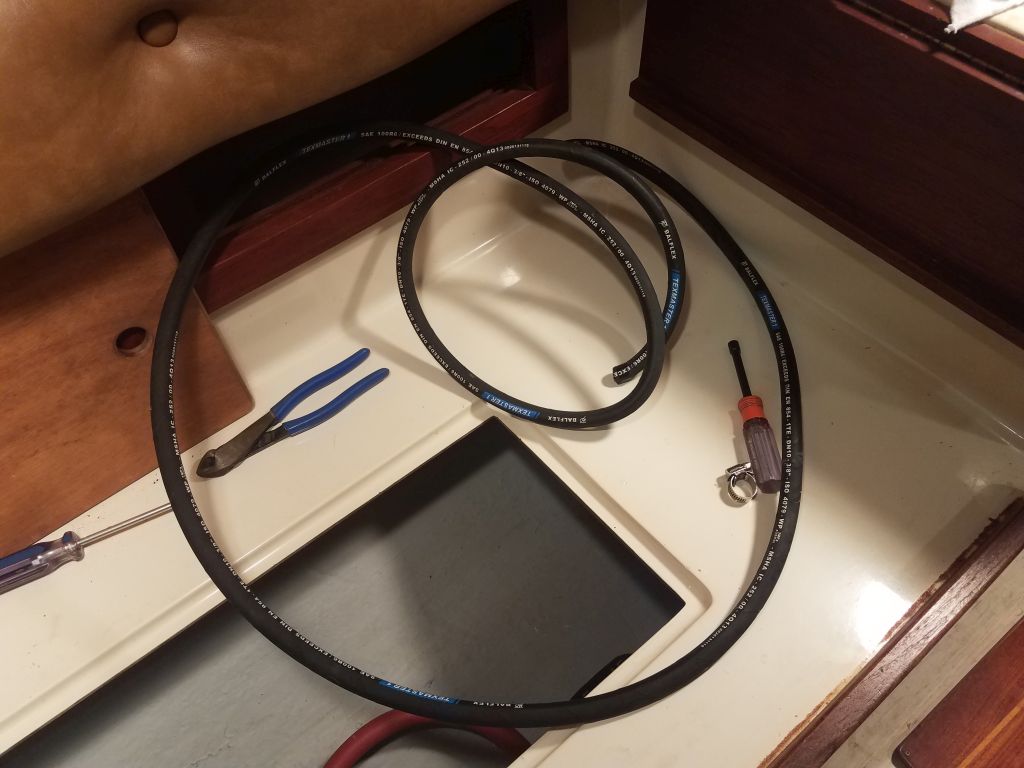
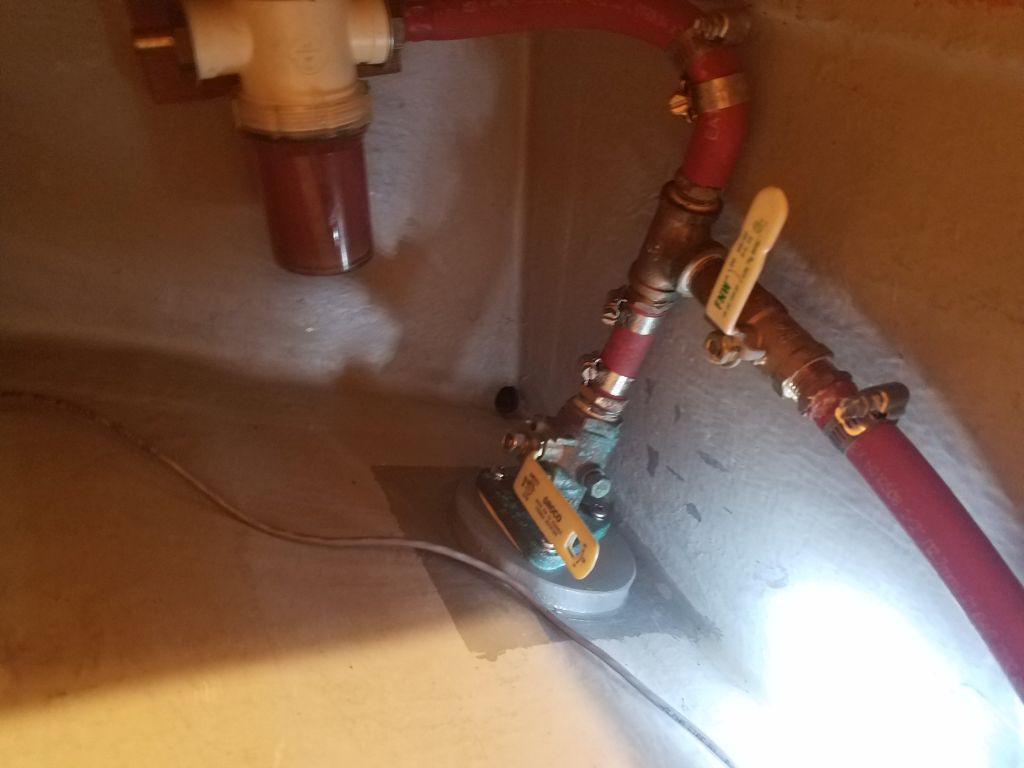
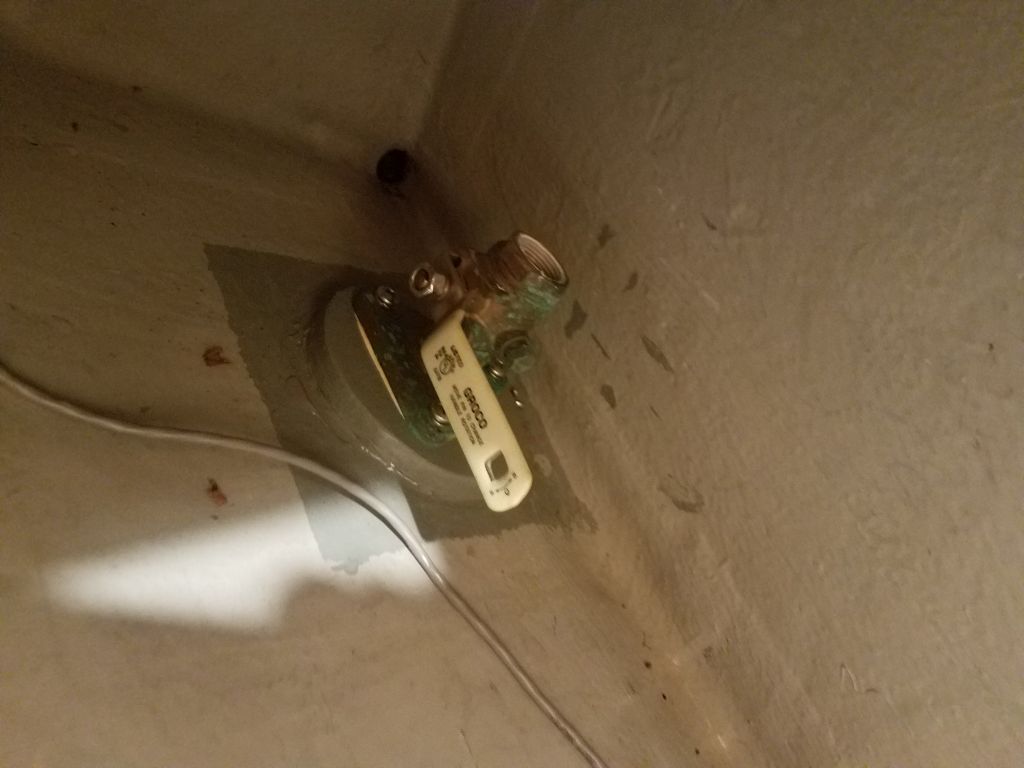
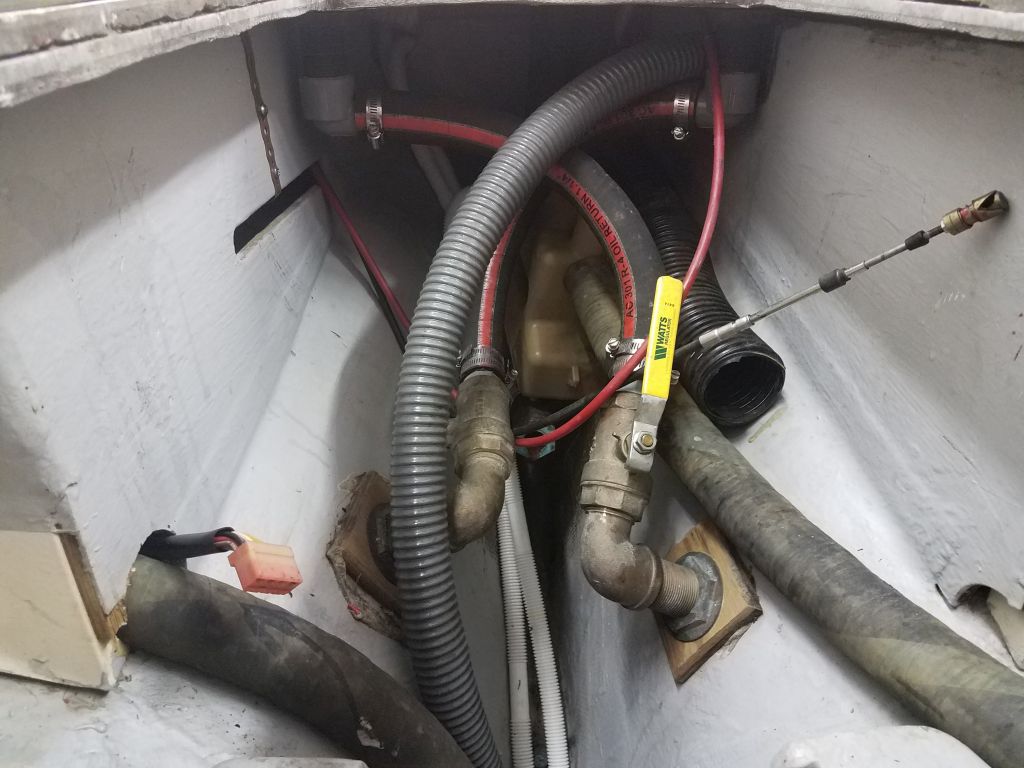
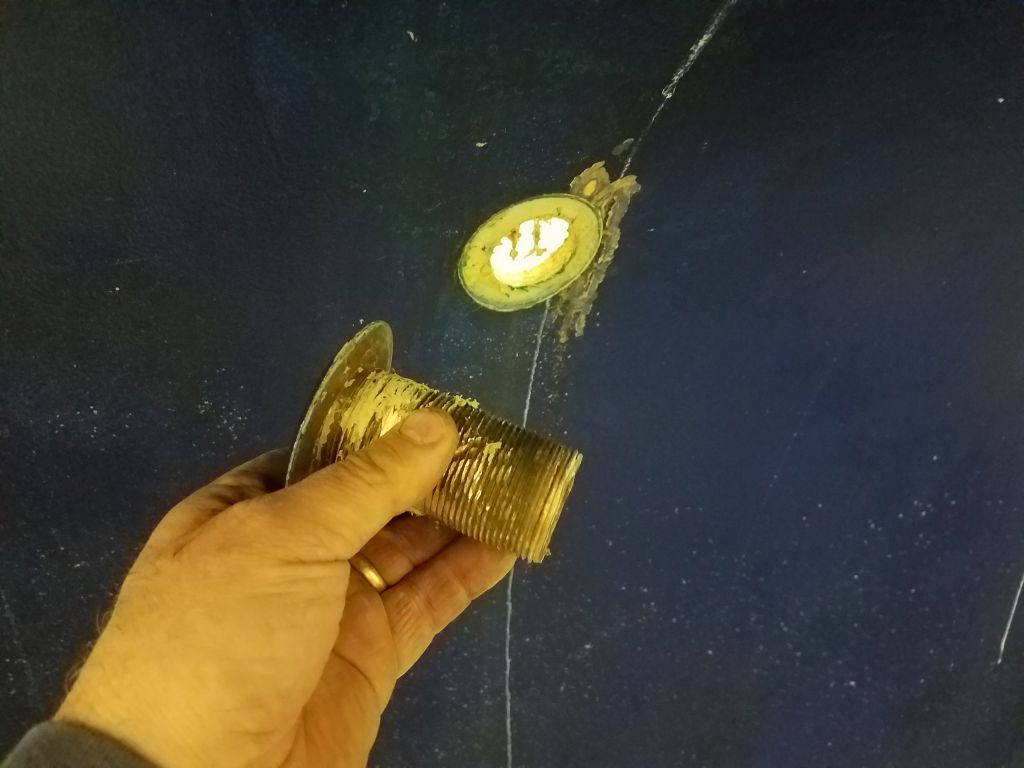
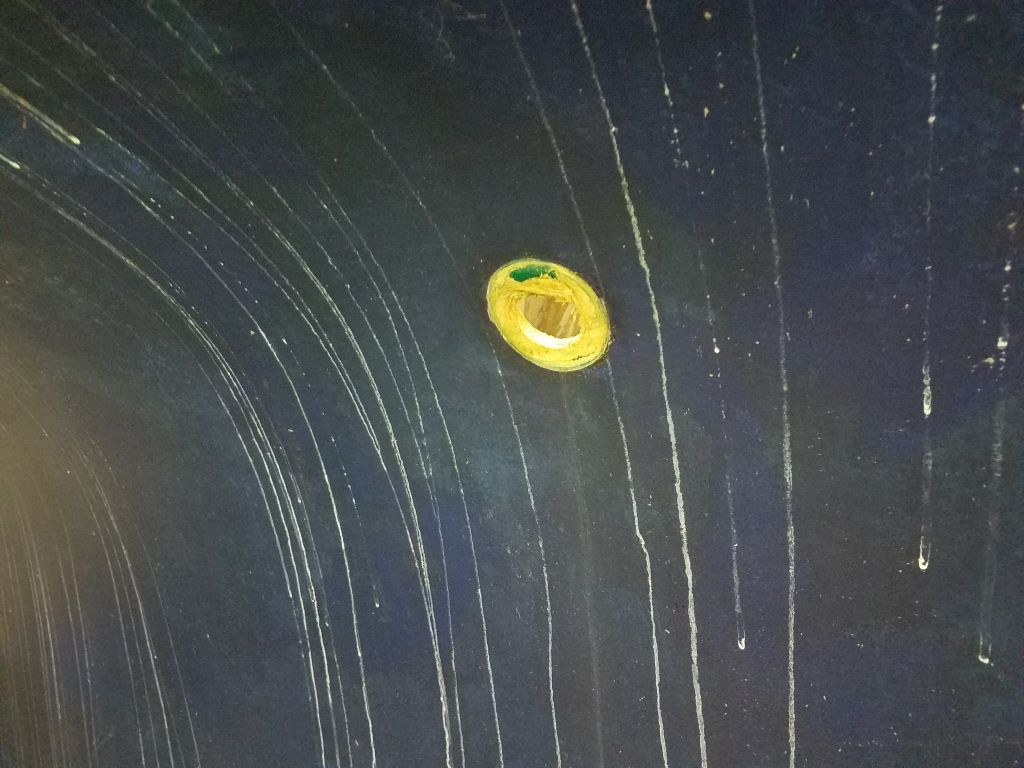
The existing raw water hoses and related components, at 1/2″ and 3/8″ hoses and pipe fittings, were sized too small for the new engine, which would require a 3/4″ water intake, so I removed all the old materials for now, reserving them for some later use if possible. The existing through hull would accept the proper pipe nipple at the top, so I removed the existing one so I could adapt the system to the 3/4″ hose required.

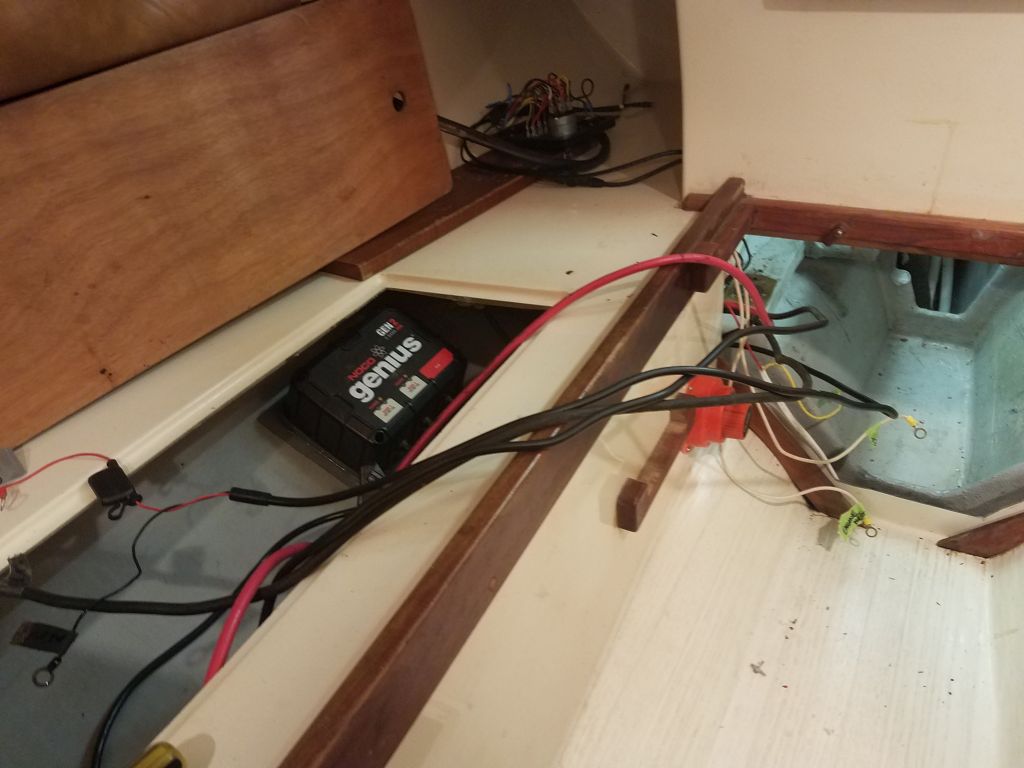
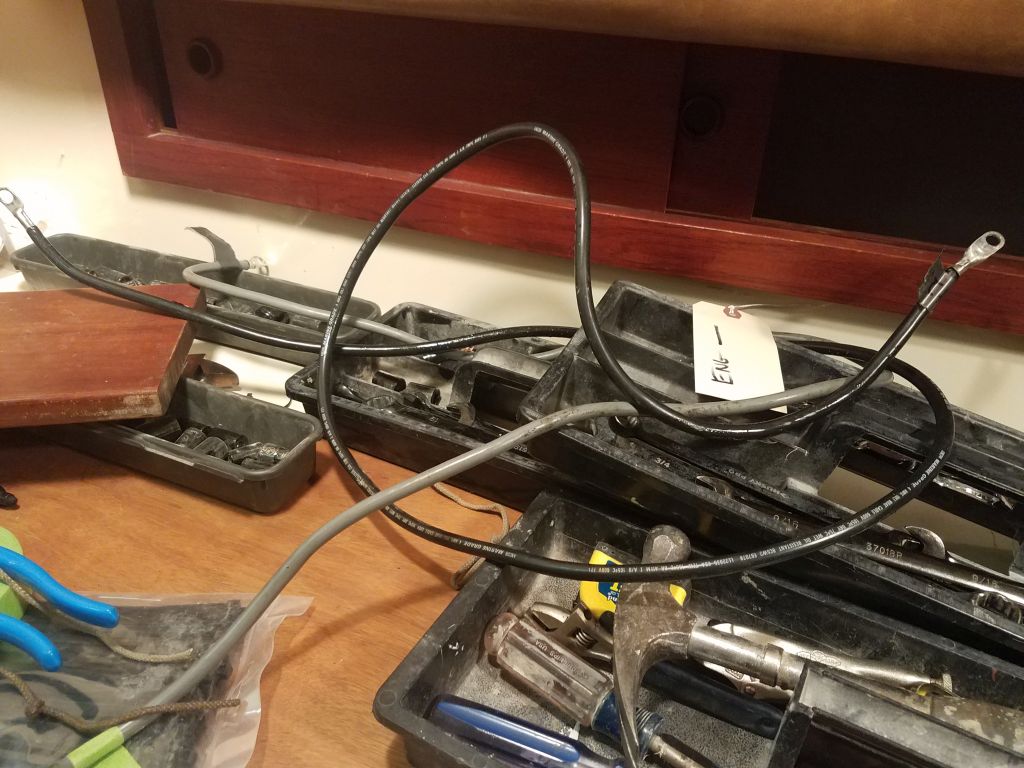
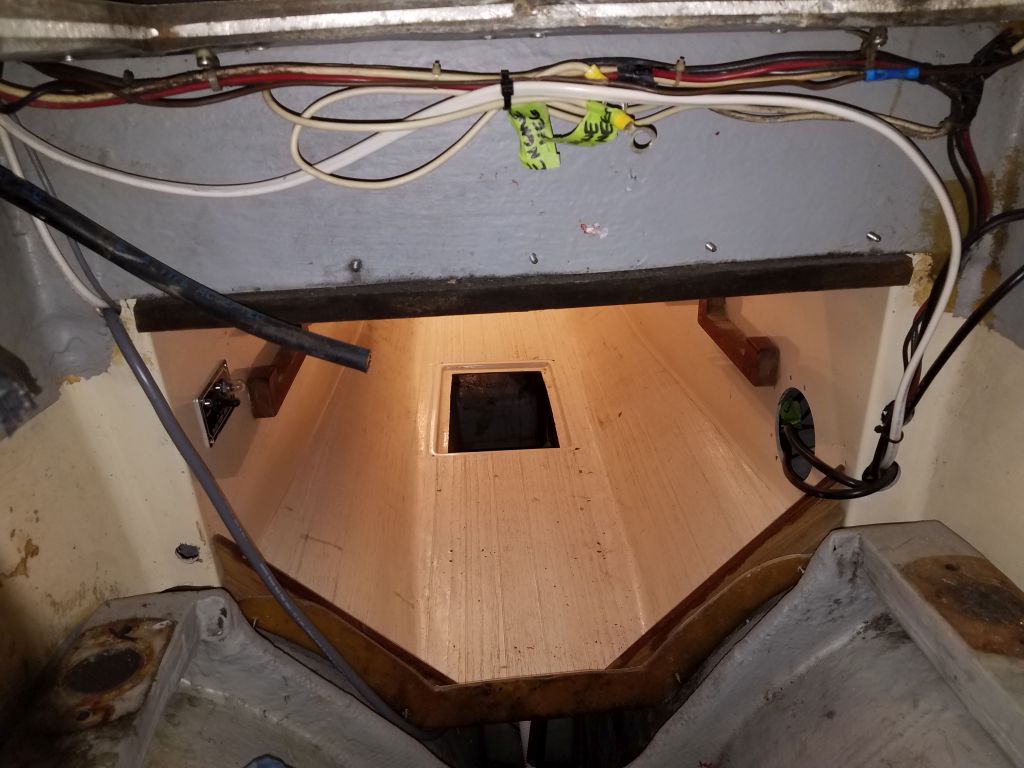
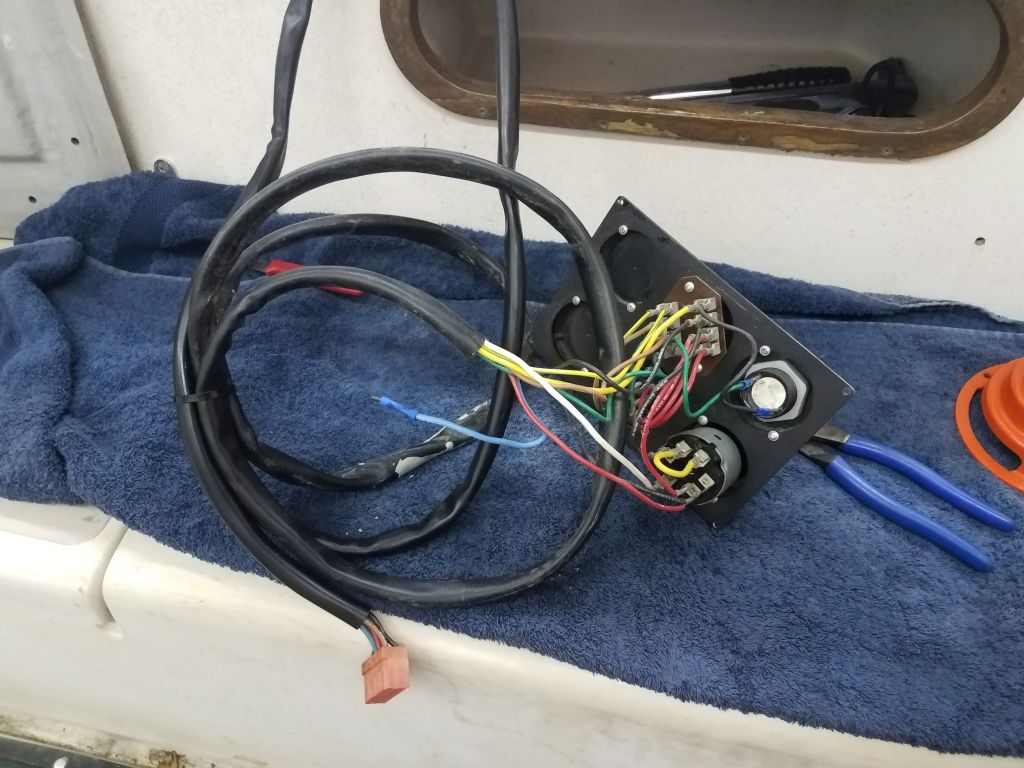
Next, I removed extraneous wiring from the engine room, where it ran through the forward portions above and below the little opening from the cabin. In order to clear the way for new wiring, as well as for the new work in the engine room, which would involve removing the old engine foundations and installing new ones, I removed all the old batter cables, setting them aside for later assessment, as well as the cabin-mounted battery switch, from which I removed the other ends of the various cables. As needed, I labeled existing wiring for ease of re-connection, since most of the boat’s wiring was outside the scope of my work now.

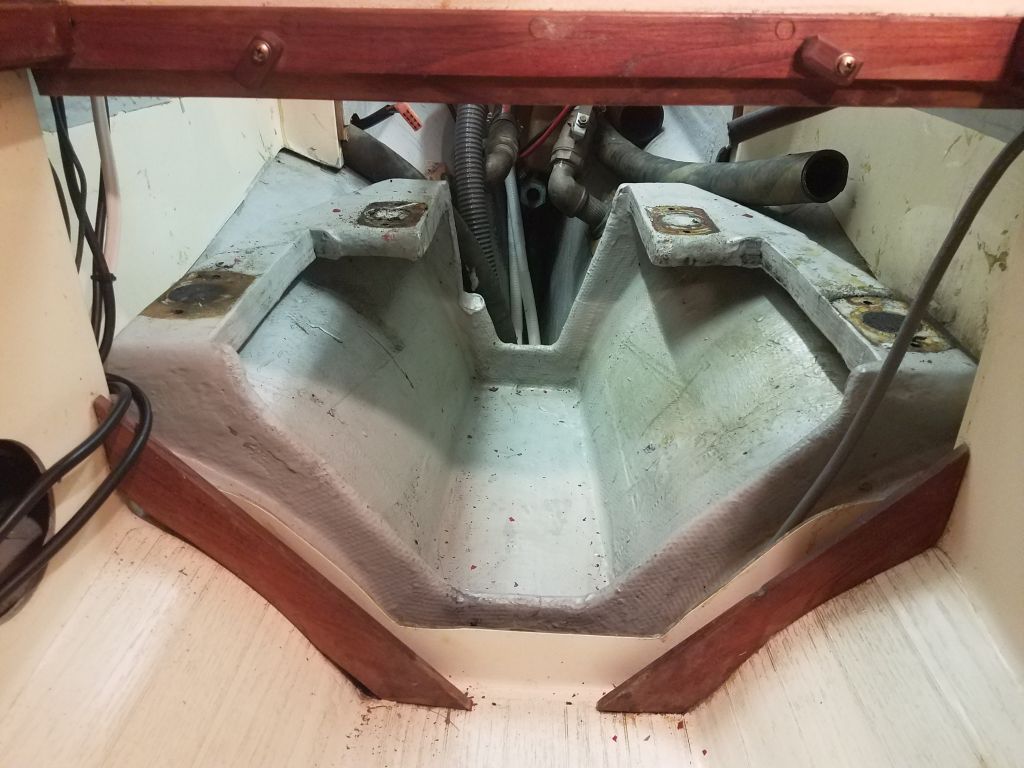
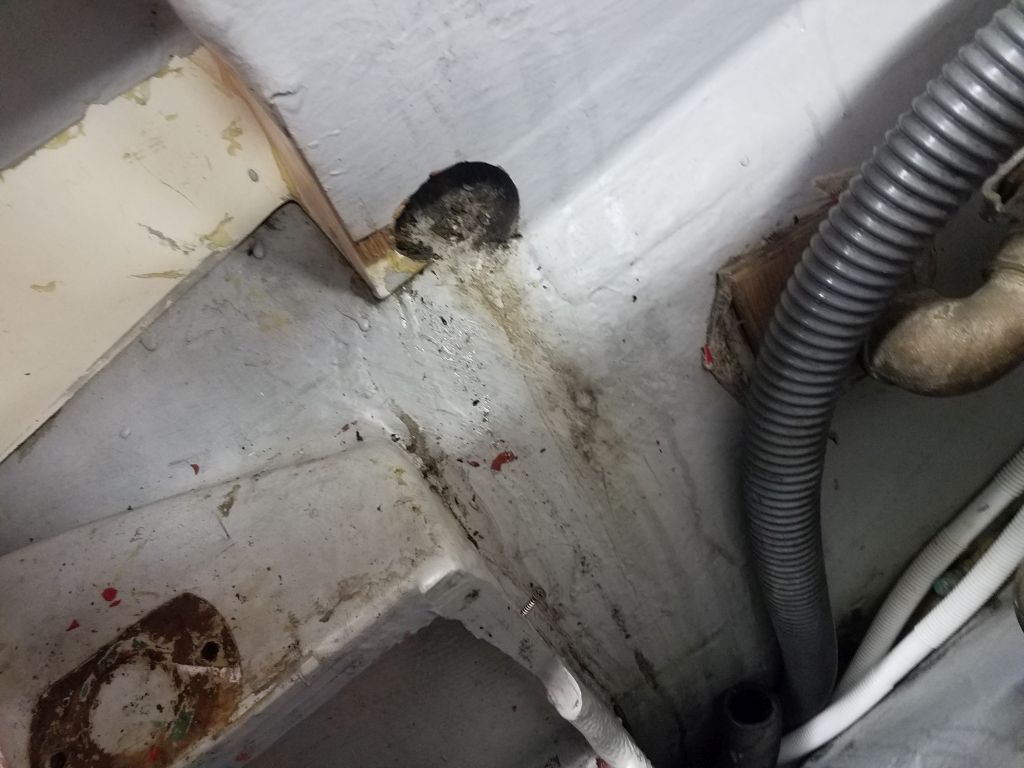
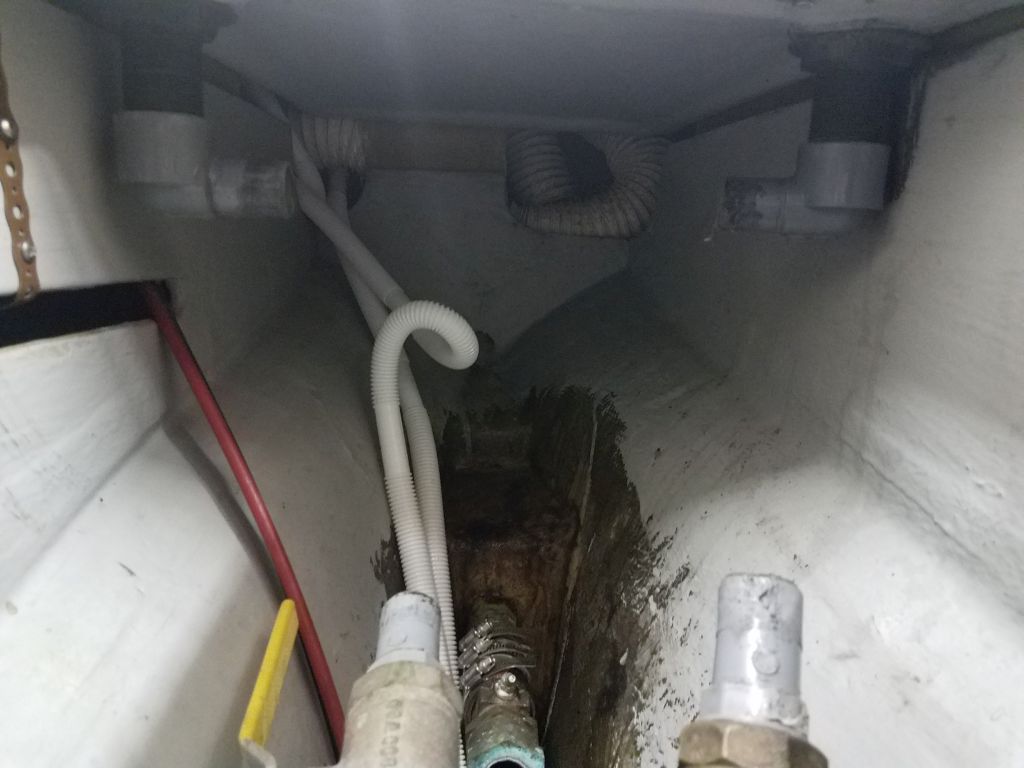
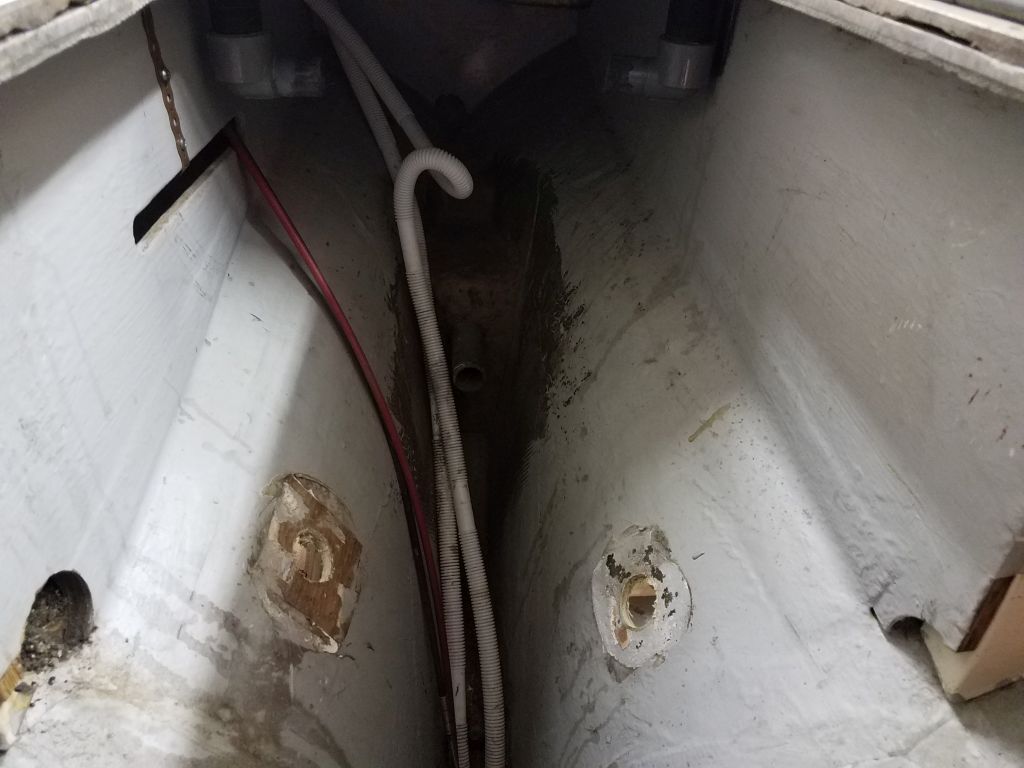
In the way that so many things are connected in any boat project, now I turned to the old waste system, since I wanted to get rid of the old pumpout hose, which ran beneath the engine pan, through the battery compartment under the cabin sole, and to the keel-mounted, built-in waste tank. Removing this tank, repurposing the space, and removing all the related waste lines and components was part of my job scope.
The waste pumpout hose ran from a deck fitting outboard of the cockpit on the starboard side, through the fuel tank locker, into the engine room, and then beneath the engine and cabin sole to the tank. The hose was supported at the forward end of the engine foundation with a metal strap, which was bolted to the foundation. Of course the access to the screw slot on the forward site was so tight as to nearly prohibit all possible access, so unscrewing one tiny bolt required multiple trips up and down to the toolbox for various tight-access screwdrivers and the like, and then a frustrating many minutes manipulating in the tight space before I finally released the bolt and the strap, freeing the hose.

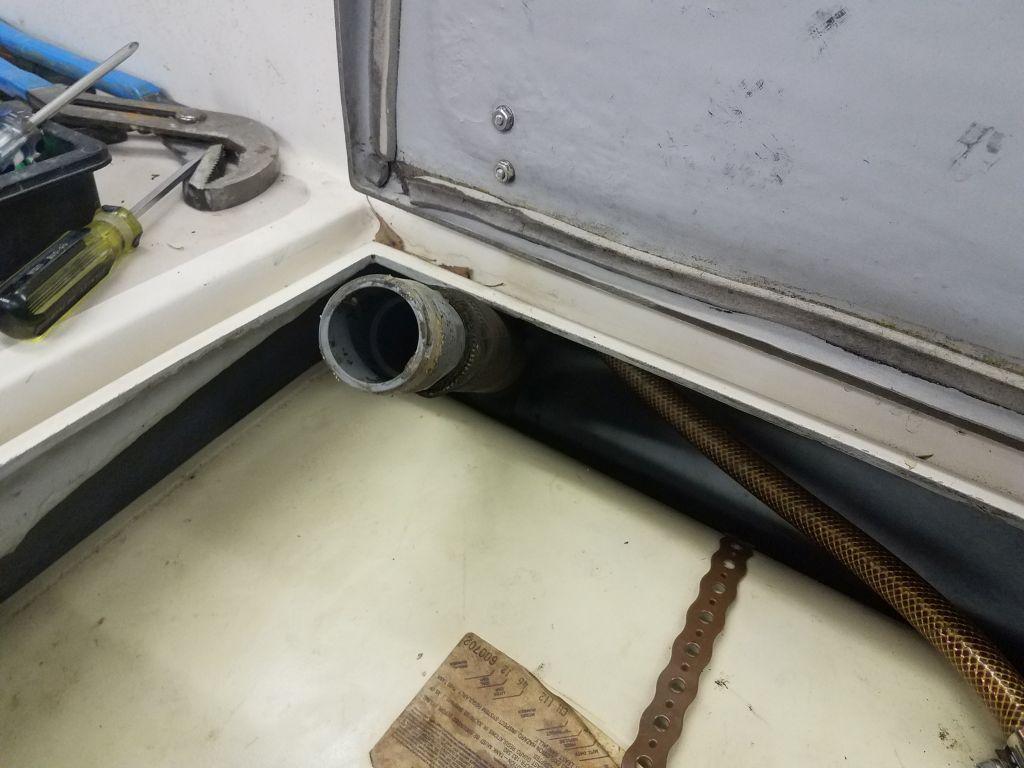
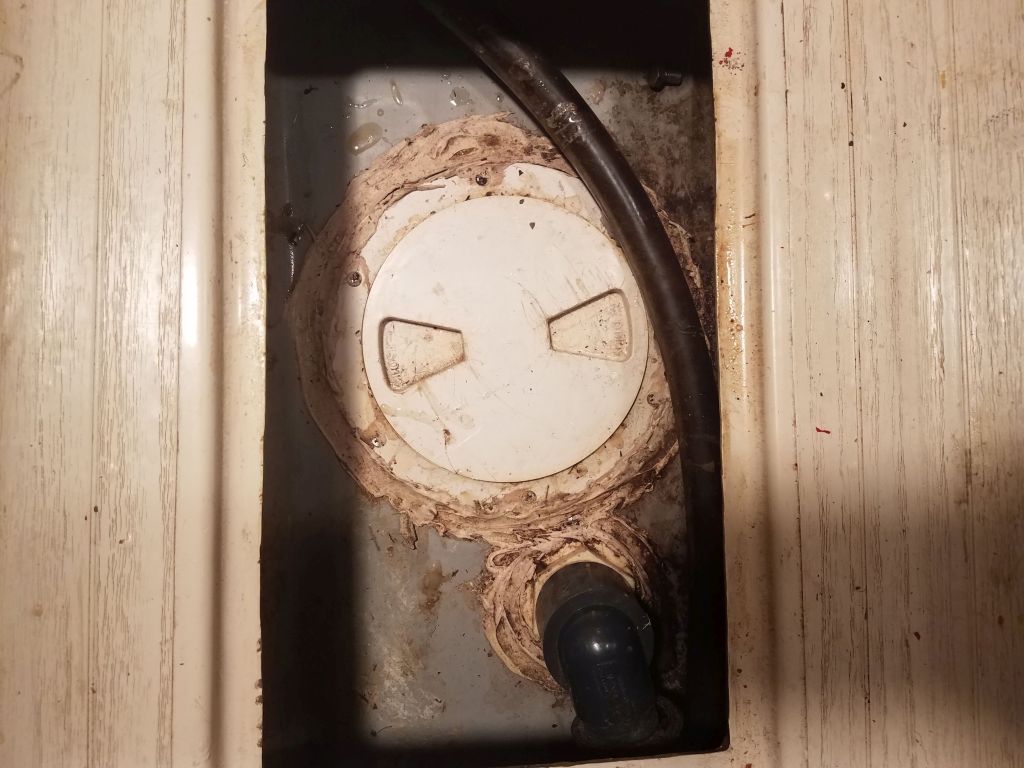
Access to the hose connection beneath the deck fitting was tight and non-visual, outboard and above the fuel tank, but after releasing the hose clamp (blindly with a small socket and ratchet), I found to my immense pleasure that the hose was secured to a plastic threaded fitting, and the threaded fitting was actually loose so I could easily unthread it, making removal of the hose in that tight space far easier than anticipated. I just had to cut the hose a bit out from where it exited into the engine room, which freed the hose for rotation, and then I pulled that 3′ length out of the opening in the bulkhead.
While I was in there, I cut off the excess lengths of fuel supply and return hose, which I planned to replace (and possibly the tank, though we’ll see). Access to the clamps was fussy and I didn’t want to waste the time right now, but I’d return later to remove the cut ends and prepare for the new installation.

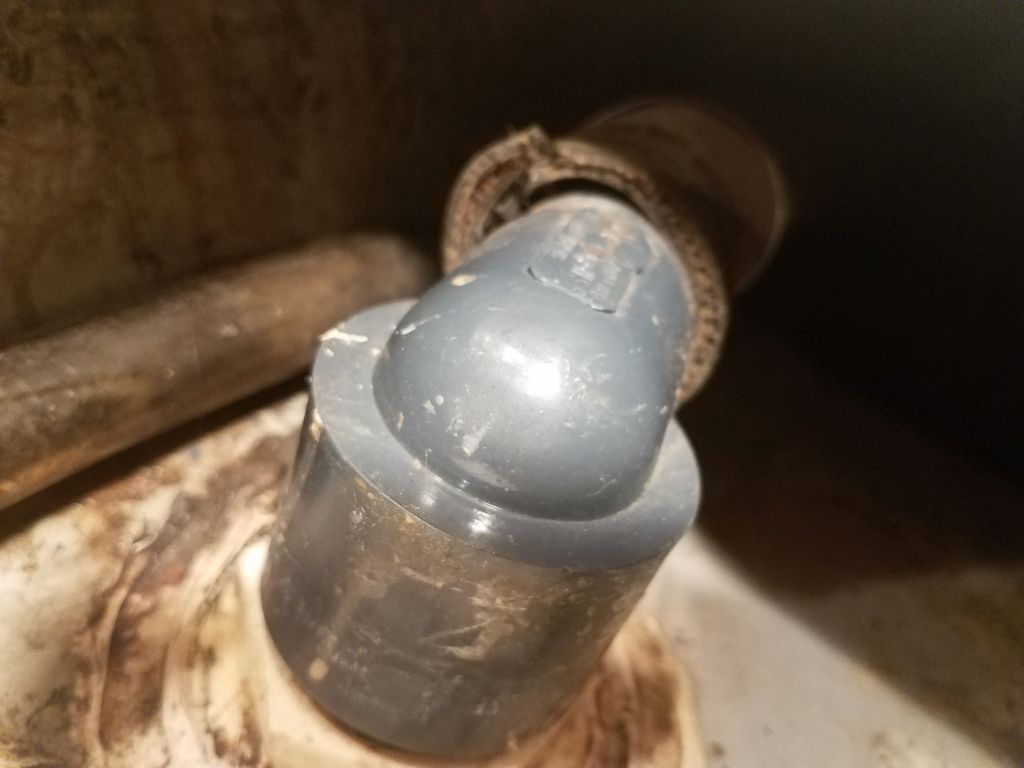
Now, with the remaining length of hose for leverage, I could twist the hose free from the plastic fitting located at the tank itself, and then remove the hose and throw it away.


Removing the waste hose from the fuel tank area opened up enough access beyond so that I could see how and where the wiring harness for the engine panel was pinched, and thus I was able to remove that as well.
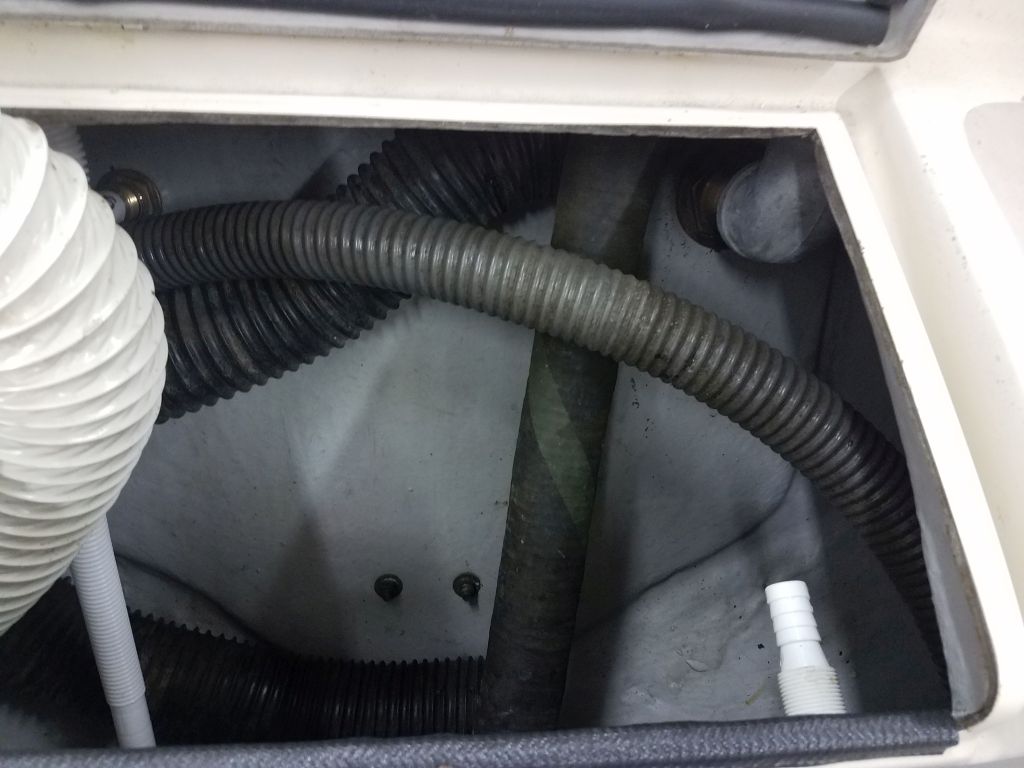
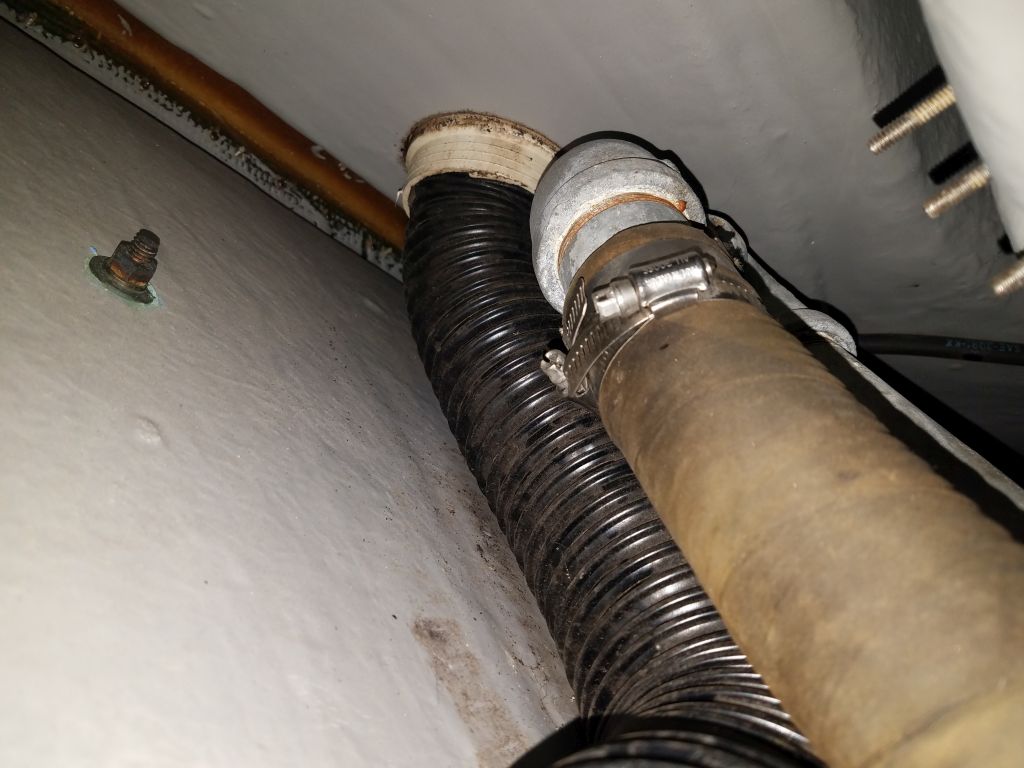
The aft end of the engine room was a tangle of scupper hoses and valves, exhaust hose and muffler, and ventilation hoses. I made some space by pulling out a second length of ventilation hose into the lazarette, and then while I was in there decided to remove the exhaust hose from the metal gooseneck fitting secured to the transom outlet. Again, this connection was located in a blind area, visible only by camera, and with tight access (and previous experiences) I feared the worst. Fortunately, I released the hose clamps without issue, and then managed to pull free the exhaust hose with nary a whimper, perhaps the only time in my experience where the hose wasn’t completely stuck to the nipple. This freed the whole length of hose and the plastic muffler assembly, and I could remove the whole assembly at once.


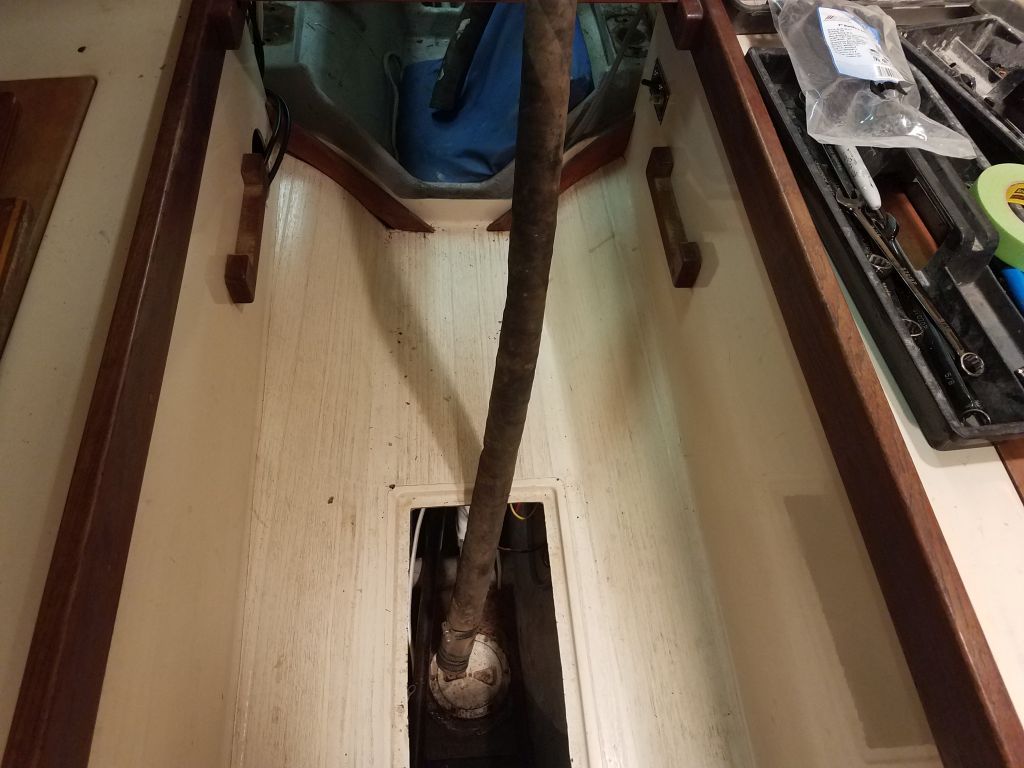
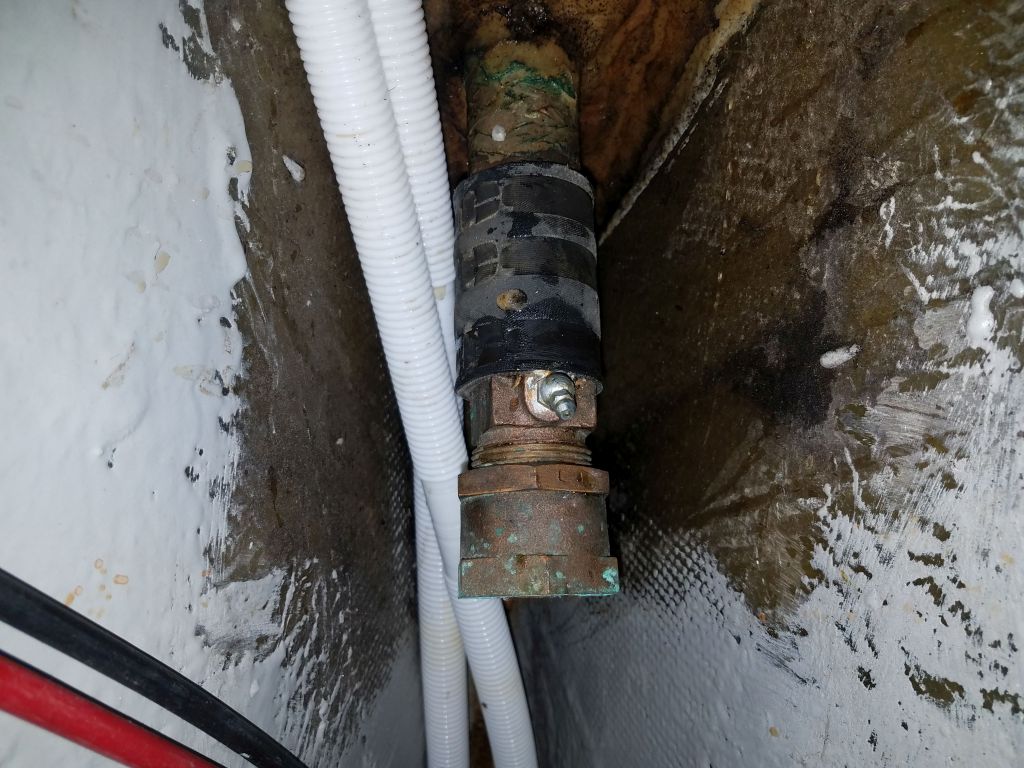
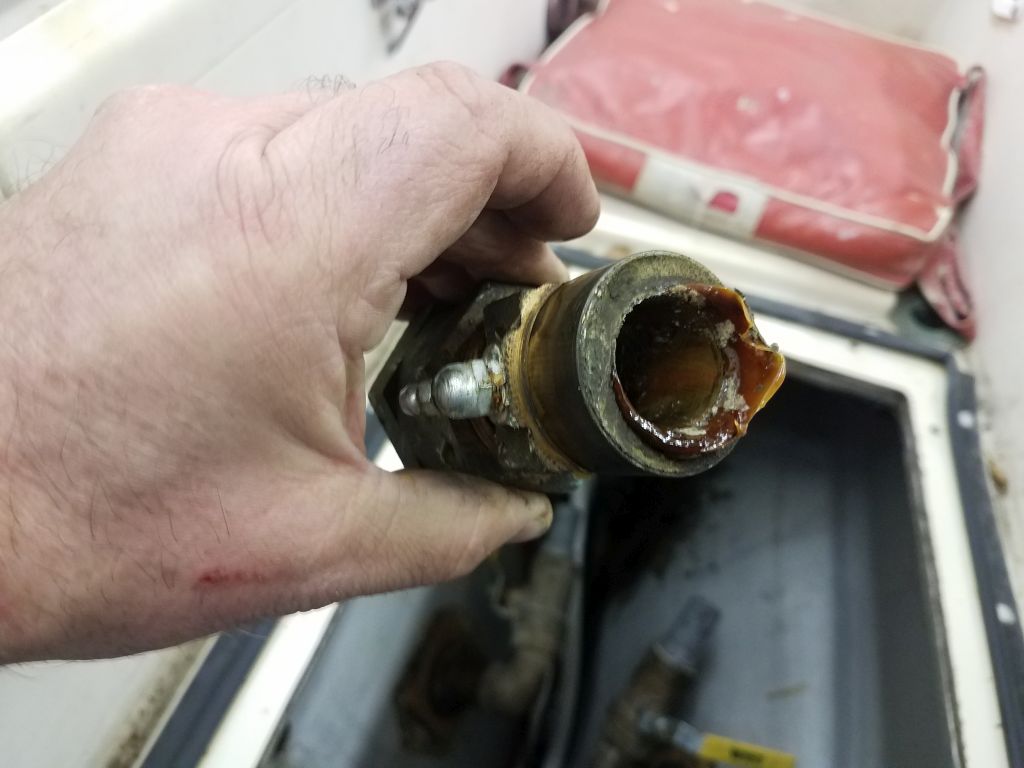
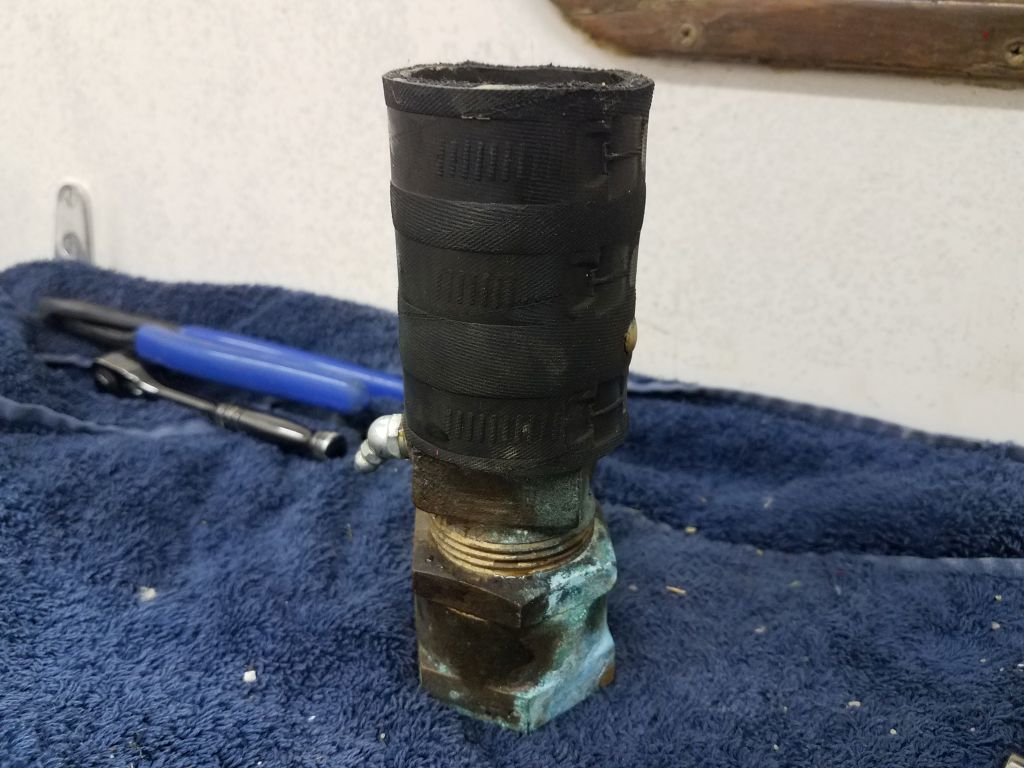
With the muffler and hoses out of the way in the engine room, I could access and remove the old stuffing box and hose. This was an unusual greased packing gland, which type I knew of but hadn’t seen in practice for many, many years.
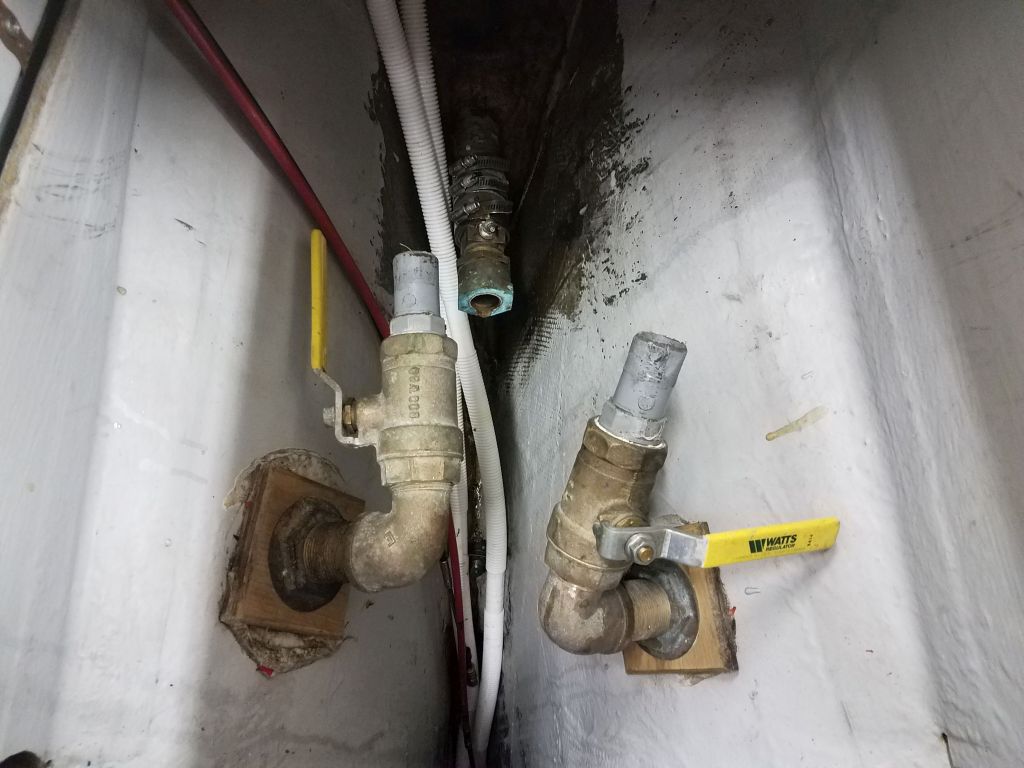
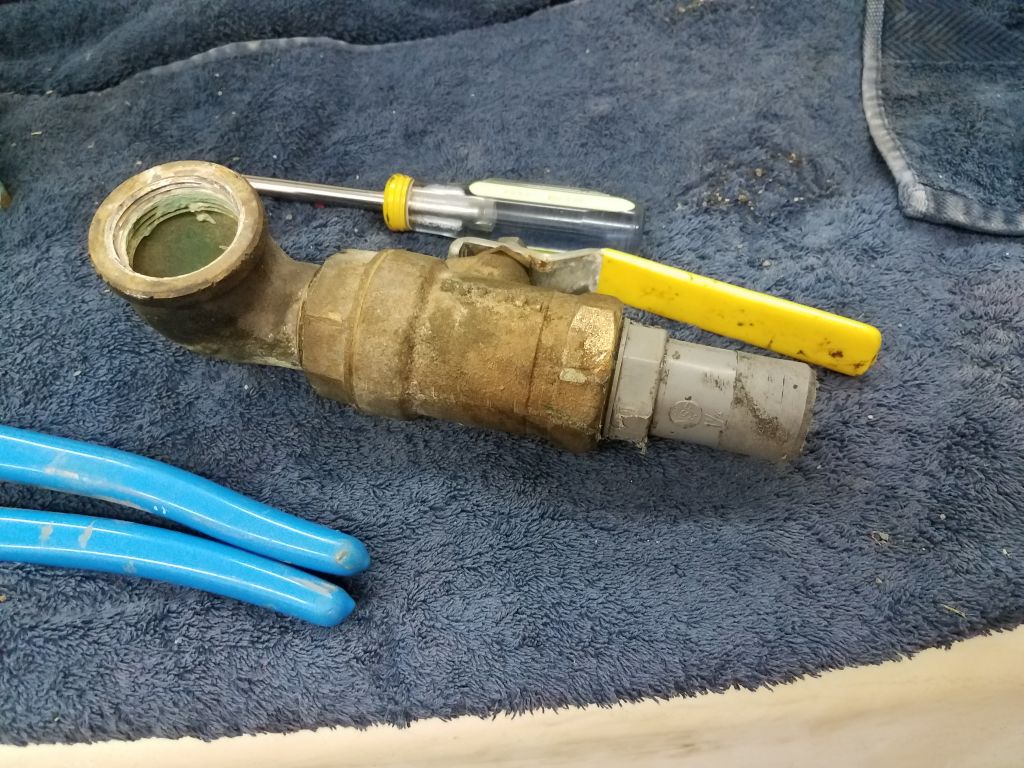
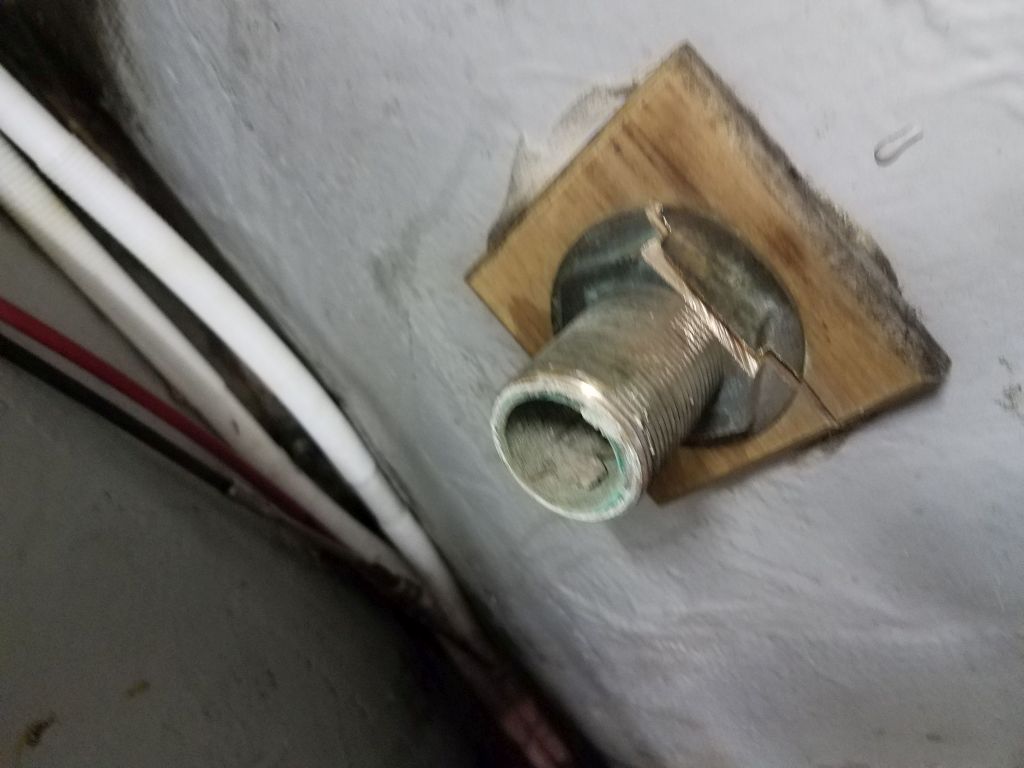
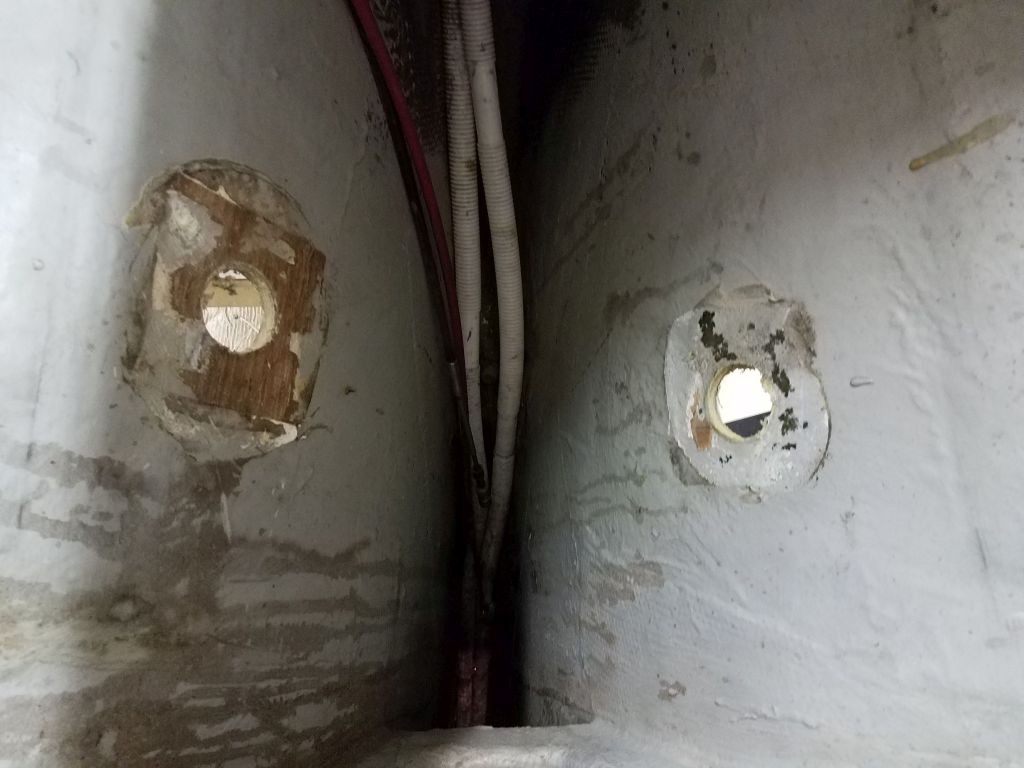
The scupper hoses didn’t put up too much of a fight when I removed them, and afterwards with a bit of elbow grease I removed the threaded elbows and old valves from the through hulls. I didn’t have such easy luck with the through hull nuts themselves, which proved too tight for me to easily remove given the weird angles and, in the main, the tight access that simply didn’t allow the shoulder room for me to get in there properly. The large cockpit hatch might look in the pictures to make for a convenient and roomy access to the space, but in reality it’s too tight to allow easy access for head and shoulders for tasks like unwrenching large nuts. In the end, I simply cut through the nuts on one side with a metal cutting wheel on my grinder, and removed the old fittings easily from there. After a long only semi-productive day with myriad unrelated distractions, from snow outside to deal with to some inner workings of this website, and other things that need no mention here, this seemed a good time to call it a day, so I did.


Total time billed on this job today: 5.5 hours
0600 Weather Observation: 32°, snow, an inch or two down so far. Forecast for the day: Snow, maybe changing to or mixing with rain (we’ll see).