

January 8, 2019
Dharma Rose 26
Tuesday
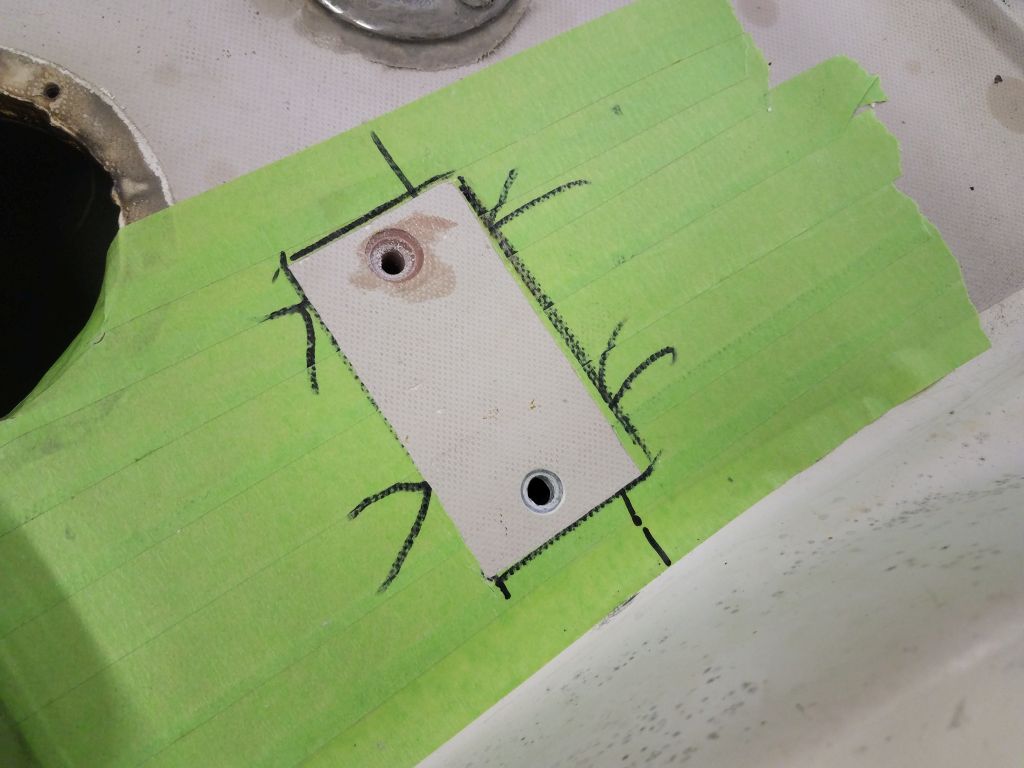
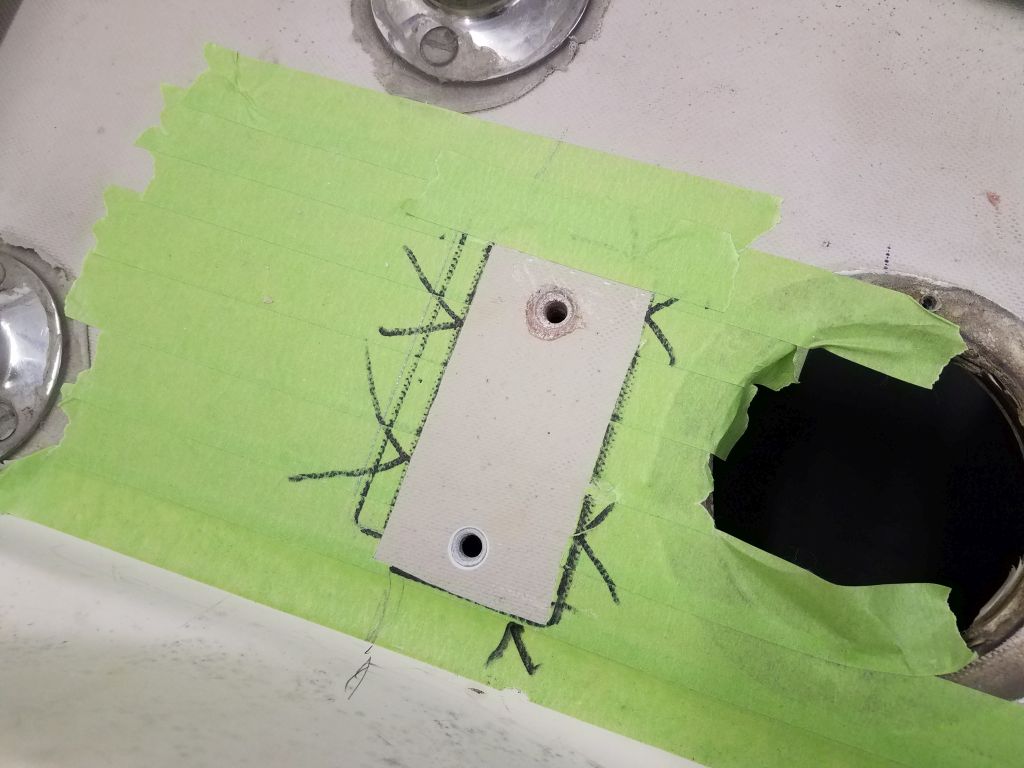
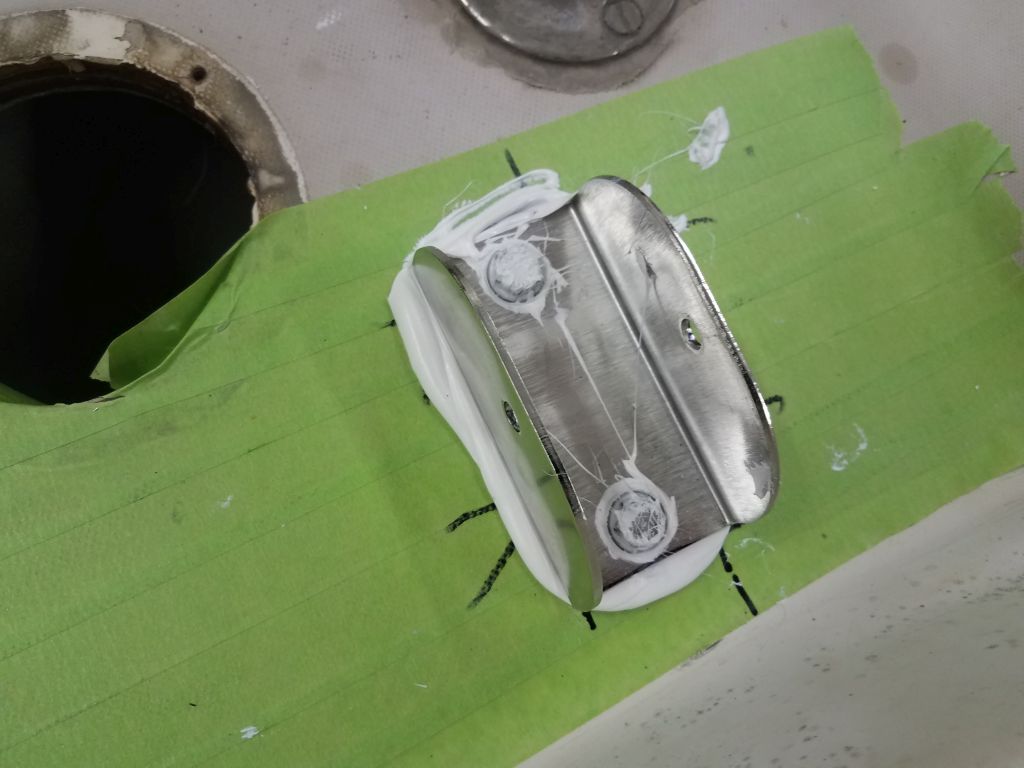
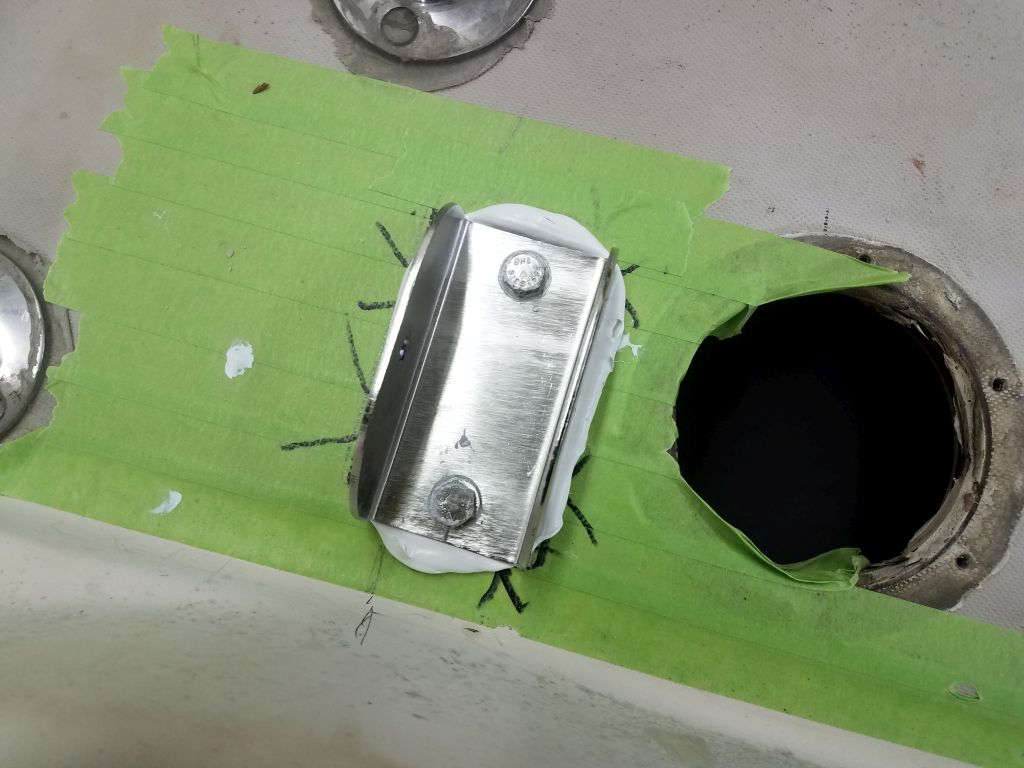
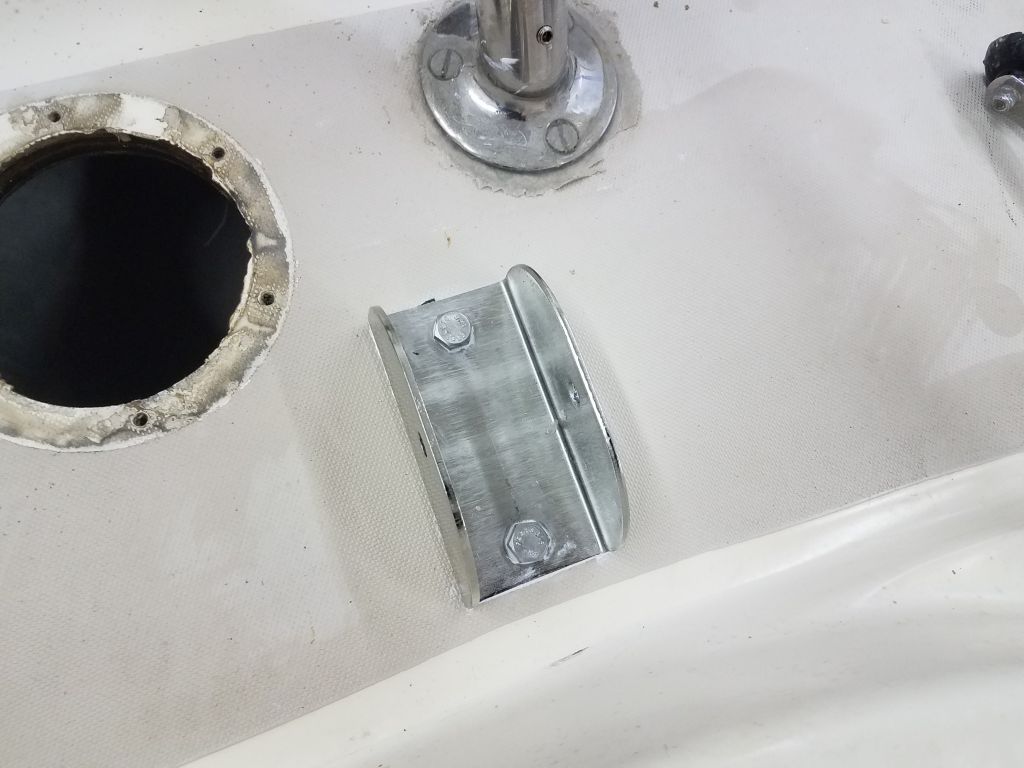
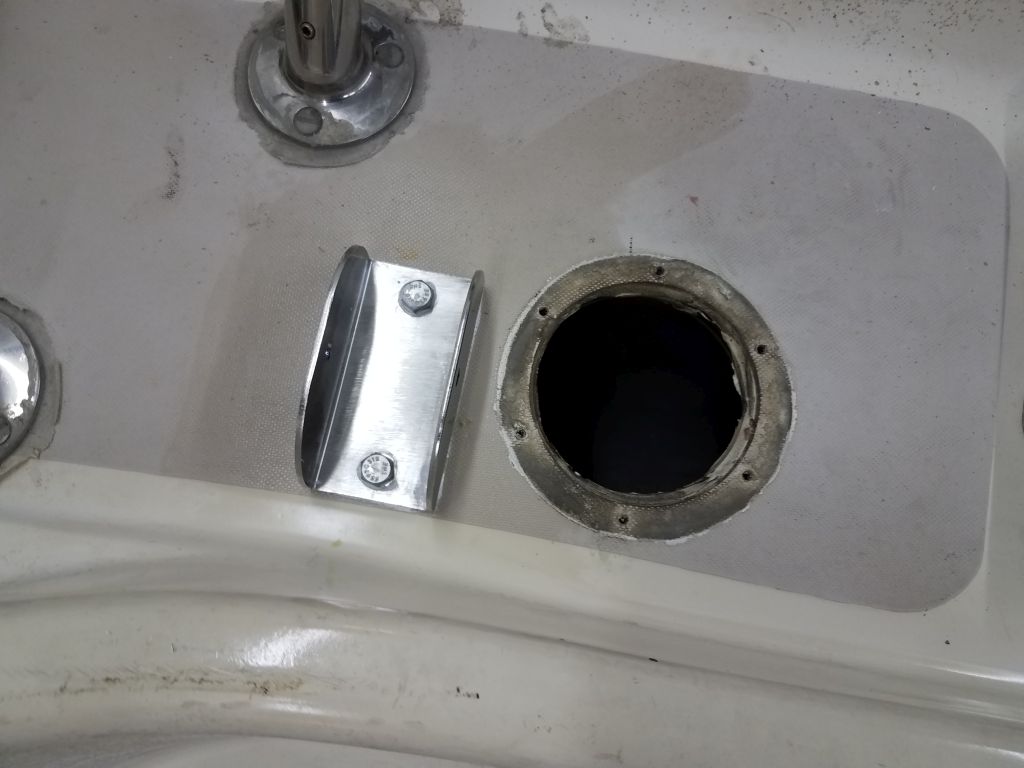
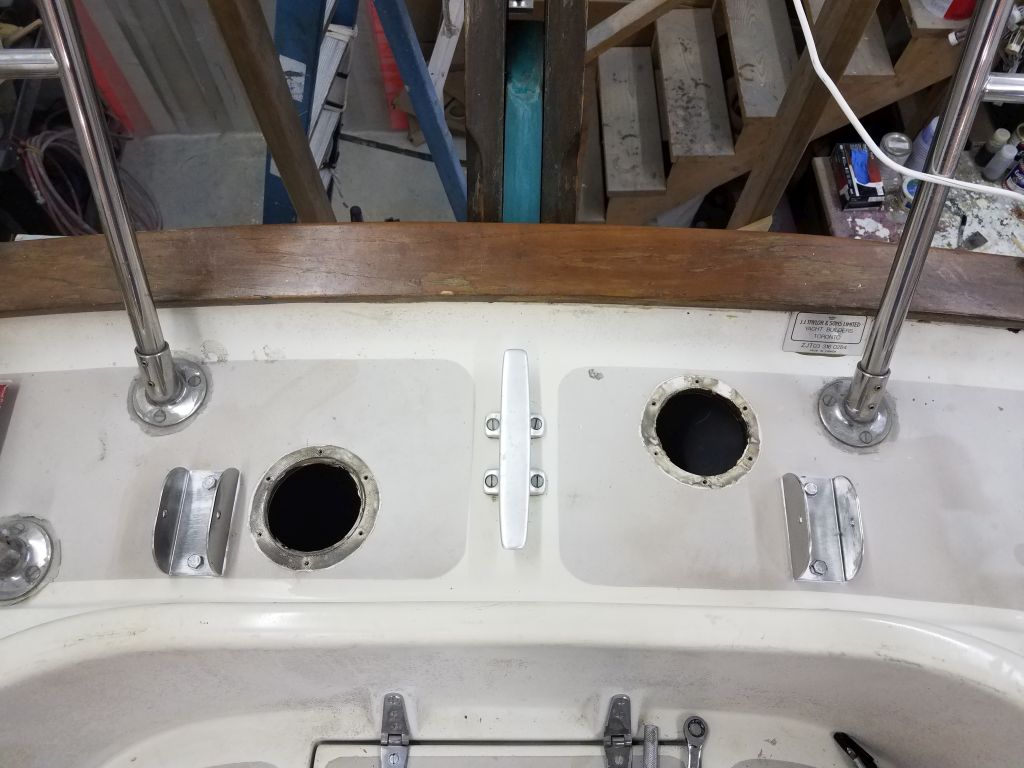
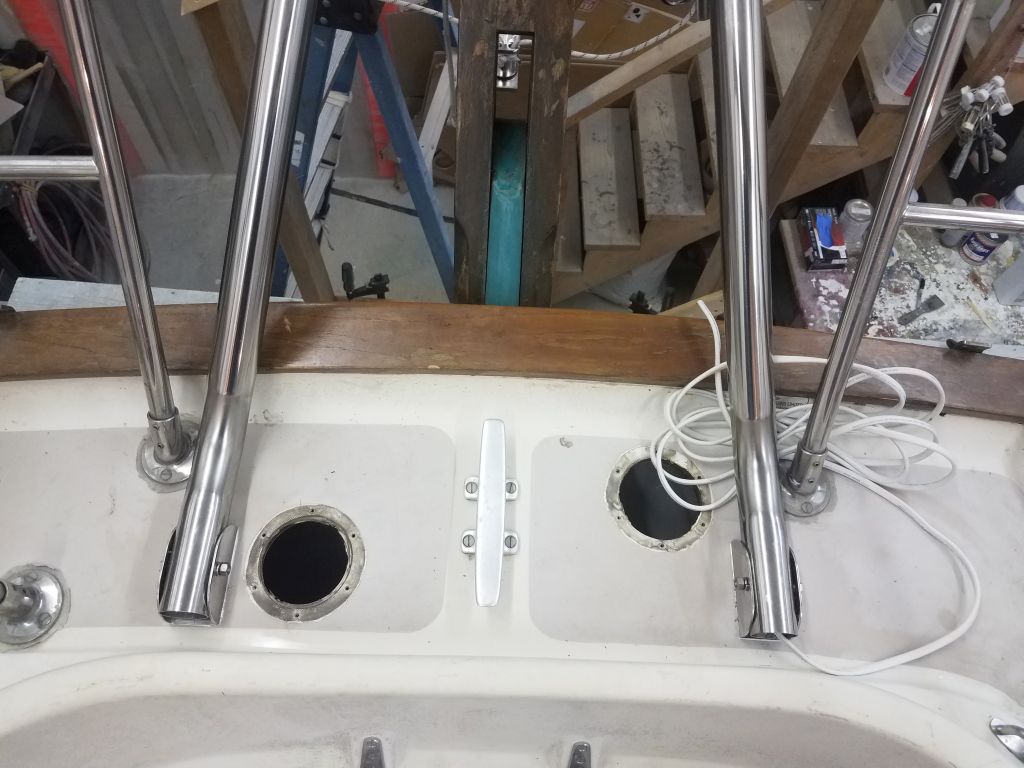
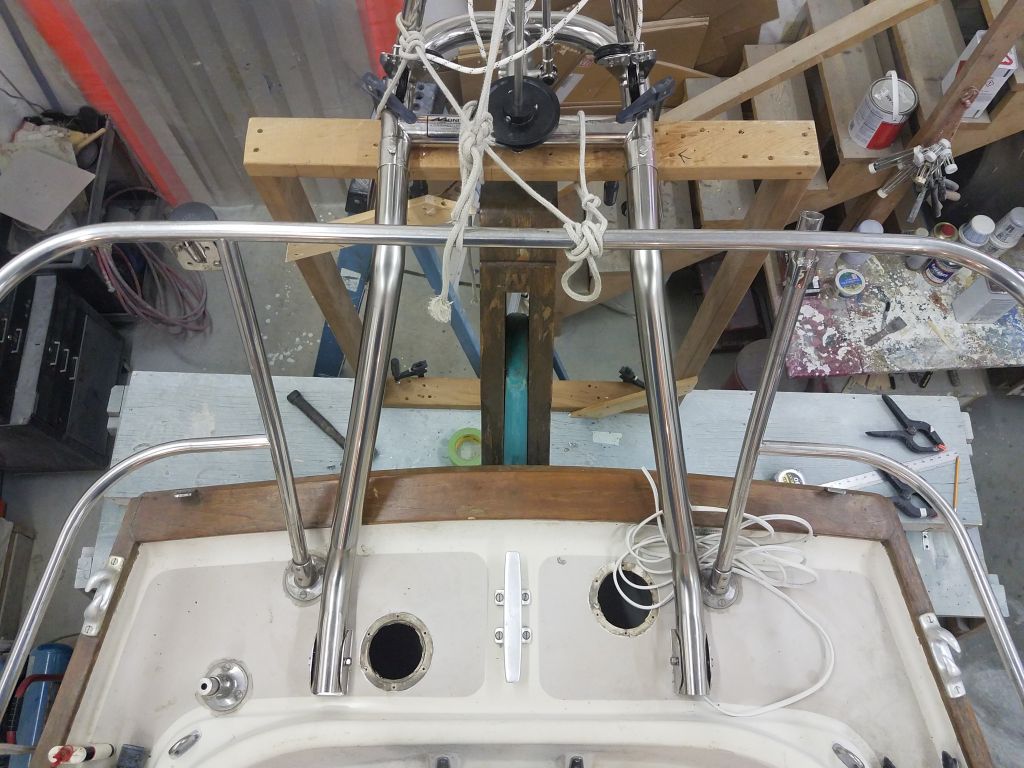
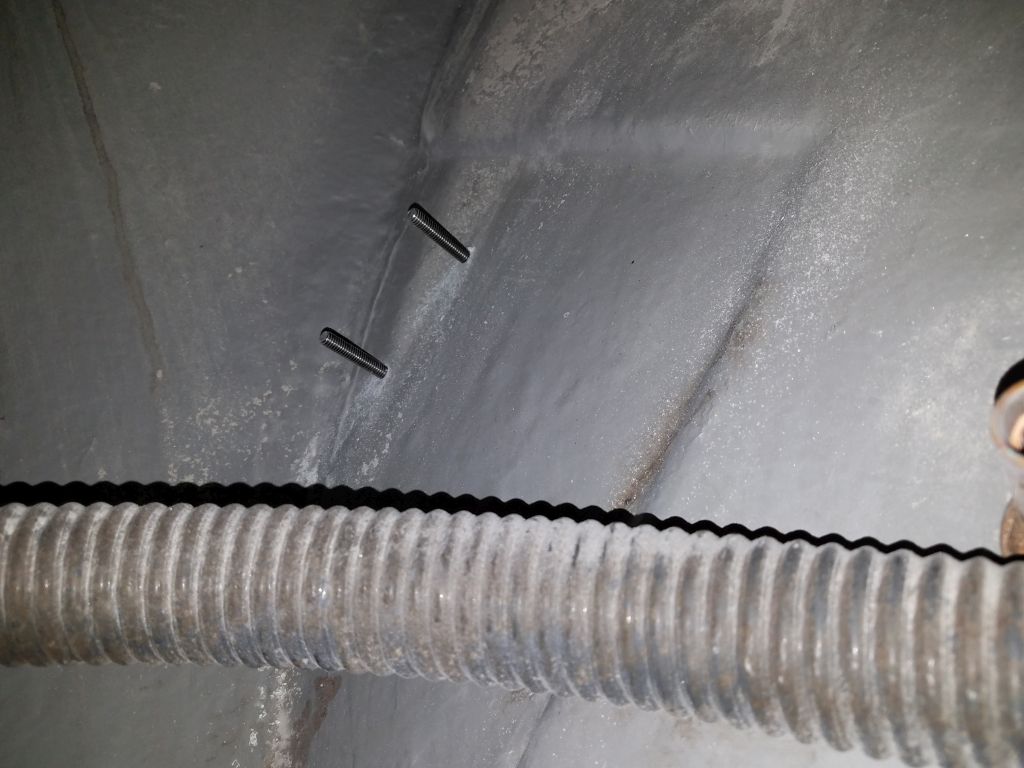
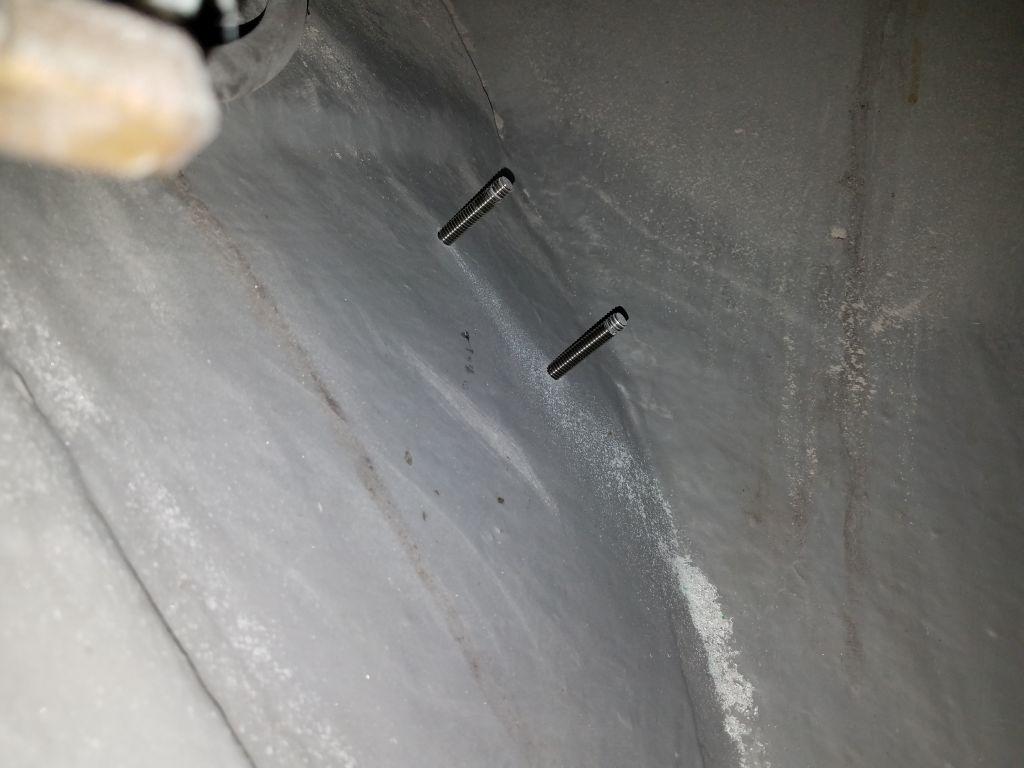
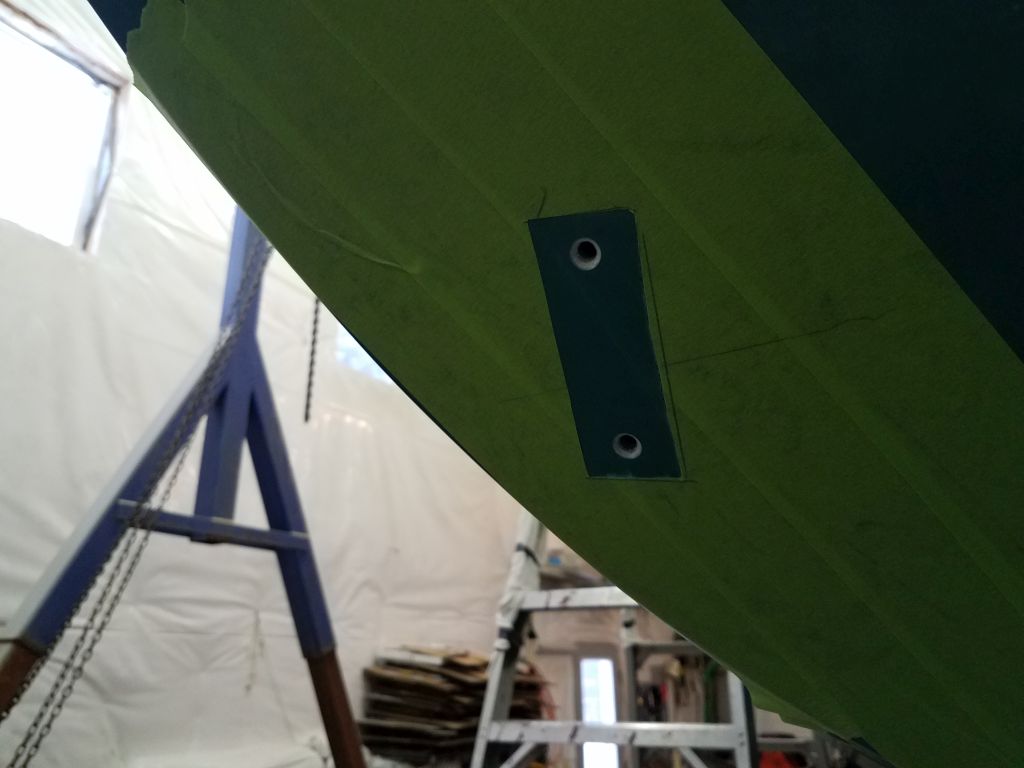
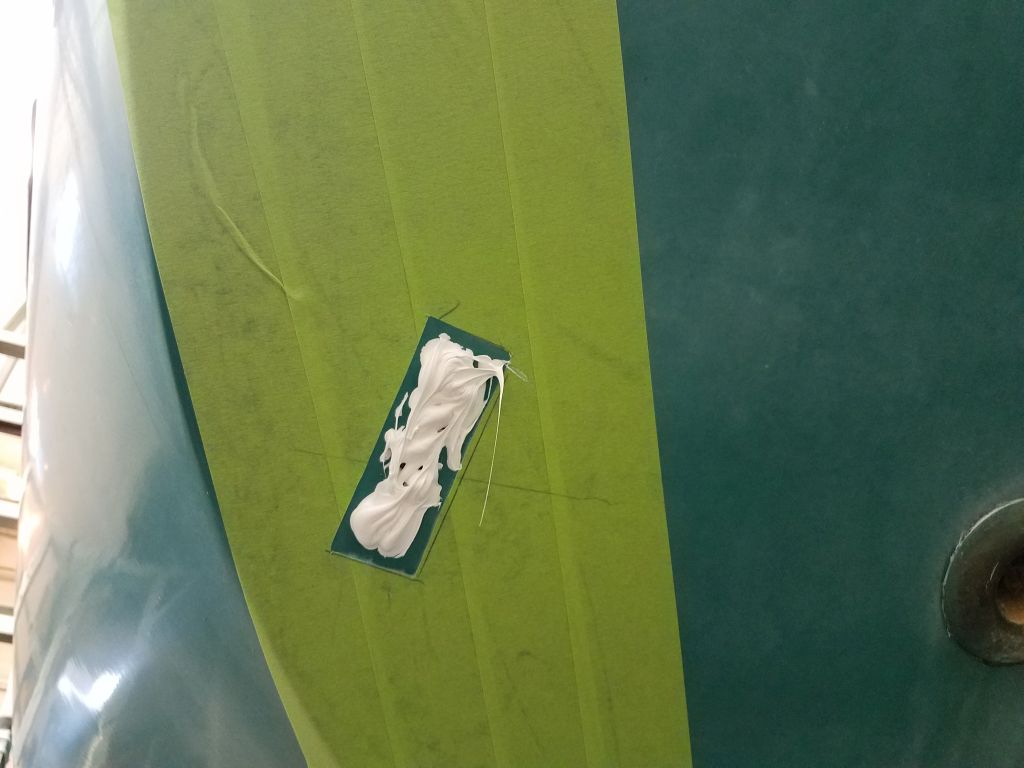
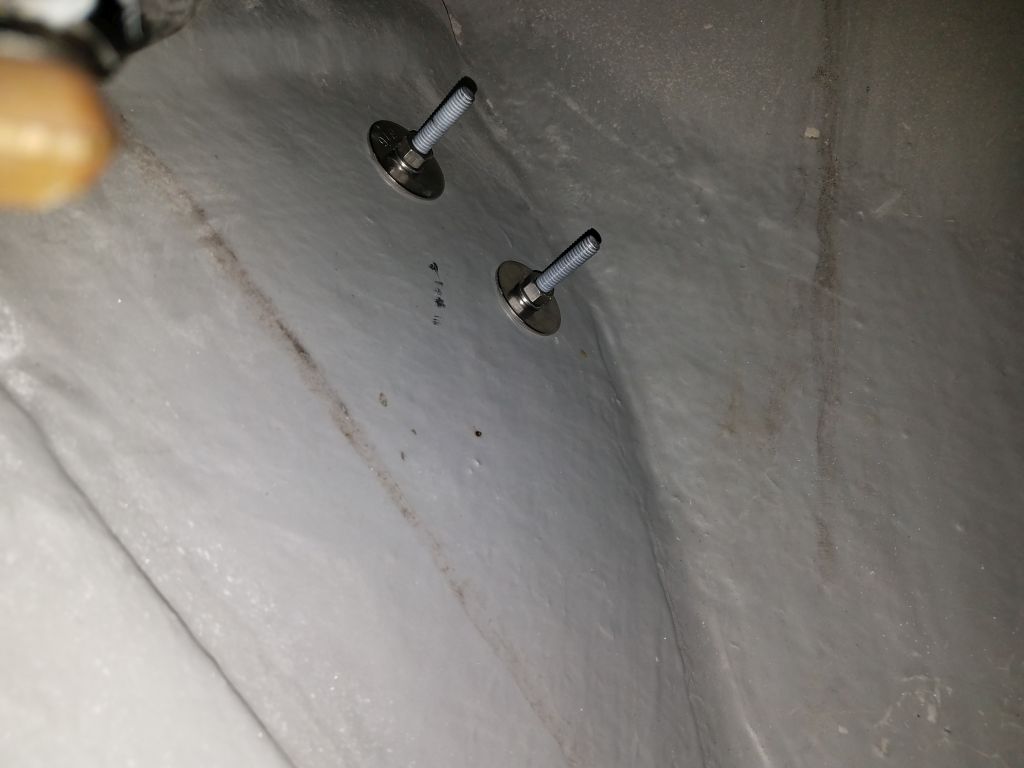
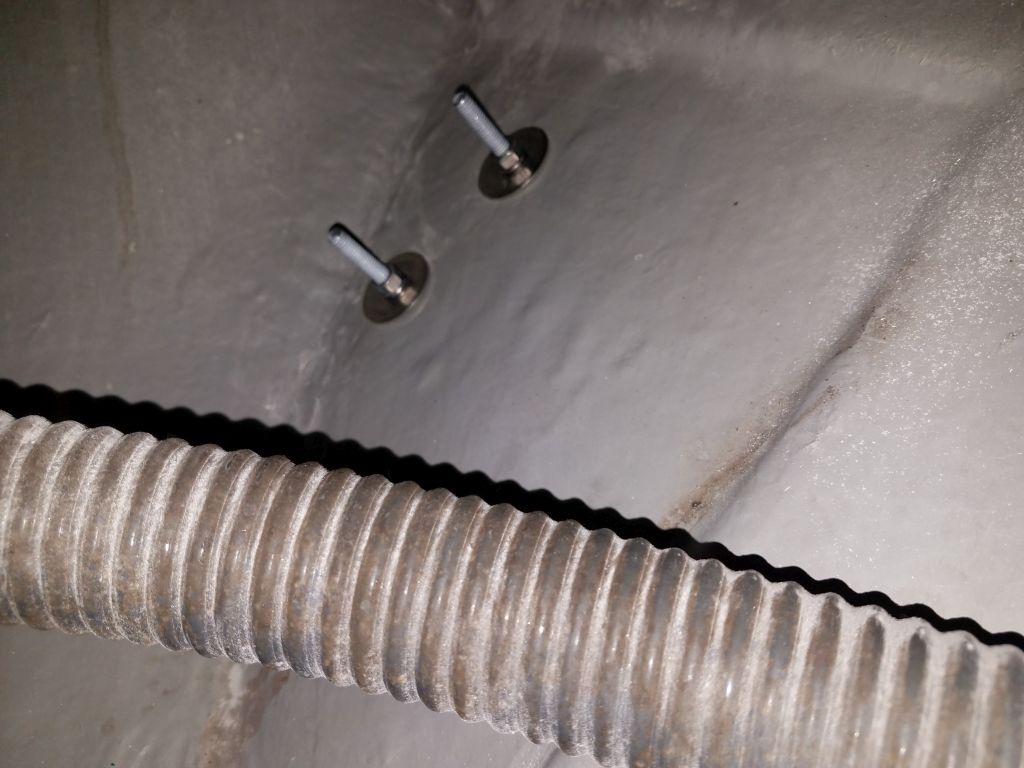
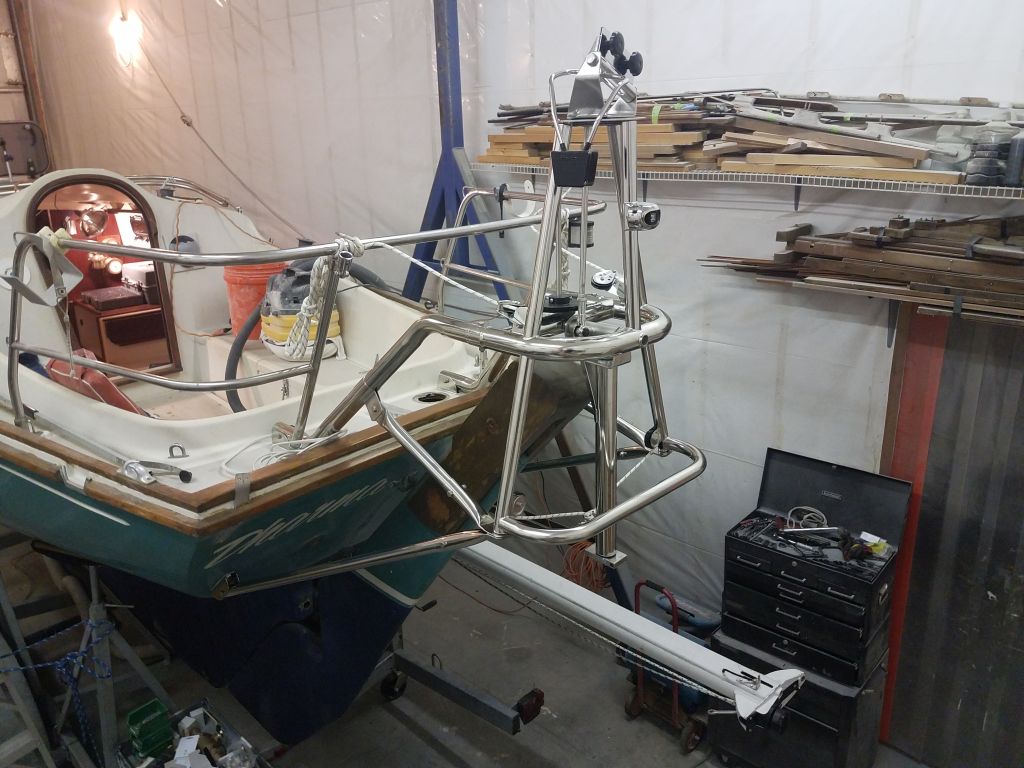
Now that the deck was ready after the epoxy cured overnight, I could move forward with the final installation of the two deck brackets for the main upper support tubes. I followed all my habitual installation steps, including drilling and tapping the holes for the 5/16-18 hex bolts, countersinking the tops of the holes, removing the masking tape in the bonding area, and finally installing each fitting in a bed of sealant, using the 1/2″ backing plates below with large washers and nuts. Access to the undersides of these fittings was possible through the nearby holes from the temporarily-removed cowl vent fittings. On the port side, the rigid exhaust gooseneck against the transom made this access extremely tight.
Before installing the support tubes for the final time and using marks I had made earlier before removing the tubes, I center-punched and drilled the through holes at the inboard (deck) ends for the bolt that would secure them to the deck brackets.


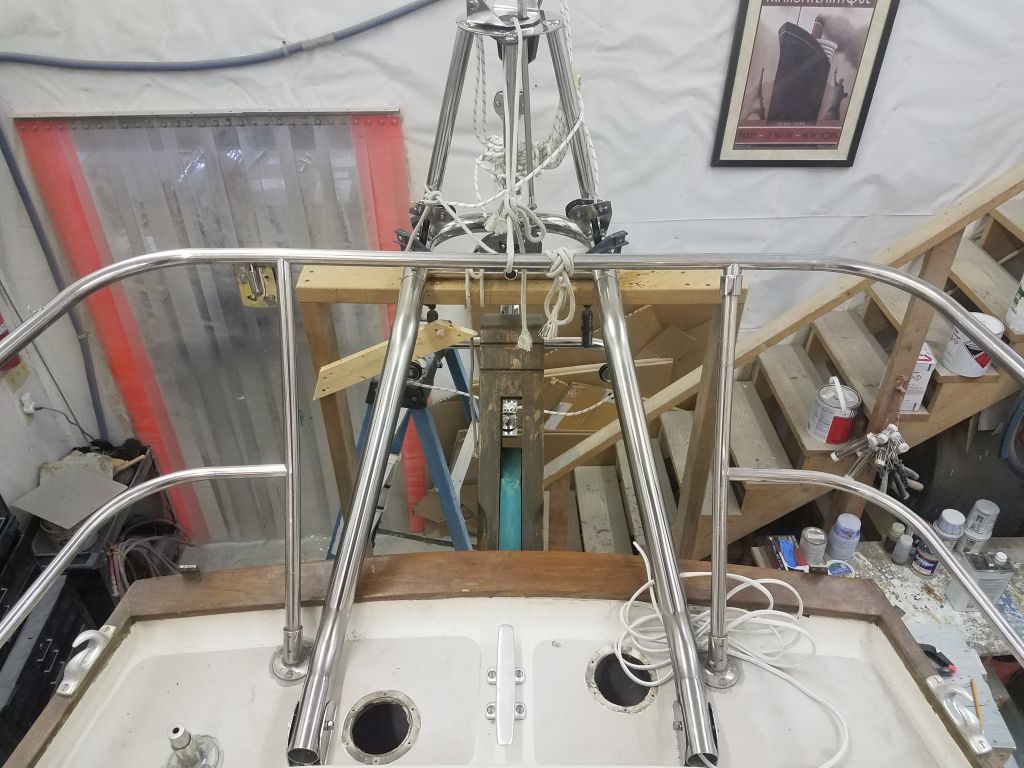
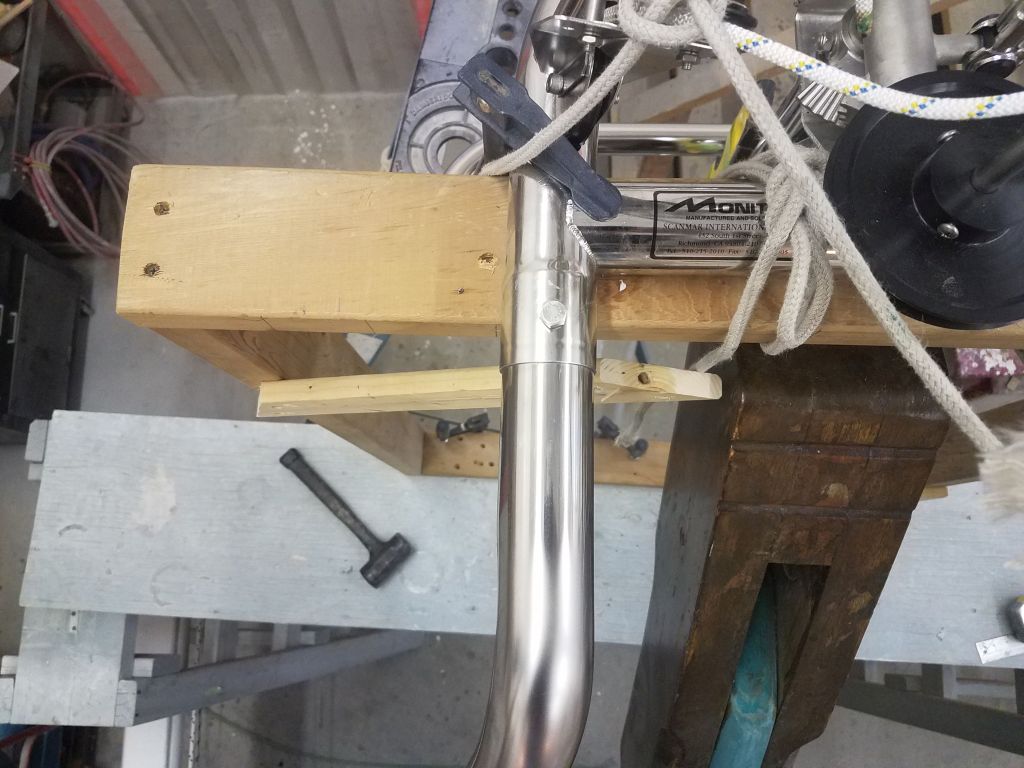
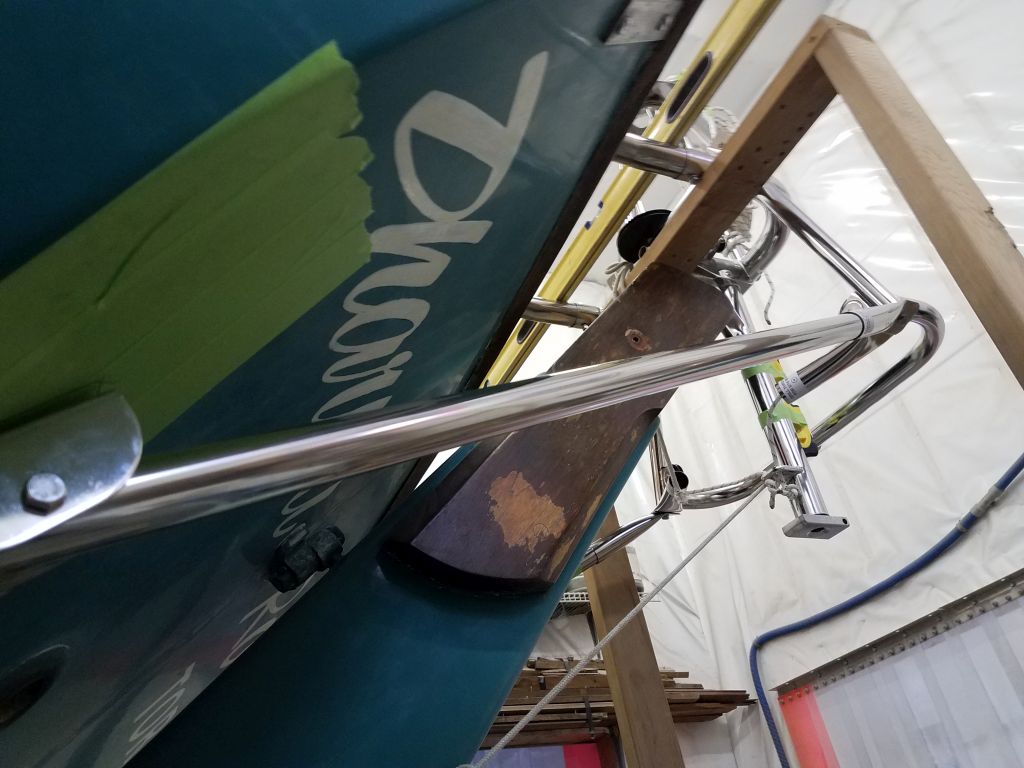
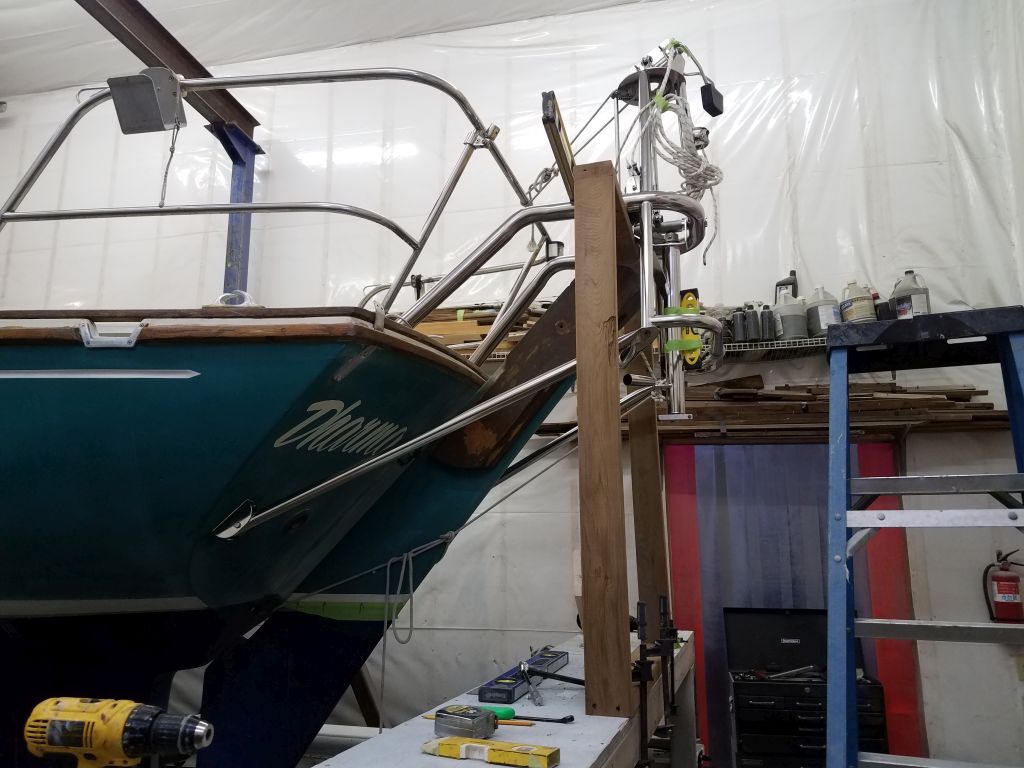
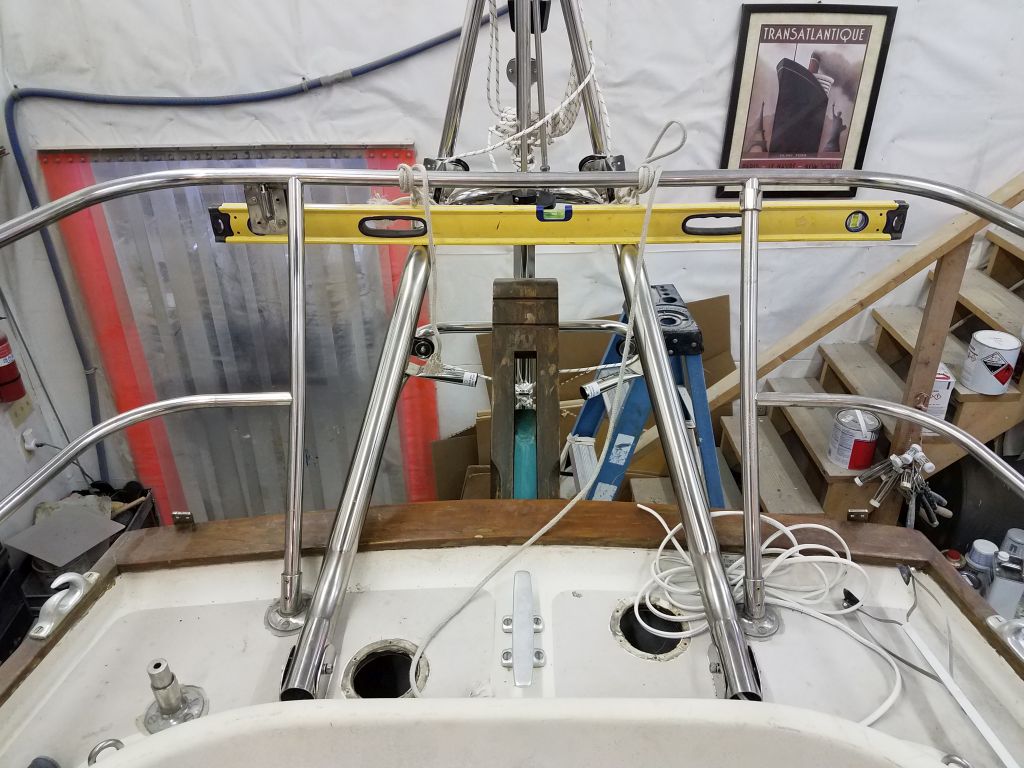
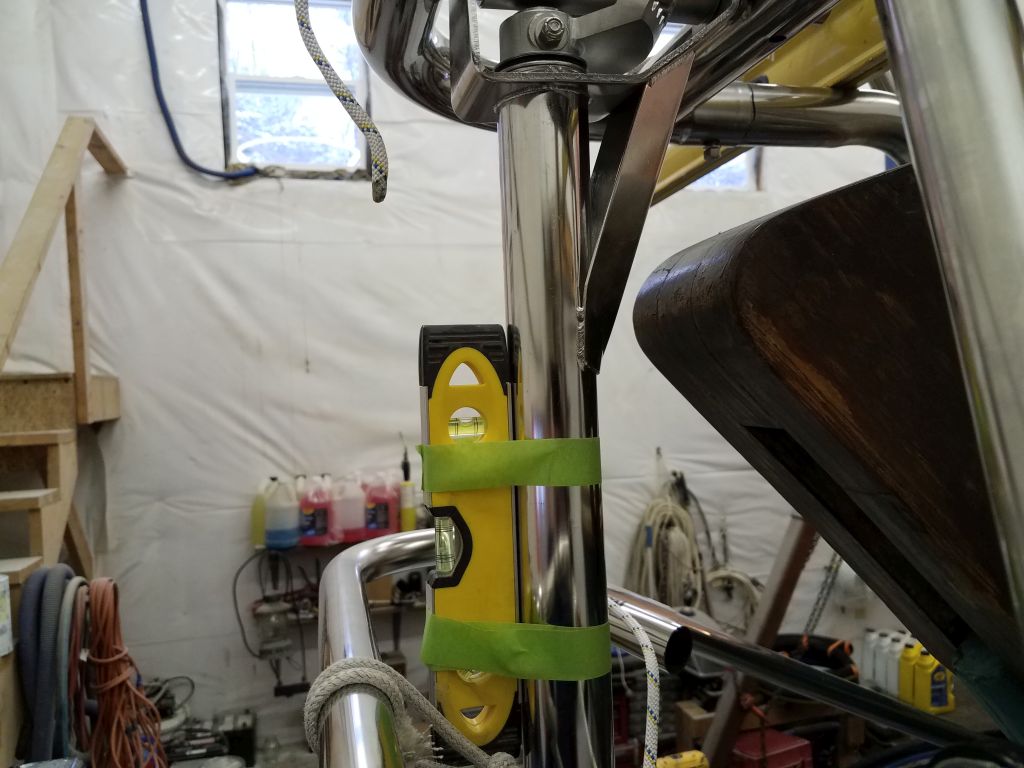
Now I could install the tubes for the last time, and once they were positioned correctly I installed the bolts through both ends, though for now I only hand-tightened the nuts. I checked level in both directions throughout the process.

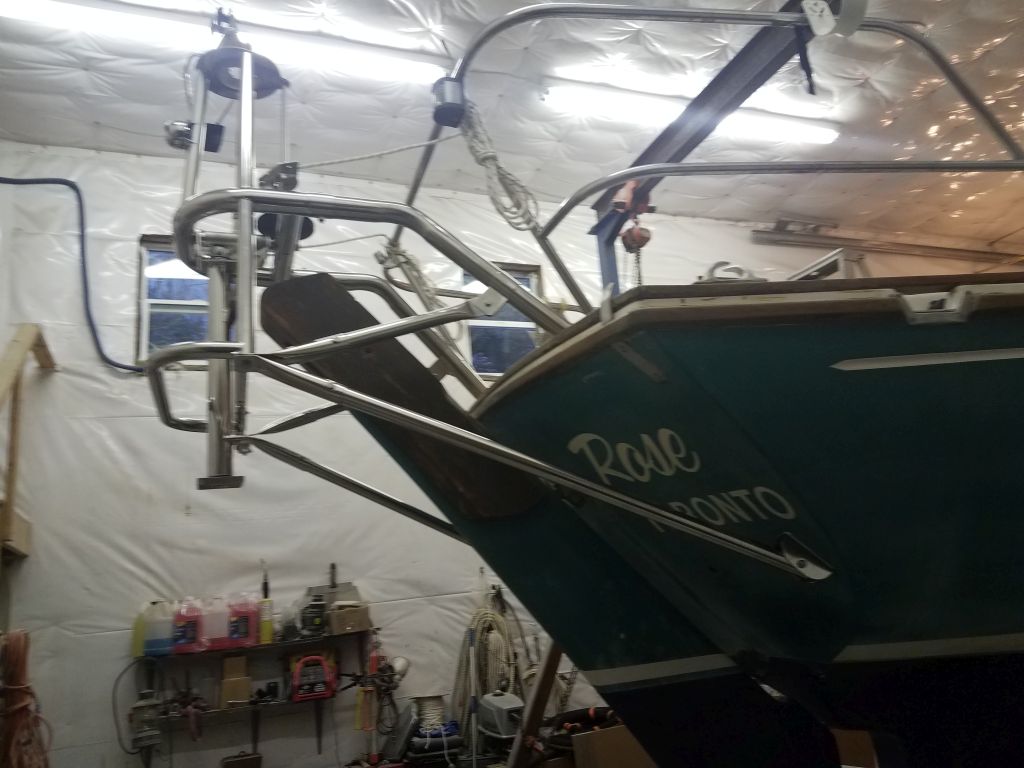
Now I turned to the two lower support tubes, which would run between the base of the Monitor frame and the transom on each side. To begin, I loosely installed a pair of end fittings–one for the eventual diagonal braces on top, and another for the lower brace on the bottom–on each lower corner of the frame, using the threaded holes provided. I made sure to face the pilot hole locations outward, which would make drilling the bolt holes later much easier. (During my first installation on a sistership, I’d given no thought to this and the pilot holes ended up on the inside, making access for drilling much more difficult.)

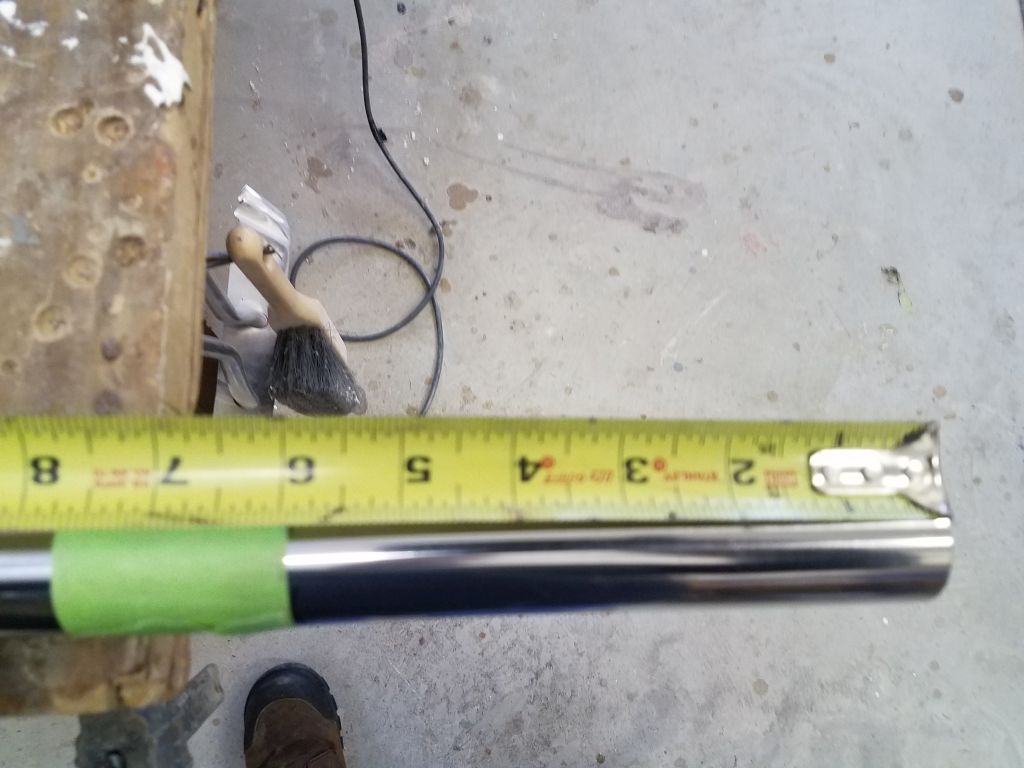
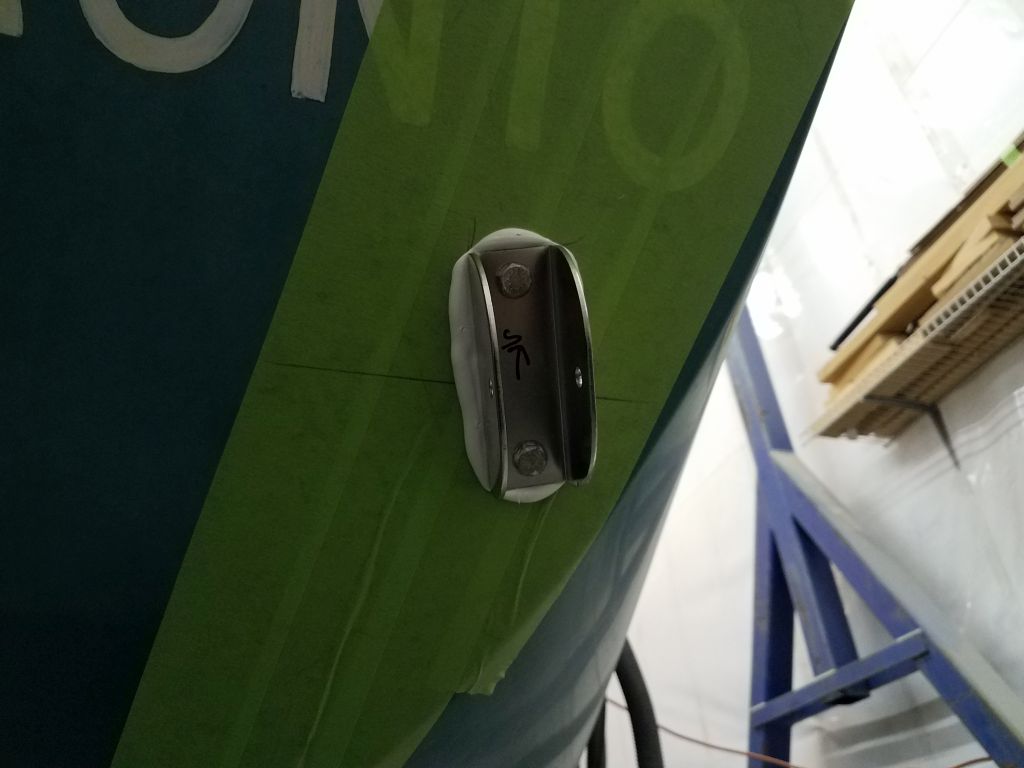
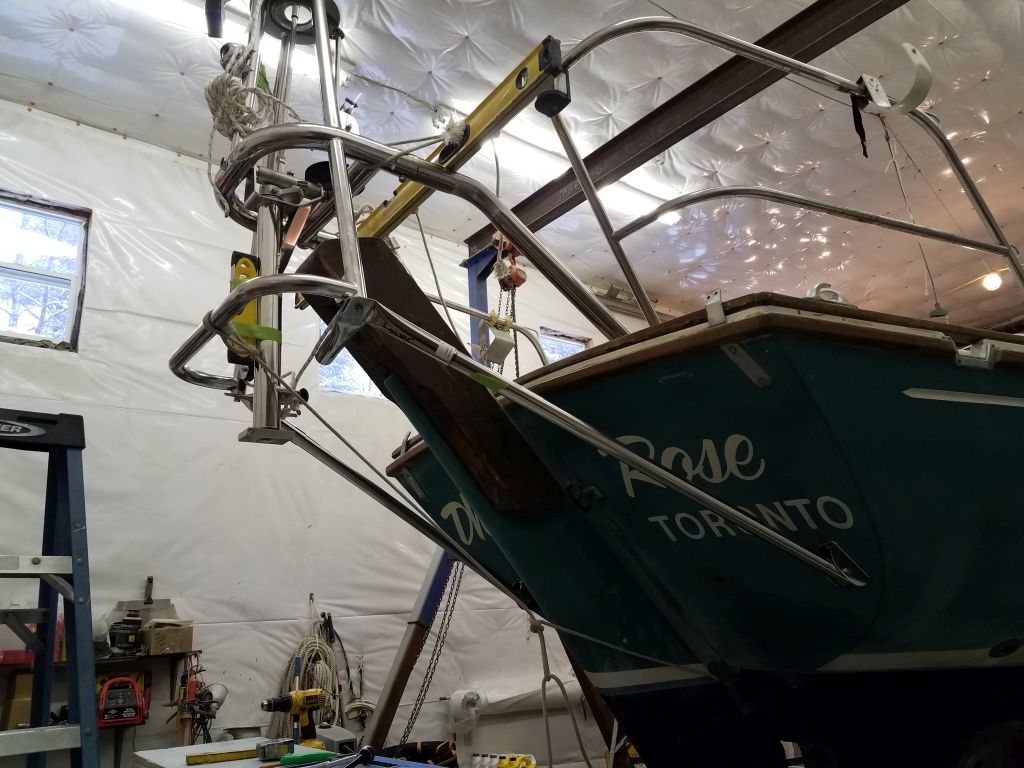
The lower tubes came from the factory with excess length, so starting with general guidance from the instructions and boat-specific data sheet, I laid out the general locations for the transom brackets on the hull, checking inside the boat to ensure the way was clear there. I chose a height and lateral position that would keep the mounts close to the transom edge and triangulate as well as possible with the frame above for strength and rigidity. Holding the bracket, with the tube pre-mounted within, against the hull in my chosen position (starting with the starboard side), and the other end of the tube against the socket at the frame, I could estimate how much length I needed to remove in order to fit the tube. In this case, it was about 6″. I couldn’t really get a picture of the mockup process. Down on the bench, I cut off the excess length.
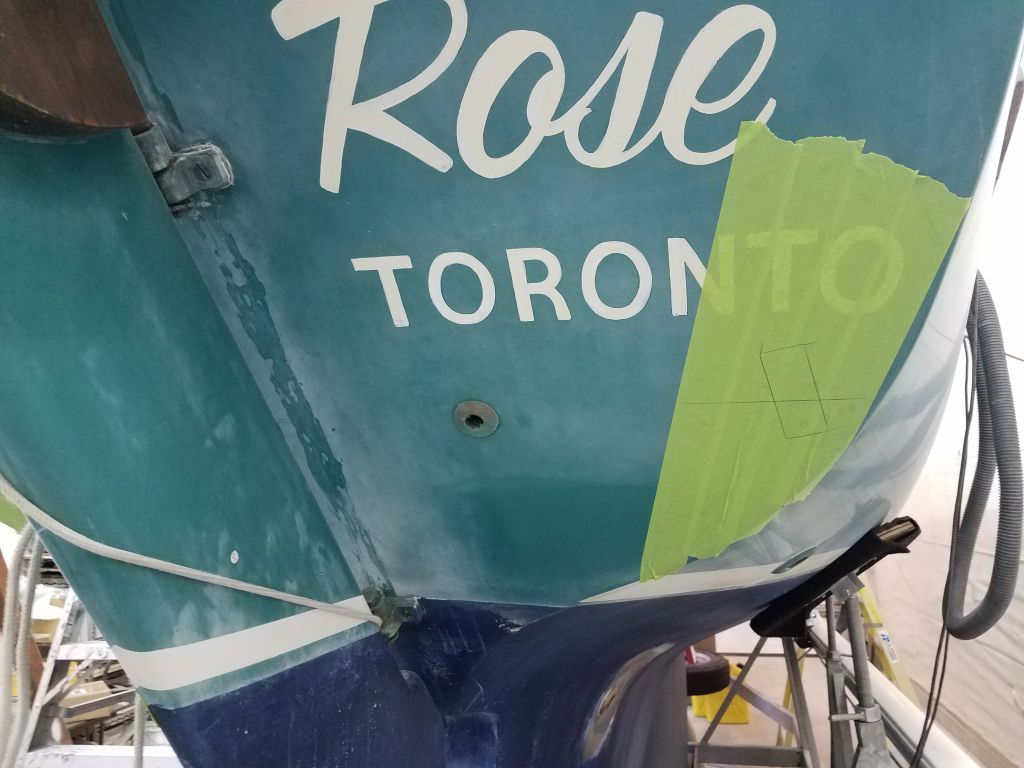
Now I could insert the tube properly in the socket at the Monitor frame, and then position the hull bracket appropriately on the transom. The length worked as I’d anticipated, so I marked the lower bracket mounting hole (which was exposed) and traced around the bracket so I could re-align it and mark the upper hole once I removed the tube for installation. With the tube unfastened from the bracket, I drilled and tapped the hull for the mounting bolts and temporarily installed the fitting in place, along with the tube.


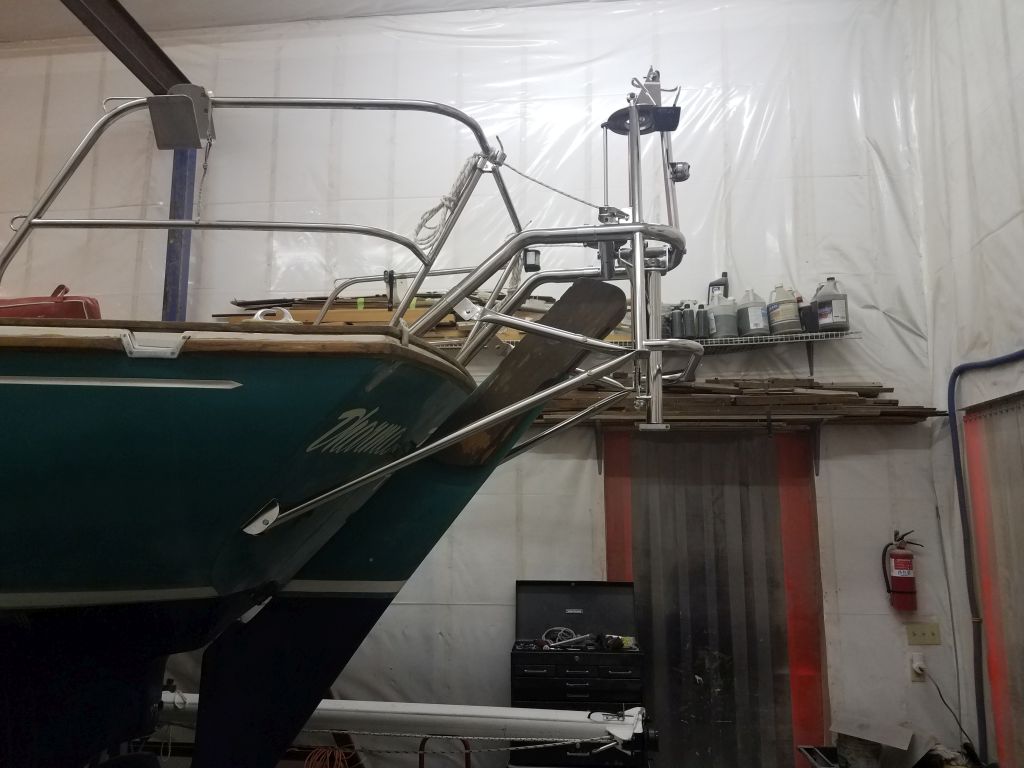
Next, I repeated this process on the port side. I’d already determined that the same tube length would work here (one never knows given the not-infrequent asymmetry of boats), so I cut off the 6″ and, after marking the bracket location on the hull as before, dry-mounted the port side as well.


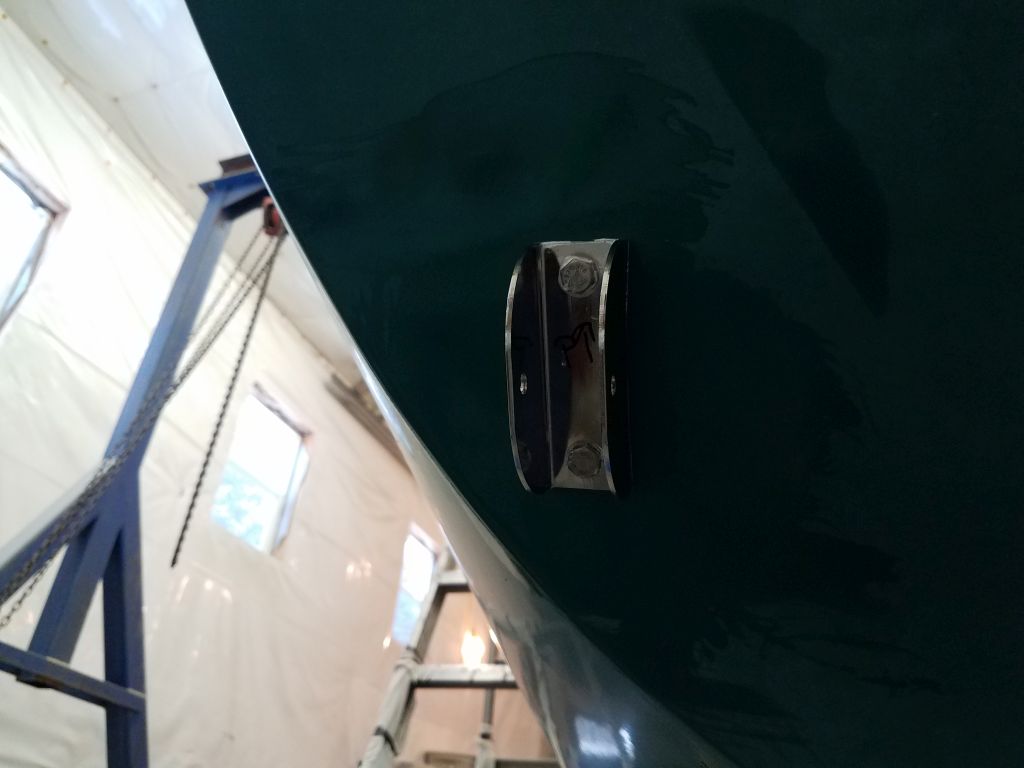
Removing the bolts from the bracket ends of the tubes, I scored the masking tape around the brackets, then removed the brackets so I could prepare for final installation, which I did next, after countersinking the hole tops and applying sealant. I drove in the 5/16″ bolts tightly from outside, and from within installed large washers and nuts to complete the installation, after which I reinstalled the support tubes.


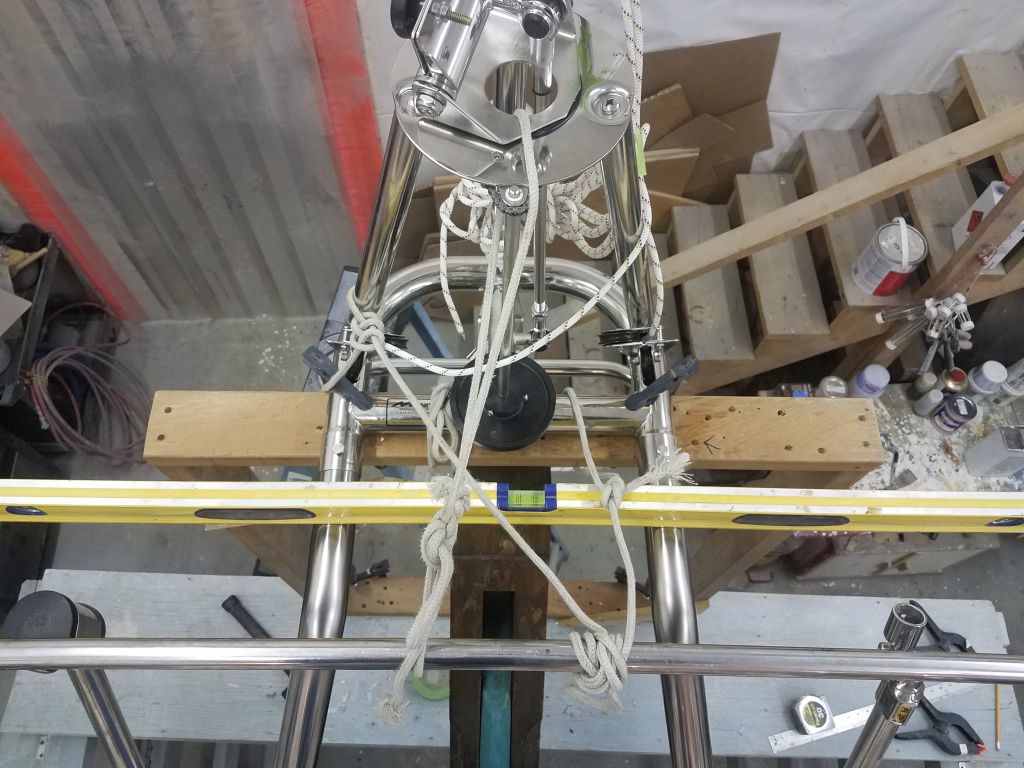
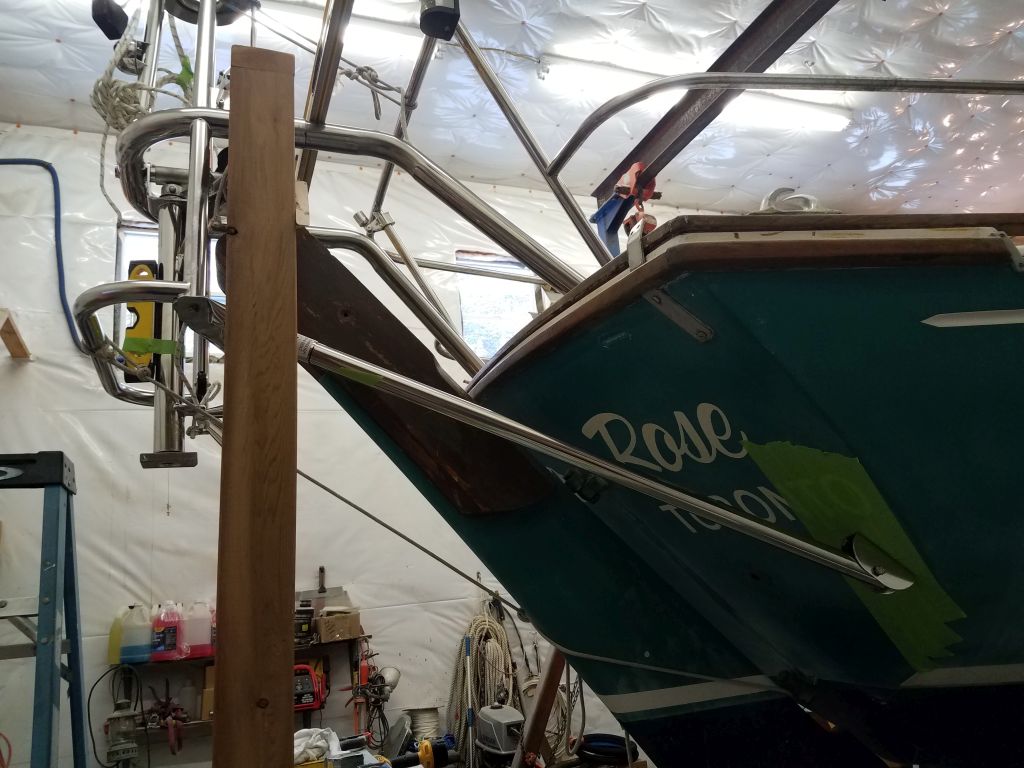
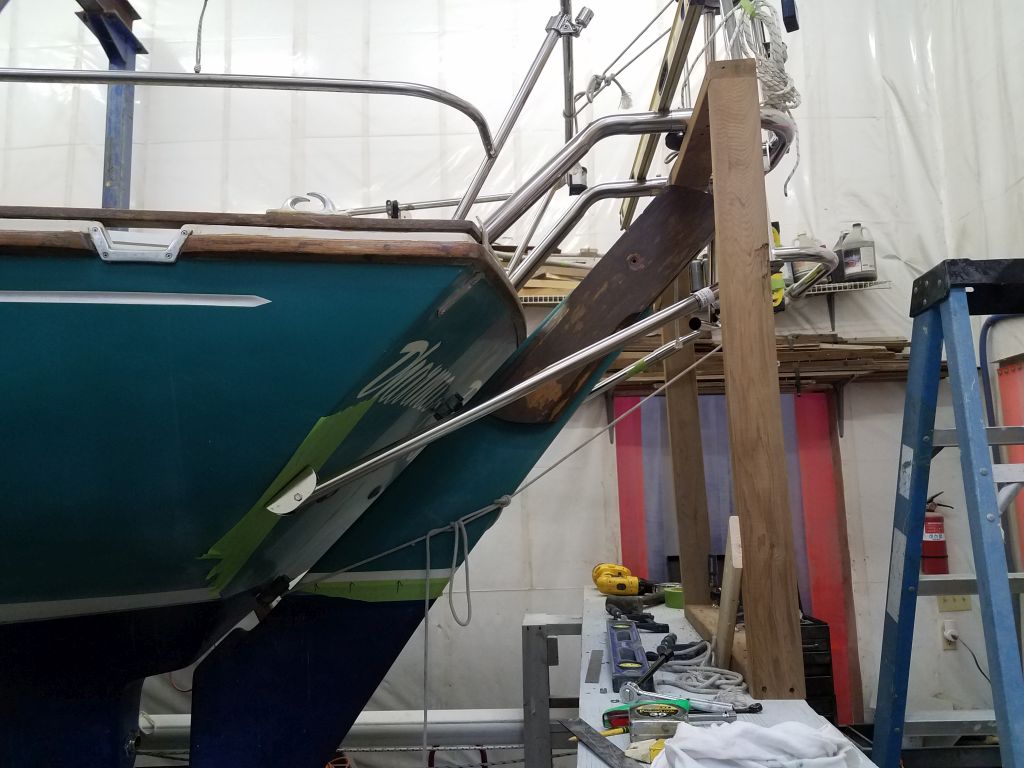
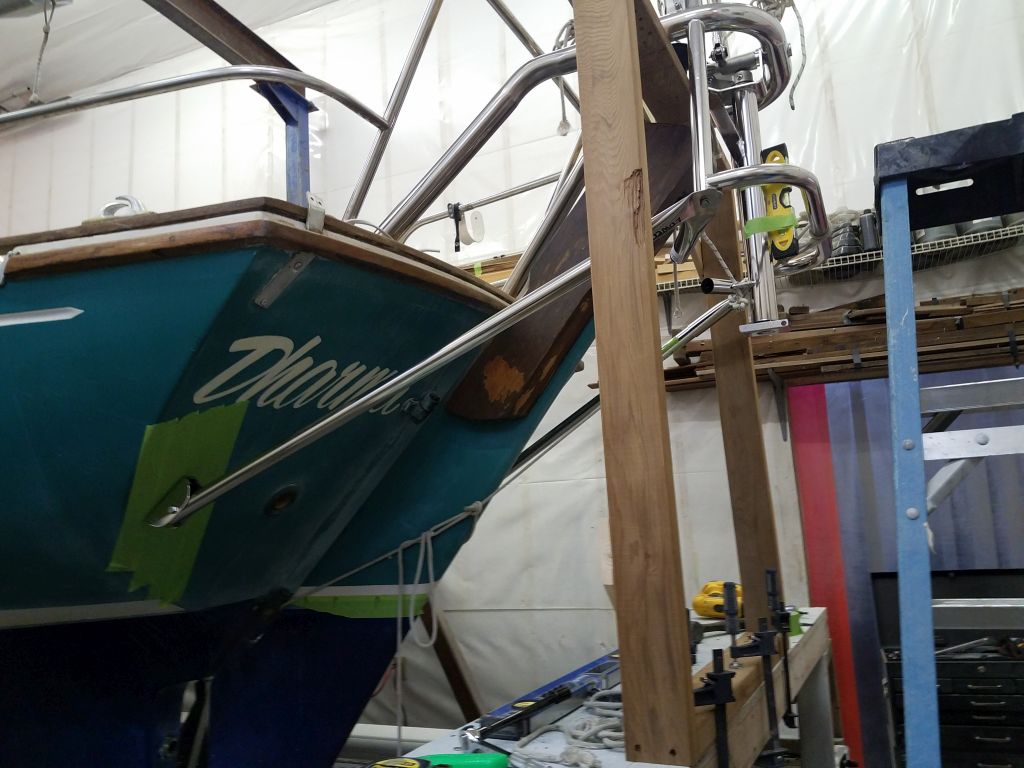
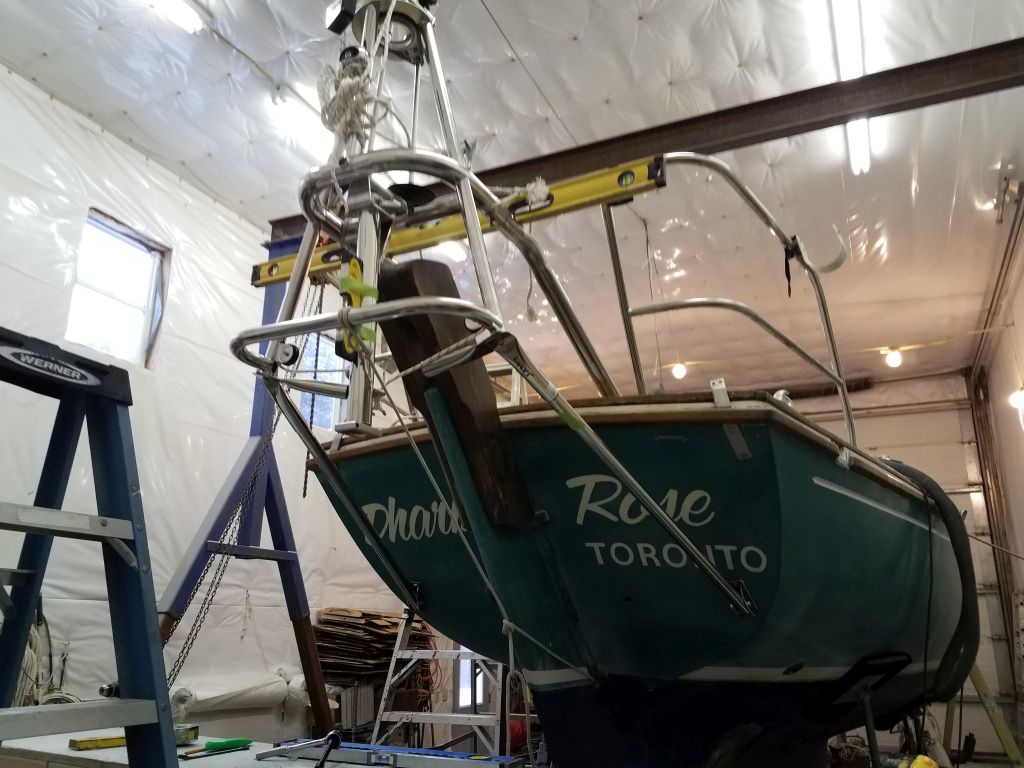
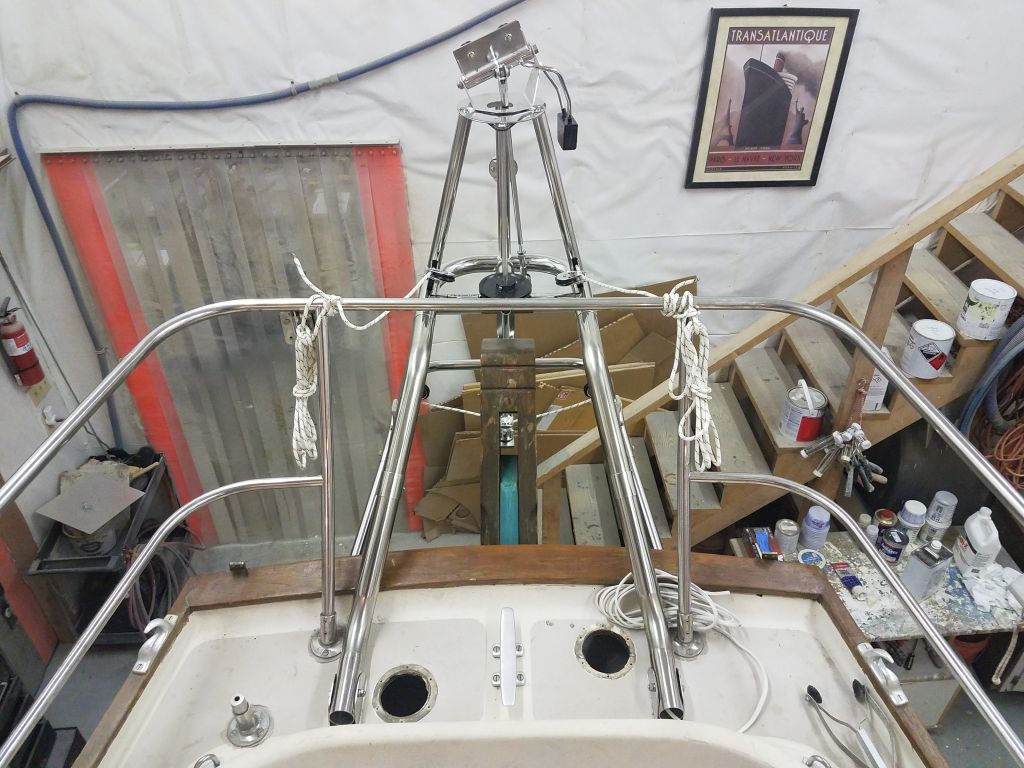
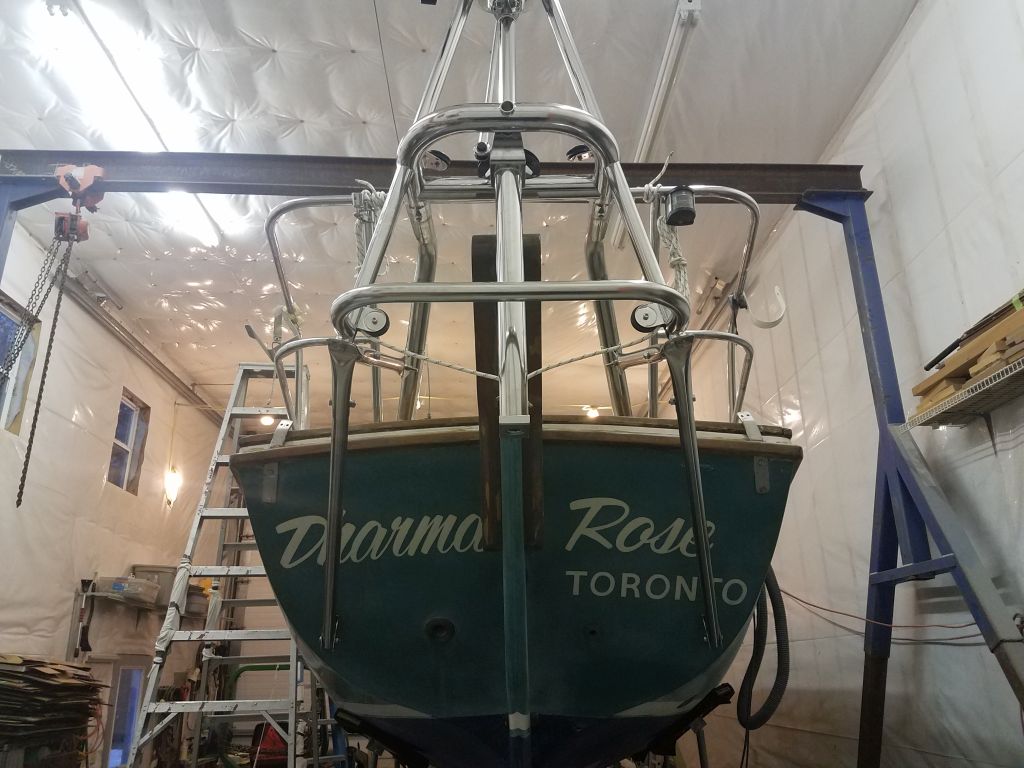
Now I could get rid of the wooden support frame, and make any final adjustments to the framework and installation to fine-tune the level in either direction. I tied a pair of lines between the Monitor frame and stern pulpit, pulling the whole arrangement up just slightly and maintaining level from side to side. Then, I removed the frame and, from the shop floor, I adjusted the vertical positioning as needed with a third line that I led forward to the rudder.

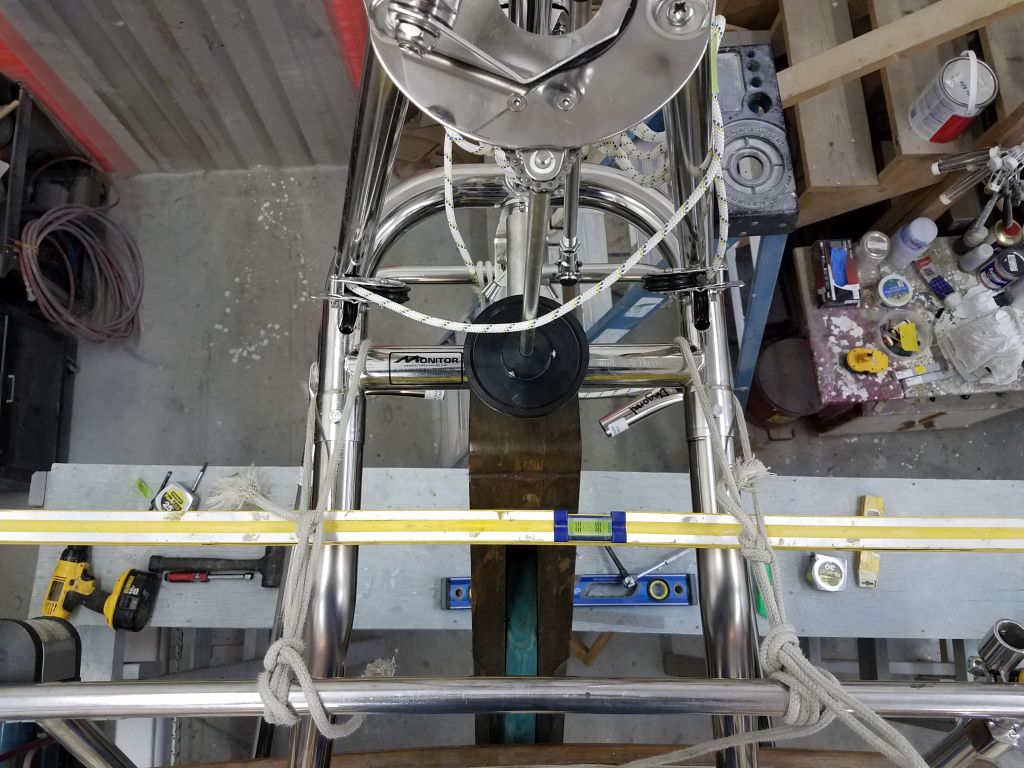

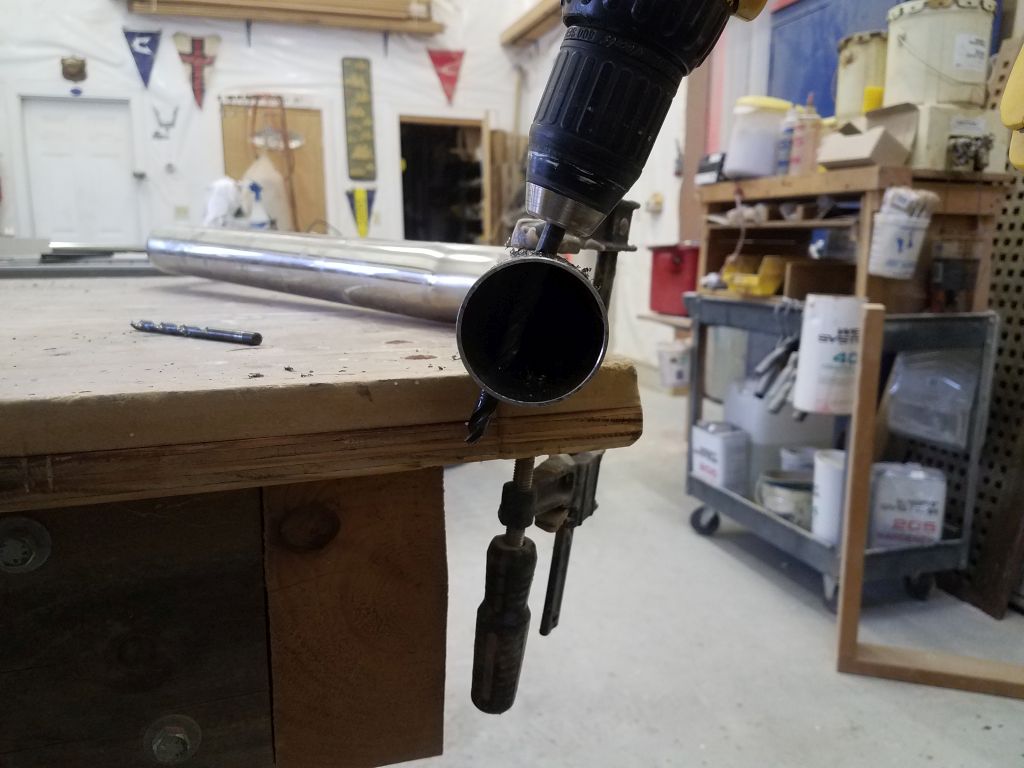
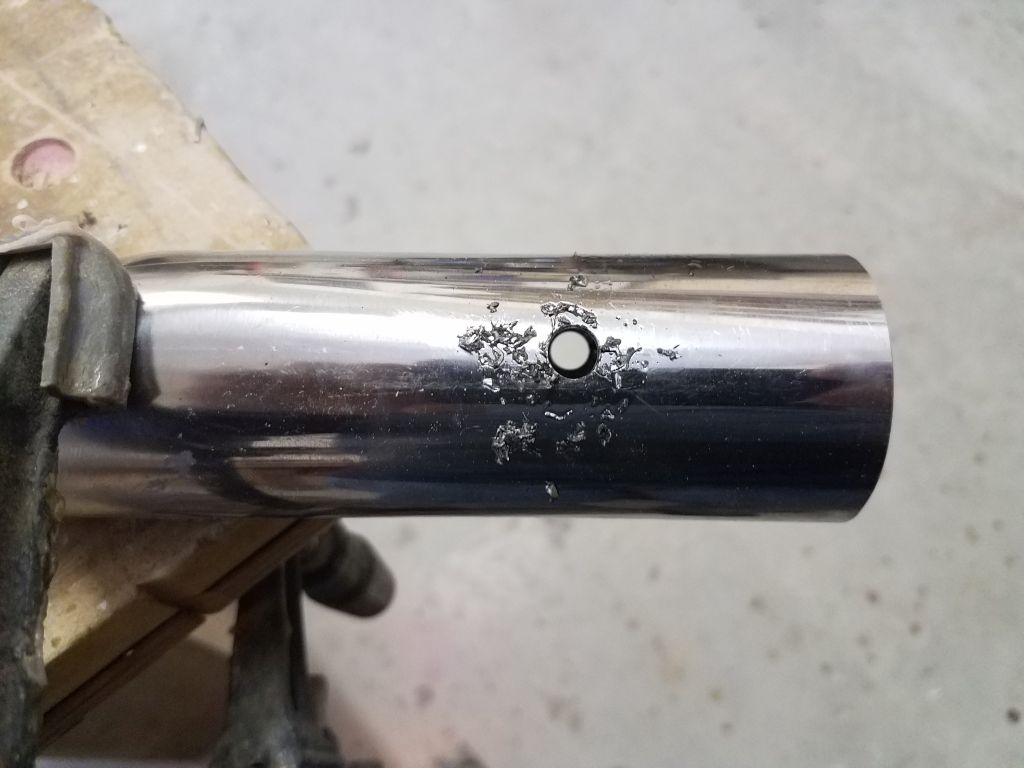
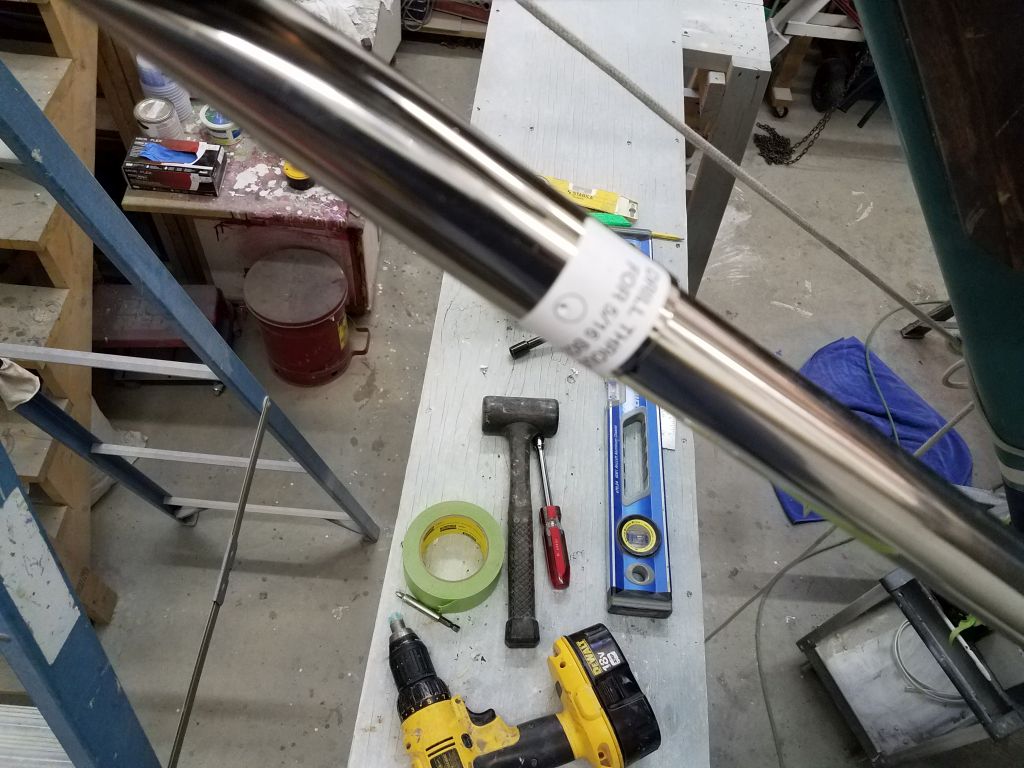
Satisfied with this final-final position of the frame, I could drill through the lower support tubes and their sockets for the bolts that would secure them. This was much easier working from outside the frame and from the staging plank that I left in place for this purpose. For these and all the other 5/16″ through-holes in this installation, I found it easier to start the hole with a 1/4″ bit, and then enlarge it with the proper bit afterwards.

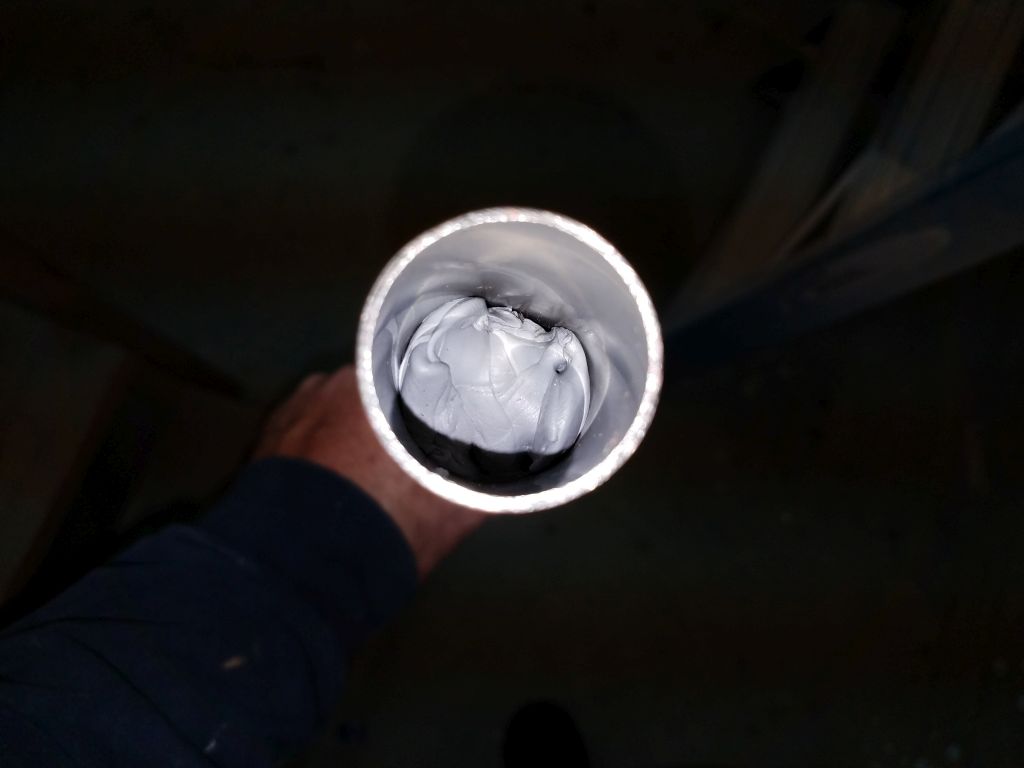
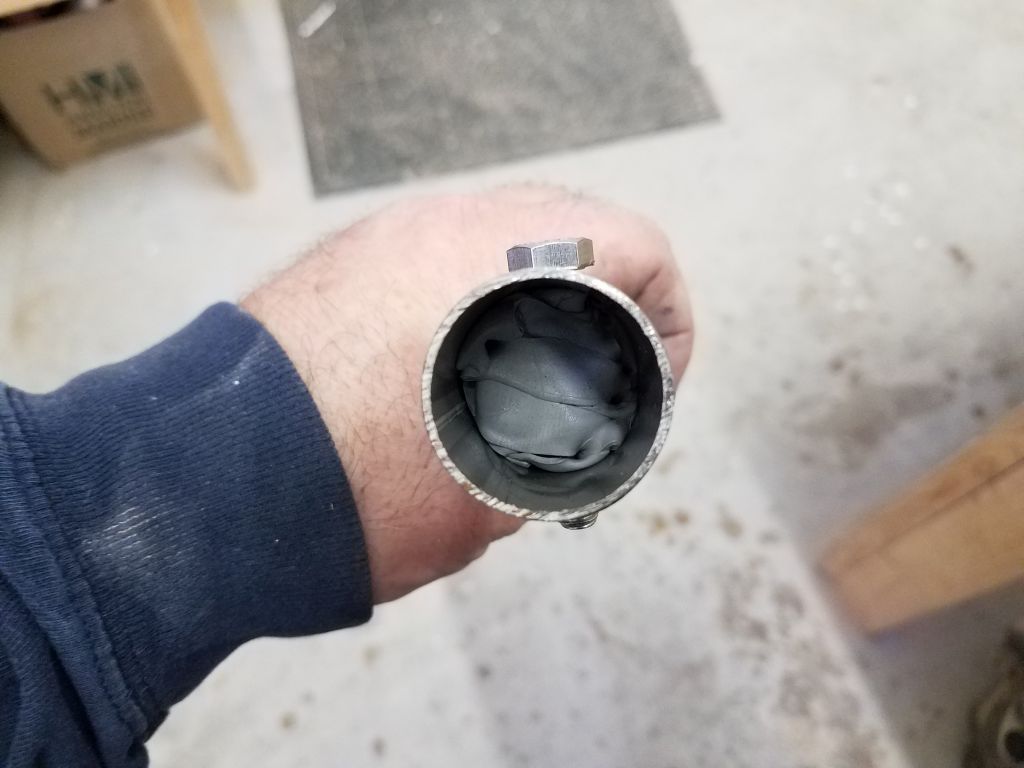
With the holes drilled, I removed the tubes and installed the compression sleeves inside, using butyl tape to hold these in place (I don’t know why I didn’t think of using that before). Then, I could immediately reinstall the tubes and secure the bolts just hand tight.
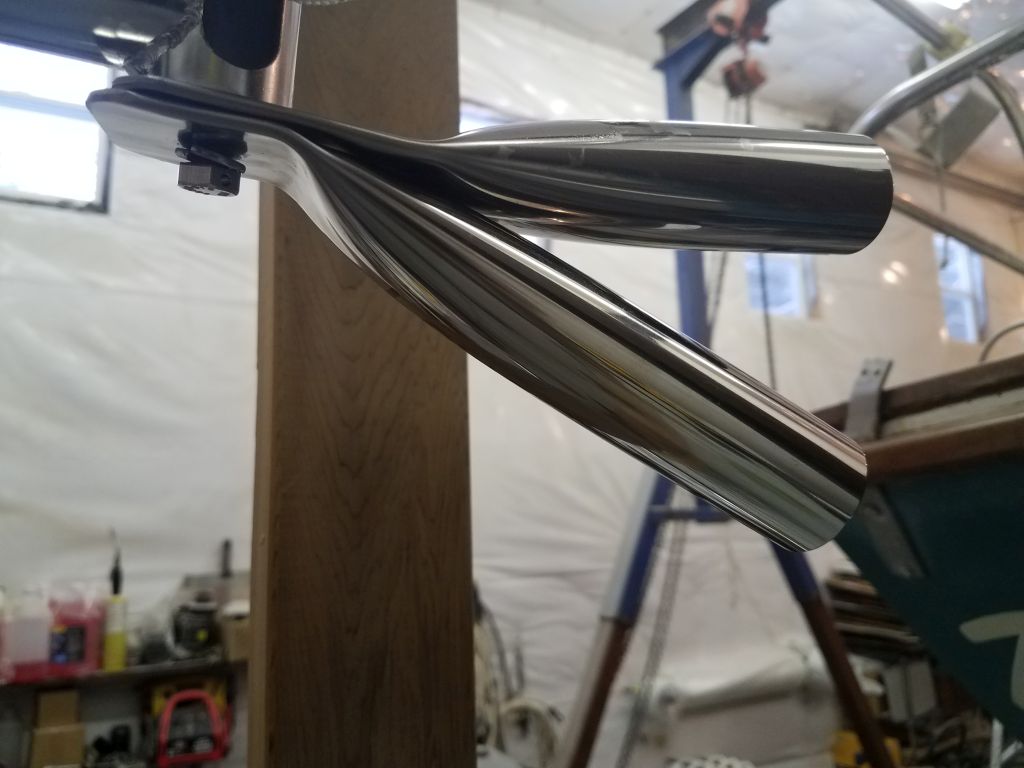
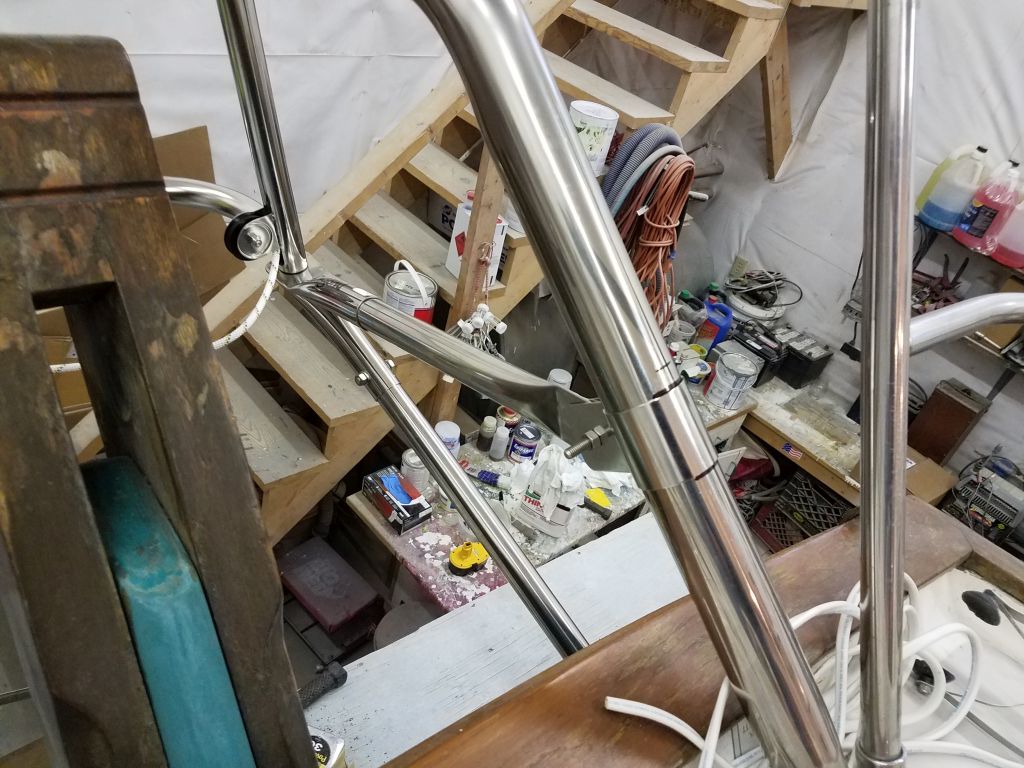
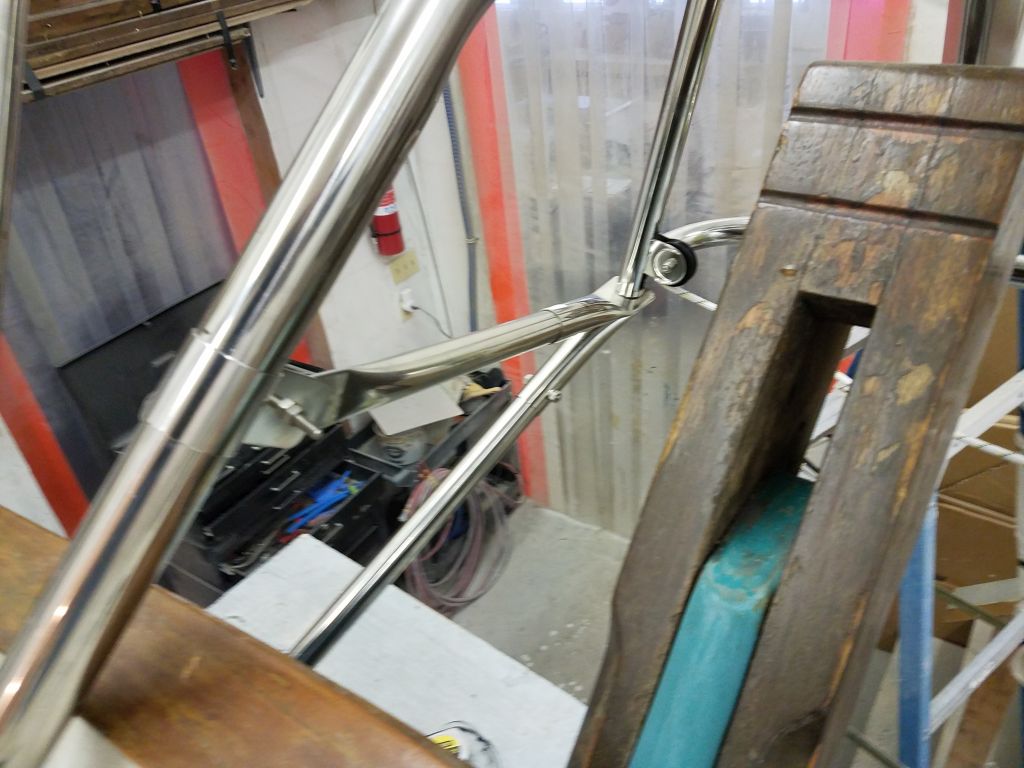
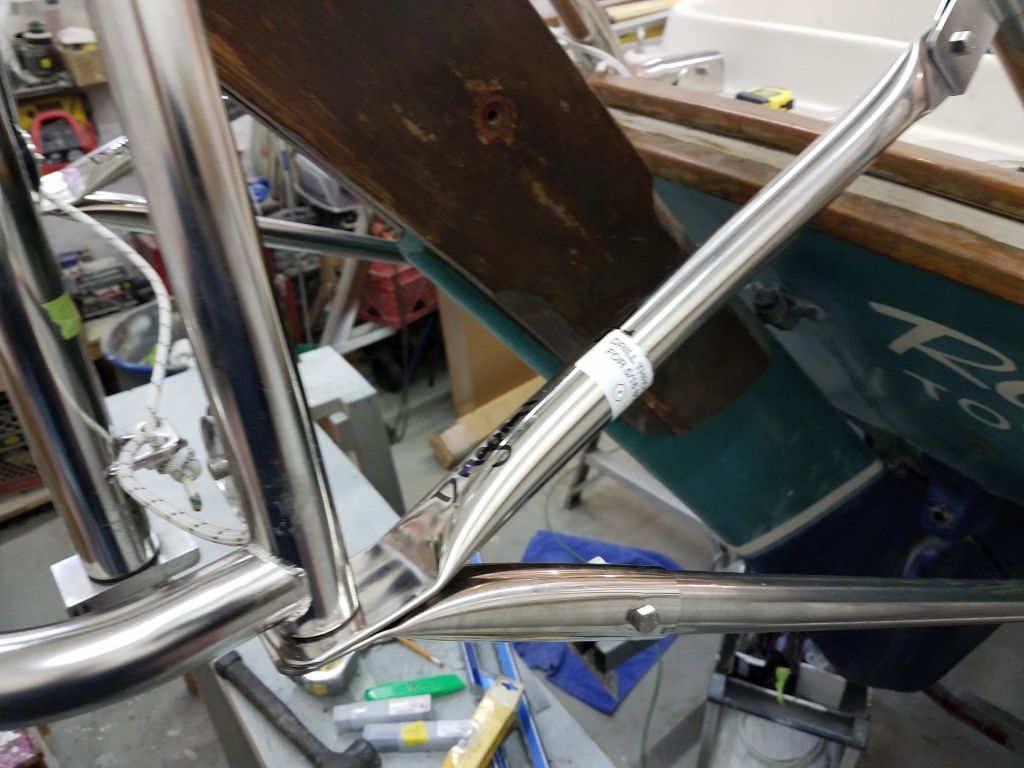
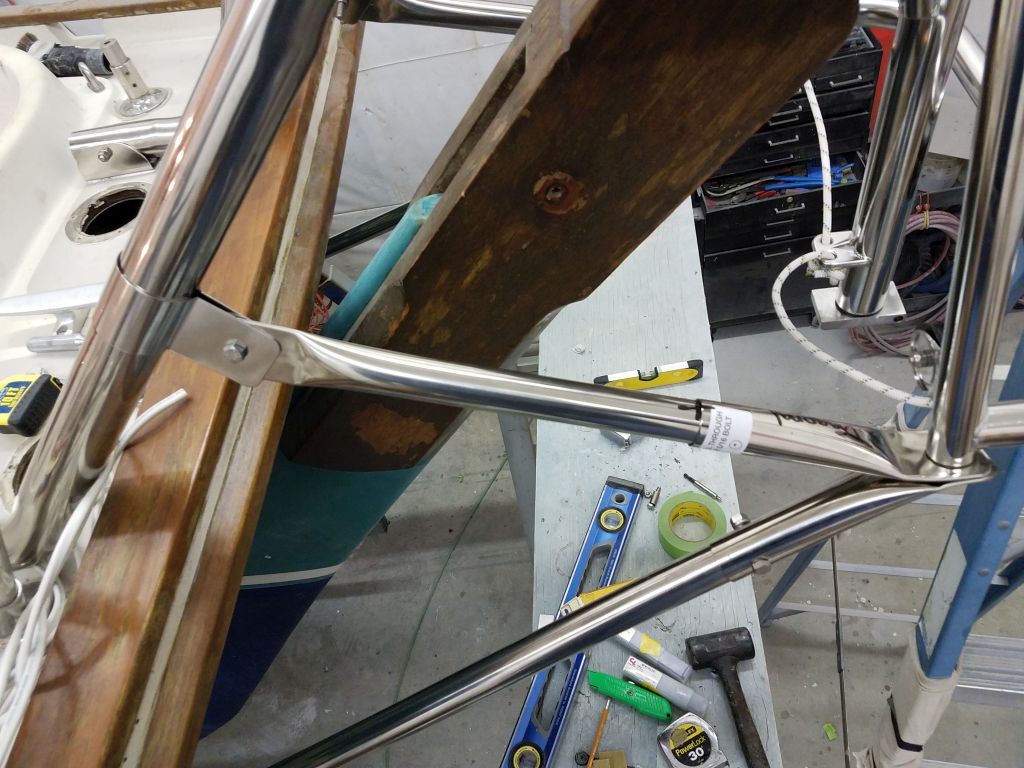
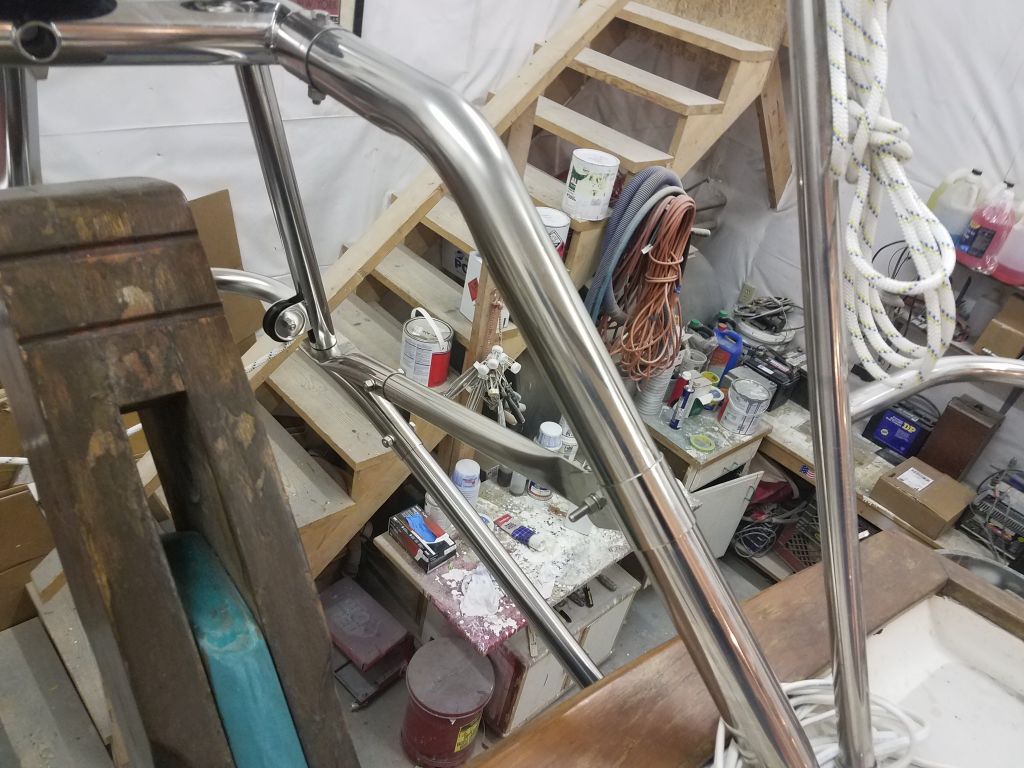
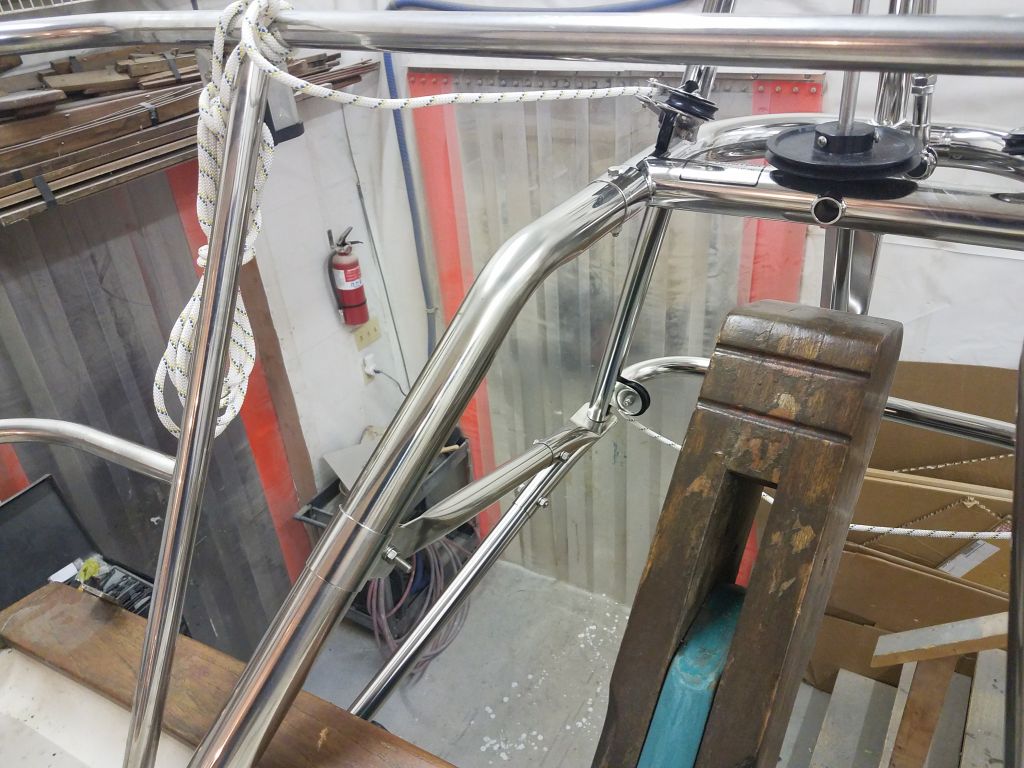
This installation, with its unique mounting and long support tubes, required a final set of tubes called diagonals, which ran between the bottom of the Monitor frame and the upper support tubes themselves. I’d already installed the socket ends at the frame, so now I installed the supplied brackets around the upper tubes and installed the flattened end of the diagonal tubes. The inner position really could go just about anywhere, but logically fell about 9″ above the lower curve of the upper tubes, which nicely triangulated the other framing elements.
Then, holding the tube against the socket end, I determined how much to cut off (again, these tubes were supplied intentionally over-long). Removing the tube, I marked both sides to remove the same length, and cut off the excess, then installed both sides in their sockets and with the upper tube brackets.

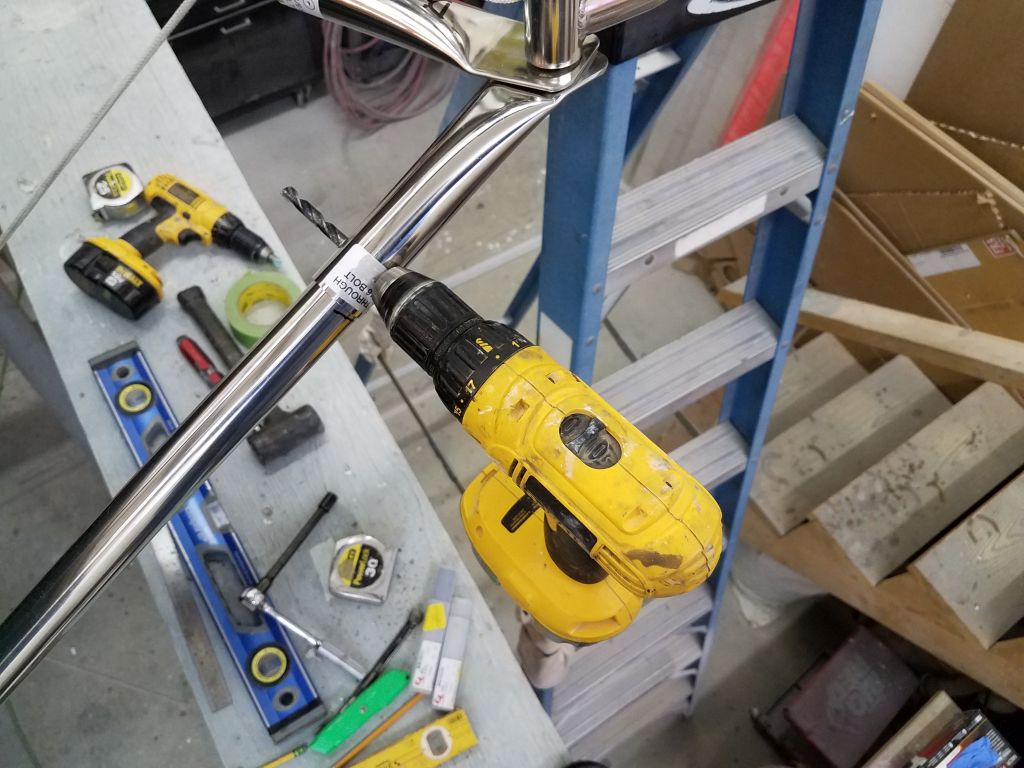
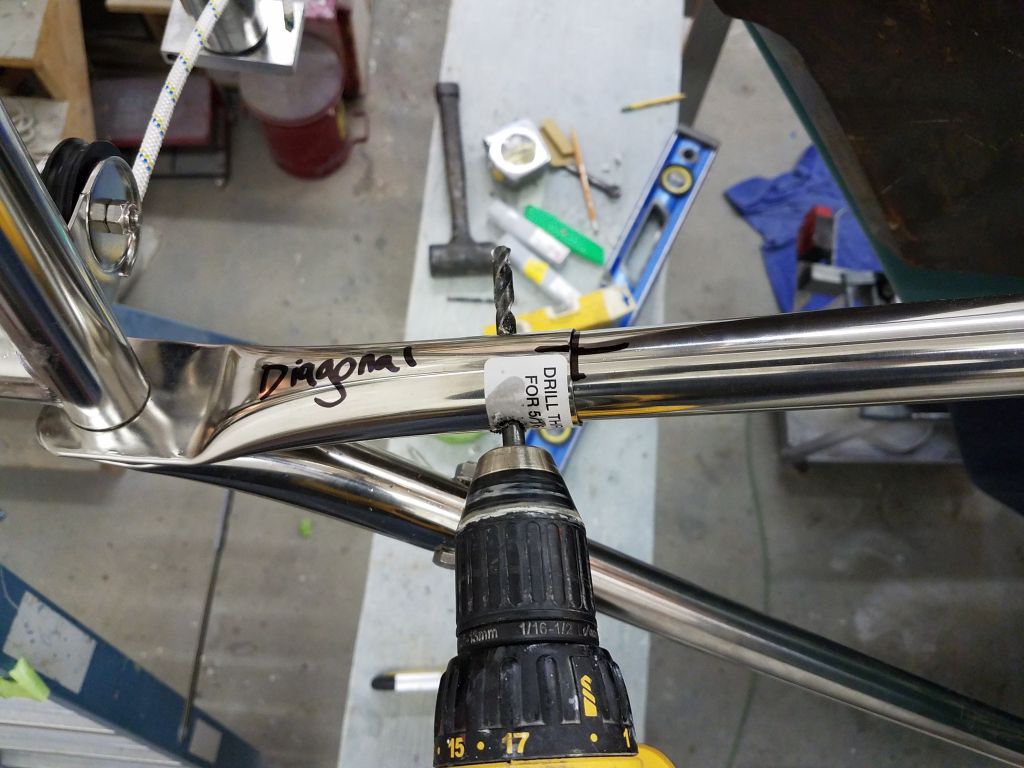
Now I drilled through the diagonal tubes at the socket ends for the final bolts. On my previous installation, I’d struggled with the drilling, partly because of poor drill bits and partly because my drilling access then from the inside of the frame was so much more difficult. For the current installation, I’d prepared ahead with six-each brand new 1/4″ and 5/16″ drill bits on hand, but completed all the holes through the stainless steel frame using only one of each with no trouble.

With the final holes drilled, I removed the diagonals once again and installed the compression tubes within, then installed them and secured the bolts.

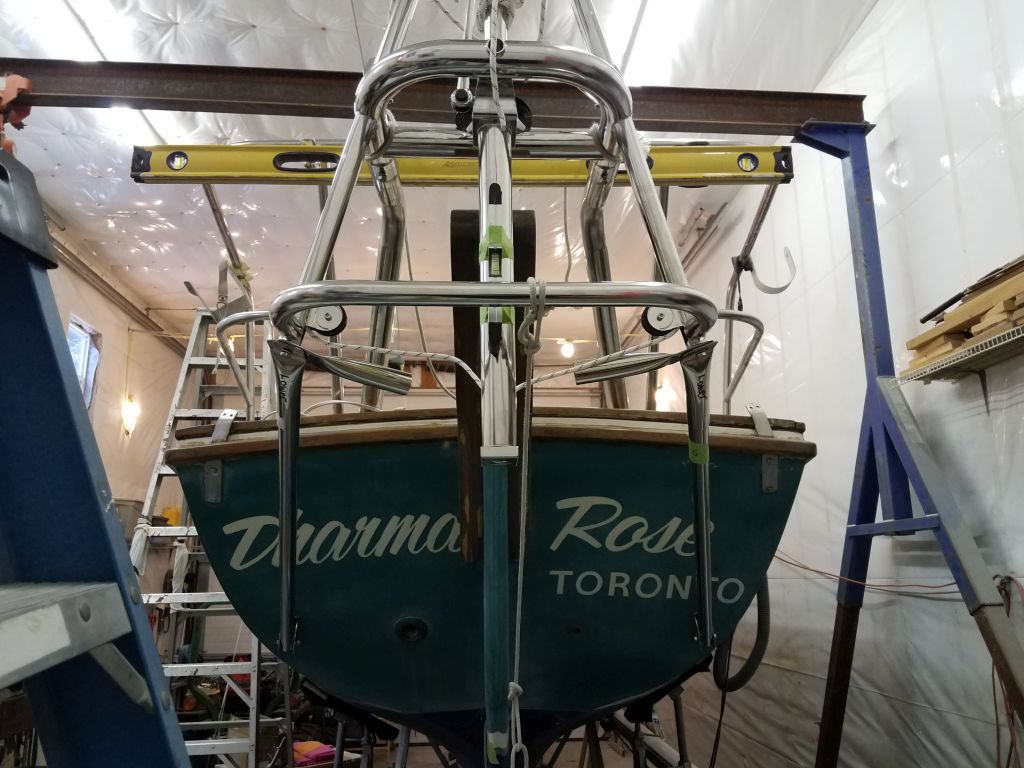
Now, after a final check of level and plumb, I could go around and tighten up all the bolts to finalize the installation, which made the whole thing incredibly stable and stiff and strong.

Total time billed on this job today: 7.5 Hours
0600 Weather Observation: 18°, snow, about an inch down so far. Forecast for the day: Light snow, maybe a few inches, becoming showery and warmer in the afternoon