

December 13, 2018
Dharma Rose 15
Thursday
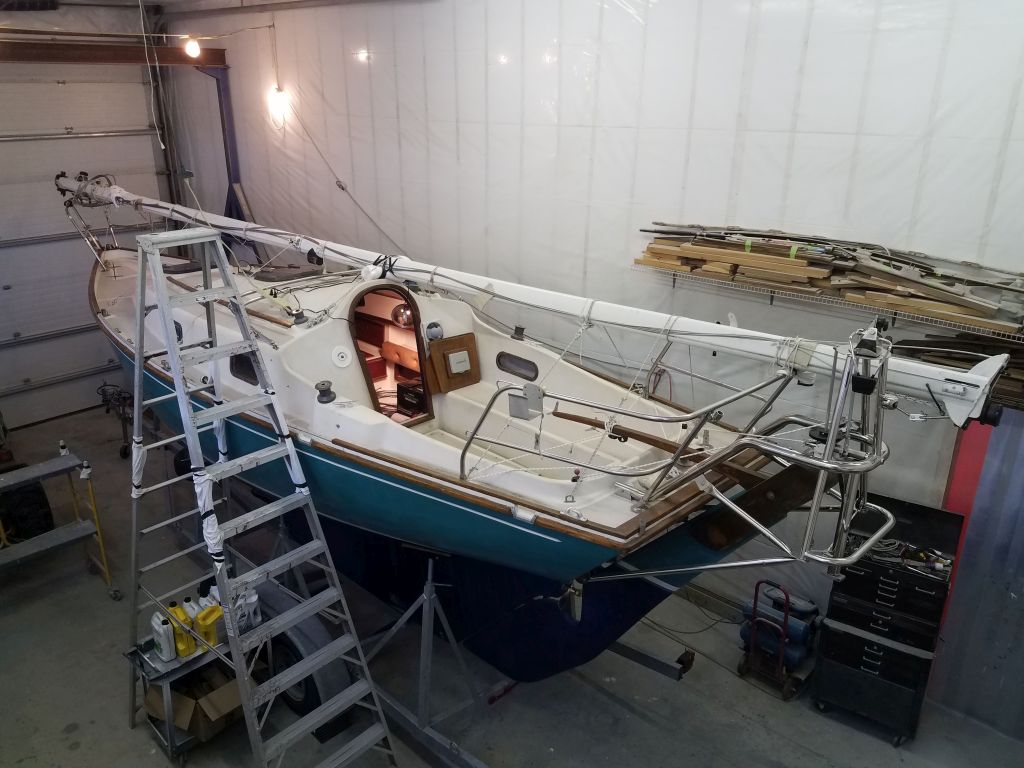
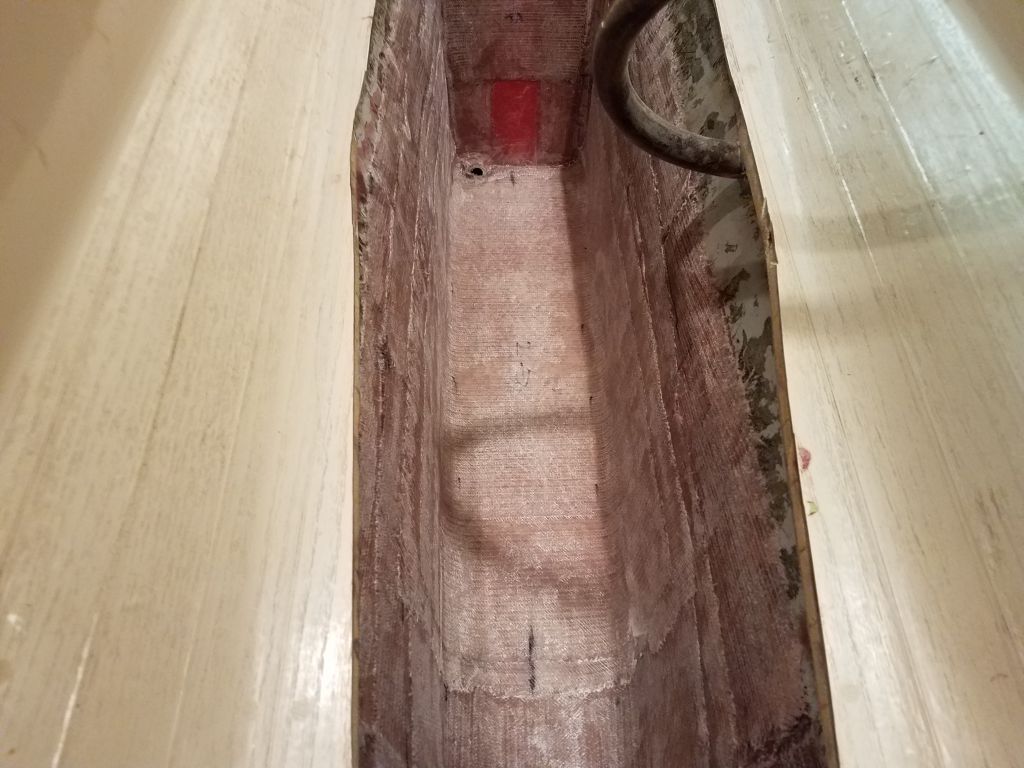
Starting once more in the old waste tank, I lightly sanded the new fiberglass over the raised floor at the aft end. This completed the main structural work in this area.


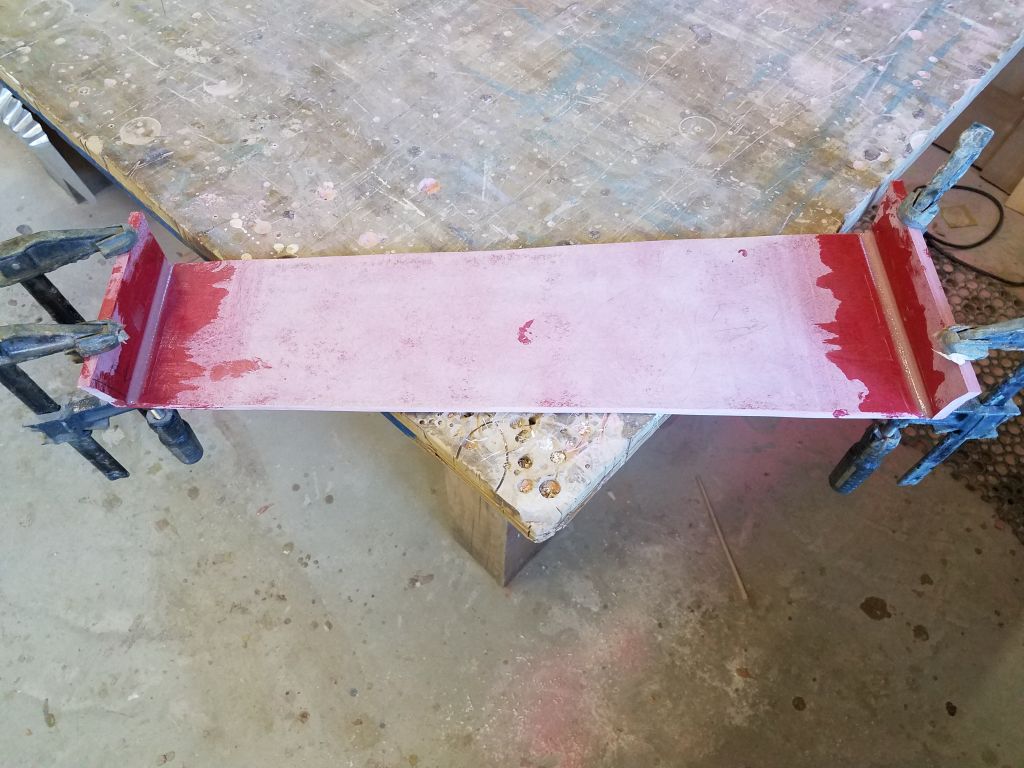
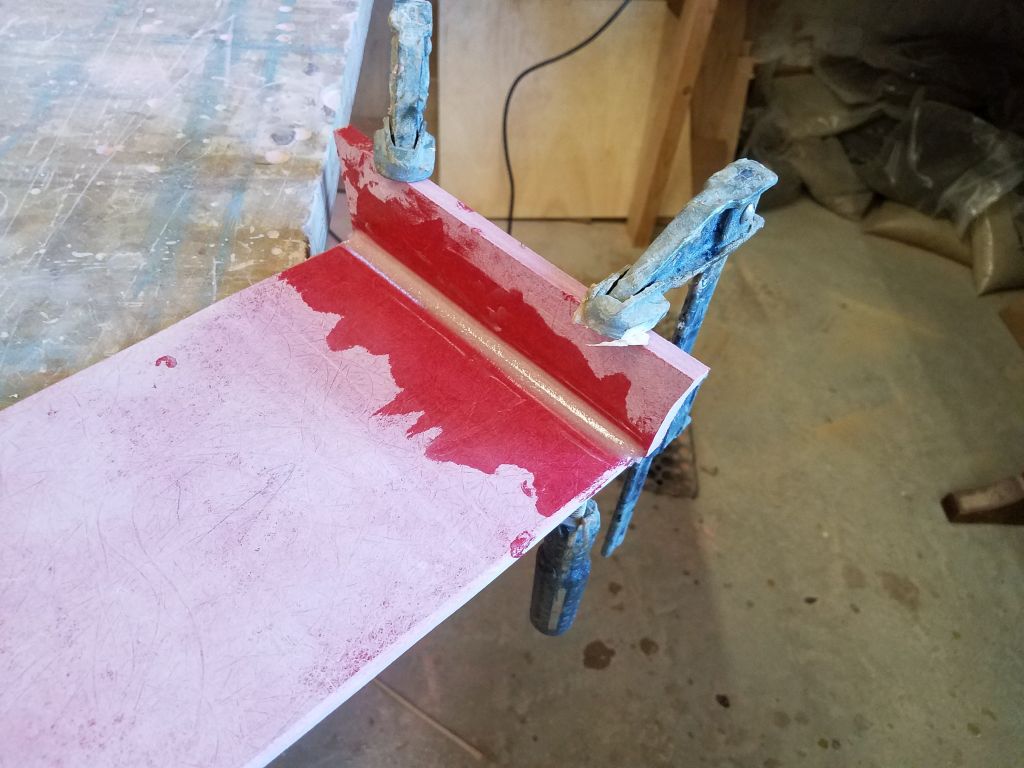
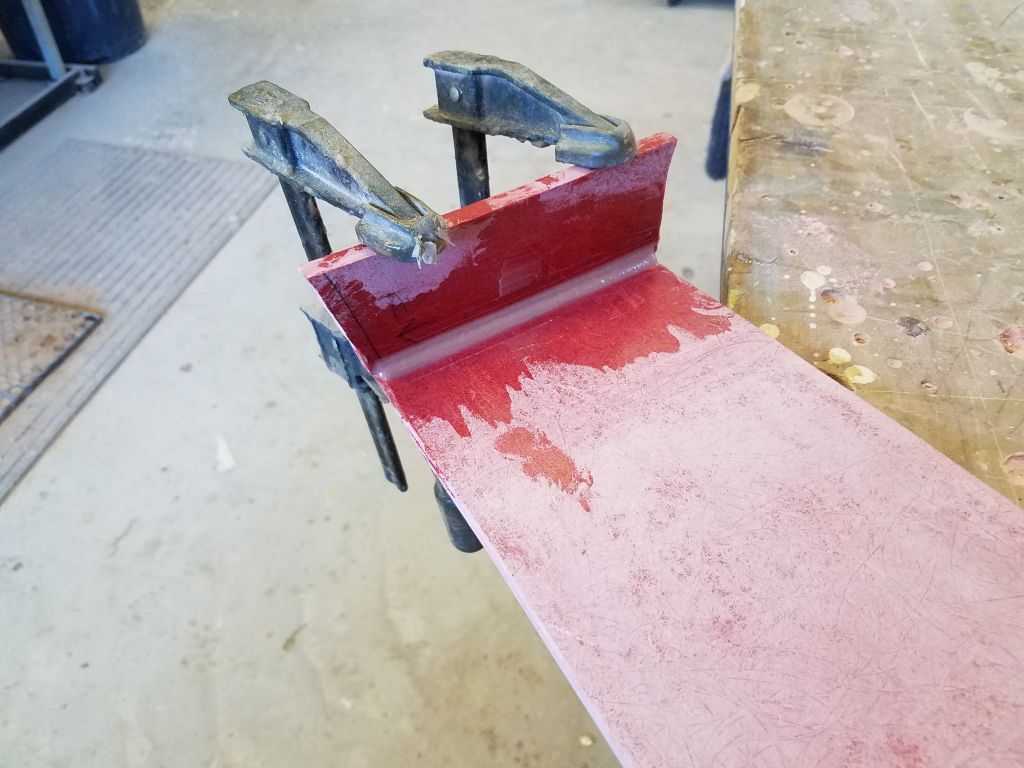
Using the little templates I’d made earlier, I cut the end pieces for the engine drip pan, using some 3/8″ thick fiberglass. After test-fitting as needed, I glued the ends to the bottom board with epoxy.


I was looking forward to putting the cabin sole back together and moving forward with other jobs on the boat, so my next step was to prepare 1/4″ fiberglass cleats to re-secure the sole section I’d cut out in order to access the old waste tank. After cutting the cleats to length as required, I epoxied them to the underside around the edges of the cutout, clamping them in place while the epoxy cured.
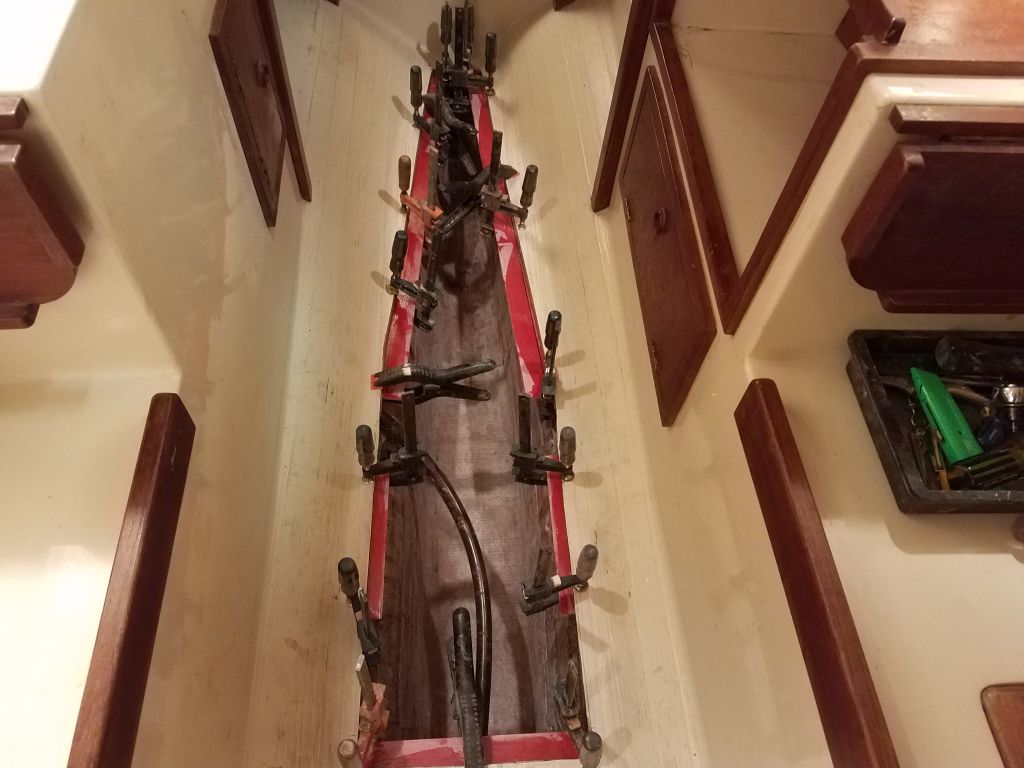


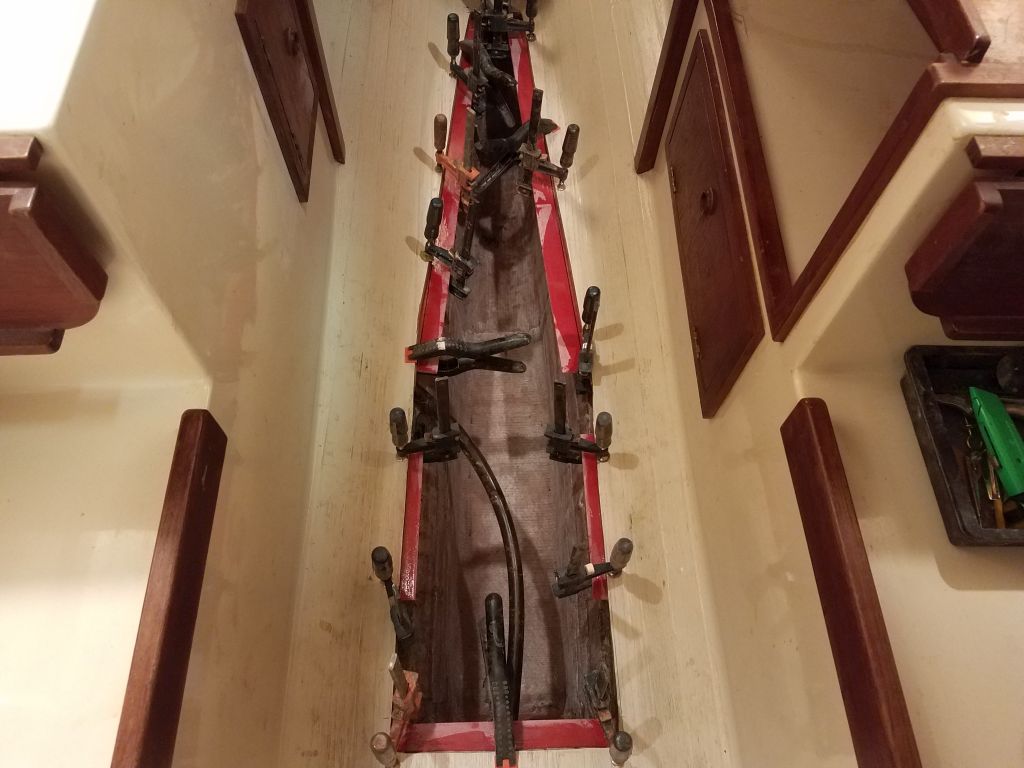
Meanwhile, I laid out an additional access hatch in the forward section of the sole. I chose to locate the opening to take advantage of the cleats I’d just installed in the sole, so that the same cleats would in part support the lid to the new hatch, and sized and located the hatch to allow reasonable access to the space below. Sometime later, there’d be a teak overlay over the sole and new hatches.


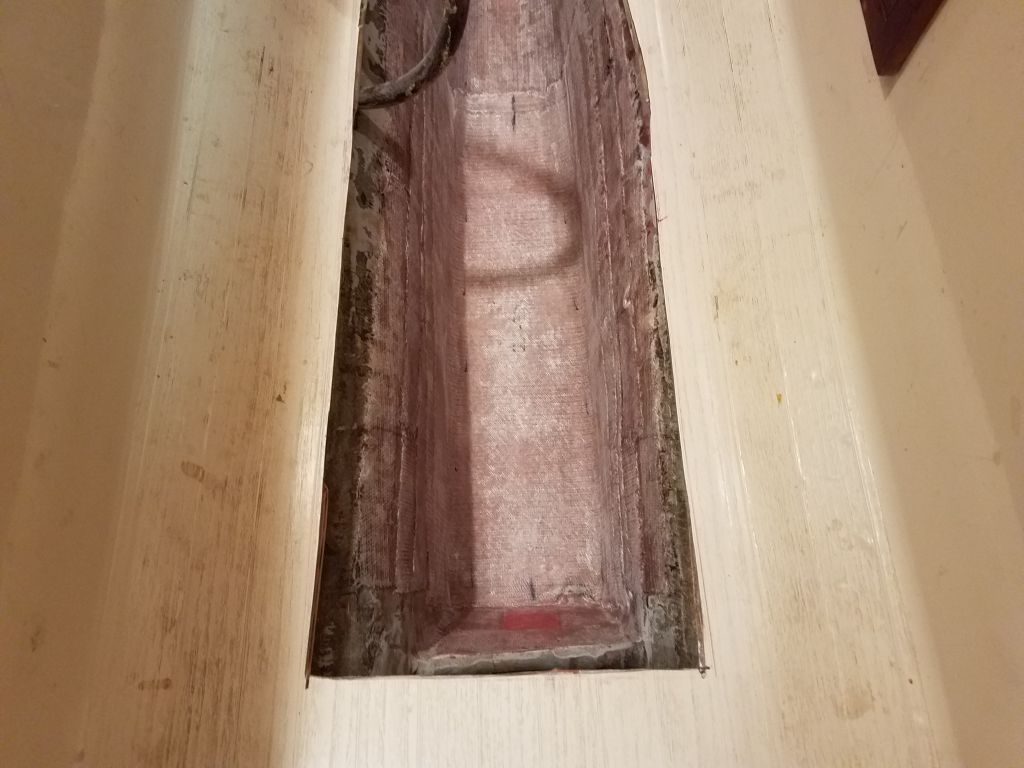
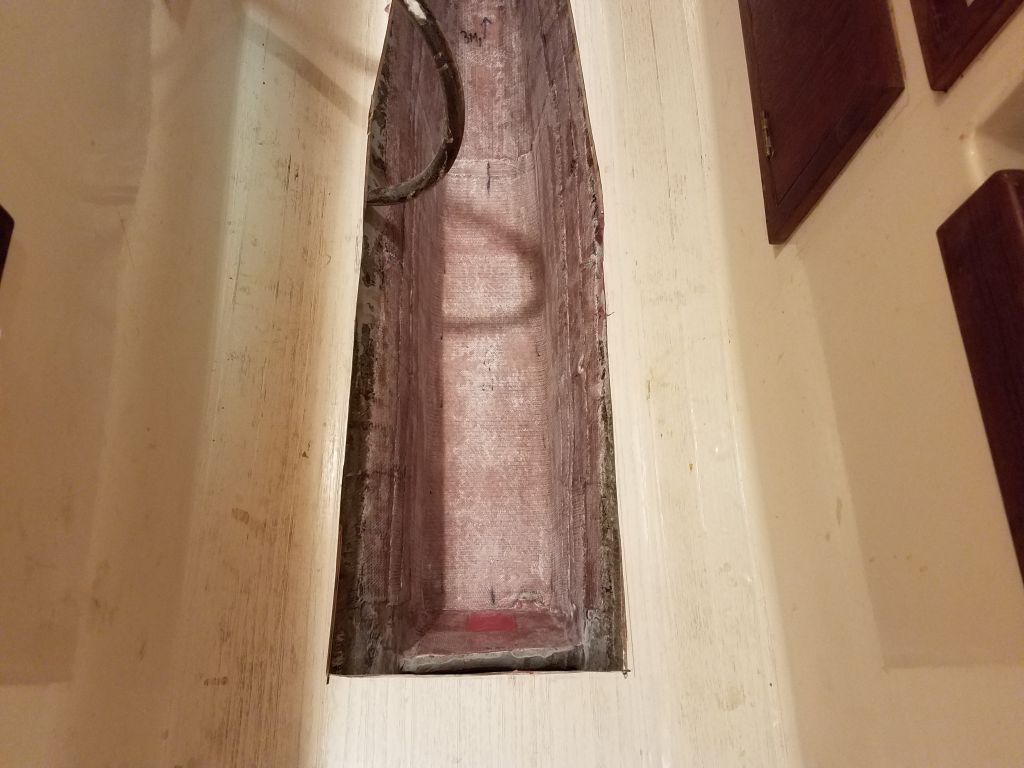
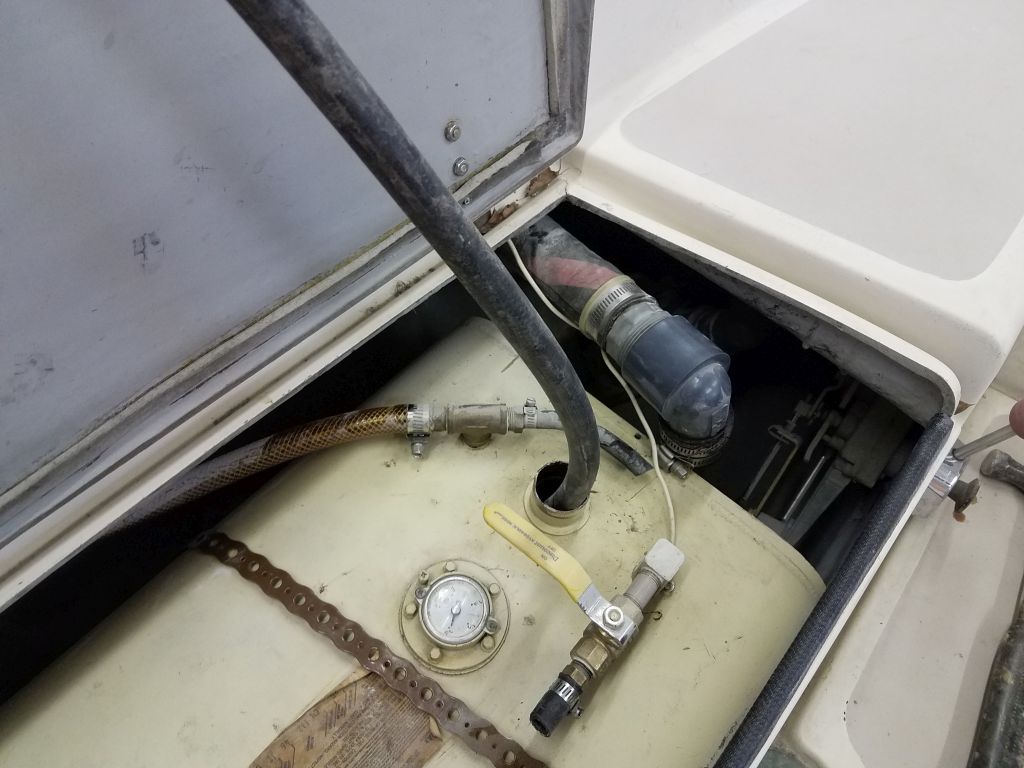
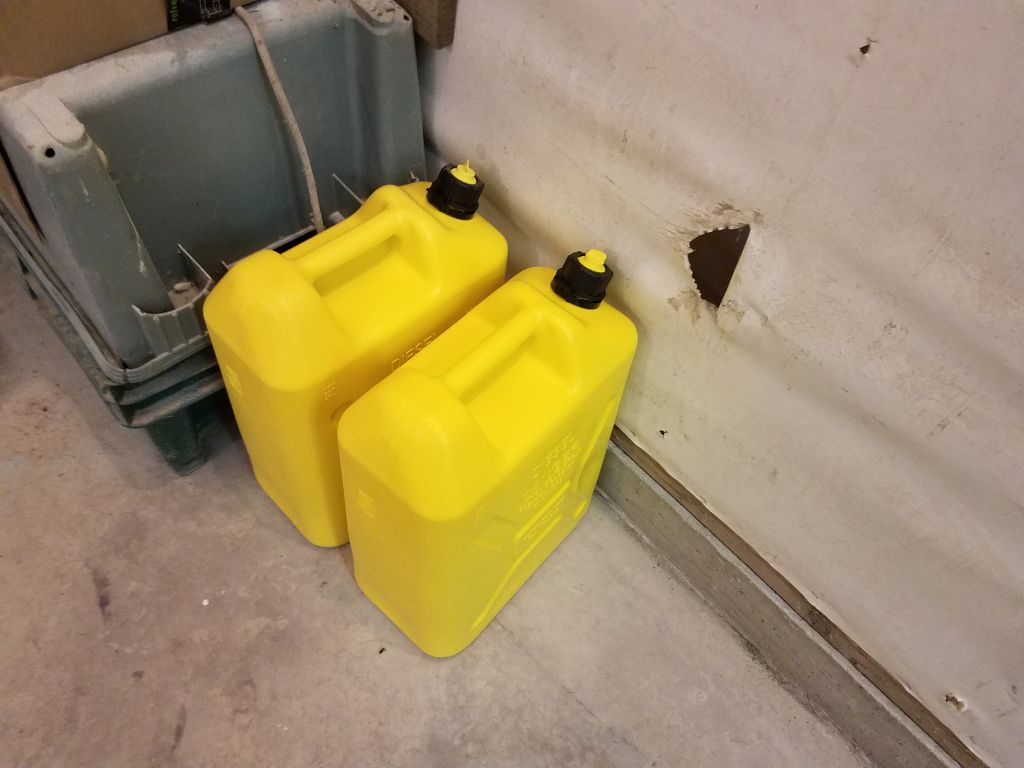
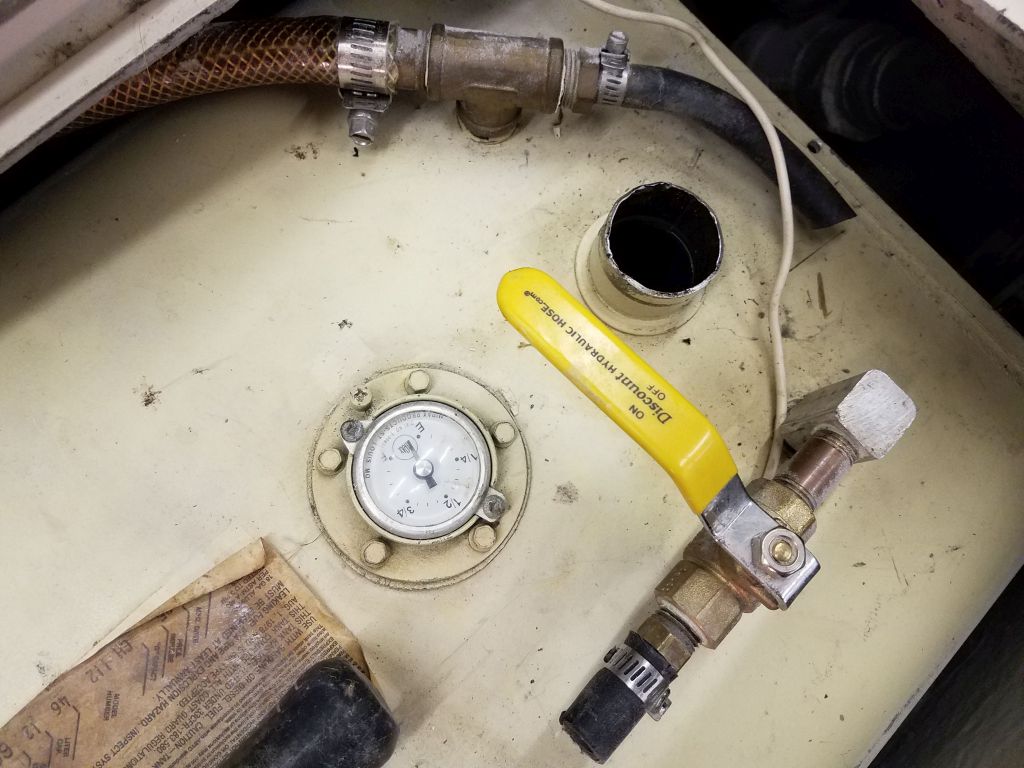
The original fuel tank, located in the starboard cockpit locker, looked reasonably good from above, but regardless of condition we wanted to remove the old fuel for a fresh start, and to better assess the condition of the tank and whether replacement was desired or required. To gain access to the fuel, I removed the fill hose assembly from the tank, and set up a siphon rig to drain the fuel into a pair of plastic diesel jugs, and while I baby sat the process I tried to take care of a few other tasks, and made a few steps towards installing the new Cutless bearing, but as the tank drained further I found I had to pay more attention and actually hand-pump a lot since the siphon action faltered.
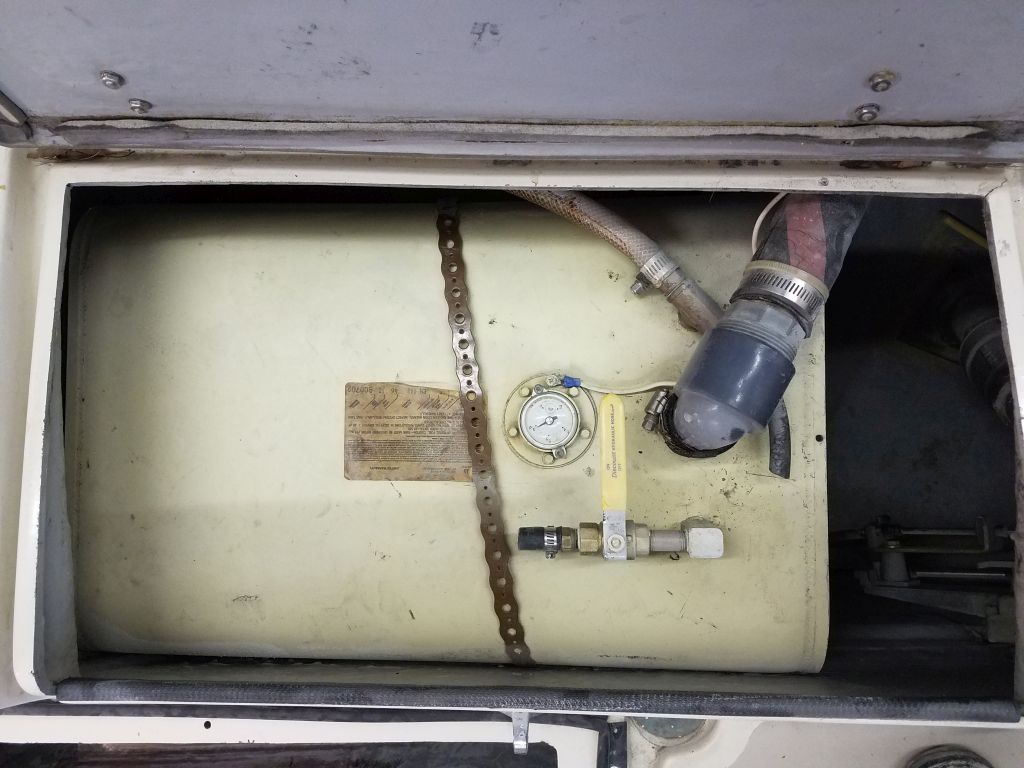

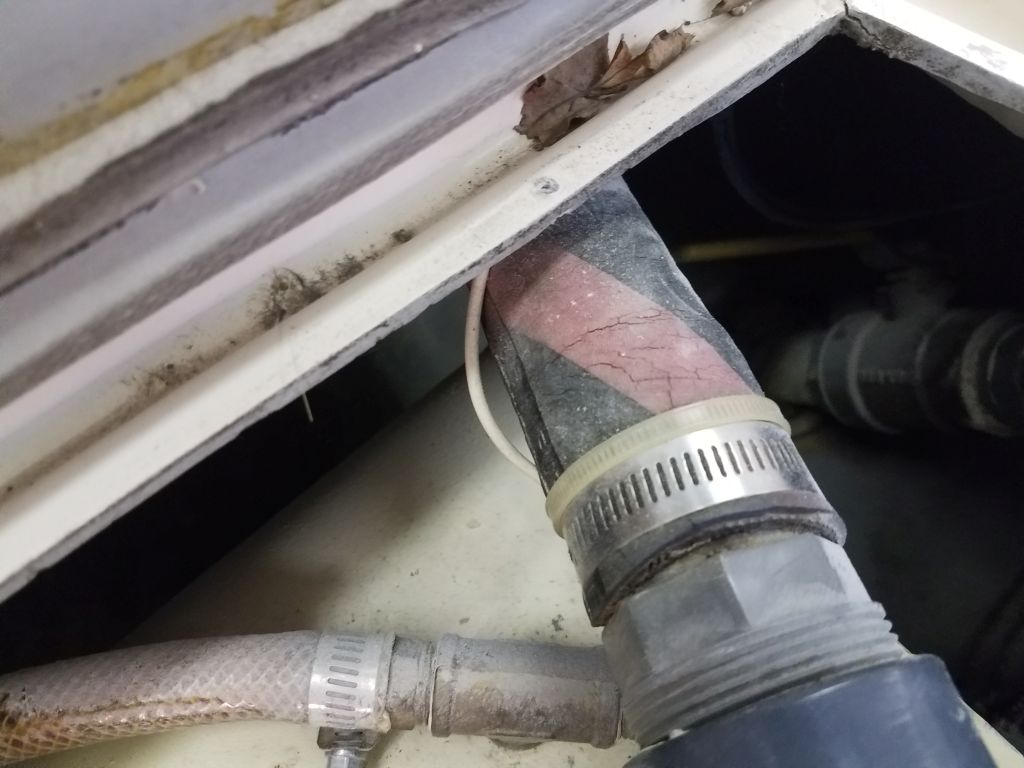
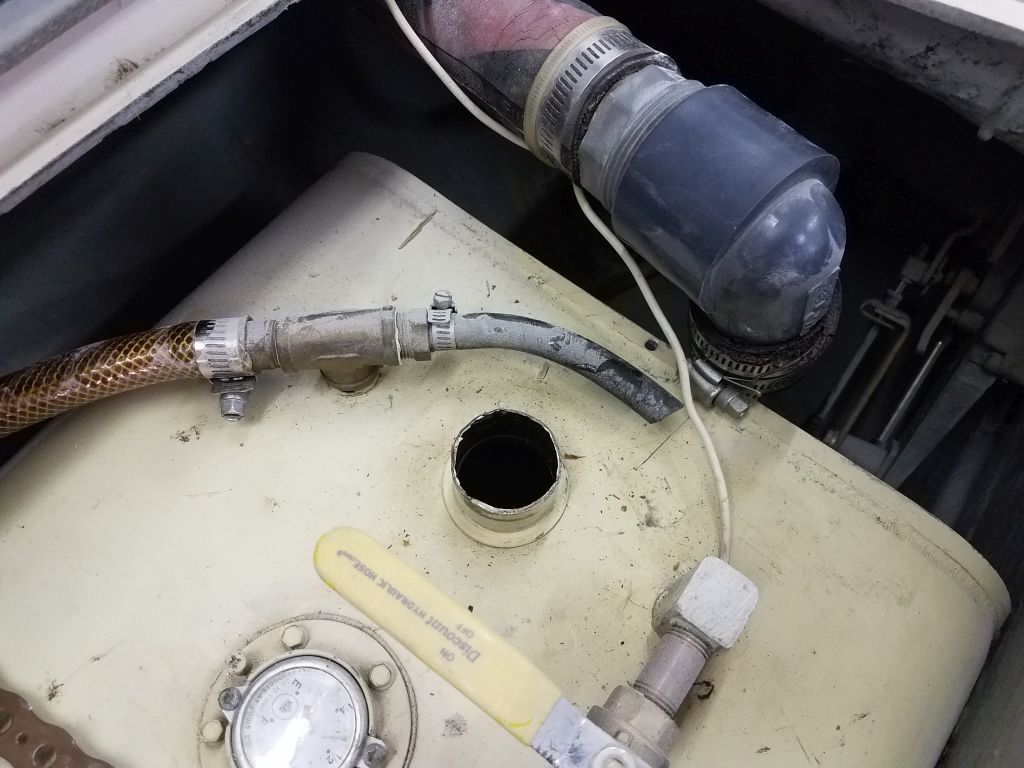
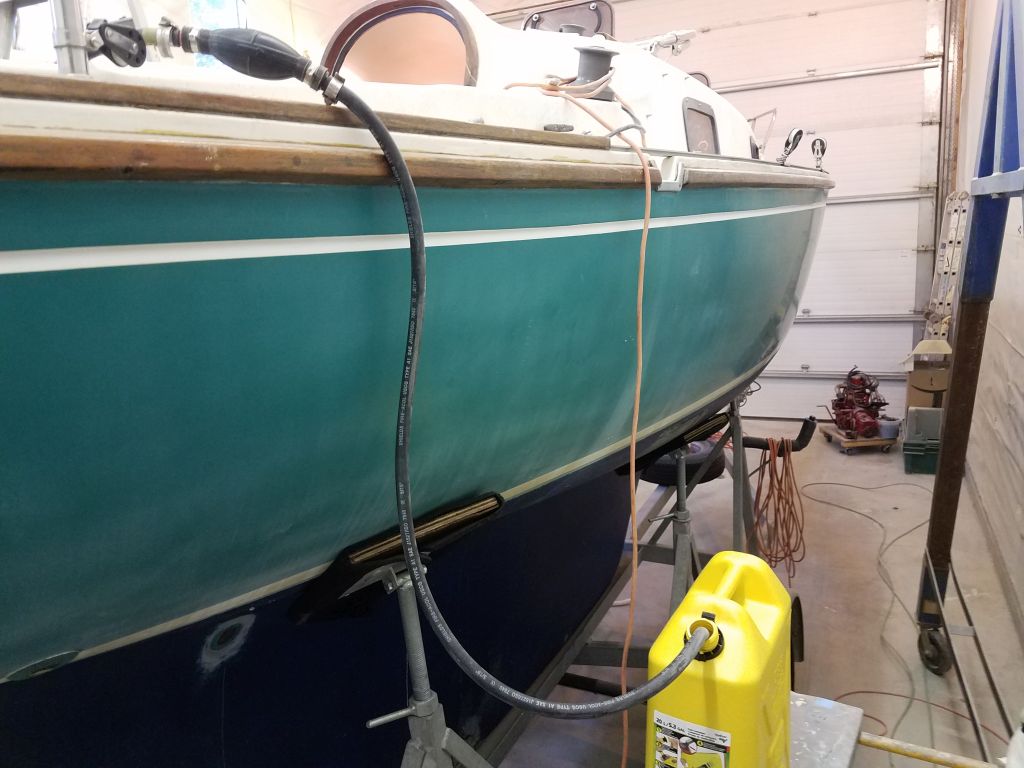
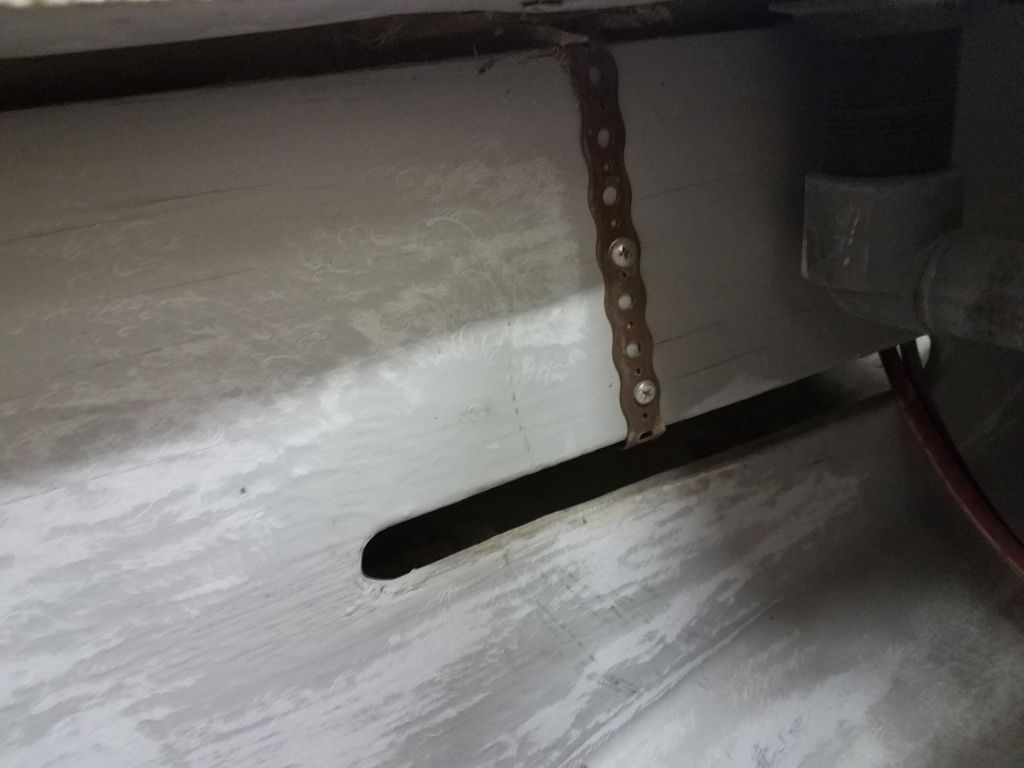
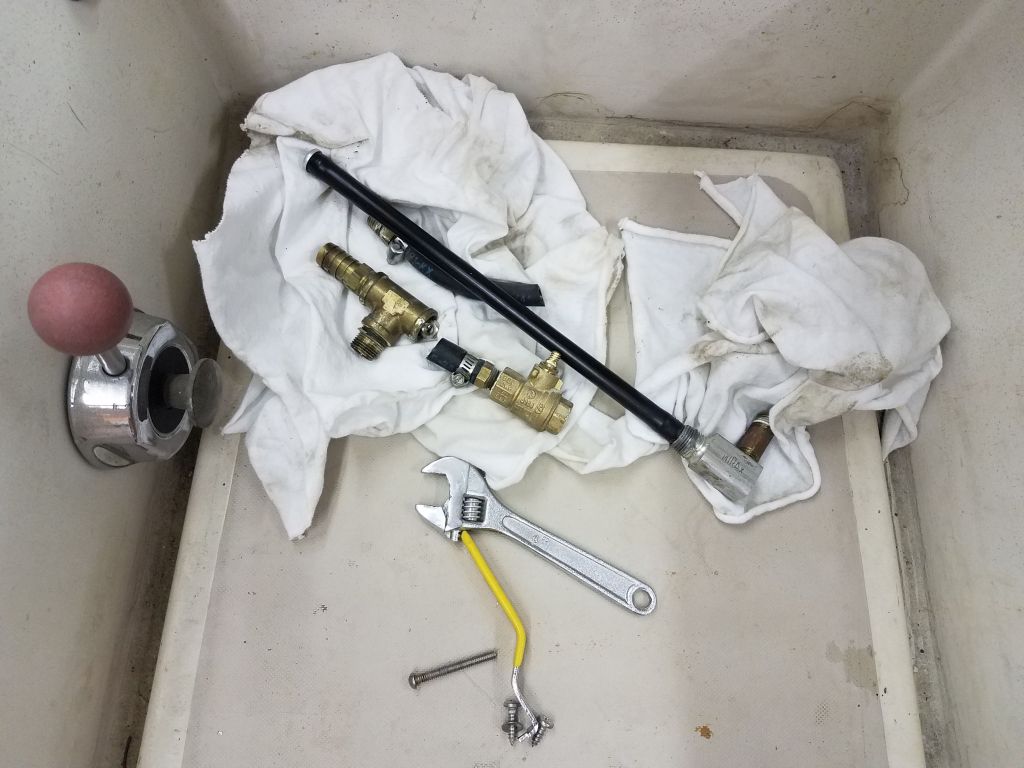
With all but a few ounces of fuel removed successfully, I removed the remaining fuel fittings, and, reaching up in the tight space behind the tank, the top end of the fuel fill hose. I removed the strap and a screw securing the tank to the platform, and tipped the tank in order to try and get rid of the last of the fuel inside, as well as start to get a sense of the tank’s condition. Externally and where visible, the tank was in good condition, and though I couldn’t see the bottom (more on this shortly) I could move the tank enough to feel beneath it and determine there was no sign of rust there.
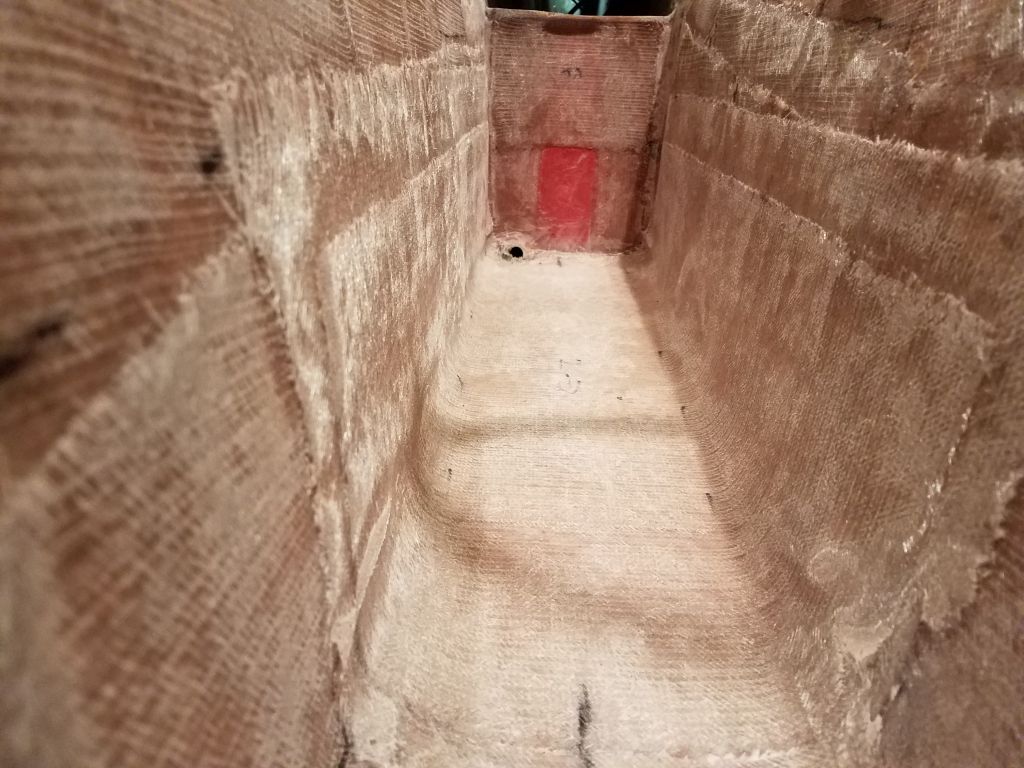
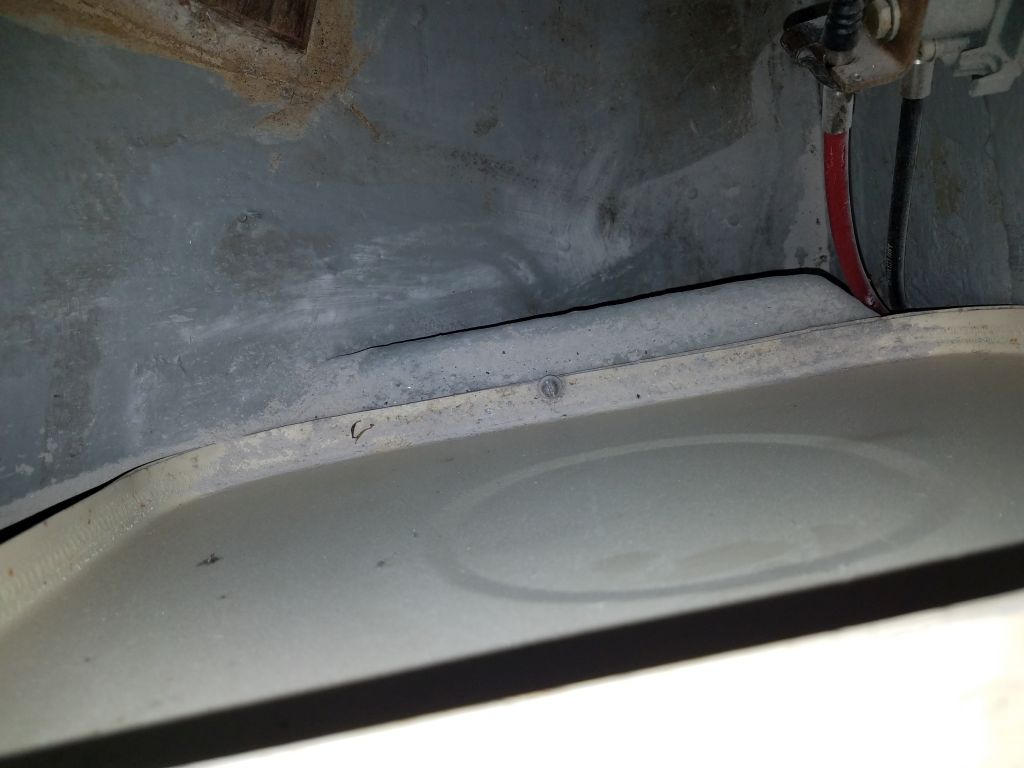
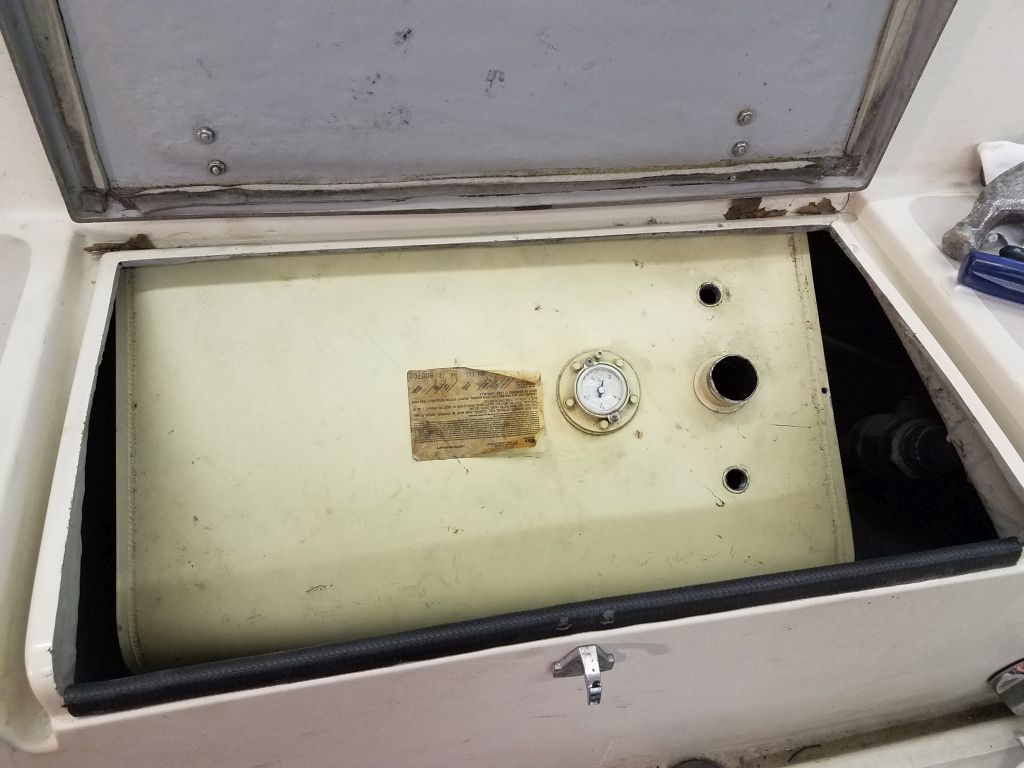
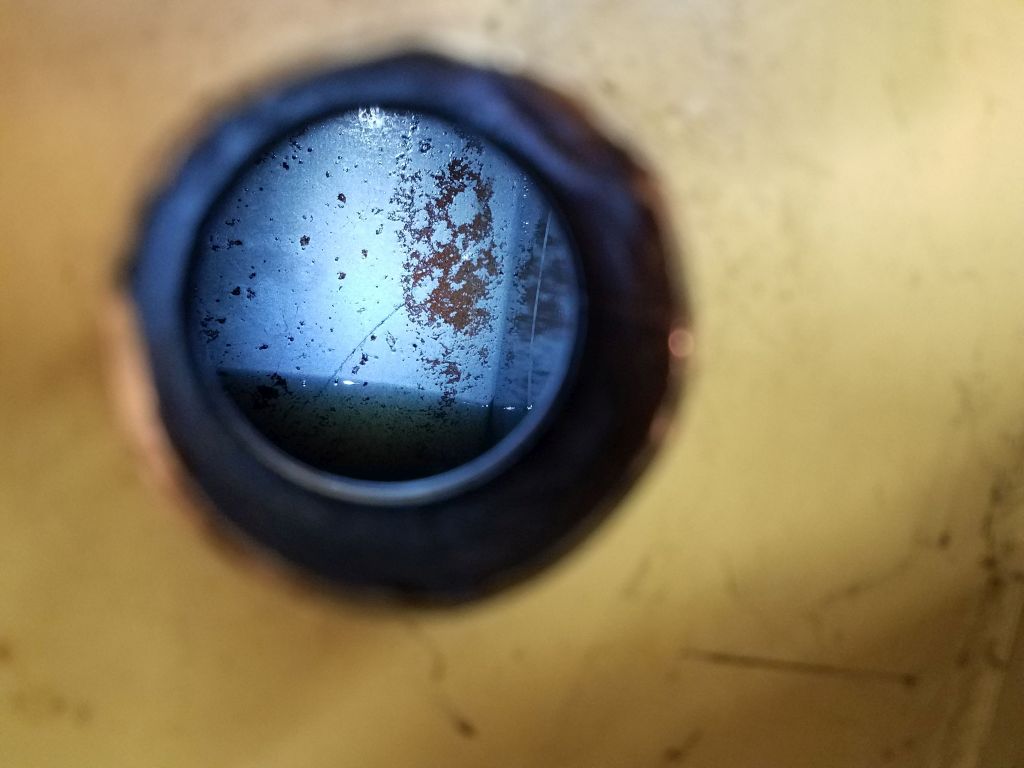
The tank was slightly larger than the opening above it, which I’d expected since I’d run into it on a similar project 10 years ago, and therefore I couldn’t remove it easily from the space without certain modifications. For the moment, I held off on further attempts to remove the tank and concentrated on the inside, shining a light through the old vent hole and viewing the inside through the larger fill hole. The inside of the tank looked quite clean, with just a bit of rust visible where it appeared the original internal tank coating had worn away, but my field of view was limited.
For the moment, the day was nearly done, and before I left for the day I wanted to send the owner the current info so we could start deciding the best course of action. I thought the first thing I’d do next time was remove the fuel gauge from the tank to give me another small portal inside and help better assess the tank’s condition.


Total time billed on this job today: 7.5 hours
0600 Weather Observation: 0°, clear. Forecast for the day: Sunny, 20s