

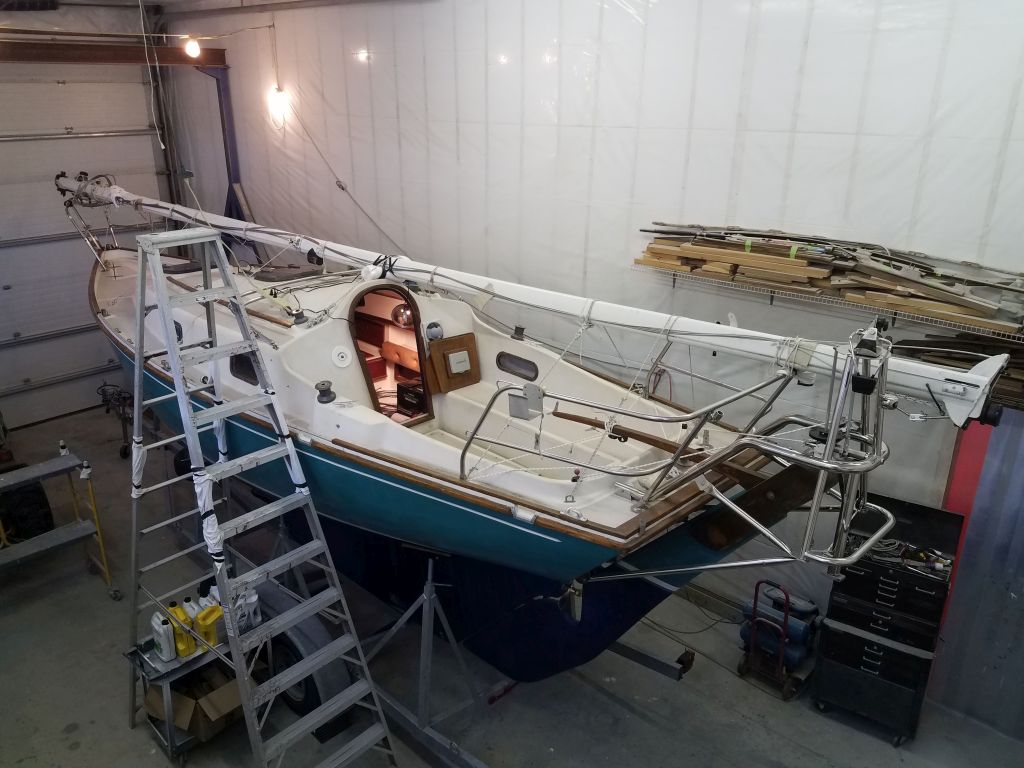
December 6, 2018
Dharma Rose 10
Thursday
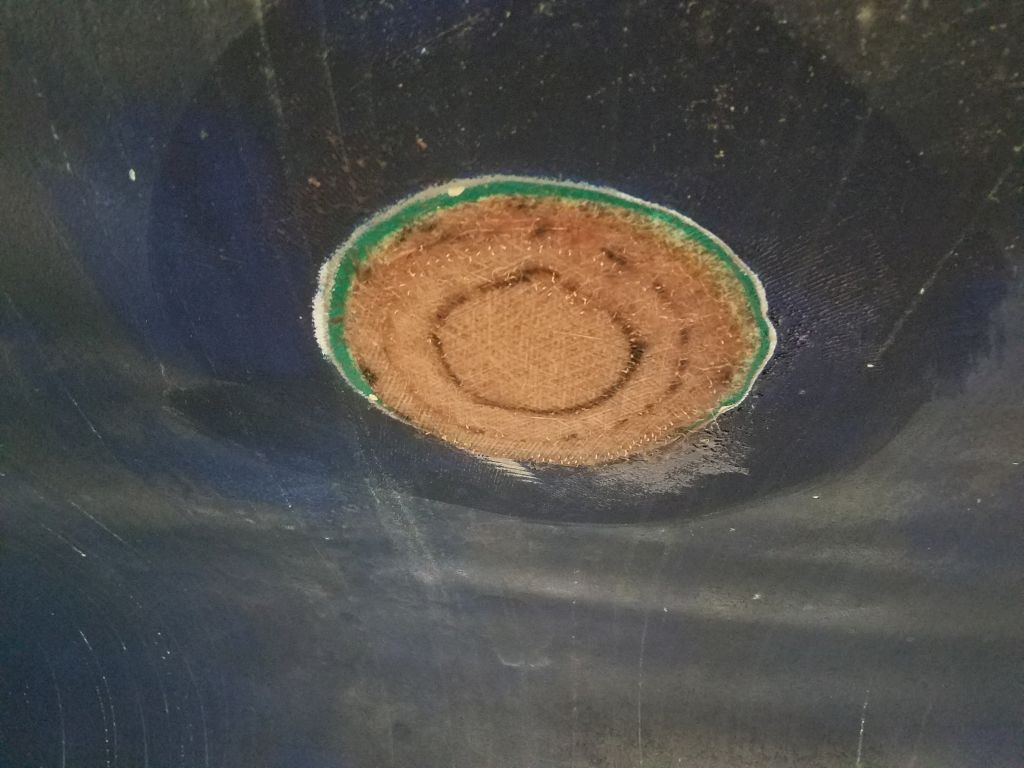
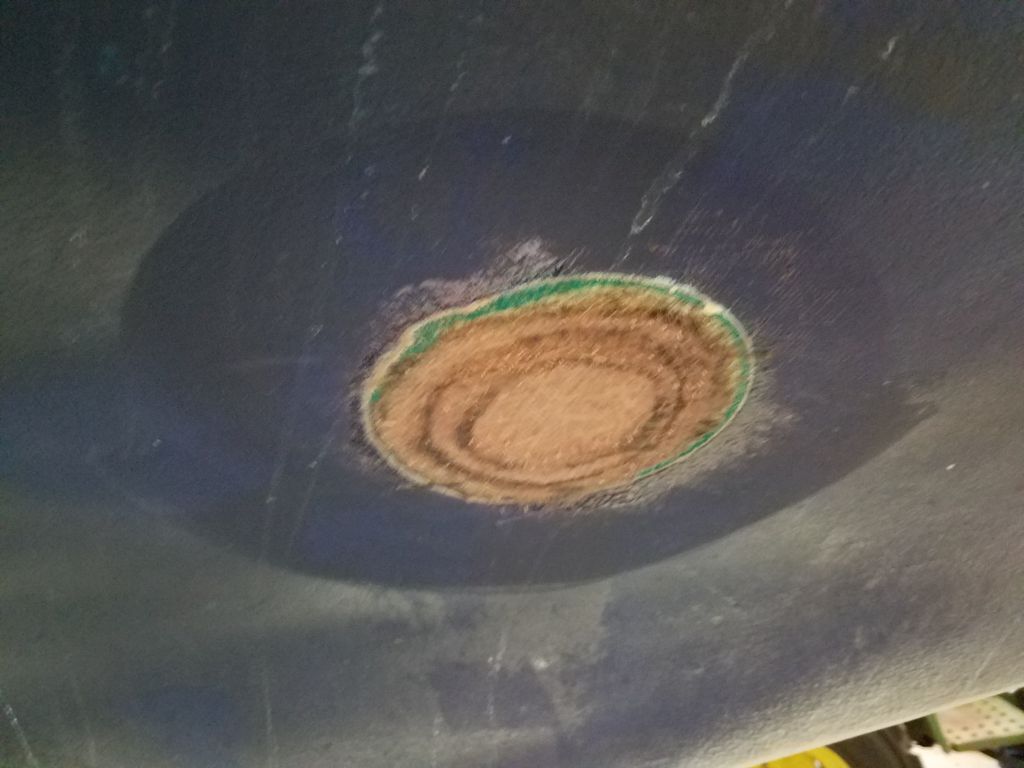
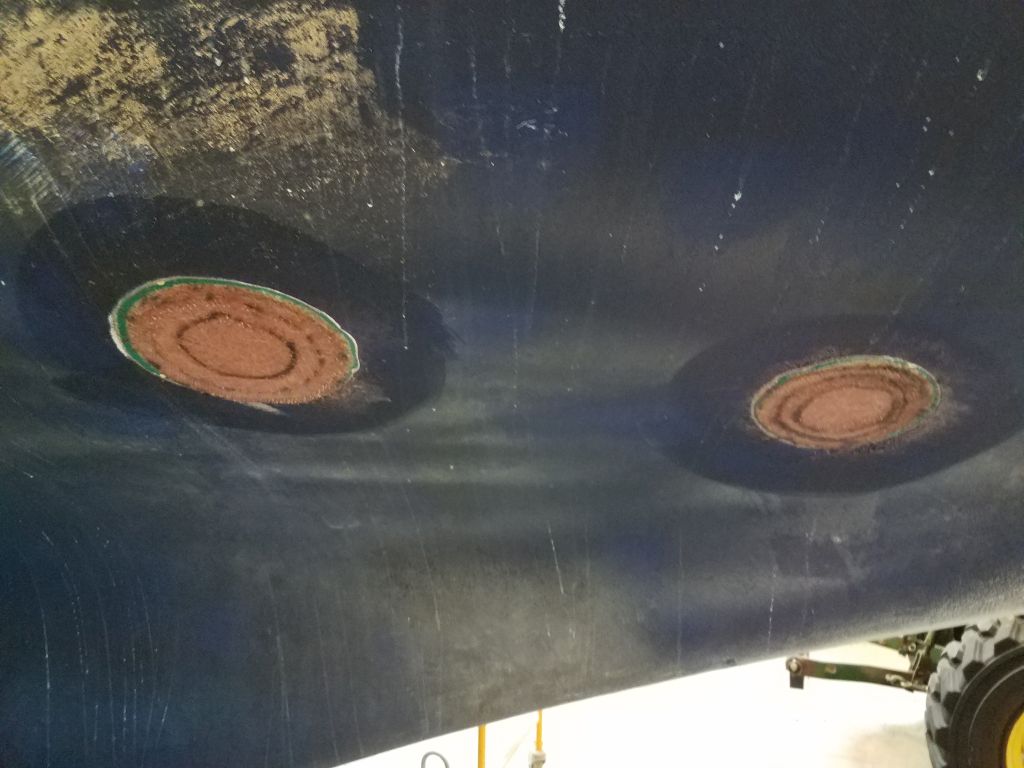
After solvent-washing inside and out the two forward through hull openings awaiting patching, I masked over the holes from outside and installed a thickened epoxy mix flush from the inside, which I allowed to partially cure before applying two layers of fiberglass over the whole area.
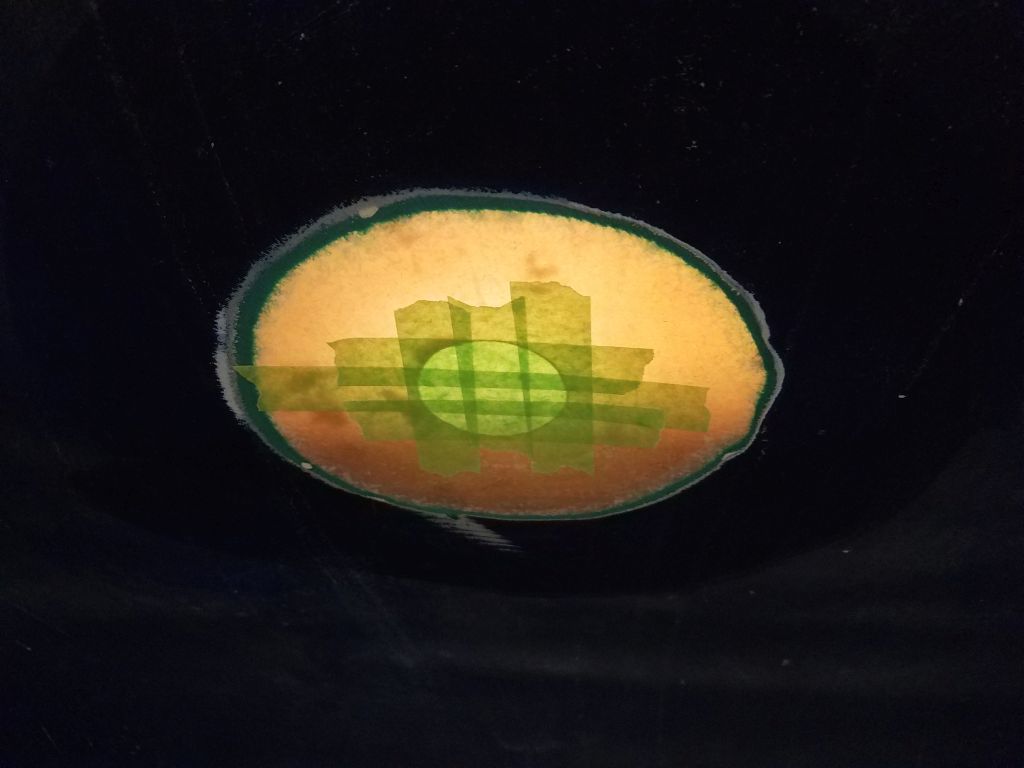
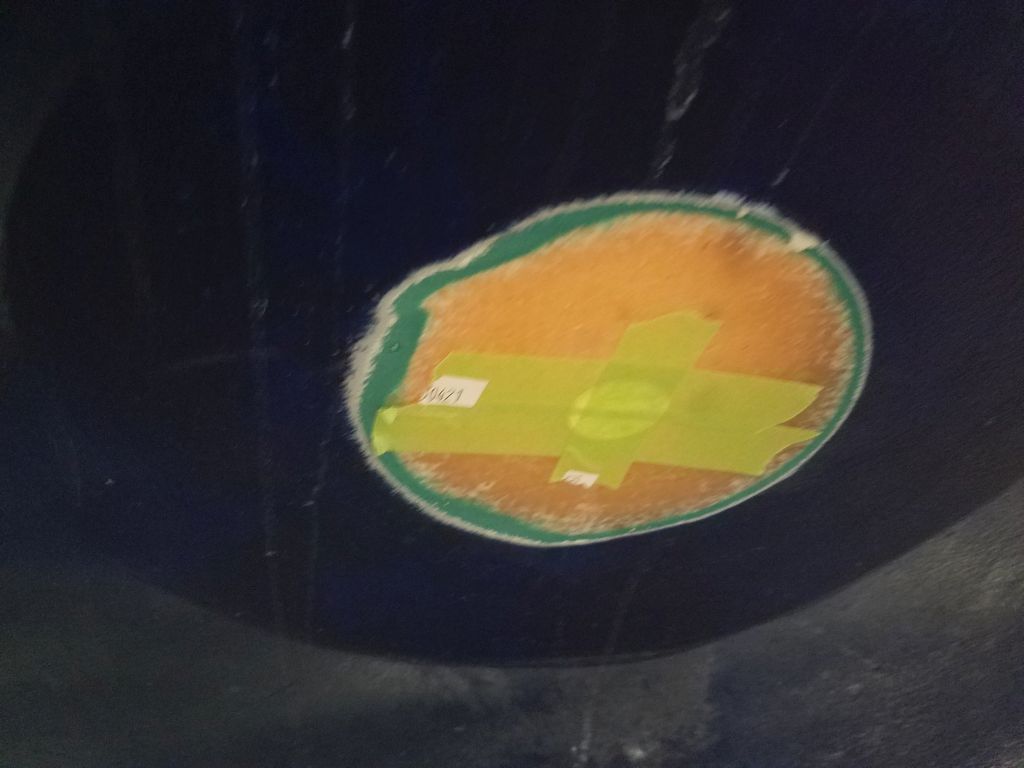
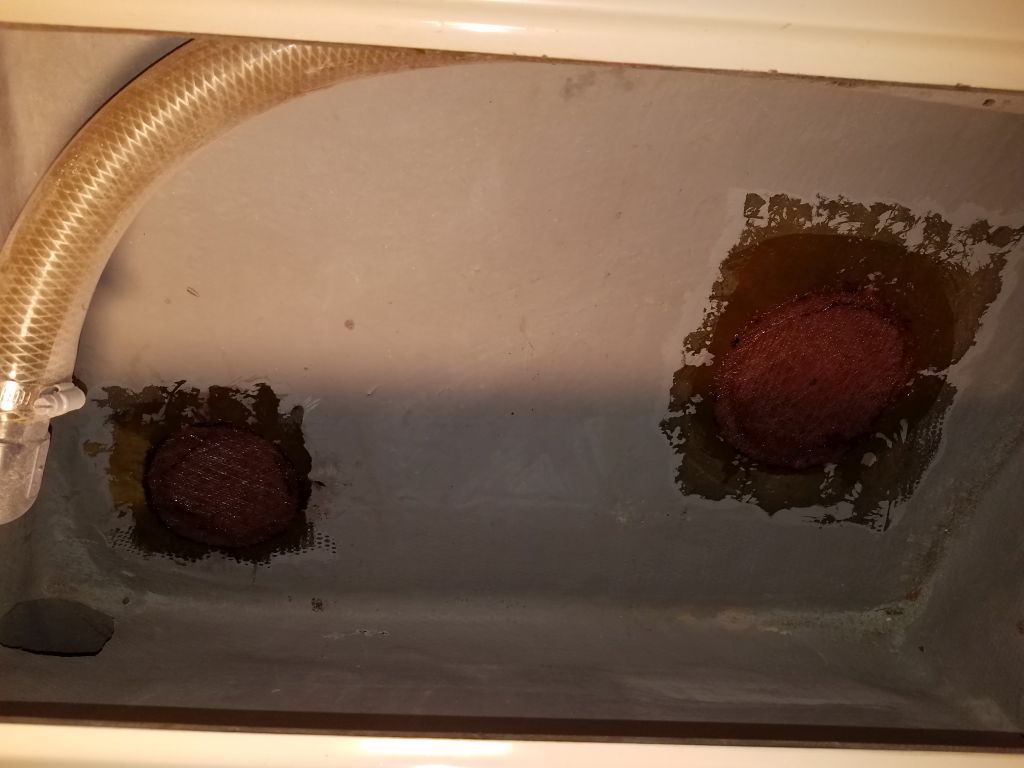
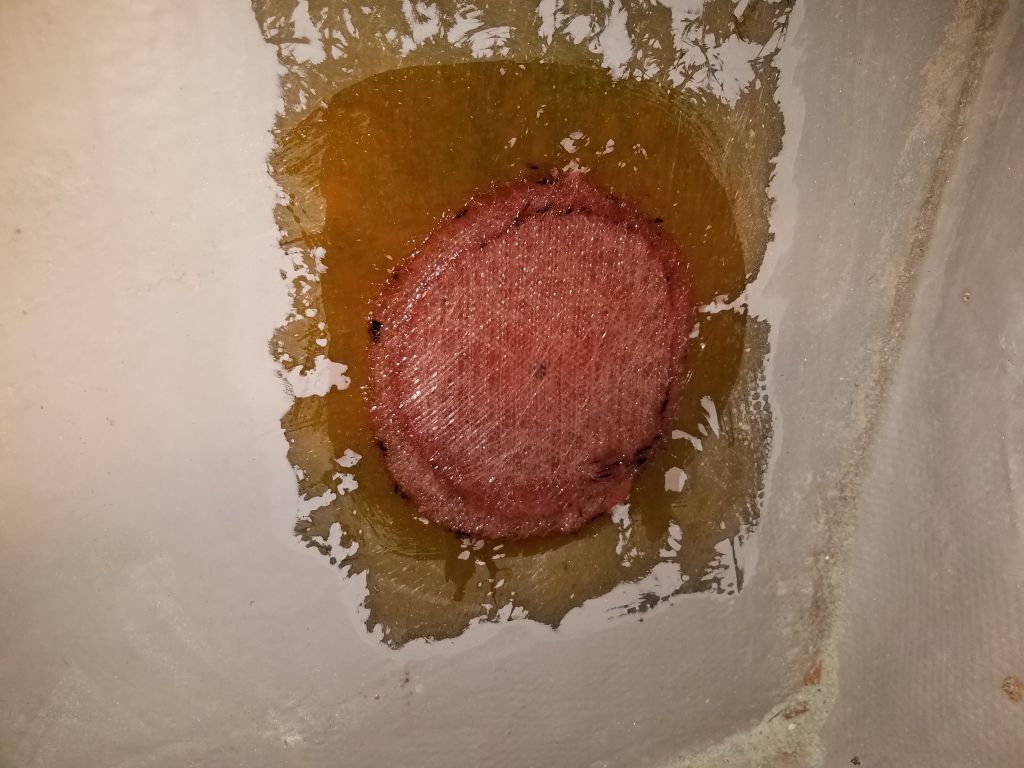

Later, once the epoxy had cured enough to continue work from outside, I removed the masking tape and applied three layers of fiberglass to each hole.


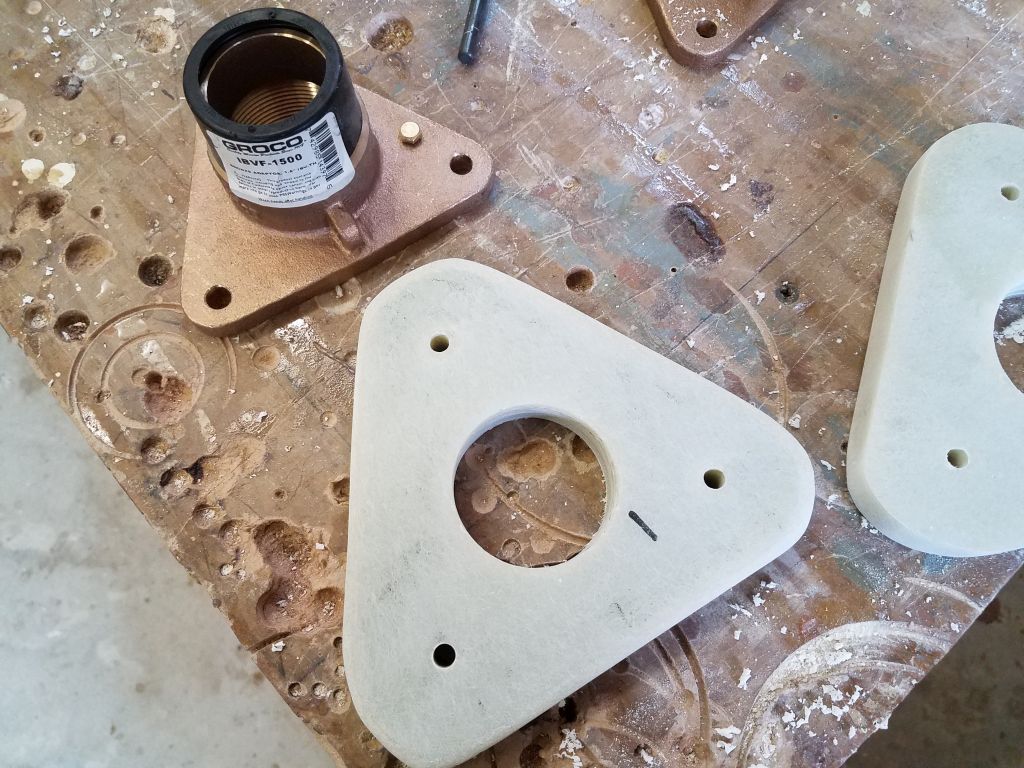
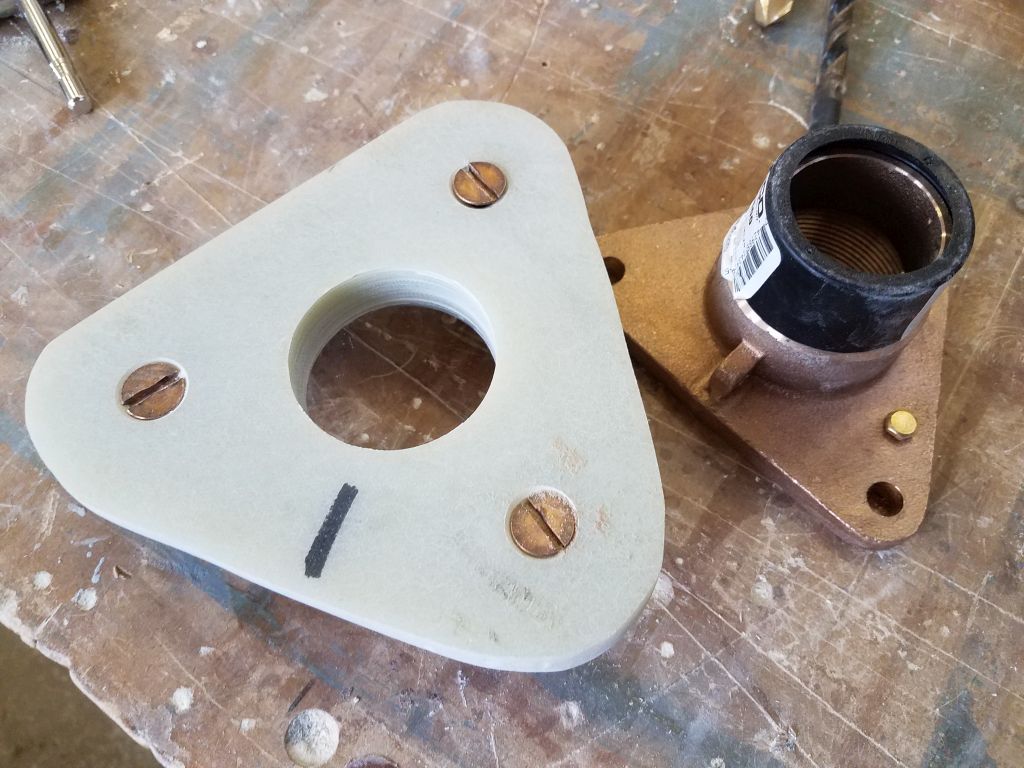
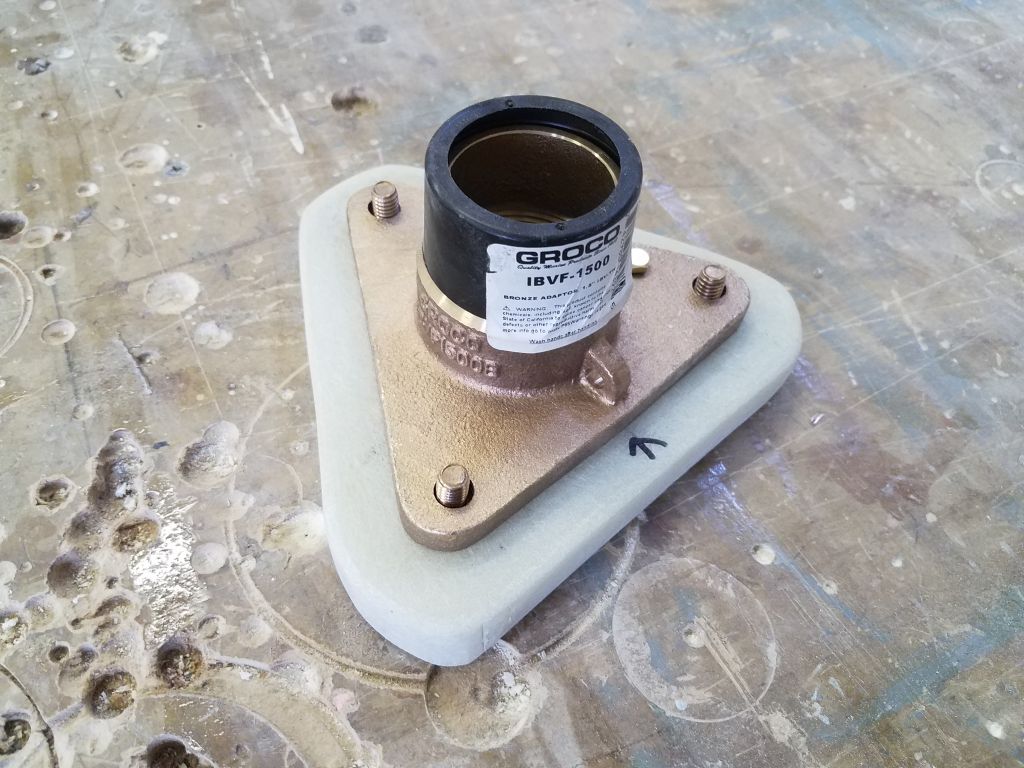
While this was going on, and in between steps, I worked on the through hull pads for the cockpit scuppers. In this case, the owner requested that I not bolt the through hull assemblies all the way through the hull, my normal and preferred method of installation, but that I consider instead blind-bolting the flanges to the pads before installation. I agreed because I felt this was an acceptable alternative when the backing pad is permanently glued to the hull, as I always did and planned to do in this case as well.
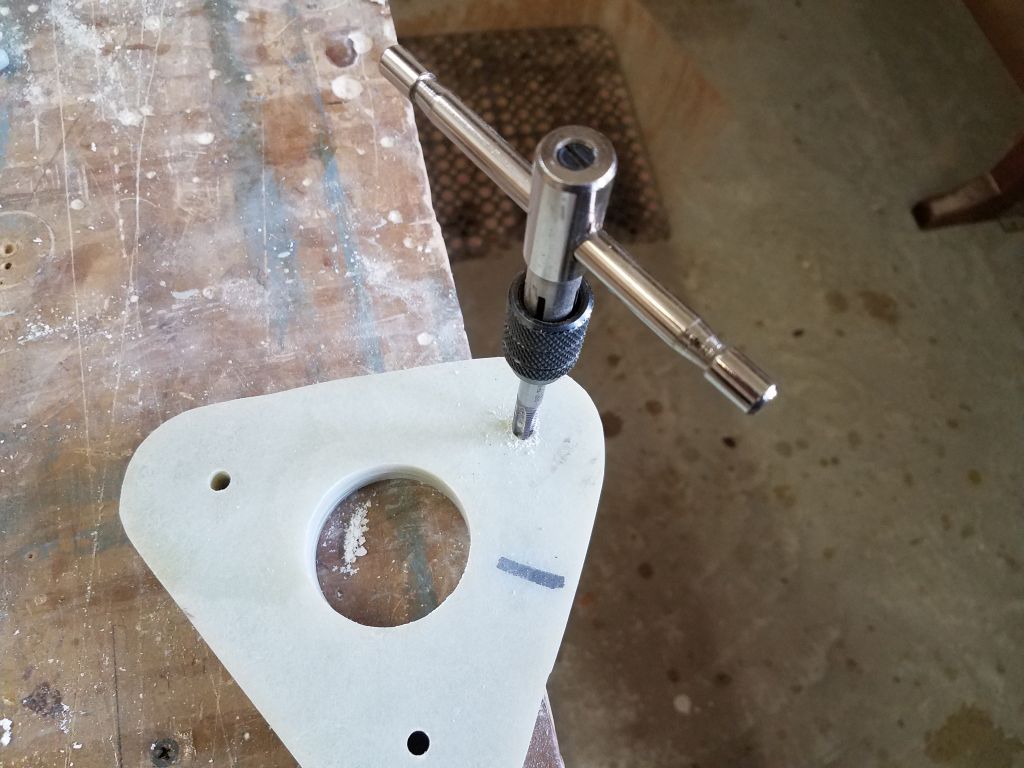
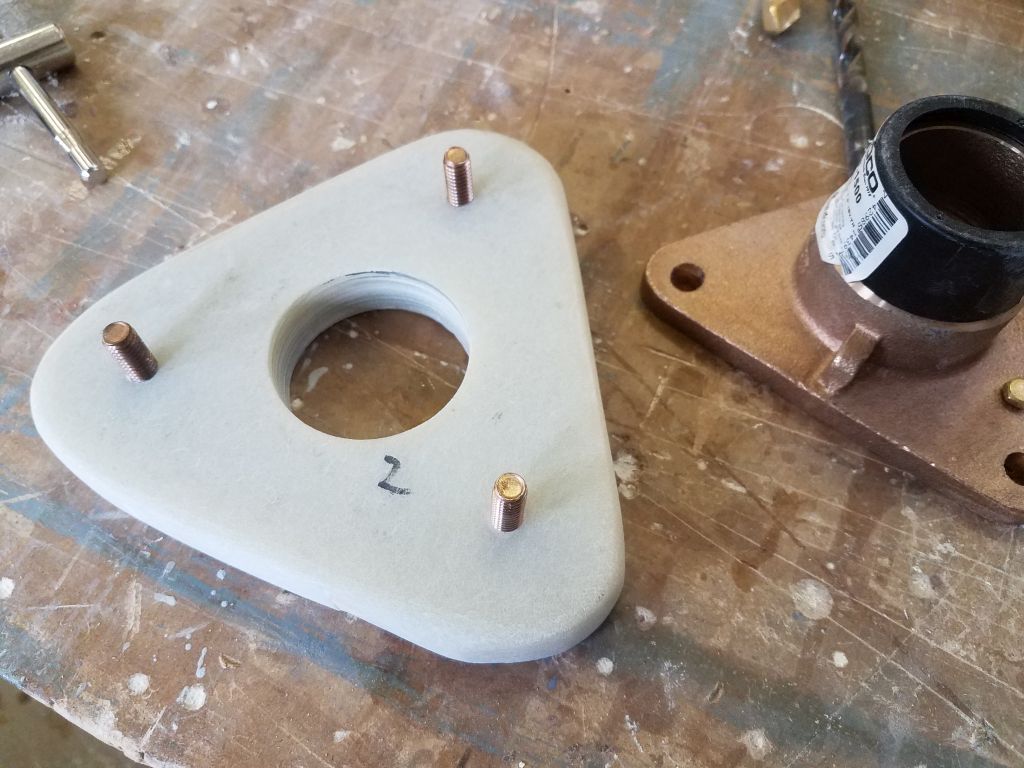
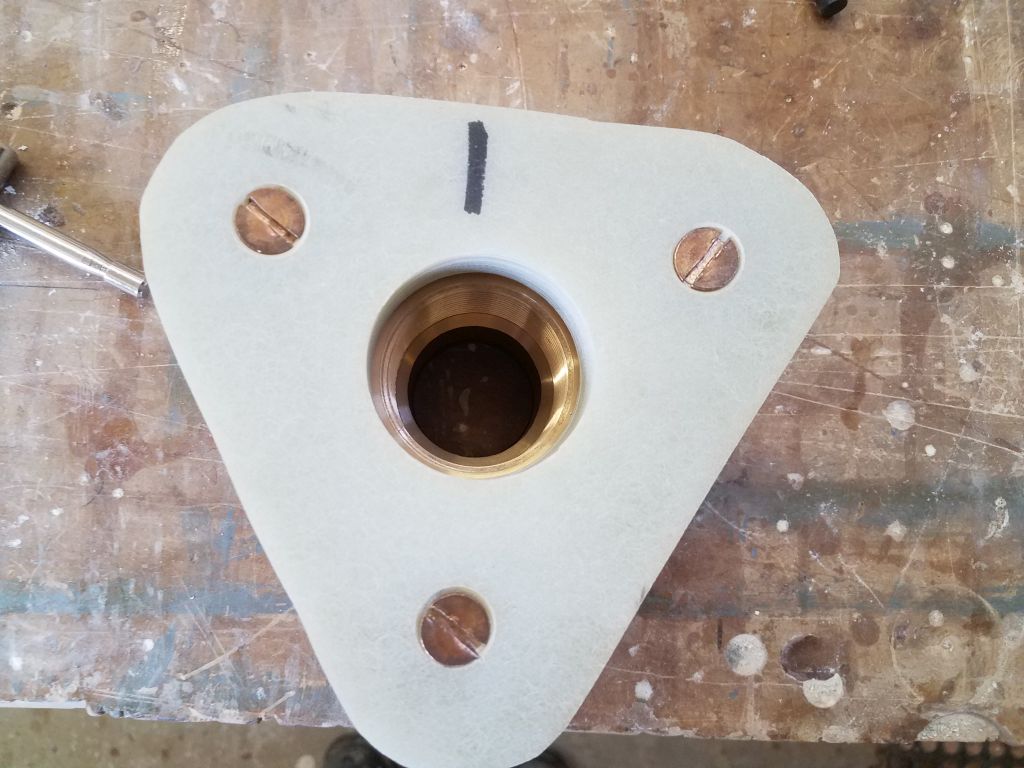
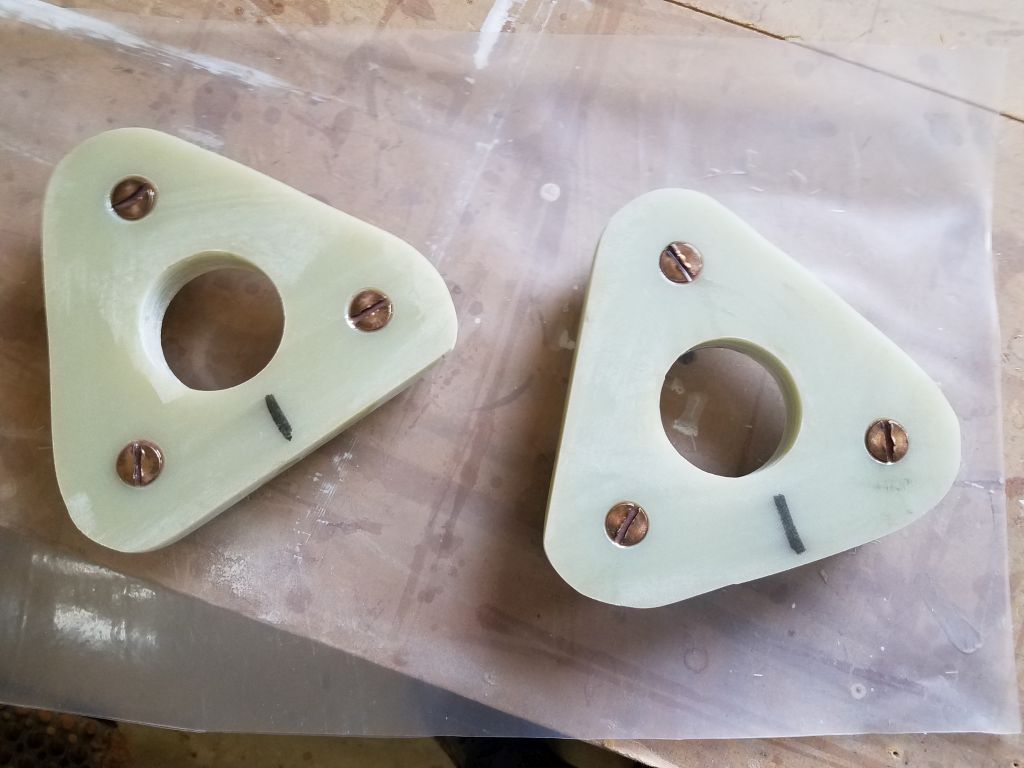
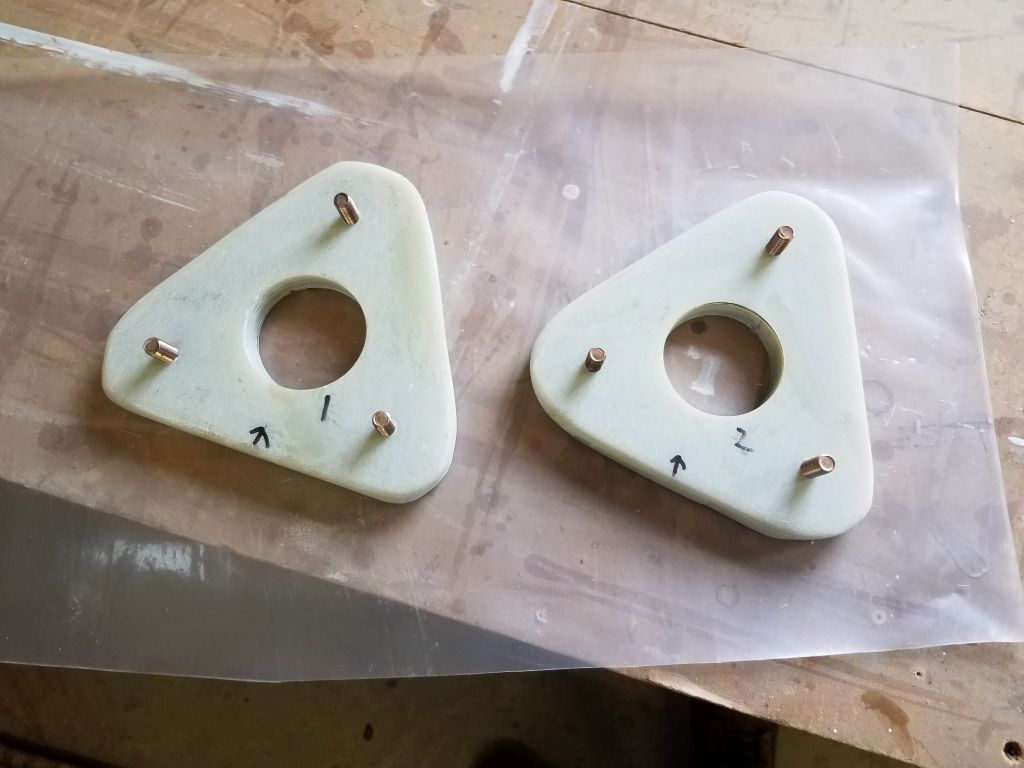
Using the appropriate drill bit, I drilled through the fiberglass pads at each of the three bolt locations on the flange bases. Then, from beneath, I tapped threads into each hole to accept the 5/16″ bronze machine screws. I used a hand tap because my drill wouldn’t hold the tap securely enough to mill through the dense, hard G10. Once the holes were tapped, I milled countersinks in the bottom to accept the screw heads, then dry-fit everything to ensure that I could install the flange over the protruding threads after the fact, since I didn’t want the bronze in place till after I’d glued the pad to the hull later. I repeated the process with the second fitting, ensuring throughout the process that the flange was properly centered over the hole in the backing pad to later accept the threaded through hull.
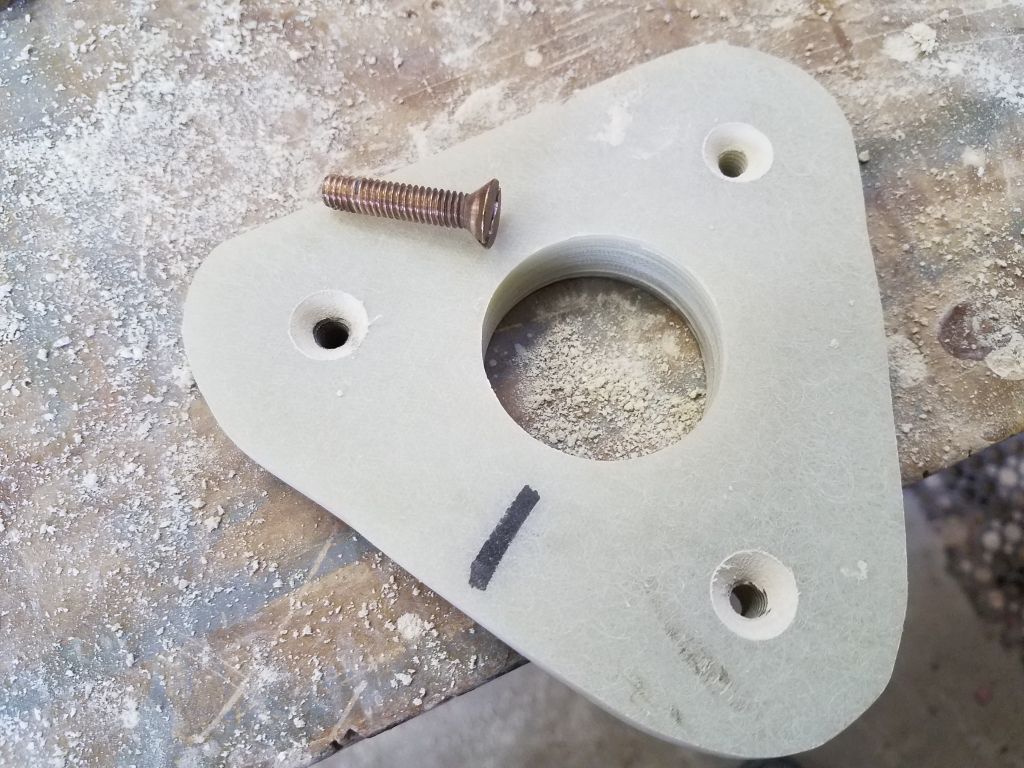
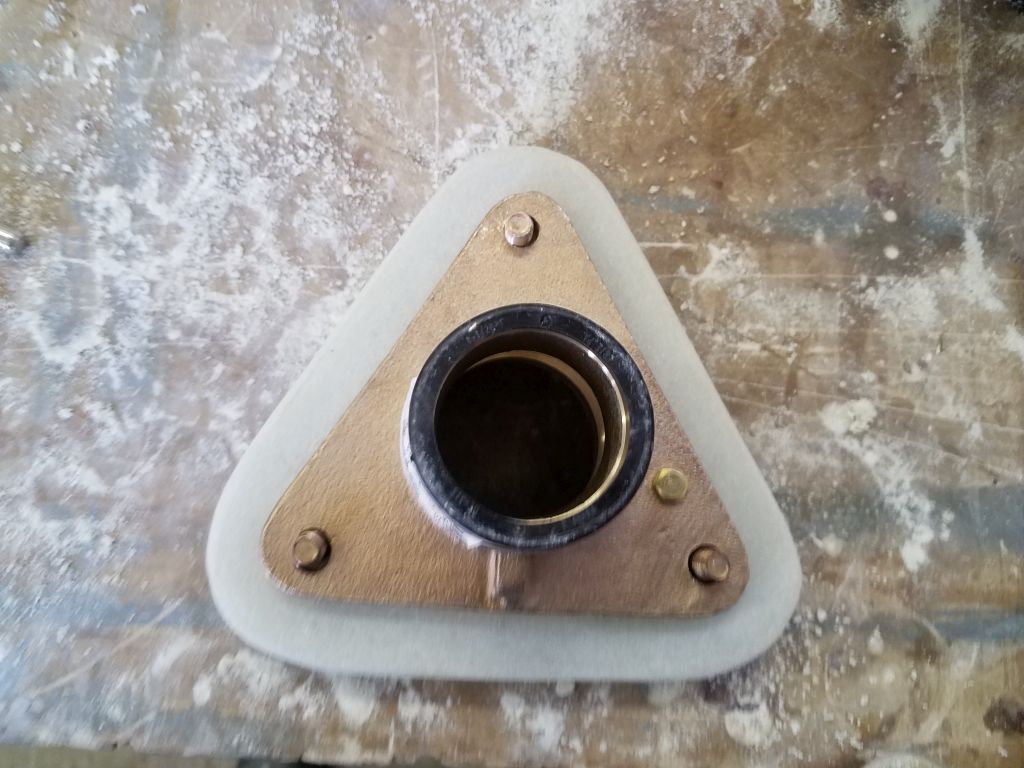

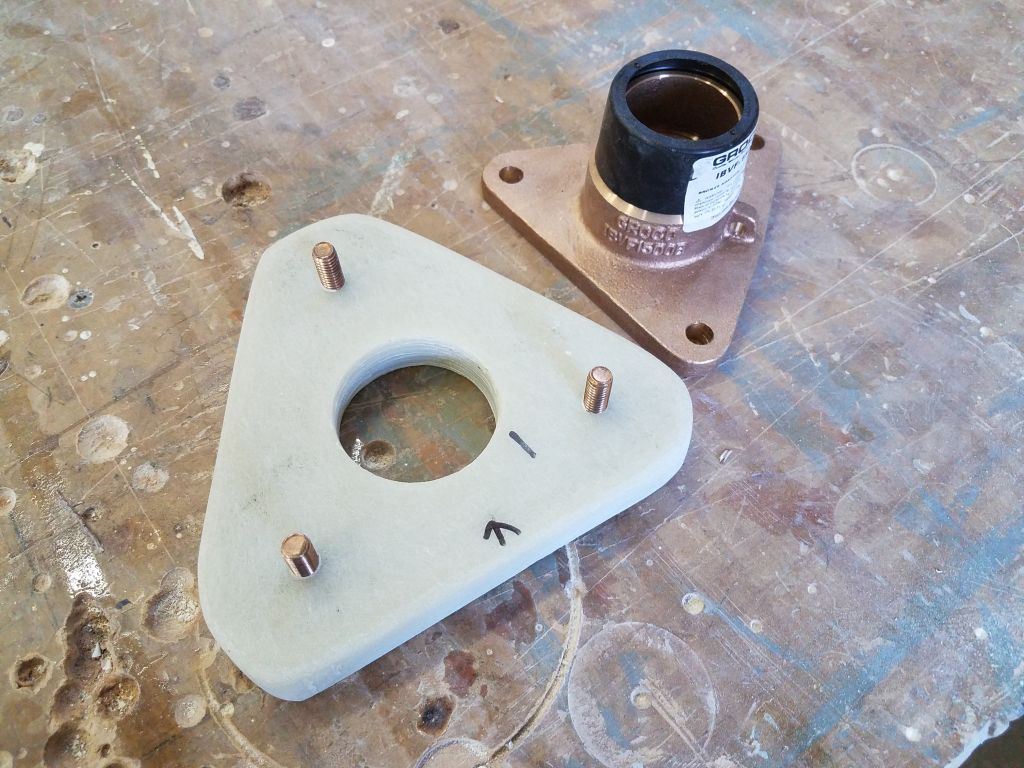

Finally, I backed out the screws a bit, then applied some thickened epoxy adhesive to the threads and in the counterbore before re-tightening the bolts securely, all to help hold the bolts from spinning now or later (even though they probably wouldn’t spin with the bolts tightened securely through the tapped holes). After removing excess epoxy, I left the pads to cure.

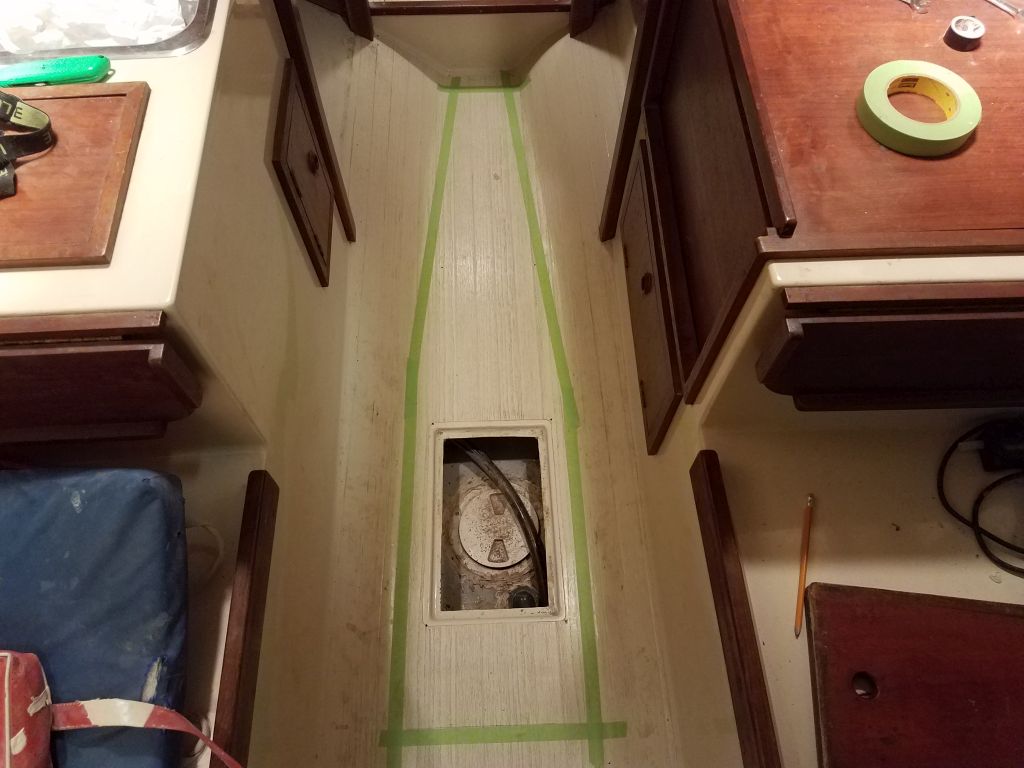
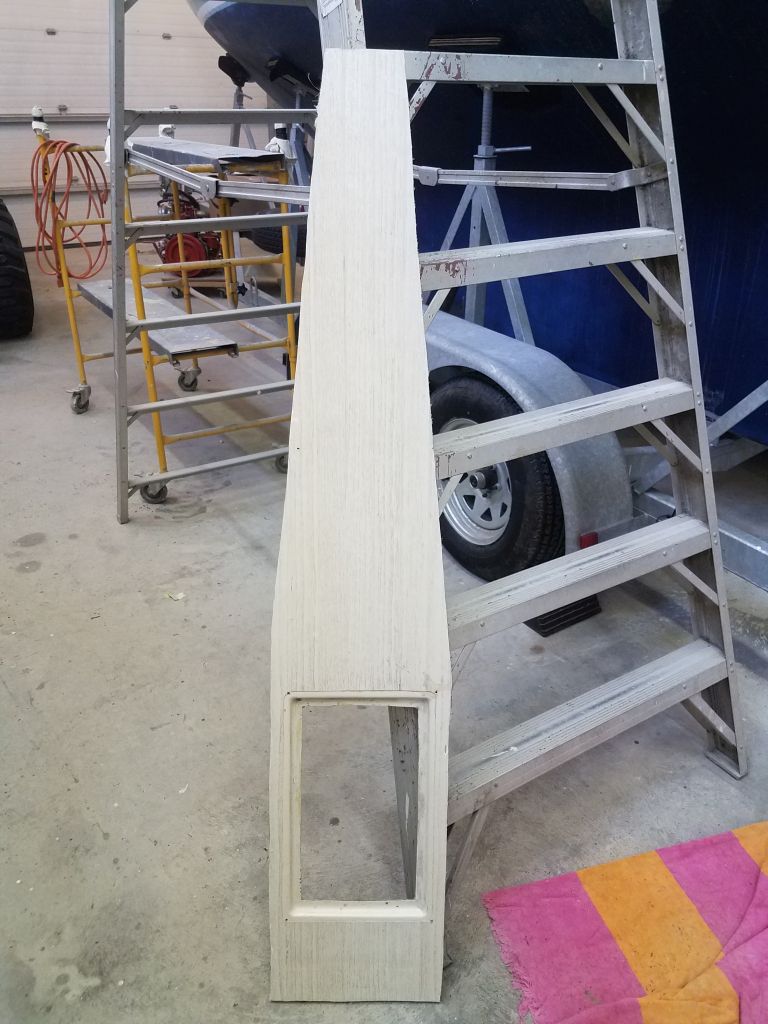
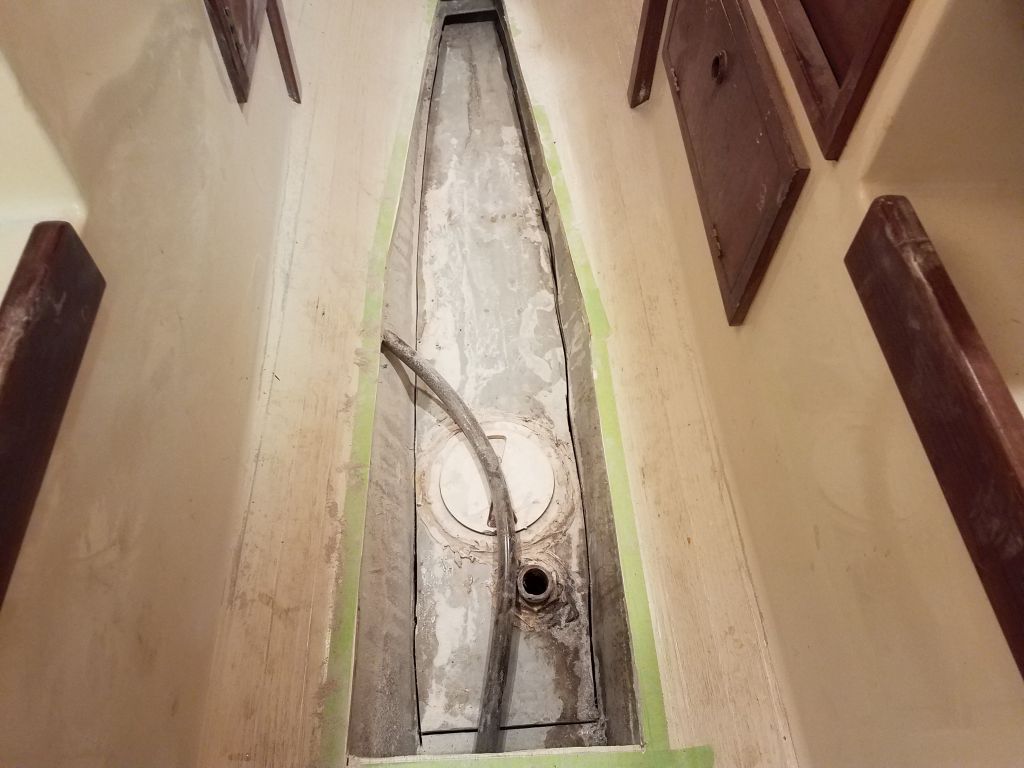
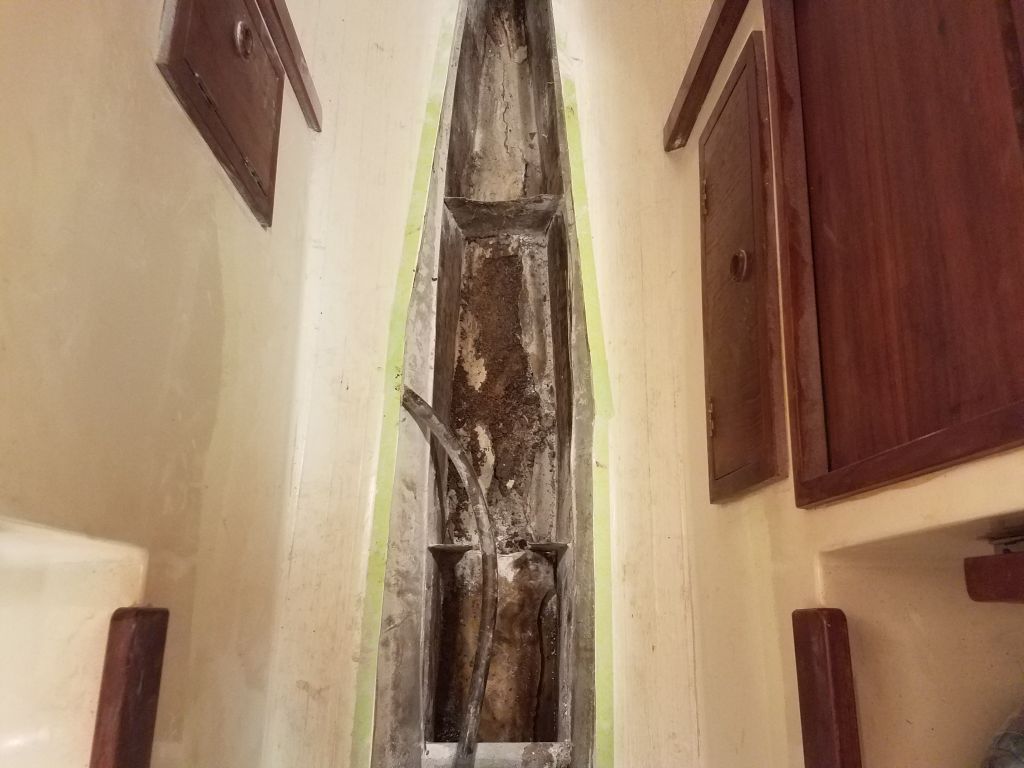
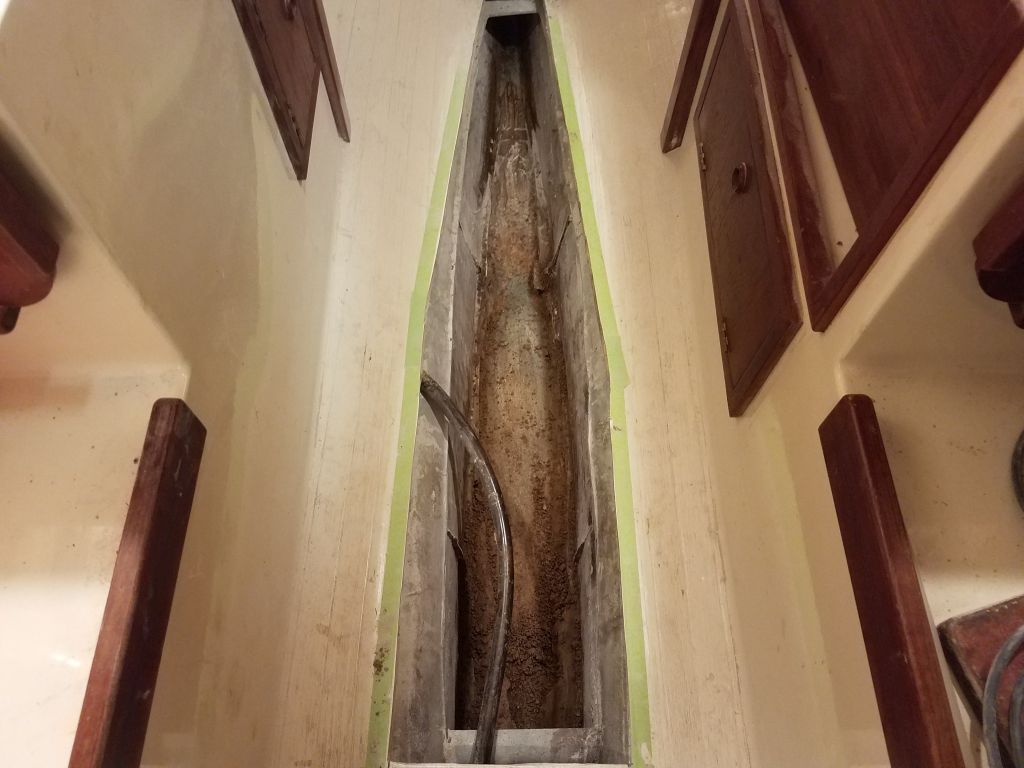
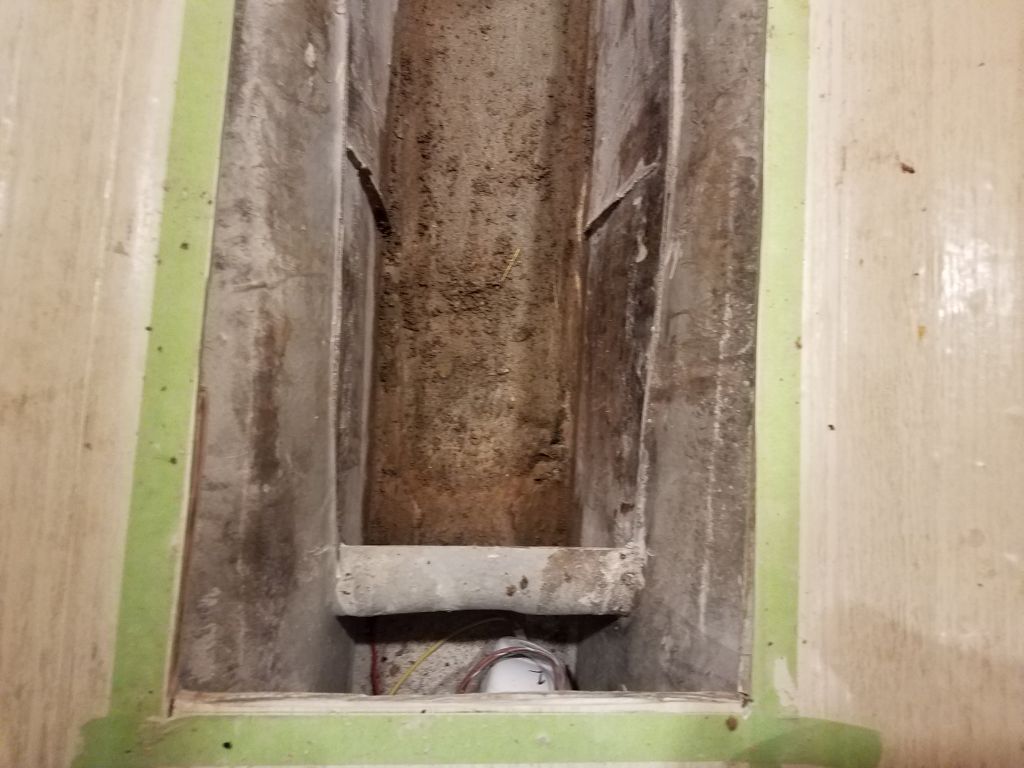
Now I turned to the waste tank removal–or repurposing, as it were, since the tank was just a built-in (and poorly at that) void in the bilge above the keel. After determining roughly what was going on beneath the cabin sole, and how much clearance there was, I marked out a cut line in the sole that would allow me to remove it and access the tank, which was located a few inches beneath with its own fiberglass cover. The only access at the moment was through a 12″ hatch in the sole.
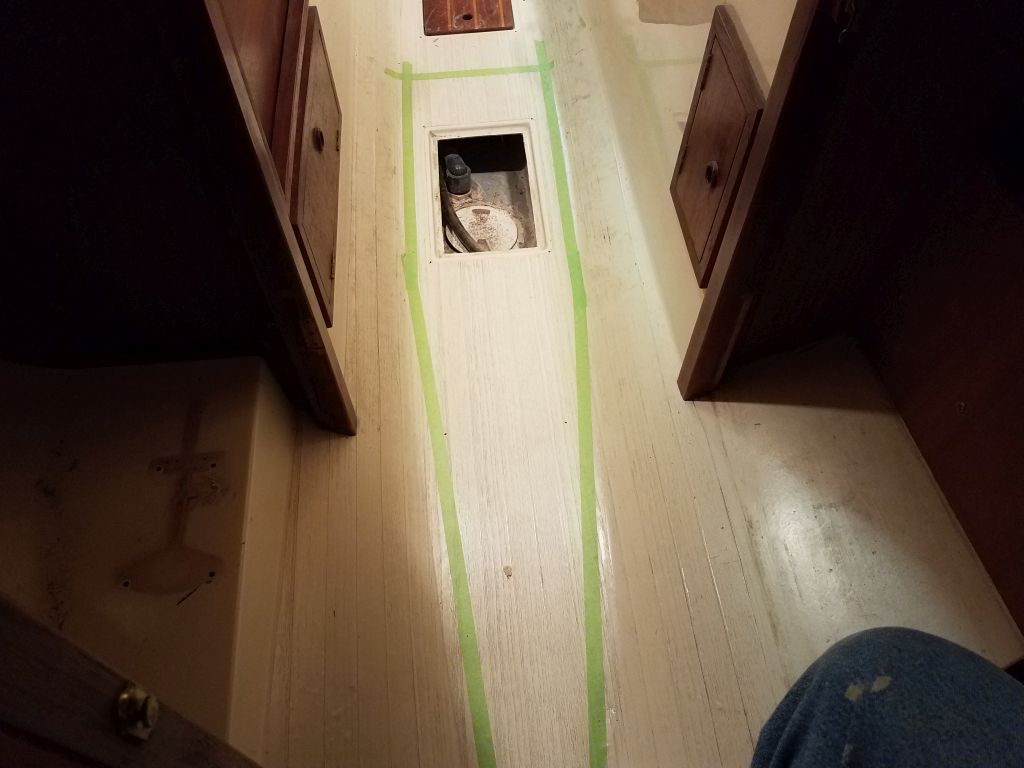
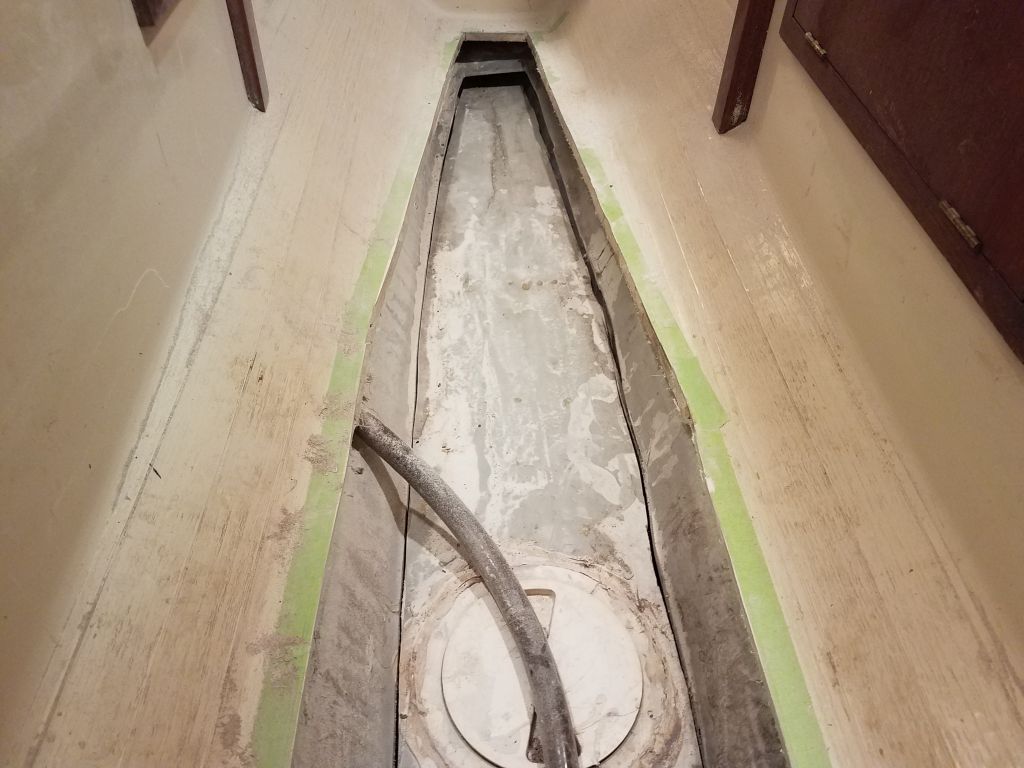
Using a cutting wheel on my grinder, and finishing the corners with a saw, I removed the cabin sole in one piece. I’d reuse this later once the work beneath was completed.

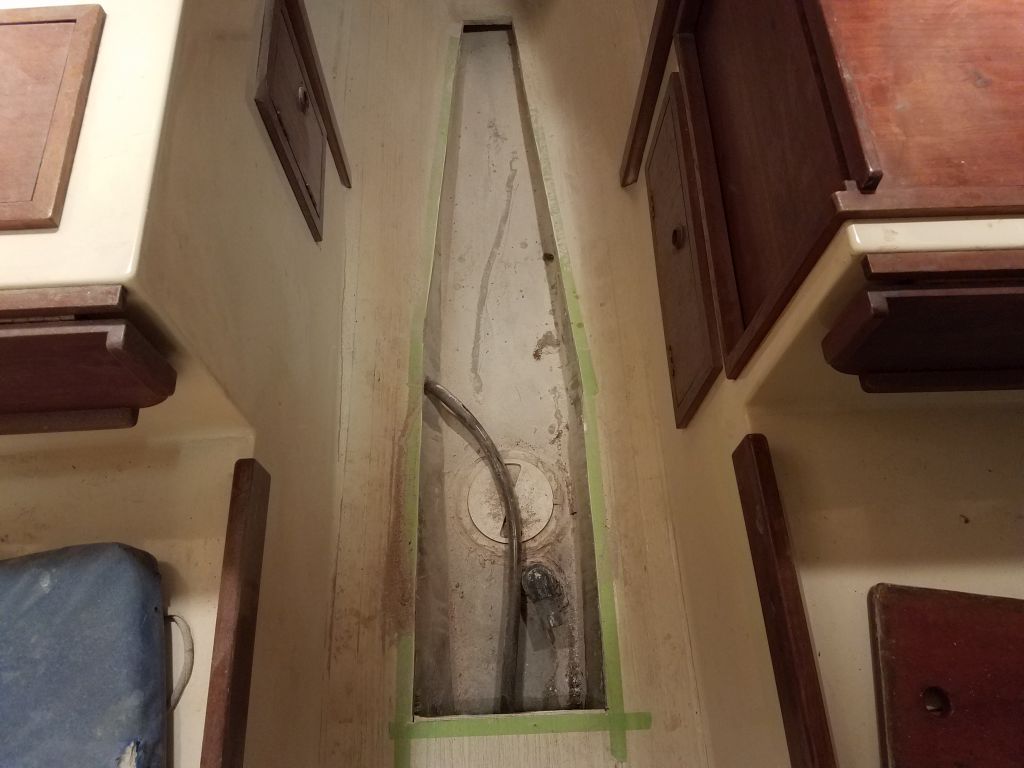
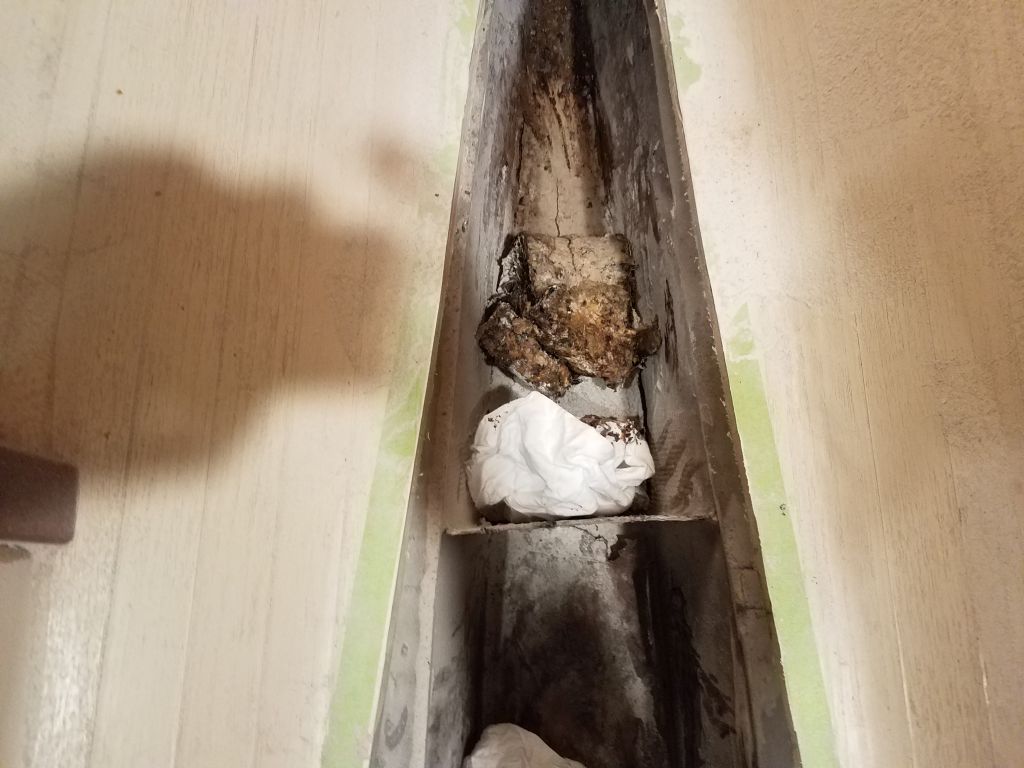
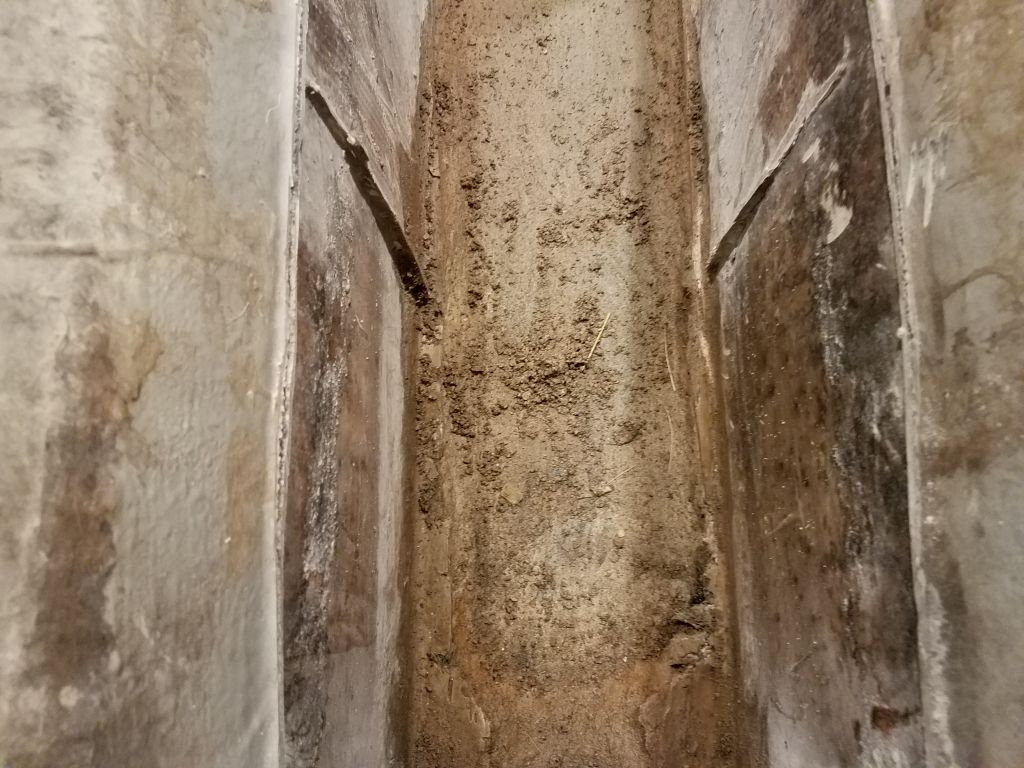
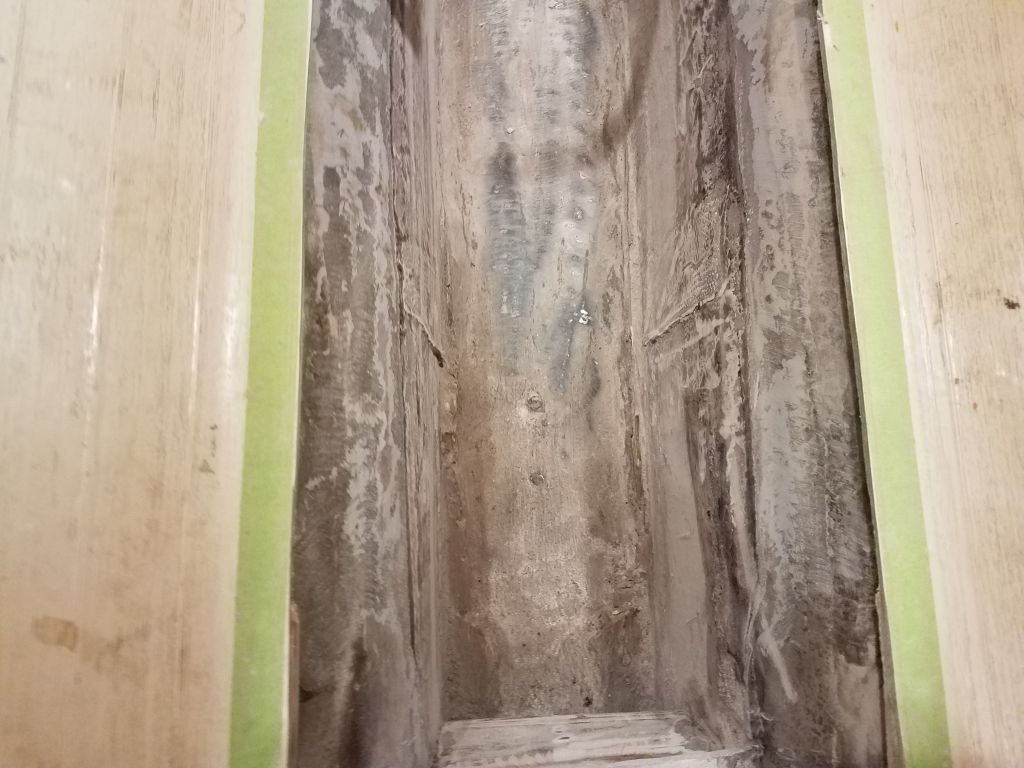
With the tank top now fully exposed (at least as much exposed as it ever could be), I used the grinder again to cut away the top close to the hull on each side, after which I could remove the top to expose the tank beneath. This revealed a mess of brittle, damaged, and loose fiberglass that apparently had once covered the ballast cavity directly below, but had clearly failed long before. The old tabbing was completely breached along one side, and the disaster of concrete and whatever else the builders used around and above the lead ballast pig was partially visible through breaks in the fiberglass.
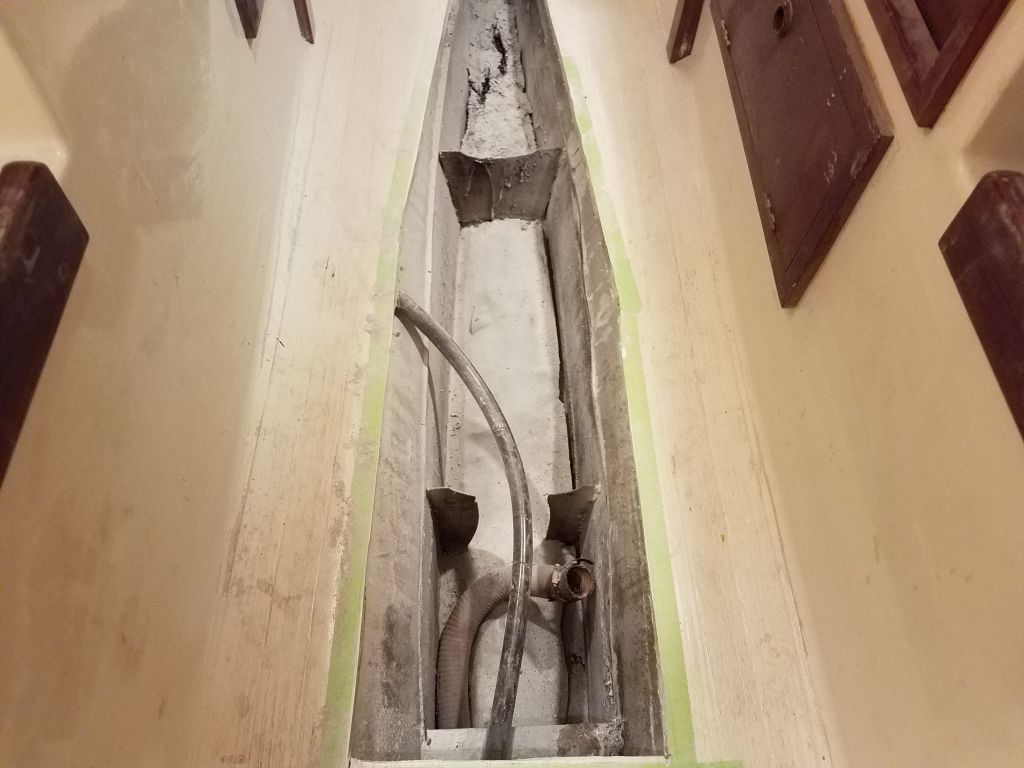
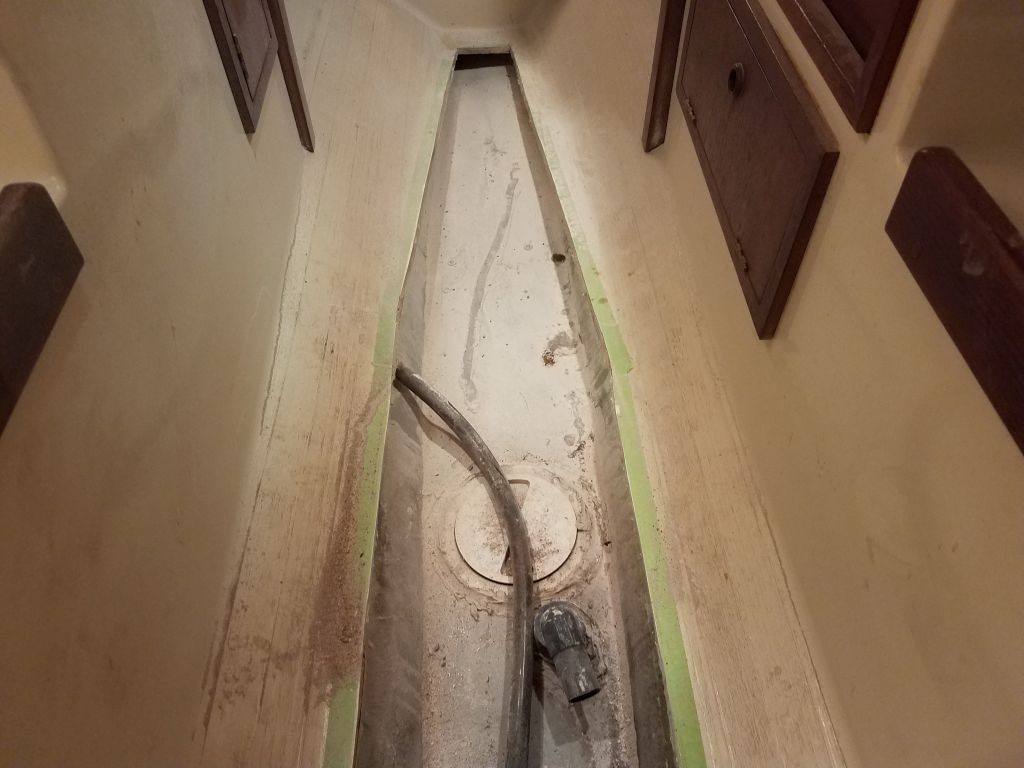
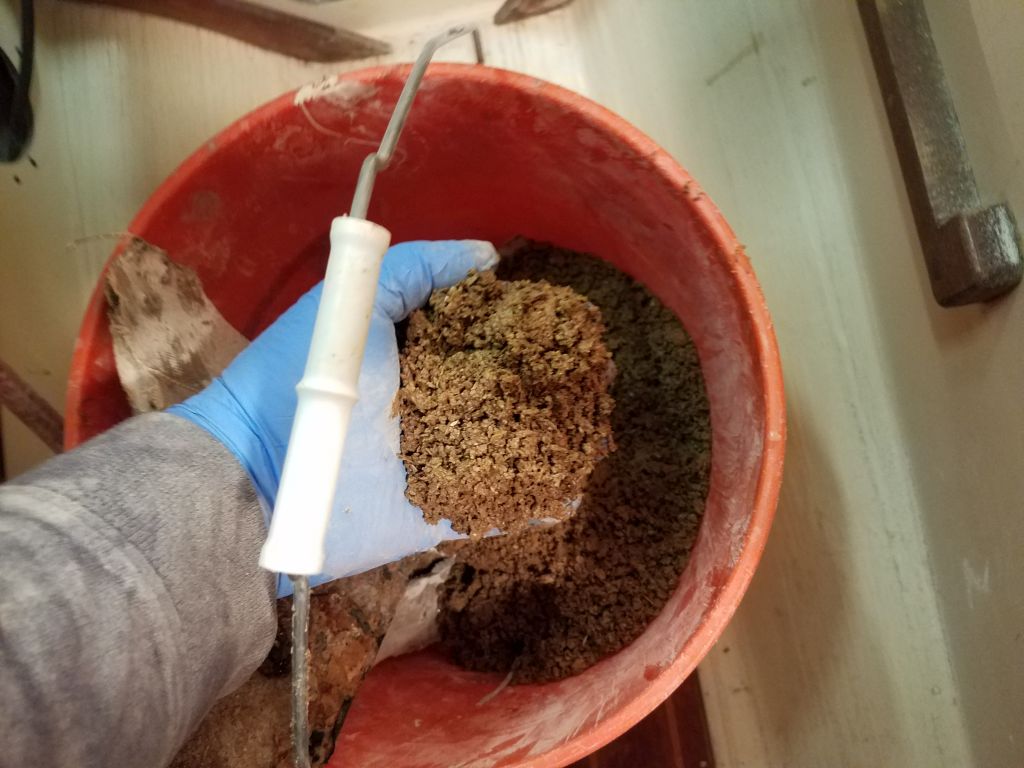
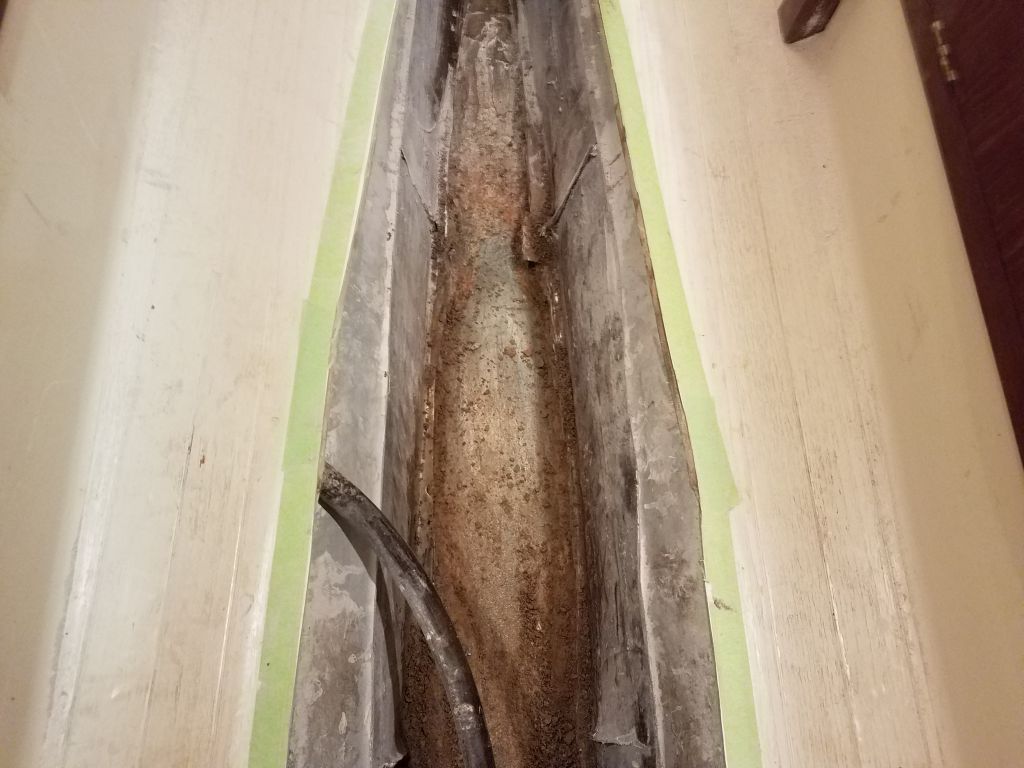
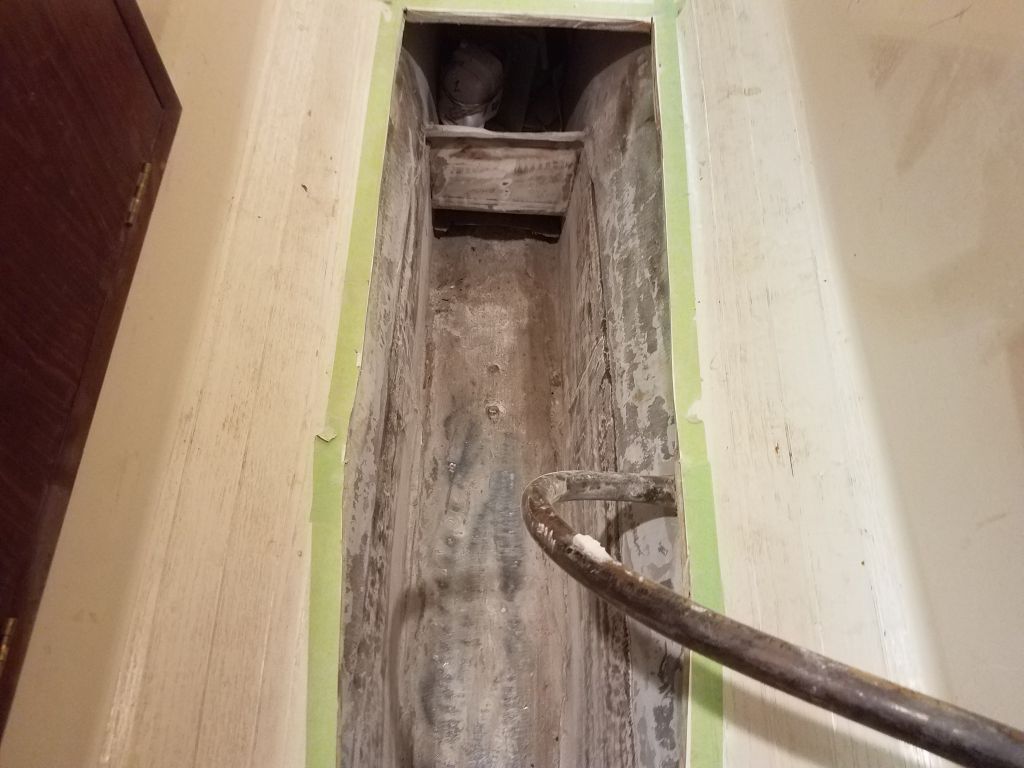
I used a comfy supplied air mask whenever I sand, grind, or cut fiberglass in a major way, and I kept the gear on throughout the entire round of work on this tank, so fortunately I was spared whatever biohazard fumes might arise from the tank and the sludgy contents I discovered and now had to remove. It’s glamorous work, this. I pulled out loose fiberglass, some sort of maybe-fibrous material from beneath the tabbing (unidentifiable and intermashed with concrete and other contents) and so forth till I’d gotten down to the crumbly loose concrete mess above the lead pig. I had to bail out the aft part of the tank, which for unknown and clearly ignorant reasons extended aft beneath the battery storage area, through a small screw-in deck plate located in the battery floor. I’d seal off this ridiculous void later, during reconstruction.
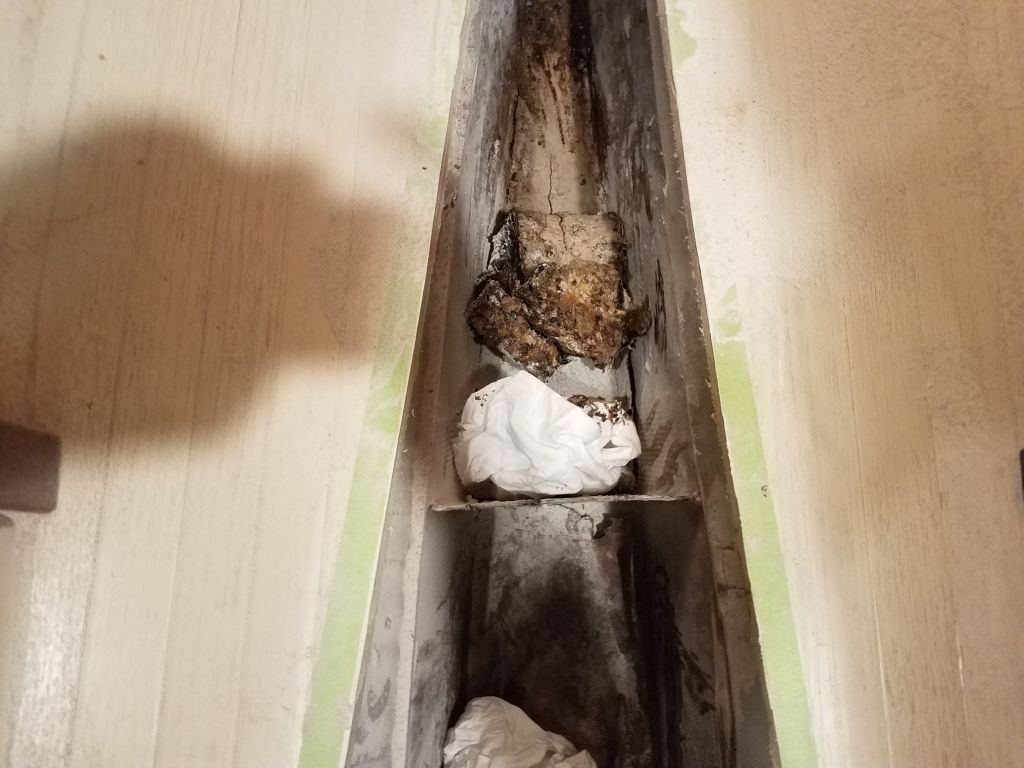
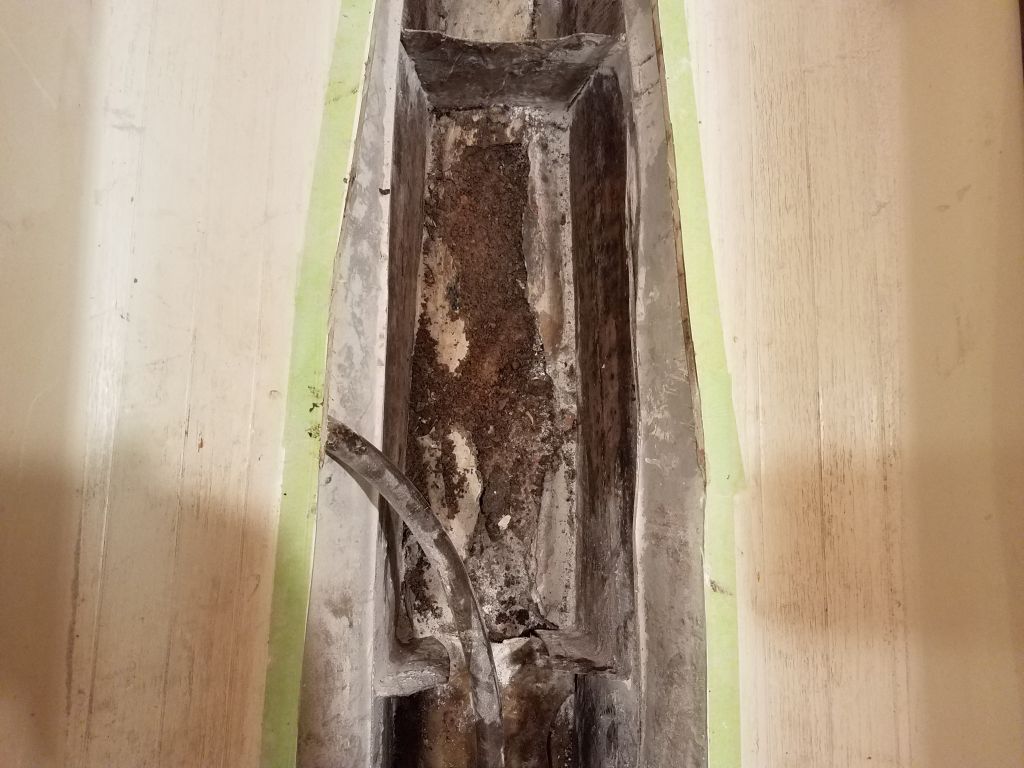

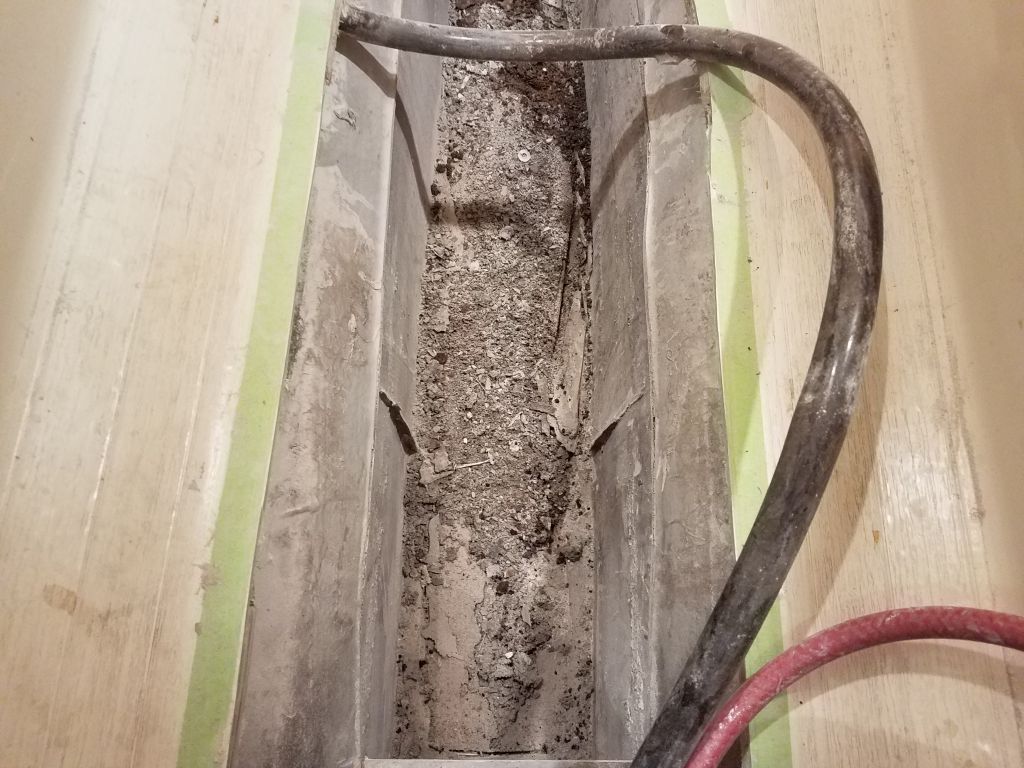
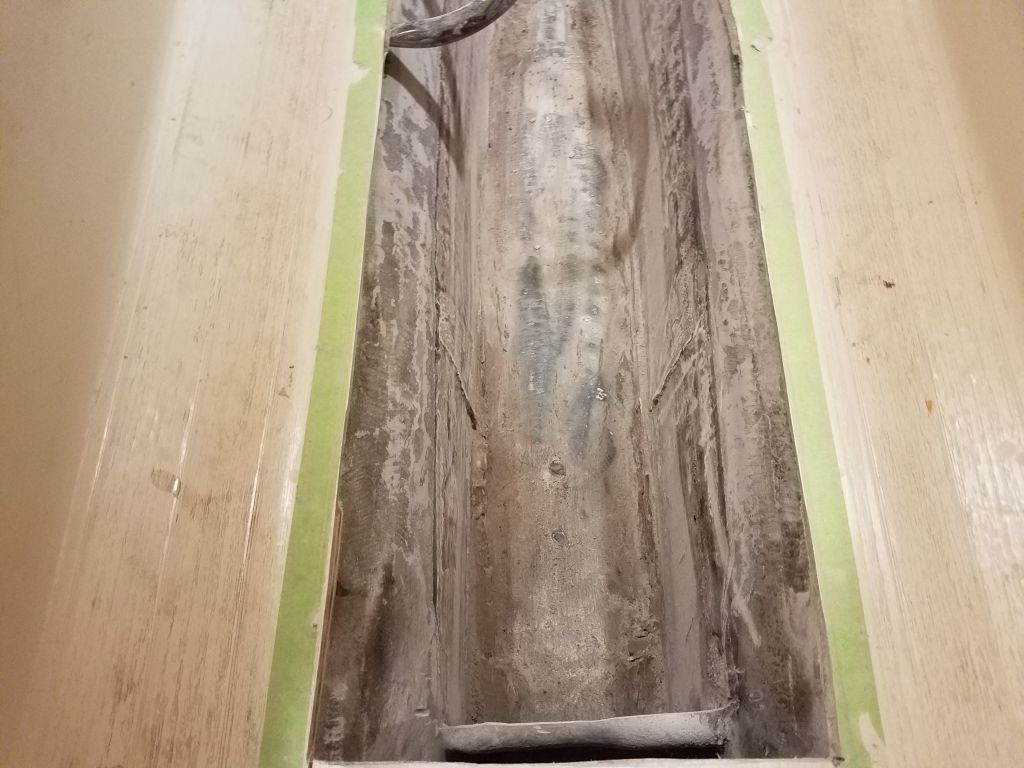
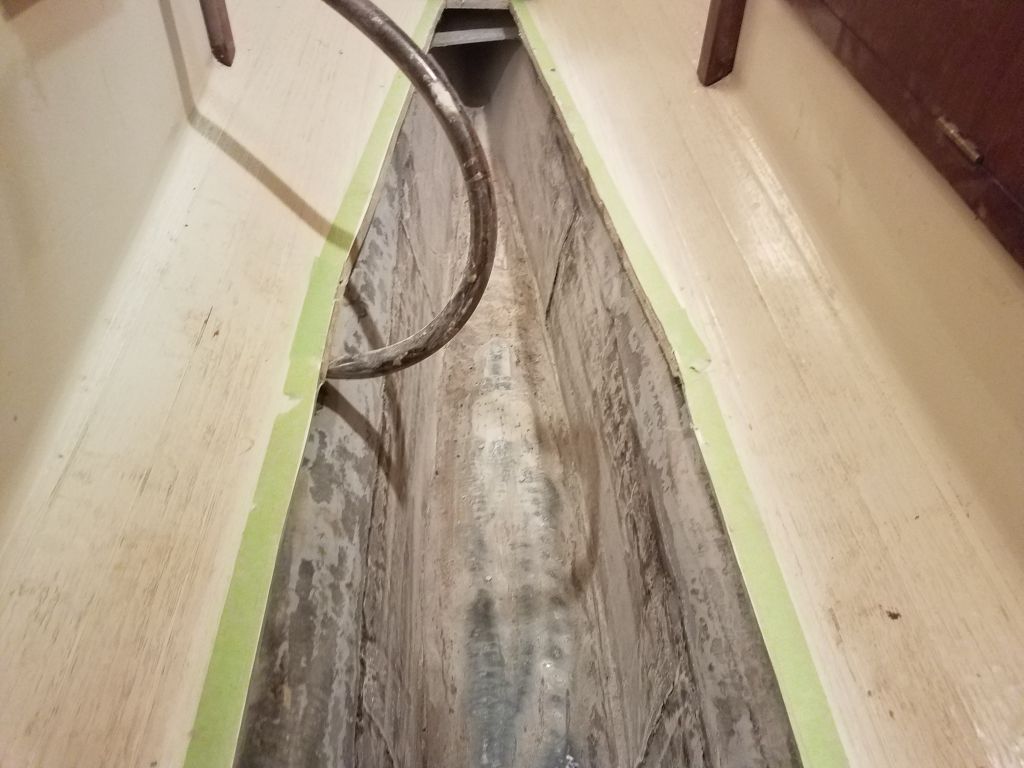
Continuing, I worked to remove the loose concrete, using whatever means worked, including putty knife, chisel, hands (mostly), and hammer. Most of the material was like wet gravel in consistency, and there was plenty of it. As I went, I used the grinder and cutoff wheel to further cut back the fiberglass edges where needed, once it had become exposed as I removed the concrete. In this way, I eventually worked my way down to the top of the lead ballast and/or sound, solid concrete and whatever surrounding it.


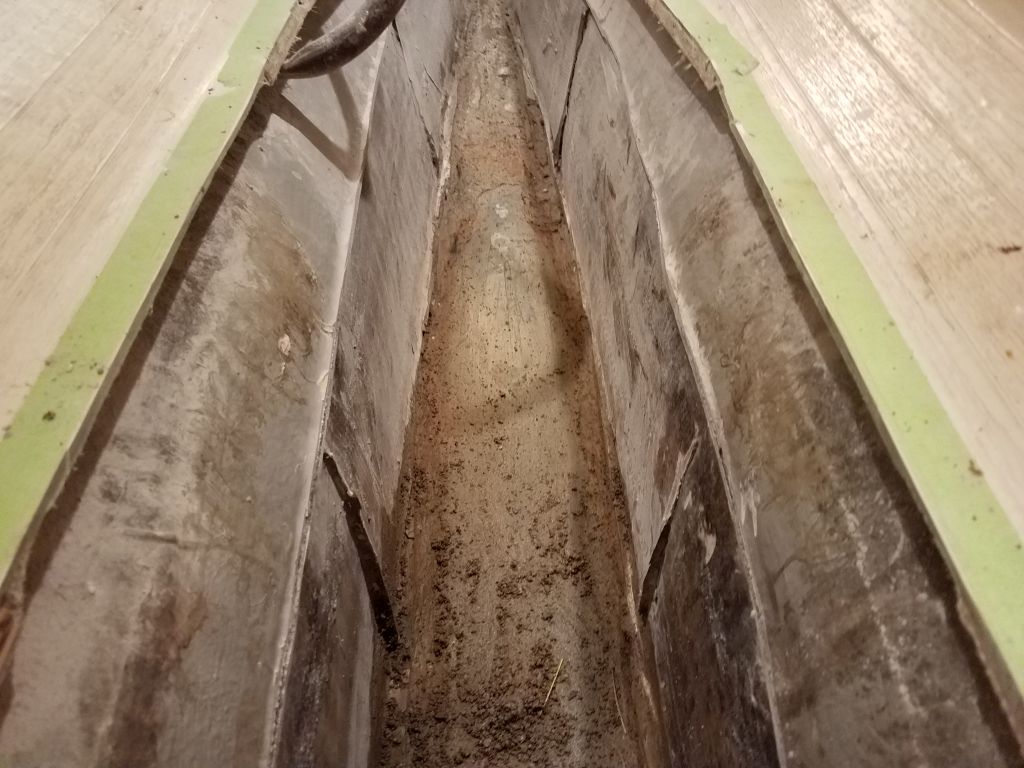

After wiping out some final detritus, I used an aggressive sanding disc to remove most of the remaining fiberglass edges where I’d cut, and to clean up most of the area in at least an initial way. There’d be more prep work ahead, but the worst was done. There are ways to build tankage safely and successfully into bilges and hulls, but this wasn’t one of those ways.


Total time billed on this job today: 8 Hours
0600 Weather Observation: 16°, clouds. Forecast for the day: Sunny, 34°