

January 2, 2019
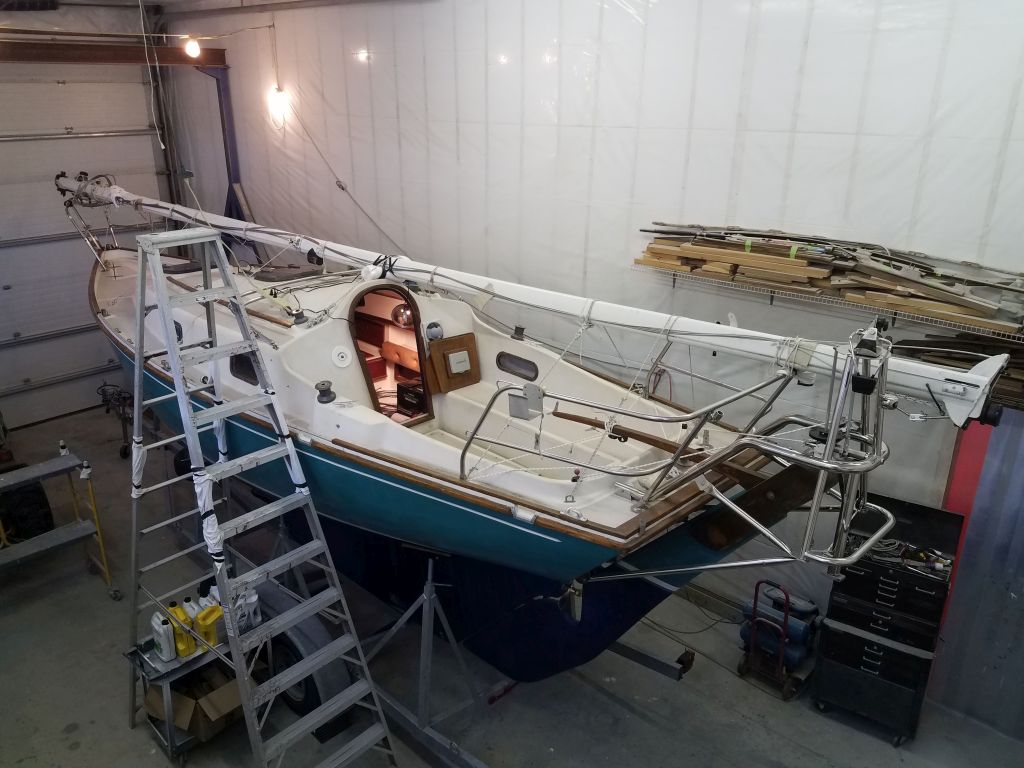
Dharma Rose 22
Wednesday
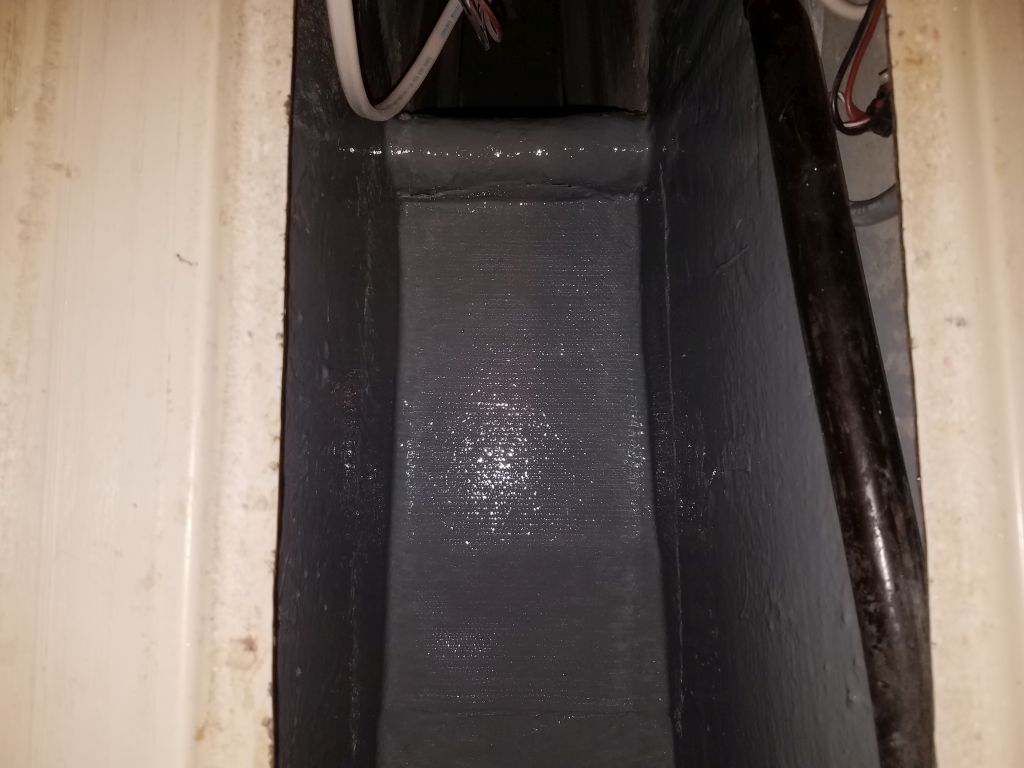
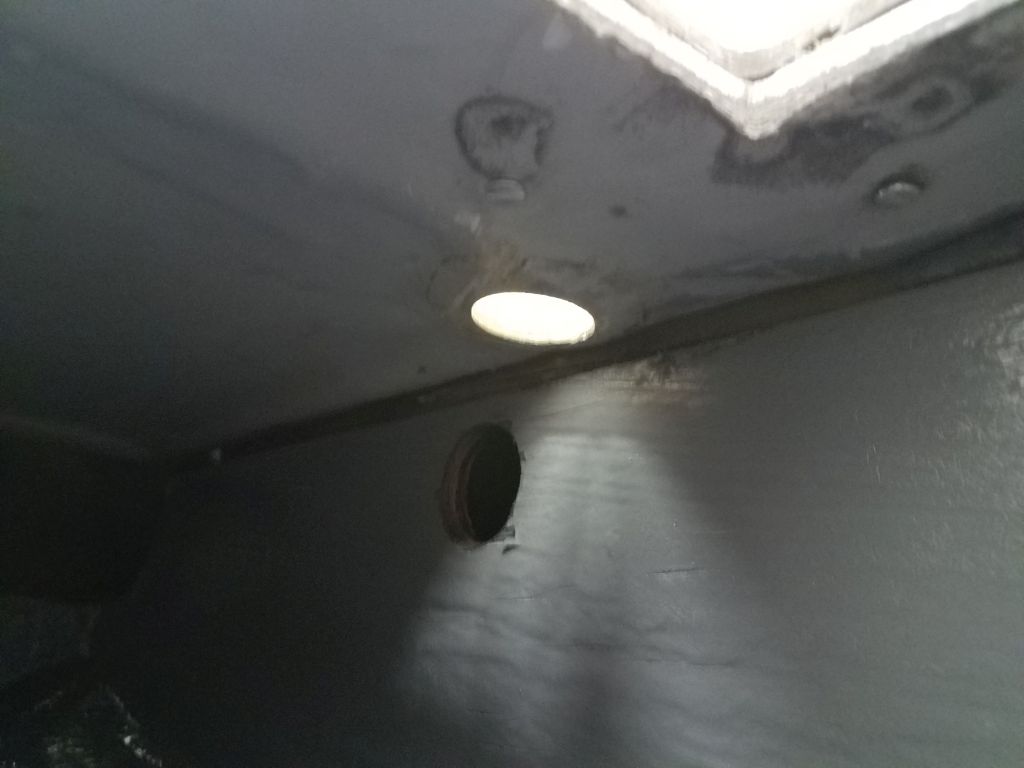
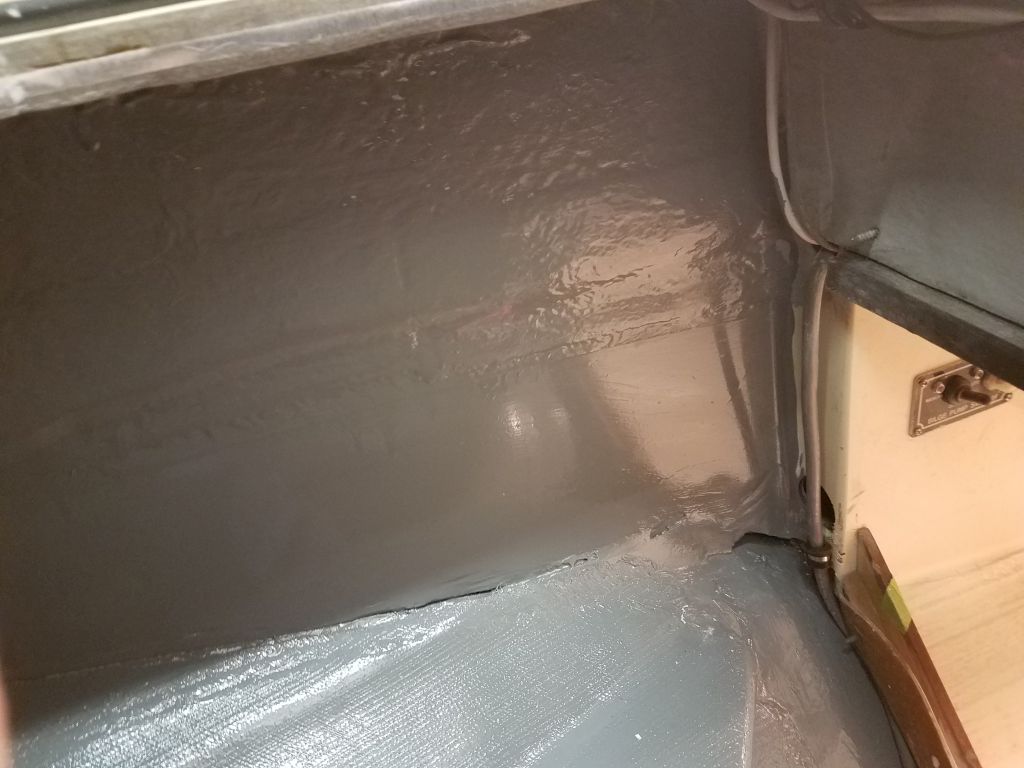
During the holiday break, along with a few odds and ends, I finished up the paint work in the engine room and bilge and locker spaces, applying gray bilge paint to all areas as needed. With this done, and with ample dry time, it meant that I could get right back to work completing the new installations in these areas, particularly the engine room.
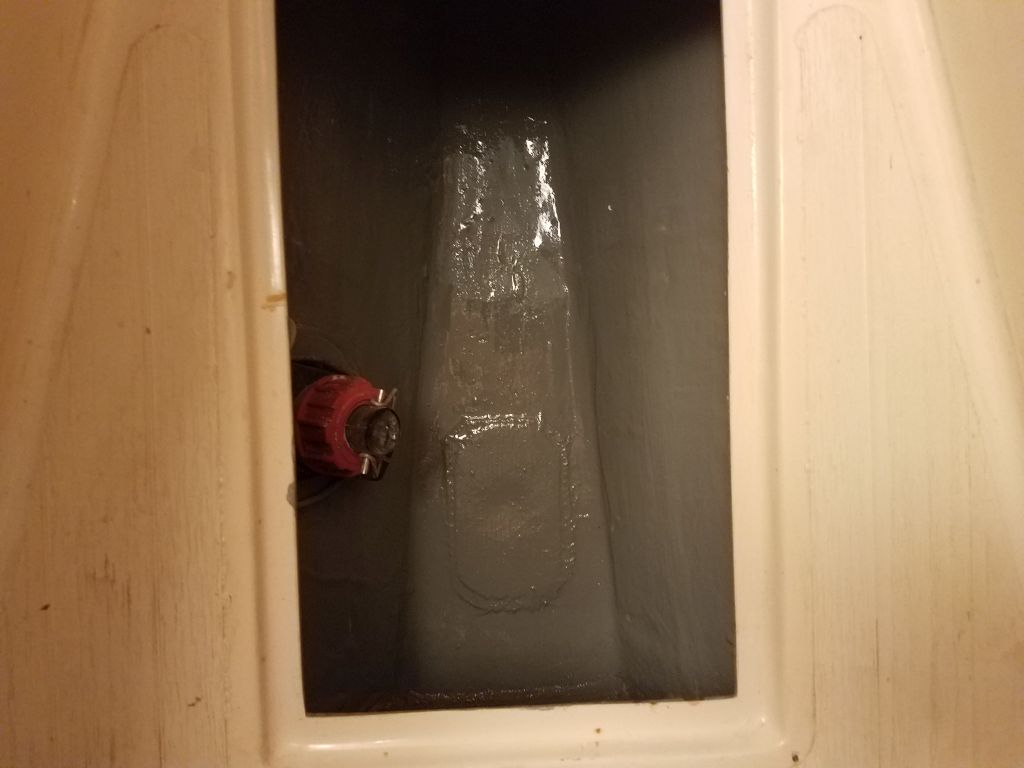
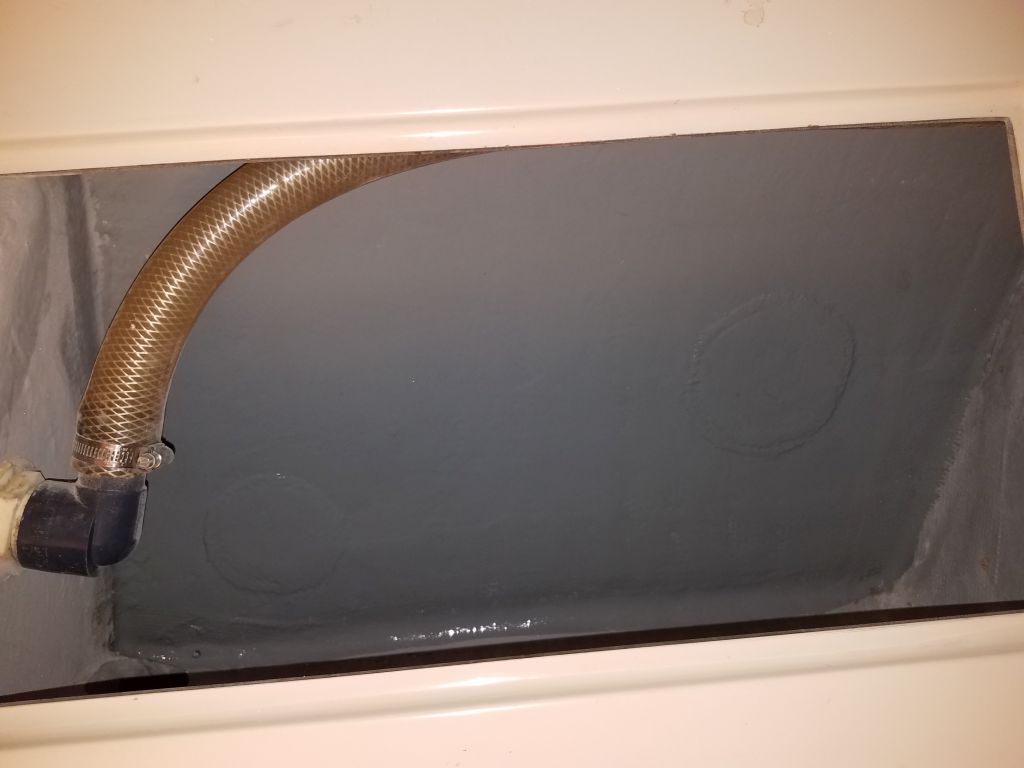
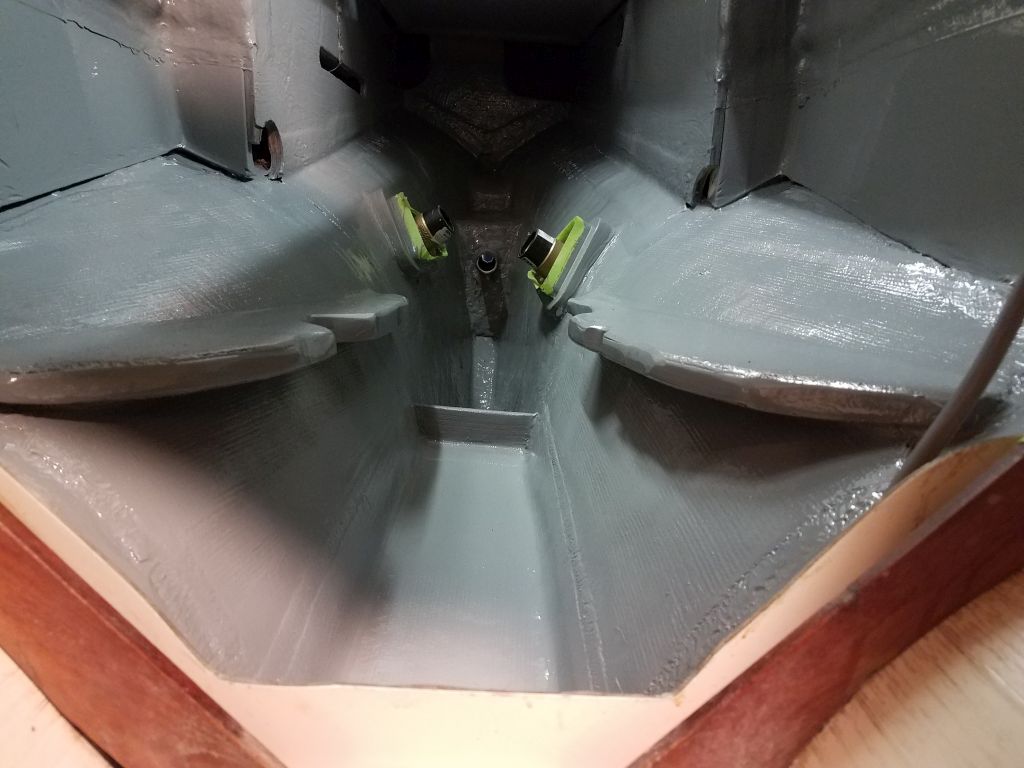
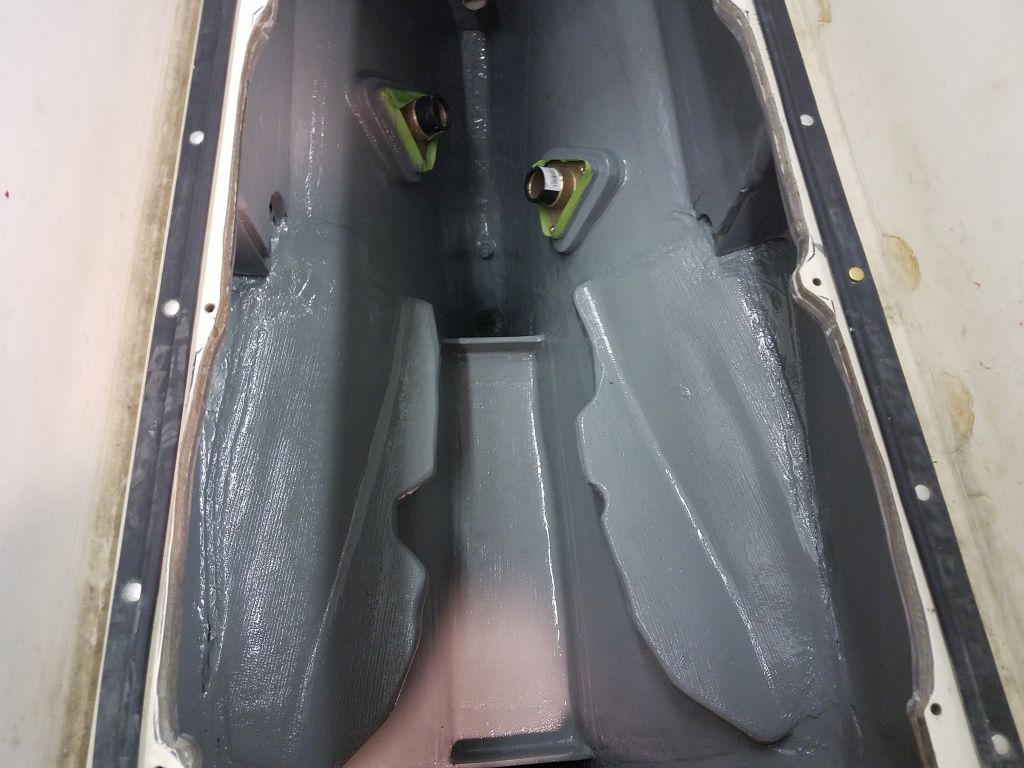
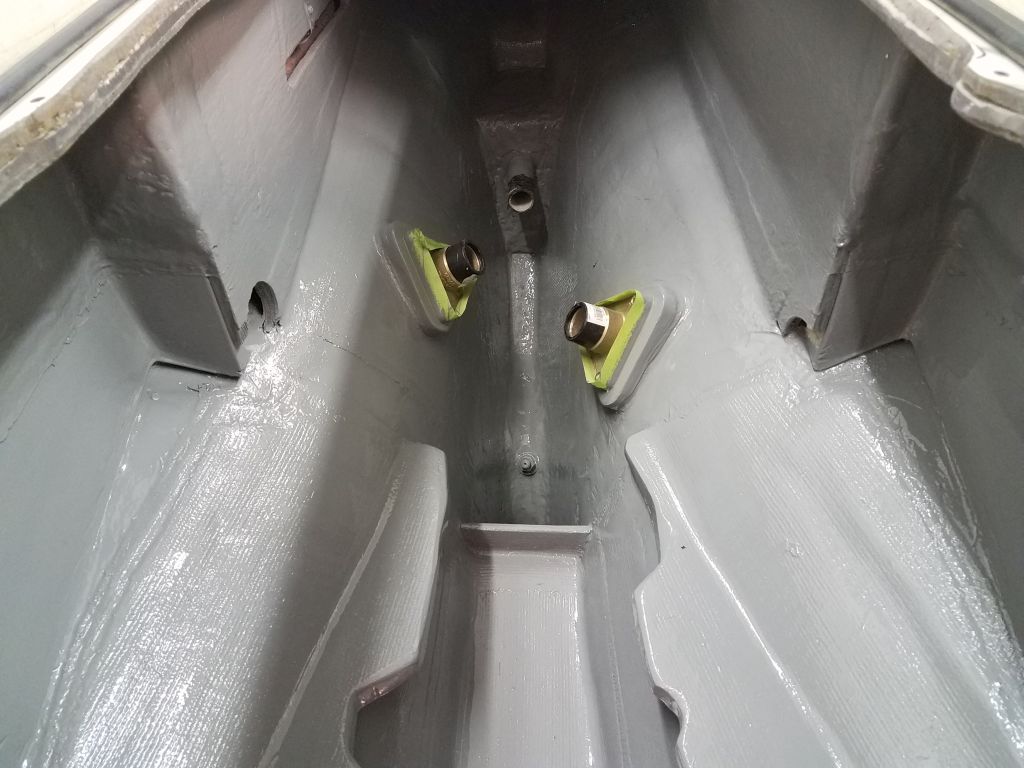
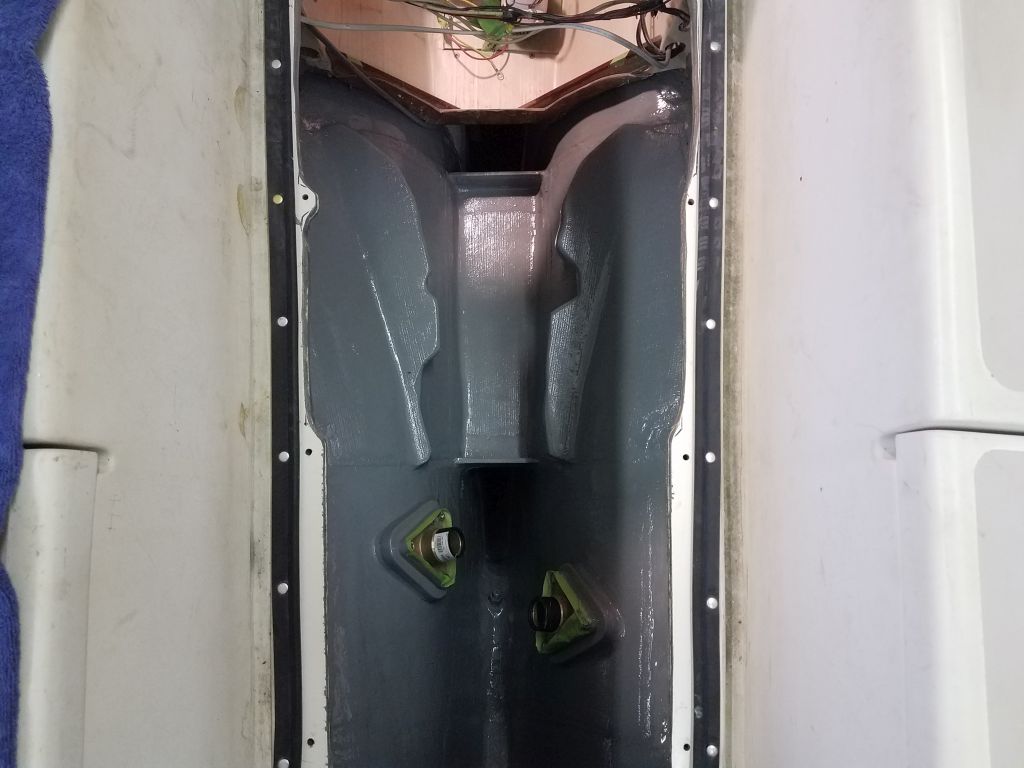
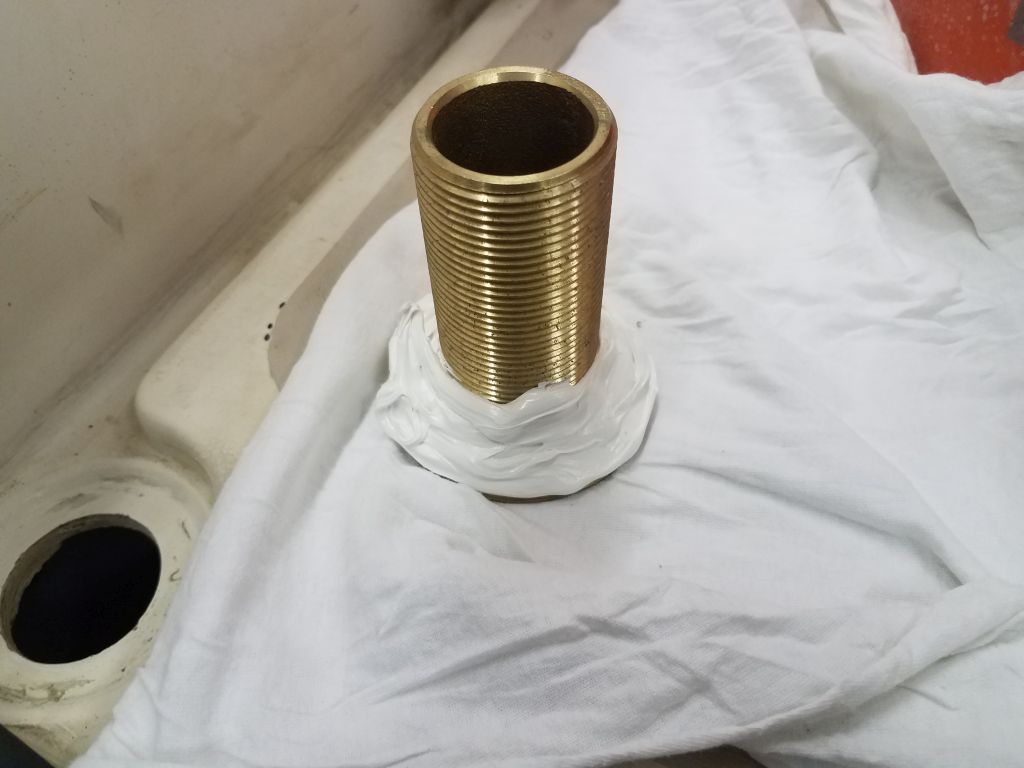
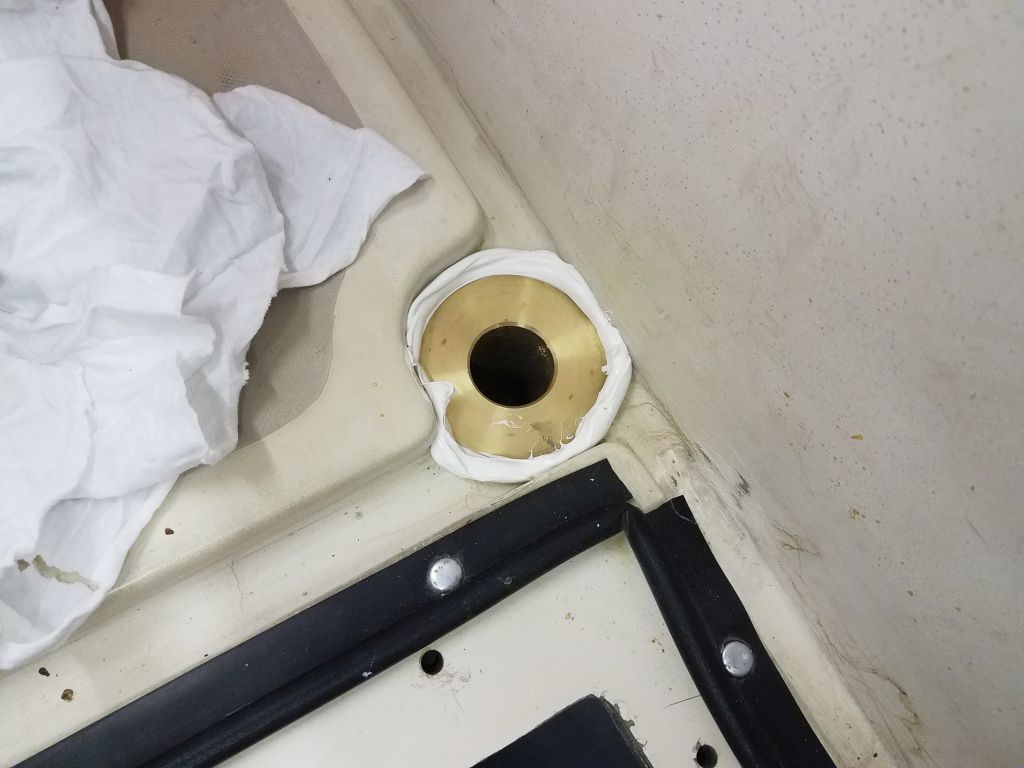
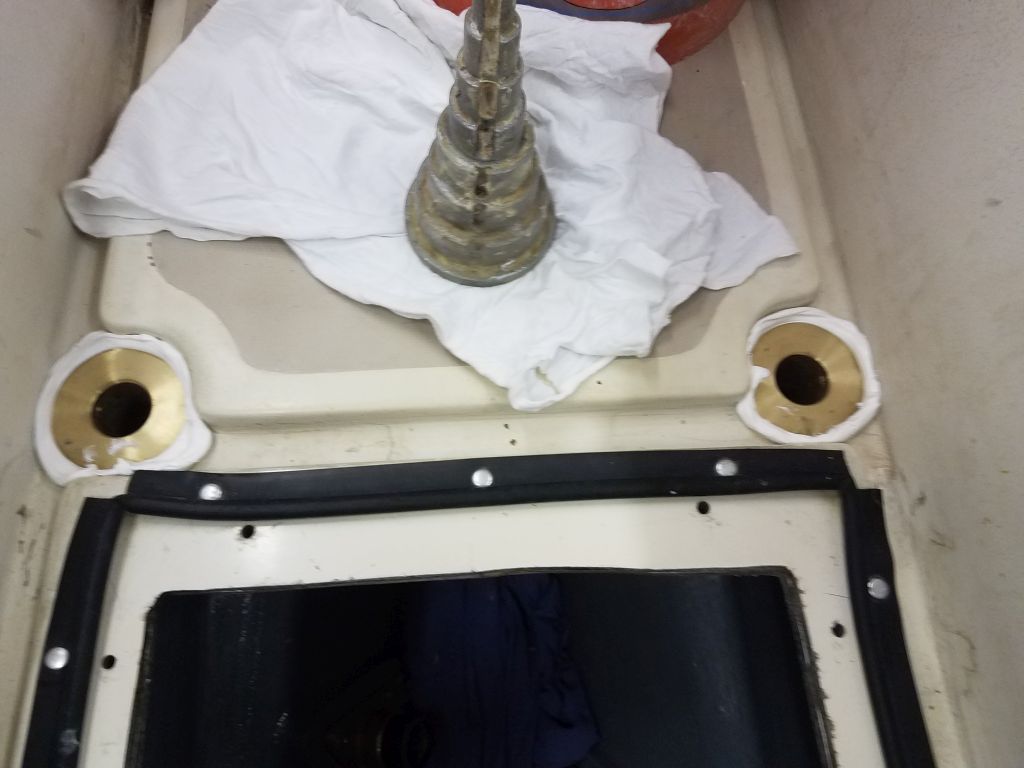
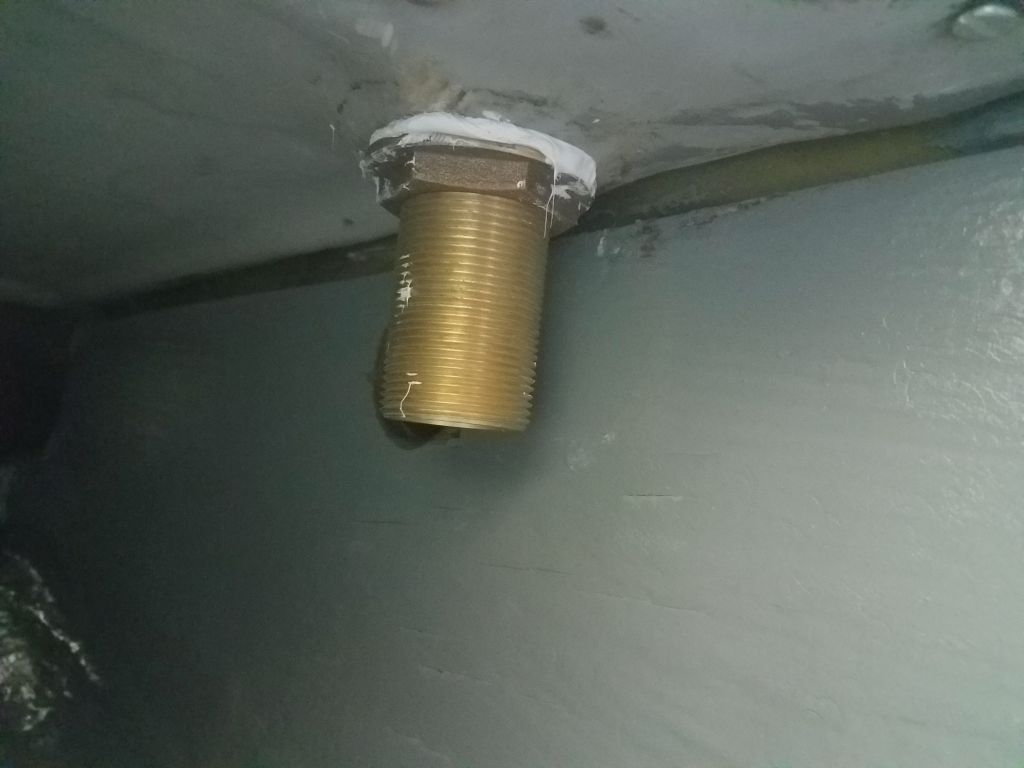
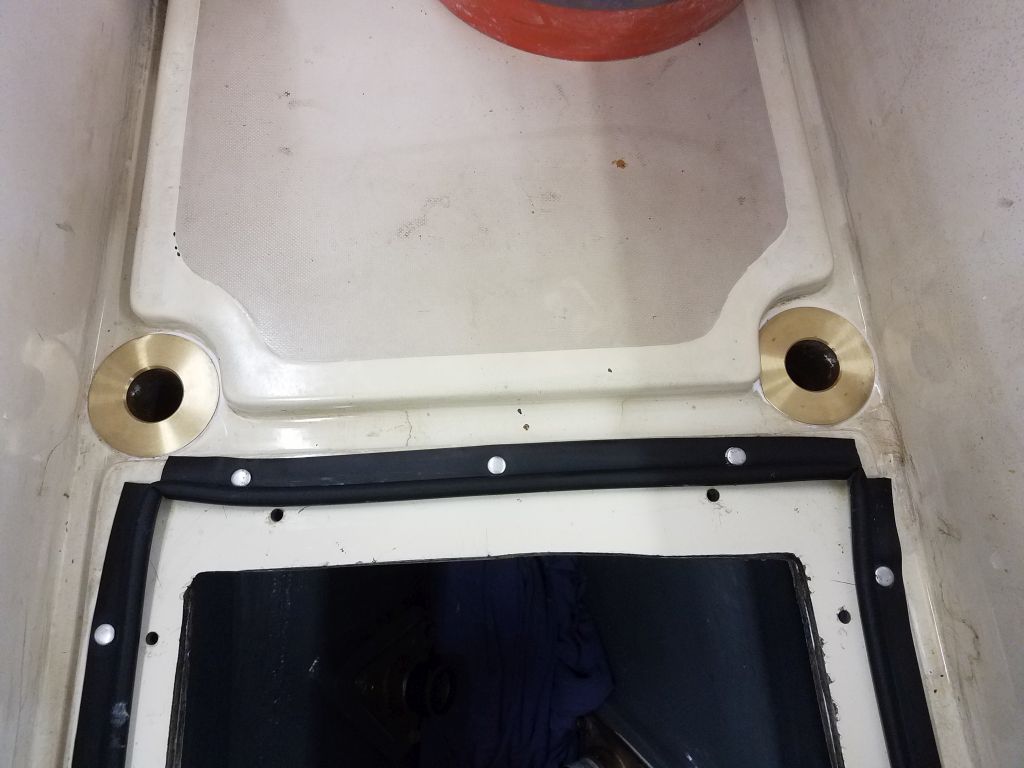
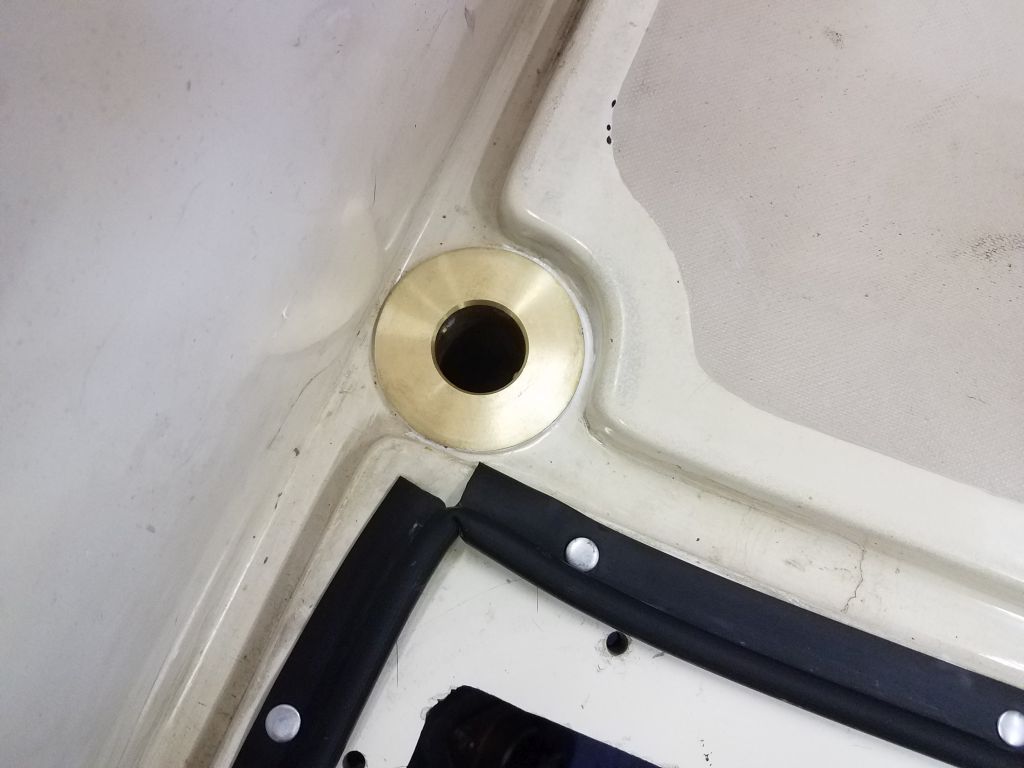
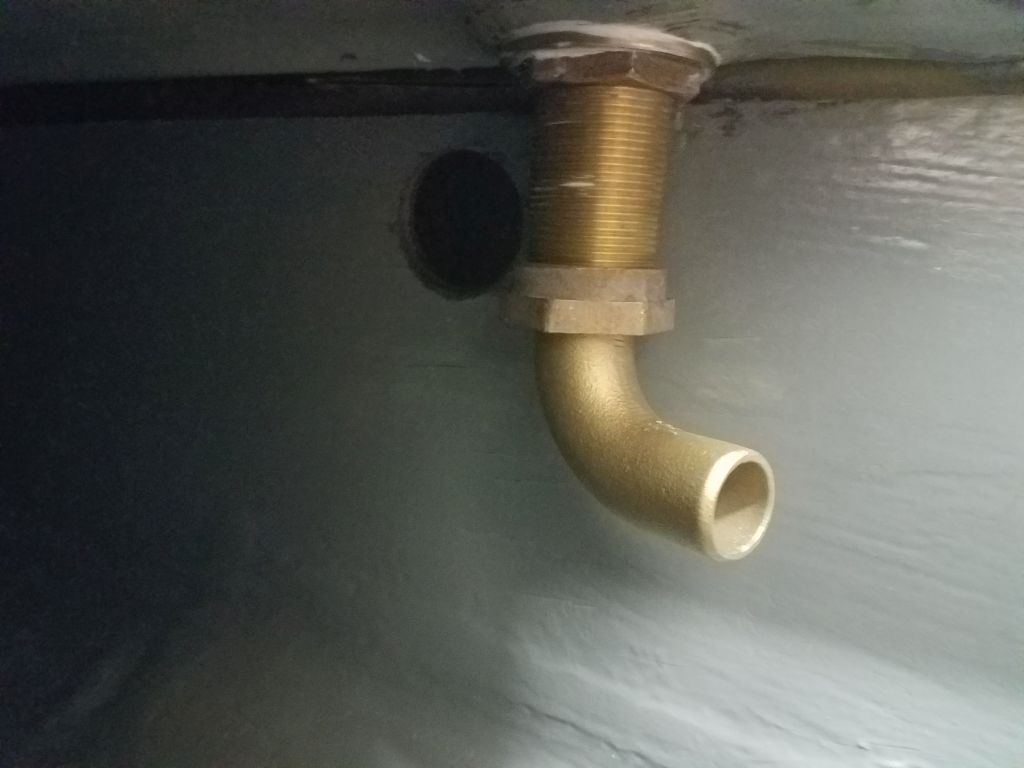
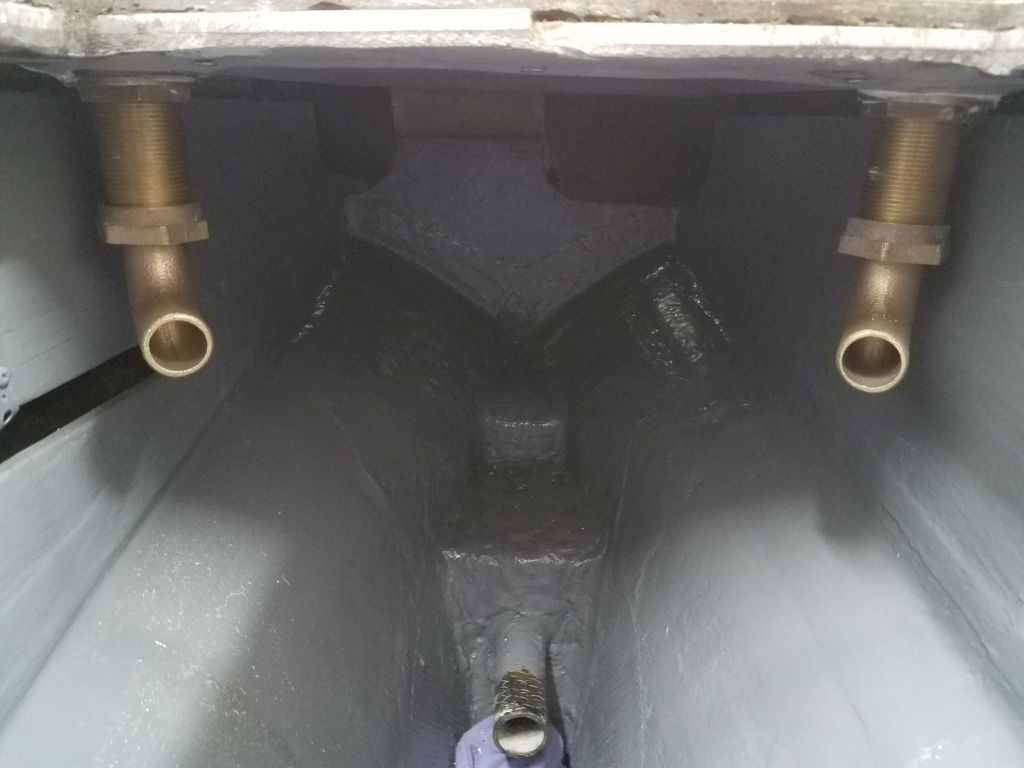
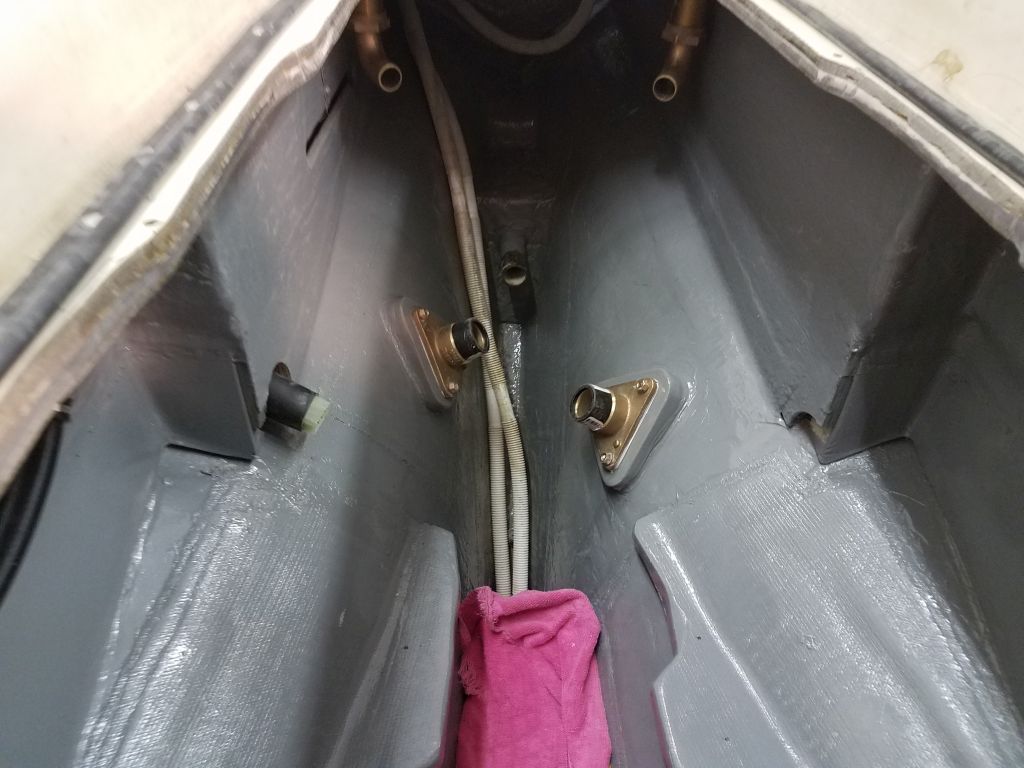
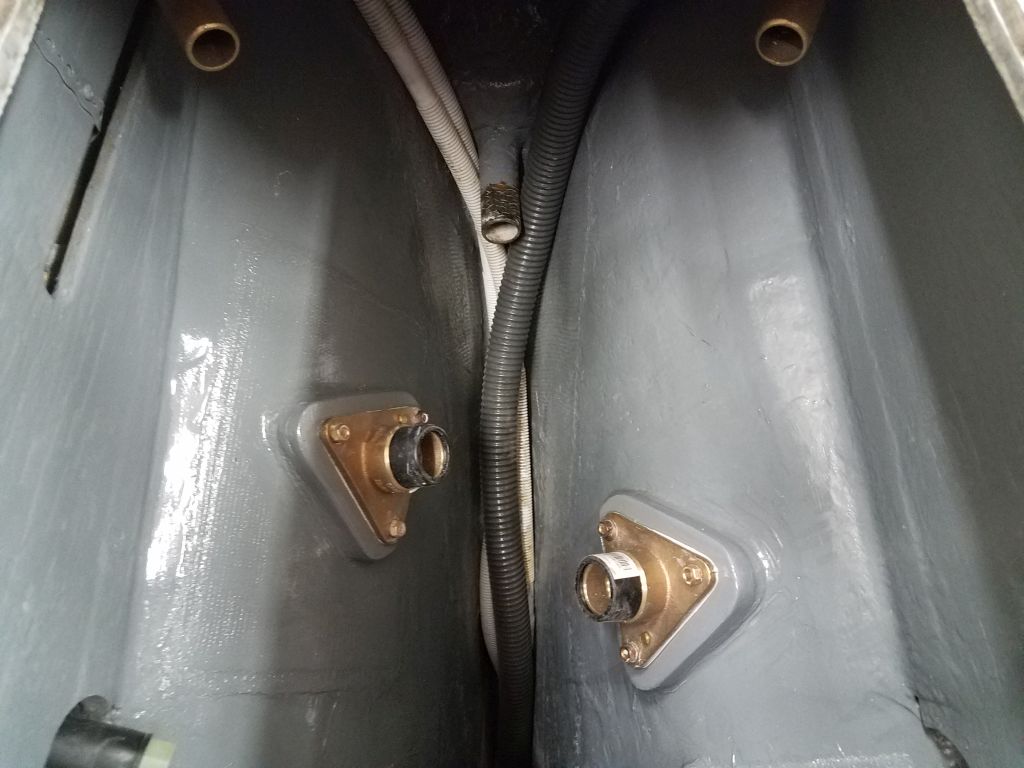
I’d ordered and received new hardware for the cockpit scupper drain replacements, so with the new bronze on hand I got to work installing the new fittings. During a dry-fit, I found that the molded opening on the port side was a bit smaller than its counterpart to starboard, so the flange of the flush through hull fitting didn’t quite fit, so I ground off a bit on one side to allow the fitting to properly fit in its intended location.
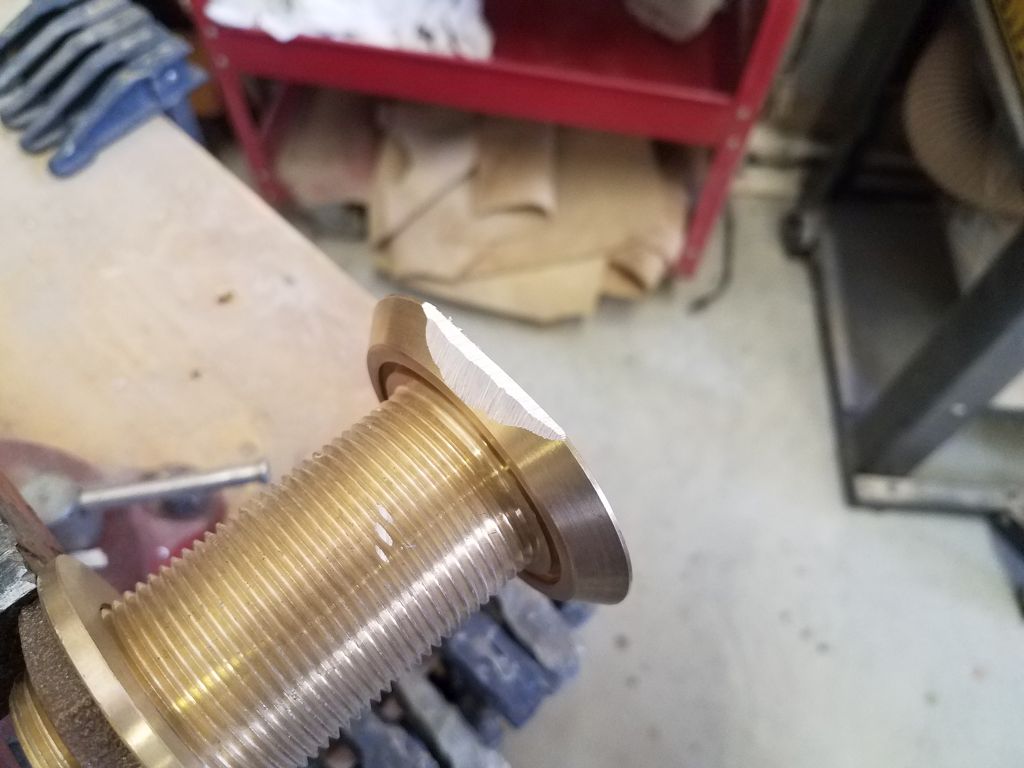
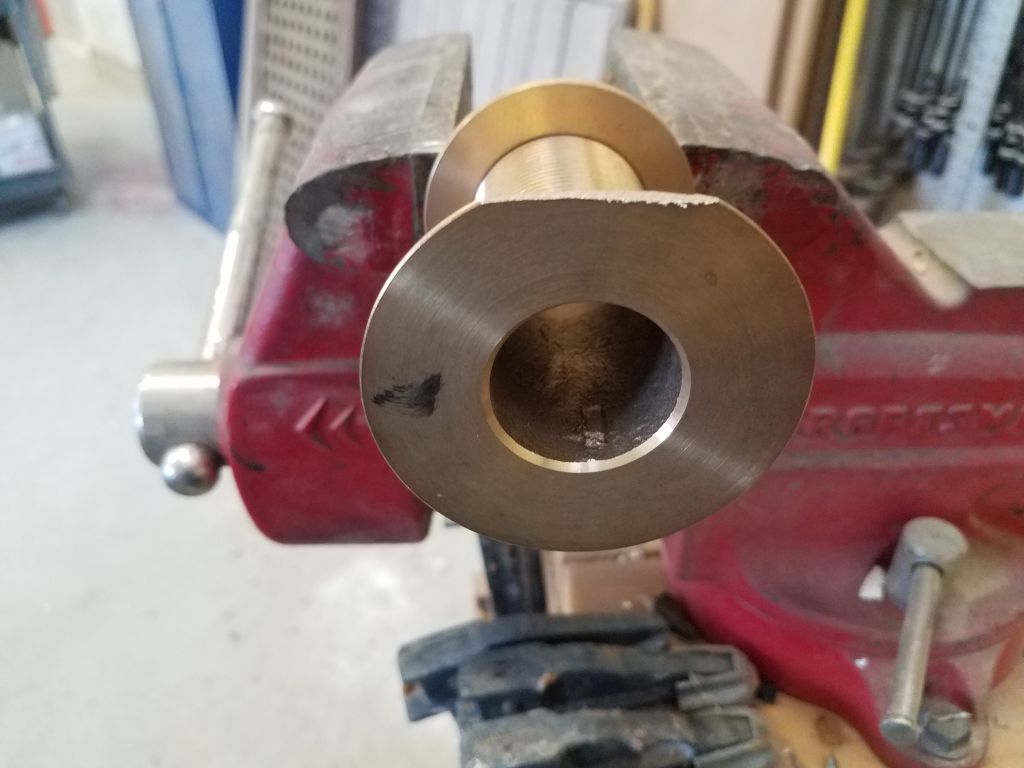
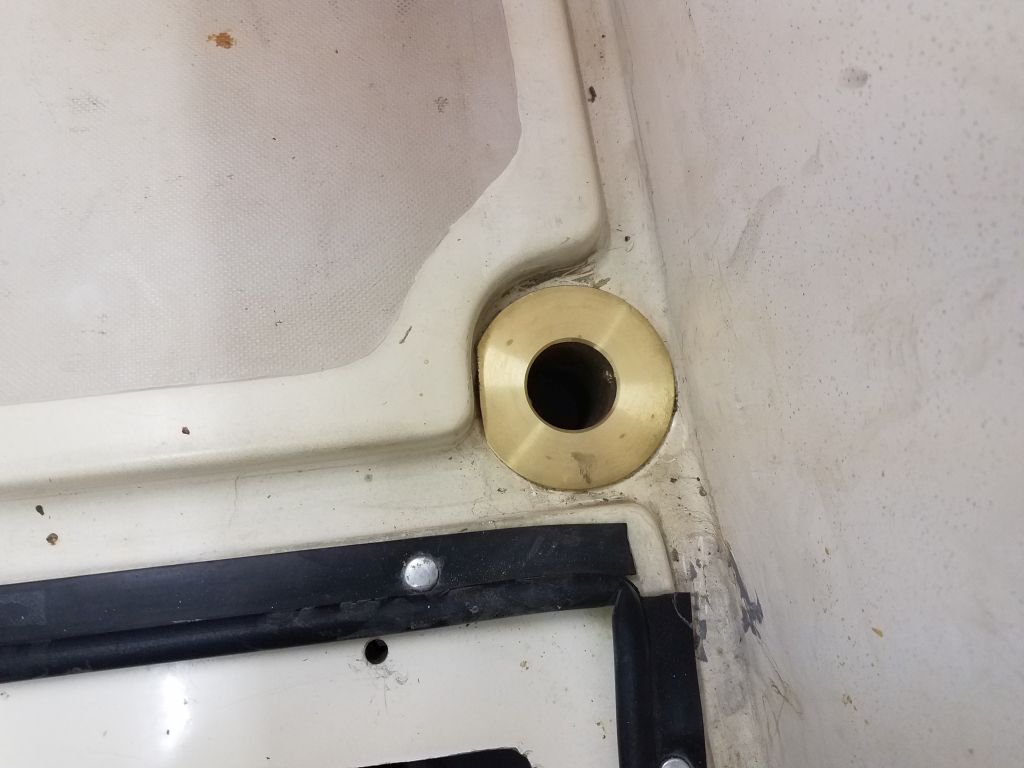
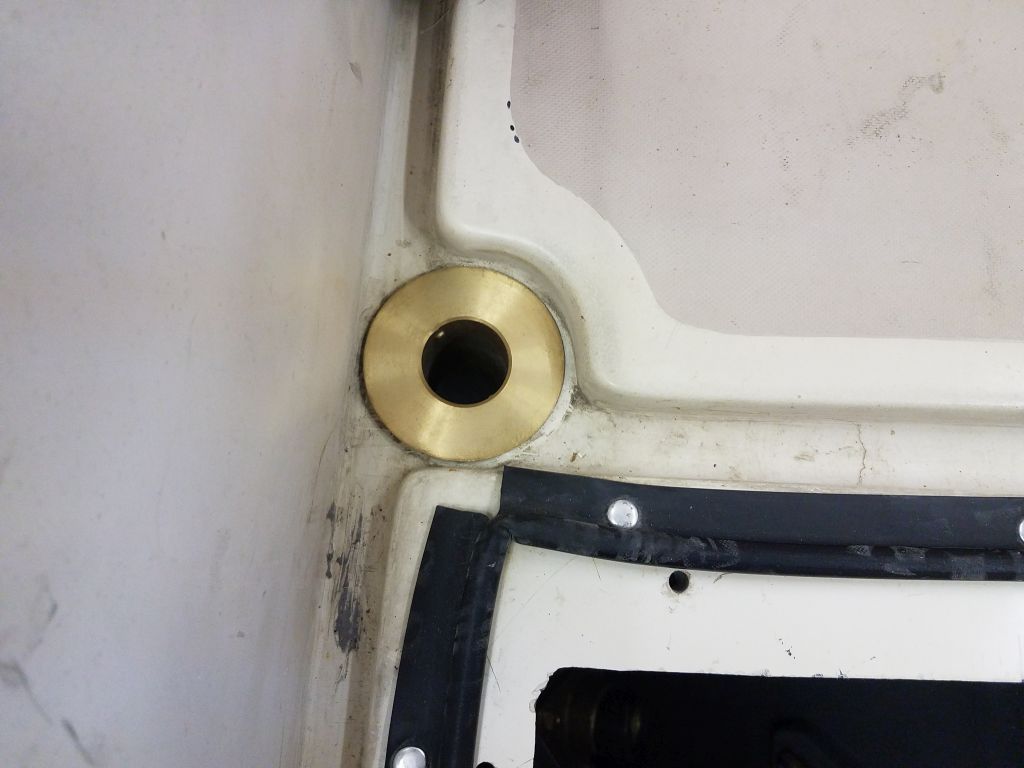
I tested the fixing nuts to ensure I’d have no problem installing them tightly, then removed the fittings and cleaned up the bonding areas, cleaning off old sealant. Then, I installed both fittings in heavy beads of sealant, securing them tightly with the fixing nuts and cleaning up the excess sealant.
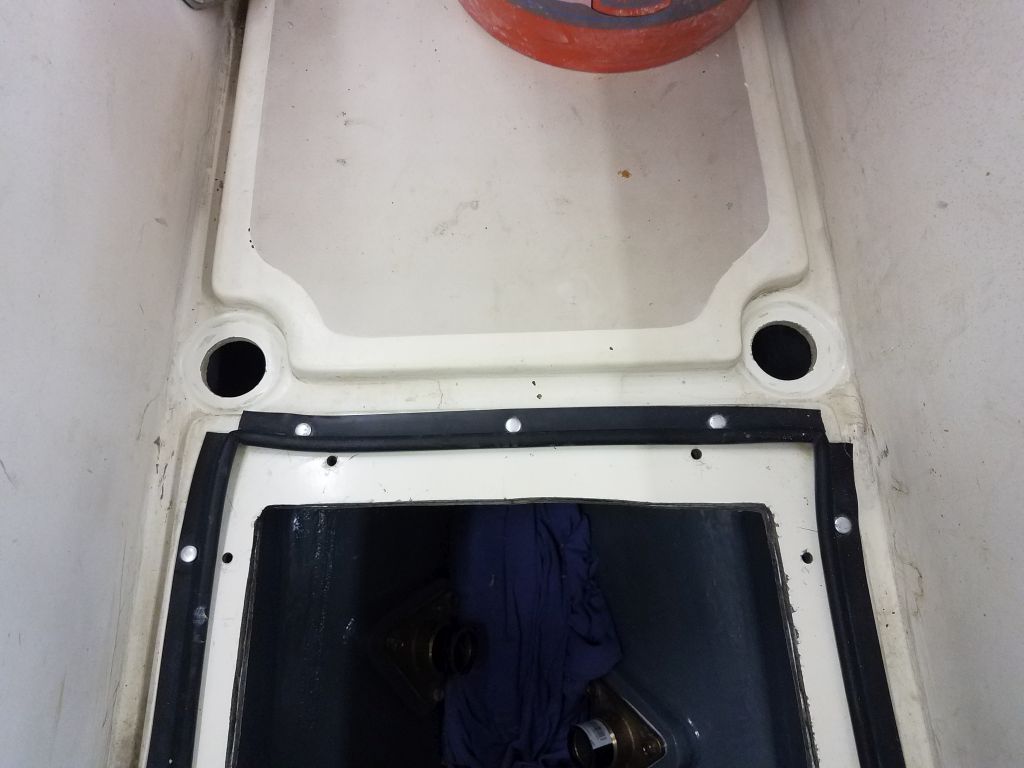
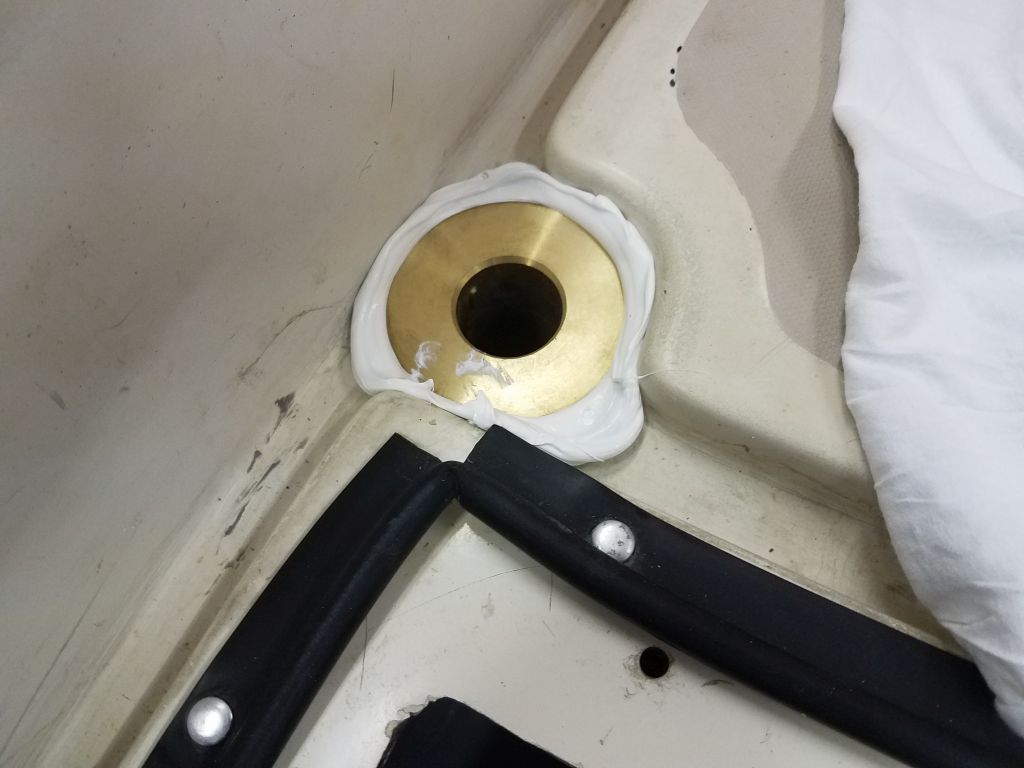
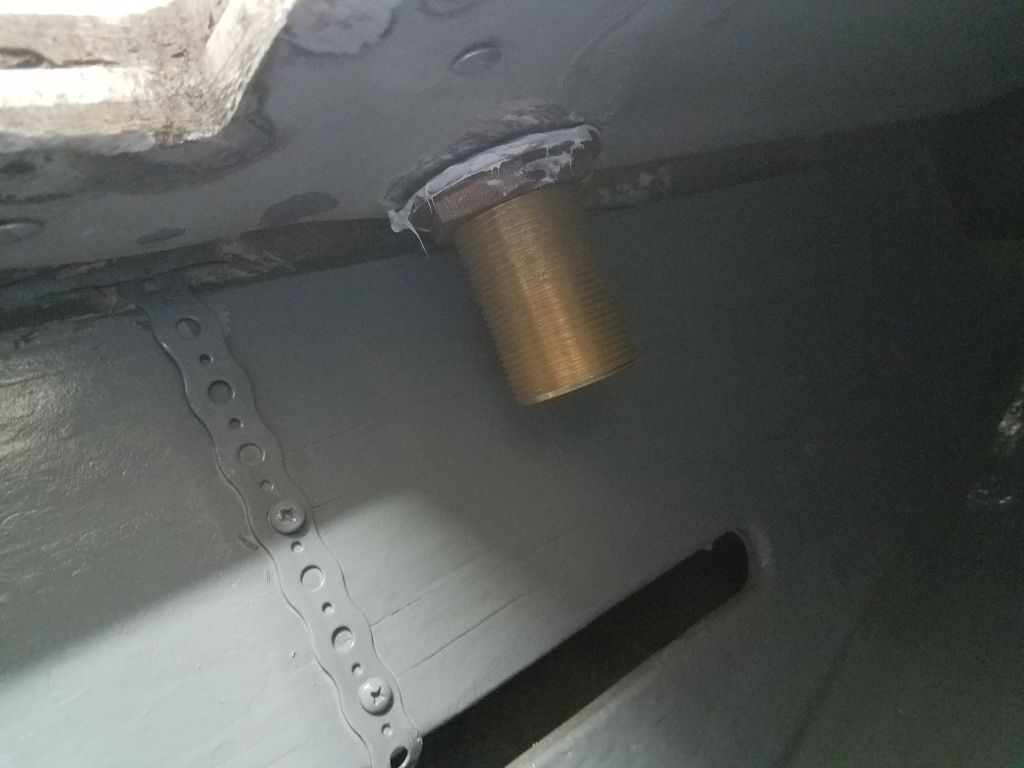

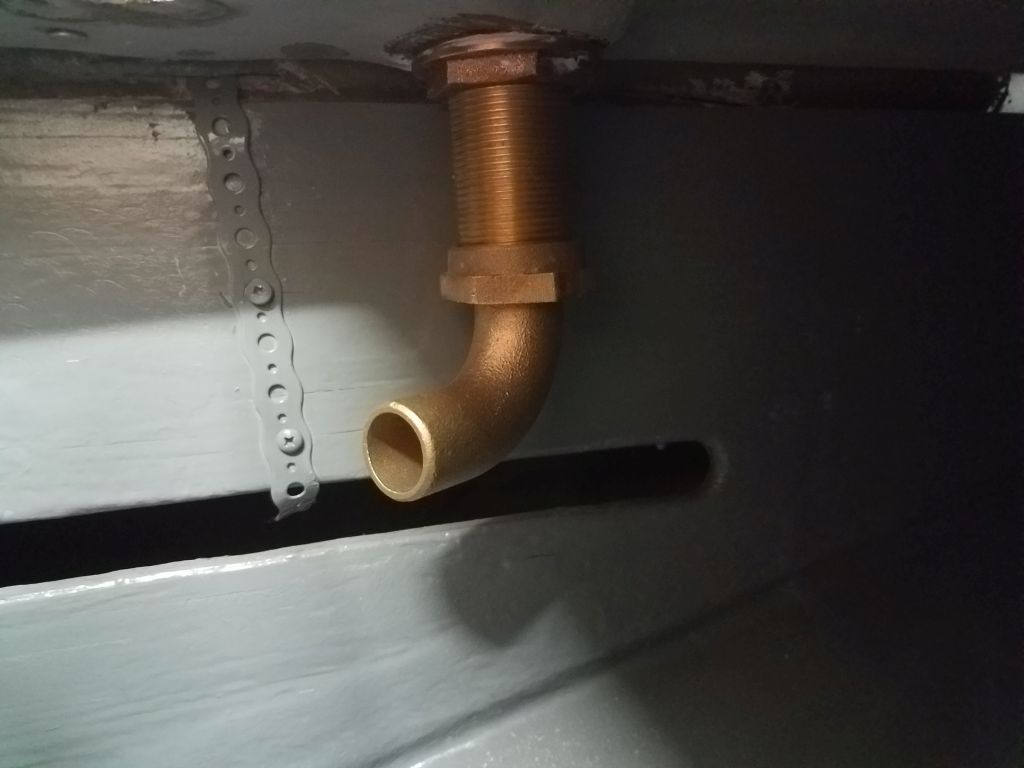
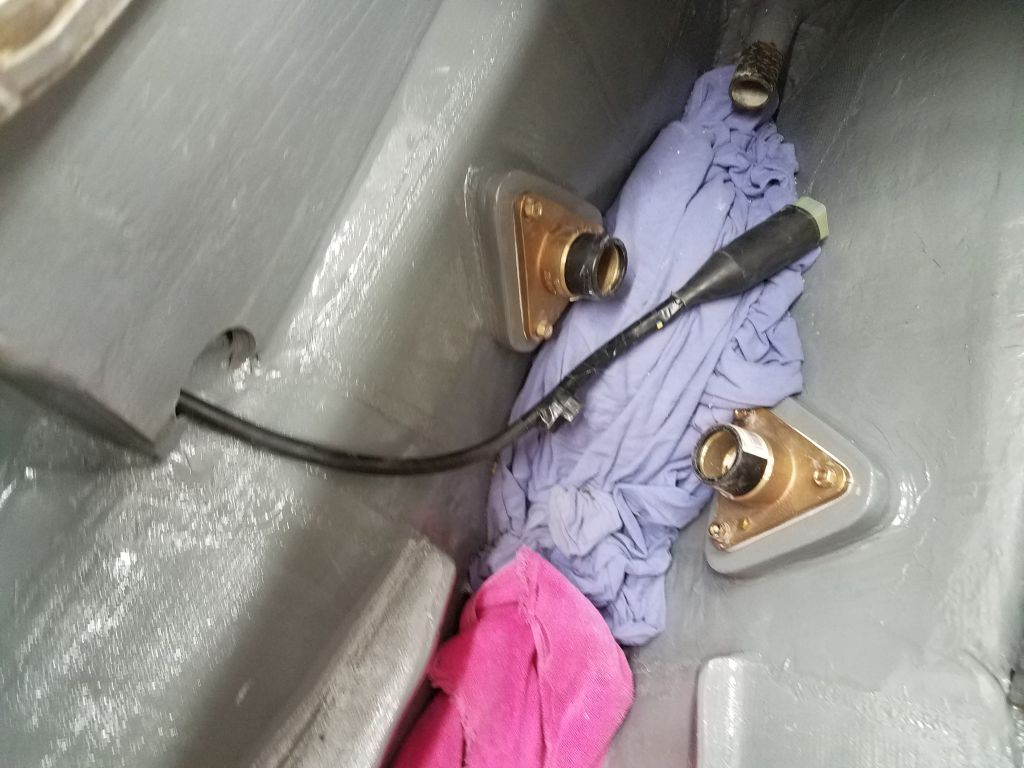
To finish off the installation, I installed 90° hose fittings on the through hull threads. These fittings featured a flange, gasket, and loose female nut, like a union, so I could install the fittings easily and position the elbows where I wanted them. This completed the new installation. I’d soon finish up the new seacock installation and install the new drain hoses, but for now I kept the after end of the engine room clear pending some additional work.
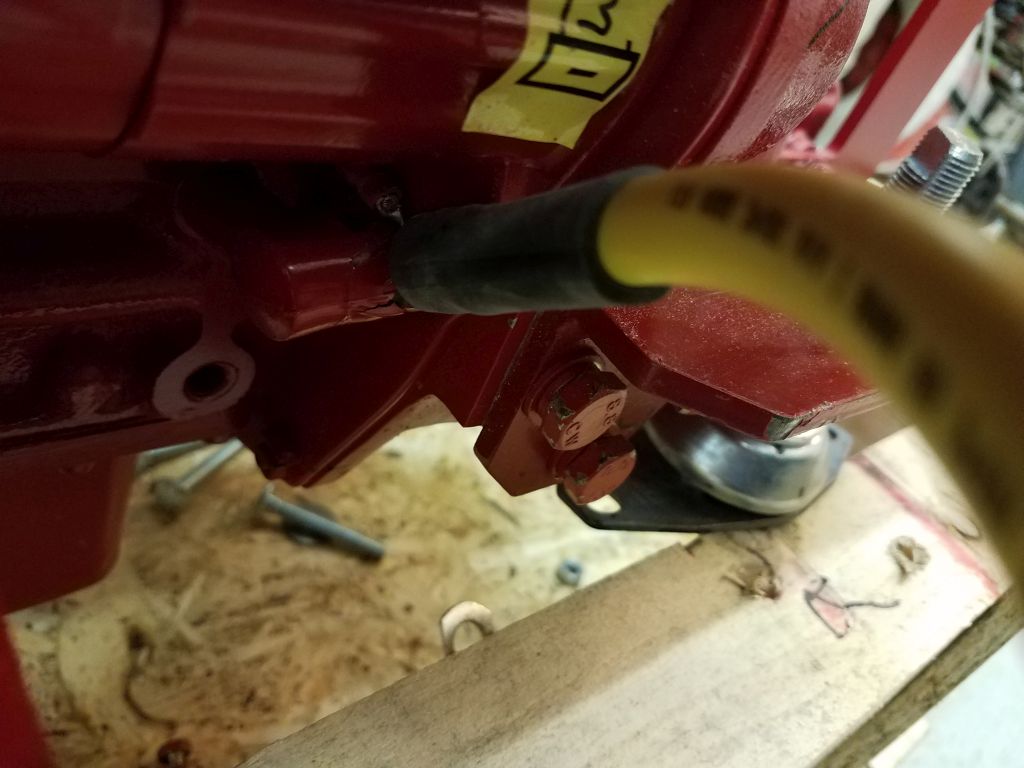
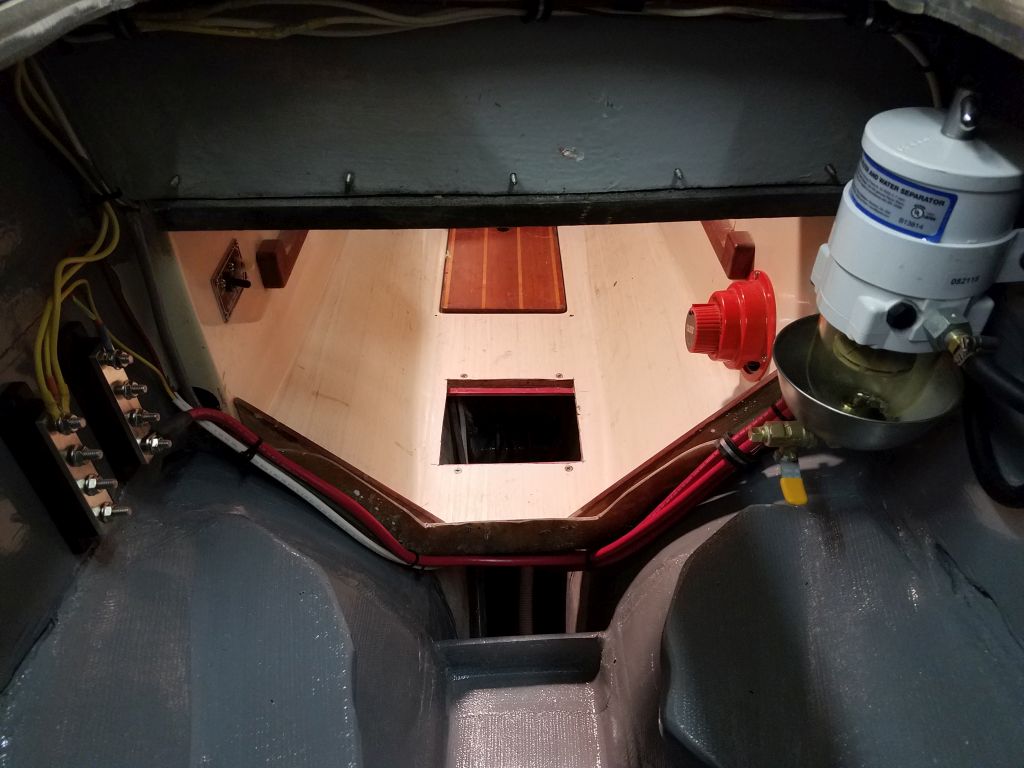
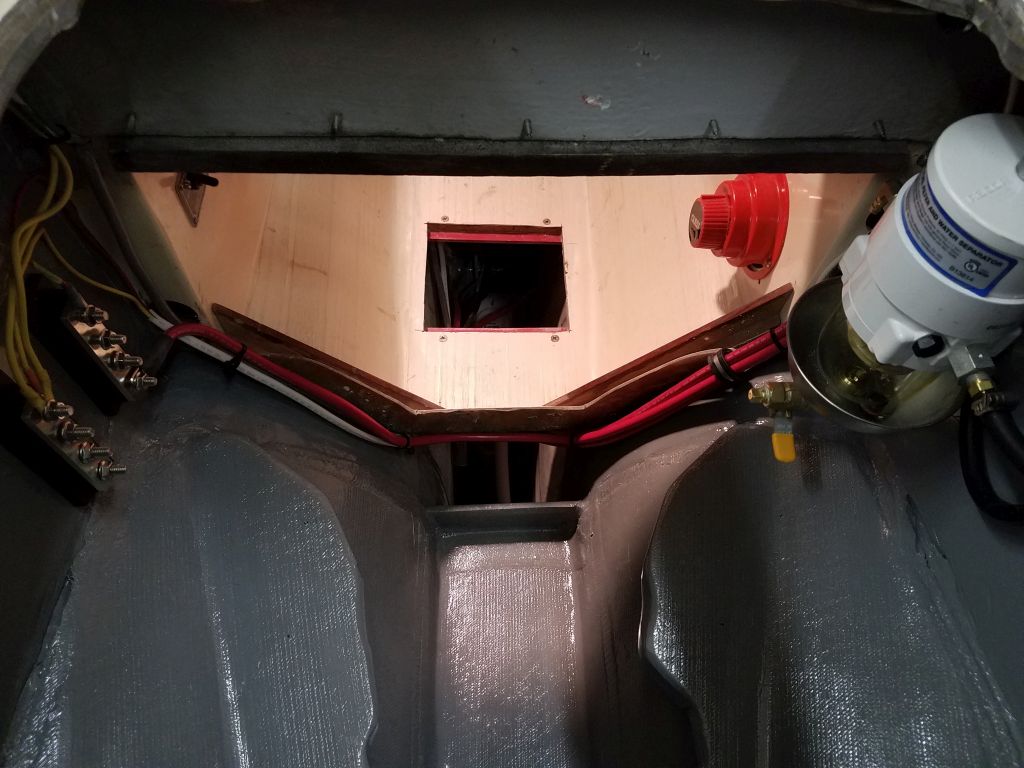
Now that the engine room was painted, I ran the engine wiring harness through the space beneath the fuel tank and out the opening where the waste hose used to be, leaving it there for eventual connection to the engine once installed.
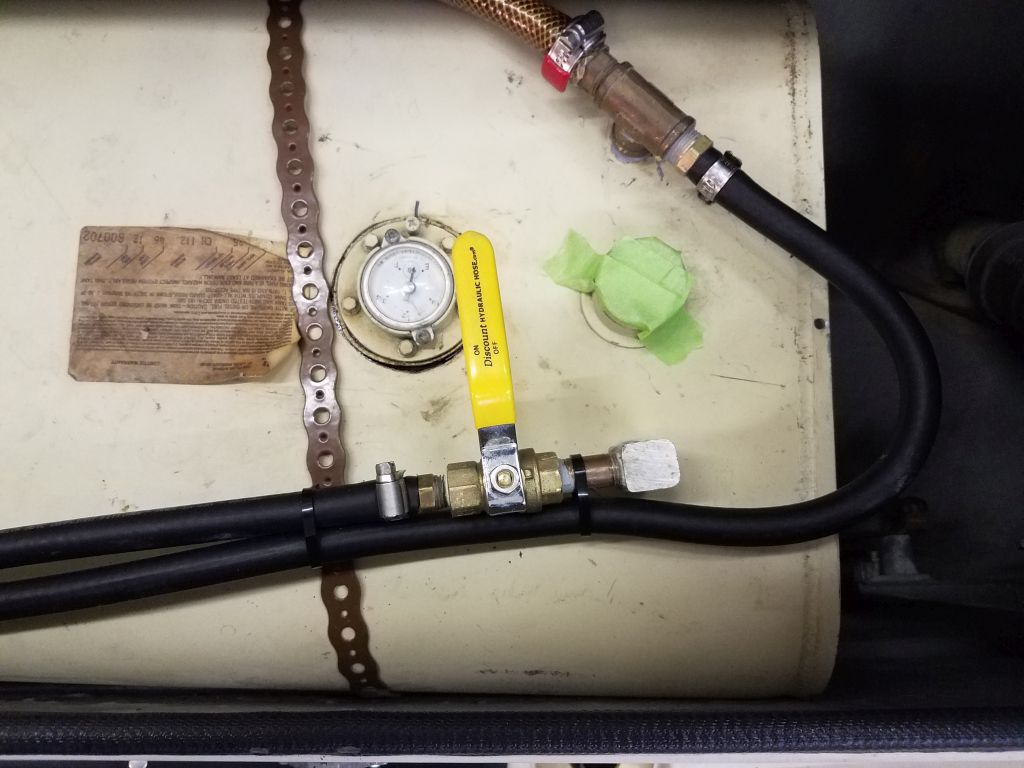
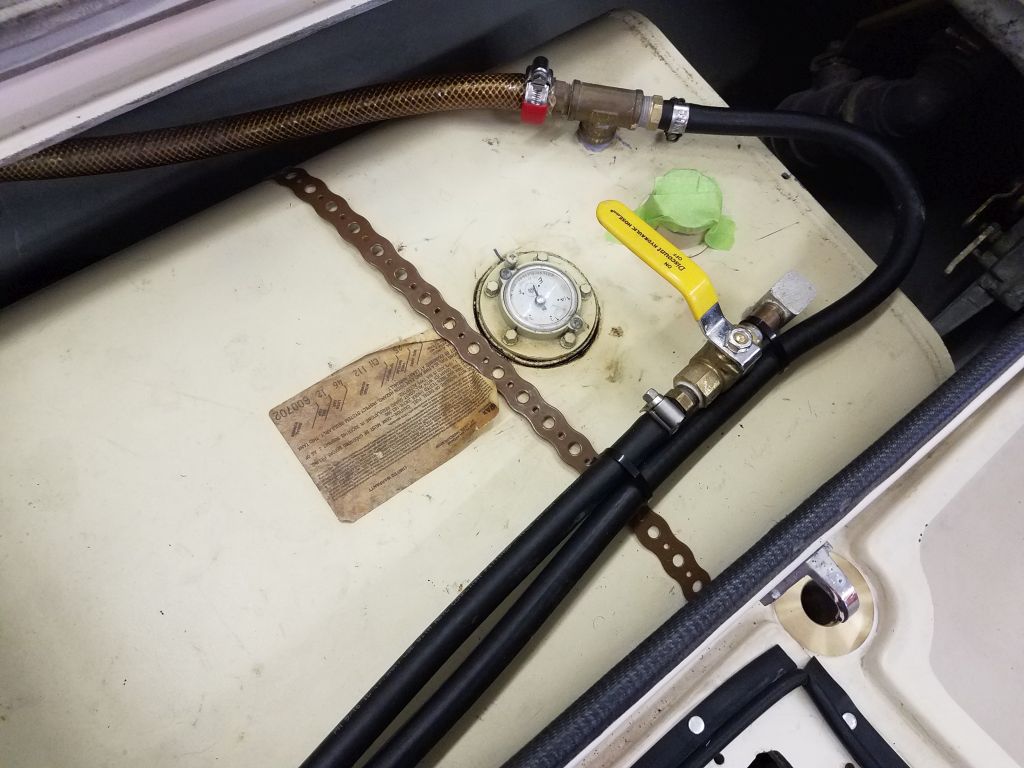
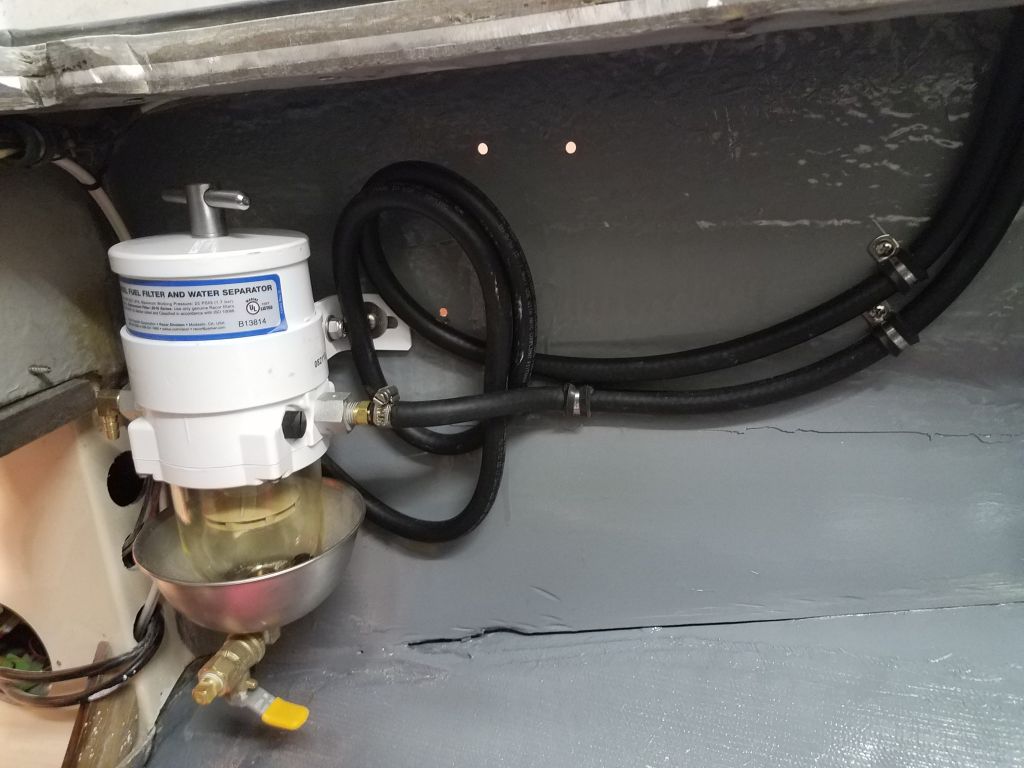
I installed the new fuel filter in the location I’d prepared earlier, then installed lengths of 5/16″‘ fuel hose for the fuel supply and return lines. I made up the connections at the fuel tank for both lines, and secured the hoses to the bulkhead in the engine room, leaving a length of excess hose for the final return line connection to the engine. I tucked the excess behind the fuel filter for now.
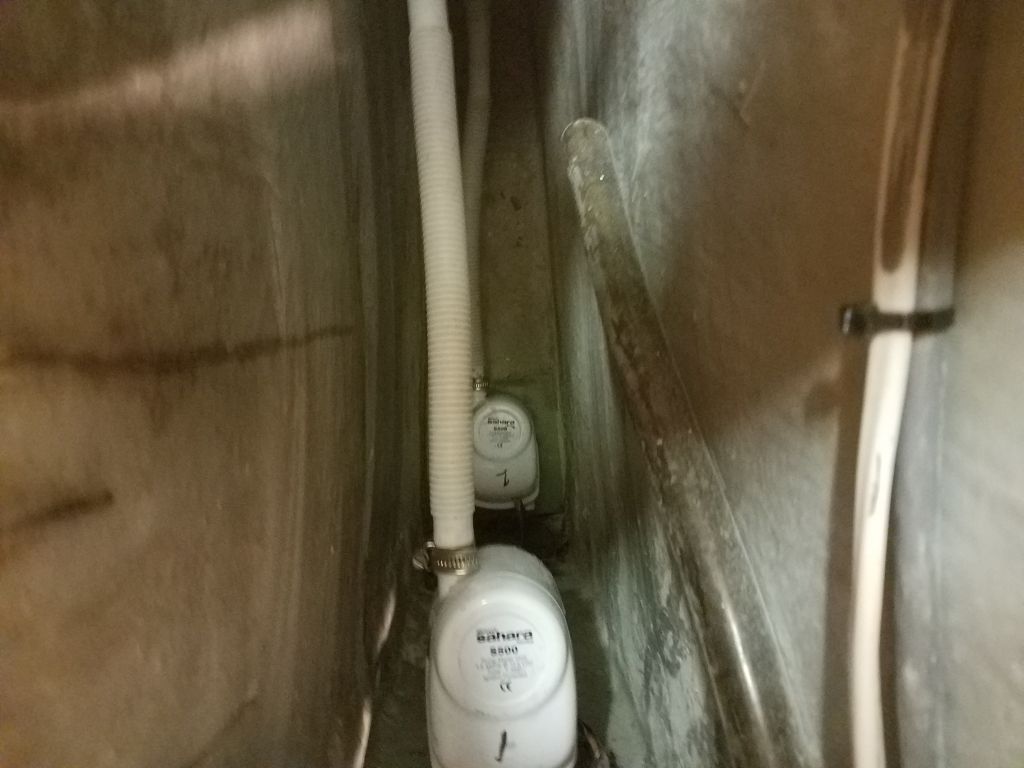
During the earlier work in the engine room, to clear the way, I’d removed the discharge hoses for the three bilge pumps (2 electric plus the manual). Now, it was time to reinstall these hoses while I still had good access.


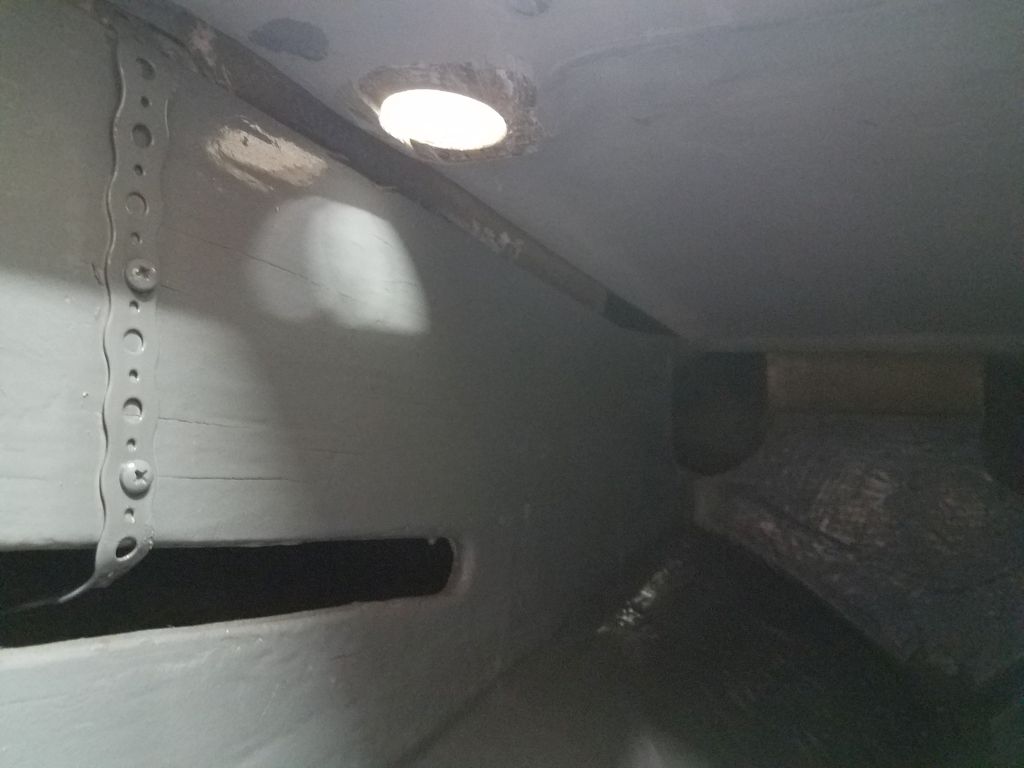
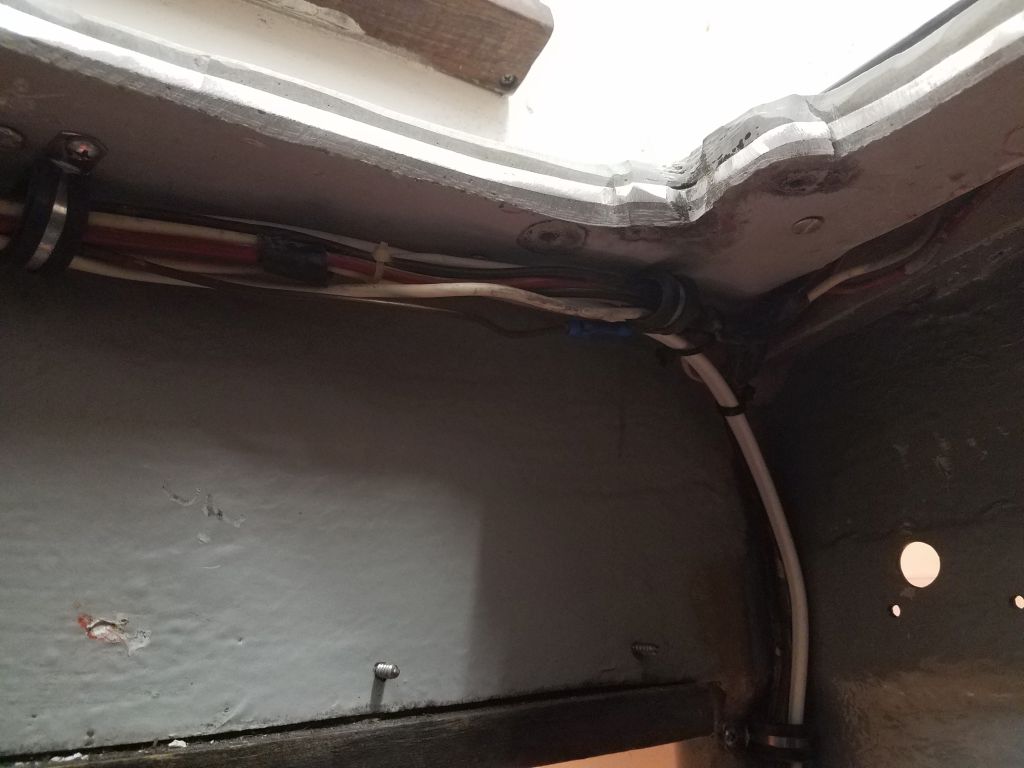
Next, I turned to the electrical wiring, mainly the engine and battery cables, as the remainder of the existing wiring was outside the scope of my work. During earlier rounds of work, I’d removed the old wire ties and clamps securing some of the existing wiring in the forward part of the engine room, so my first task was to resecure these wires along the top edge of the space.

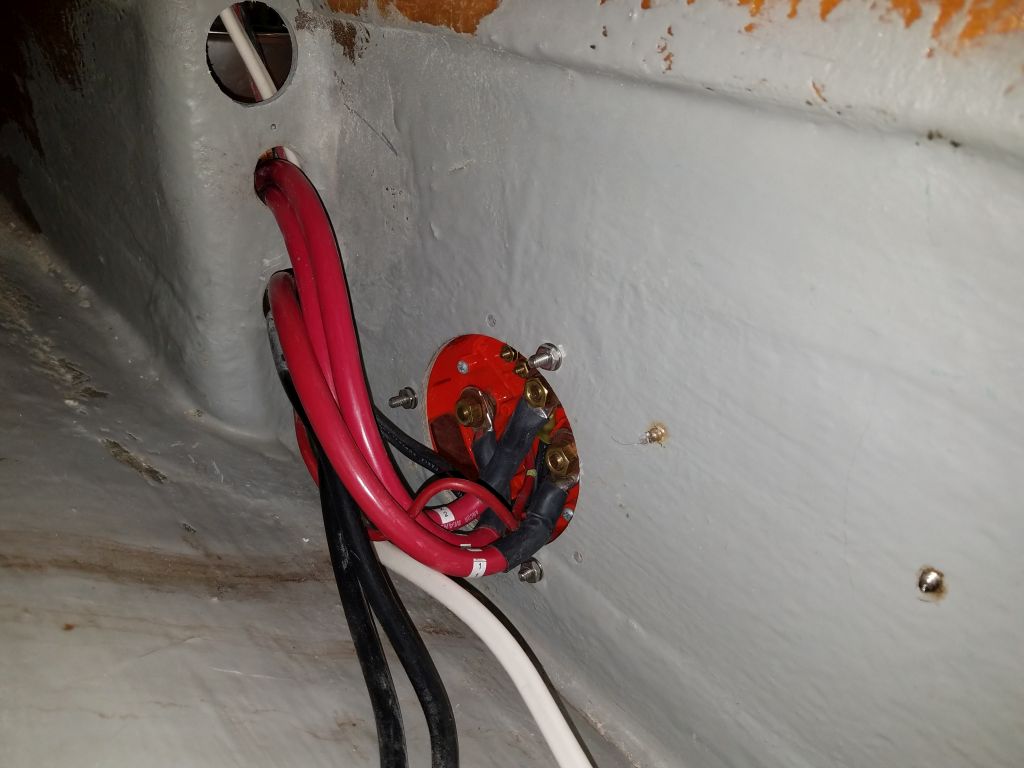
To improve the wiring, I planned to install positive and negative cable buss bars in the engine room, which would serve as the distribution points for the remaining cabling and some of the existing wiring. The port bulkhead was clear and convenient for this use. Covers for these buss bars were backordered, so for now I went ahead with the installation so I could finish up the wiring; I’d install the covers once they arrived.
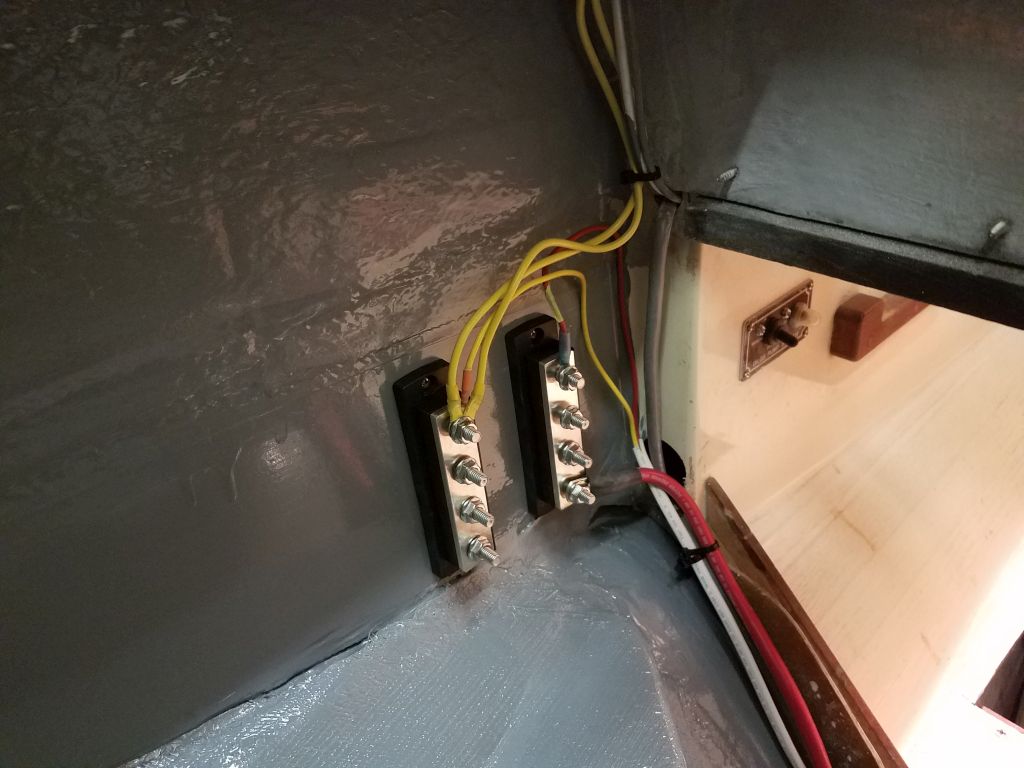
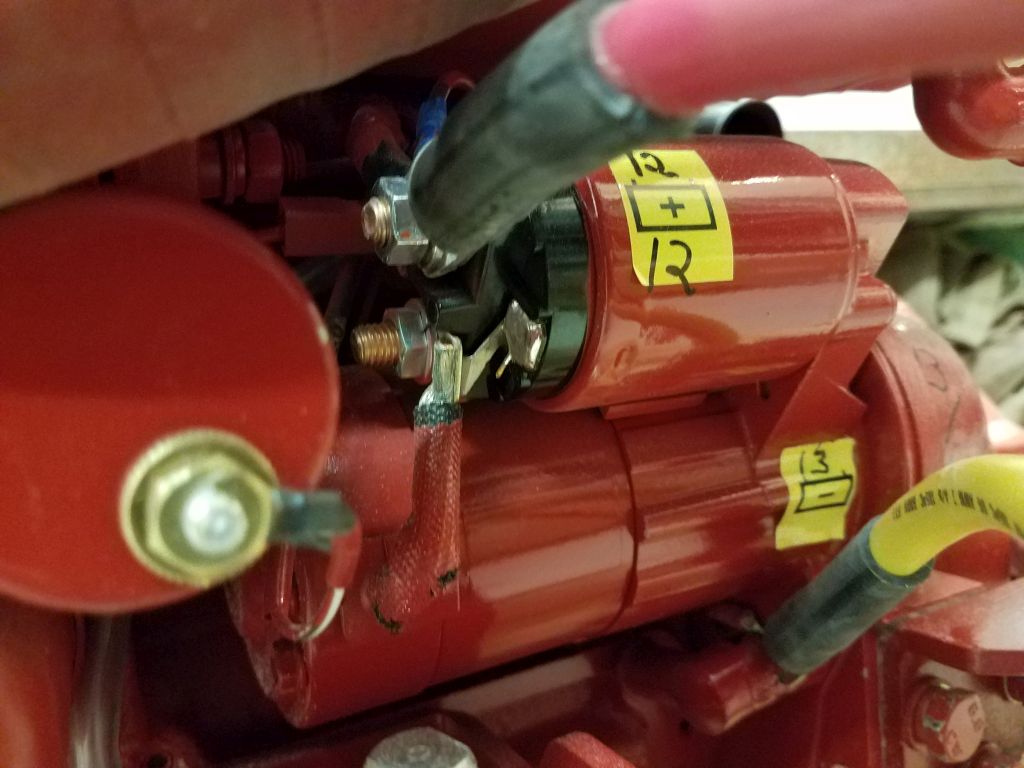
I started with short lengths of red (positive) and yellow (negative) cable to connect to the engine itself. Since access would be much tighter once the engine was in its space, I chose to pre-install these short cables now, which was easy with good access to the side of the engine now. With the main distribution busses close to the engine’s final location, these cables could be quite short, and final connection would be straightforward..
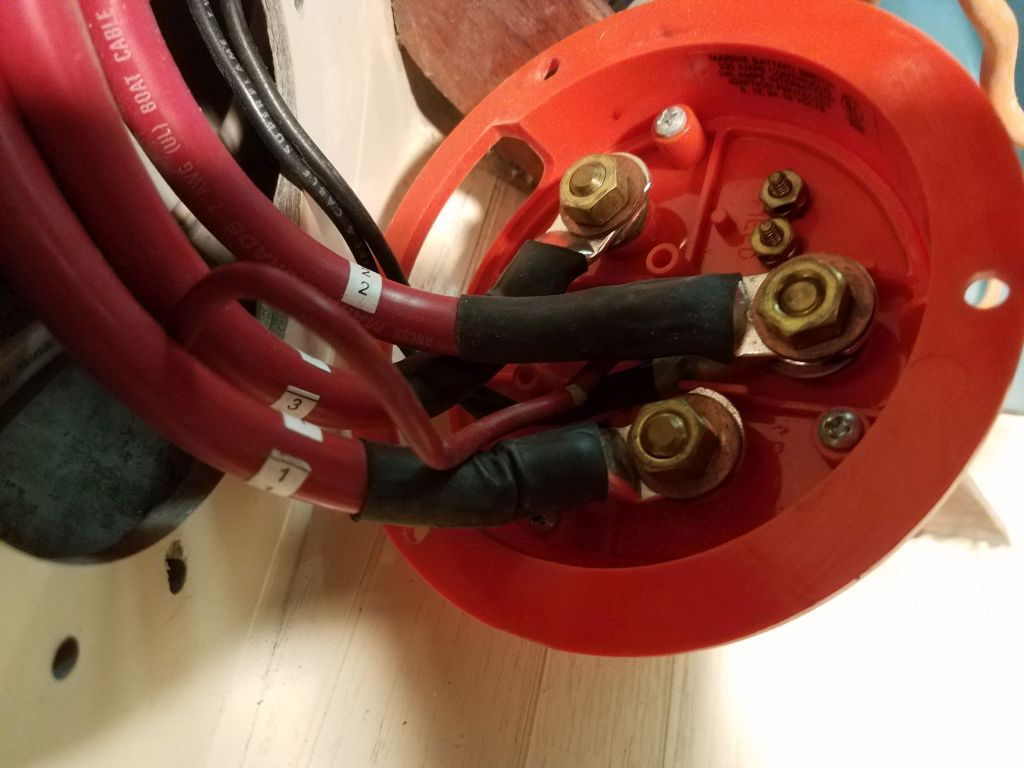
During the remainder of the day, I made up various lengths of battery cabling, starting with the positive cables so I could reassemble the battery switch and connect some of the existing wiring. I led the cabling down the hull along the forward end of the engine room, then forward to the battery compartment, leaving ample slack for final connections to the batteries. I loosely made up the connections to the new buss bars as available, though I’d need to remove these later so I could install the protective covers. I ran out of the lugs for the battery cables, so I’d have to finish up the negative cabling once the new parts arrived.
Total time billed on this job today: 10.5 hours (including miscellany during the break)
0600 Weather Observation: 18°, mainly clear. Forecast for the day: Sunny, 20s