

December 20, 2018
Dharma Rose 20
Thursday
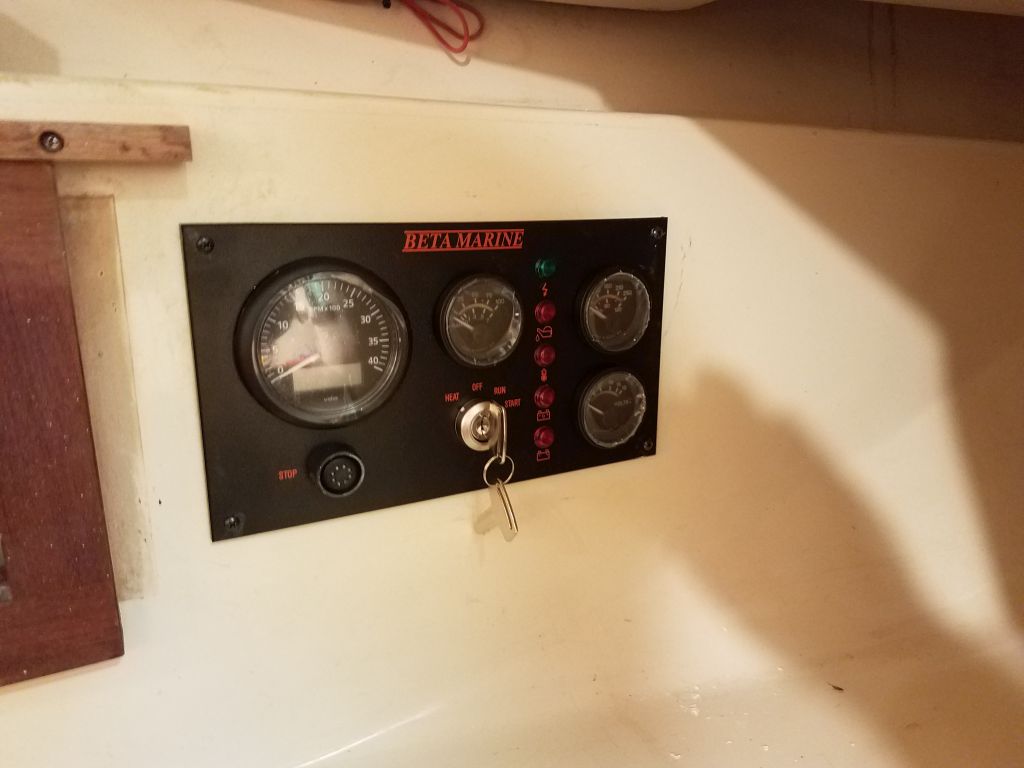
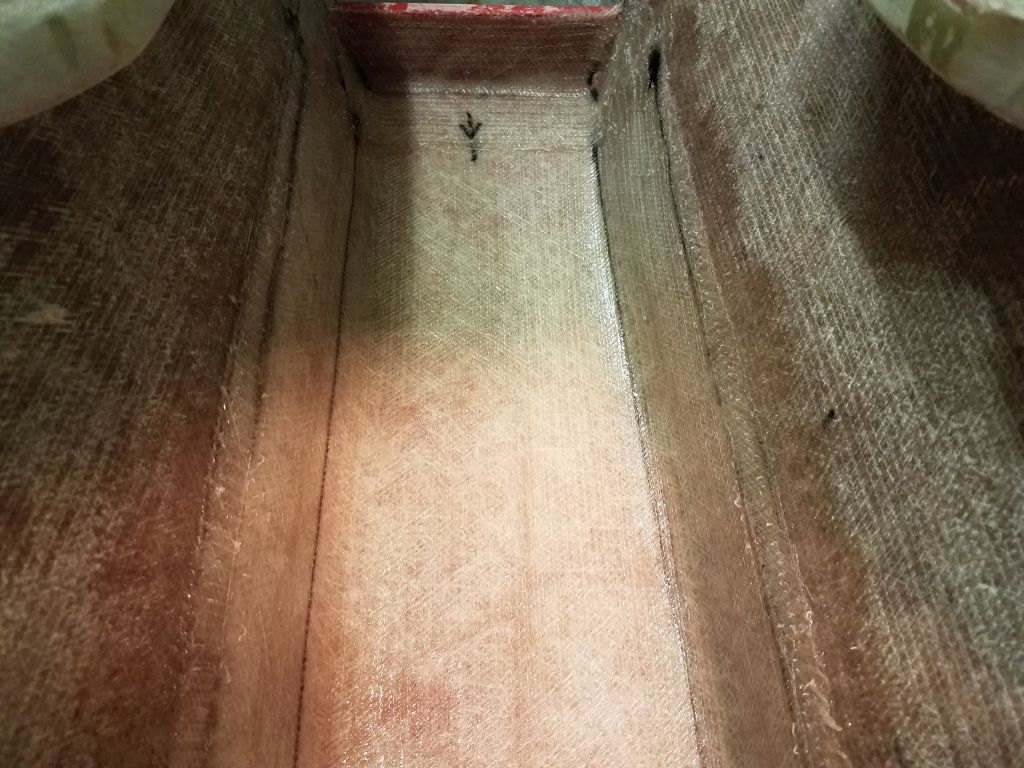
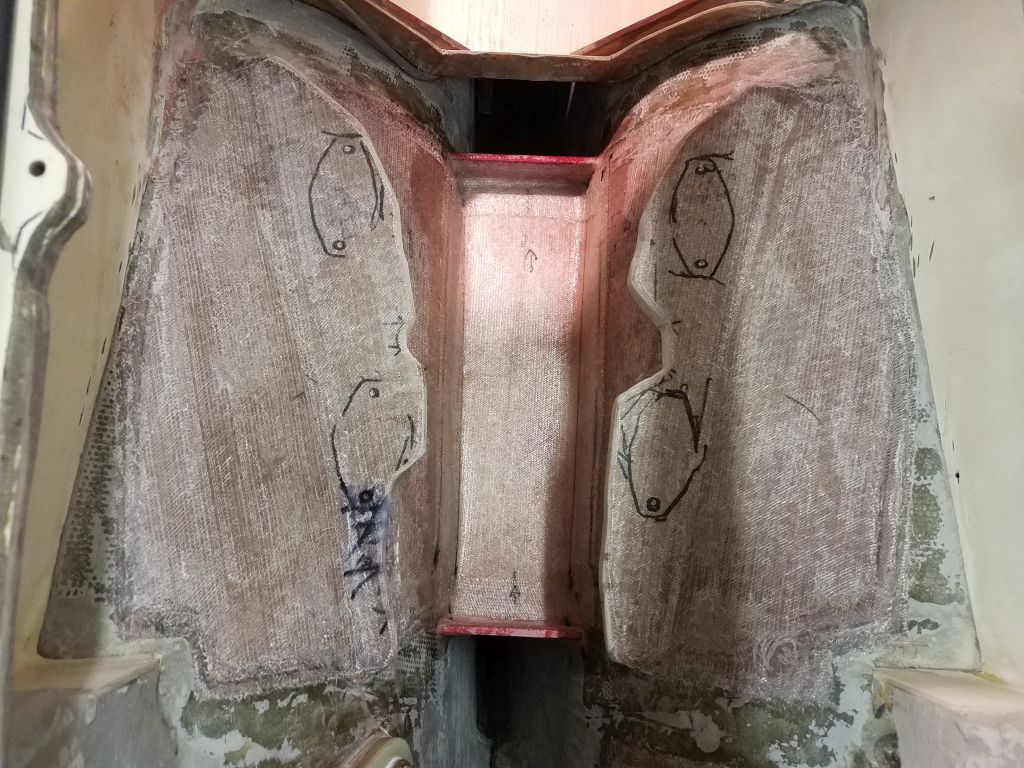
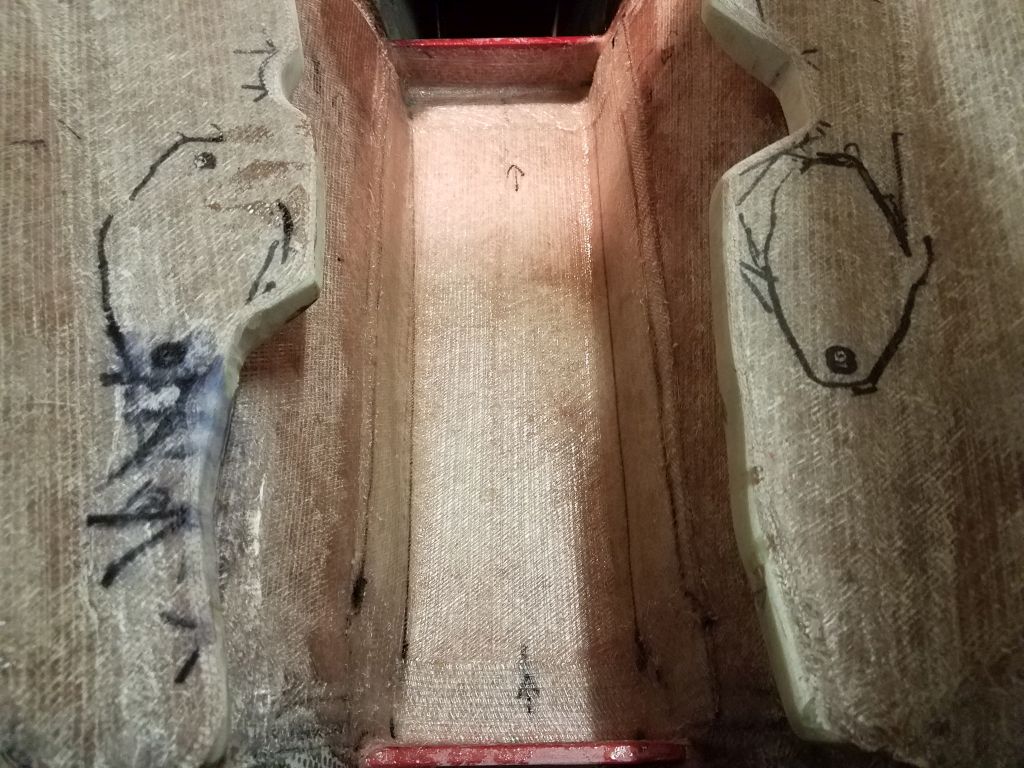
With some other commitments away from the shop, it was a short day, with just a few hours available, so I continued to pick away at my pre-installation list for the engine. I planned to start to reassemble the fuel tank, but realized to be safe I should first run in the wiring harness assembly for the engine panel, which had to go through a tight space behind the fuel tank in order to run forward to the panel location in the cabin (which was the same location as the original engine panel).
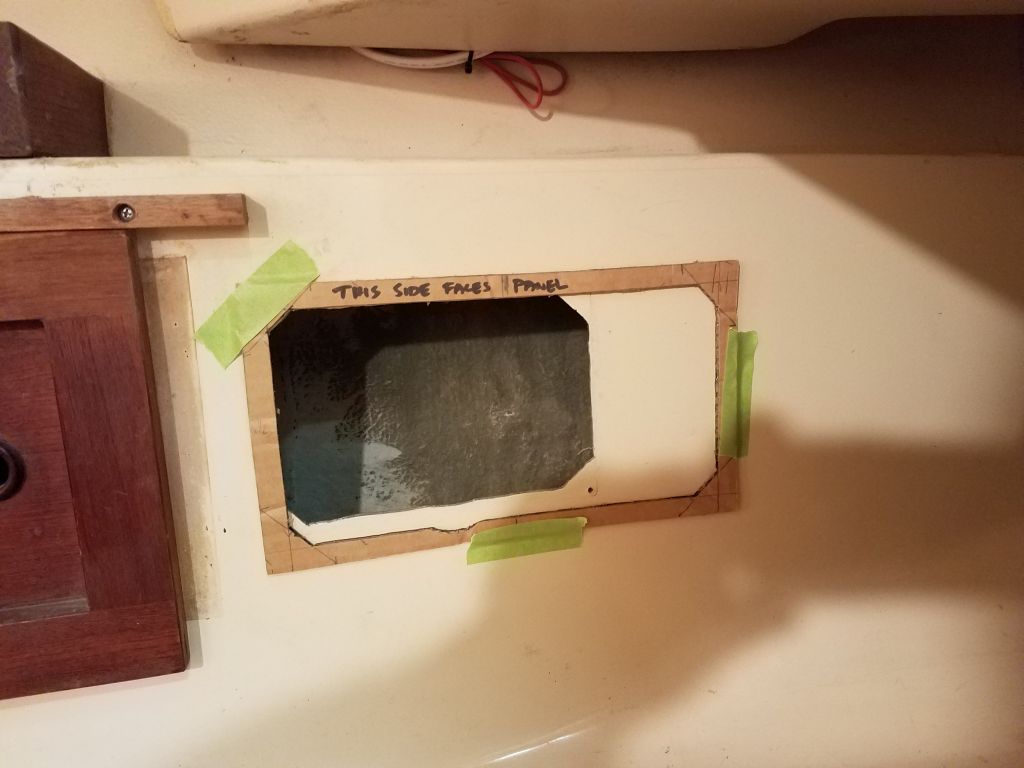
To begin, I used a template for the engine panel cutout to enlarge the opening left behind from the original panel.
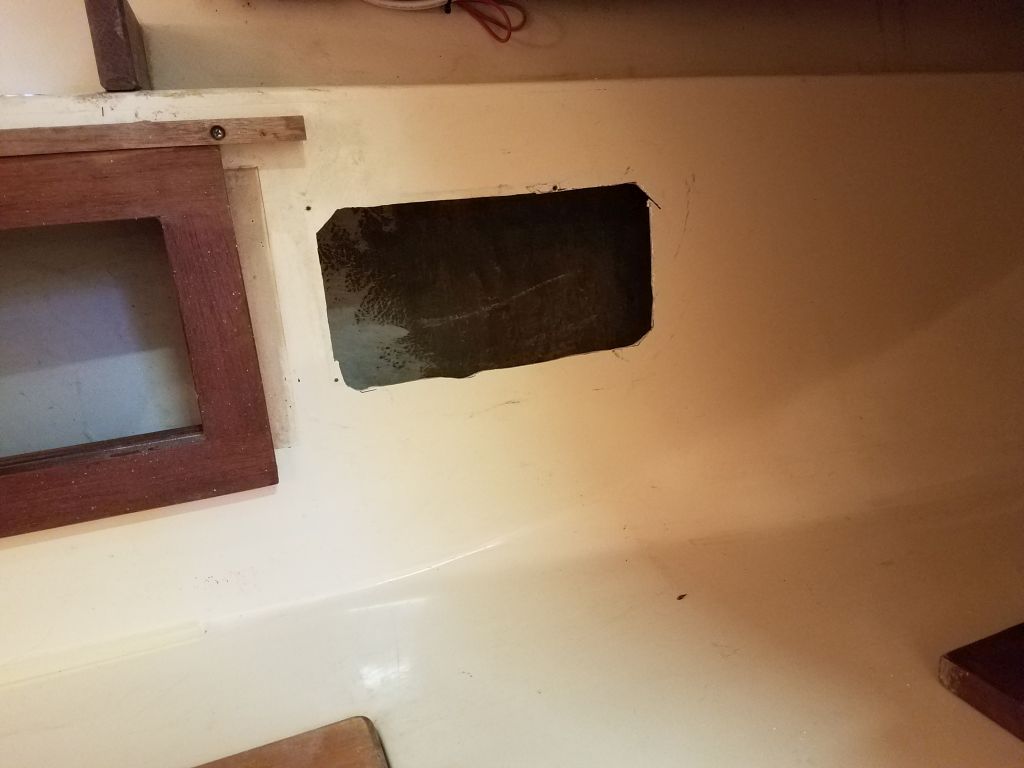
The plugs on the wiring harness were almost too large to fit through the opening running from the starboard cockpit locker (behind the fuel tank) and the cabin/interior liner, and in fact when I tried to pull the harness through from the cabin to the locker with a snake, the engine end of the cable wouldn’t fit through the opening. I tried running the cable the other way, pushing the smaller panel plug end through from the cockpit locker, and this worked, though not without a micron to spare. From there, it was a simple matter to connect the panel and install it with four black-coated stainless screws. I left the remaining wiring harness loose in the cockpit locker for now, pending engine room paint.

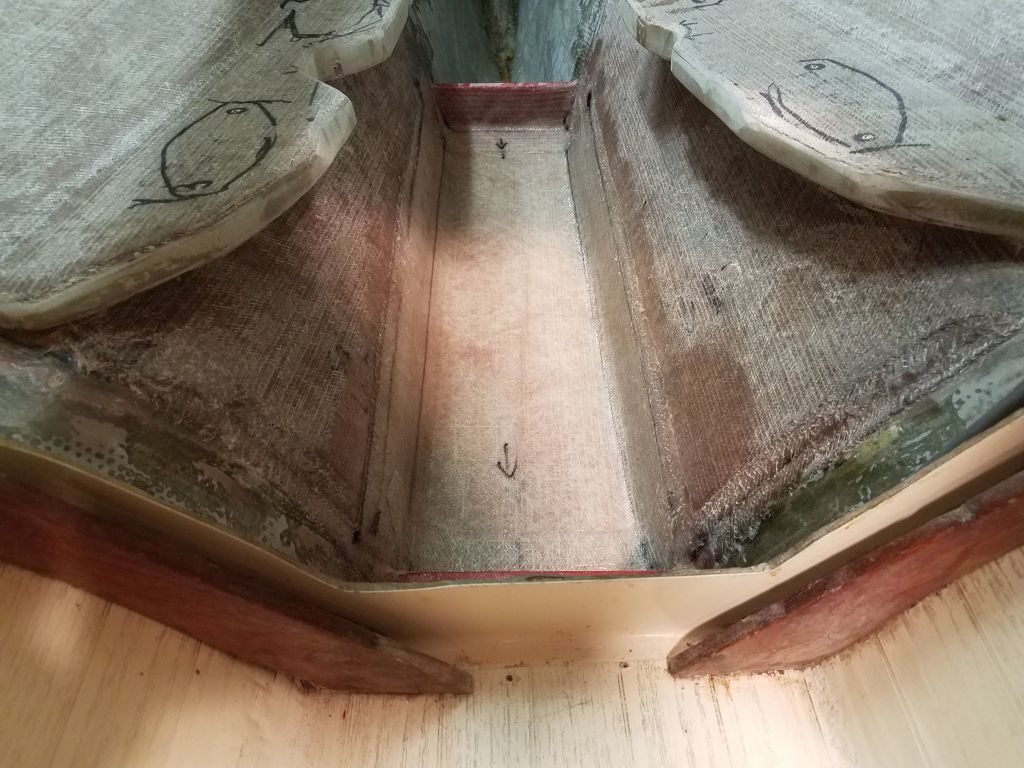
The owner and I had had a few discussions about the new engine drip pan and its potential removability, and eventually he decided he preferred the idea of making the pan permanent, more like the original, so to ensure I could keep moving forward on my plan to prime and paint the engine room before Christmas break, I worked on this for the brief remainder of the afternoon.
After cleaning up the area with a solvent wash, I installed the new pan, which was all ready in any event, and added nice epoxy fillets along the sides and up the ends.
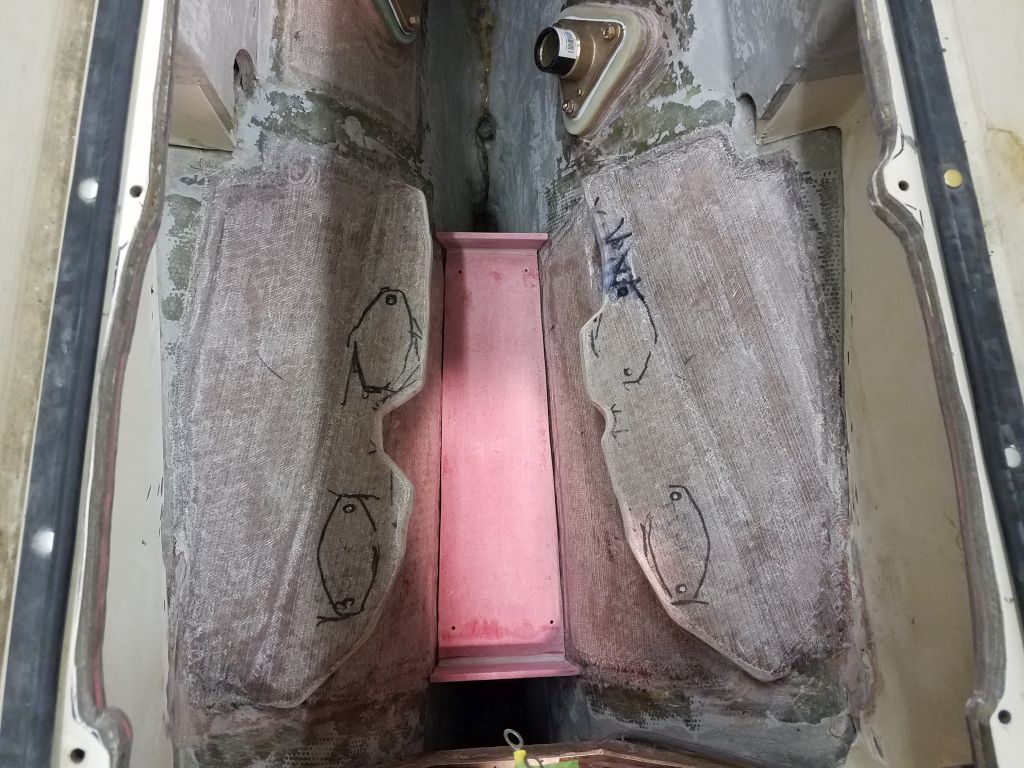
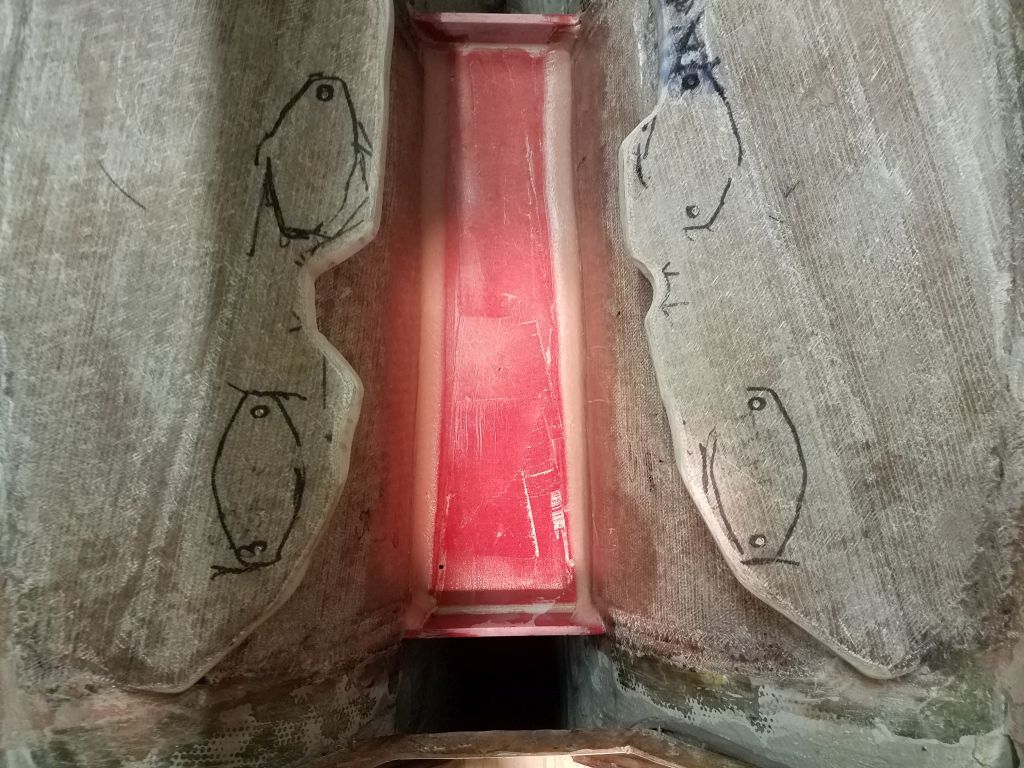

While the fillets cured for a while, I prepared and cut two layers of fiberglass to tab over the pan and up the hull on each side, and added additional fiberglass to wrap up the ends of the pan. Once everything was ready, I wet out and installed the new fiberglass in epoxy.

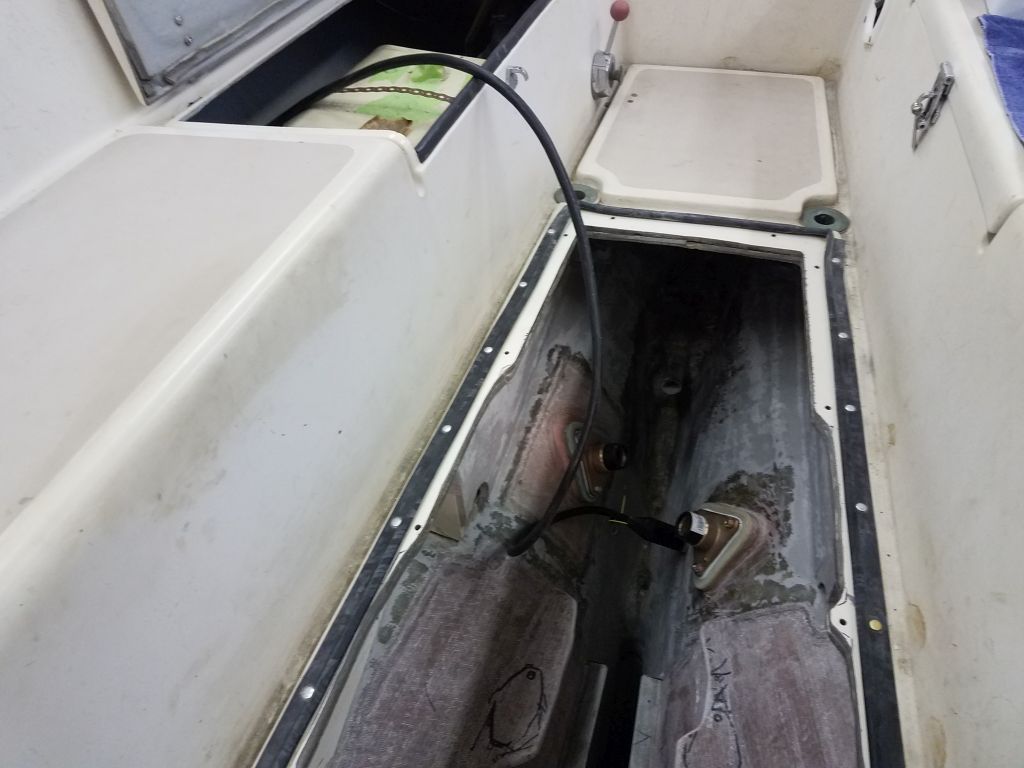
The owner also mentioned that one or both of the scupper drain fittings in the cockpit had appeared to leak. Of course removal and rebedding of these fittings might not be as straightforward as one would hope, since the elbow fittings beneath the cockpit were installed before the deck was placed on the boat, so there was no room to spin these or any other elbows off the through hull threads. Hoping to avoid the need to rebed,we decided to check first to see if the fitting (s) did leak. I used a length of old hose to connect the two drains belowdecks, an easy way to plug them, and plugged the cockpit supper wells with butyl sealant so I could pour in some water to the channel and allow it to sit, and see if any leaks appeared.
Unfortunately, before the end of business I noticed that the port fitting indeed had a slow leak into the engine room, so I’d make a plan to rebed it soon. With luck, I could unscrew the fitting sufficiently to rebed without having to completely remove it and the elbow fitting.


Total time billed on this job today: 3 hours
0600 Weather Observation: 10°, clear. Forecast for the day: Sunny, 40s