

January 11, 2019
Dharma Rose 29
Friday
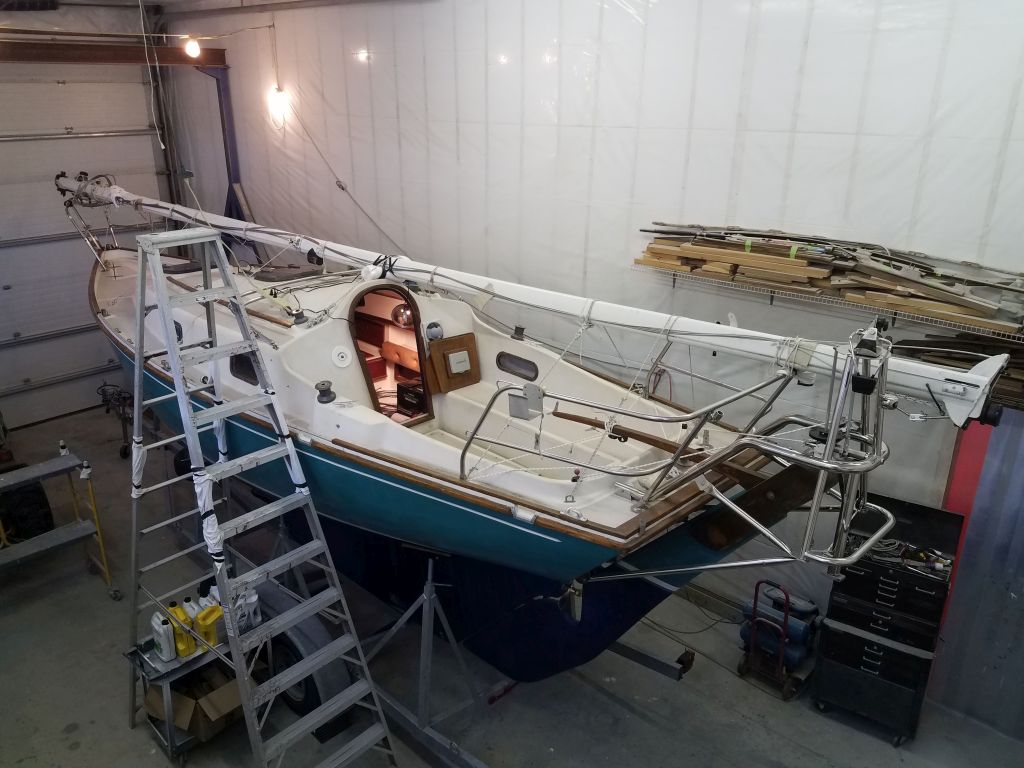
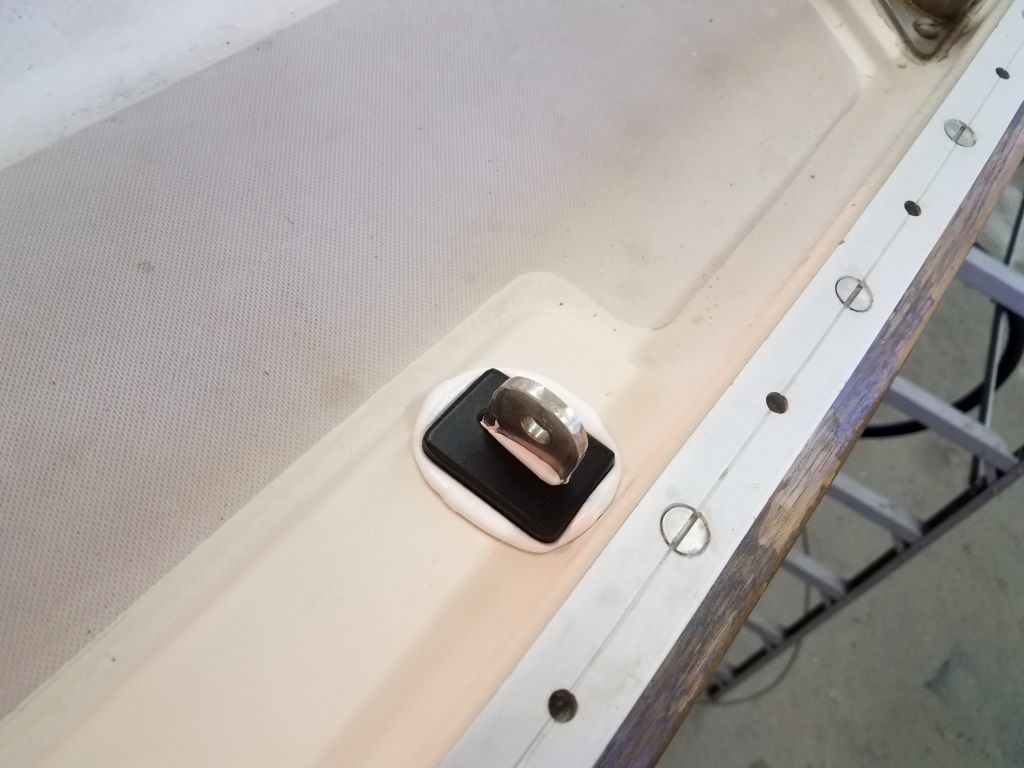
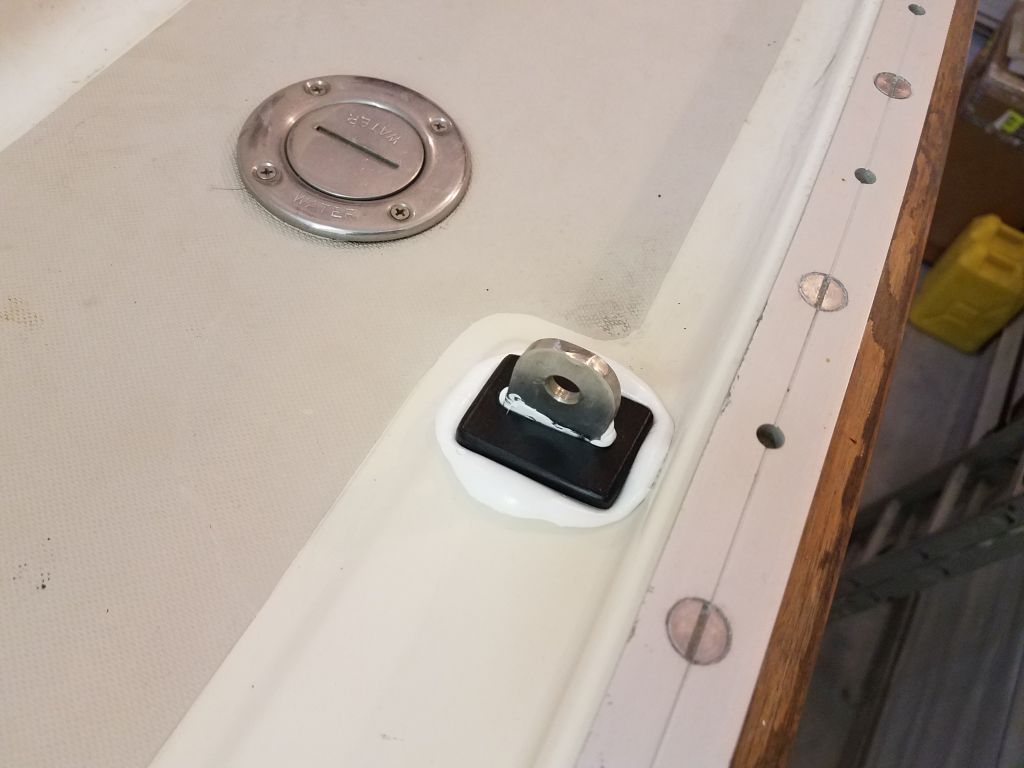
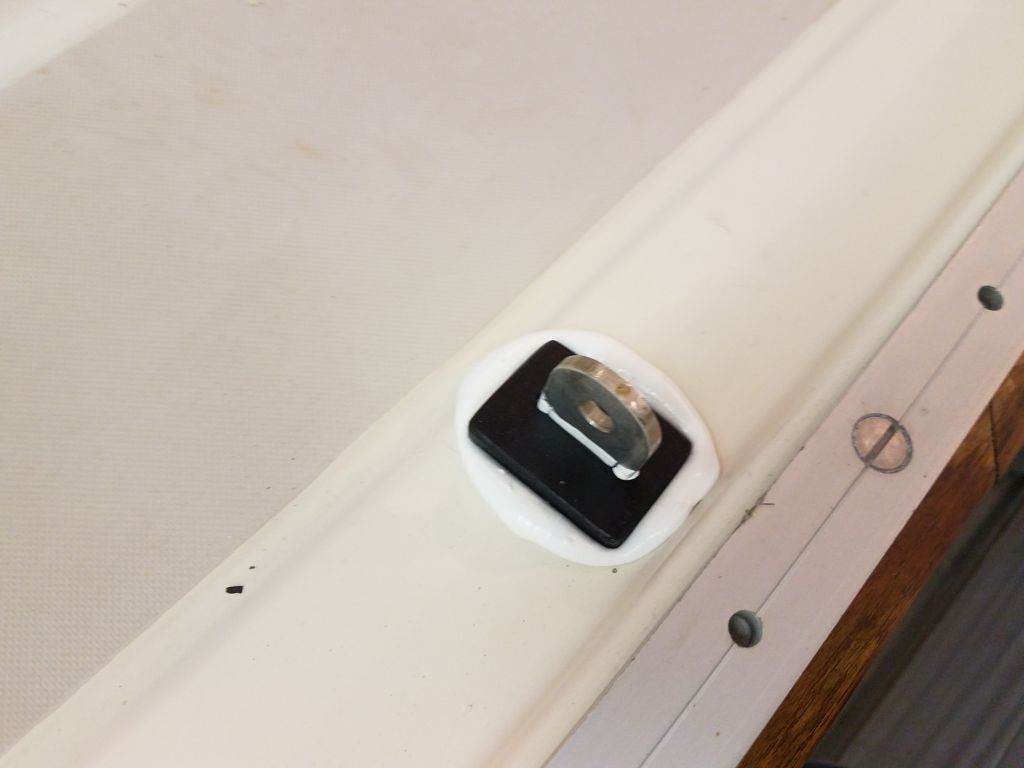
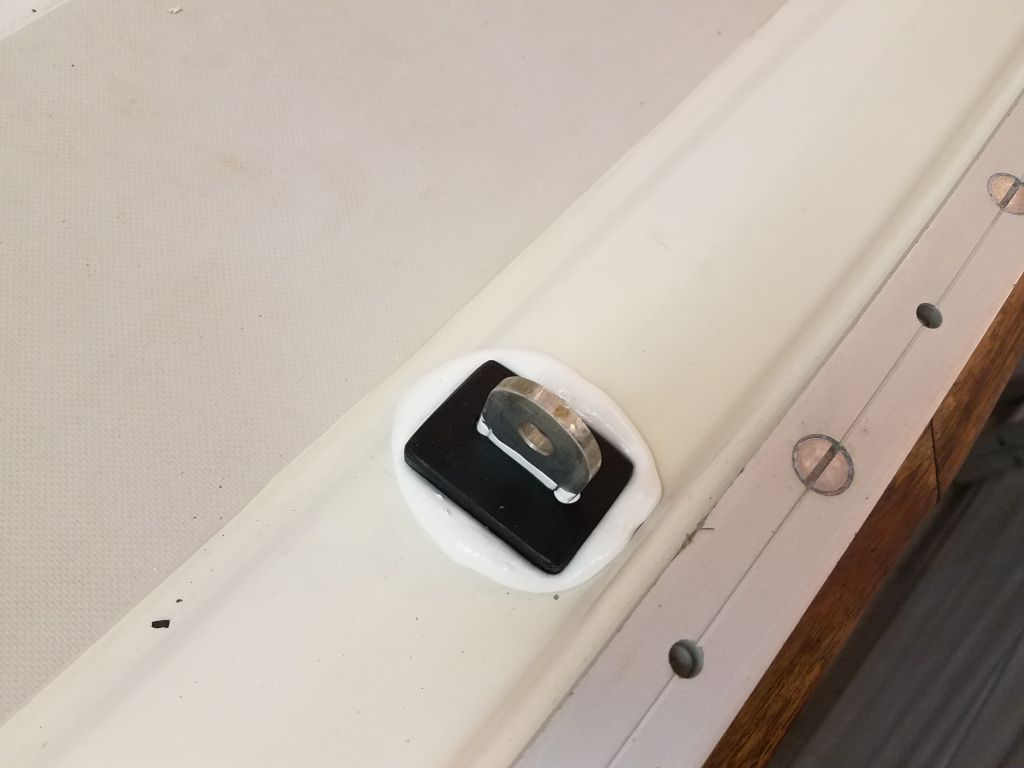
Awaiting various materials to finish up portions of the engine installation, I focused instead on several other jobs still on the work list, starting with completing the new chainplates’ bedding and deck cover plate installation. At each of the six locations, I began by forcing butyl tape sealant into the exposed slots wherever possible.
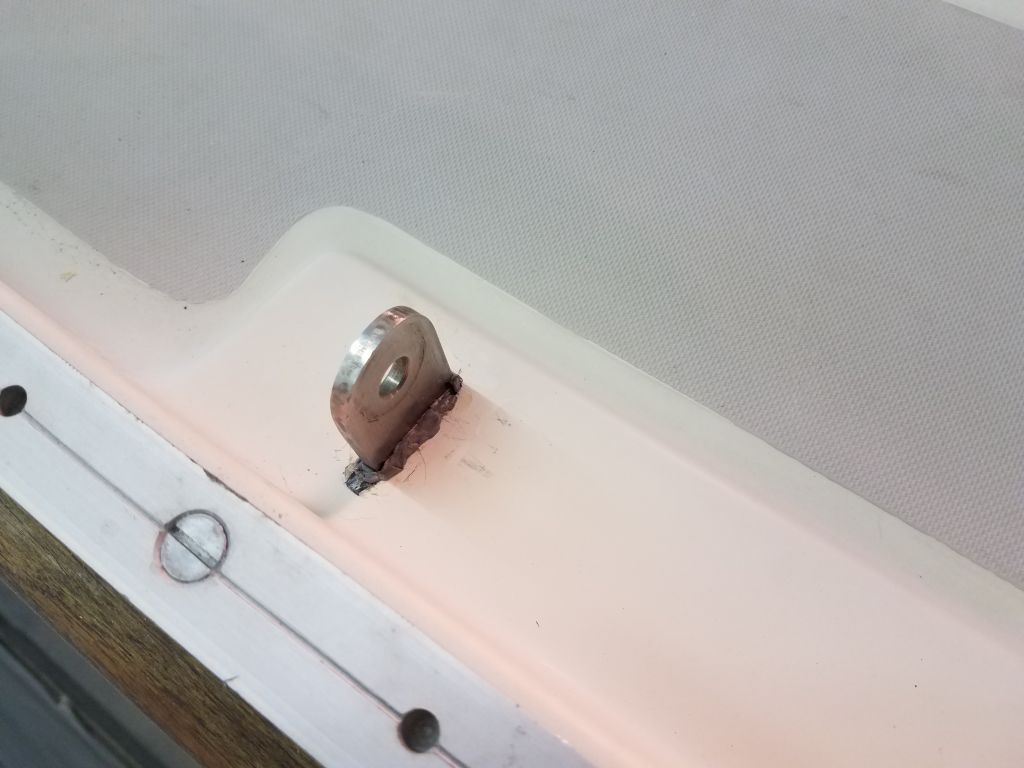

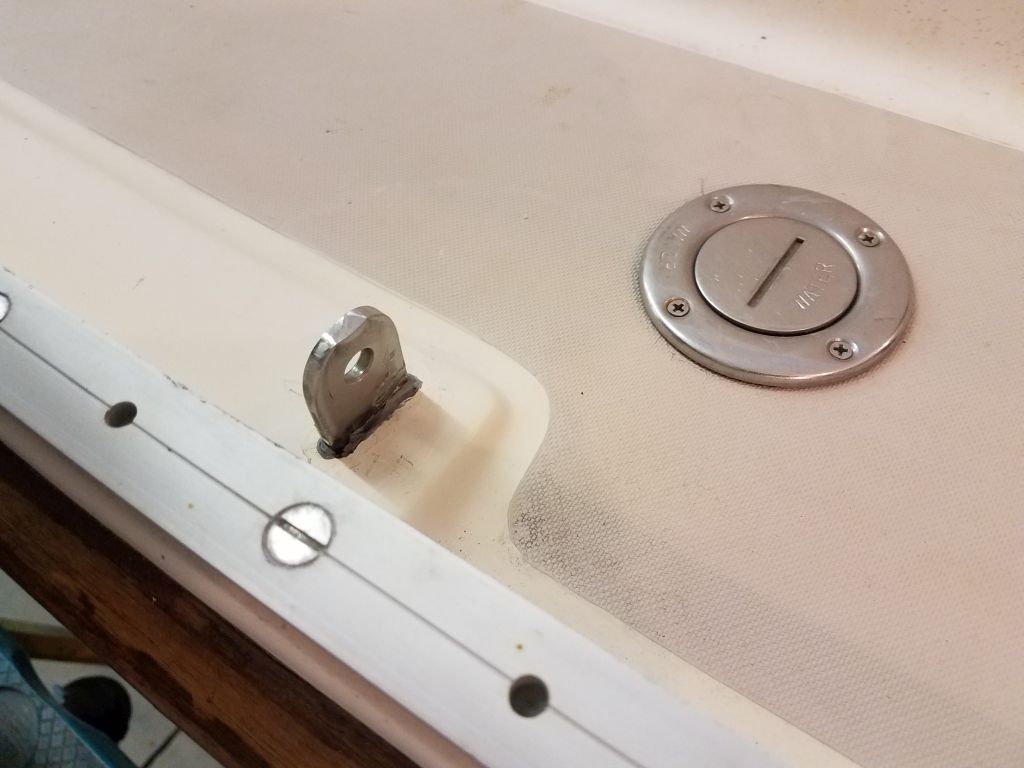
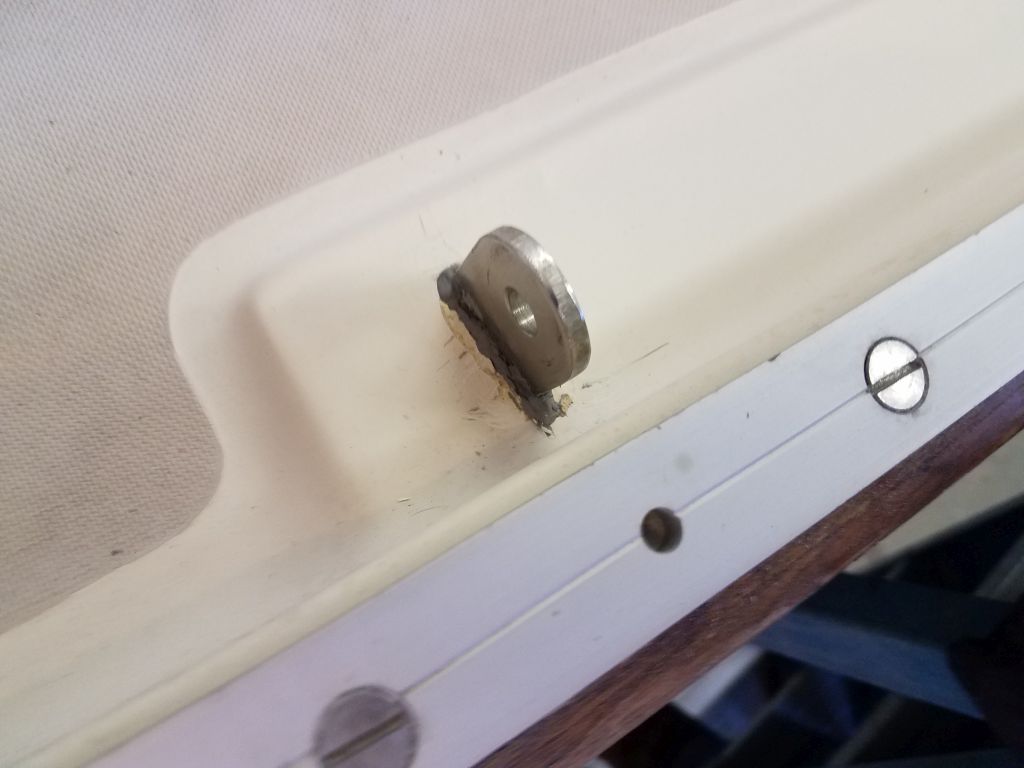
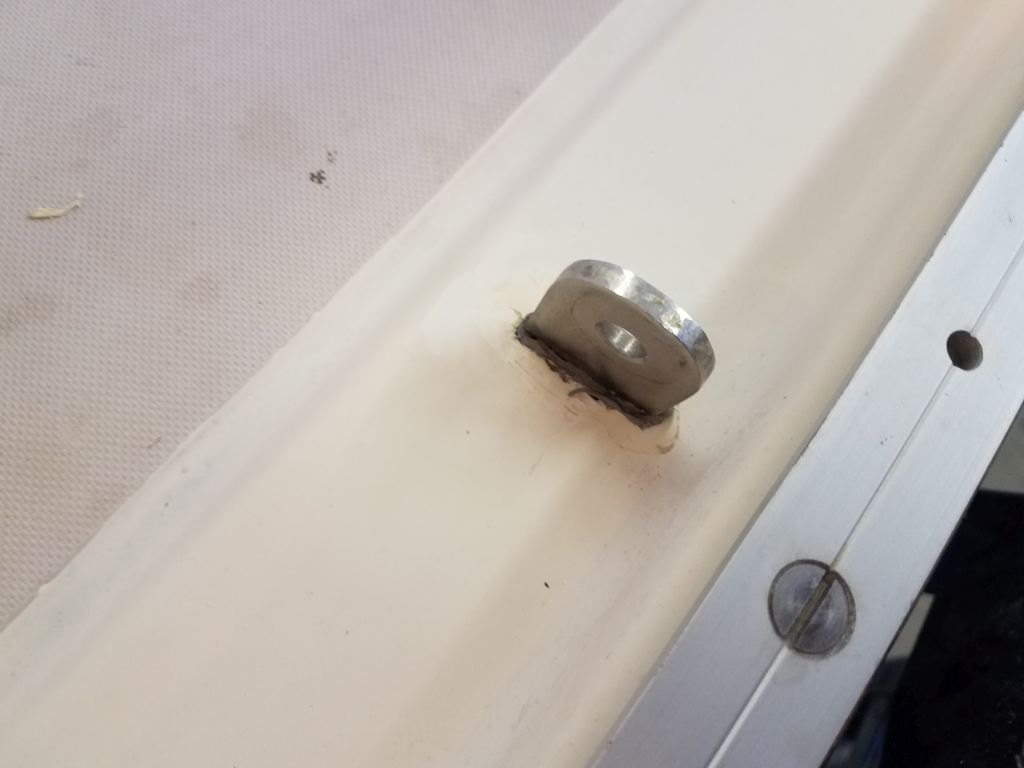

Next, I applied my usual light polyurethane sealant to each chainplate, a heavy bead into which I pressed the new fiberglass covers I’d made. In addition to forming an additional defense against water, the sealant also served to hold the covers in place. I left the excess sealant to cure, and would trim the excess later.


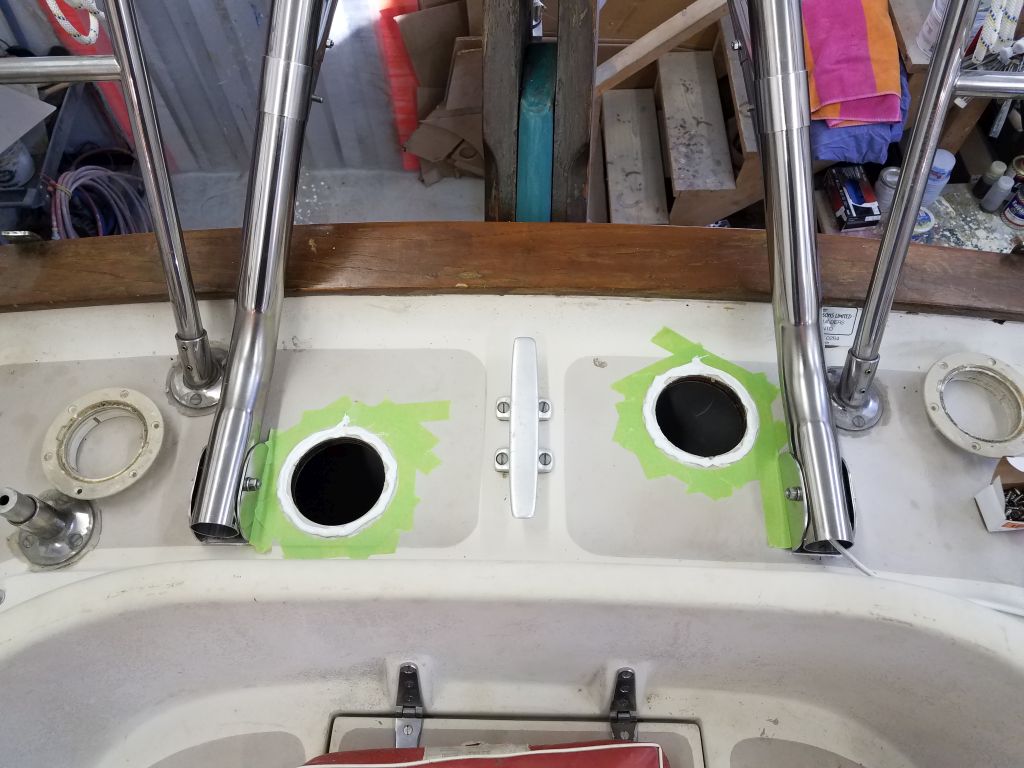
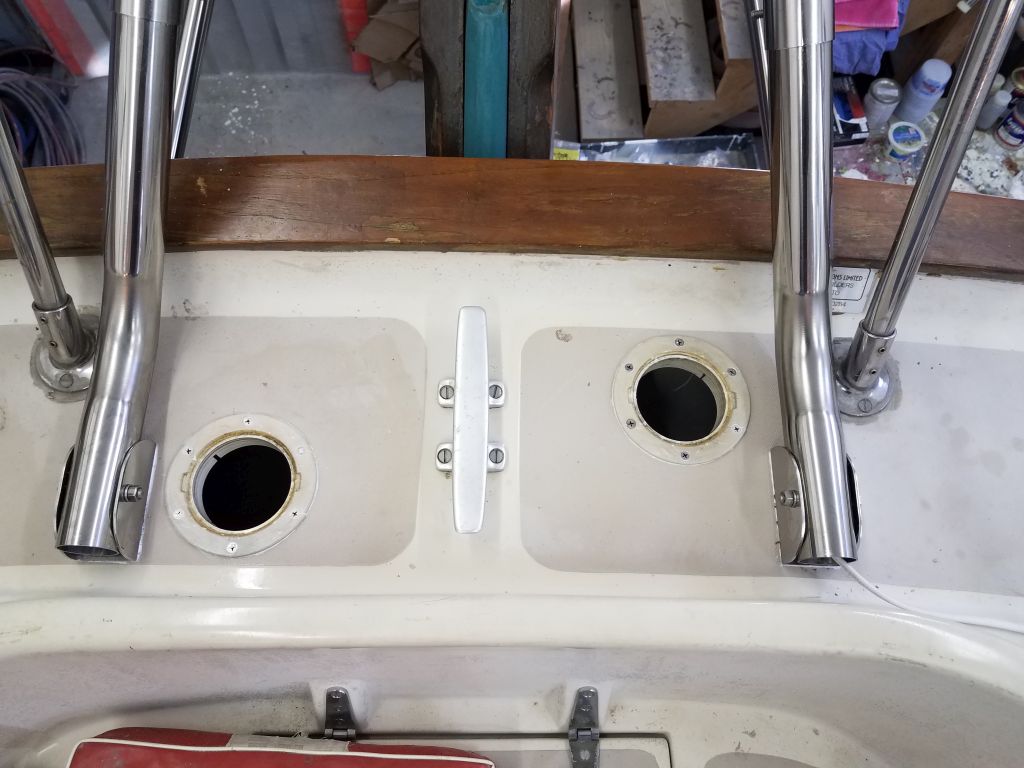
While I had the sealant out, I reinstalled the deck plates for the two vents on the aft deck.
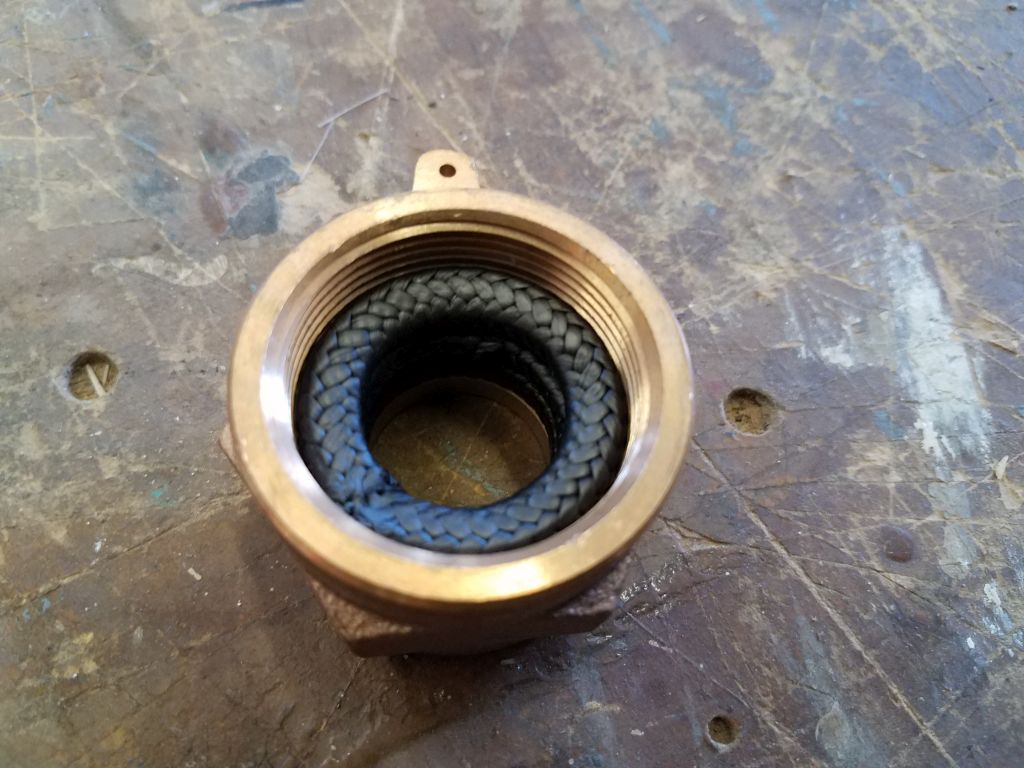
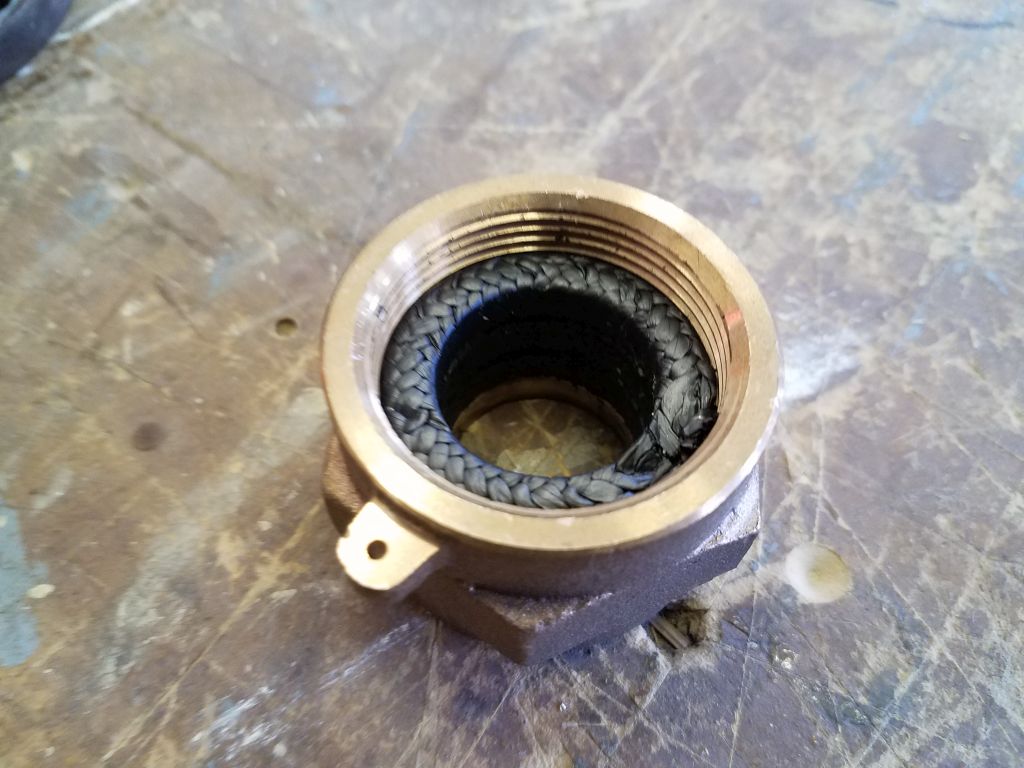
Preparing ahead for the new shafting, and expunging another item from my list, I cut rings of graphite packing material to fit (I wrap the packing numerous times around a shaft–the old shaft in this case–and run a knife through all rings in a straight line to create properly-sized individual rings for the stuffing box) and installed as many rings as possible in the new packing nut (three in this case). I ran the now-filled packing nut over the shaft to press in and seat the packing, so it’d be ready for final installation once the new shaft arrived, hopefully soon.


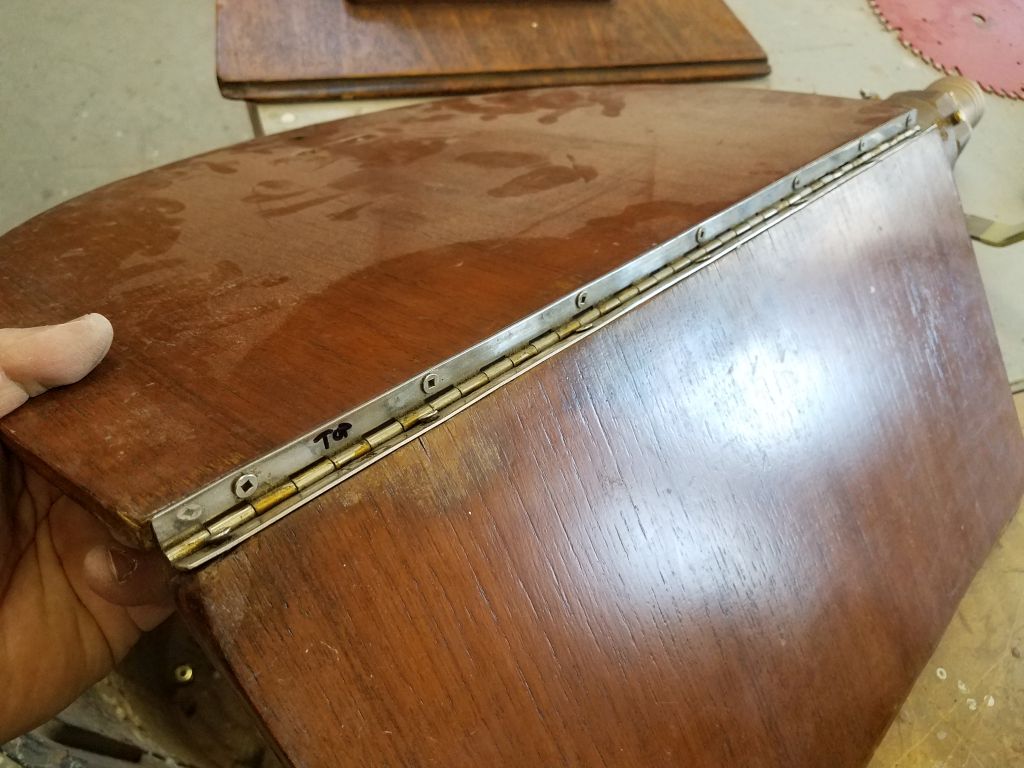
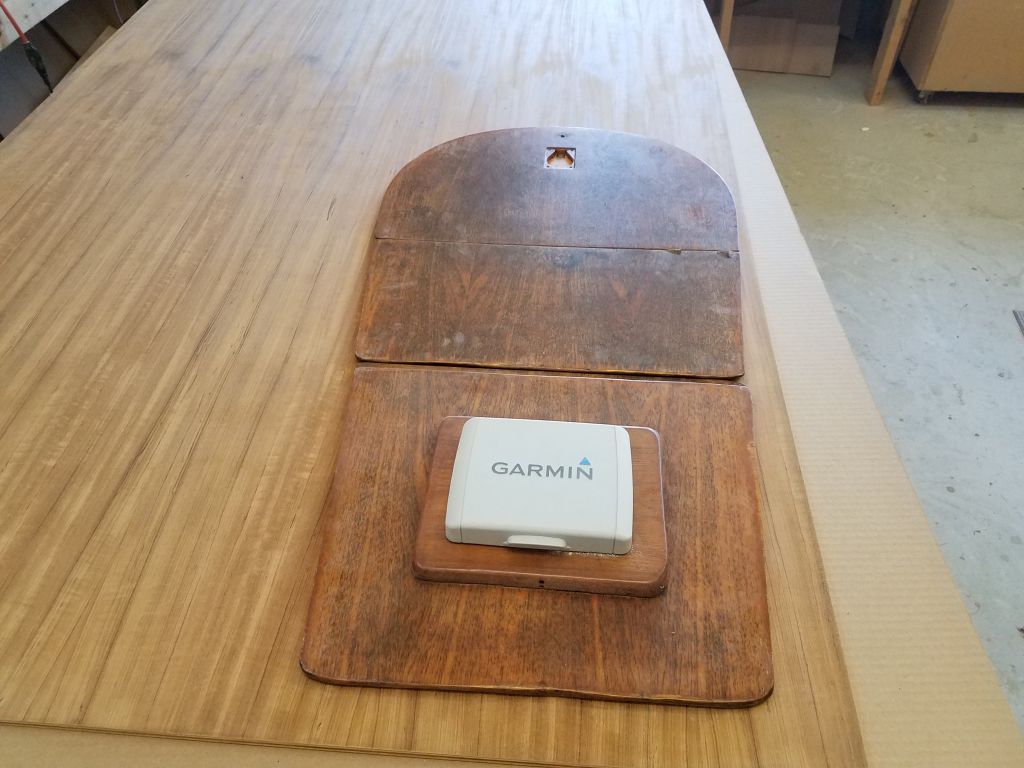
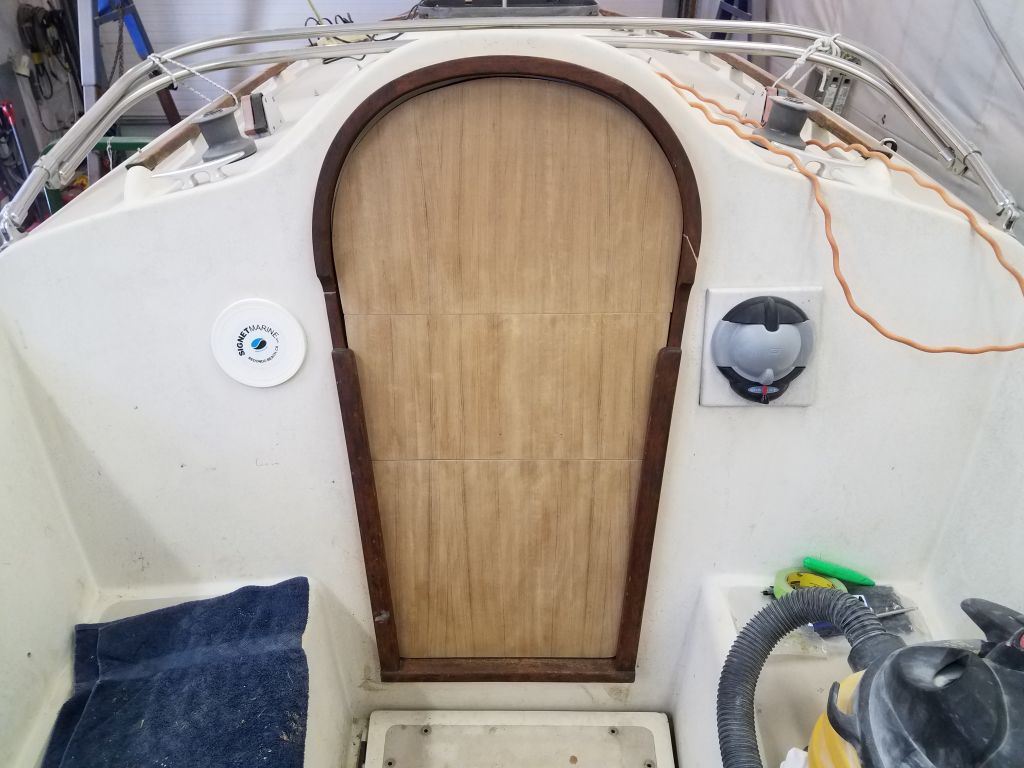
Now I turned in a different direction. The owner had requested I build new companionway drop boards to replace the existing ones, which were old, and one of which had been modified to incorporate a GPS display that the owner wanted to relocate. To begin, I disassembled the original boards, removing hardware and a continuous hinge on the top two sections so I could use the originals as templates. From a new sheet of 1/2″ teak plywood, I cut the new boards to fit as needed and incorporating the same details and shapes as the originals. To keep both sets of boards in working condition, I ordered new hardware for the new set, and would later reinstall the hardware back on the originals. After a light sanding, for now, I set the new boards aside to await a sealer coat of varnish.

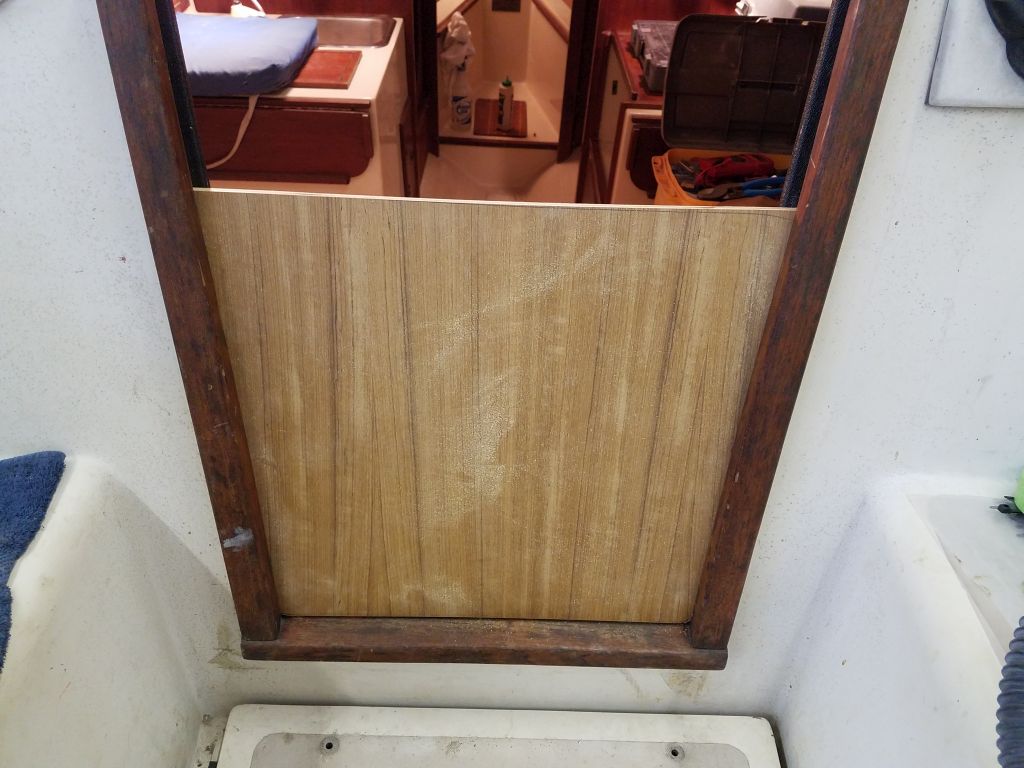

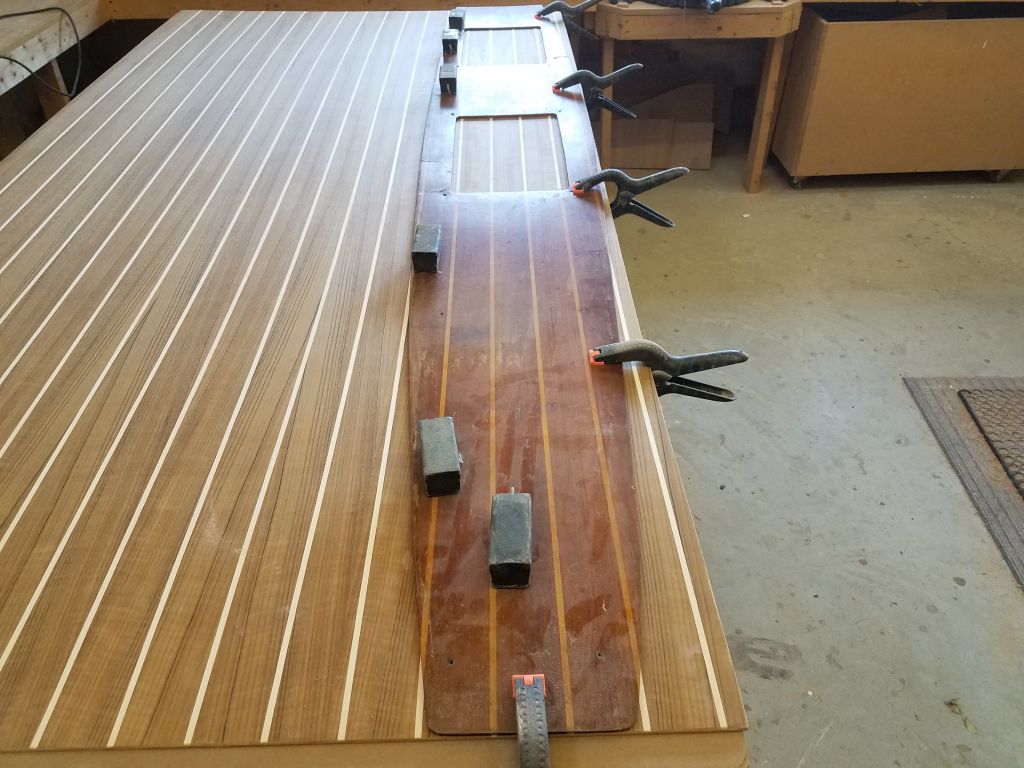
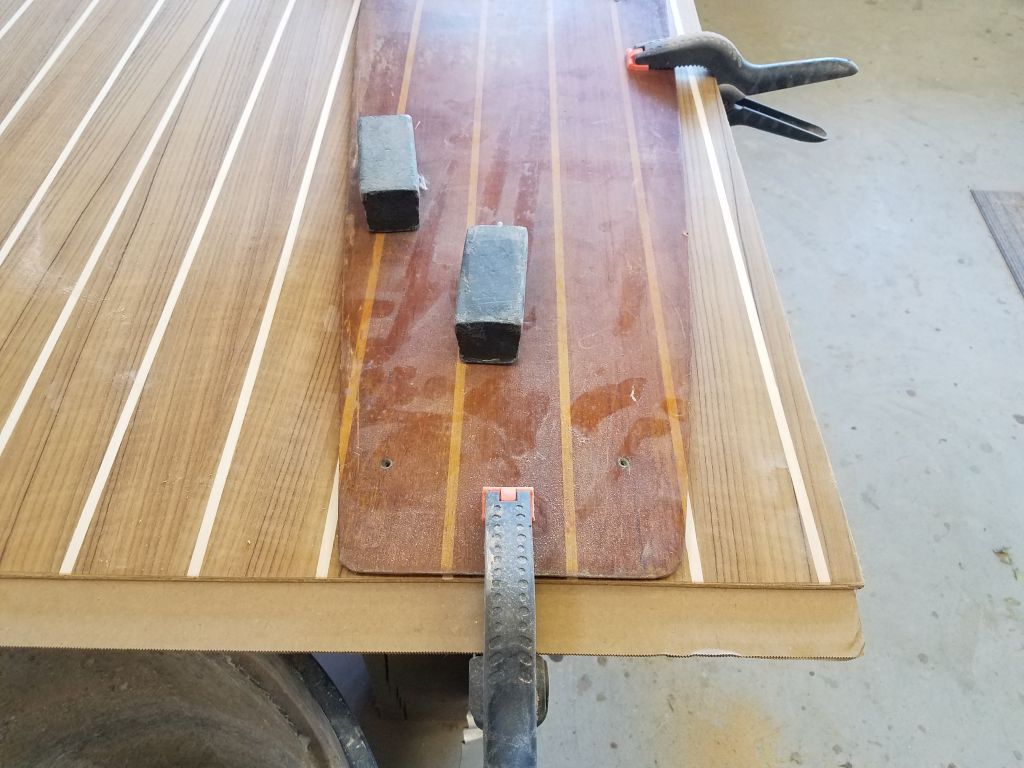
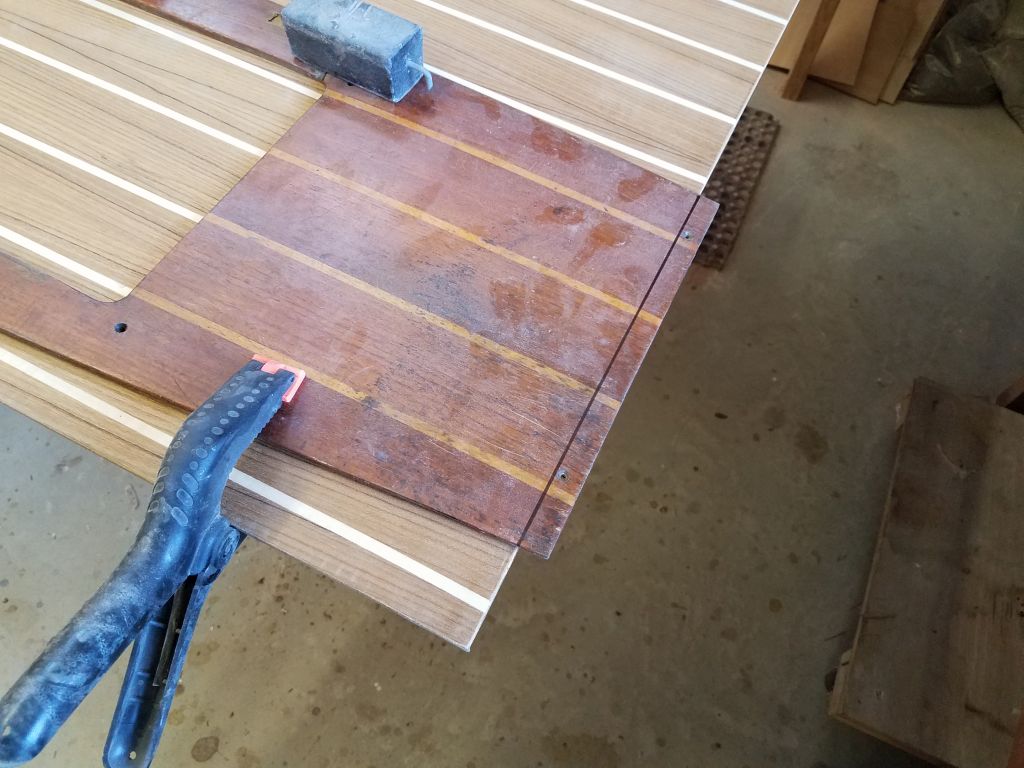
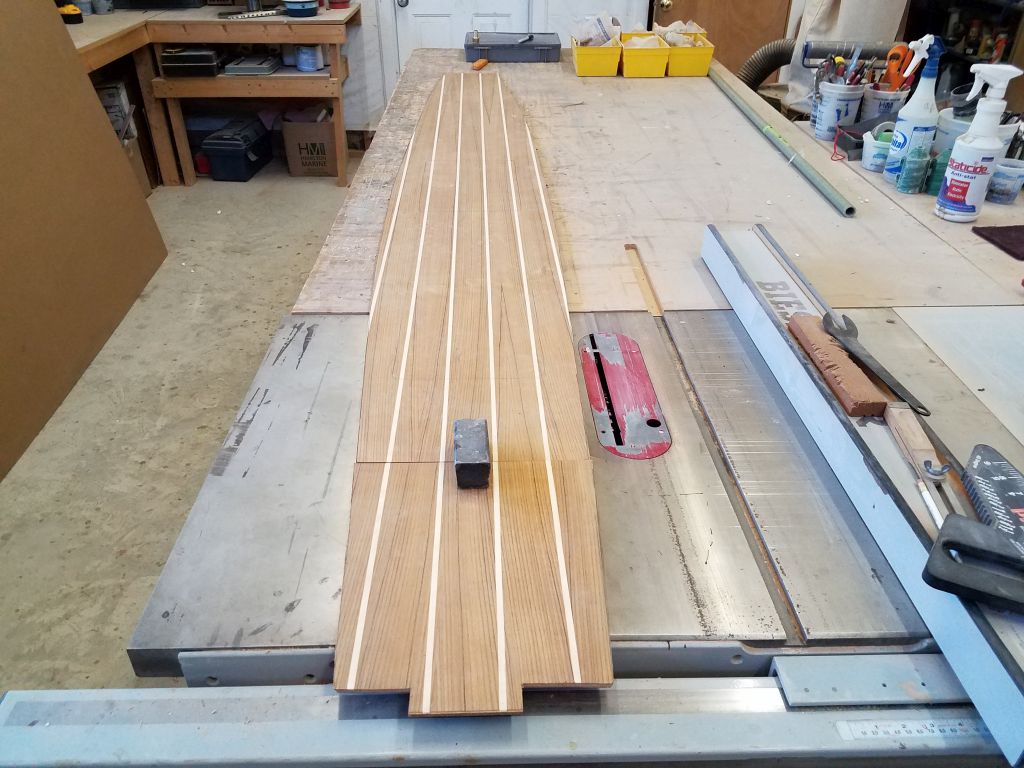
Next on the short woodworking agenda was a replacement cabin sole veneer. The original teak-striped veneer was in poor condition, broken into several pieces and damaged in other ways, but fortunately I could easily piece it back together to use as a template for the new veneer. With the various pieces properly positioned and clamped carefully in place on a new sheet of 1/4″ teak and “holly” (the light strips aren’t actually holly) veneer plywood (which happily had the identical “board” spacing as the original), I traced along the edges and in the openings for the hatches. I found that the new sheet of plywood was about 1/2″ shorter than whatever had been used originally; this posed no problem since the overall length of the required cabin veneer was longer than eight feet by a fair margin anyway, requiring a separate piece at the aft end, but I’d need to slightly change that piece when I got to it.

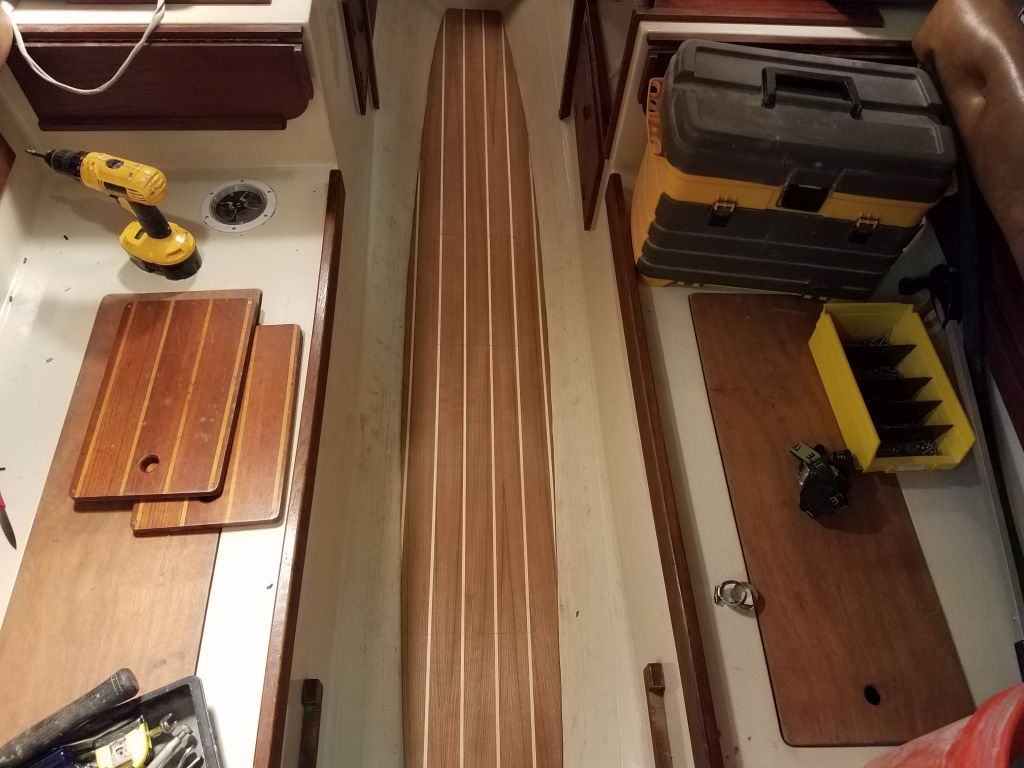
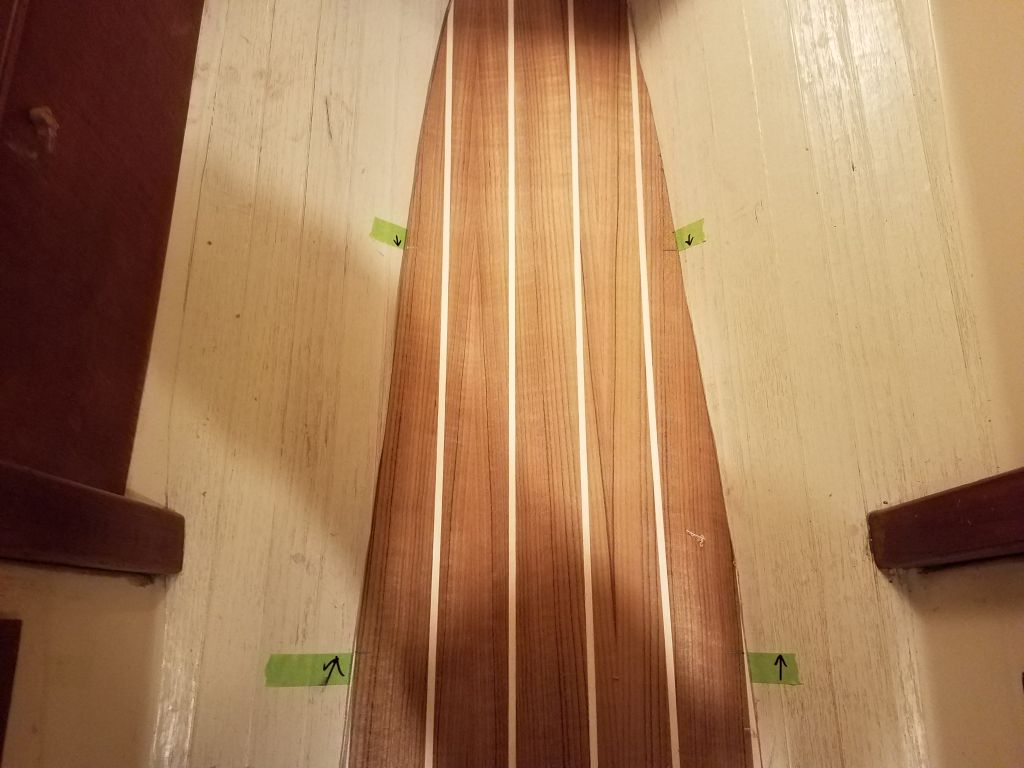
Next, I cut carefully along the lines with a jigsaw set to a bevel to help match the edge of the new veneer to the shape of the hull curvature, and test-fit the main piece in place.
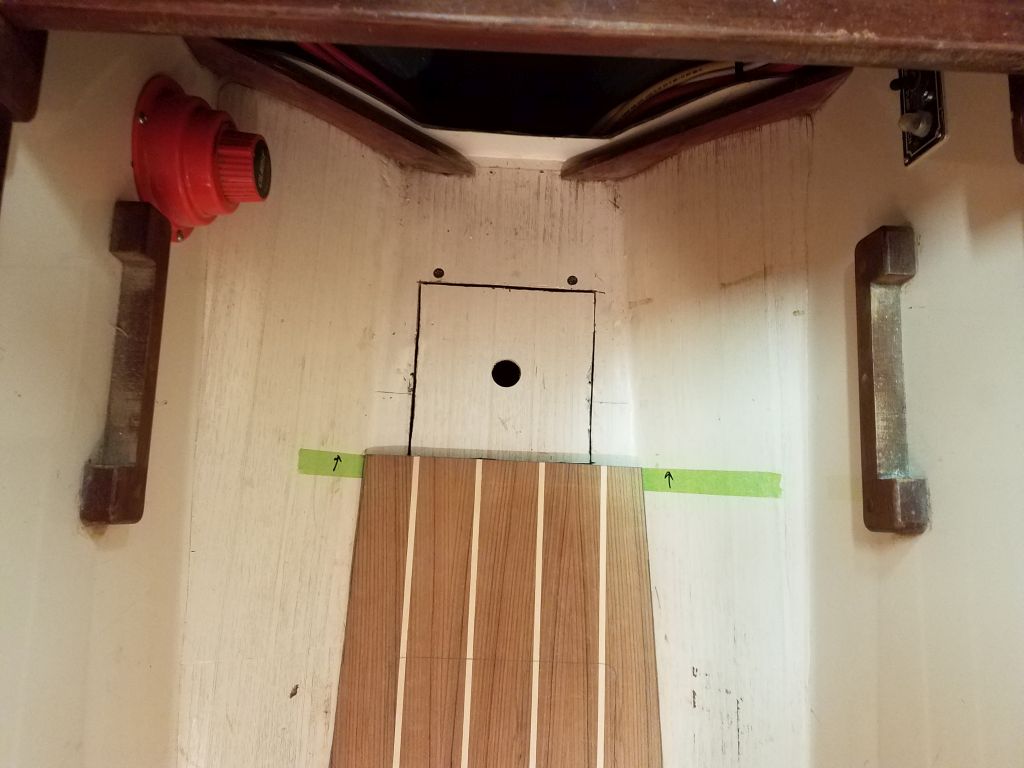
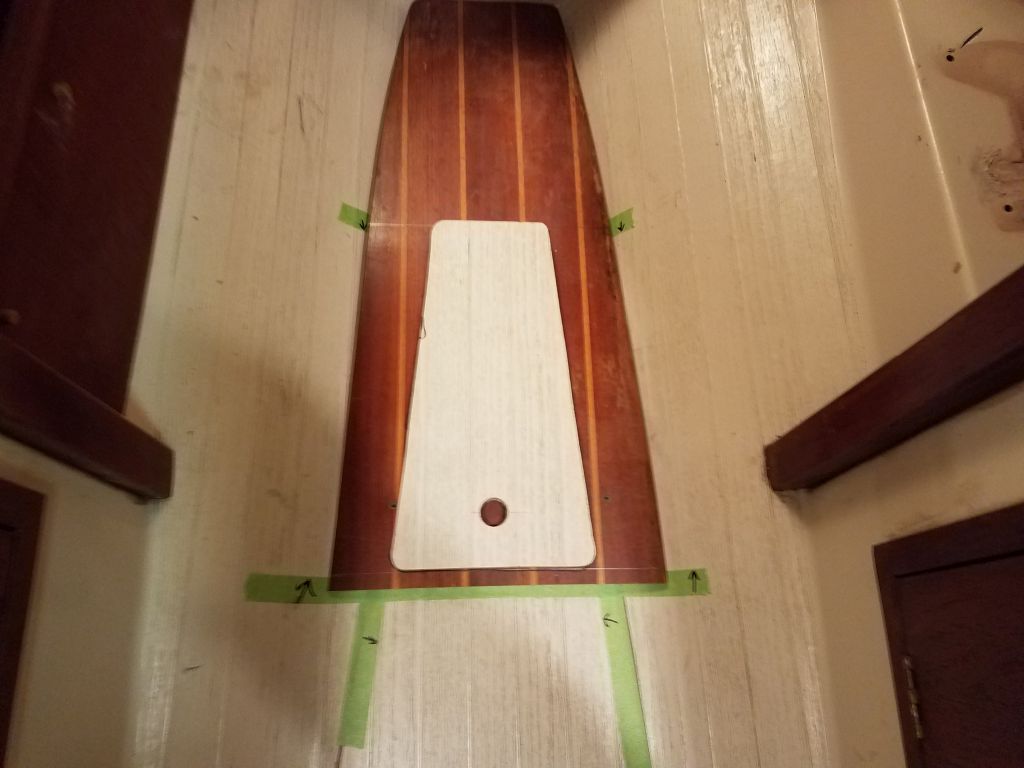
At the aft end, where I needed to incorporate a new opening for the new hatch I’d cut into the sole just forward of the engine room, I decided to cut off the long veneer piece in line with the forward edge of the new hatch, so the separate after veneer piece could also act as the hatch cover itself. To do this, I used tape in a straight line to mark the proper line, and after marking the sole accordingly cut a straight line across.
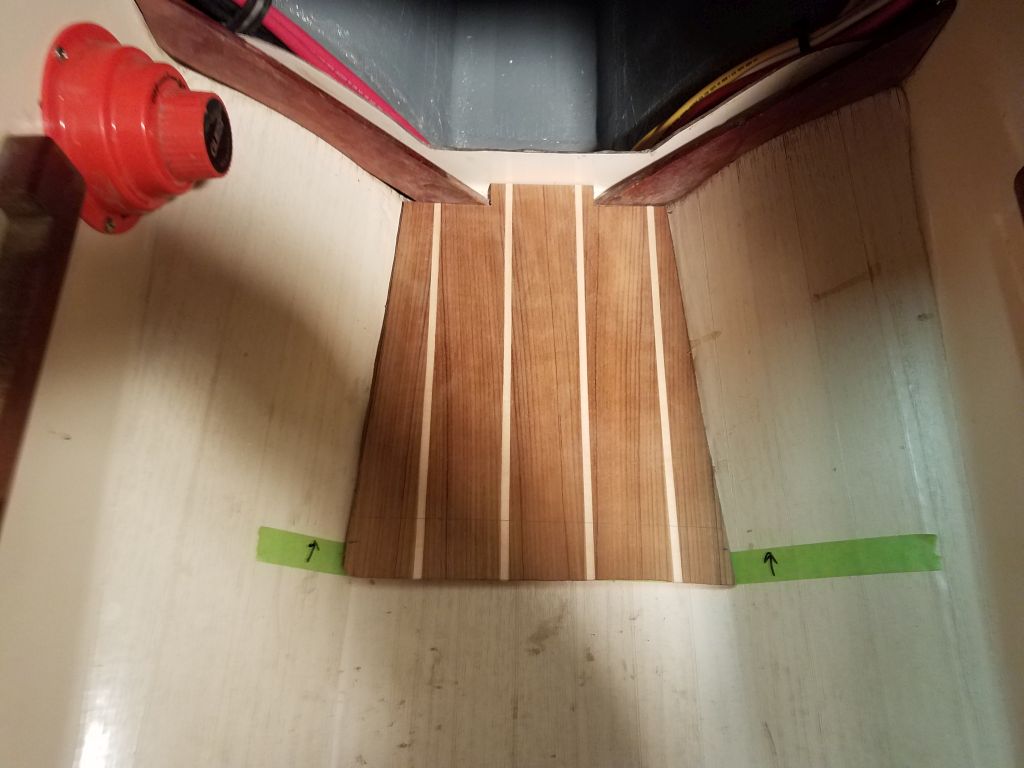
Now I laid out the original aftermost piece of veneer on the new sheet of plywood, and extended it several inches further forward so I could cut its leading edge in line with the hatch cover as well to complete the basic sole section.

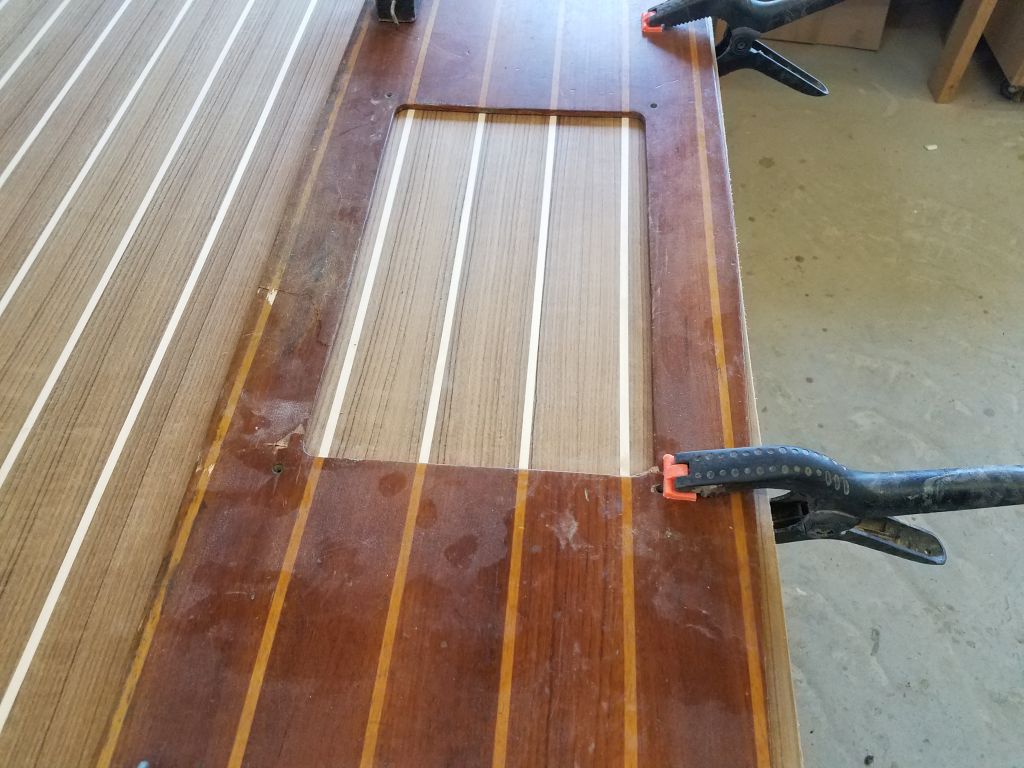
These simple cuts required multiple trips up and down into the boat for measurements, test fits, and so forth, but one critical new layout remained: the new hatch opening at the forward end of the cabin, above the new bilge area created by the waste tank removal. Here, I had no guidance from the original veneer, but with various other measurements, tape marks, and the new hatch itself, I used one section of the old veneer to help me template and test-cut the opening so I could accurately lay it out on the final piece.

Still ahead, I’d need to cut out all three openings in the cabin sole for the hatches, as well as create the new veneer for the small piece in the forward cabin, but I decided to leave those crucial cuts for next time.
Total time billed on this job today: 7.25 hours
0600 Weather Observation: 10°, clear. Forecast for the day: Sunny, 20°