

December 19, 2018
Dharma Rose 19
Wednesday
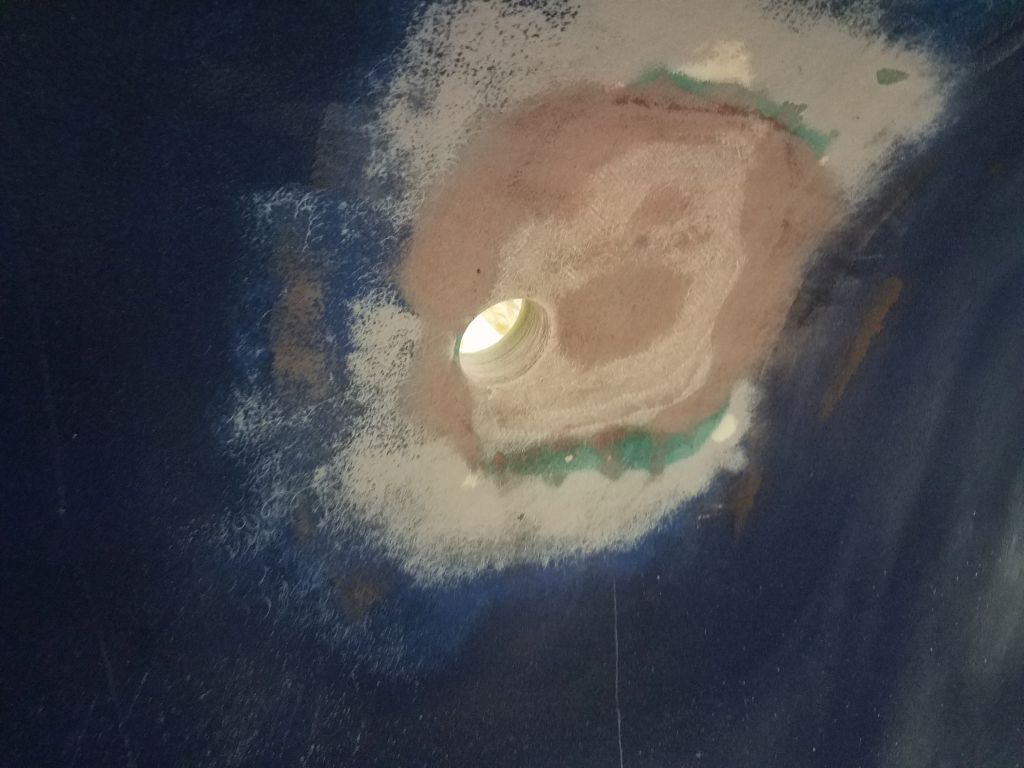
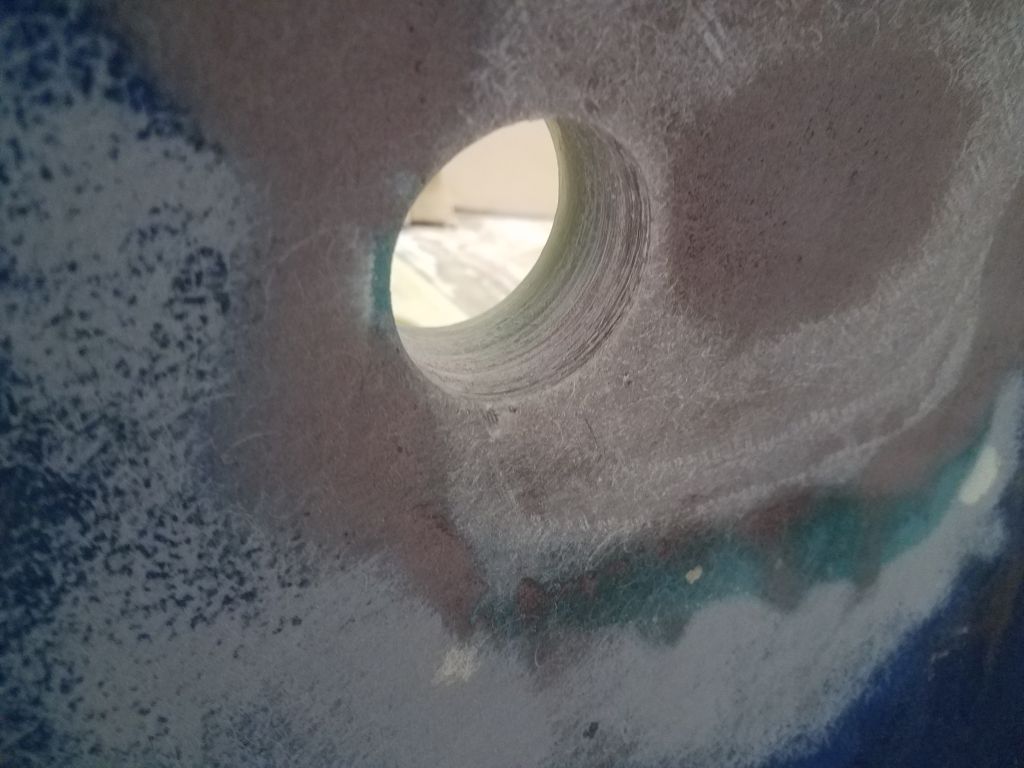
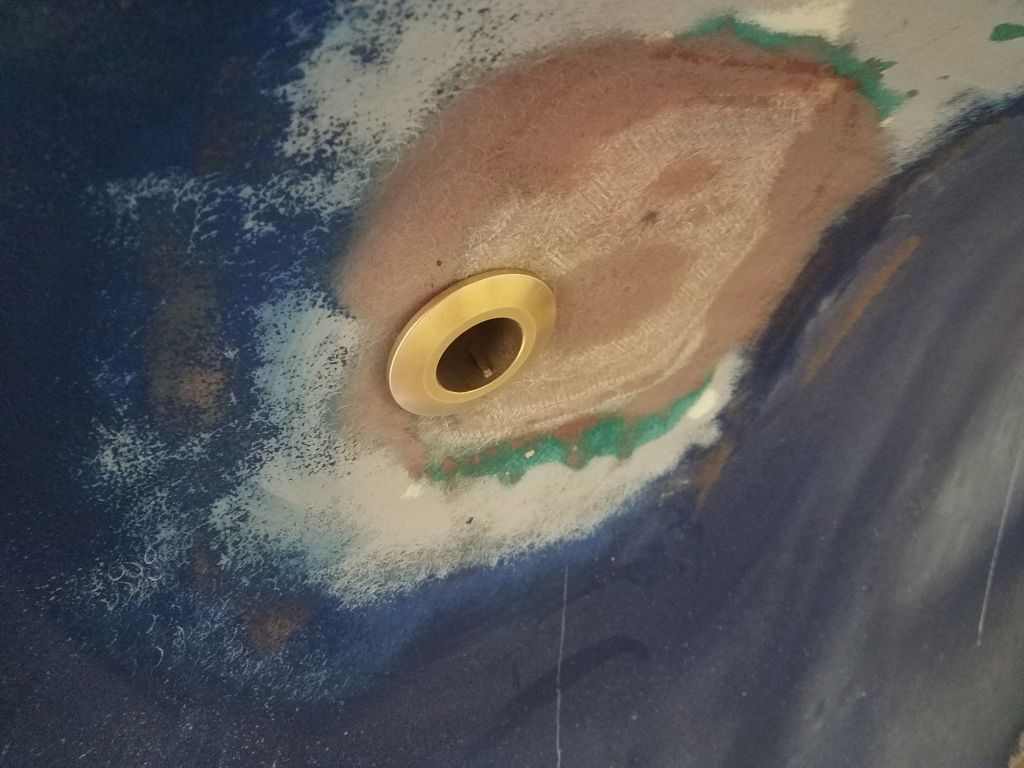
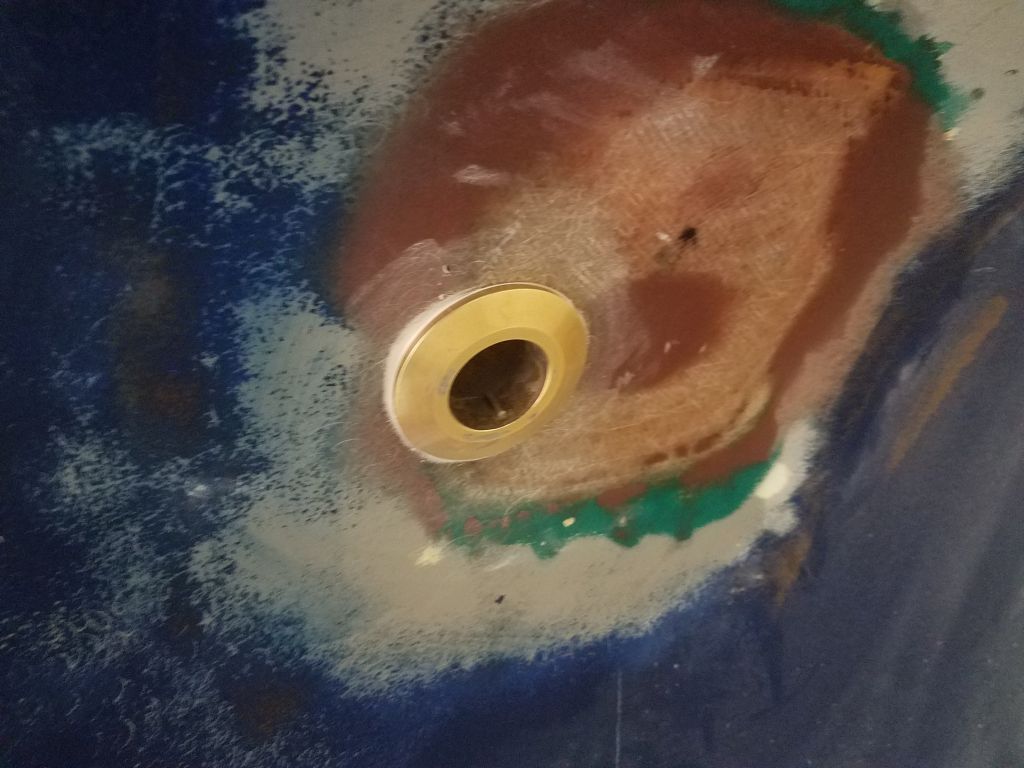
Now the starboard through hull pad was back to where I started earlier in the week, so it was time to move forward with the through hull installation. After lightly sanding the new fillet, I drilled the hole through the hull, using the backing pad for alignment.
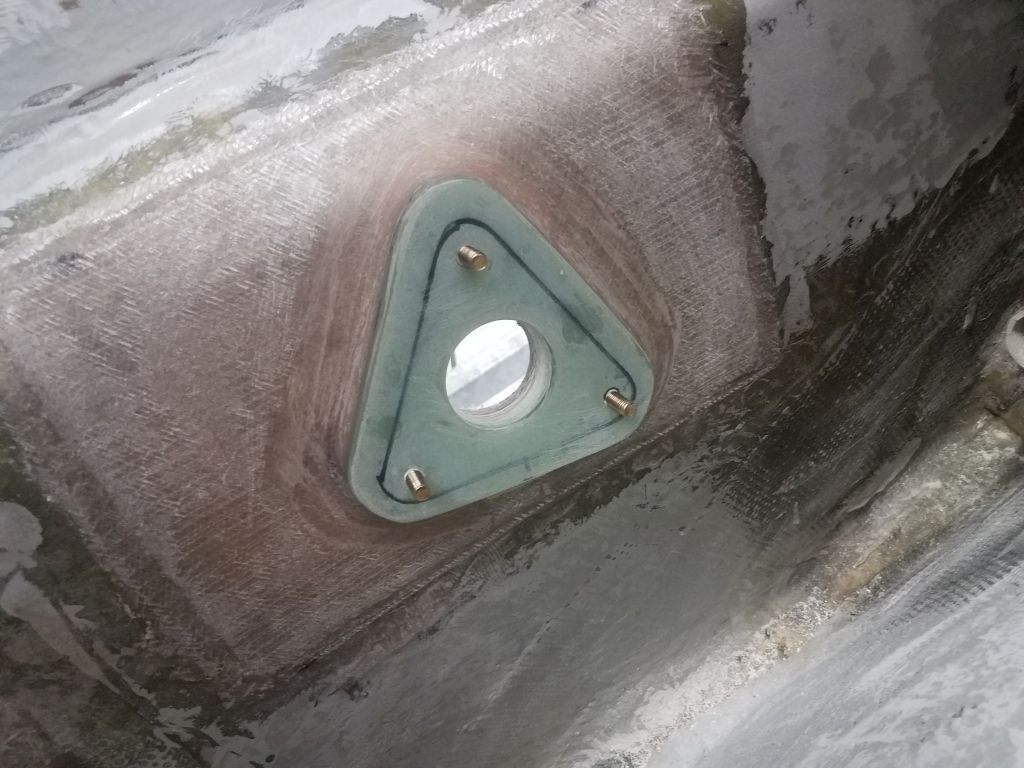

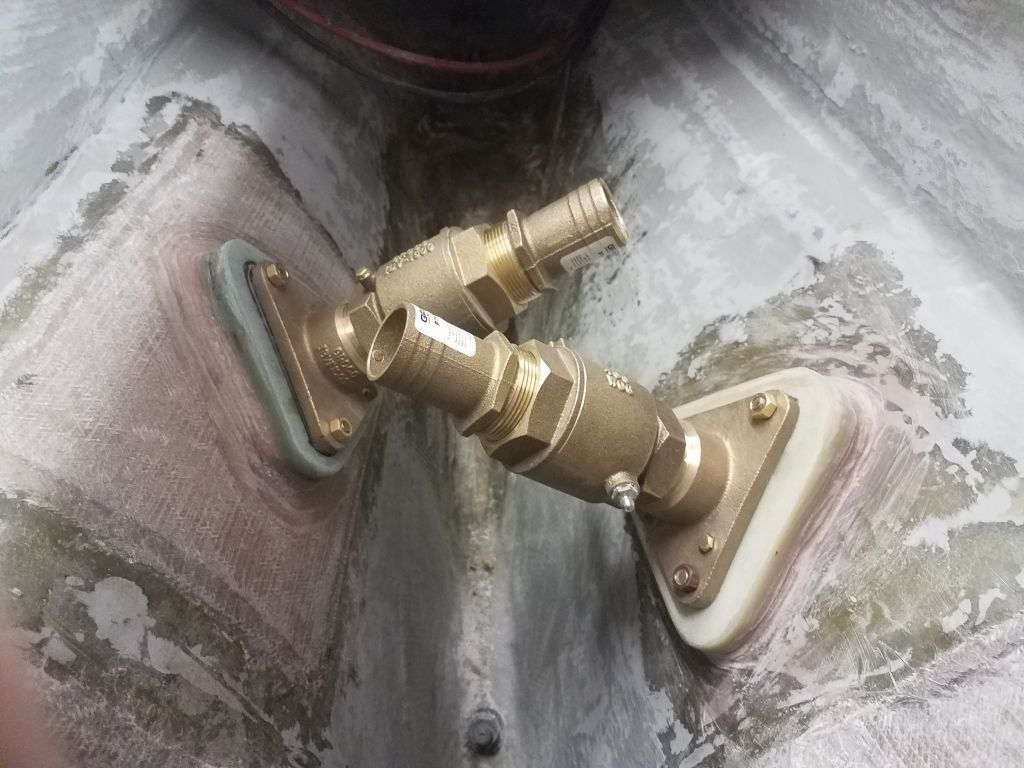
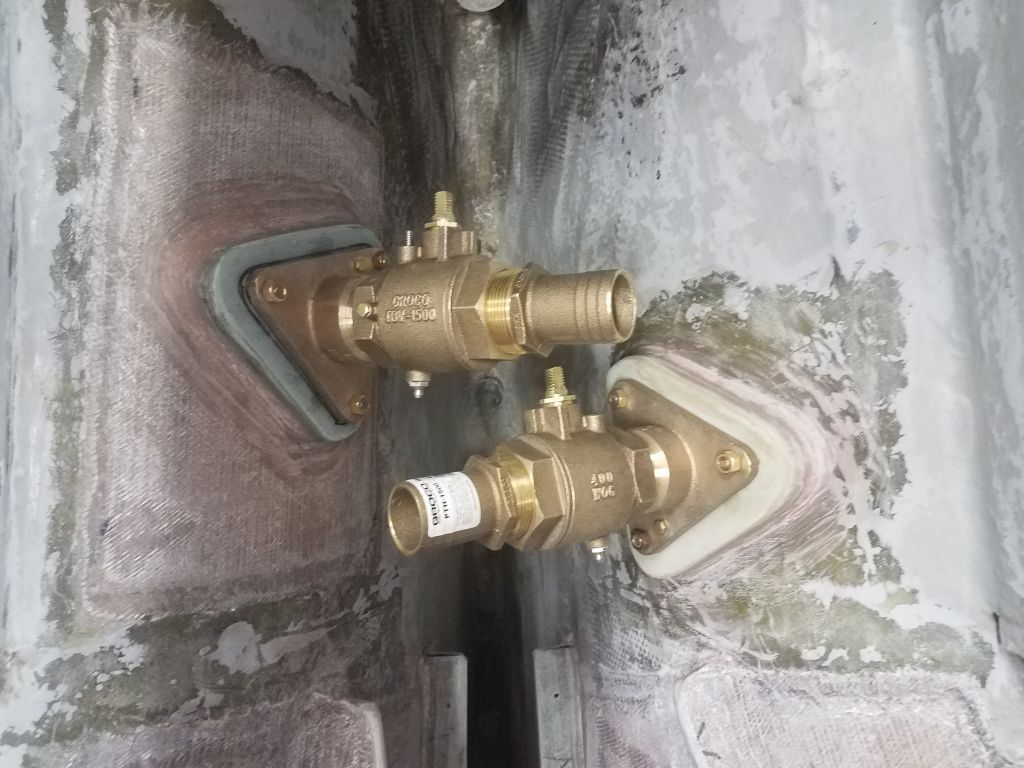
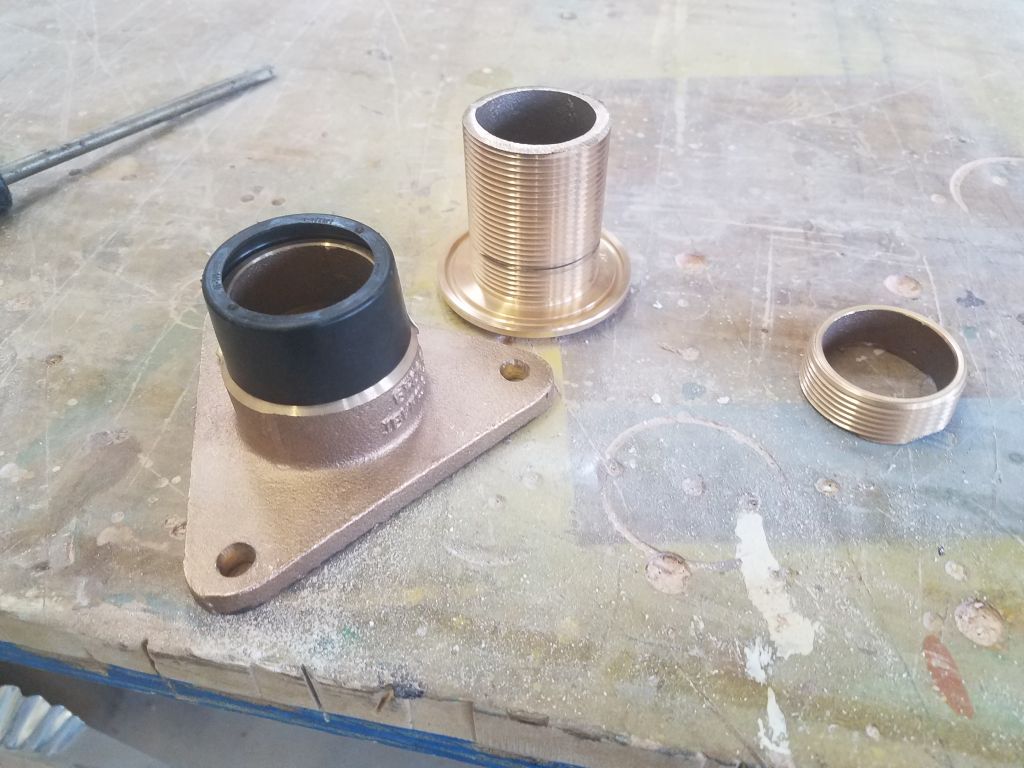
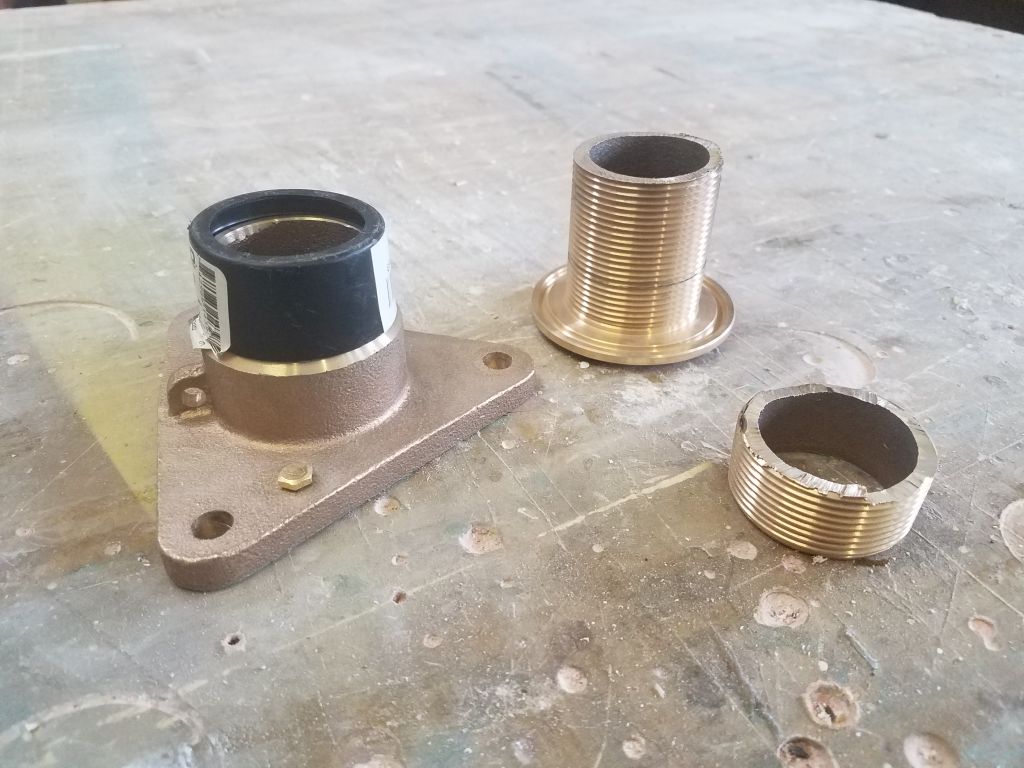
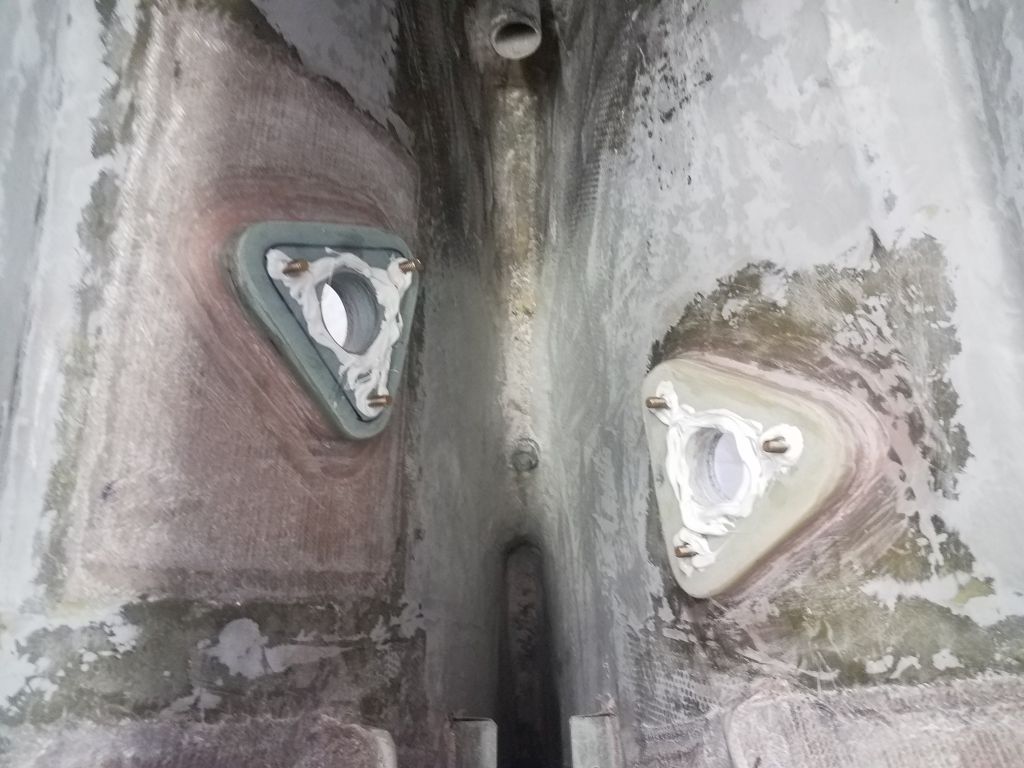
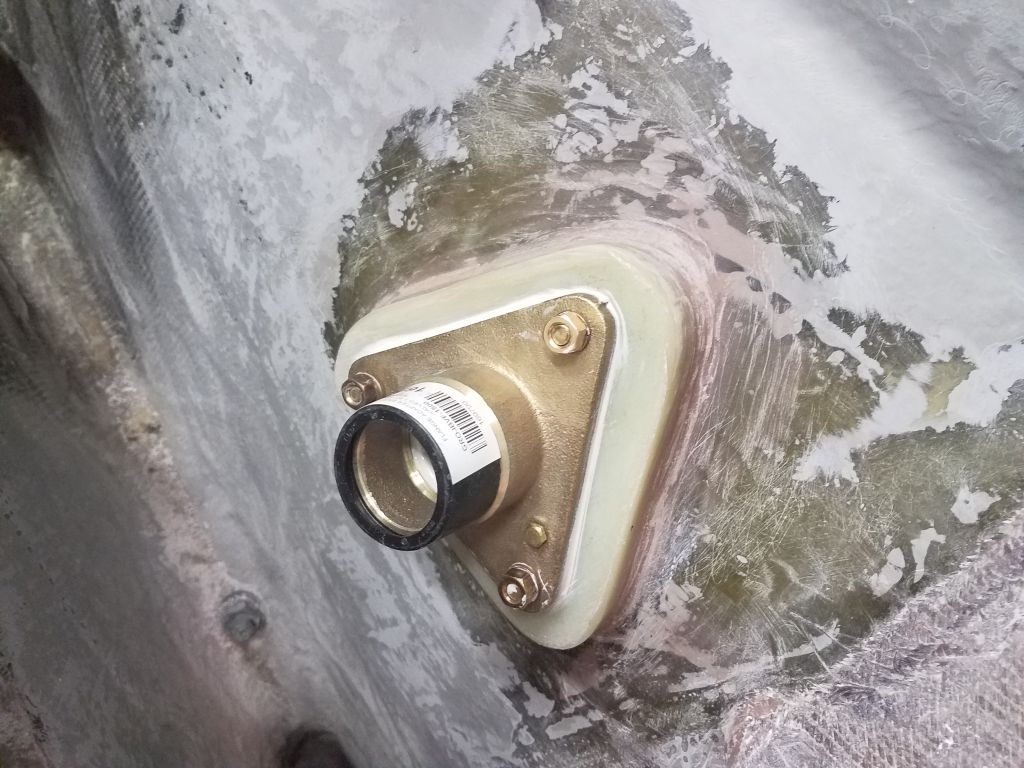
To begin, I dry-fit the flange bases and the rest of the hardware to ensure the proper fit inside–which was all good this time. The valves and hose nipples would easily spin and and off without interfering with each other post-installation, so I didn’t have to worry about having all the hardware in place while I installed the critical bases. During final installation, I’d align the valve handles so that both would operate fully without interference, unlike how they’re shown here.
From outside, I threaded in the through hull fittings as far as they’d go, till they bottomed out in the flange base above, and then marked the threads where they entered the hull so I could cut off an appropriate length of threads.

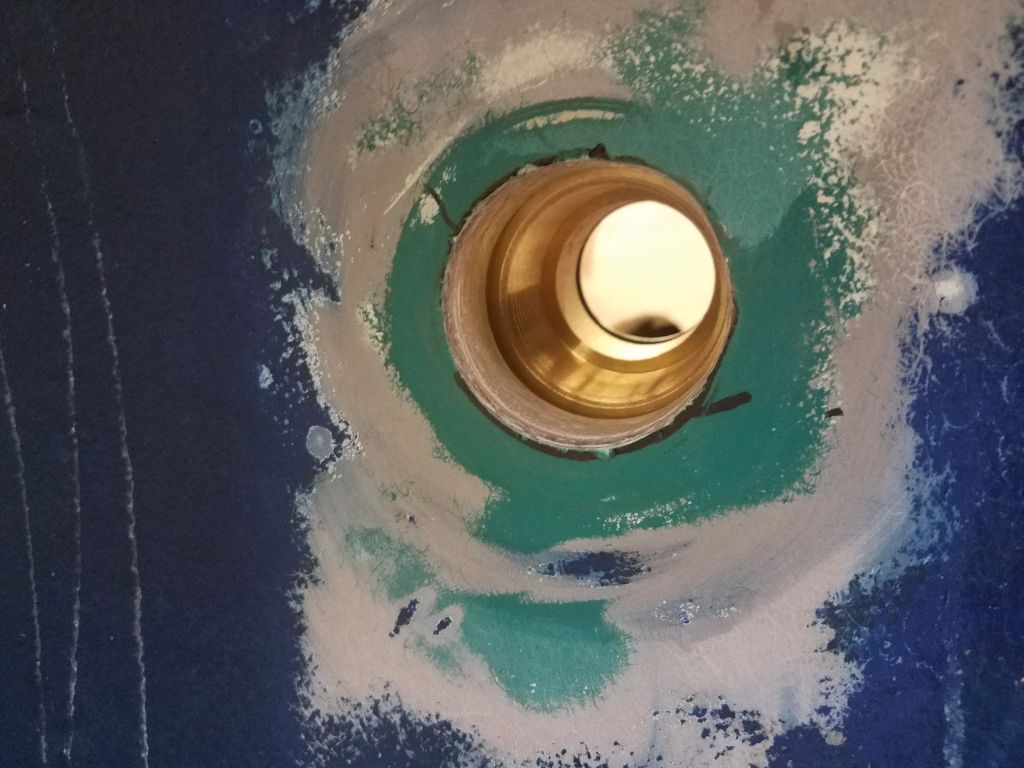
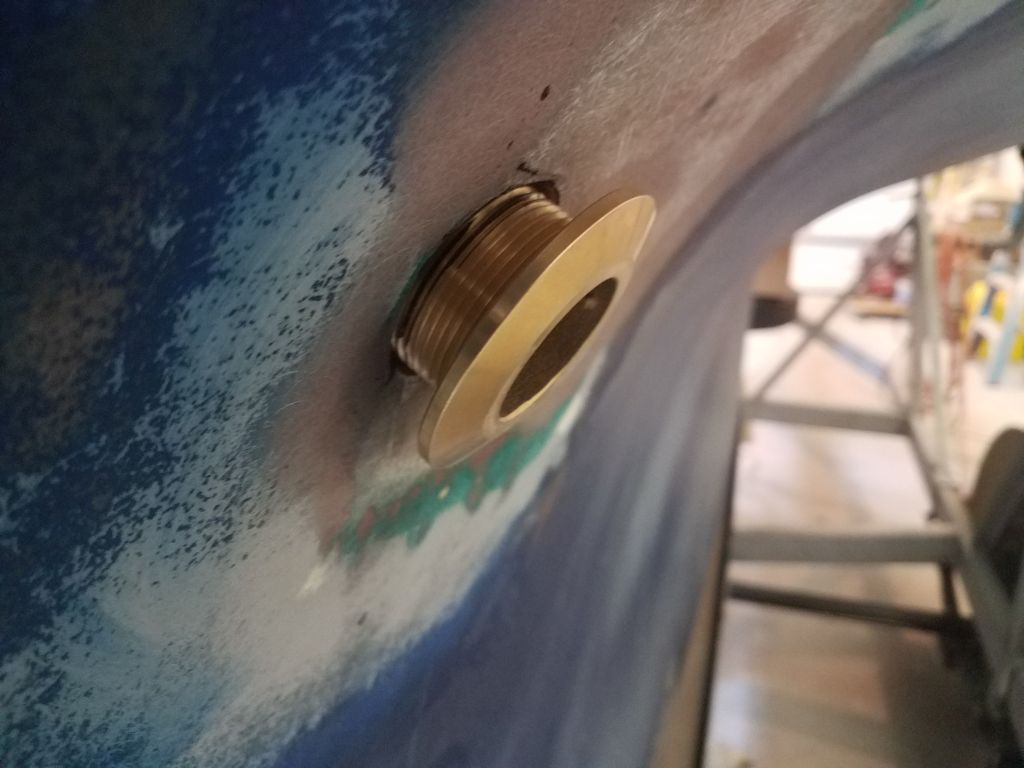
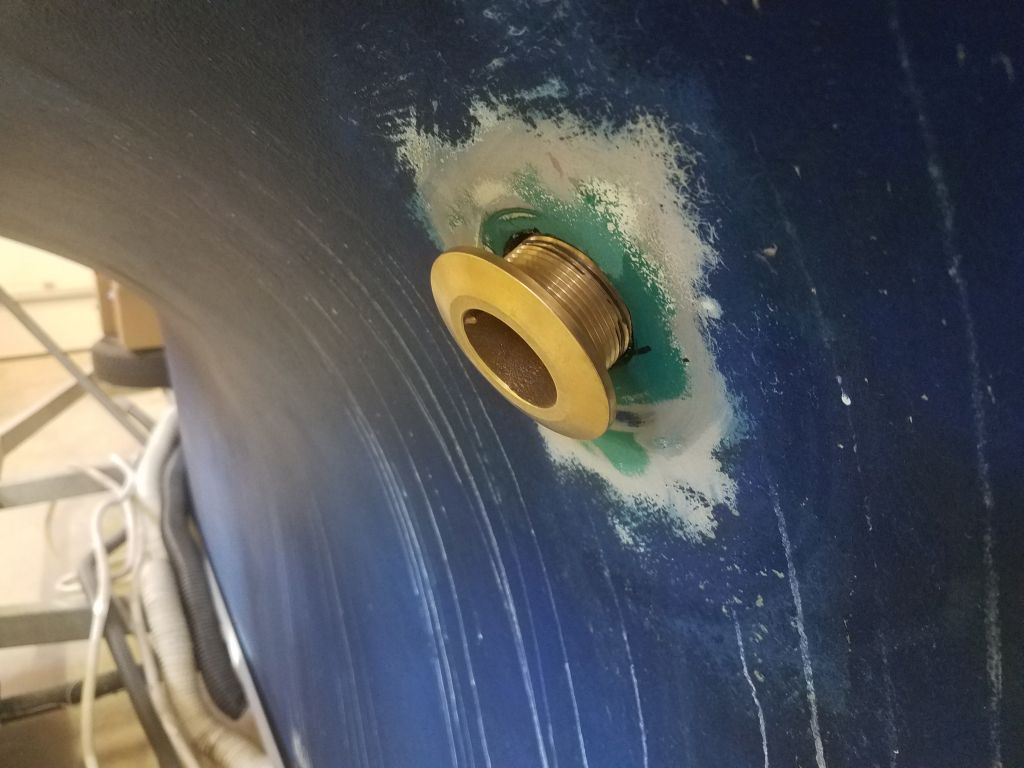
I transferred the measurements generously to the top ends of the through hulls and cut off the excess with a grinder, cleaning up the threads using the original through hull nuts. This meant that now I could thread the through hulls in tightly from outside.

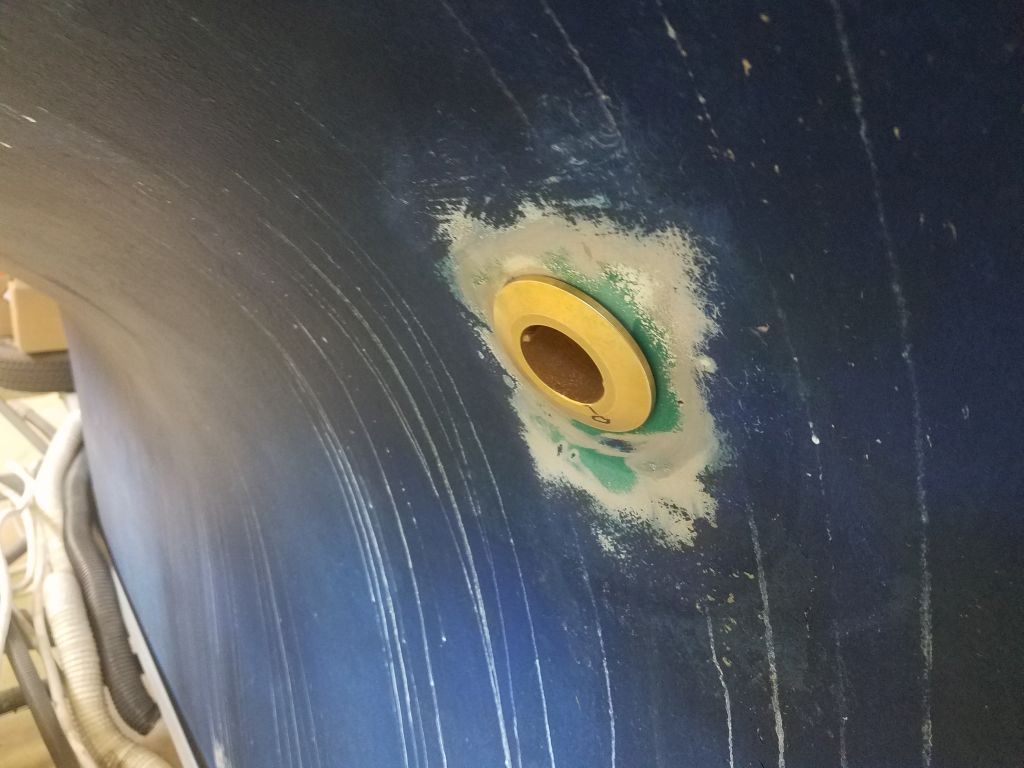
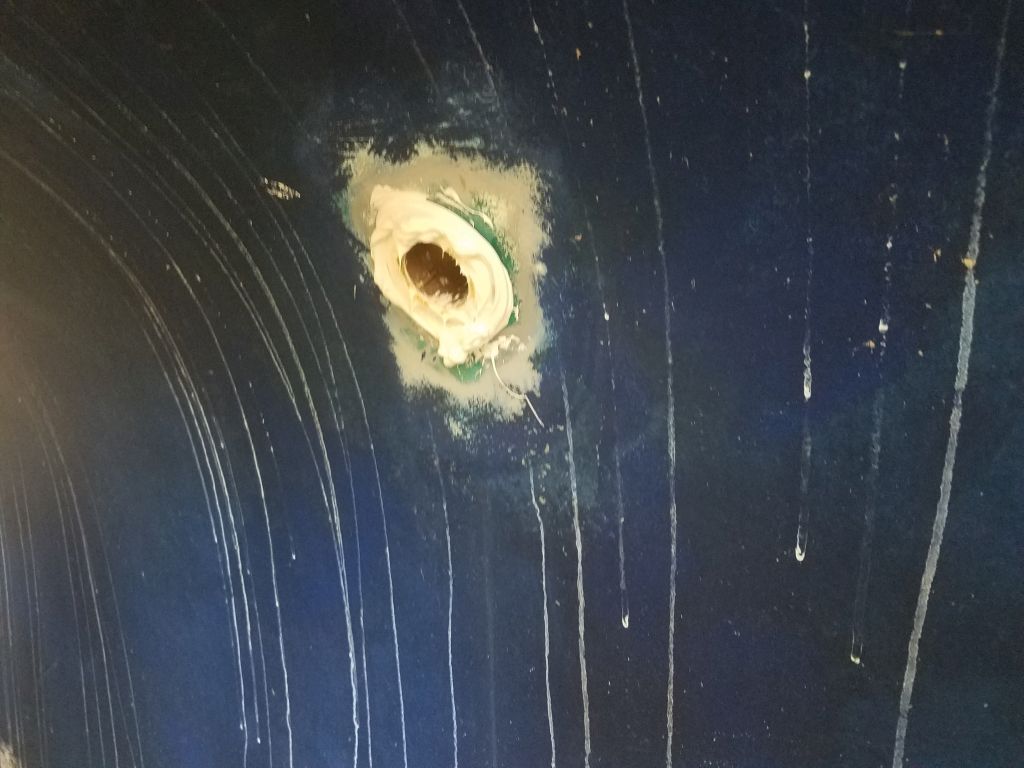
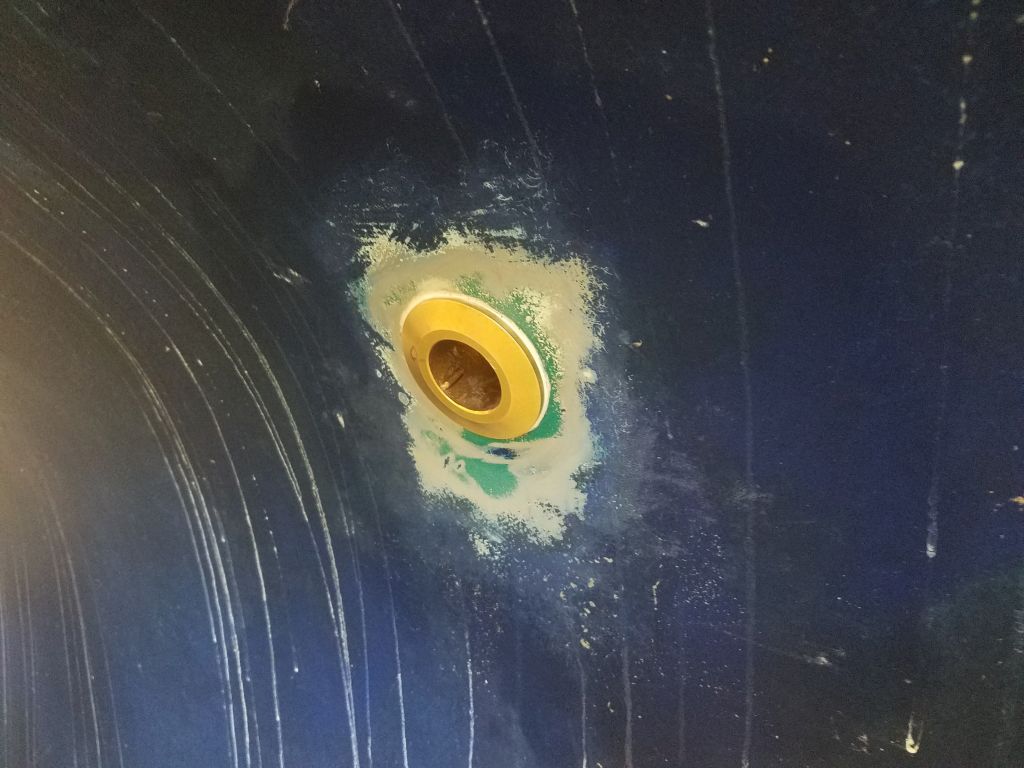
Satisfied with the fit, I disassembled everything and proceeded with the final installation. Starting inside, I applied polyurethane sealant to the tops of the pads, and installed the flange bases hand-tight with the nuts to secure them. Then, outside, I gooped up the through hull necks and heads heavily with the sealant and threaded them in tightly using a through hull tool, creating lavish squeezeout. The starboard side gave me some fits when I had trouble starting the threads, but eventually I prevailed.
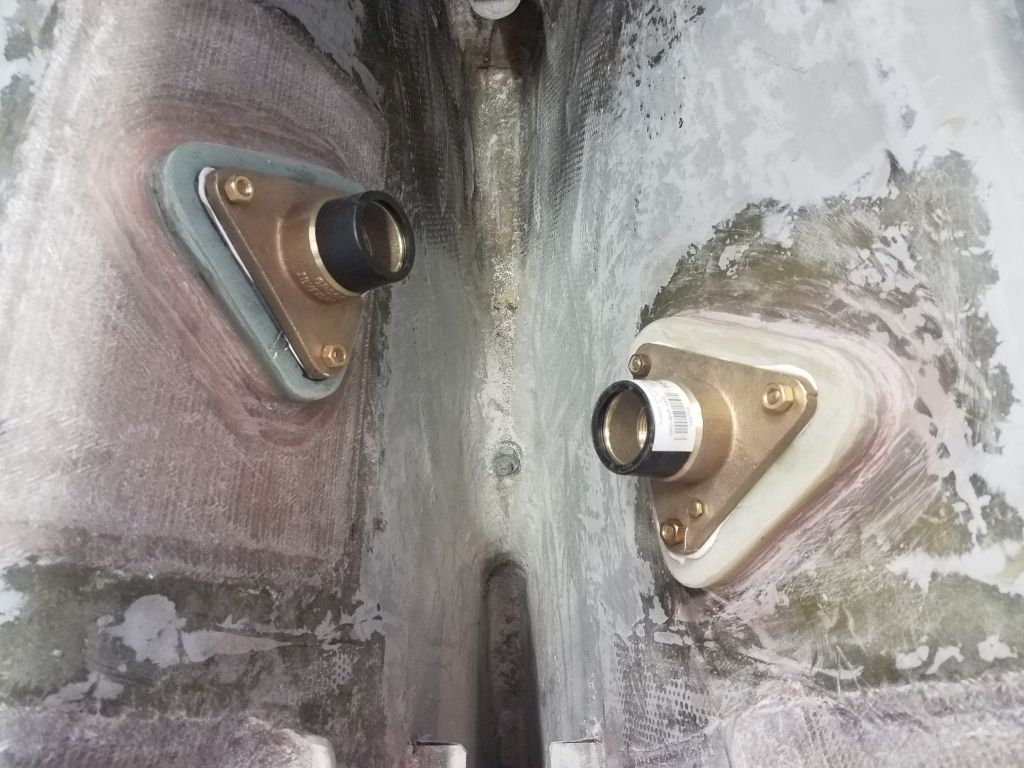
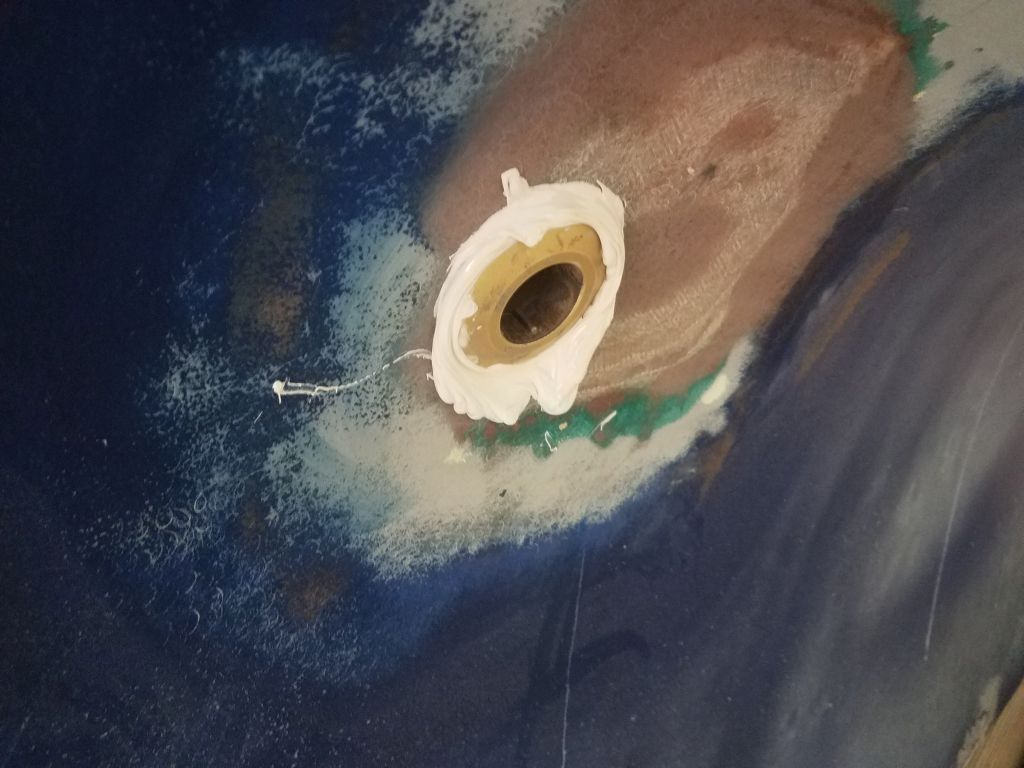
Inside once more, I added lockwashers to all the mounting studs and tightened the nuts securely, and cleaned up any excess sealant squeezeout inside and out. I’d wait to install the valves and other hardware till after I’d painted the engine room in the near future.


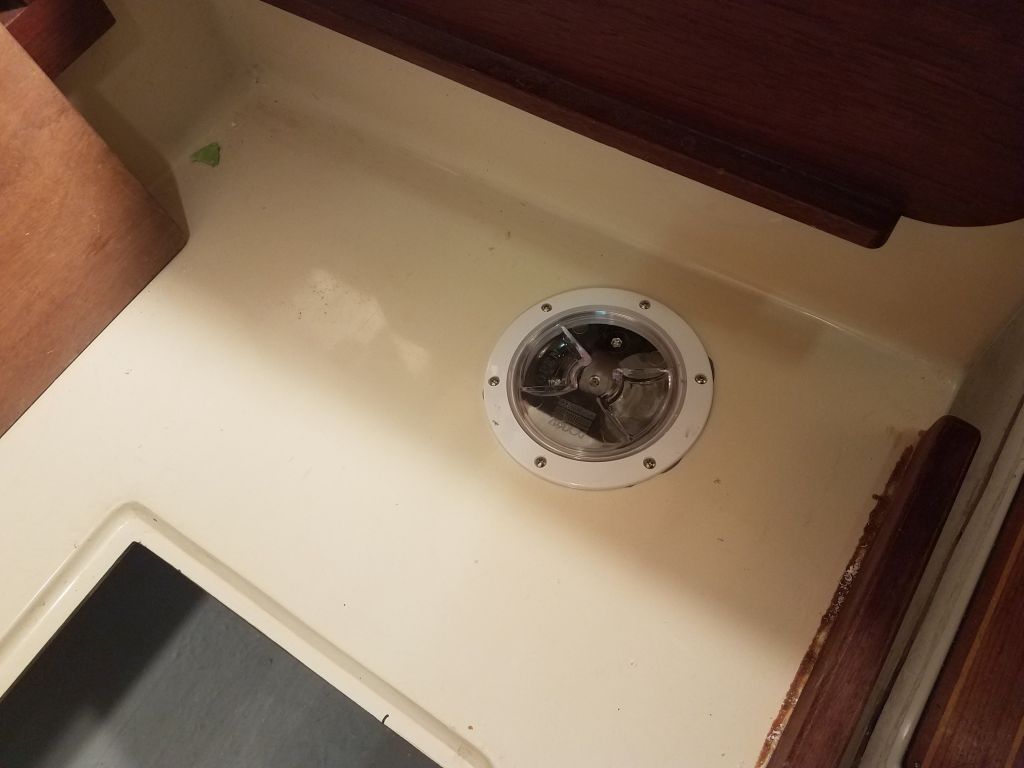
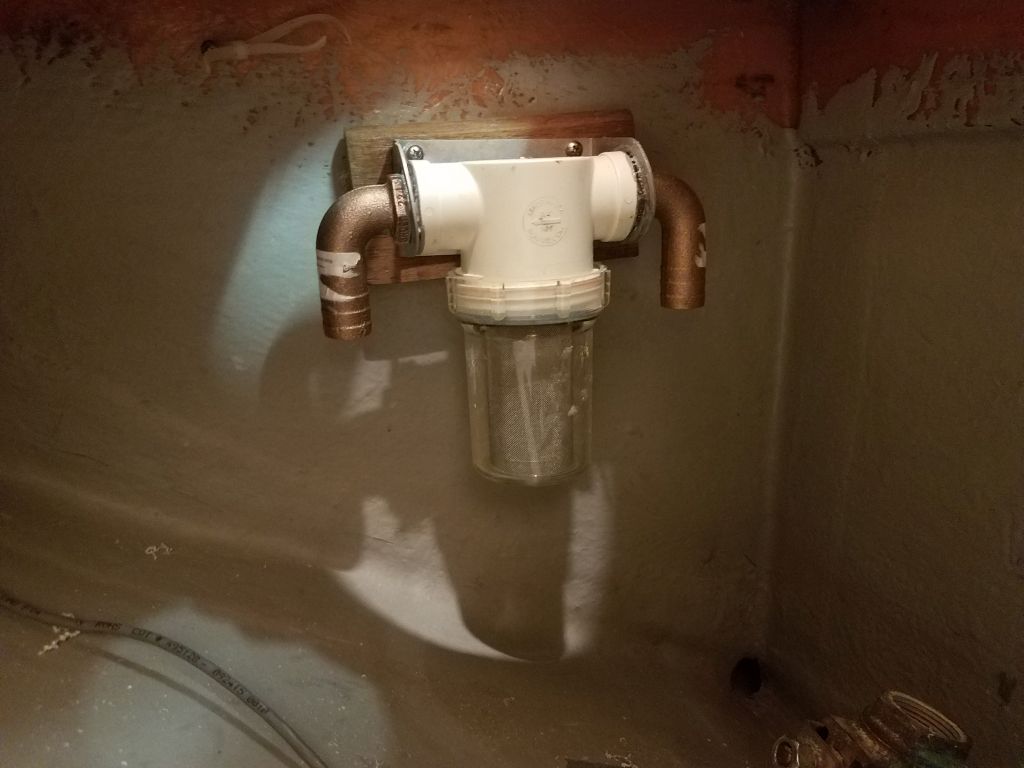
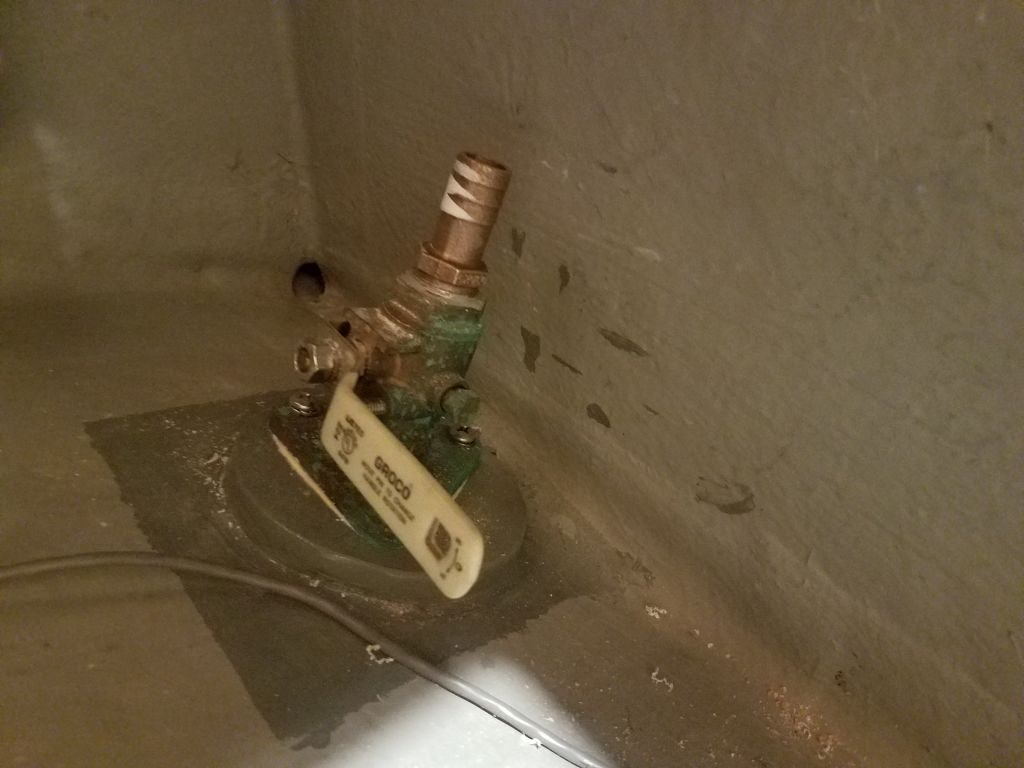
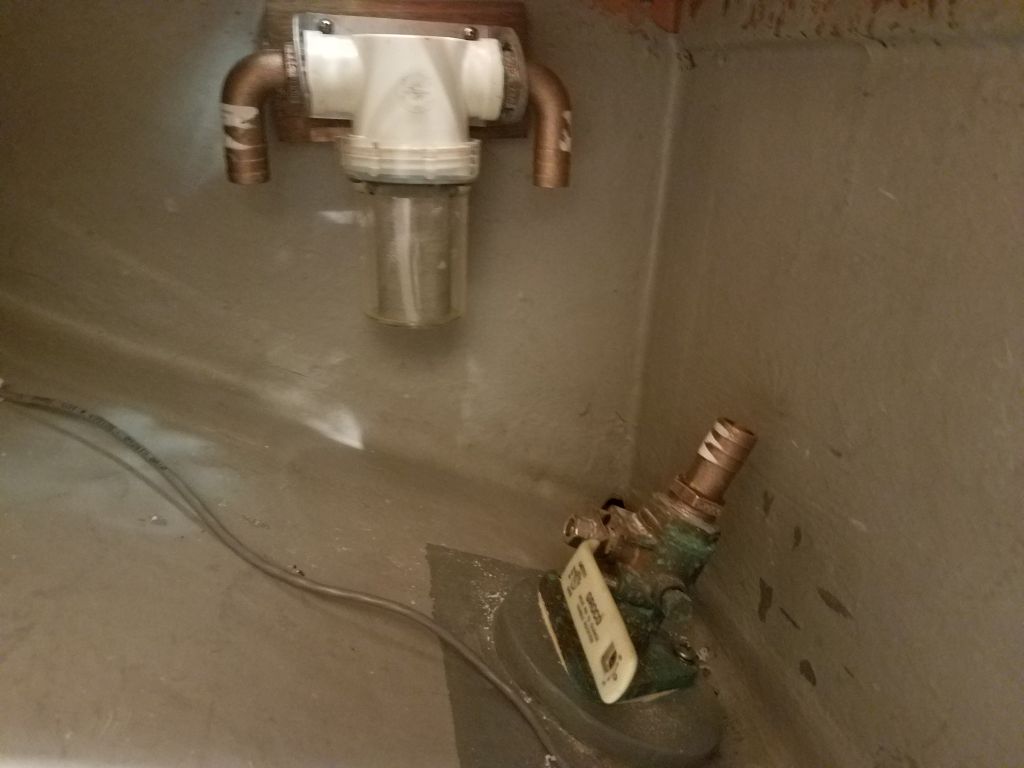
Later, I continued work on my final pre-engine install list, starting with the raw water filter that I’d removed earlier in the project. To improve access for inspection and maintenance, at the owner’s request I added a simple screw-in deck place in the berth top above the filter location, which would greatly ease future connections and basic maintenance of the filter. I changed the fittings on the filter to a larger 3/4″ size to accommodate the new hose (along with a new 3/4″ hose connector on the nearby through hull), and reinstalled the filter to the bulkhead as it had been when the boat arrived. I’d do the hose runs later, once the engine was in place.

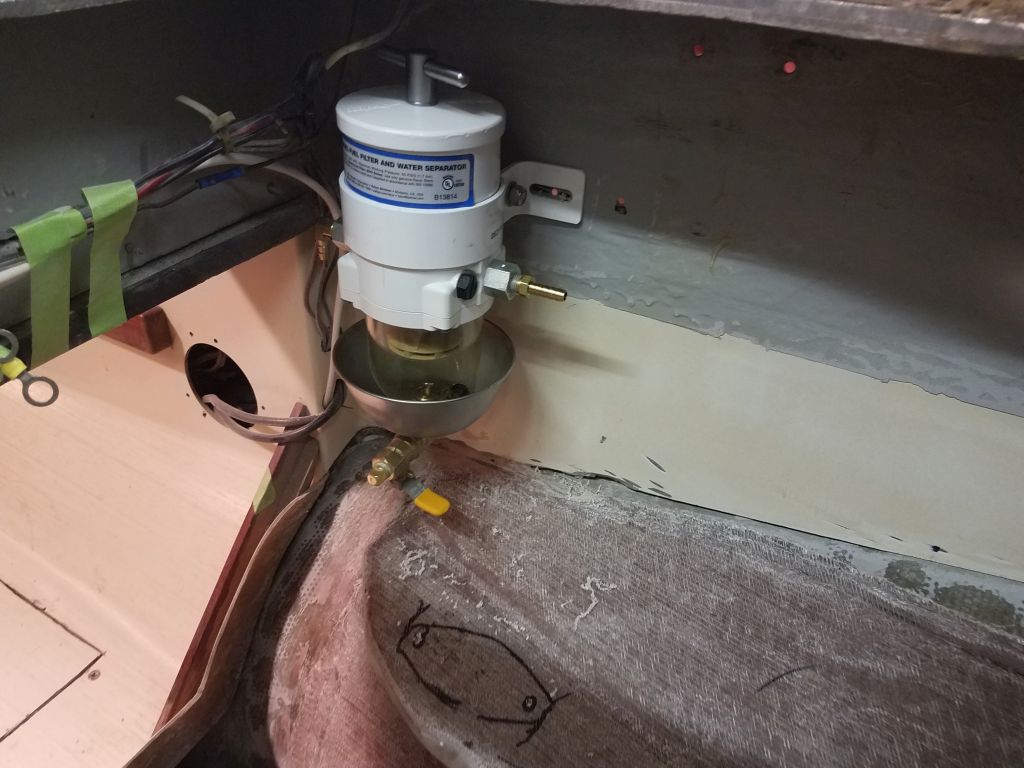
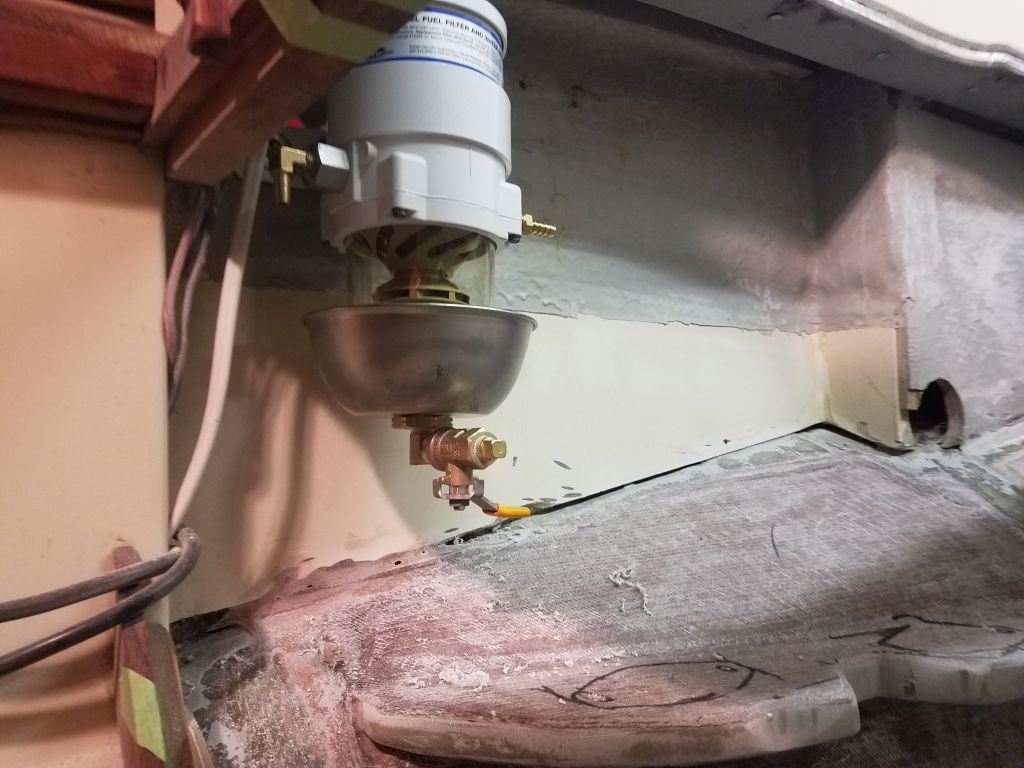
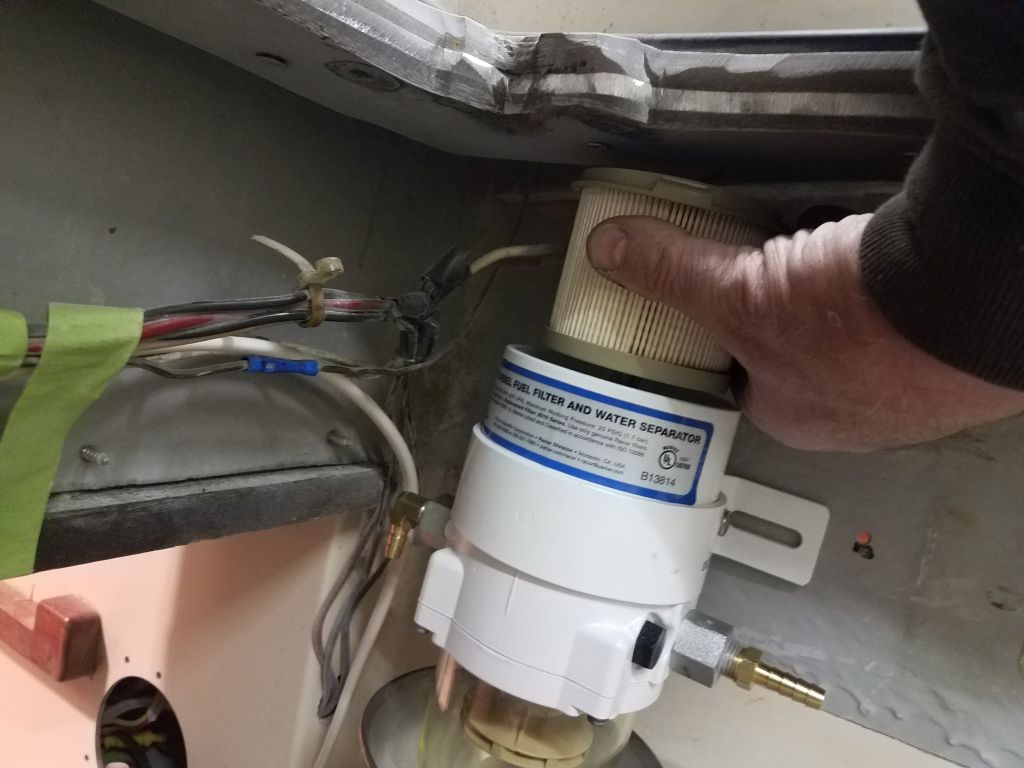
I located the new fuel filter at the forward end of the engine room, leaving ample room for servicing both ends of the filter. This was a temporary installation only, as final installation would wait till I painted the engine room.


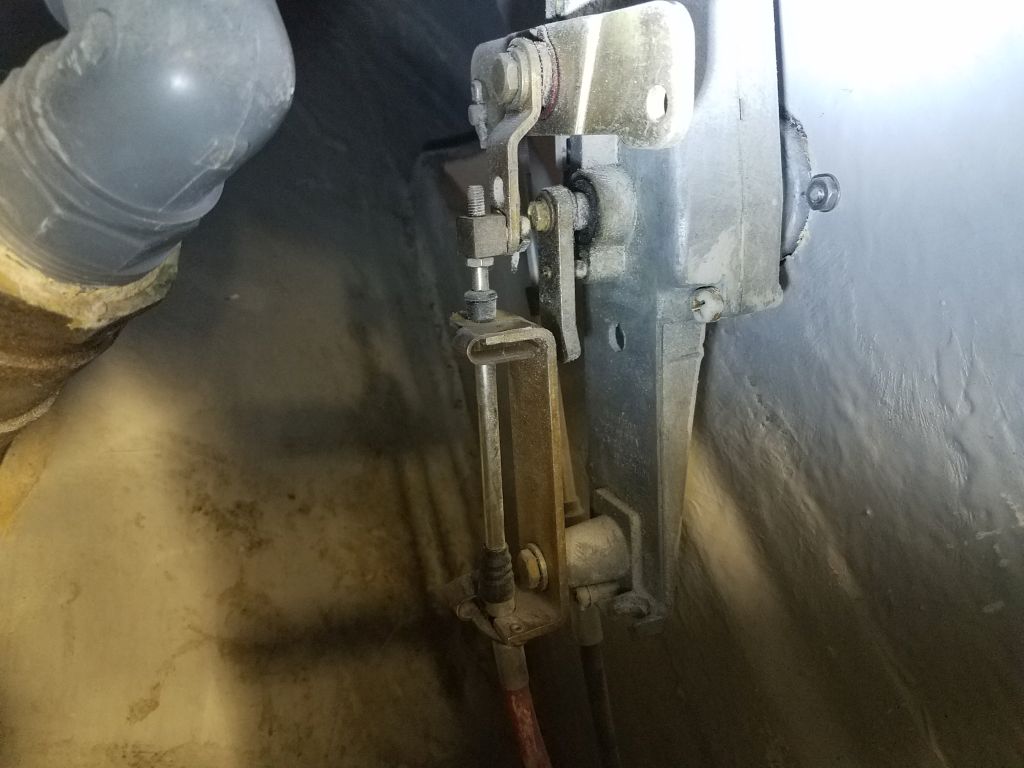
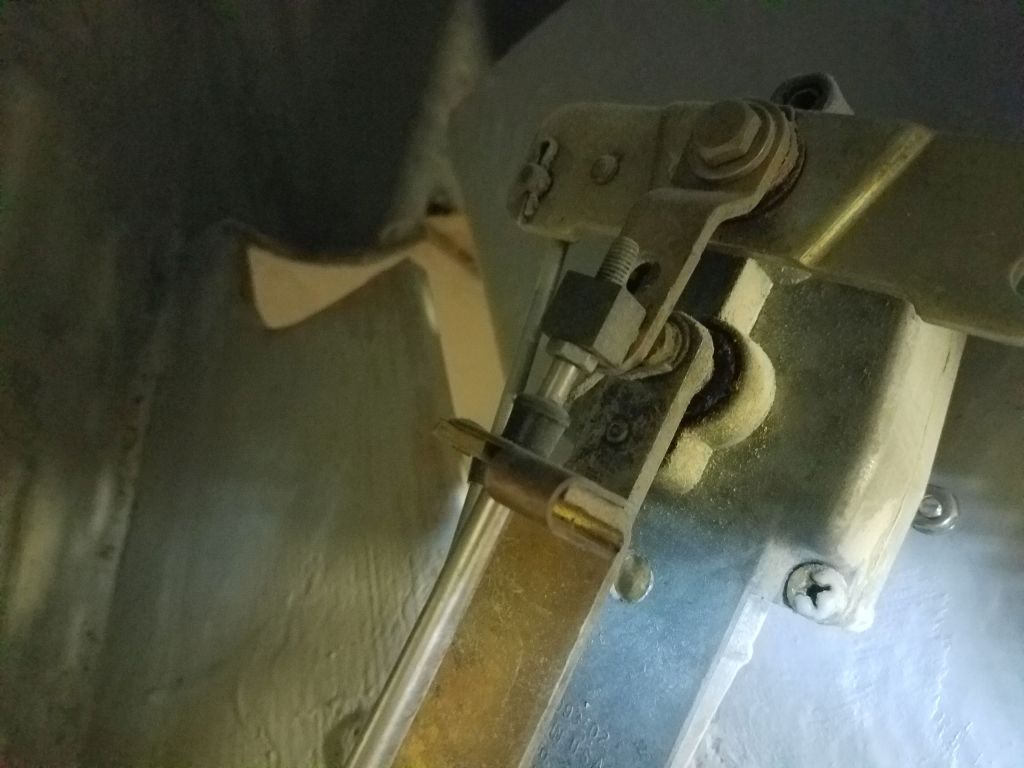
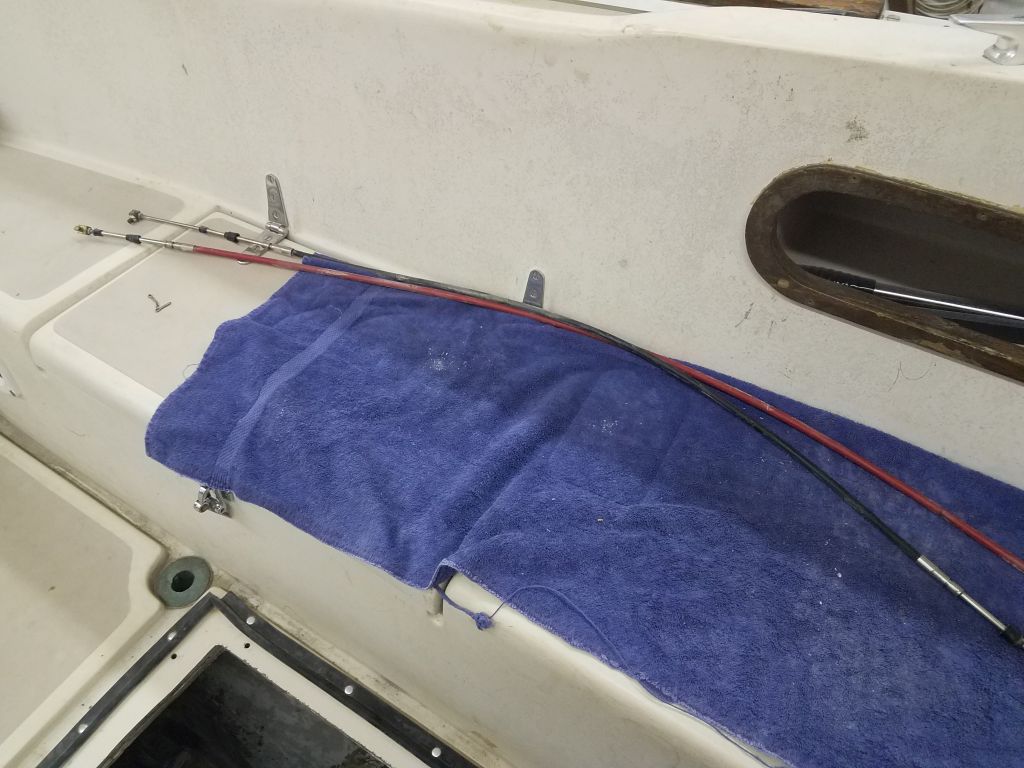
The old engine control cables were still in place, and I planned to replace them with new. In addition, I’d need to change the gear lever position to accommodate the way the transmission lever on the new engine operated, so now I removed the two cables while access was as good as it could ever be in the tight space aft of the still-adrift fuel tank. The control unit itself was in good condition, and I’d install new cables as soon as I could get measurements for their lengths.

Total time billed on this job today: 6.5 hours
0600 Weather Observation: 12°, mostly clear. Forecast for the day: Sunny, low 30s