

December 21, 2018
Dharma Rose 21
Friday
Overnight, the cockpit drain channel, which I’d filled with water, leaked out through the port scupper fitting in the deck, leaving water only in the fittings and confirming what I’d already determined shortly after adding the water.
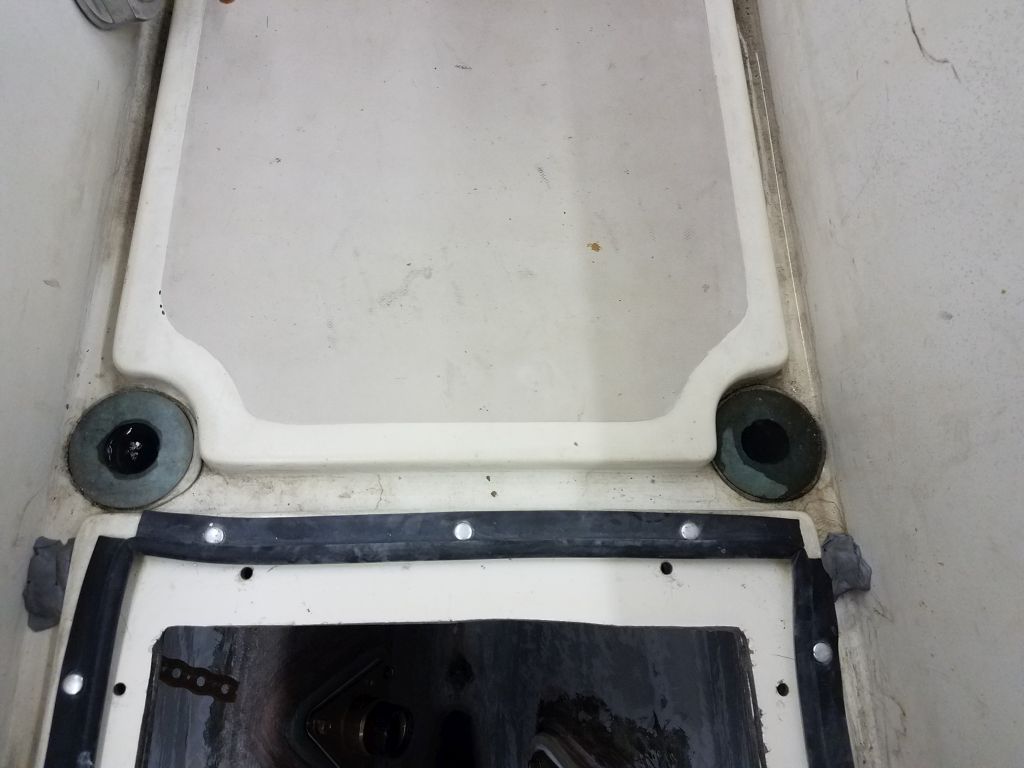
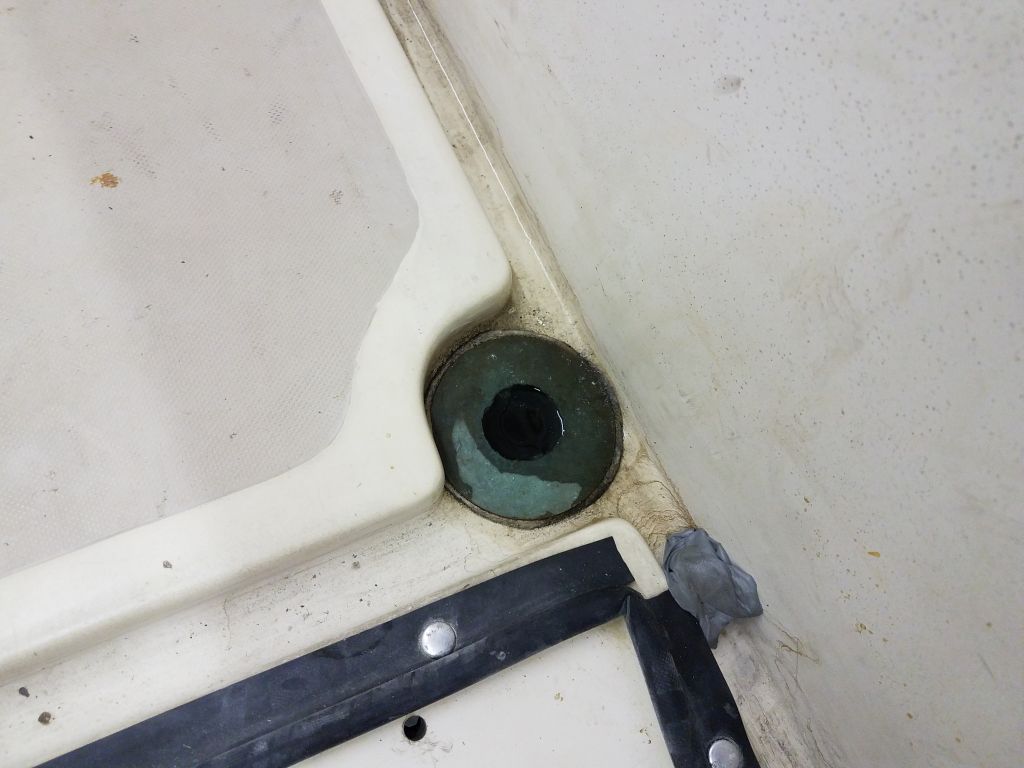
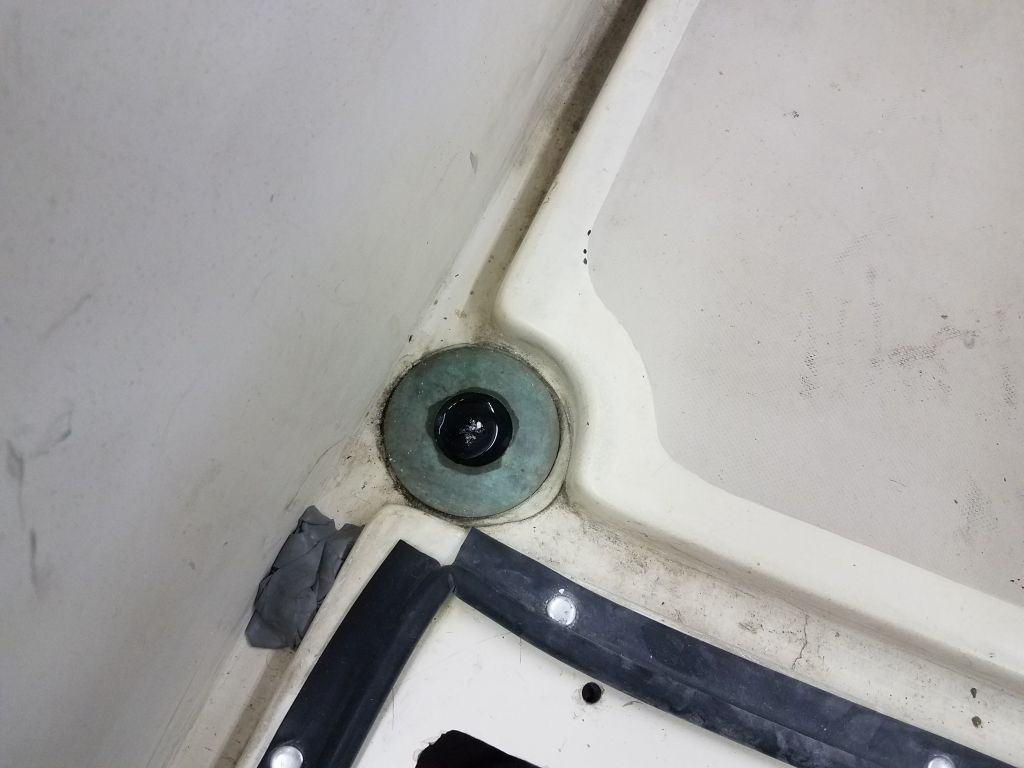
With access as good as it would ever be, now was the time to deal with the problem, and I made several attempts to loosen the fixing nut beneath the port drain fitting. The fitting was nearly touching the nearby bulkhead leading to the port cockpit locker, and the nut was quite tight, and possibly secured with sealant as well, and after trying various tools to loosen the nut, I couldn’t make any progress, since wrenches interfered with the bulkhead when I tried to grip the various faces of the nut, or if I tried other faces the wrench would hit the other side of the engine room.
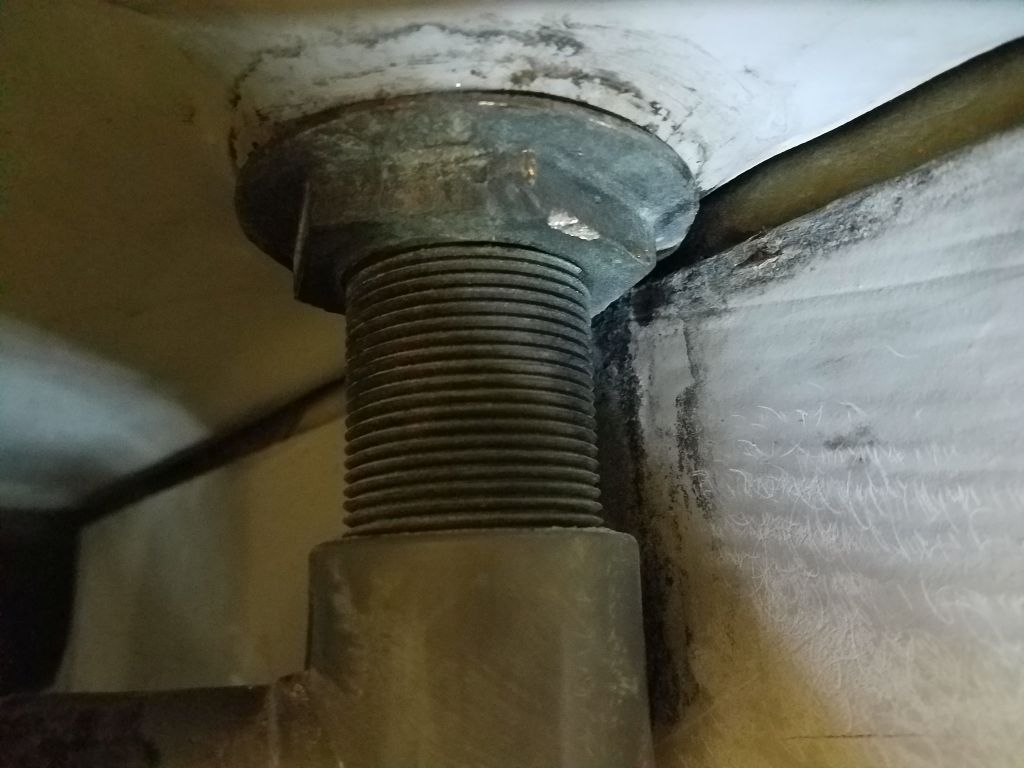
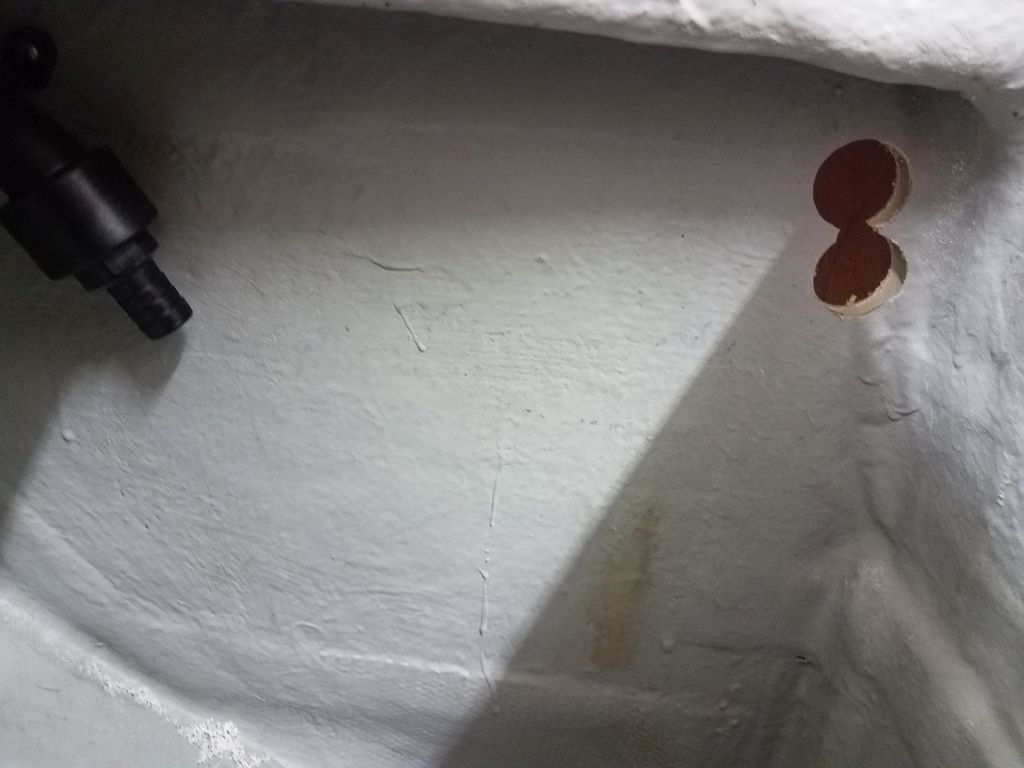
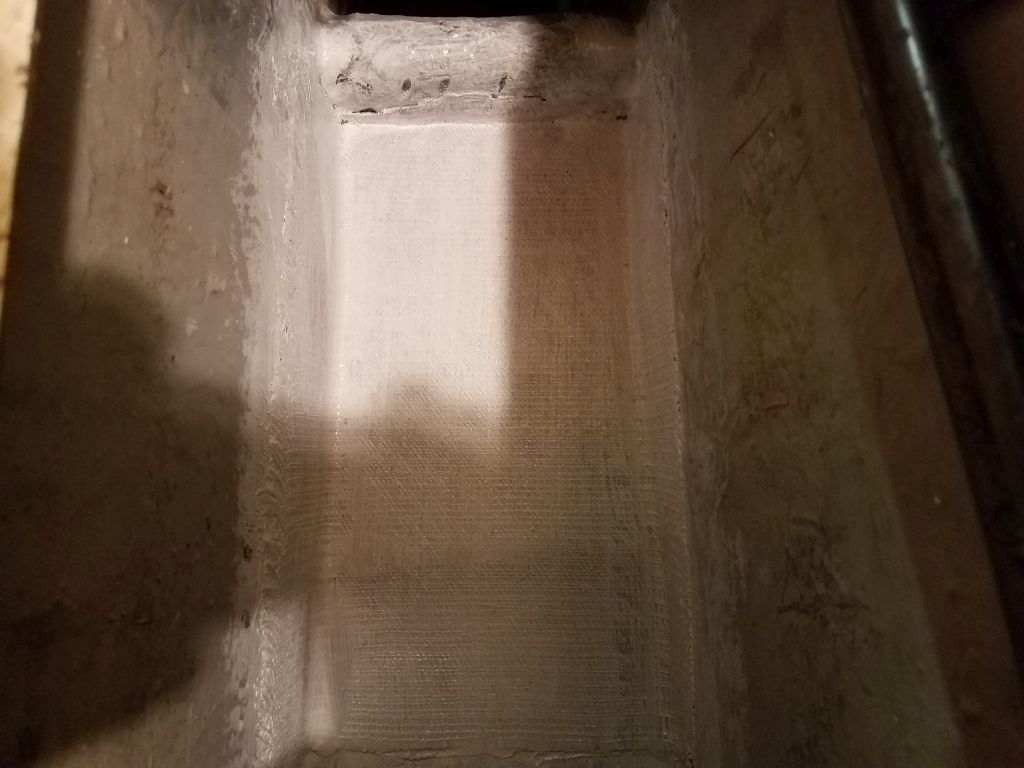
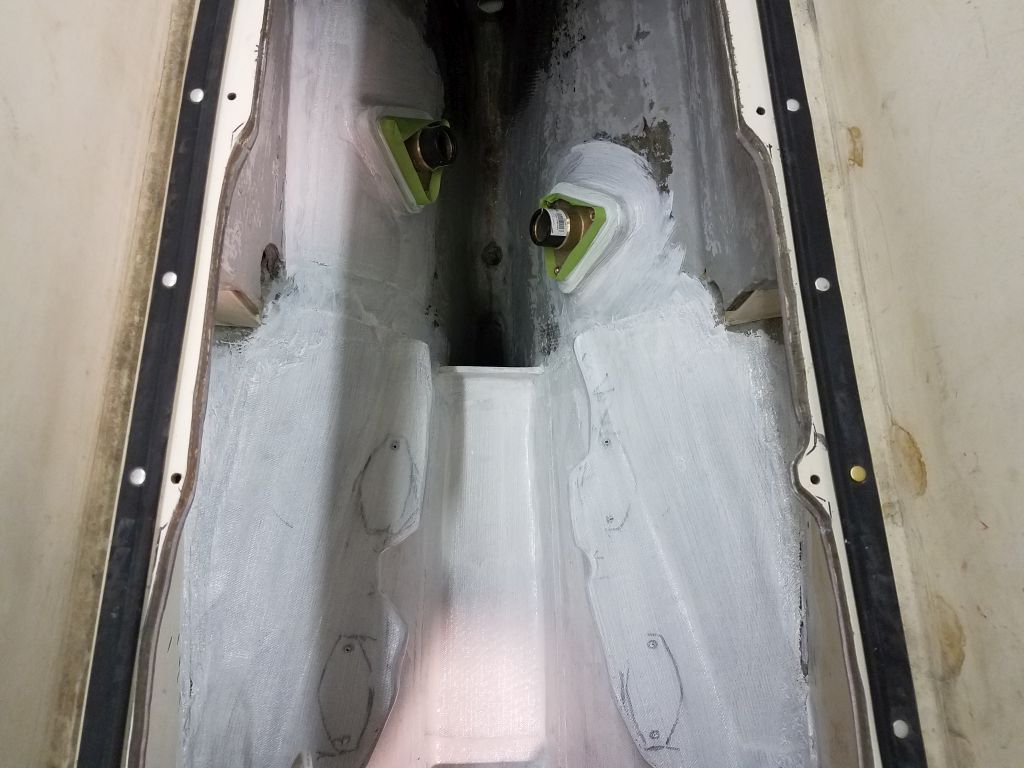
After a discussion of the situation, the owner chose to remove both fittings through whatever means and replace both, so after a false start with a grinder and cutoff wheel–I couldn’t manipulate it into the correct position in the oddly accessible-yet-impossible-to-access area beneath the cockpit, so I switched to a reciprocating saw with a long blade, which allowed me to cut through the drain fittings just flush with the tops of the nuts, after which removal was straightforward.
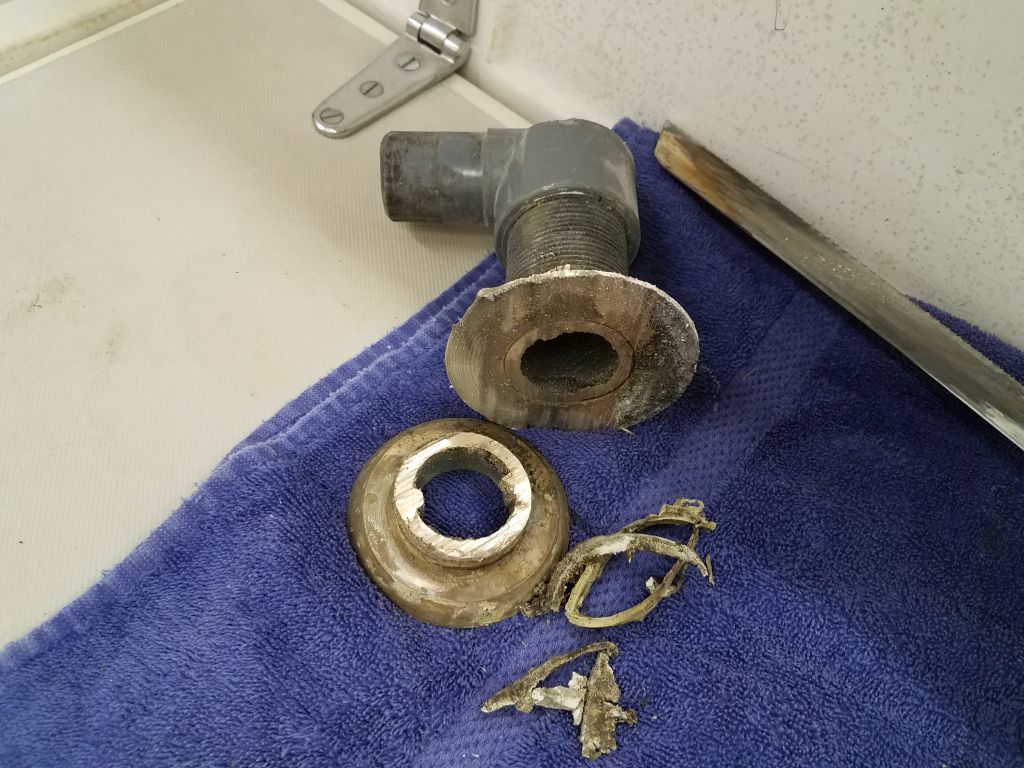
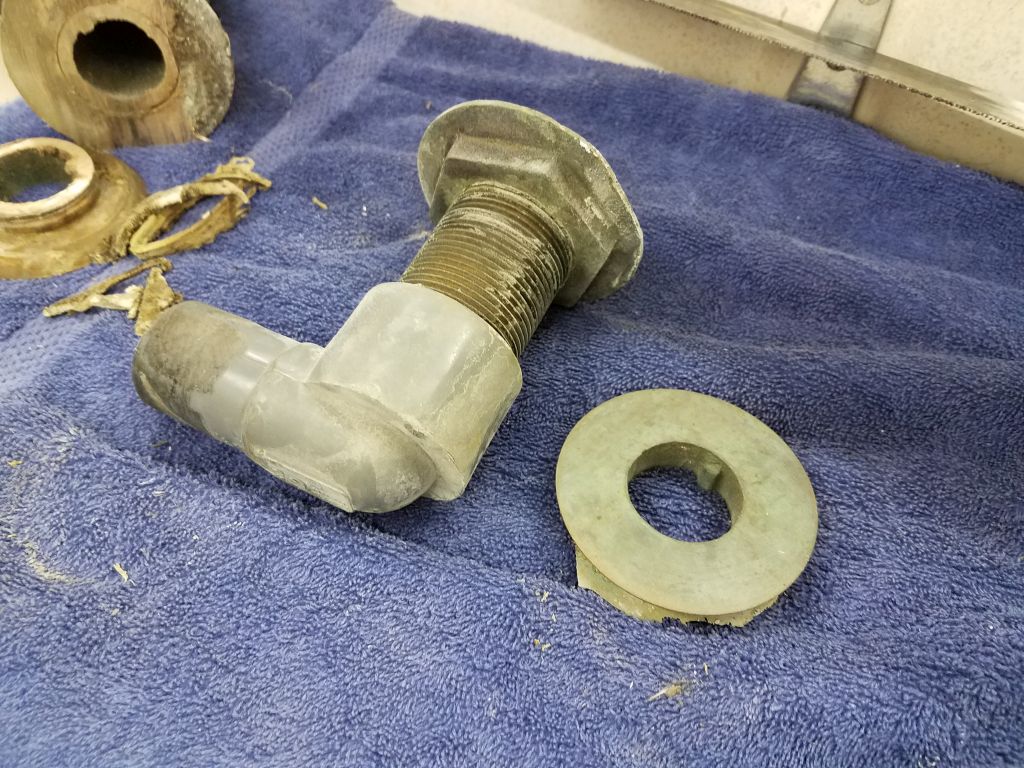


I ordered replacement scupper fittings that I hoped would work (they might be too large), and moved on.
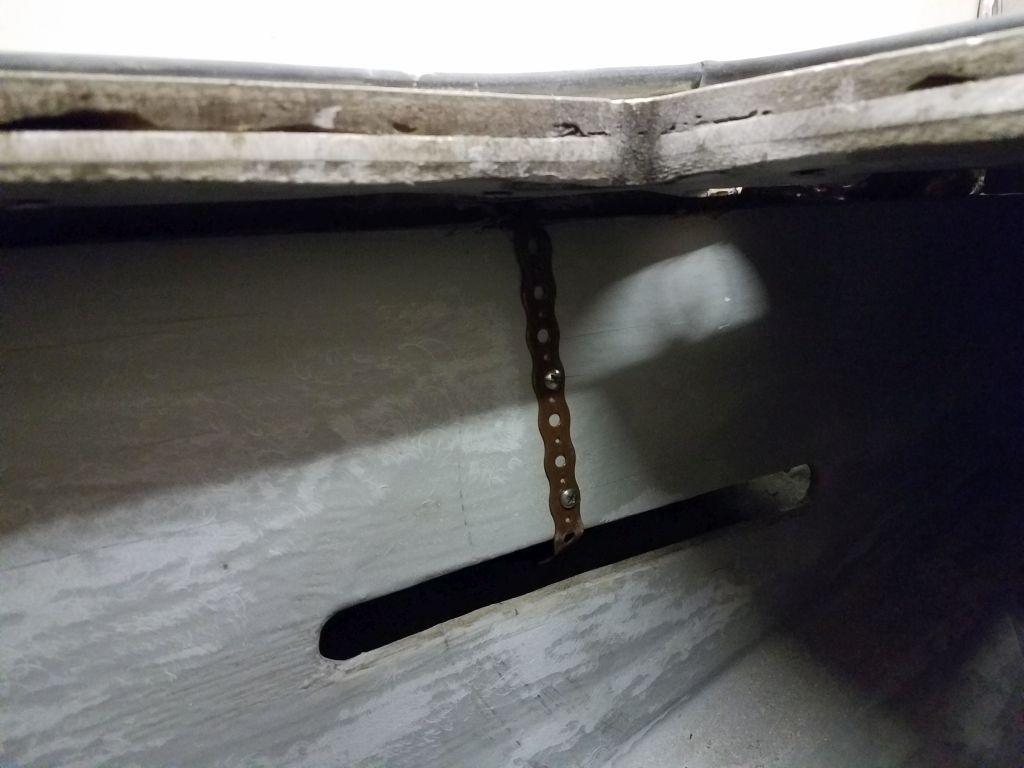
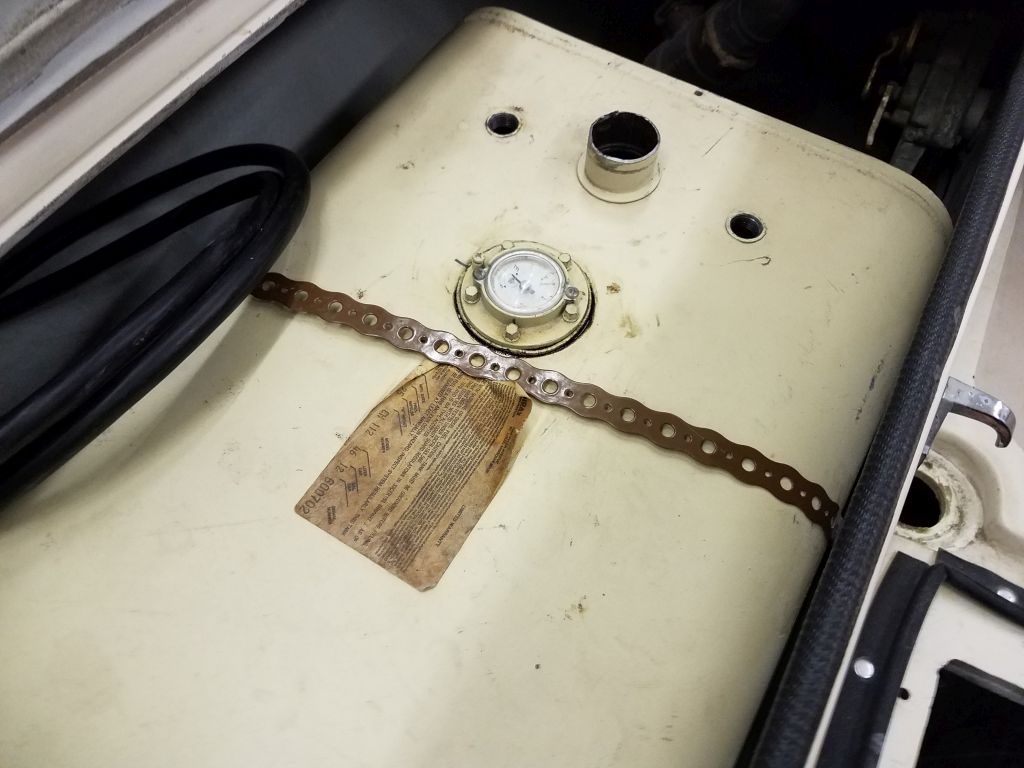
After quickly and lightly sanding the newly-fiberglass engine pan, I worked on the fuel tank to resecure it to its platform with the original strap and a screw at the after edge. Then, I reinstalled the various hardware, from the fuel gauge to the supply and return fittings, all of which were in good condition, though I replaced the hose nipple for the return line because it was simpler than trying to salvage the old with the hose still firmly attached. The black coil on the top of the fuel tank is the engine wiring harness, also awaiting engine room paint and the engine installation itself.
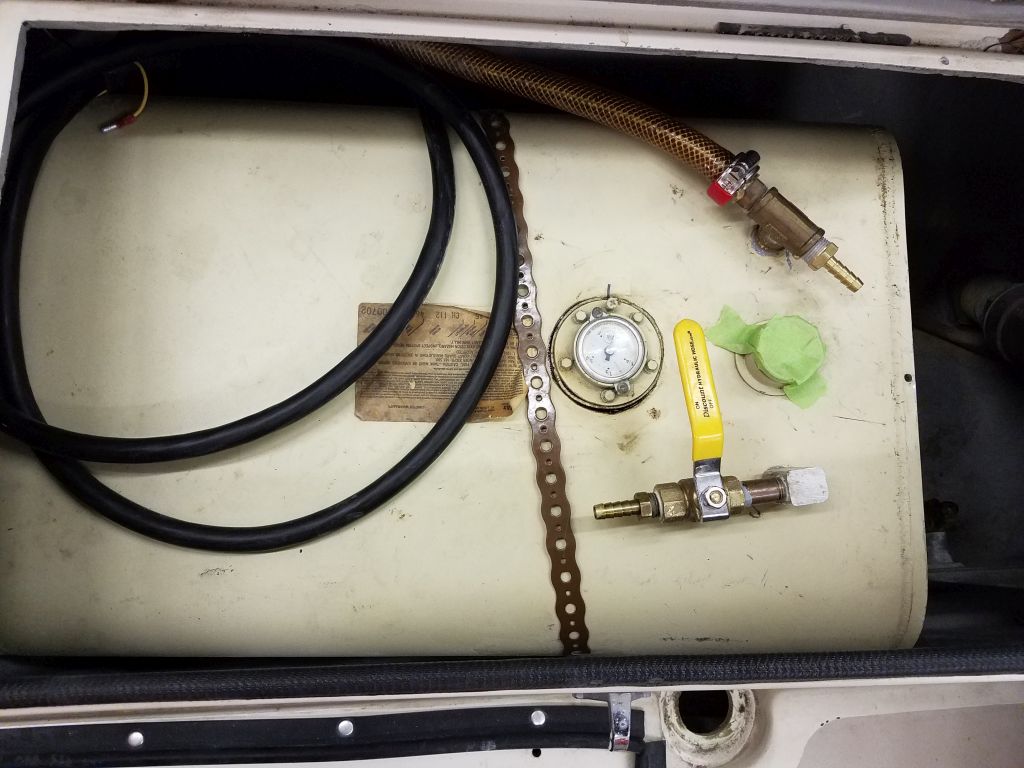
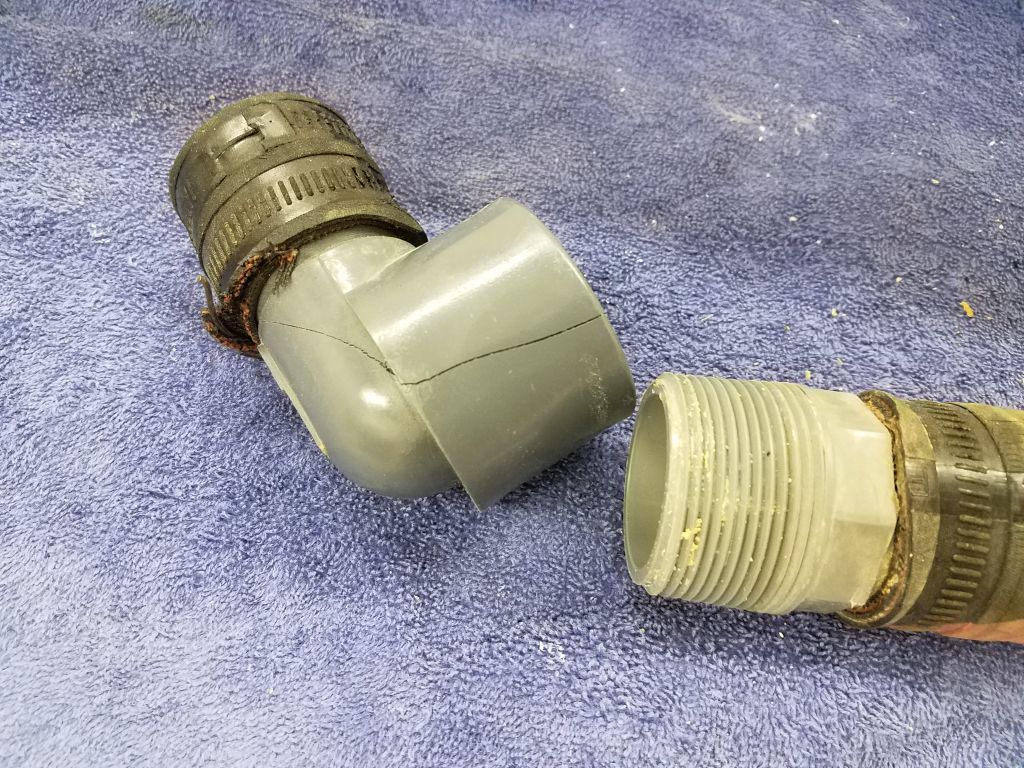
I found that the plastic elbow incorporated in the old fill hose was cracked, so I waited on finishing up the new fill line till I could source a suitable replacement; I’d install fuel supply and return hoses as soon as the engine room was ready after paint.
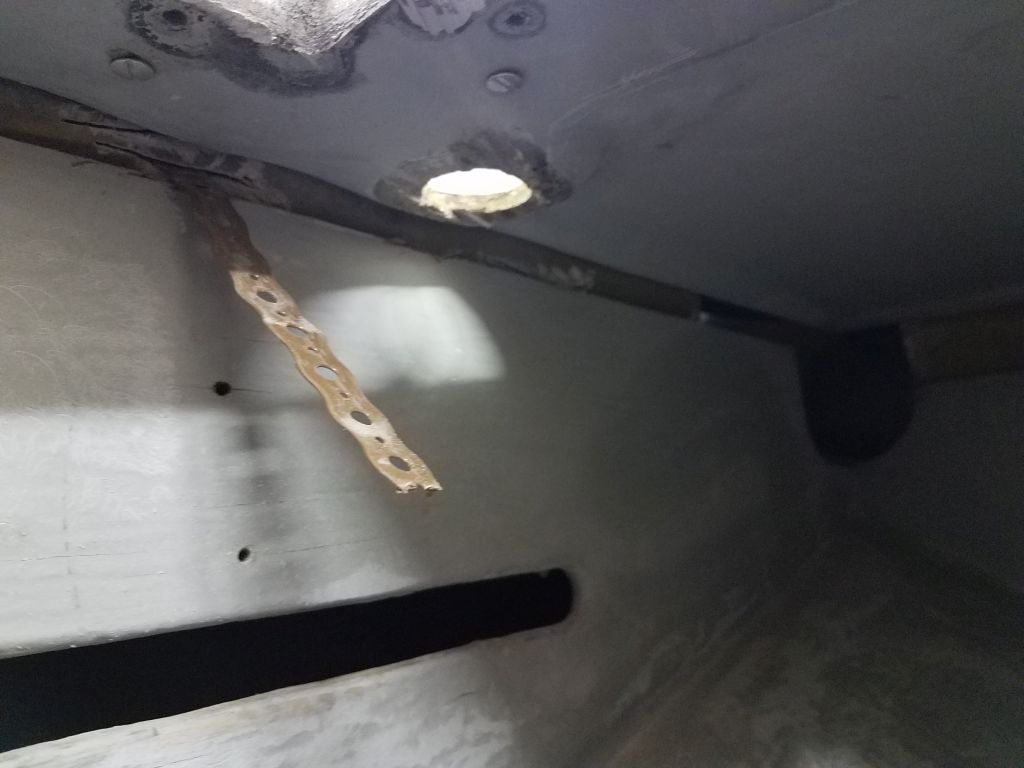
In the port cockpit locker, I removed the remnants of the old vented loop from the original engine exhaust system, retaining the line that led from the loop aft to the exhaust gooseneck at the transom.

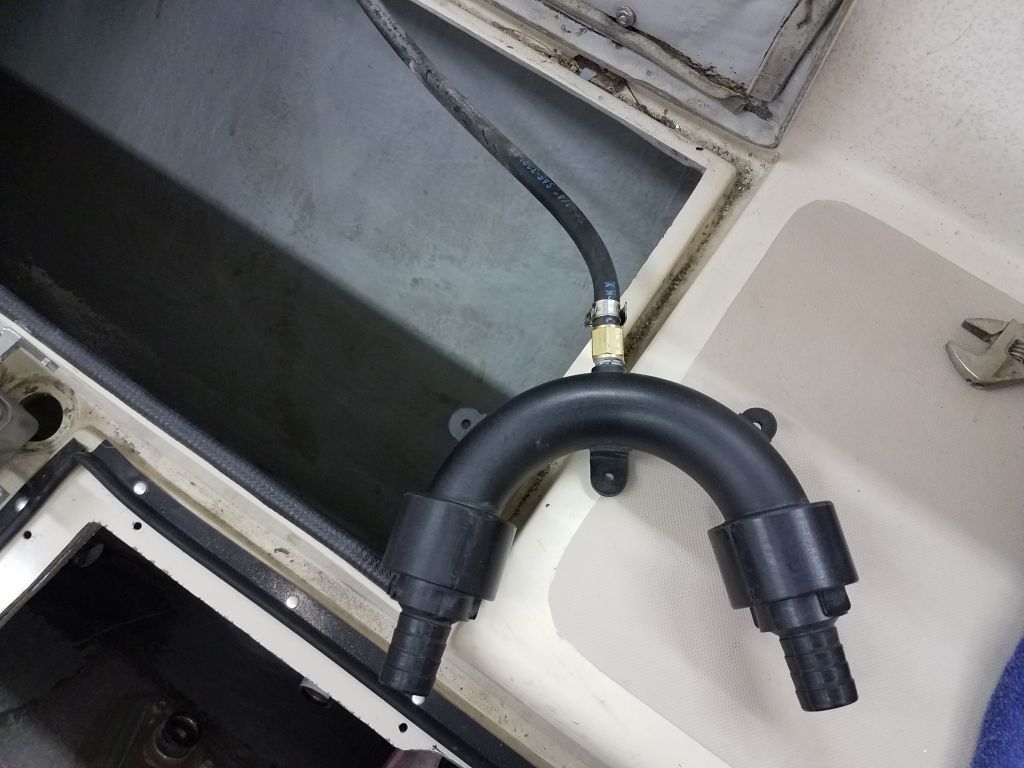
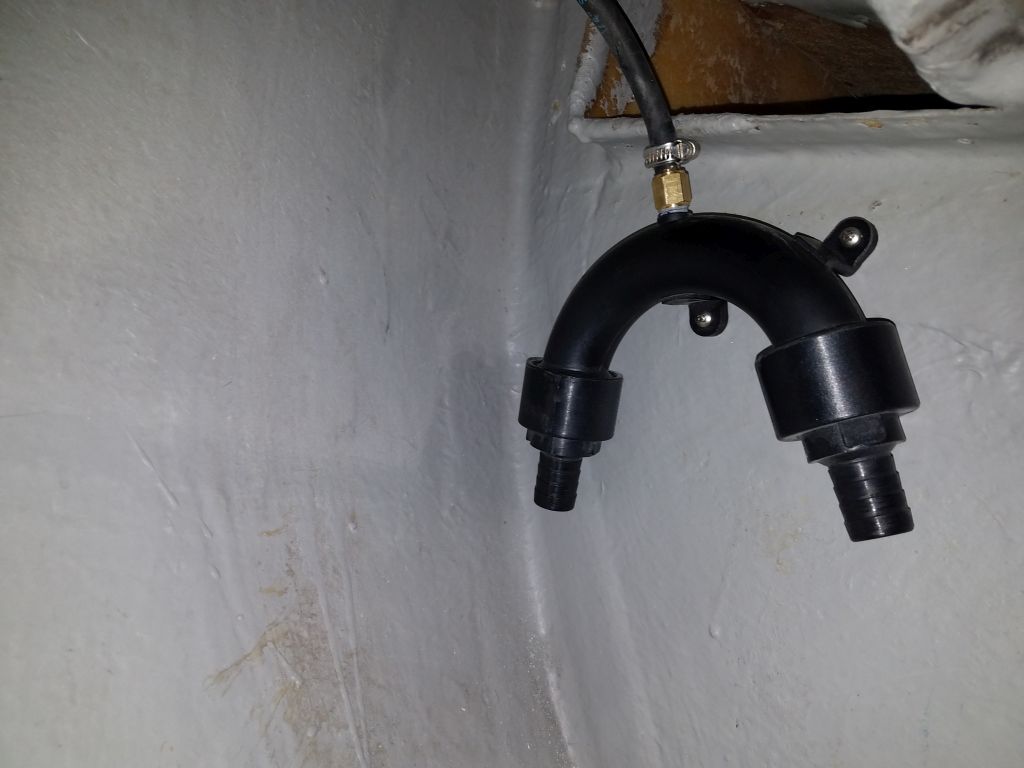
The new engine would require a 1″ vented loop, which the owner had ordered along with the engine, and now I installed the fitting in the locker, removing the vent valve from the top and replacing it with a hose fitting and the discharge line leading aft. I drilled larger holes to accommodate the new 1″ hoses from the engine room, replacing the smaller holes that had been there for the old system. Once the engine was in place, I’d run the hoses from the exhaust elbow.
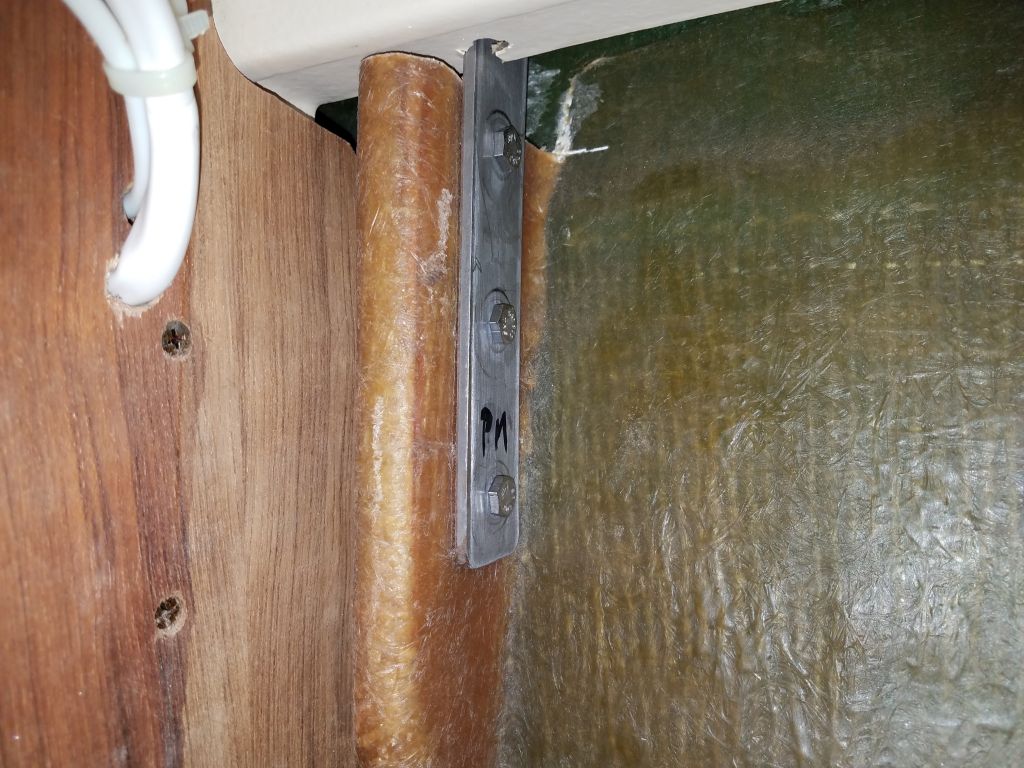
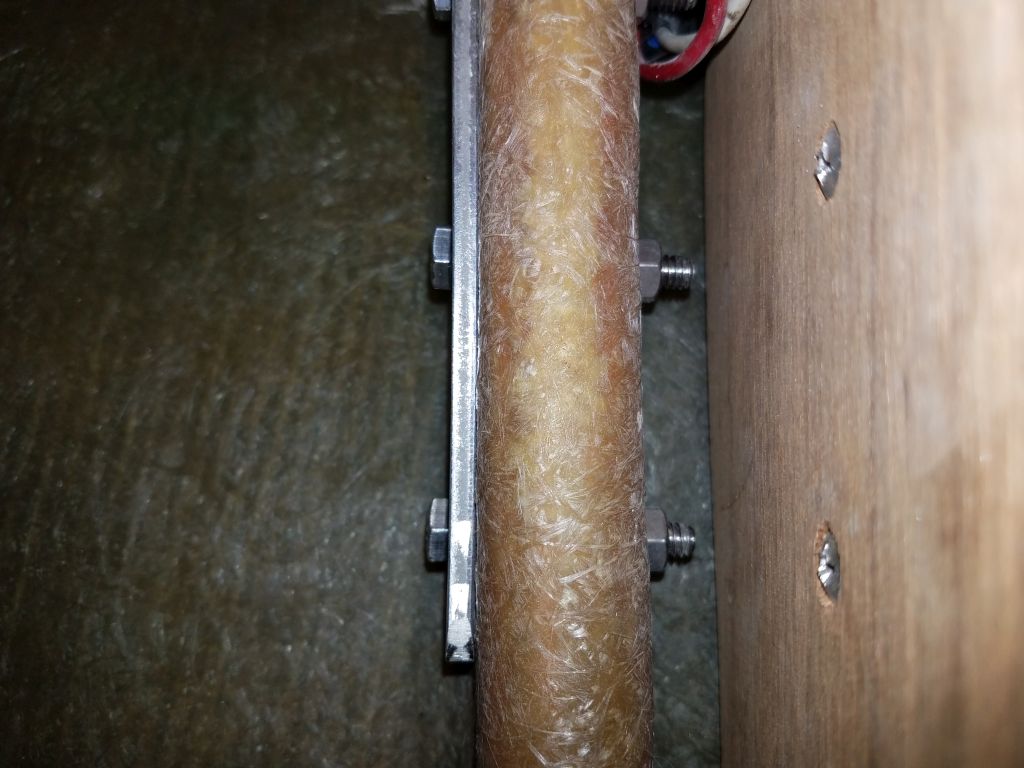
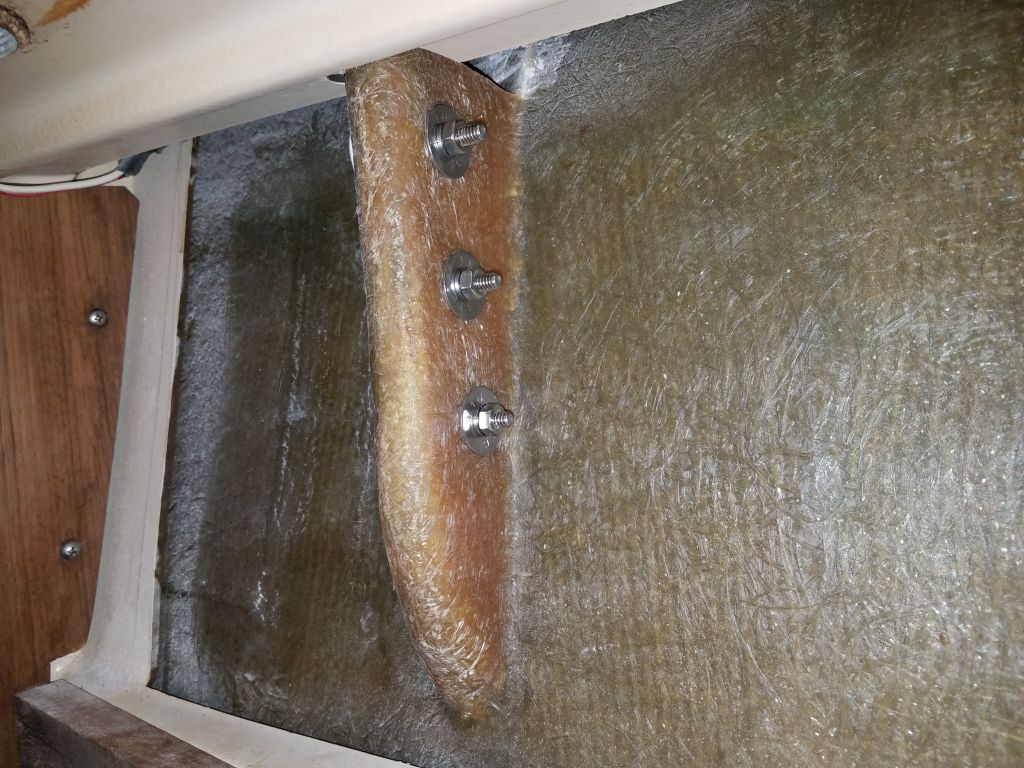
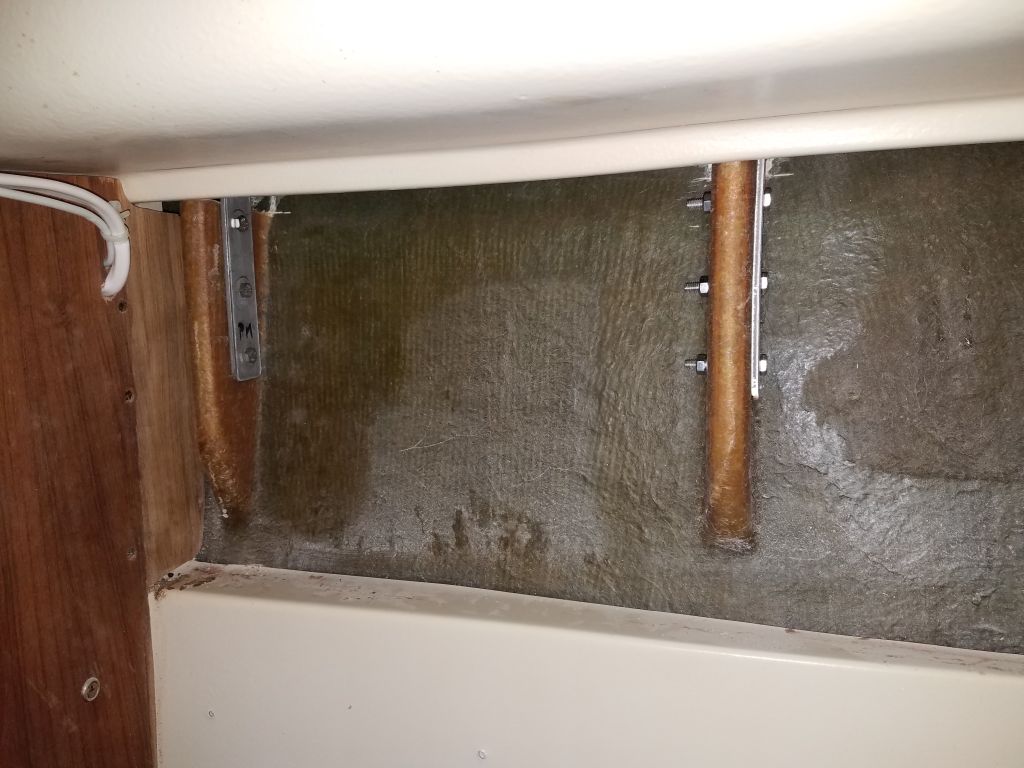
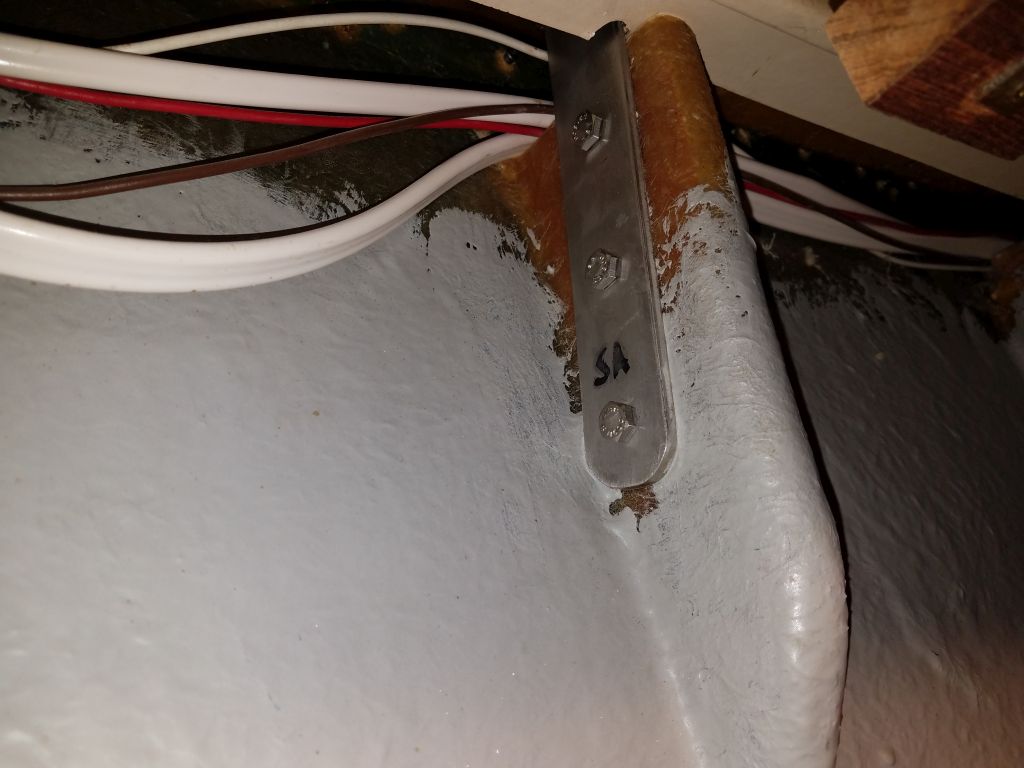
With the pre-engine work about as far along as I could bring it for the moment, I turned to the chainplates, which were ready for reinstallation. I’d felt lucky to have been able to remove the bolts from the centermost chainplates on each side without removing the boat’s bulkheads, which I’d had to do on two sisterships in earlier projects, and now I hoped I could reinstall nuts and washers in the tight spaces successfully: It’s one thing to remove stuff in tight quarters, but often quite another thing to do an installation.
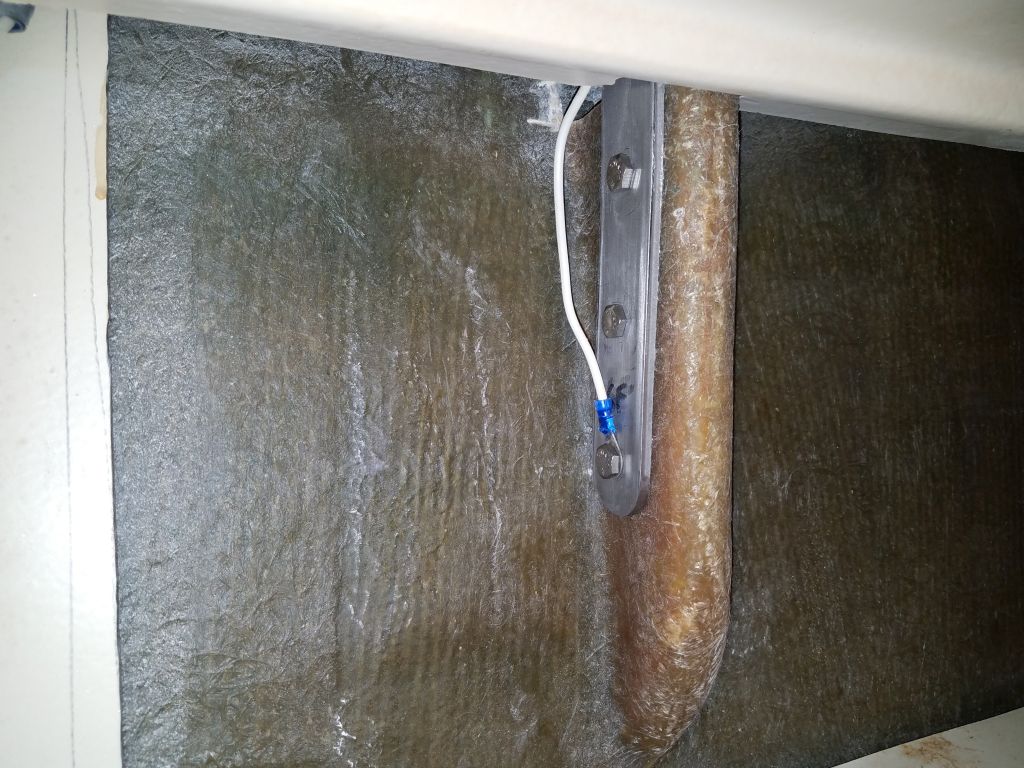
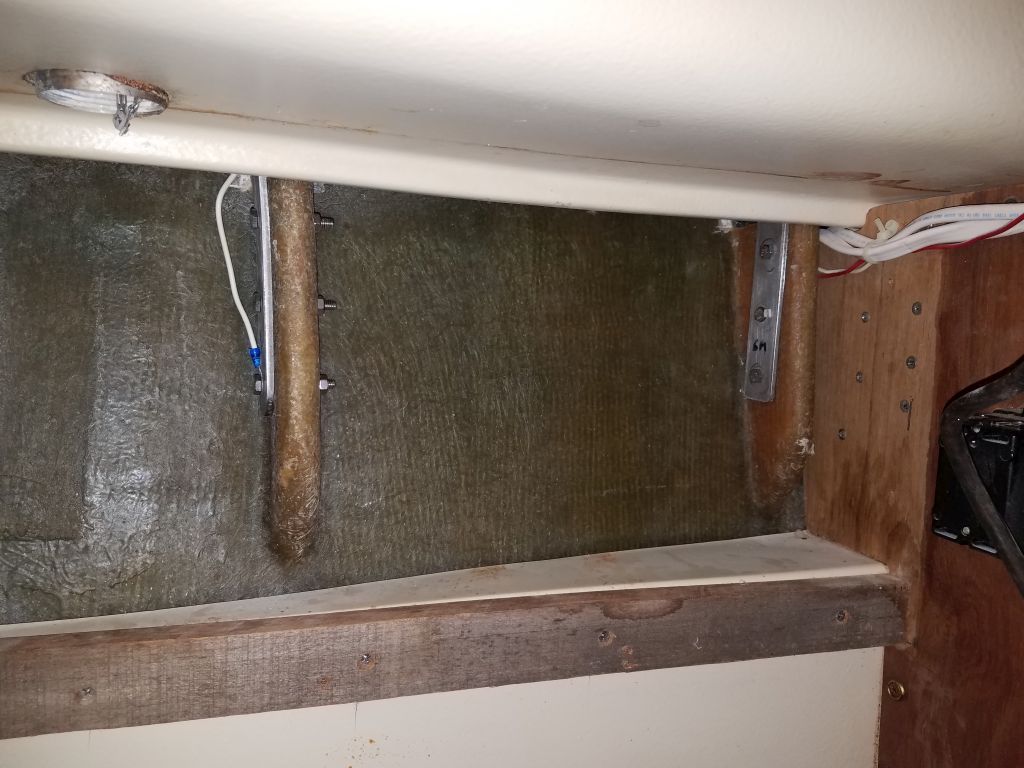
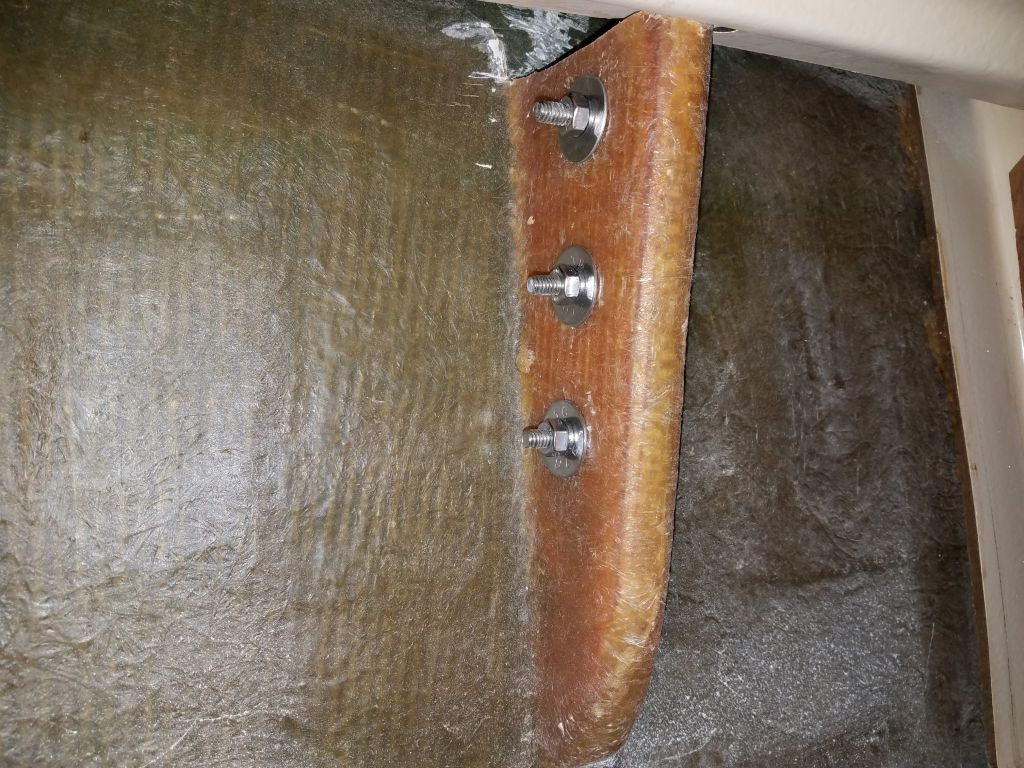
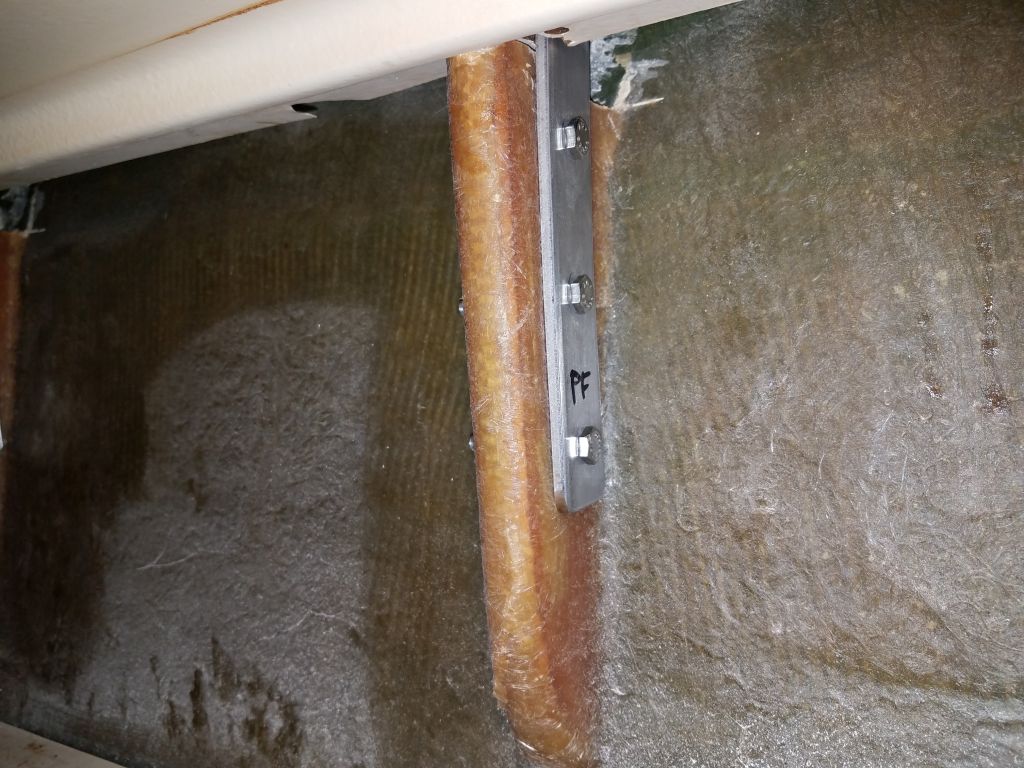
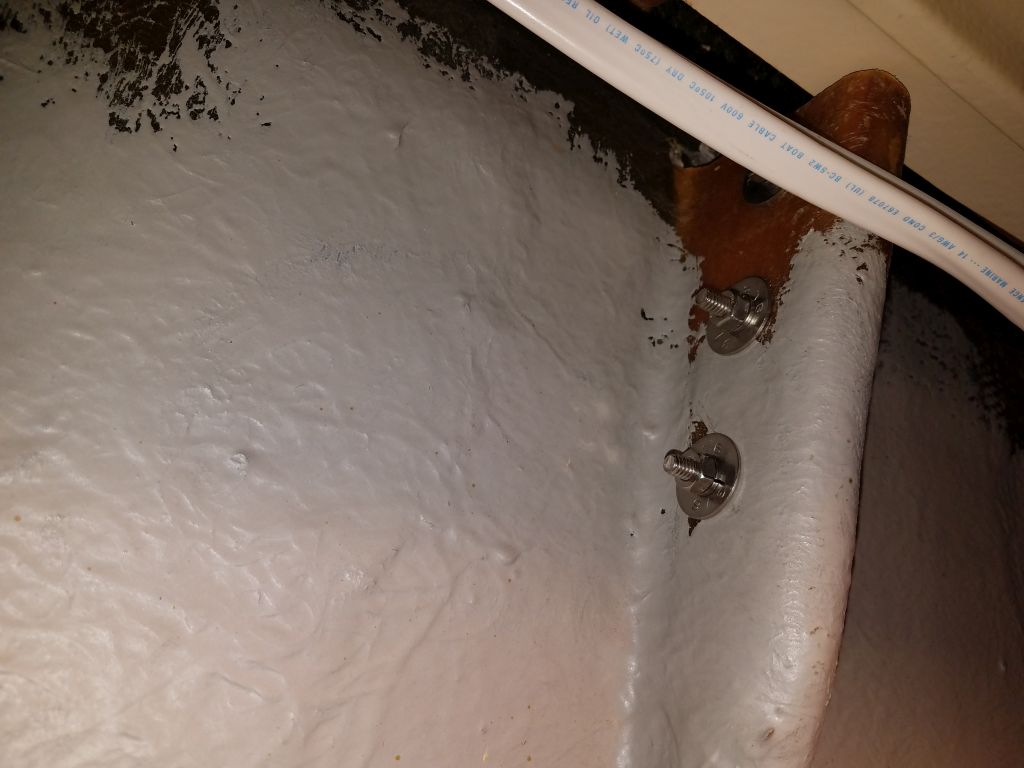
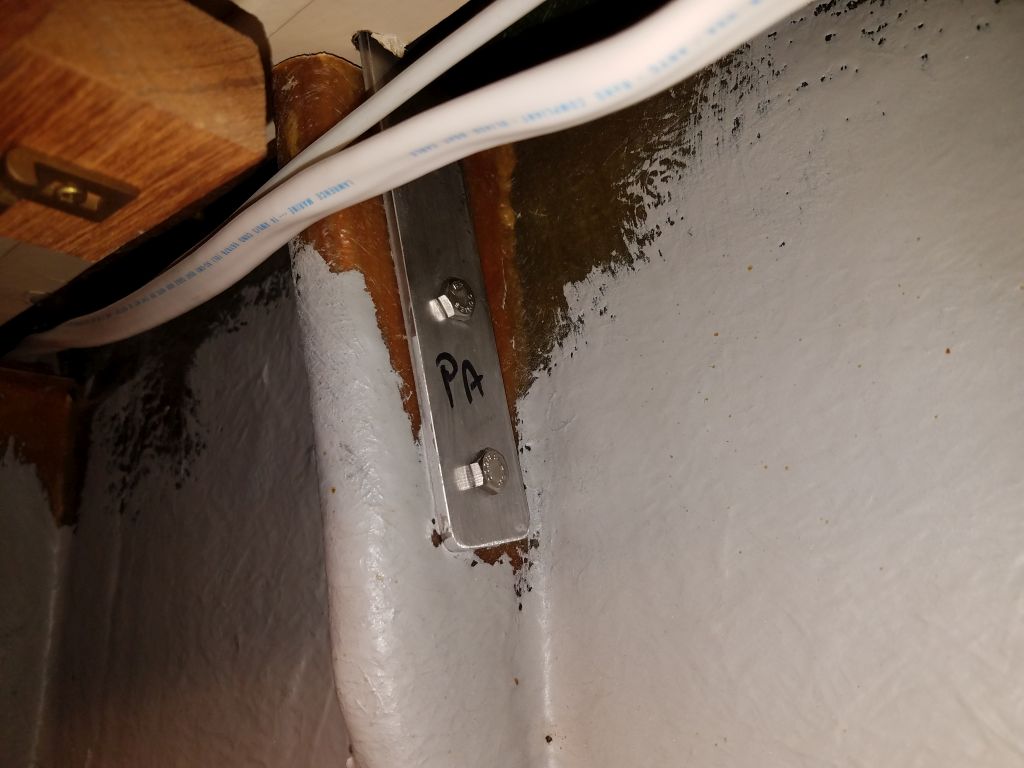
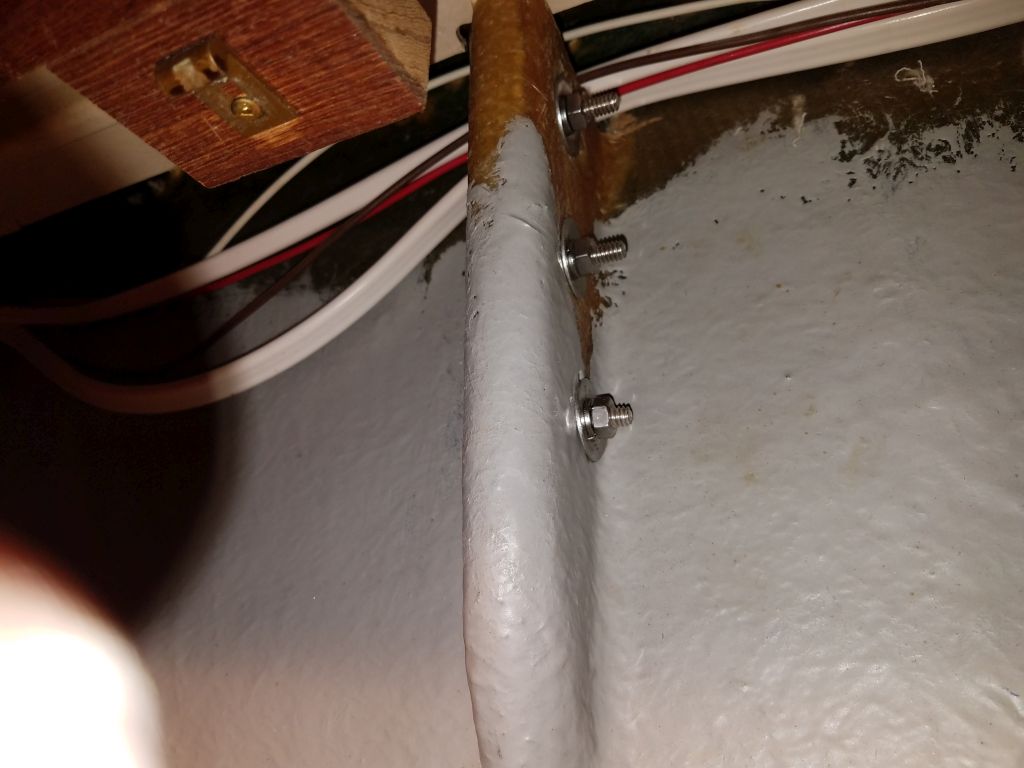
Starting with the hardest chainplates–the center one on each side–I was happy to find that while the installation space was tight, it was possible to get the washers and nuts on in the 1″ or less space between the knees and the bulkheads. On the port side, I could even put the nuts on by hand in the lavishly expansive space, but to starboard I had to tape the nuts into the open end of my 7/16″ wrench in order to get the started.

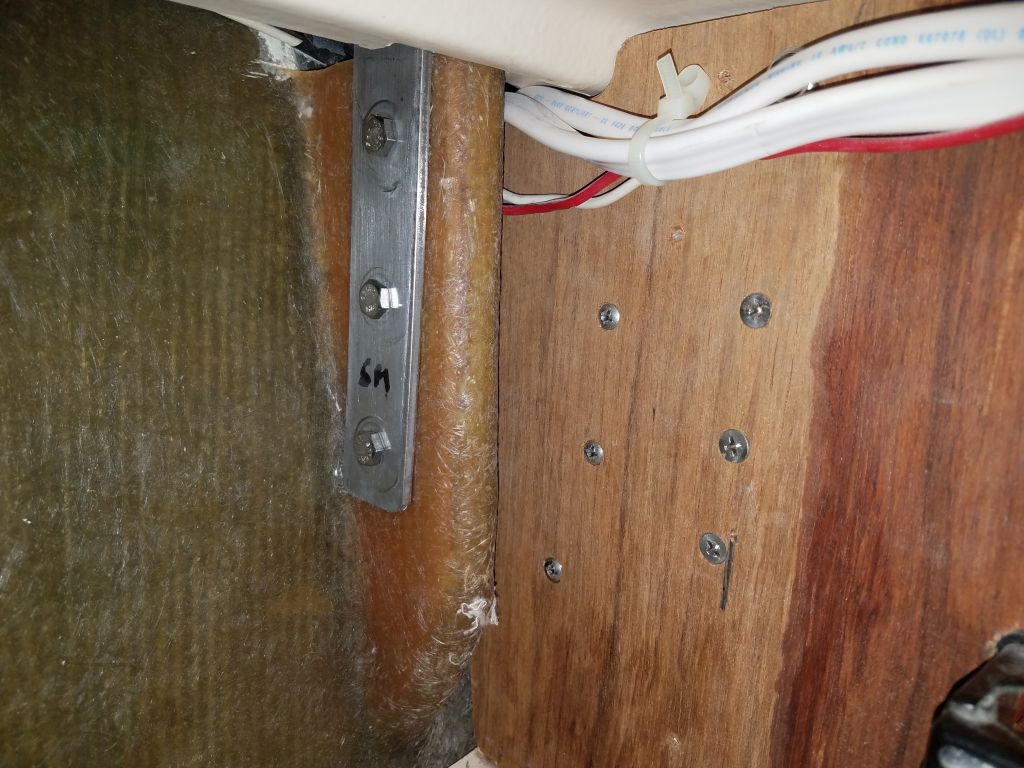
The remaining two pairs of chainplates had good access, and reinstallation was simple. Later, I’d finish the installation from above with bedding and new deck covers to help seal the slots through the deck.
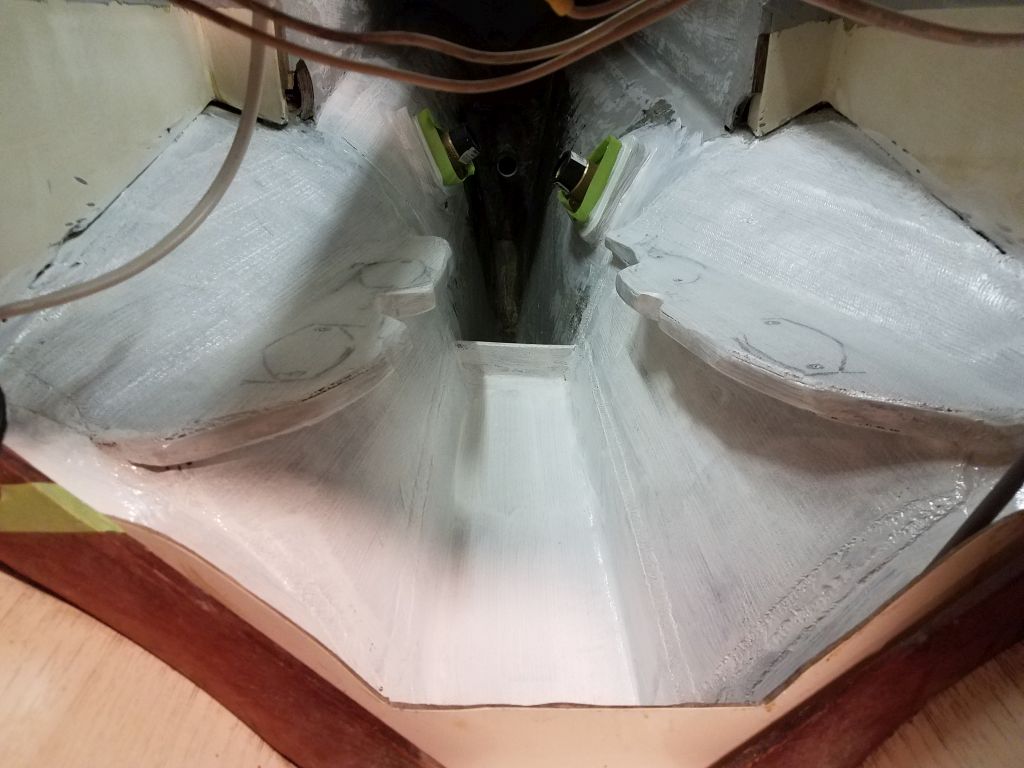
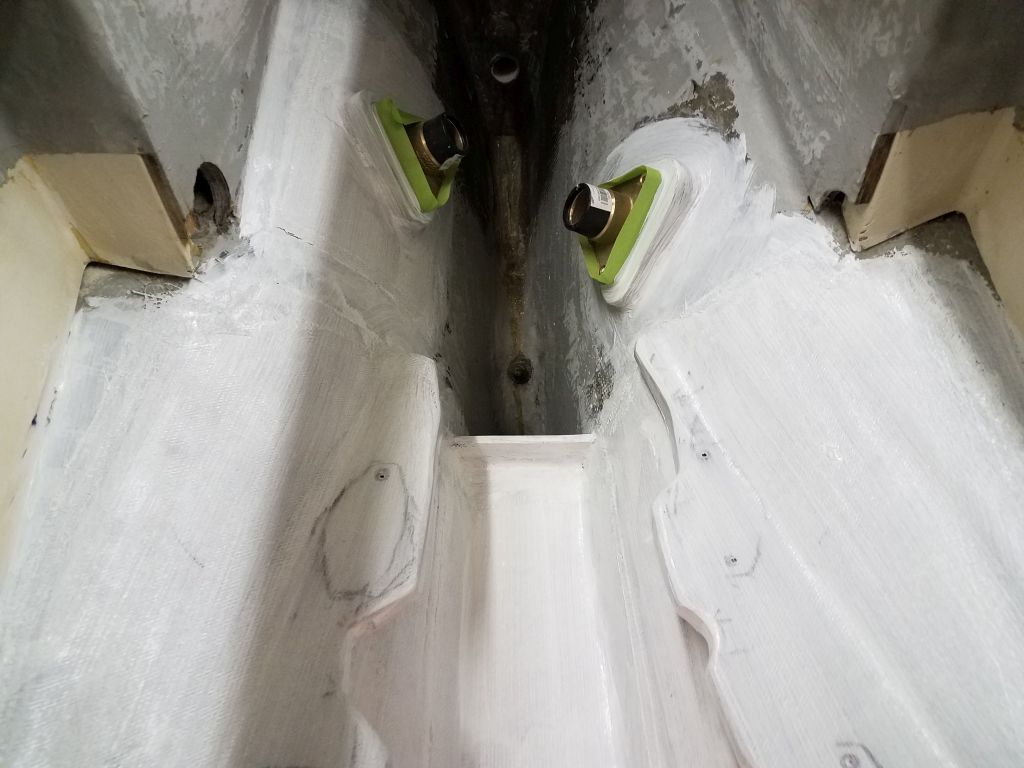
To finish up the day and the week, I made final preparations in the engine room–cleanup and some minor masking–and applied a coat of epoxy-based 2-part primer over all the fresh epoxy work in the space, along with the base of the battery compartment beneath the cabin sole. This would help seal the new epoxy and allow me to finish up the paint work in the near future, which would pave the way for final engine and related systems installations.
Total time billed on this job today: 6.25 hours
0600 Weather Observation: 40°, light rain. Forecast for the day: Heavy rain, rising into the 50s